We take some pictures before heading to the Catfish's Maw for the fifth Instrument.
As mentioned earlier, I missed out on a good amount of the photo album because I'm a doofus, so here's that link again.
If you go up to Old Man Ulrira's house after meeting the photographer, you'll be able to get a photo for the album.
If you go up to the lone grave in the graveyard after meeting the photographer and returning the nostalgic ghost back to his house and then his grave, you'll get another photo.
The mermaid will show up on a rock after you give her the necklace. She will tell you about how Schule Donovitch wanted her to pose for a statue and give him a scale, and asks if the legend of the Magnifying Glass is true. Remember that for later...
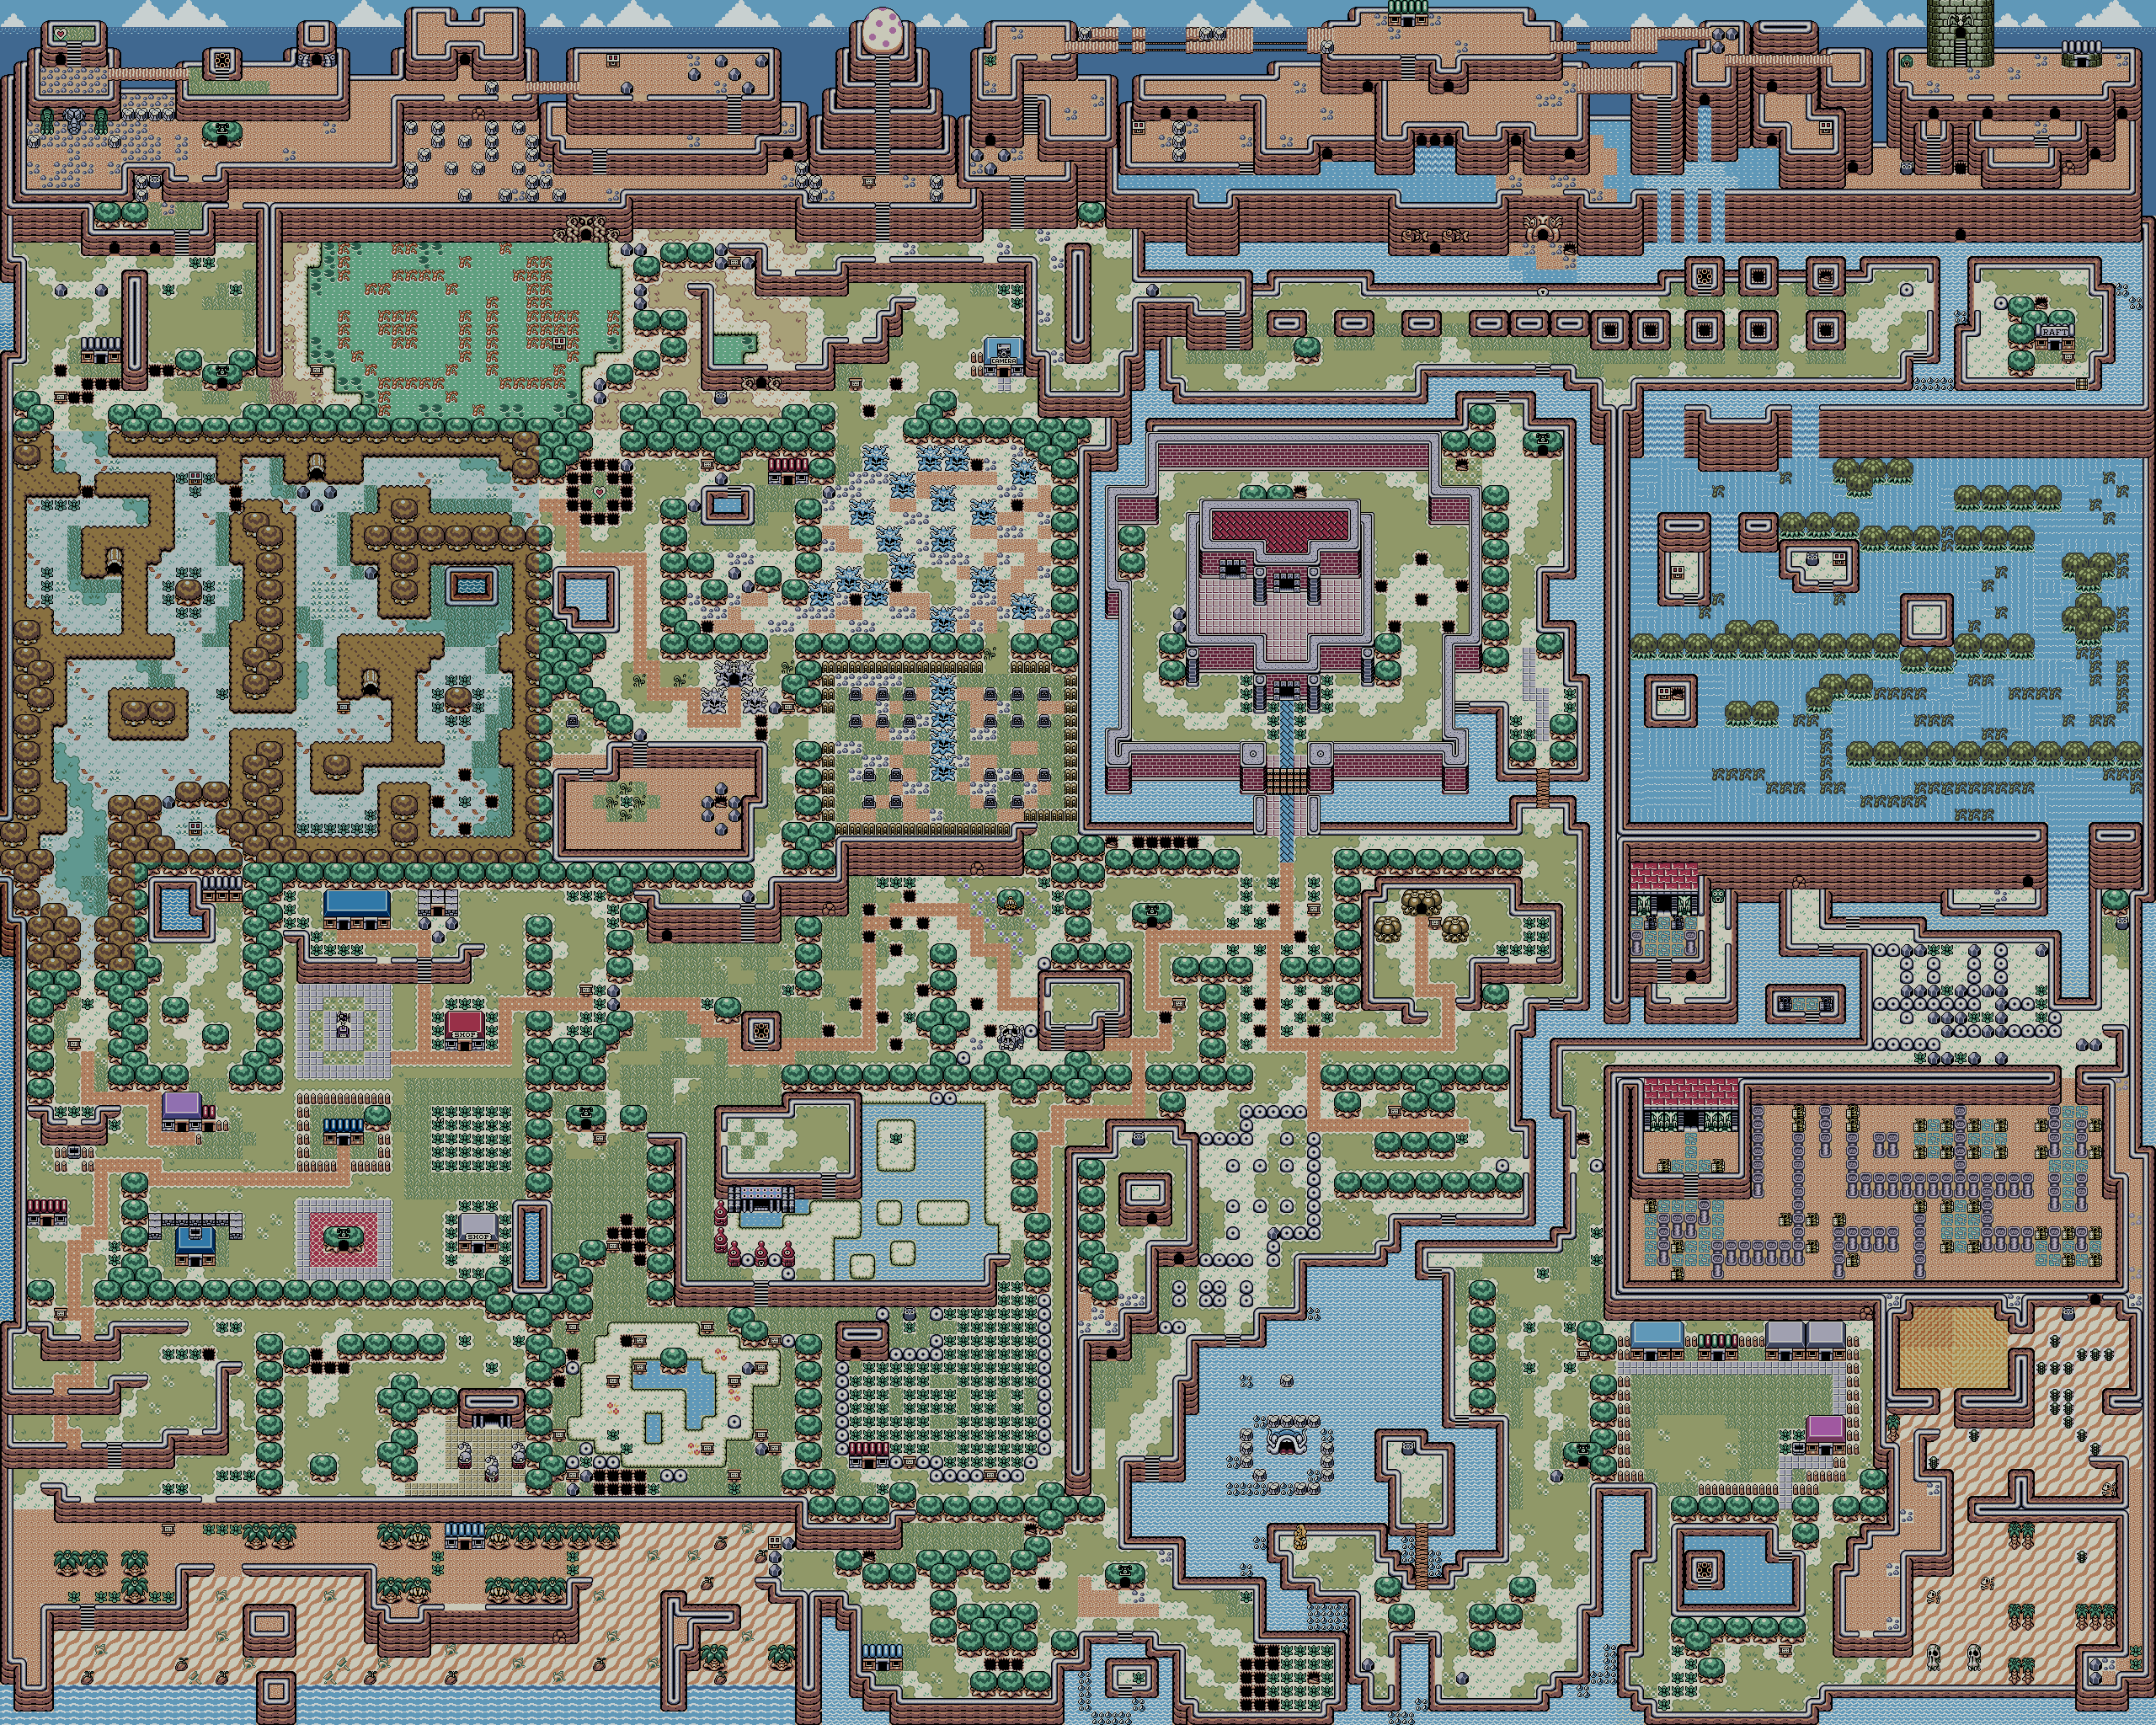
Anyway, go back to the center of Martha's Bay and dive in the alcove on the left side of the rocks to go underwater. At the other end is the entrance to Catfish's Maw.
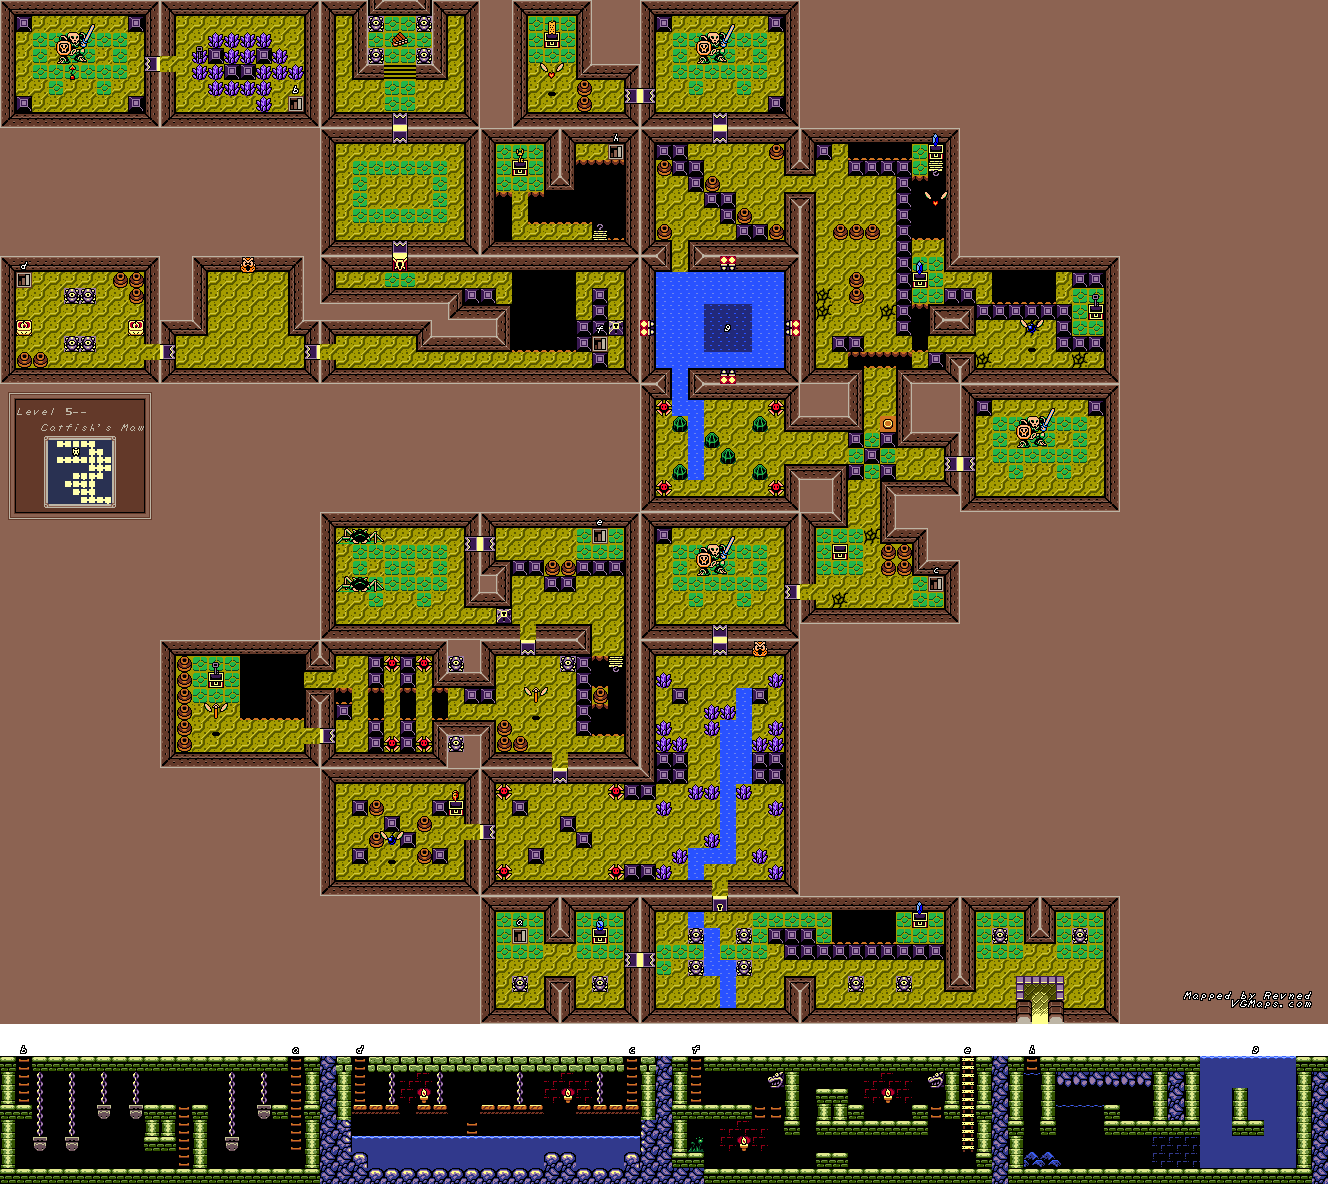
Catfish's Maw
The little lizards with the masks can only be hit from behind. You'll find an item that deals with them better than this soon enough.
The weight platforms move like the balances on a scale when you stand on them. Jump at the right time to get to the other side.
When you come out of that side-scrolling section, destroy all the crystals on the floor move the blocks so they form a square. You'll get a small key for your efforts.
The Owl Statue will tell you that if you can't destroy a skeleton with your sword, use a bomb instead. Hmmmm...
The mini-boss here is Master Stalfos. Yep, he's a skeleton. Hit him with a bomb and keep whacking him with your sword. If you have the Level 2 Sword, you can just get back to full health, nail him with a sword beam and keep beating on him from there. He'll run away, and when you enter the next room to open the chest, you'll find out he took what was in it. You'll have to hunt him down and find him to get it.
The next Owl Statue will tell you to dive where the torchlight beams cross. Hmmmm...
There is an intersection with five blocks and a switch on the floor. You'll be pushing that block and walking back and forth from that screen. West of that screen is a path to where the torchlight beams cross. You won't be able to do anything there yet, however.
Anyway, hit that switch. You'll meet Master Stalfos again, and you fight him the same way you did last time. There are four rooms with the skull pattern on the floor, and the number of corners with blocks in them dictates the order in which you have to enter them to fight Master Stalfos. Anyway, after a bit more damage he'll run away again, but this time around he isn't very far. Even then, he runs away, so you'll have to backtrack towards the entrance and make a beeline for that staircase to the side-scrolling section with the weighted platforms to make it to the empty room there. This is the fourth and last room that you'll find the guy in, and once you finish him off here, you've finished him off for good. He leaves the Hookshot, another favorite item from A Link to the Past, and you'll need it to get some of the chests as well as what we're about to do.
Also, it should be noted that if you use the Hookshot on the masked lizards, you'll be able to remove their masks and leave them wide open to attack.
Head back to where the torchlight beams cross. Dive into the center of the deep water and you'll be in another side-scrolling section. Yet another Mario enemy here: Bloopers. Make it to the other end, grab the hook on the bridge at the other side with the Hookshot, then make your way to the chest to get the Nightmare's Key.
The mini-boss on the way to the Nightmare are two Gohmas. Get up close and hit them with the Hookshot when their eyes are open, and don't mind the fireballs. If they stop and shake without opening their eye, they will charge you.
The statues in the side-scrolling section that leads to the Nightmare can be grappled onto with the Hookshot.
To beat the boss, avoid the tail and grab onto the boss's head whenever it peeks out of one of the four holes. By doing this, you'll be able to get the boss out of its hiding spot, and smack the part of its neck with a heart on it with your sword. You have a few seconds to damage it a little bit before it zooms back into the hole. Whenever you get it with the hookshot, the tail reverses direction.
After enough hits, you'll beat the boss and get the Wind Marimba.
Your next mission: the Shrine. Remember where the island with the Armos Statues was? You'll meet the owl there, and he will tell you there are two shrines: one is a dungeon, the other is the Dream Shrine, which has some important information about the island.
If you meet the fisherman that gave you the necklace after meeting the photographer, you'll get a photo for the album.
No comments:
Post a Comment