"What's this? Watercress just Let's Plays something before making a guide for it? Wait, Watercress did this before with Batman Returns? Okay, nevermind..."
Seriously, though, this is one of the more interesting games I've worked on.
All maps by Frank15.
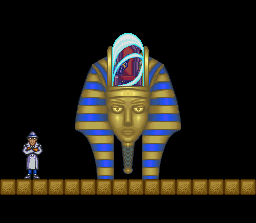
Penny has been kidnapped by Dr. Claw. Only the bumbling yet very successful Inspector Gadget can save her, but he'll have to make his away all over the world in order to find her!
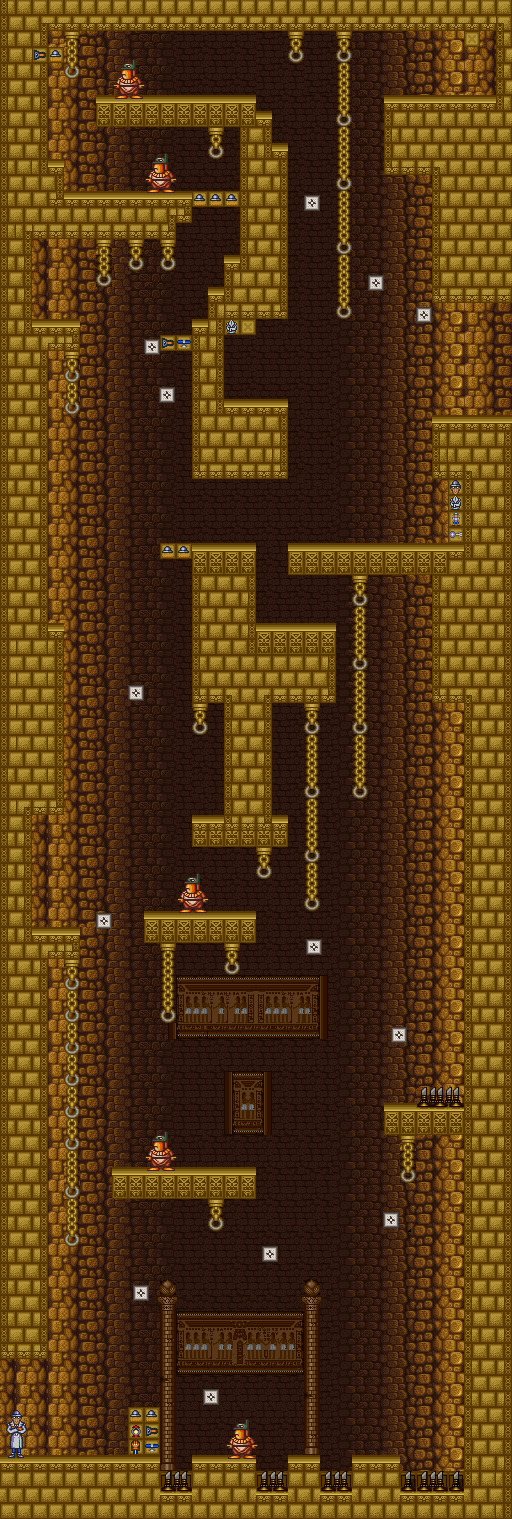
Stage 1
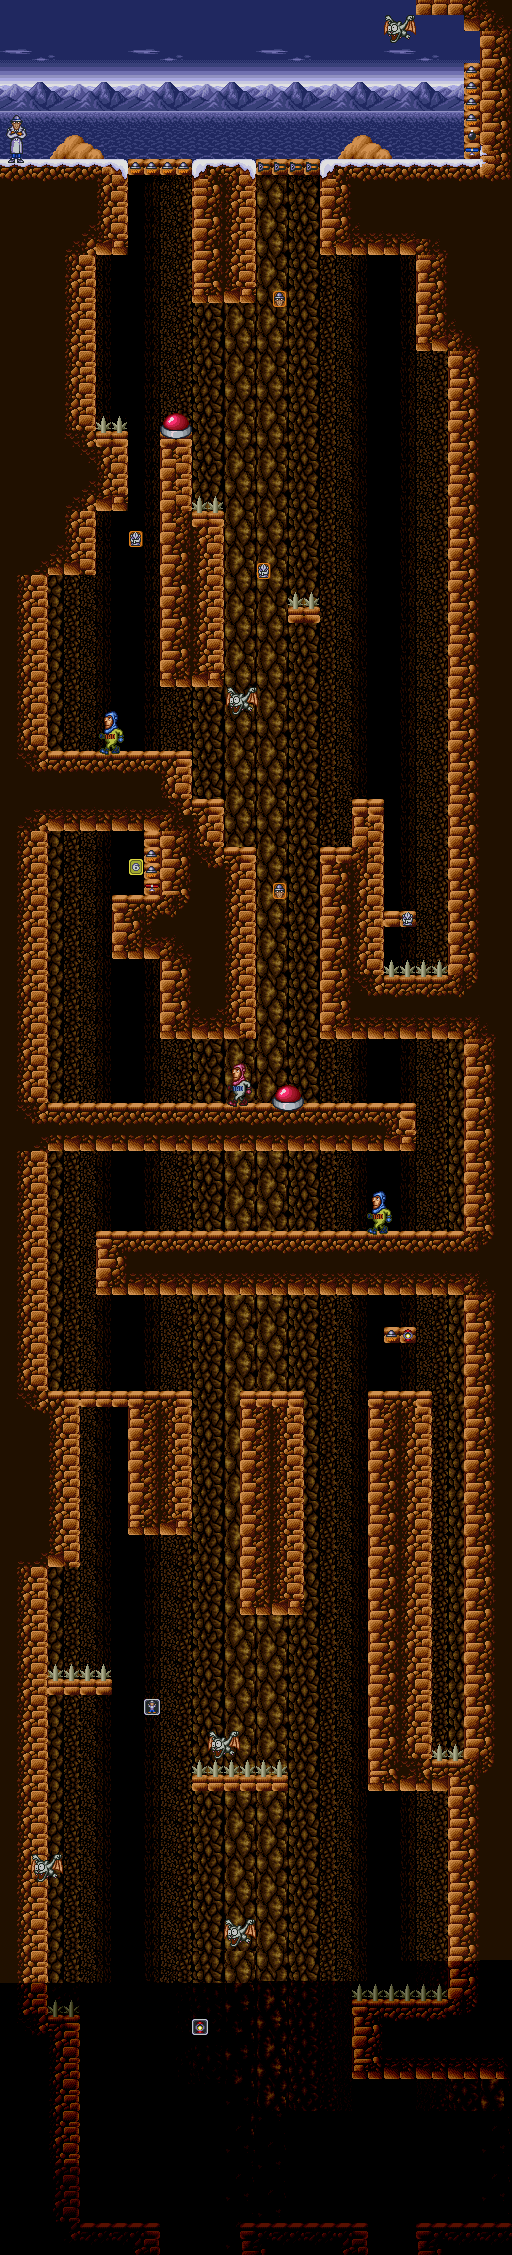
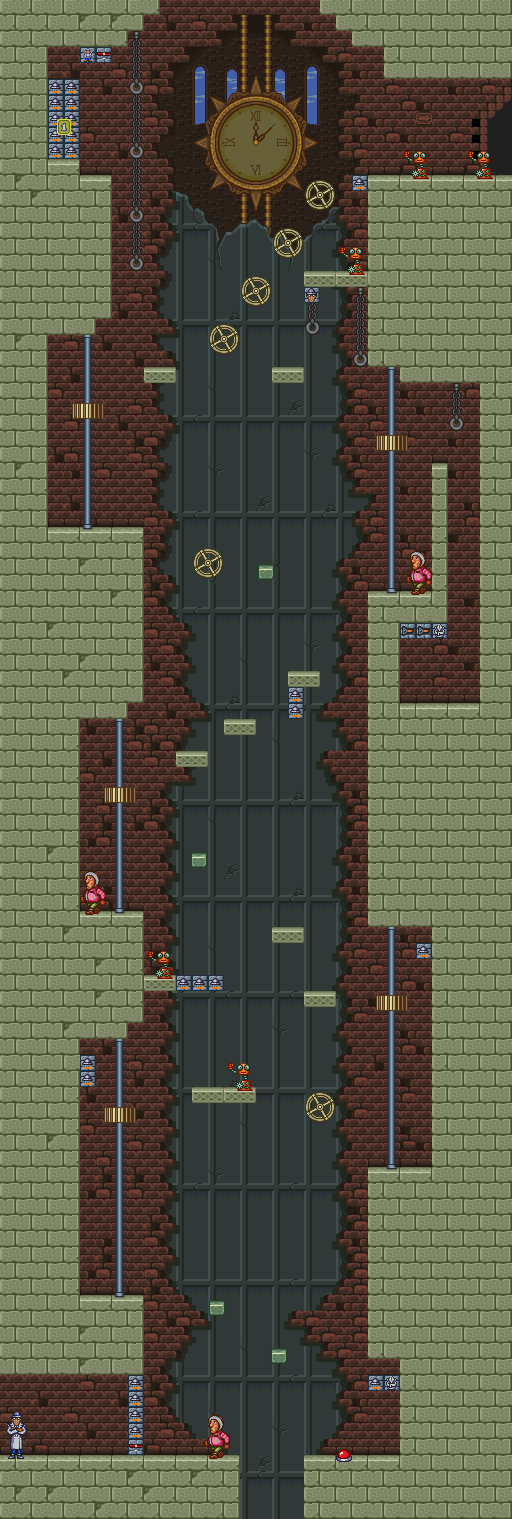
Area 1
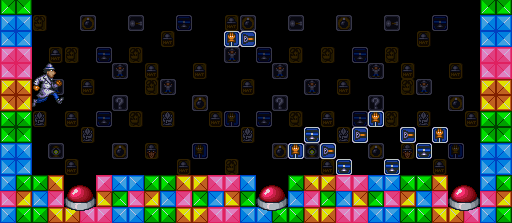
Bonus Area 1
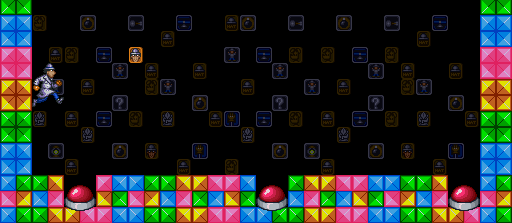
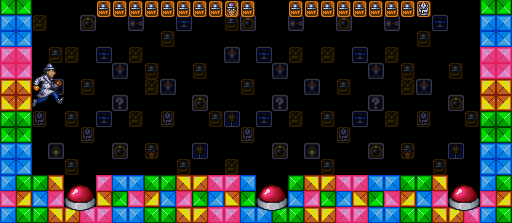
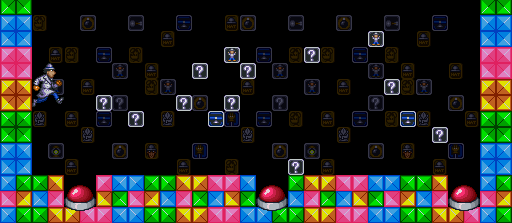
You'll start the game learning how to use the gadgets to get around. Use L and R to switch between the Grappling Hand and the Plungers. The Grappling Hand will let you grab the rings above you, while the Plungers will let you climb walls.
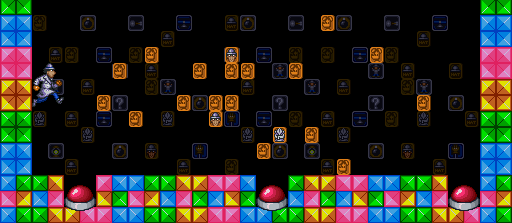
Break blocks to get hats and other power-ups. You'll definitely find Hats doing this, and you'll want to get Hats to power your gadgets.
When picking up gadgets, feel absolutely free to grab stuff you've already found. You're better off dong this, as you can power-up your gadget two more times after you initially collect them and add them to your collection of gadgets. Powering them up will add to their power and range, which can be a big help in the later levels.
Collecting an icon for a gadget you've fully powered-up will make the icon flash when you have it selected at the top of the screen. This gives you a one-time only use that's even more powerful than maximum level. If you want to use it again, you'll have to pick up its respective icon again.
The MAD agents will move back and try to throw hammers at you like boomerangs. Always duck down when you get close to them, so you can duck under the hammer. Kick them when they get close after their hammers return. If you have the Arrow gadget, fire it at them to make progress a little easier.
The yellow agents require one hit to kill, while the purples ones require two.
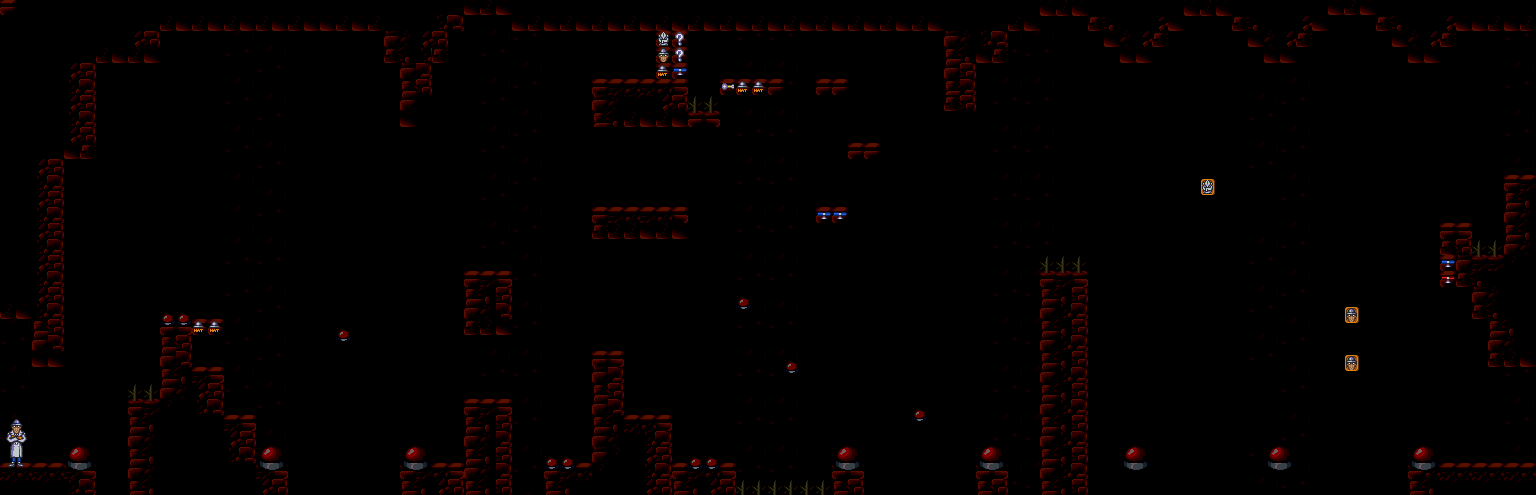
Parts of the bridge will be struck by lightning when you get near them them, so be careful. The lighter ones will be the ones to take the hit.
You can hold Down for a second to get Inspector Gadget to duck down and look through his magnifying glass. When he does this, look around the screen for flashing blocks. When you let go of Down, they'll disappear, but they'll still be there. Attack those areas to uncover the blocks and find some hidden power-ups!
The red button-shaped things on the ground are springs. Jump on them to get bounced up. Jumping on them repeatedly will allow you to jump higher on subsequent bounces.
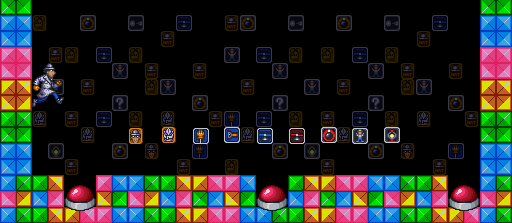
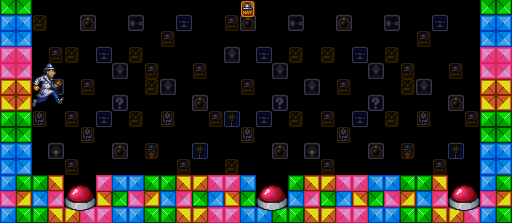
The spinning yellow squares are bonus areas. Pick them up and you'll be shuttled to one. Pick up everything, then jump onto one of the big springs to leave.
You have a specific amount of time to get through the entire stage, and the only way to get more time is to lose a life. The timer stops when you're in a bonus area. You don't get more time upon entering a new area, and I find this out the hard way, sadly.
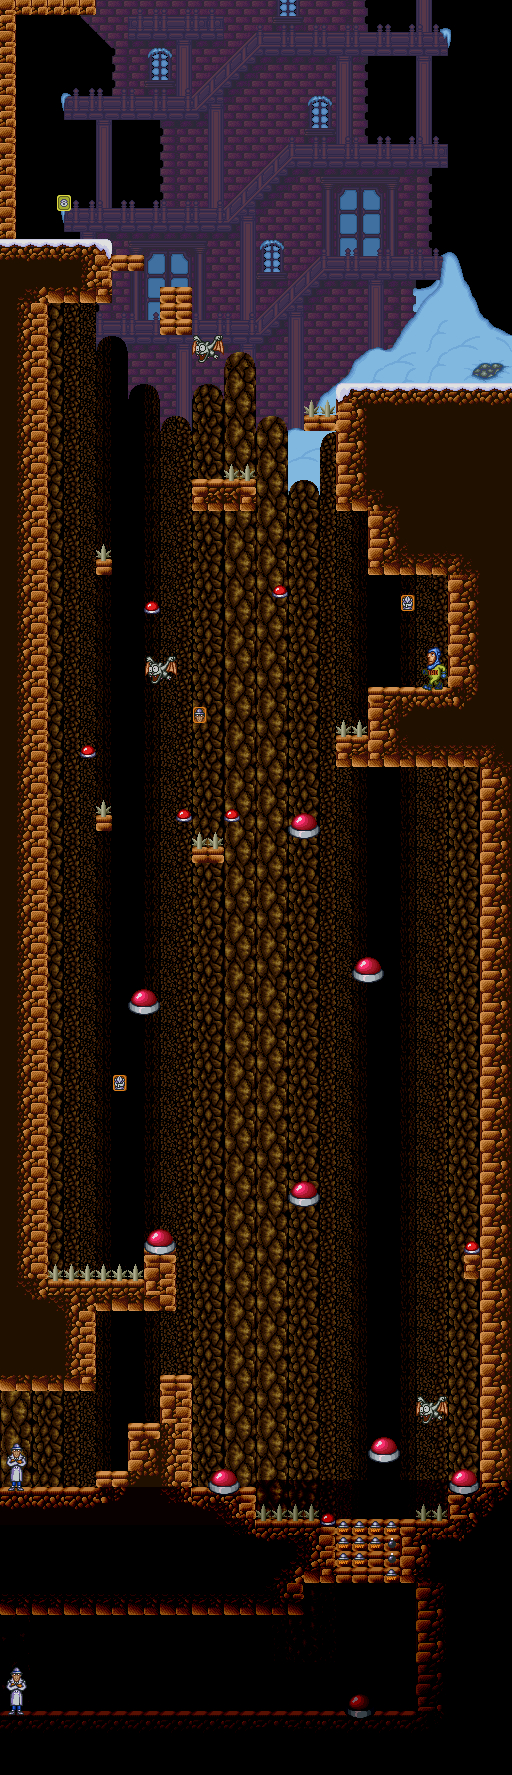
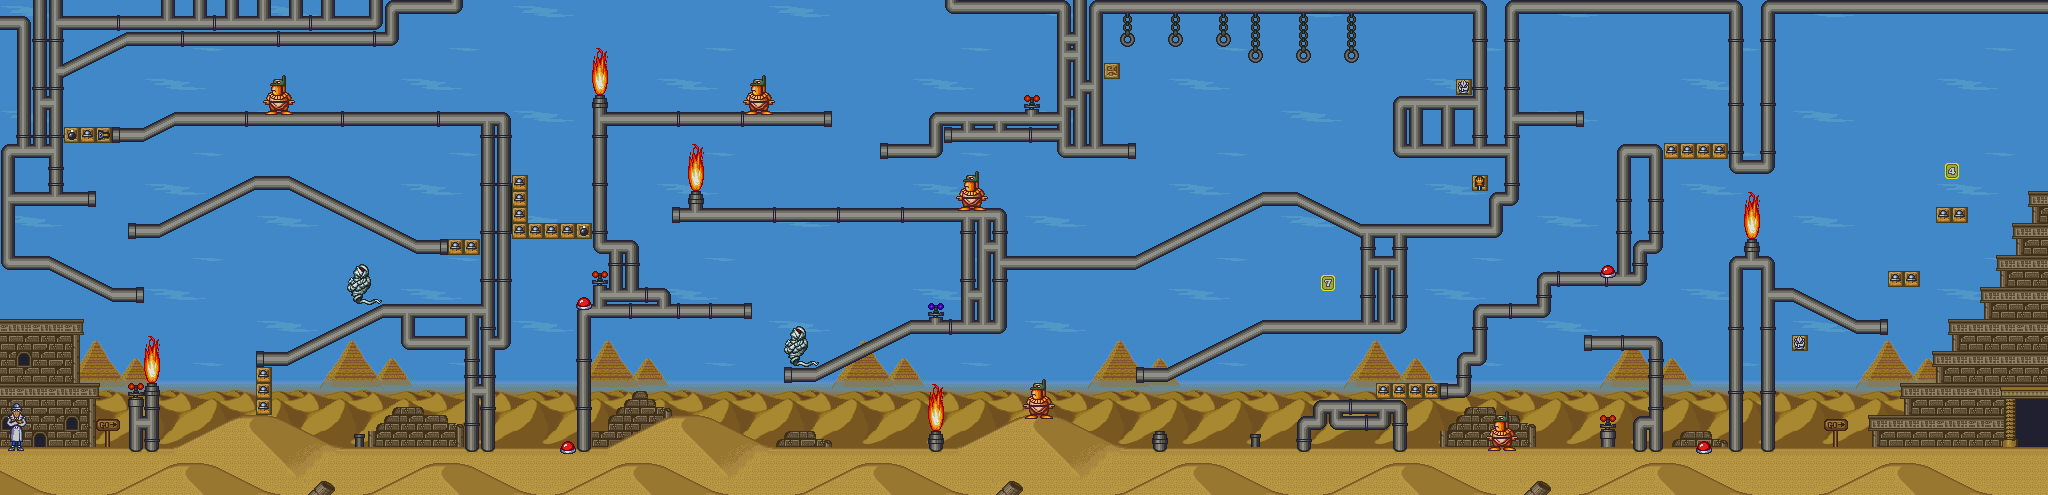
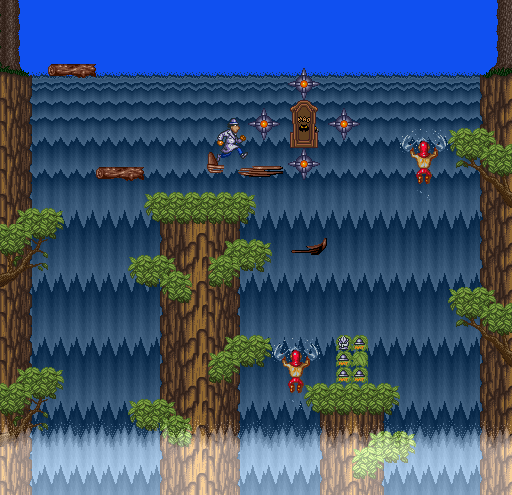
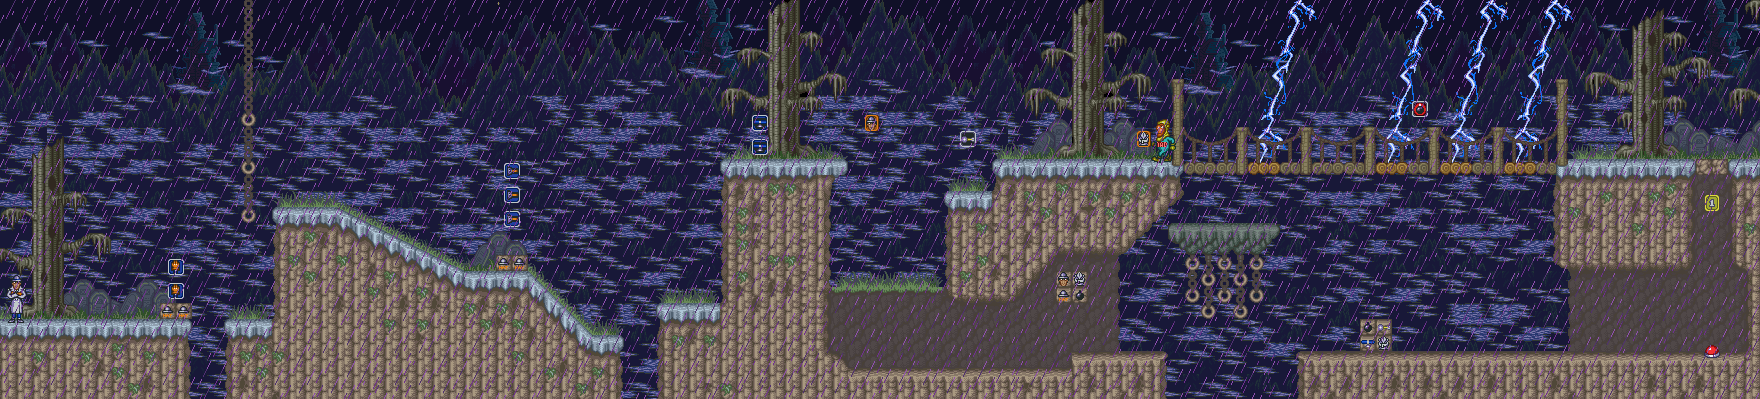
Area 2
Bonus Area 2
At least it's not raining anymore.
The MAD agents in the tree costumes will leap up and come down very swiftly when you get close. They'll open their eyes first, then they'll jump if you tred closer. You can hit them with your regular attack if you're quick enough, and you can get some good power-ups from them if you're lucky.
You can attack the boulders that roll around, but it'll take three punches. You'd better be quick if you actually want to do it.
You can leave this area by going all the way to the right on either the low road of the high road, but if you want to explore more of the upcoming haunted house, take on the high road near the end. Don't worry about the balloons, as they'll only pop when the reach their highest point. If you're stuck at the bottom, no worries. Just climb up the rings with the Grappling Hands to get up there. You should have it maxed out by now.
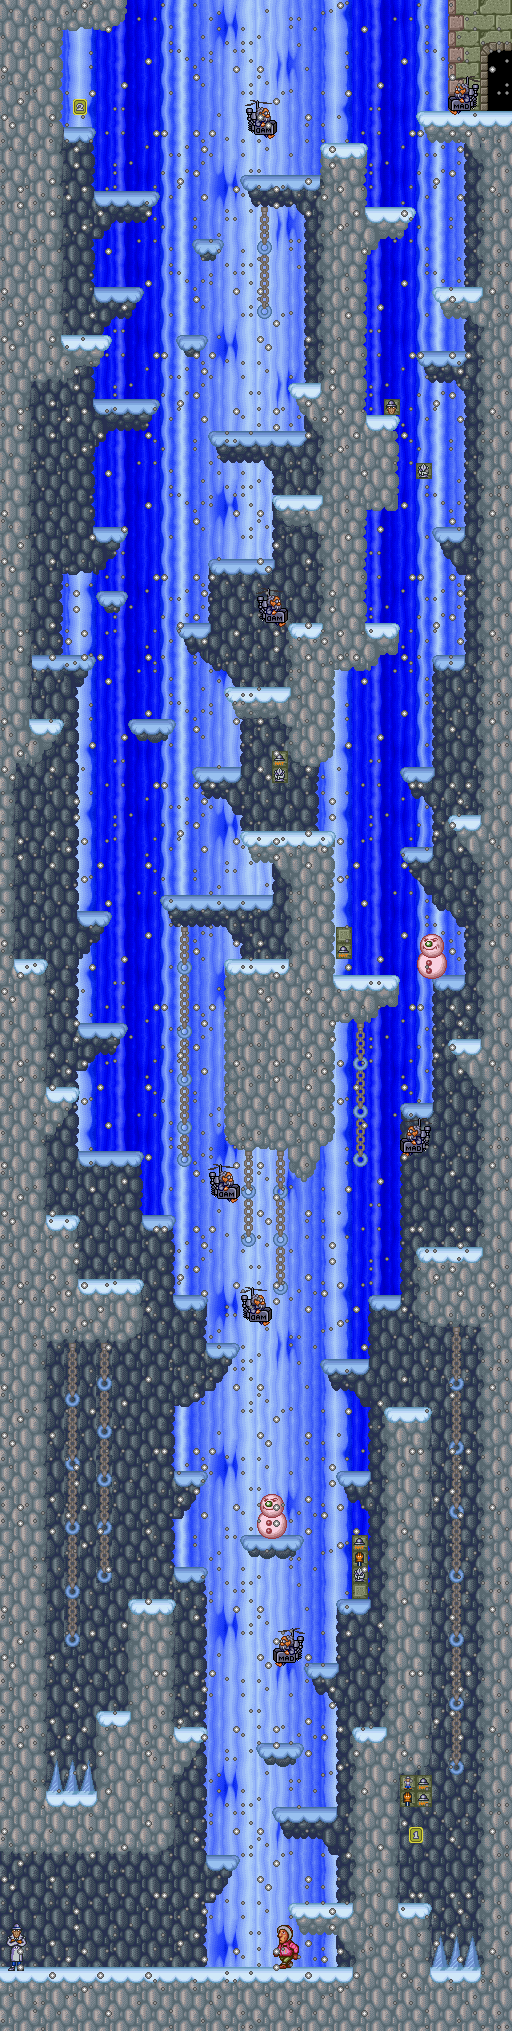
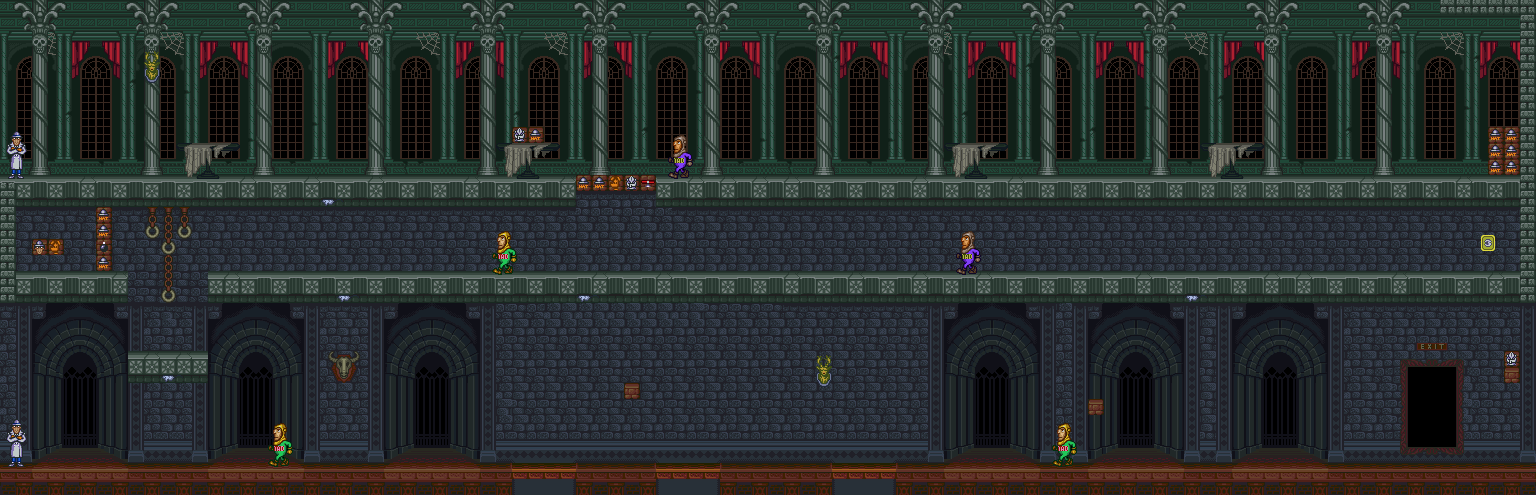
Area 3
Bonus Area 3
The moose heads will drop down when you're below them, but you can hit them with your regular attacks.
The purple MAD agents require two hits compared to just the one for the yellow ones.
The mice walk on the ceilings, and will drop down when you're below them.
Jump over the floor tile sets that are above pits. They will tip over and send you falling when you walk on them, causing a lost life.
The Brain icons are the best. Collect a whole bunch of them to extend the range of your regular attack.
Jump over the exit to get an extra hit if you need it.
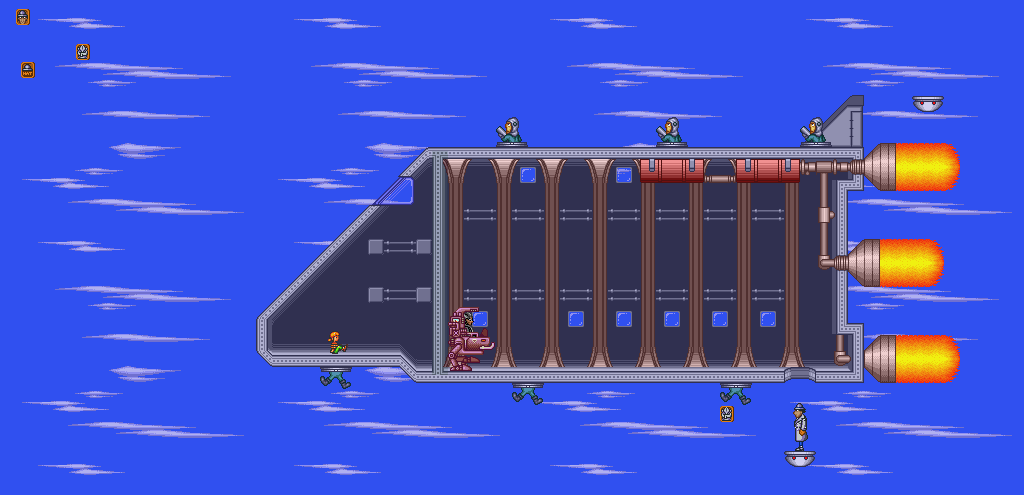
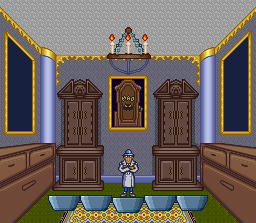
Boss
The boss here is the chandelier, and this battle is really easy. After Dr. Claw lands inside the picture frame, use Red Copters and Arrows to destroy the chandelier, and avoid the candle flames and MAD agents that come down as the room spins around in all its Mode 7 glory.
You won't find Penny, but you will find out that Penny has been taken to somewhere in the Swiss Alps.
Oh, and your health isn't restored when you enter a new stage.
Gadgets and Power-ups
Grappling Hand: Lets you grab rings and other handholds above you.
Plungers: Fires sticky mini-plungers from your hat which can stick to walls. Use these to climb walls.
Blue Copter: Lets you glide in mid-air.
Red Copter: You can't fly with this copter, but you can send it upwards to attack enemies. You can guide it with Left and Right, but Gadget will move when you do this, so be careful.
Arrow: Fire arrows at enemies.
Bomb: Drop a bomb nearby. If the explosion hits an enemy, it'll do massive damage.
Lantern: Lets you light your way through dark areas. You can even throw the lantern on the ground and damage enemies with the flames!
Mini-Gadget: Sends out miniature Inspector Gadgets which will walk towards enemies
Hats: Hats are your energy for your gadgets. Each icon gives you two hats.
Inspector Gadget Head: Extra life.
Inspector Gadget Suit: Extra hit. You can only have one extra hit at any given time.
Brain Icon: Increase the range of your regular attack. Your range goes back to the default minimum when you die.
Controls
Control Pad: Move around (Left and Right), attack upwards (hold Up) duck (Down). Holding Down for a few seconds lets you uncover hidden power-ups.
A: Use special weapon (requires Hats)
B: Jump
Y: Regular Attack (fist on ground, kick while crouching, headbutt in mid-air)
L and R: Switch between gadgets

