Oh, snap, it's this game. Despite what the Angry Video Game Nerd says about it, it's not really that bad.
All maps by King-Hyrule.
The game was released in Europe as
McDonaldLand. Interestingly, the kids look cooler on the box art for
that version. It has that early 1990s look to it
all up in that joint! Heck, the kids actually look awesome.
Despite the absolute minimal promotion the game got, it's a cult classic. It's kinda interesting, but the people who will be able to beat this game definitely won't be their target audience of little kids from that time.
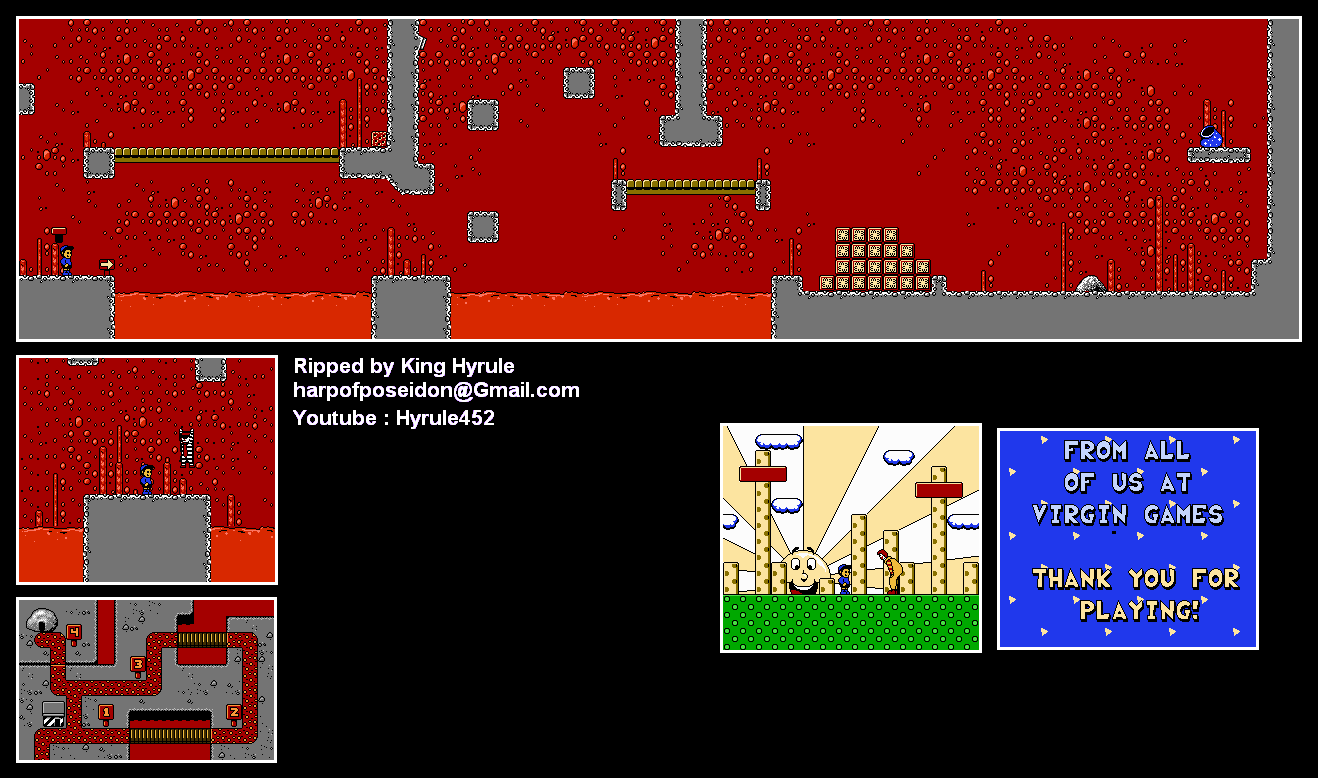
Anyway, after seeing a plane that is the metal airborne spawn of Richard Branson fly in clouds, wondering if the black kid either has a huge fade or a ginormous pillbox hat on his head (you can choose between the white kid and the black kid with the moon block at the title screen), and finding out the moon is smiling, we find out that Ronald's magic bag has been stolen by the Hamburglar. Good lord, where are those classic McDonald's characters nowadays?
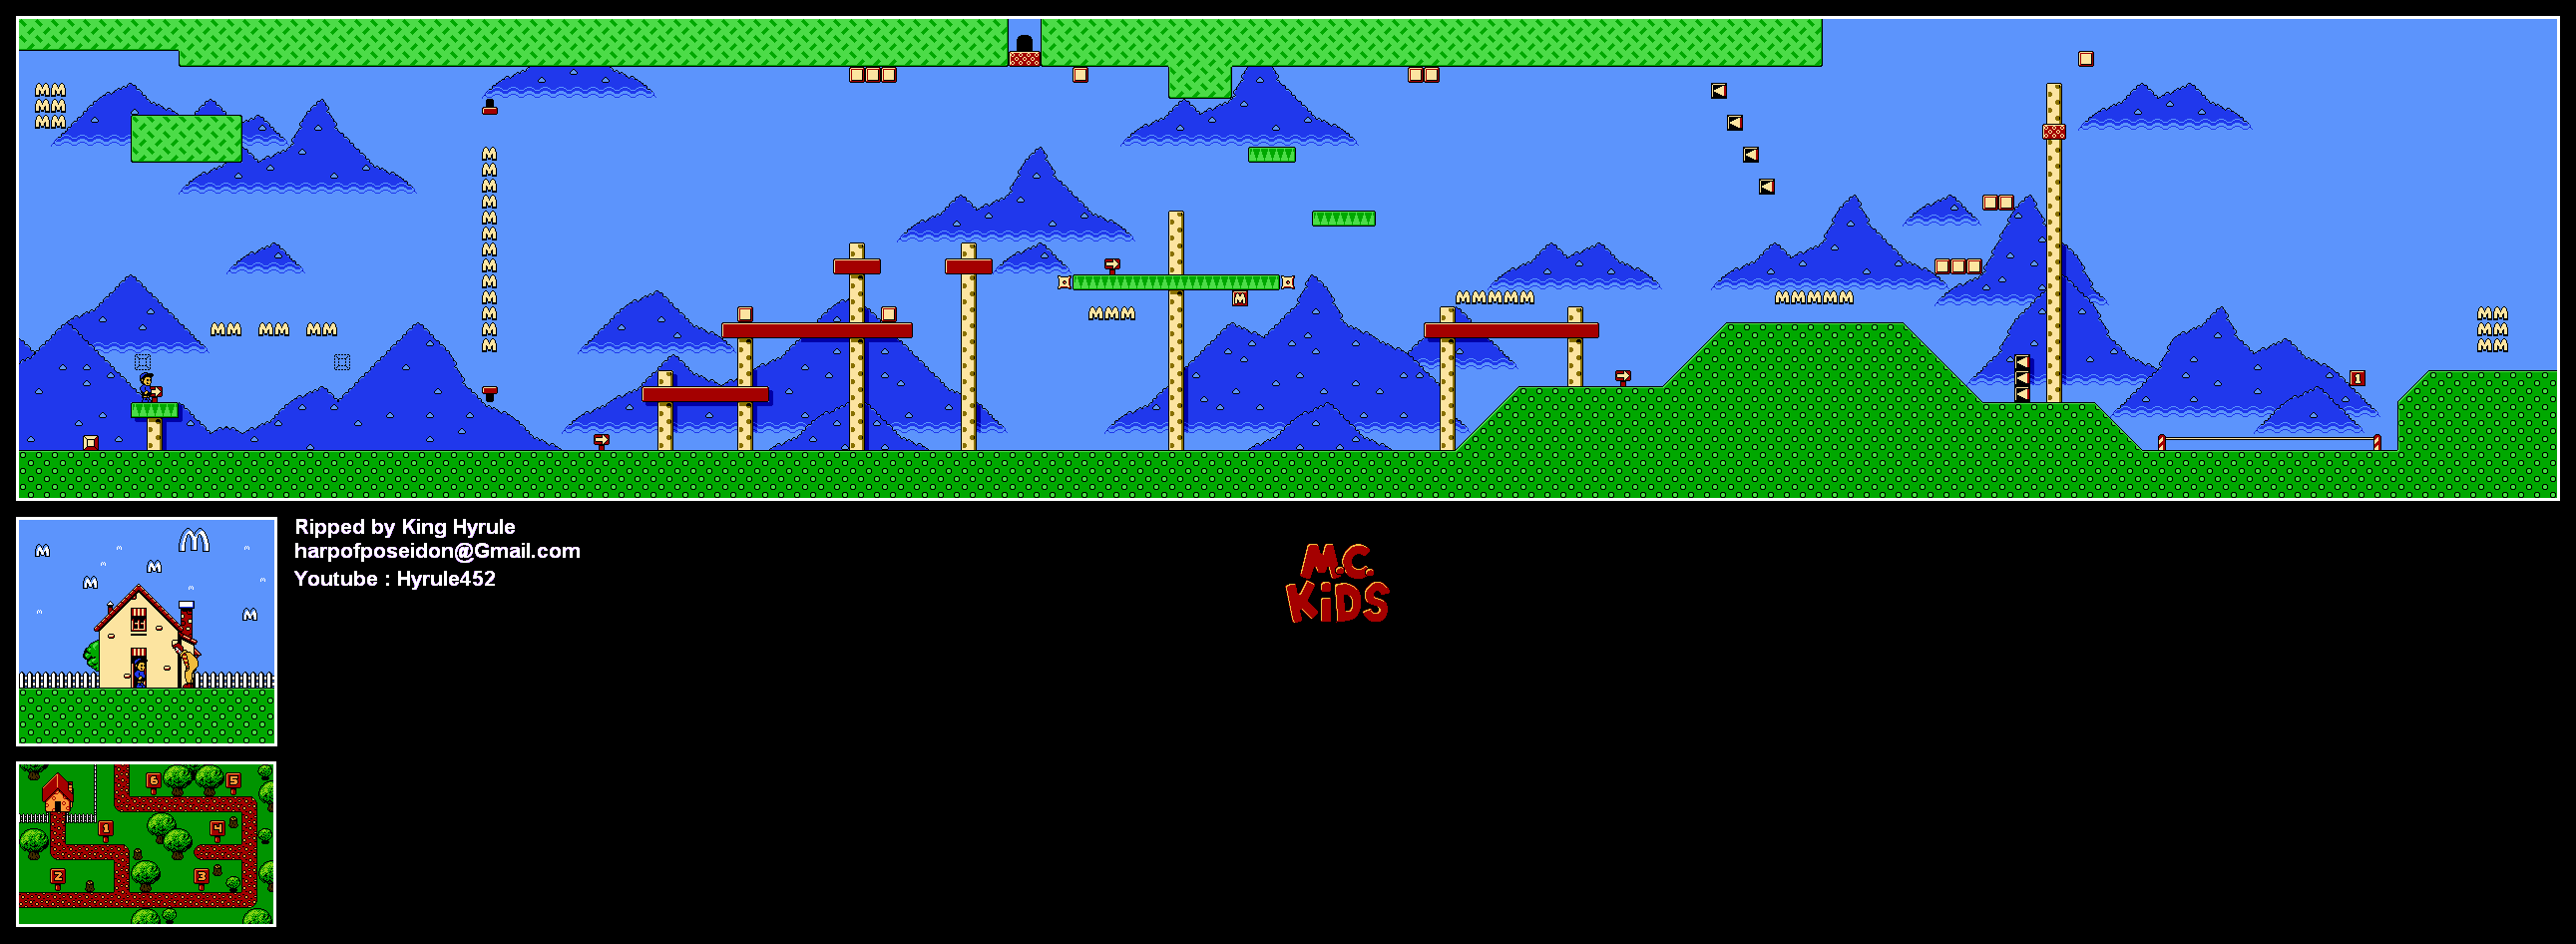
Ronald's Clubhouse
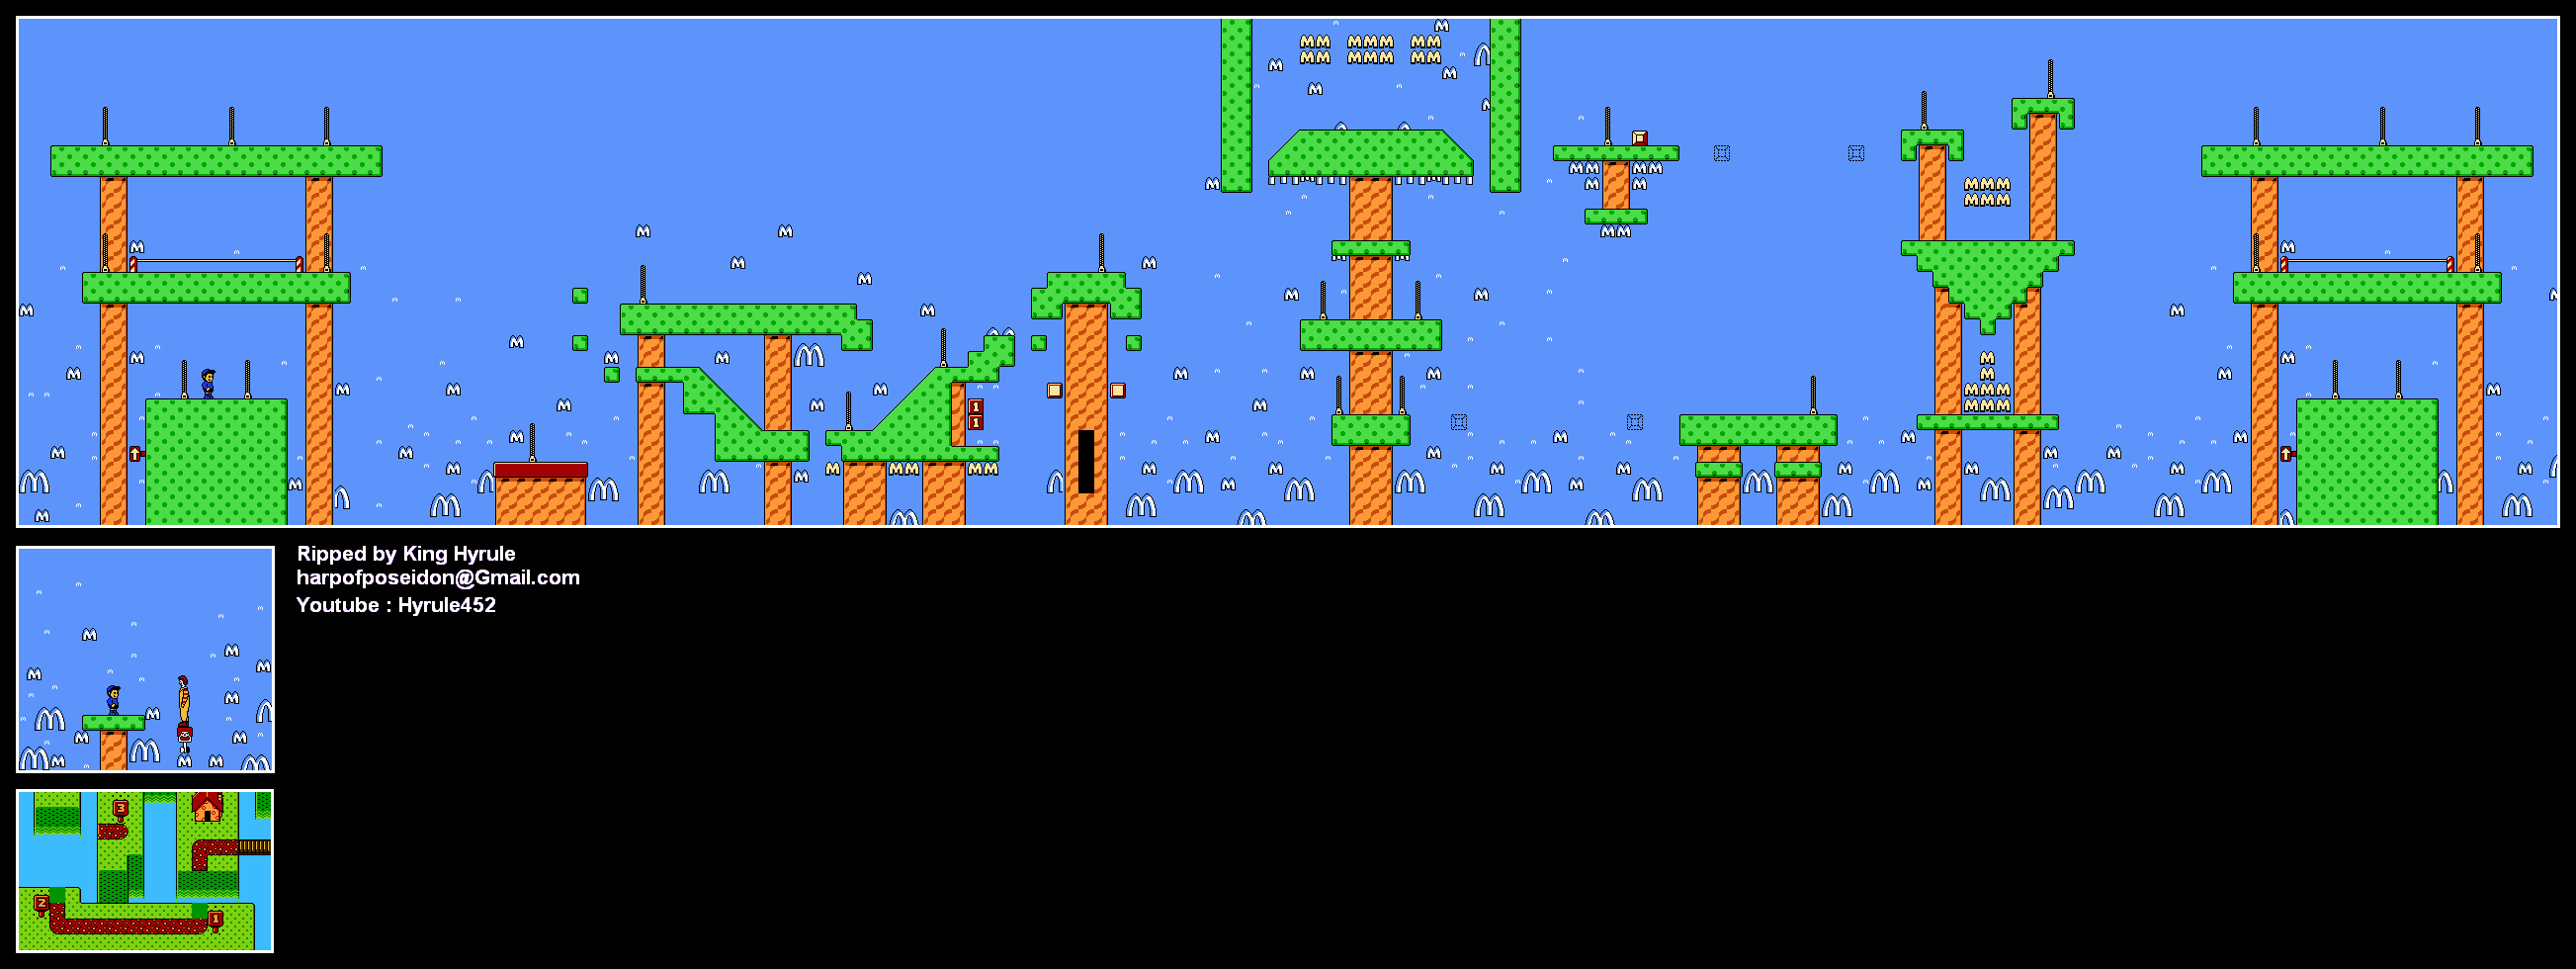
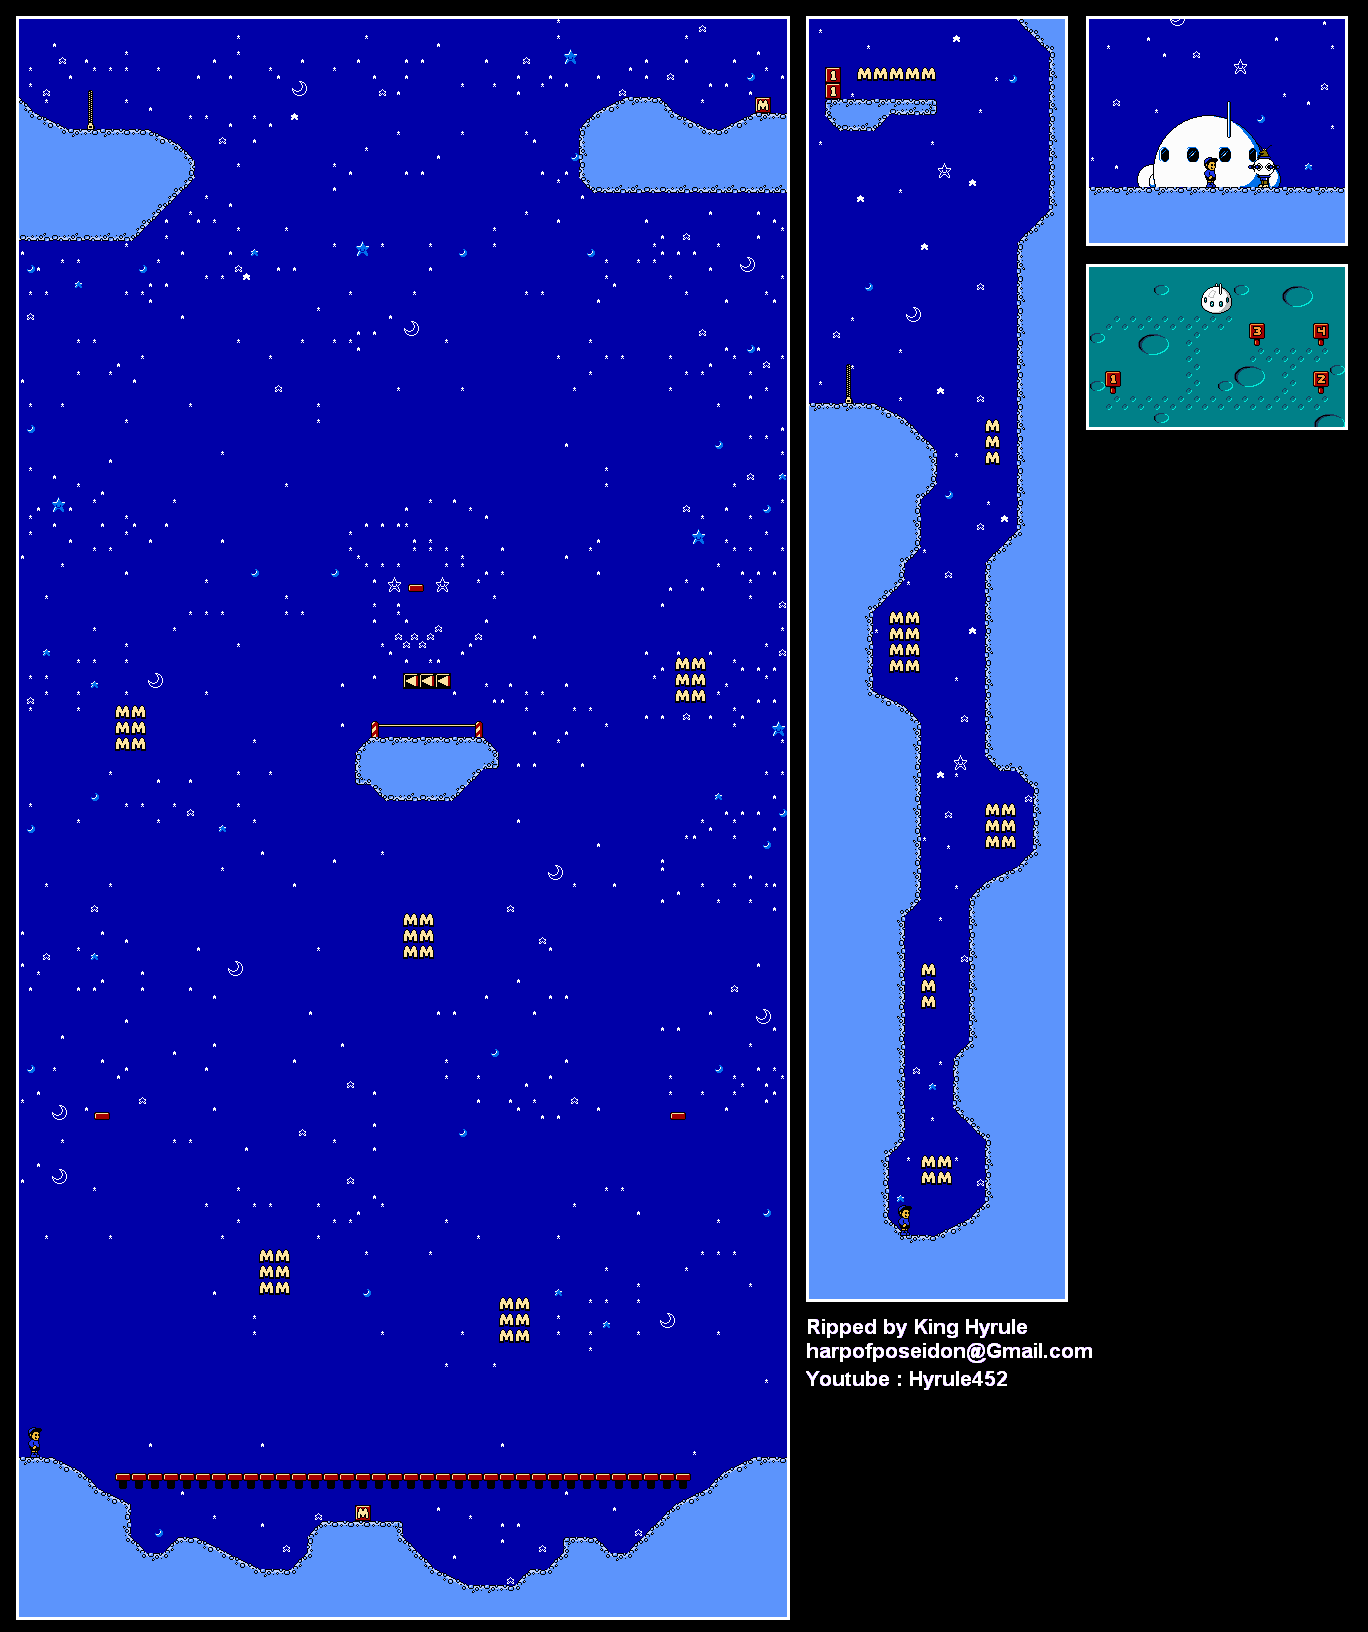
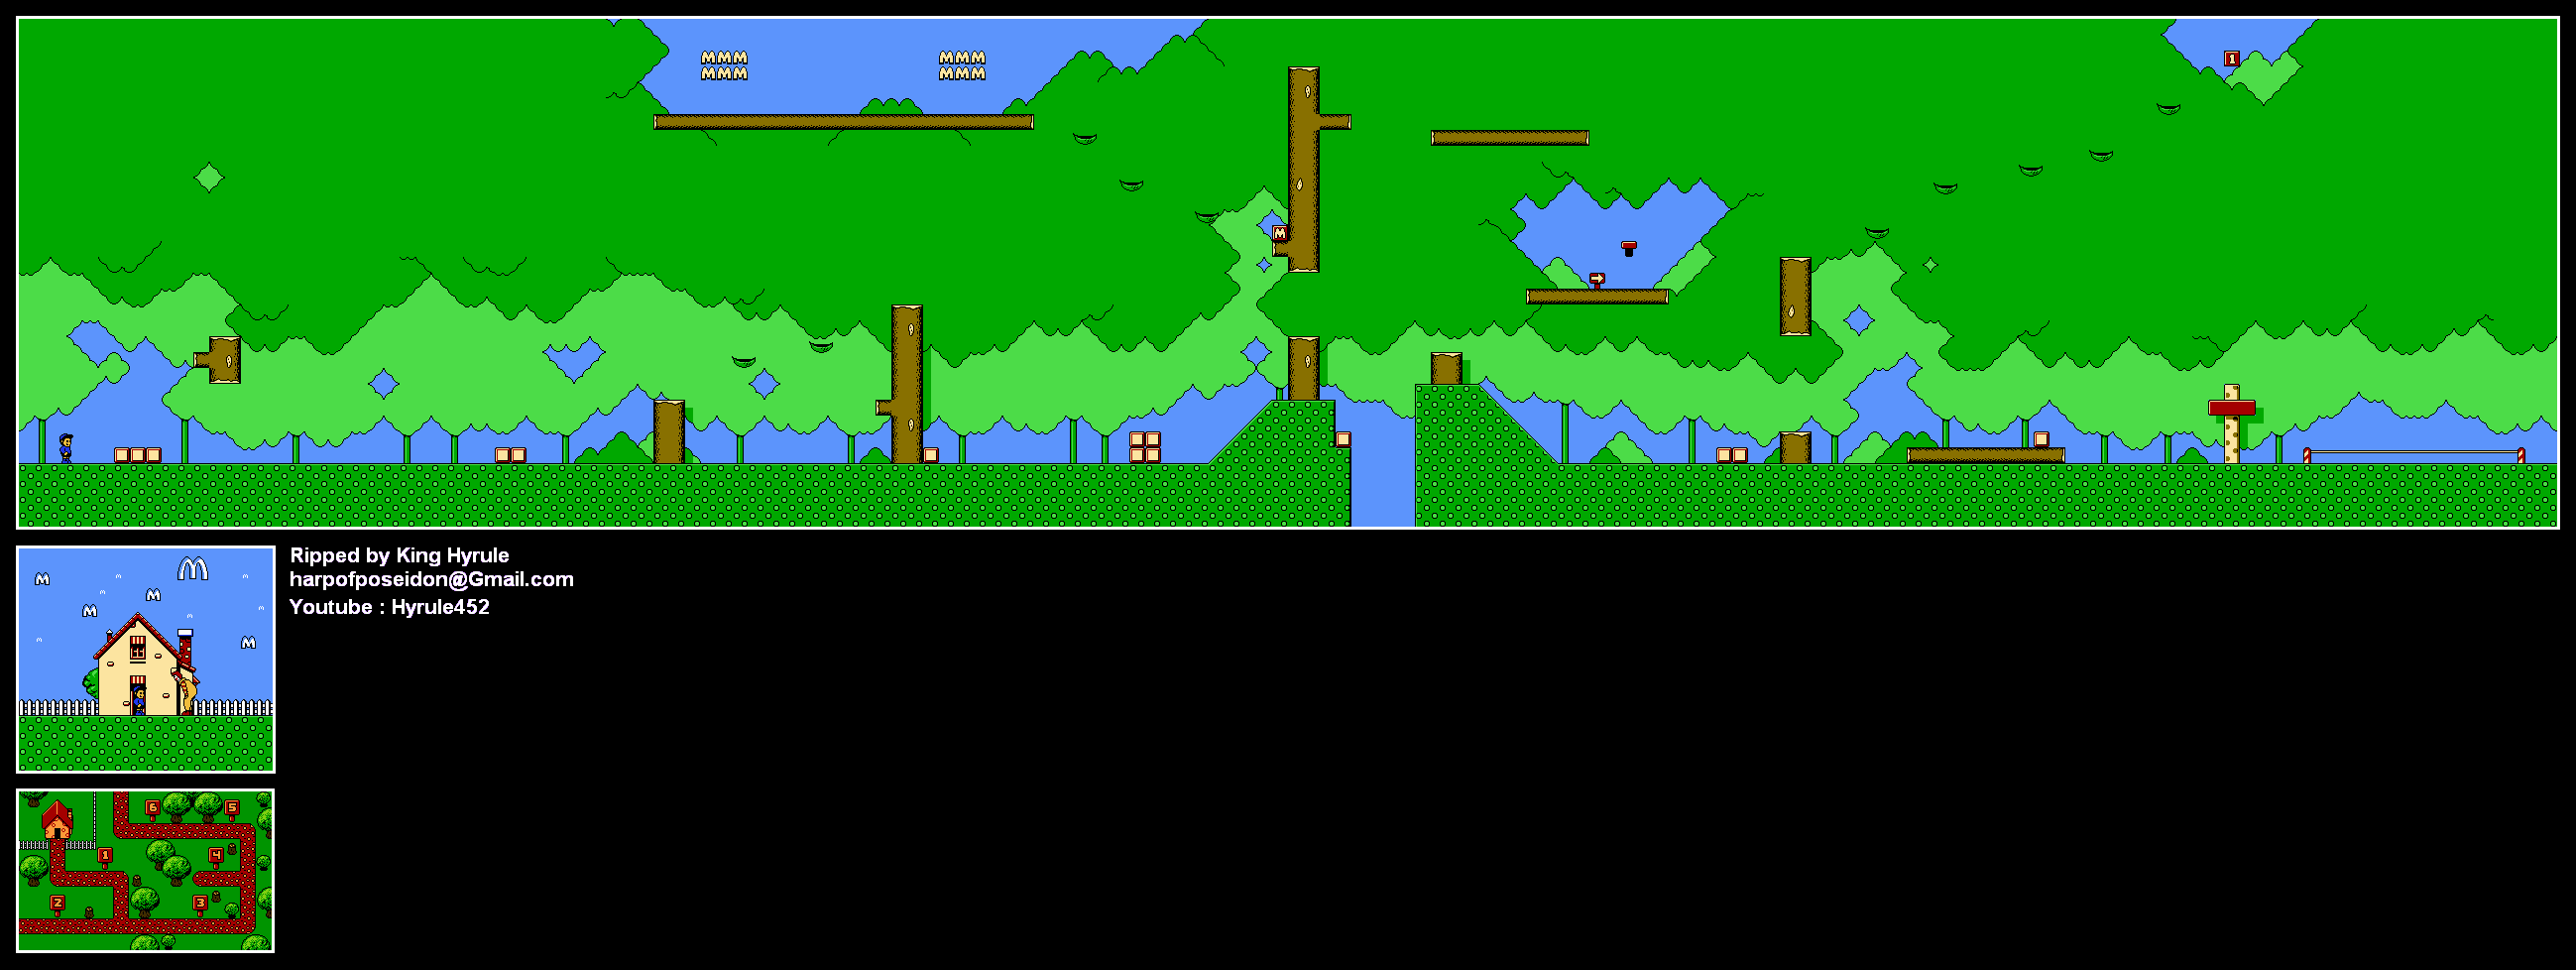
Level 1: The Garden
The M's act like coins. Collect 100 for a 1-up.
To change that dotted line block into a real block, just pick up a block off of the ground and place in the dotted line block. No throwing is required if you're right up next to it or the dotted line block moves up to the real one, which is nice. Virgin actually programmed this bad boy pretty well.
You have four hit points. When you lose all your hit points, you lose a life.
That red thing that looks like that button that lowers the toast on the toaster is a springboard. It lifts you into the air to new heights. You'll also see even bigger ones that shoot you up even higher than the small one. To use those, carry a yellow box and step on it to weigh it down and amplify your jump.
To defeat enemies, throw yellow boxes at them. (I'll call the box that we saw in the beginning that we placed in its dotted line twin a "block" so you won't get confused. You're welcome.)
Run into the little things that look like cowboy boot spurs and you'll run down the side and end up underneath it...and upside down. Pretty interesting thing for its time, and it's still kinda nifty today. Adds a nice puzzle element to the game, no?
The block with the M on it is a card. Pick it up and you'll get the card for that level.
The block with the 1 is a 1-Up. Pick it up to get an extra life.
The block with the moving arrow on it whips you in that direction, sometimes to force you to get through the level in a certain way. Look out for those.
At the end of every level is a string tied between two posts with an M moving around on it. Cut the string by landing on it. If you land on the M, you get a random number of M's, which will get you much closer to an extra life.
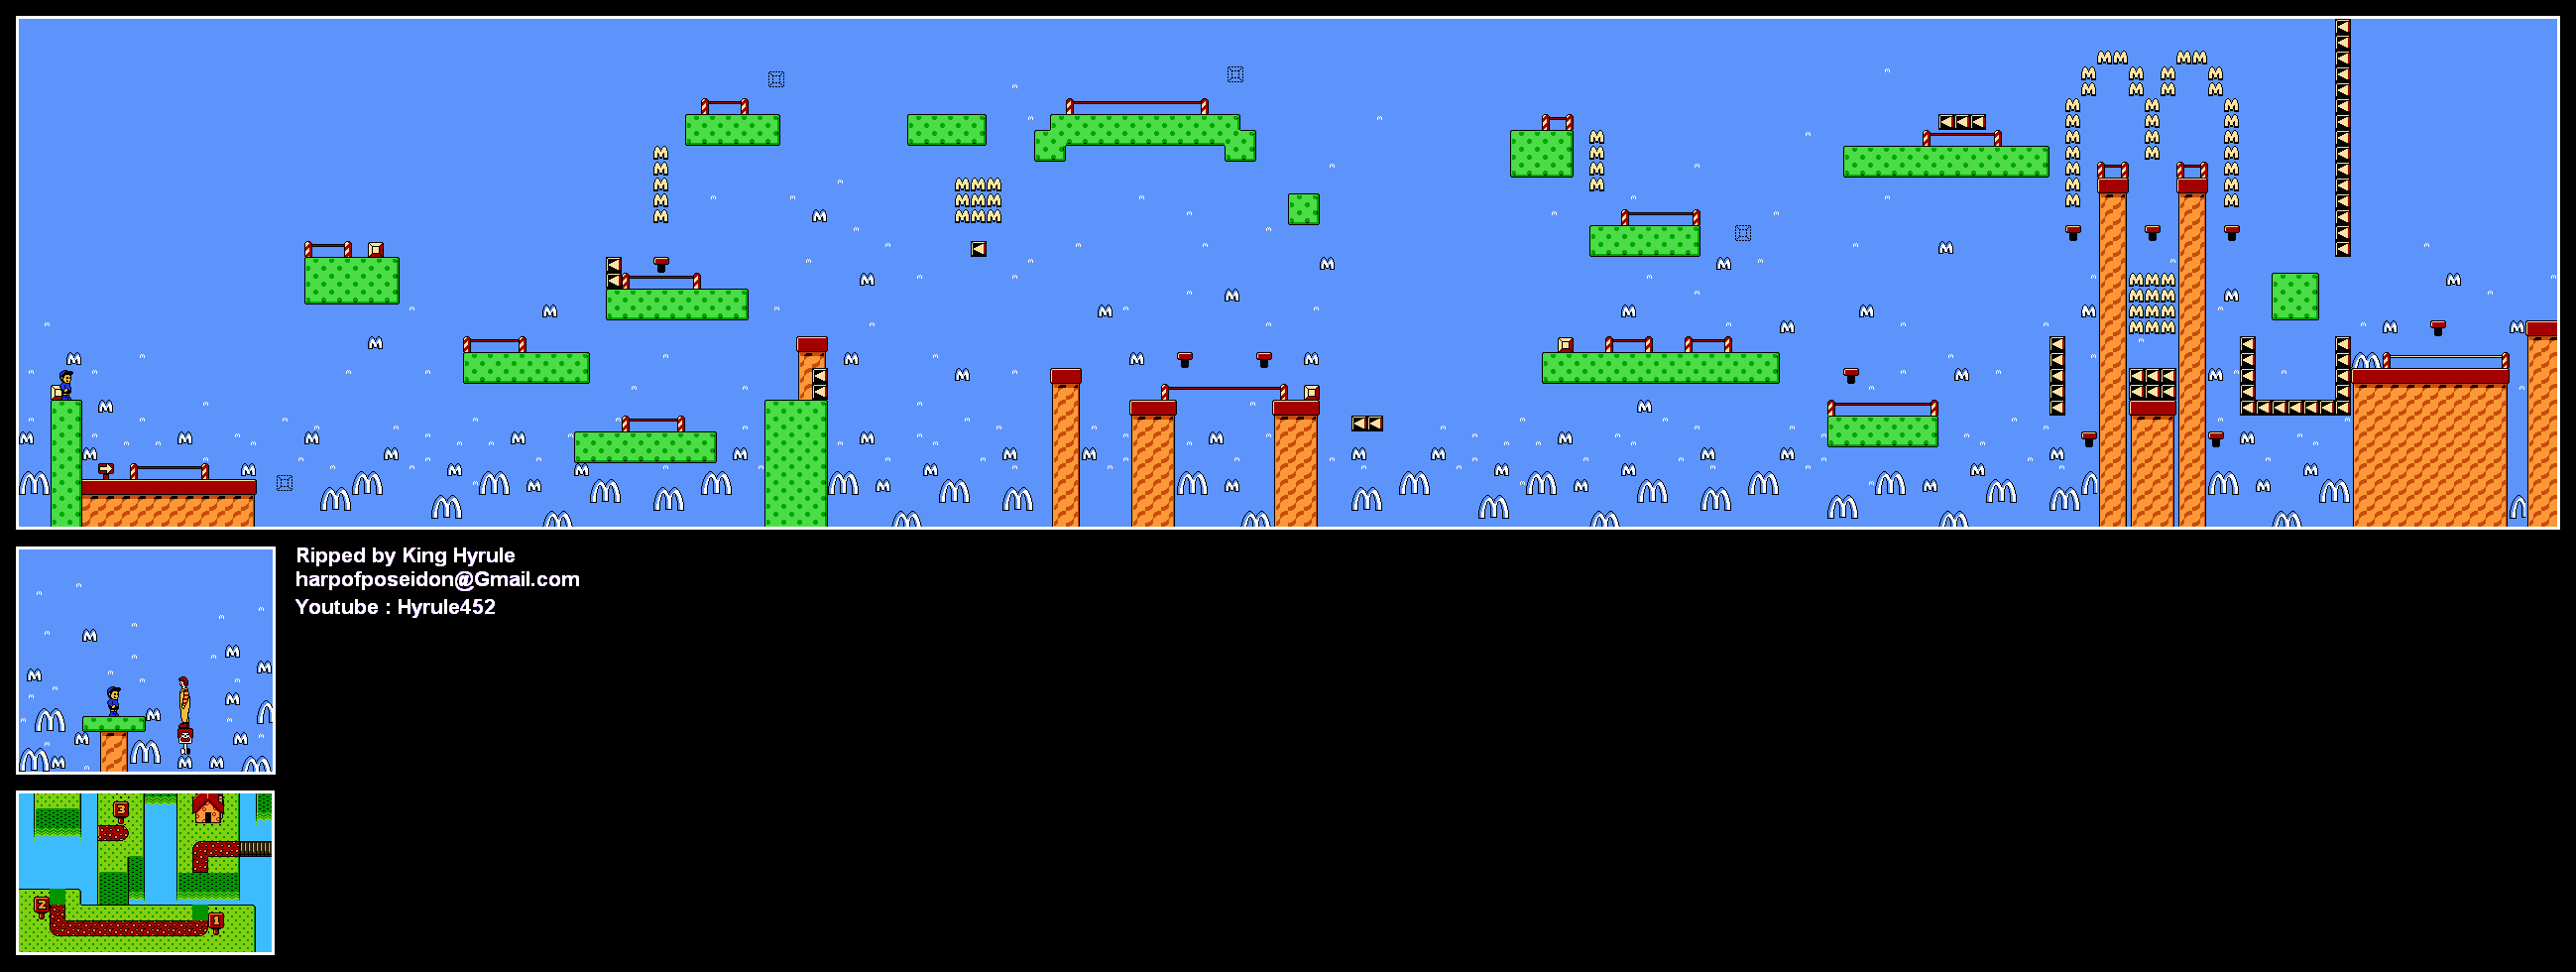
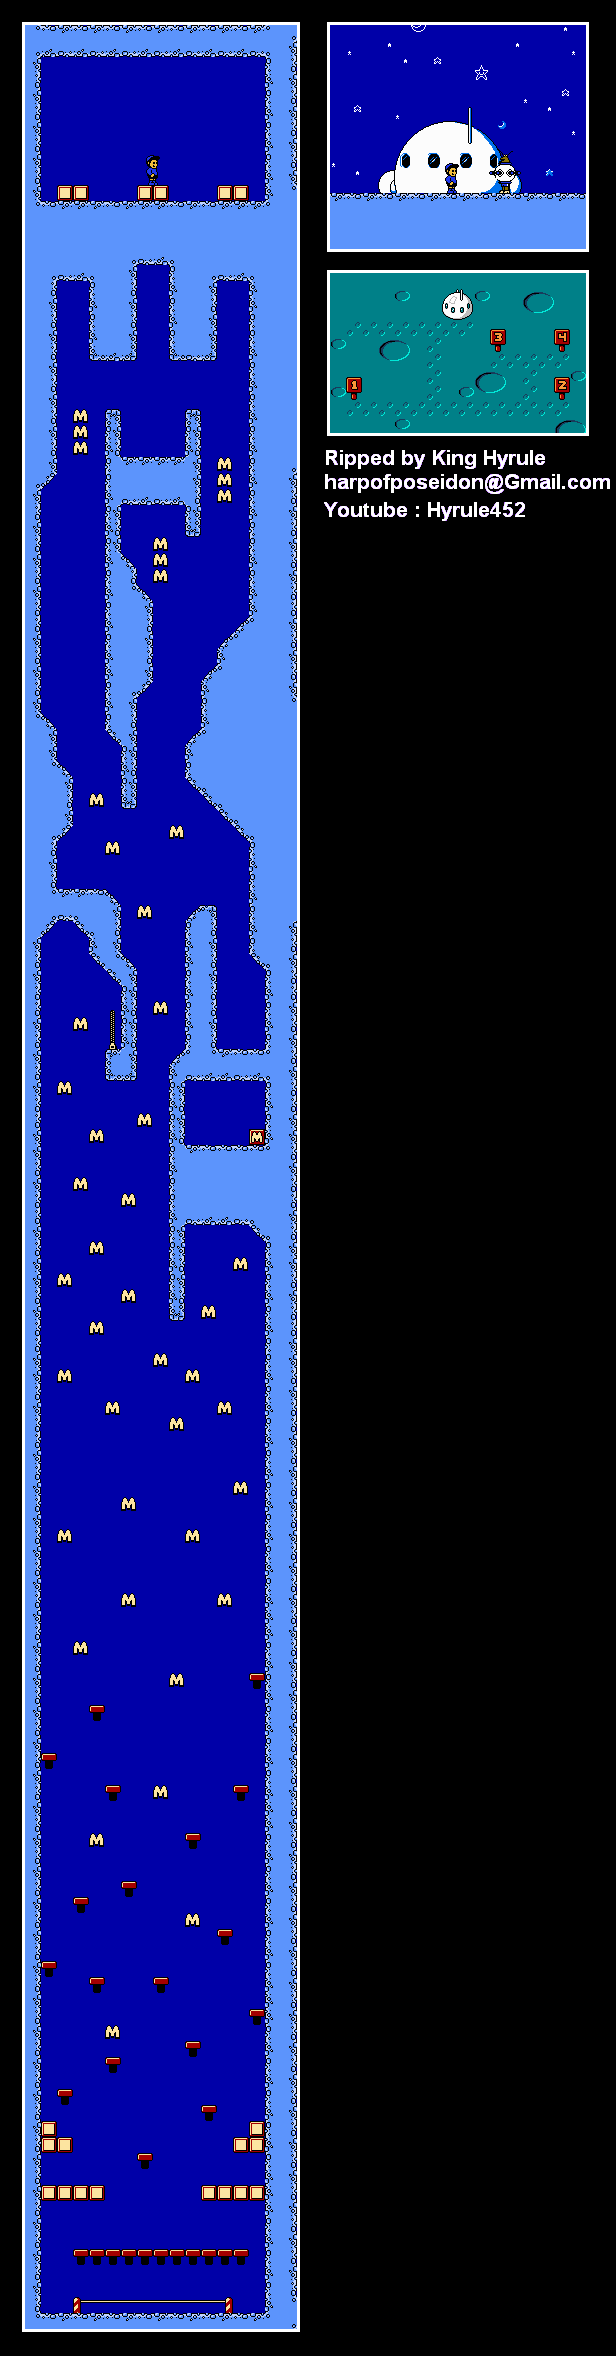
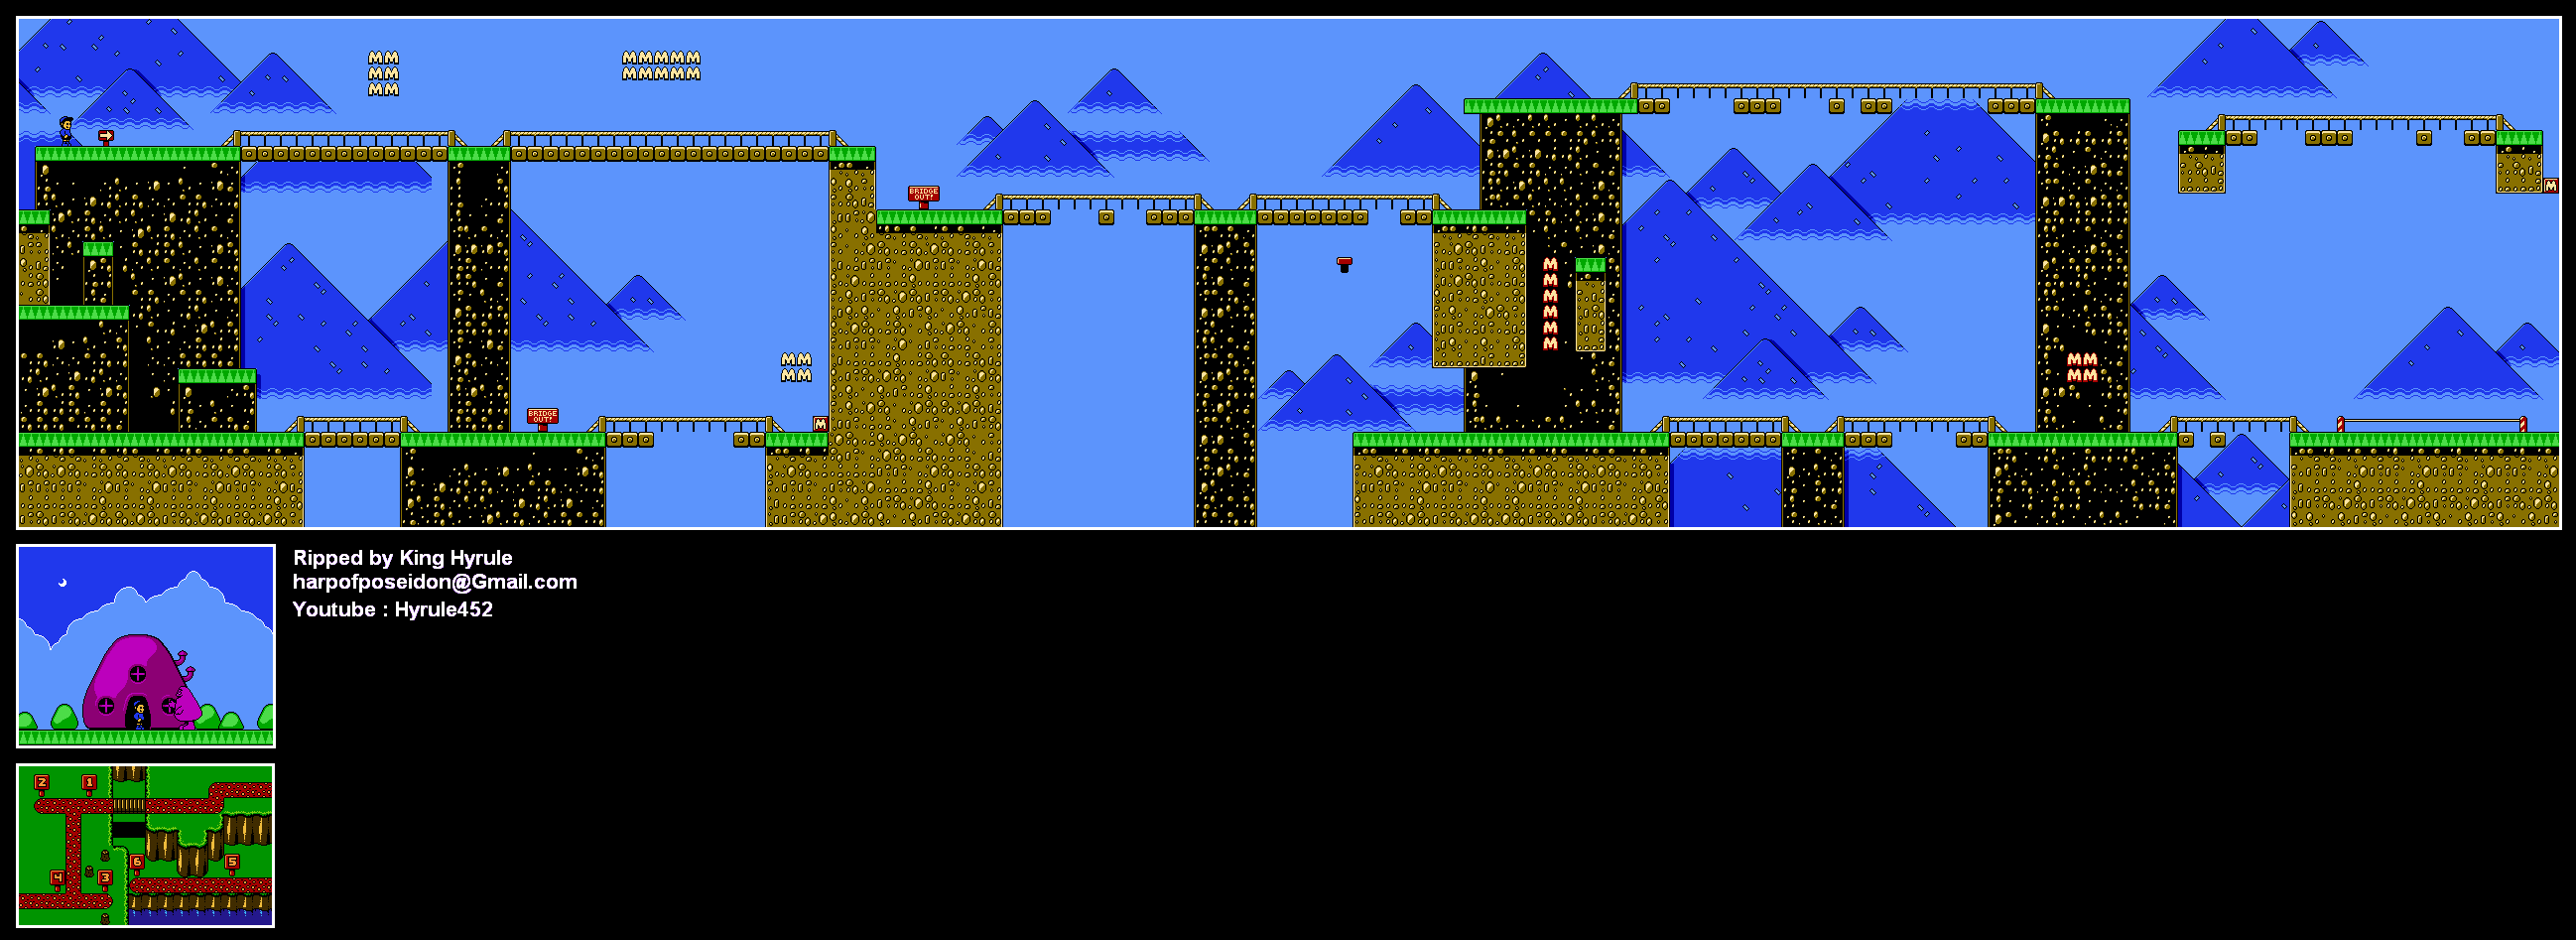
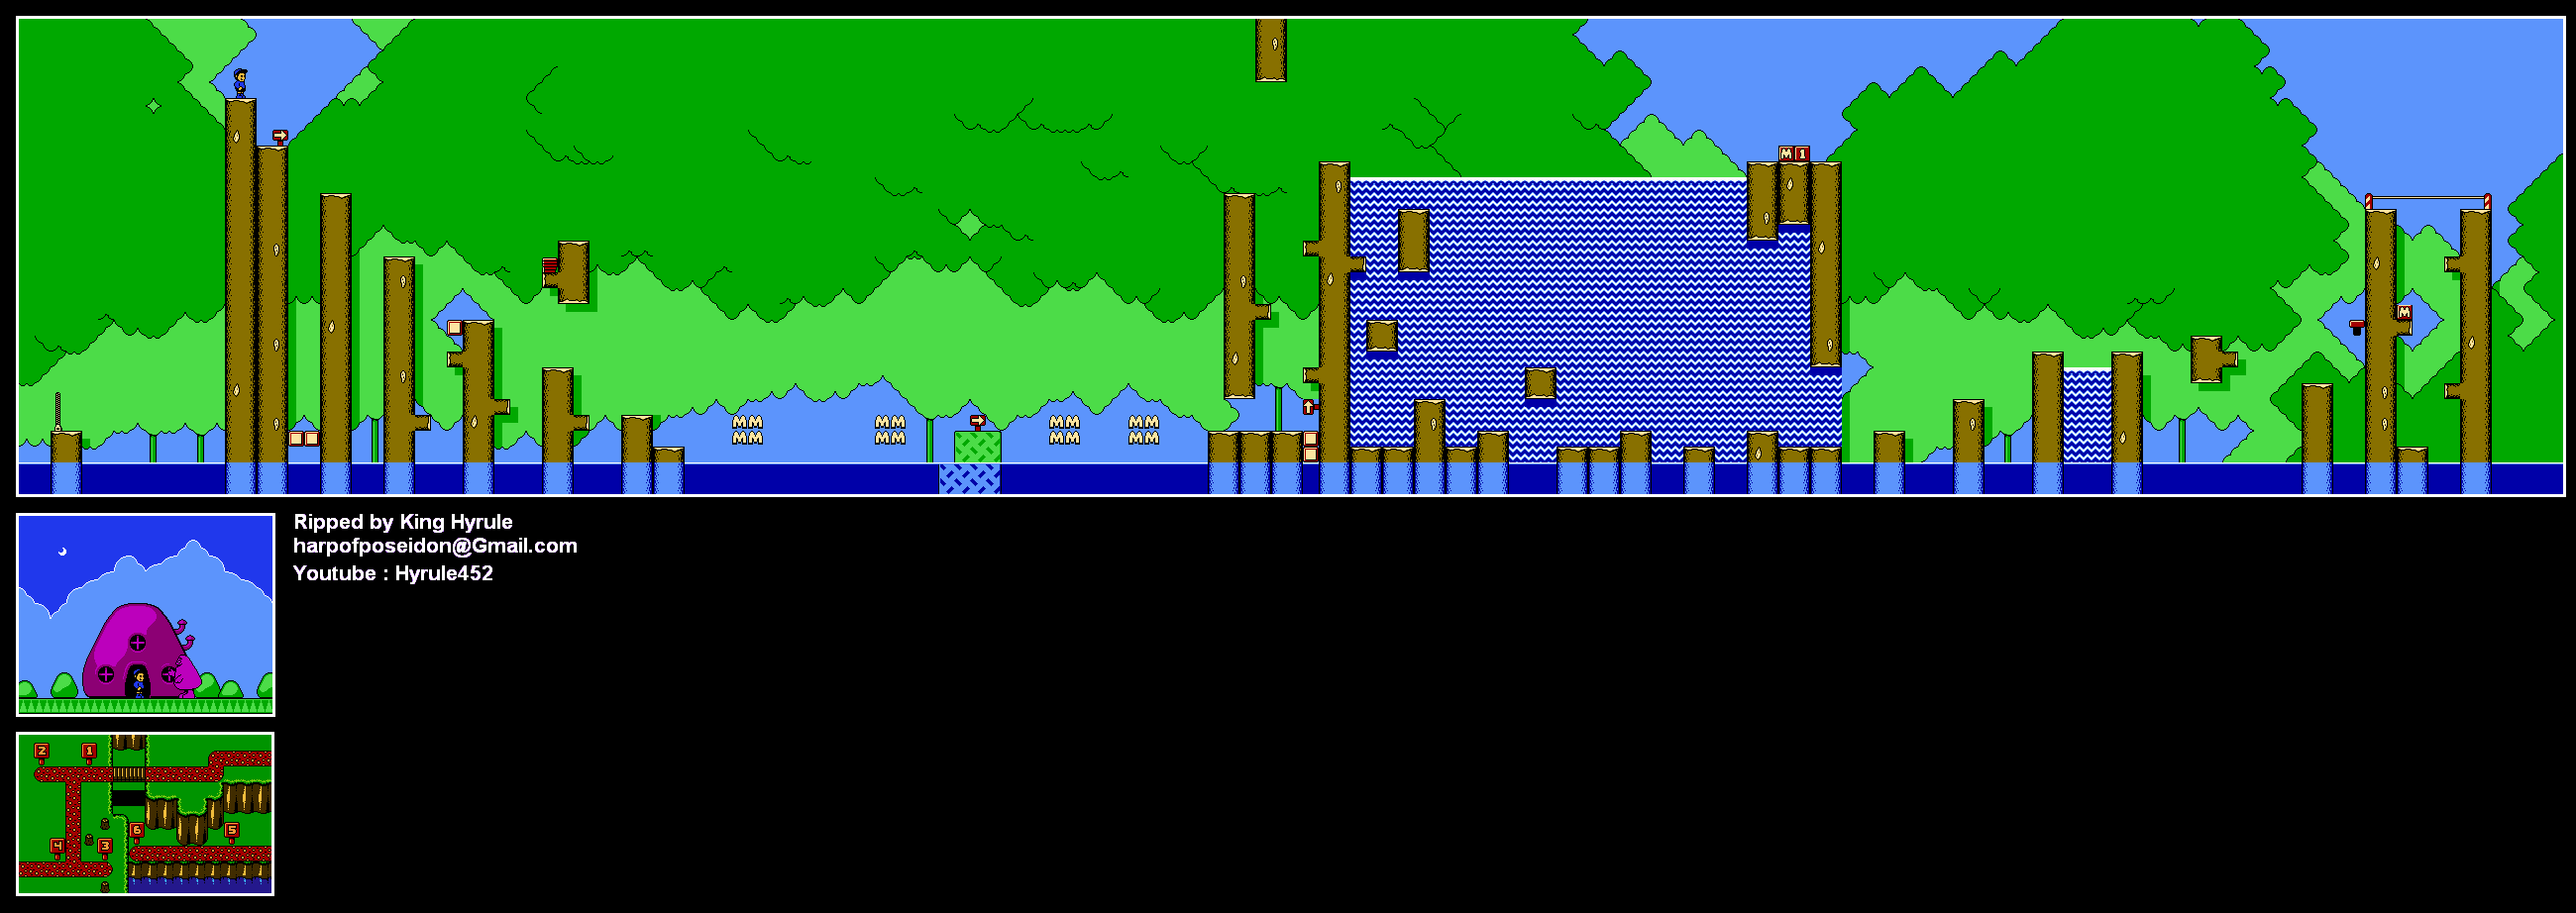
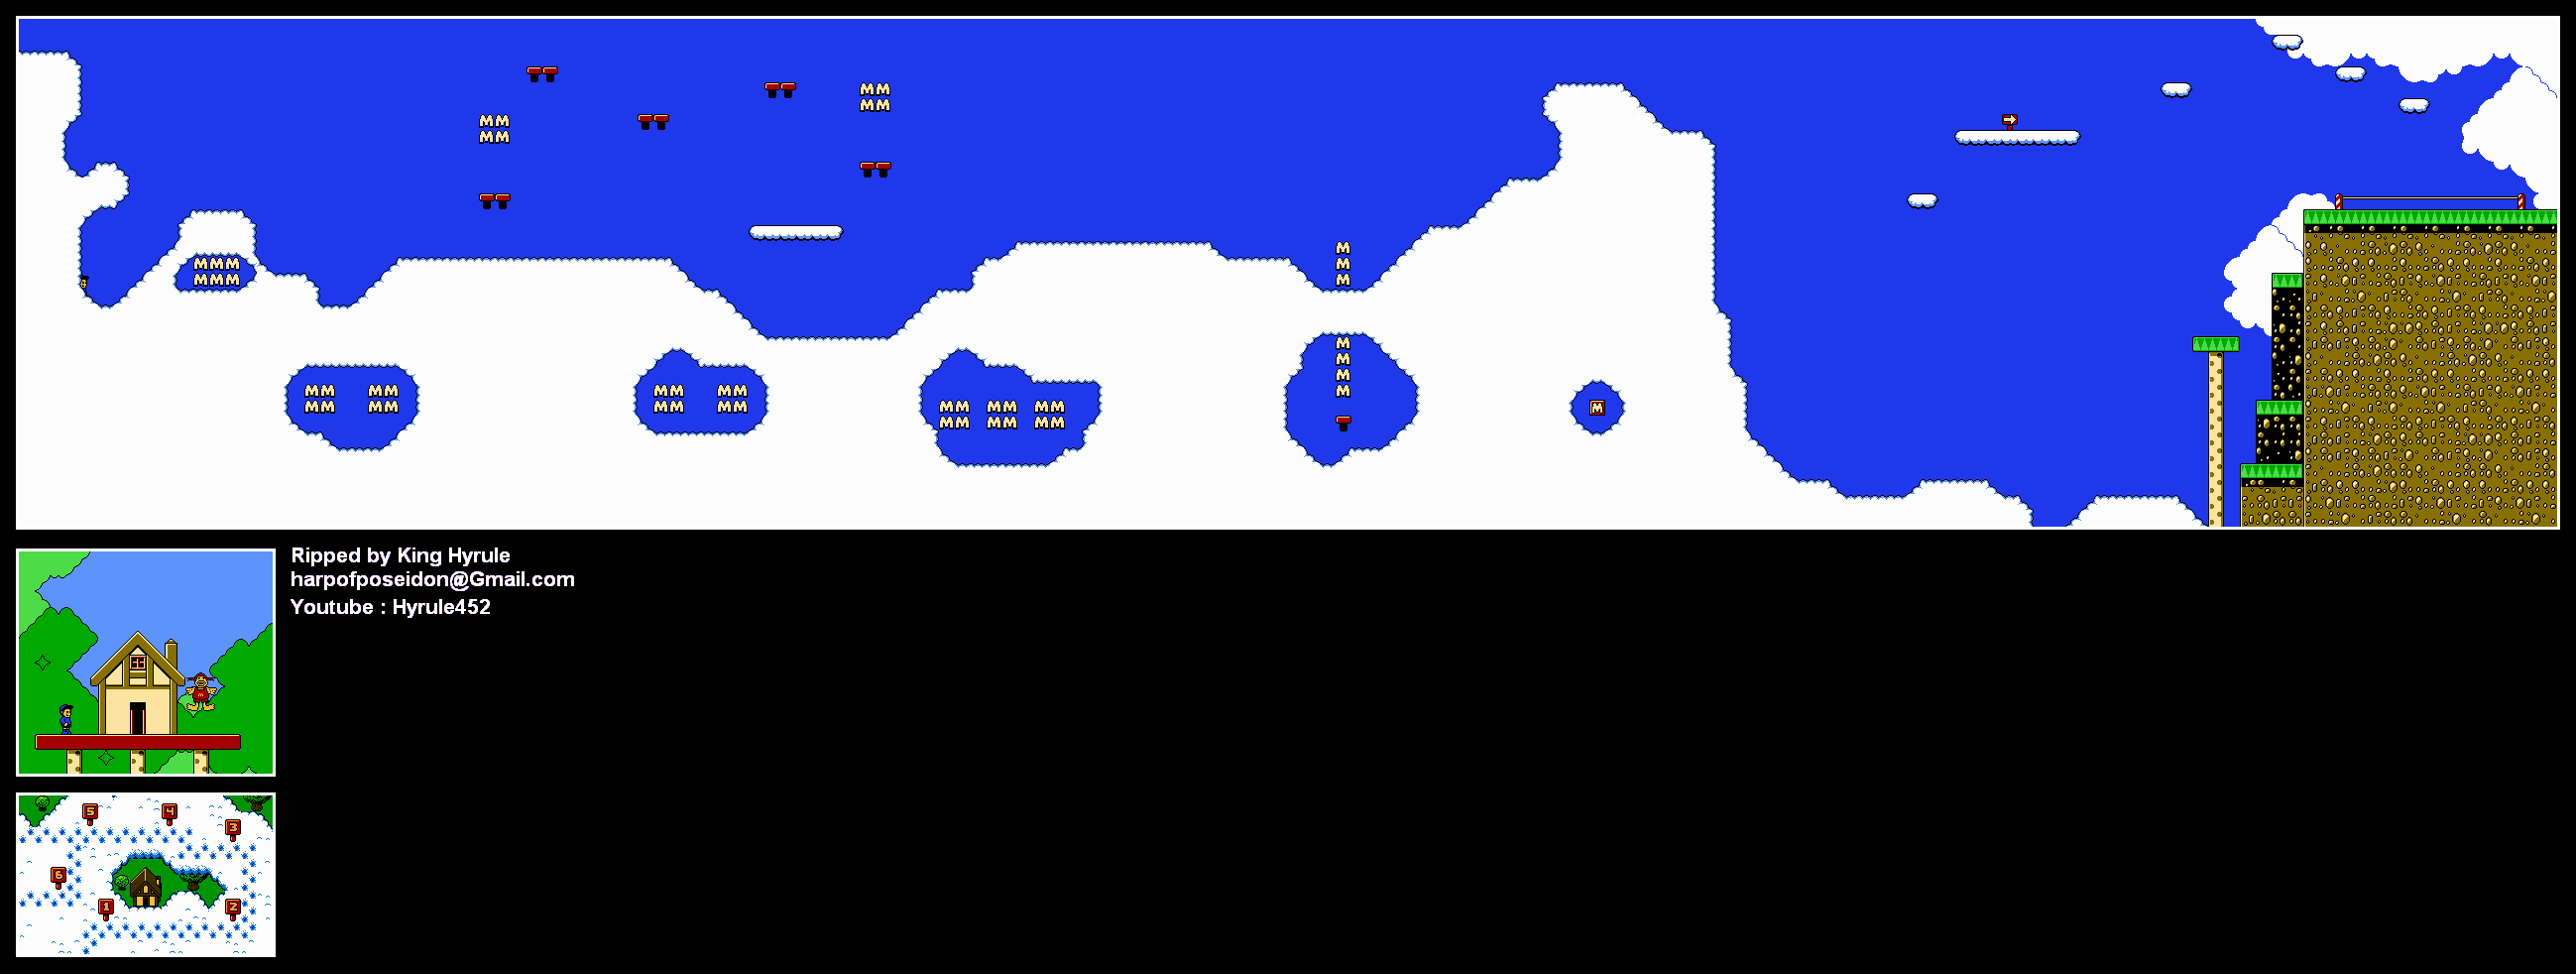
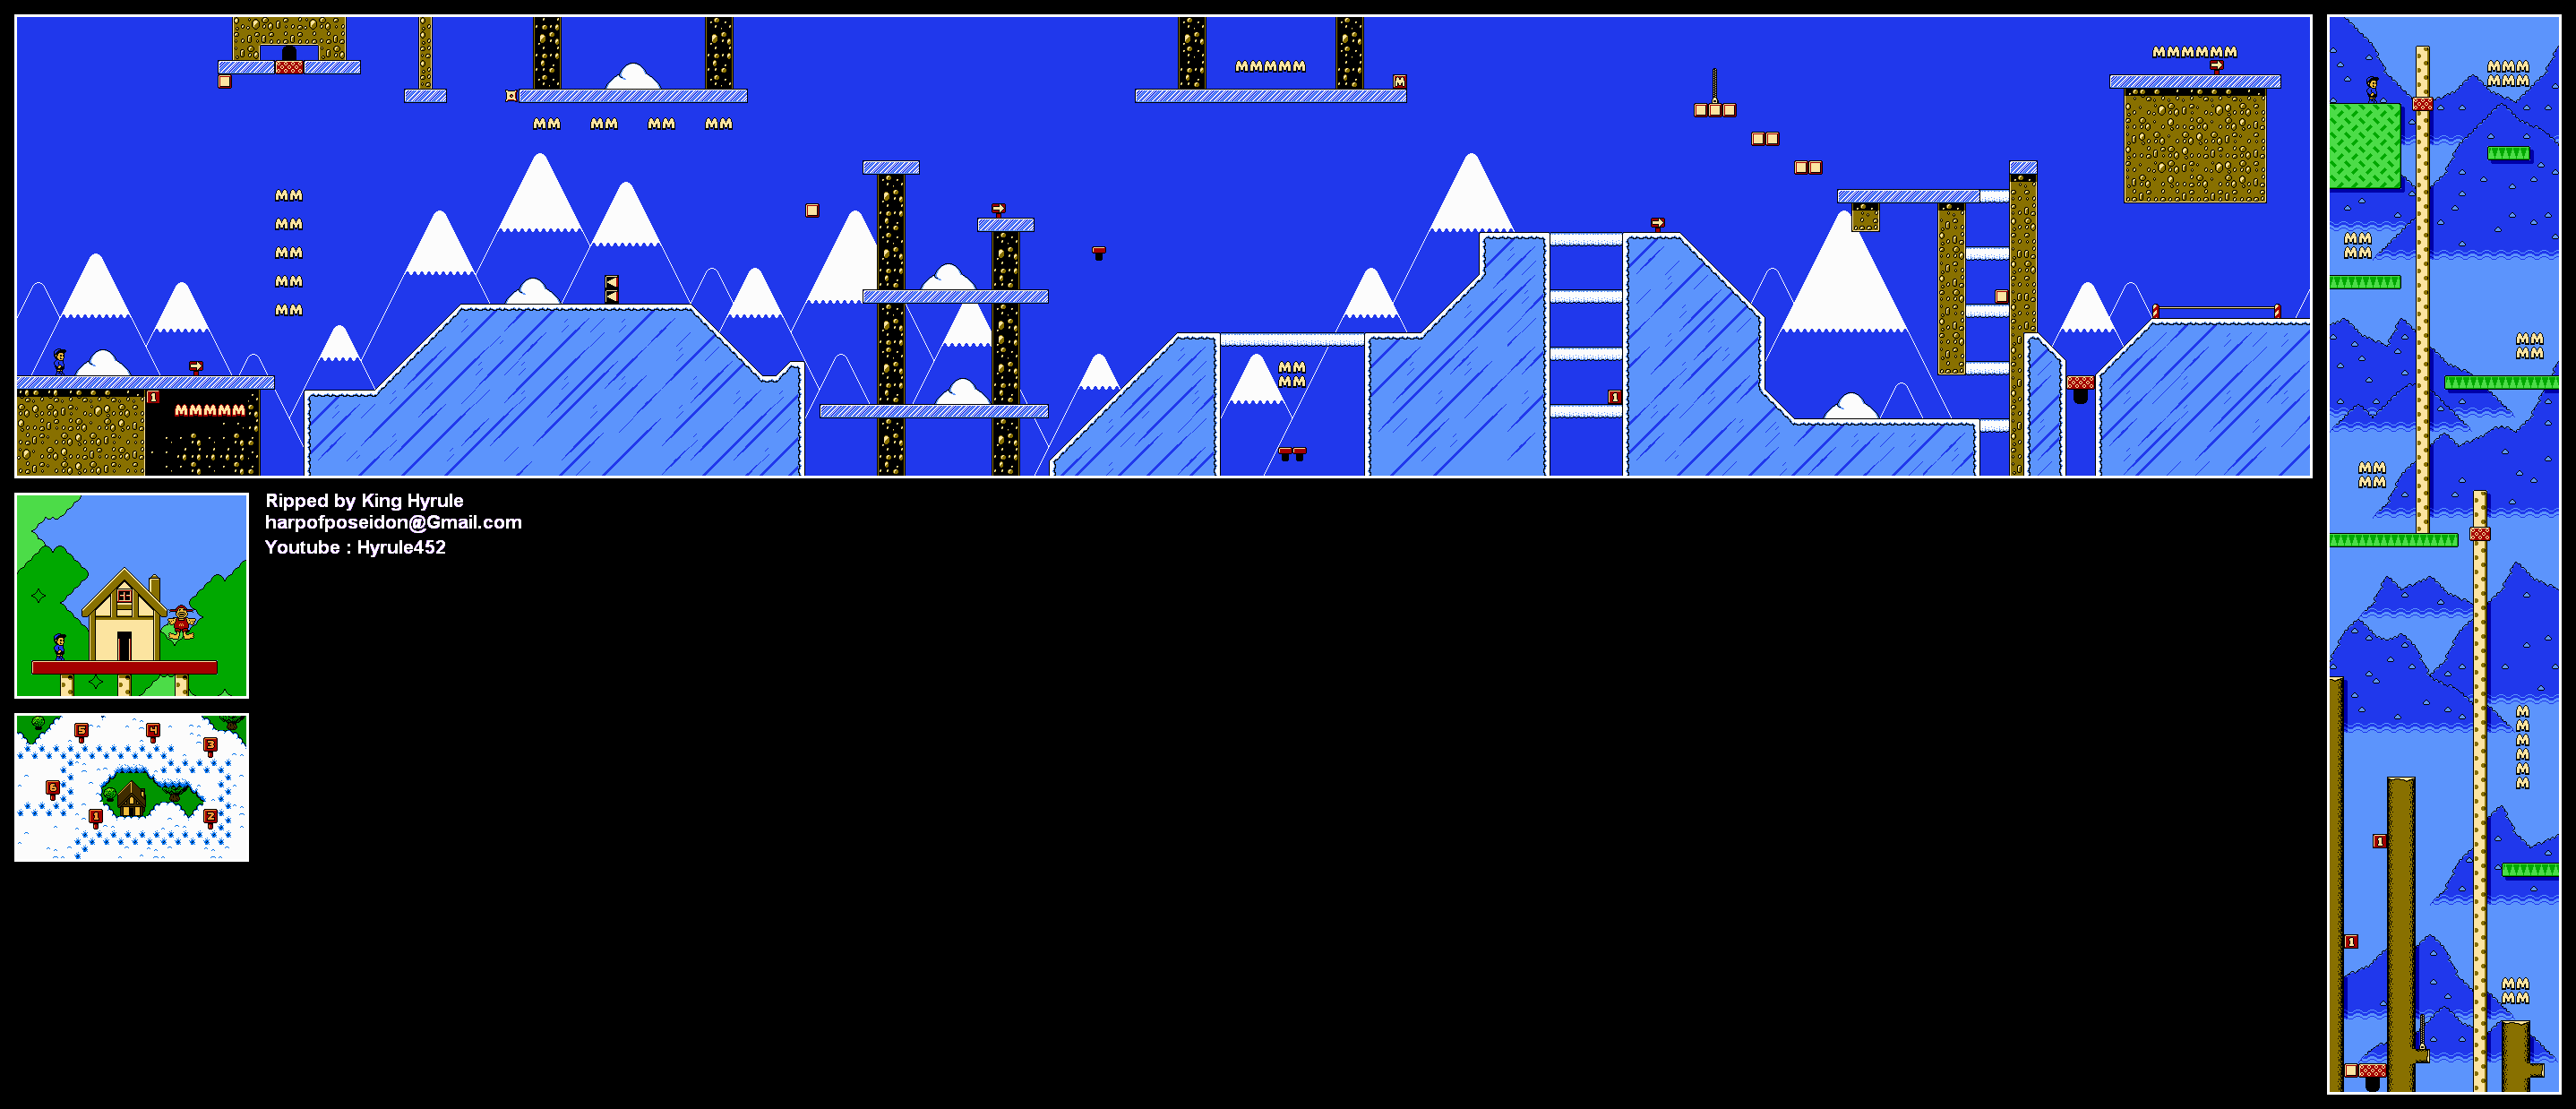
Level 2: Gopher Grove
Love the music for this stage.
Anyway, you've seen the gopher in the last level, but he makes some more appearances here.
The weird things that look like nets blowing around in the wind are really spiders. Sometimes they'll drop down on you, so be careful.
You'll sometimes find springboards when you pick up a box. Explore!
The piranhas are instant death if you touch them.
Don't press B when you're in the boat. Otherwise, you'll pick the boat up and fall into the water and die. Blame the game's coding.
Enter the zippers to find bonus areas. In these areas, you can find extra lives.
If you collect more than 100 M's in a stage, you can enter a bonus game! Jump on the Up arrow while avoiding all the Down arrows to get lives! If you fall to the bottom, you'll have to exit the room. You can also change your character if you want to play as the other kid (who doesn't play any differently than the other one, by the way).
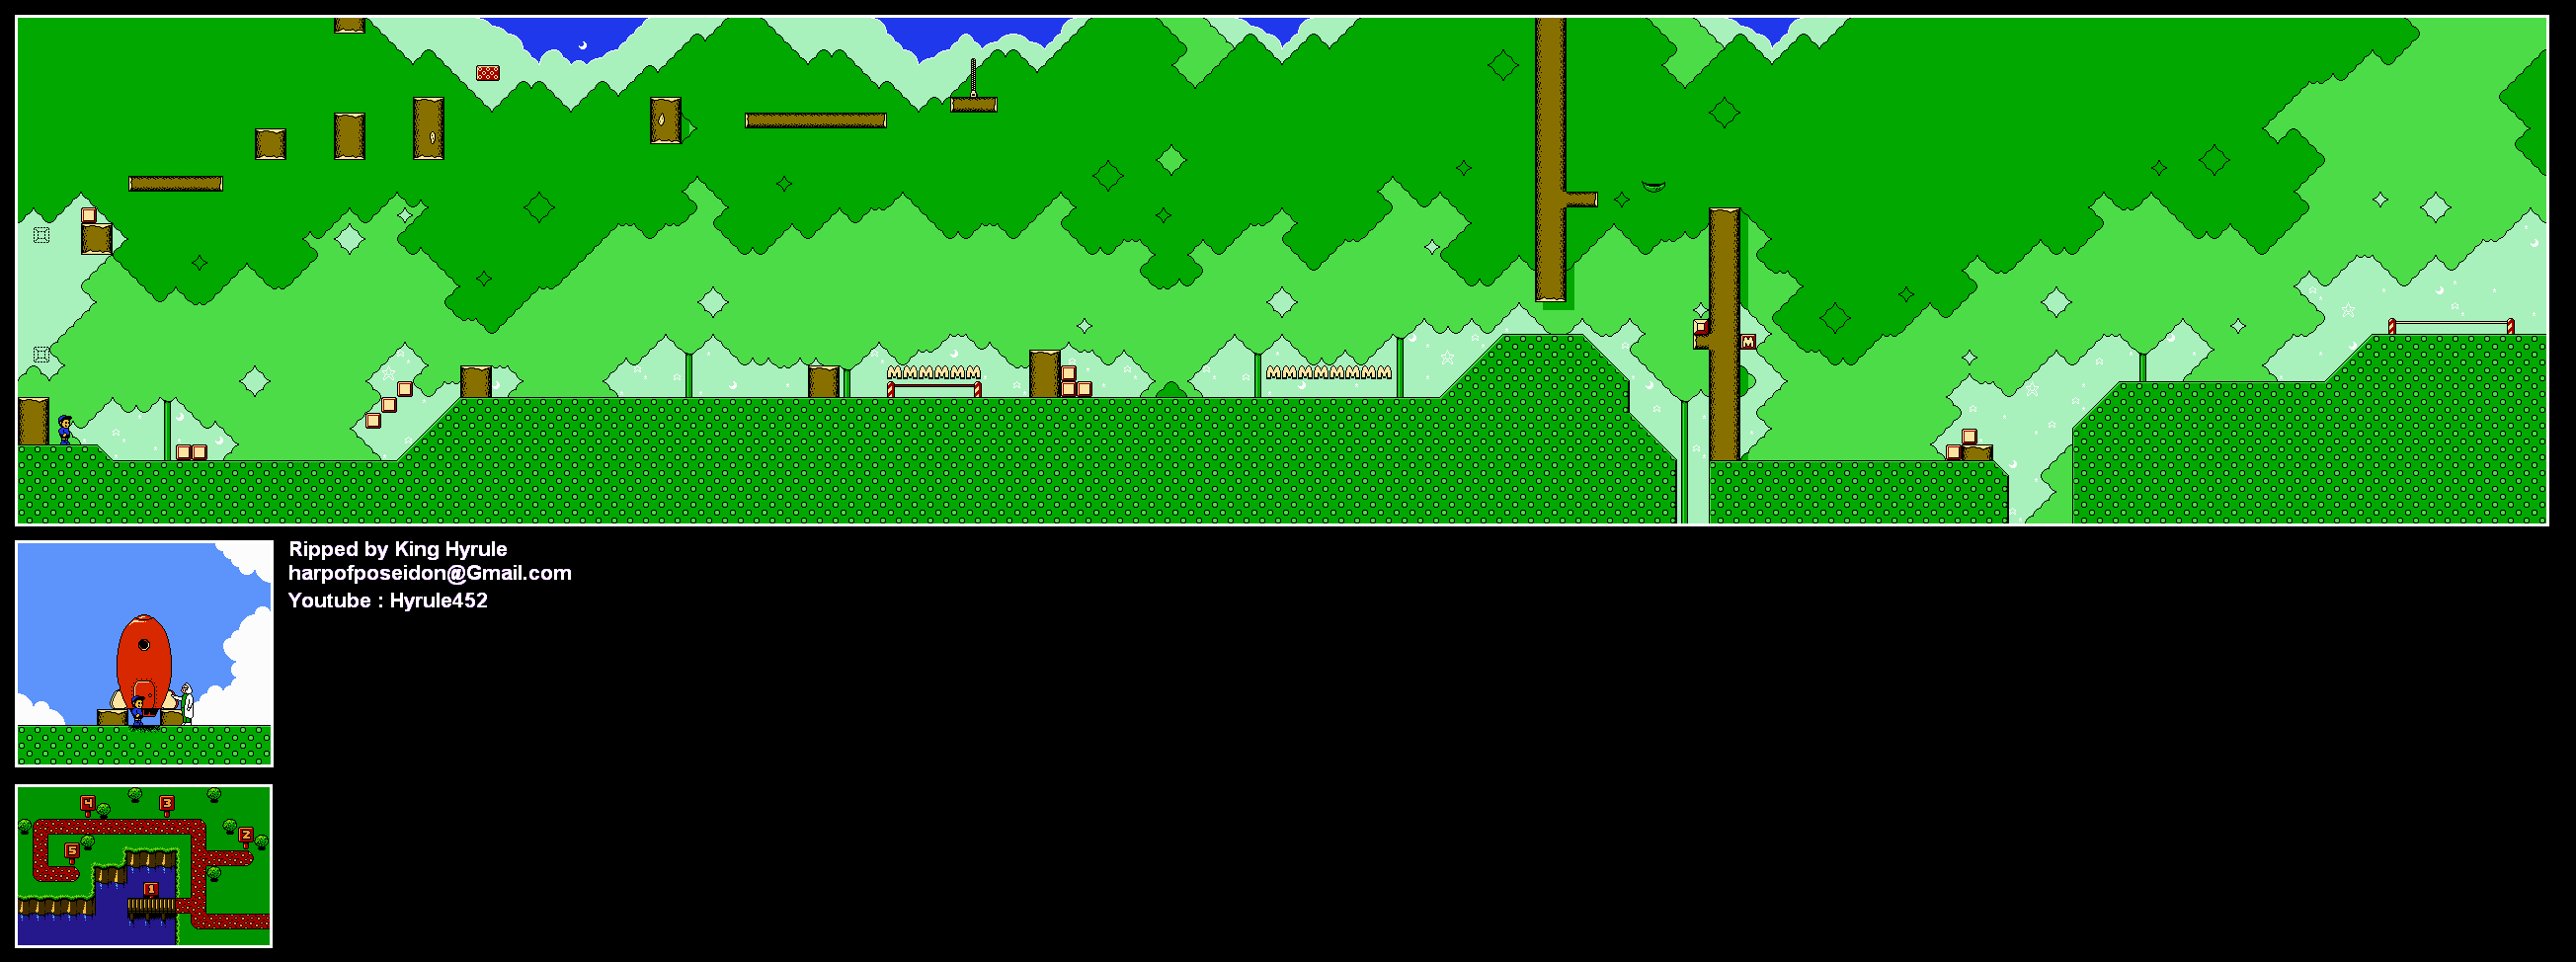
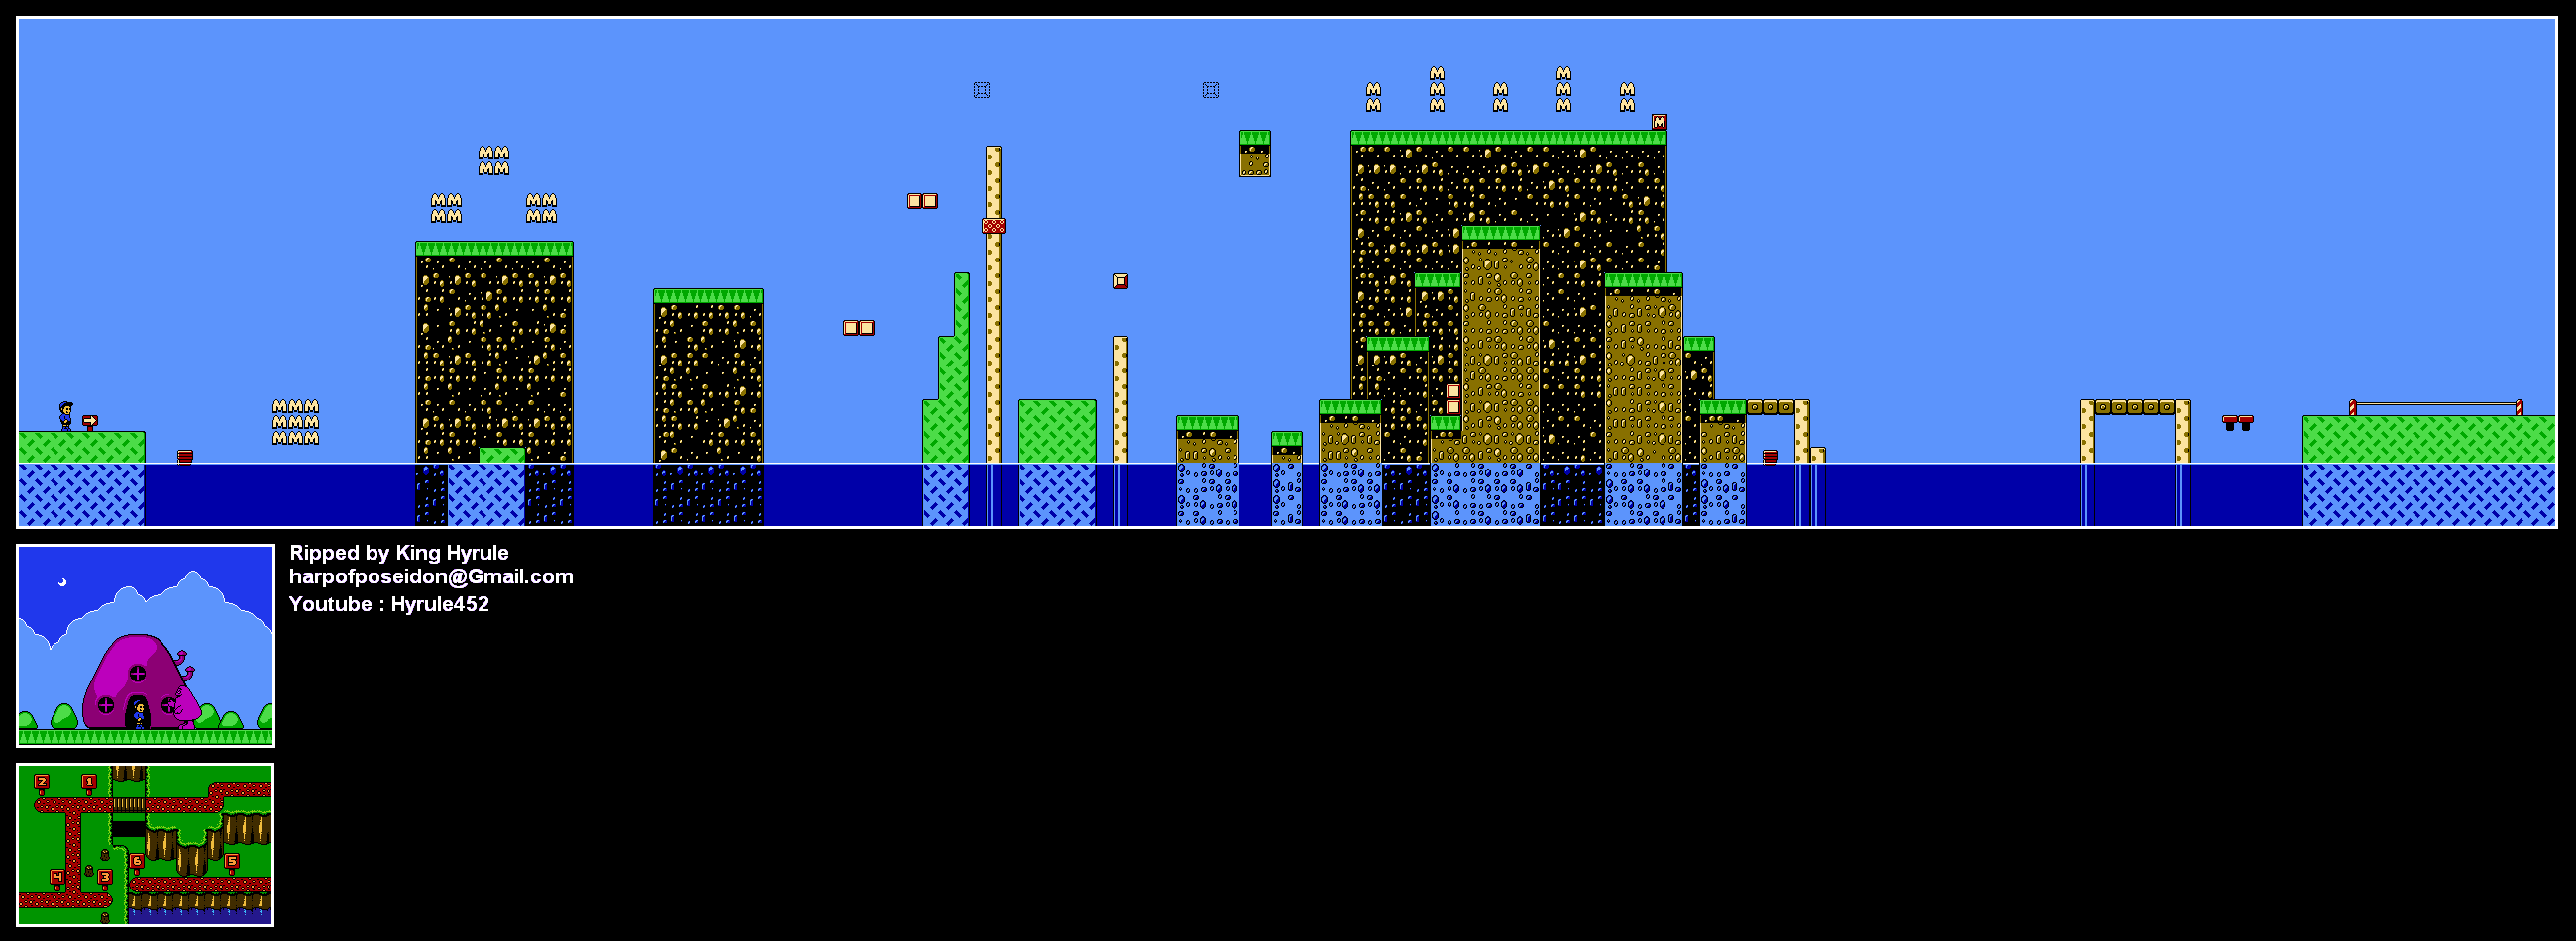
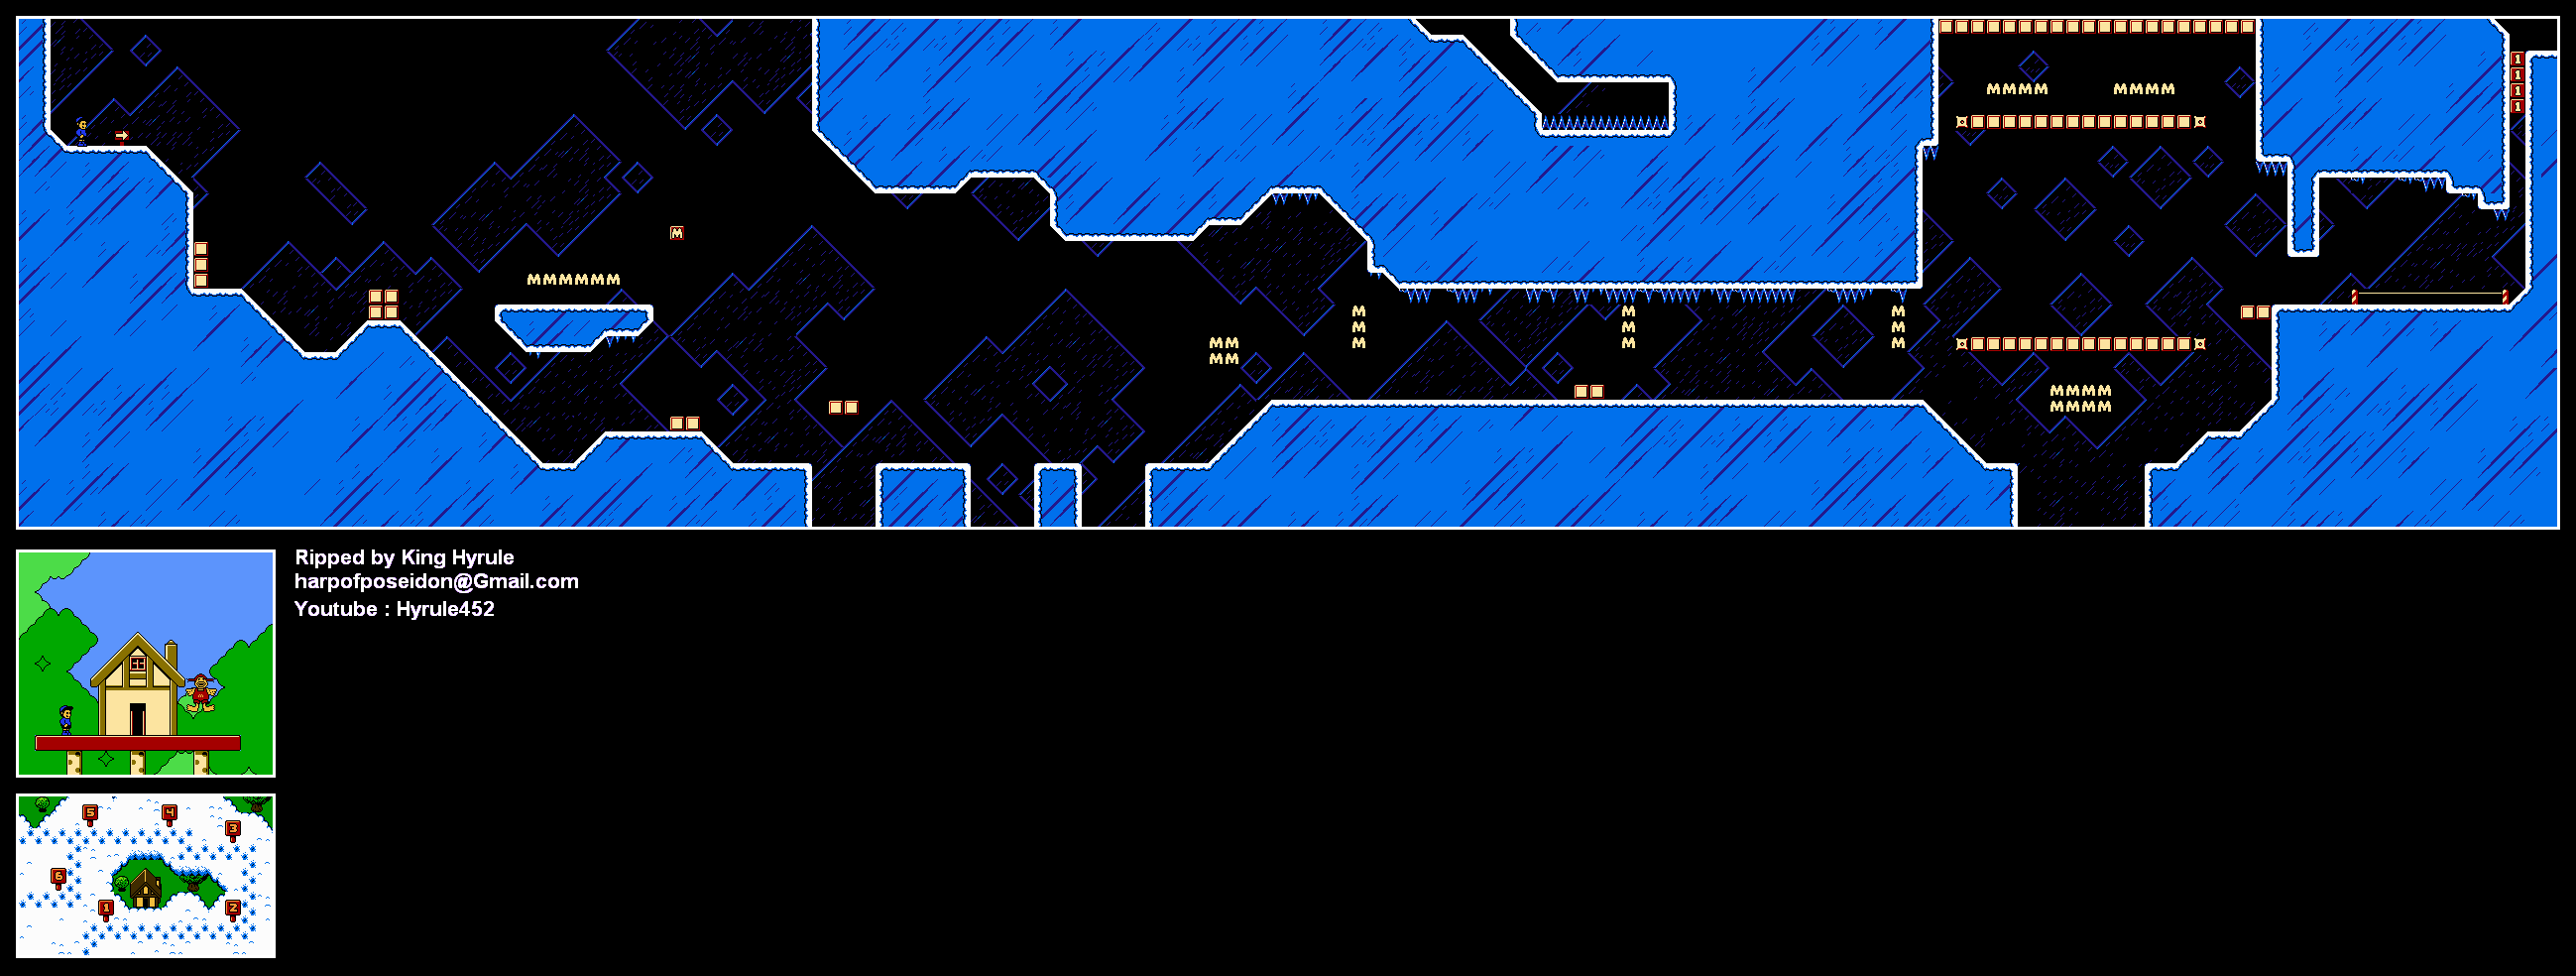
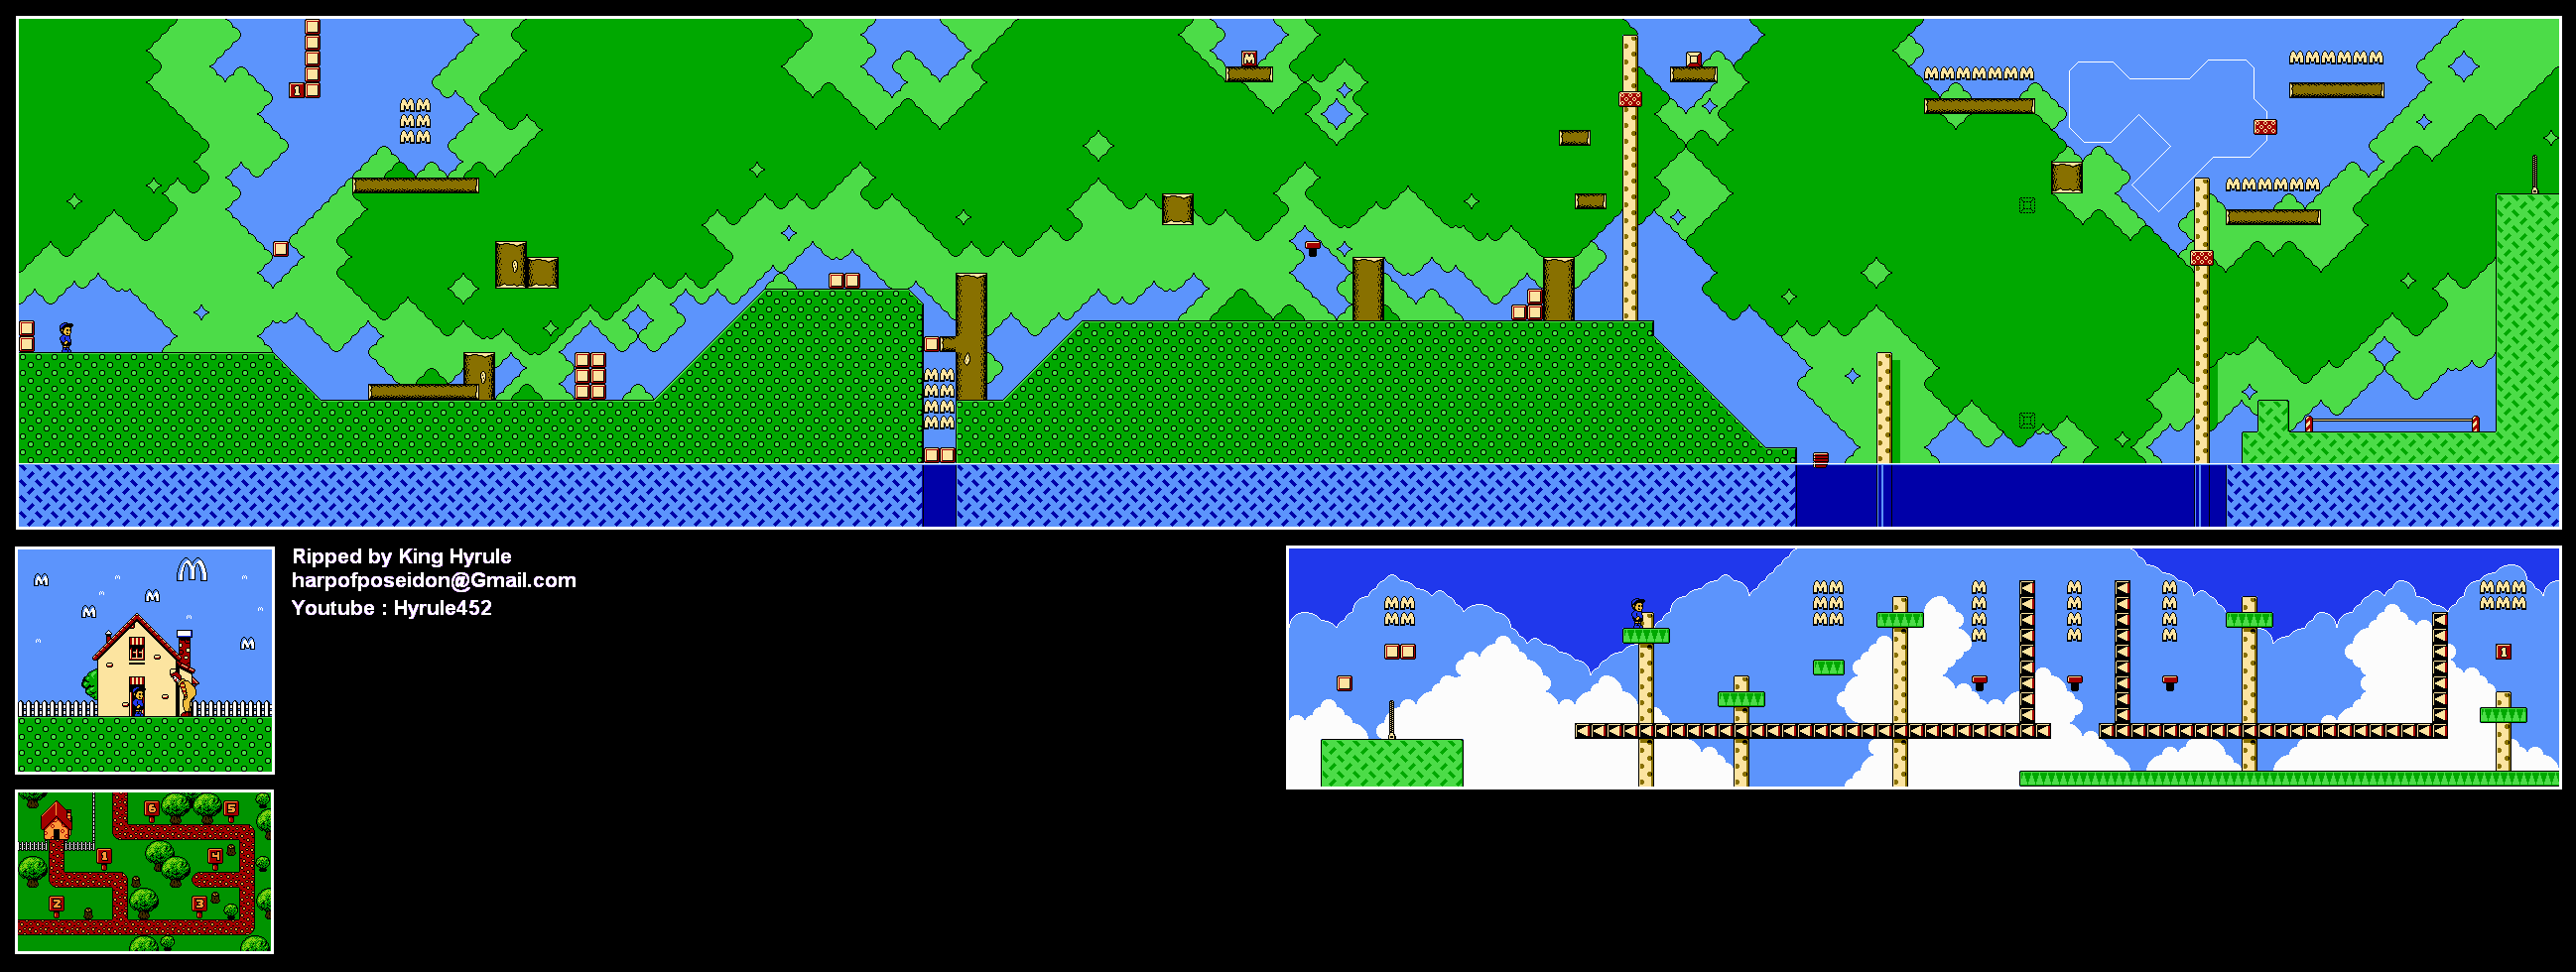
Level 3: Lazy Leaves
The leaves act as platforms.
New enemy here: a small bird. He's not any harder than any of the other enemies you've seen.
To refill your health, you'll have to kill enemies. This is the only way you can do it, and you'll probably refill your health without even realizing it.
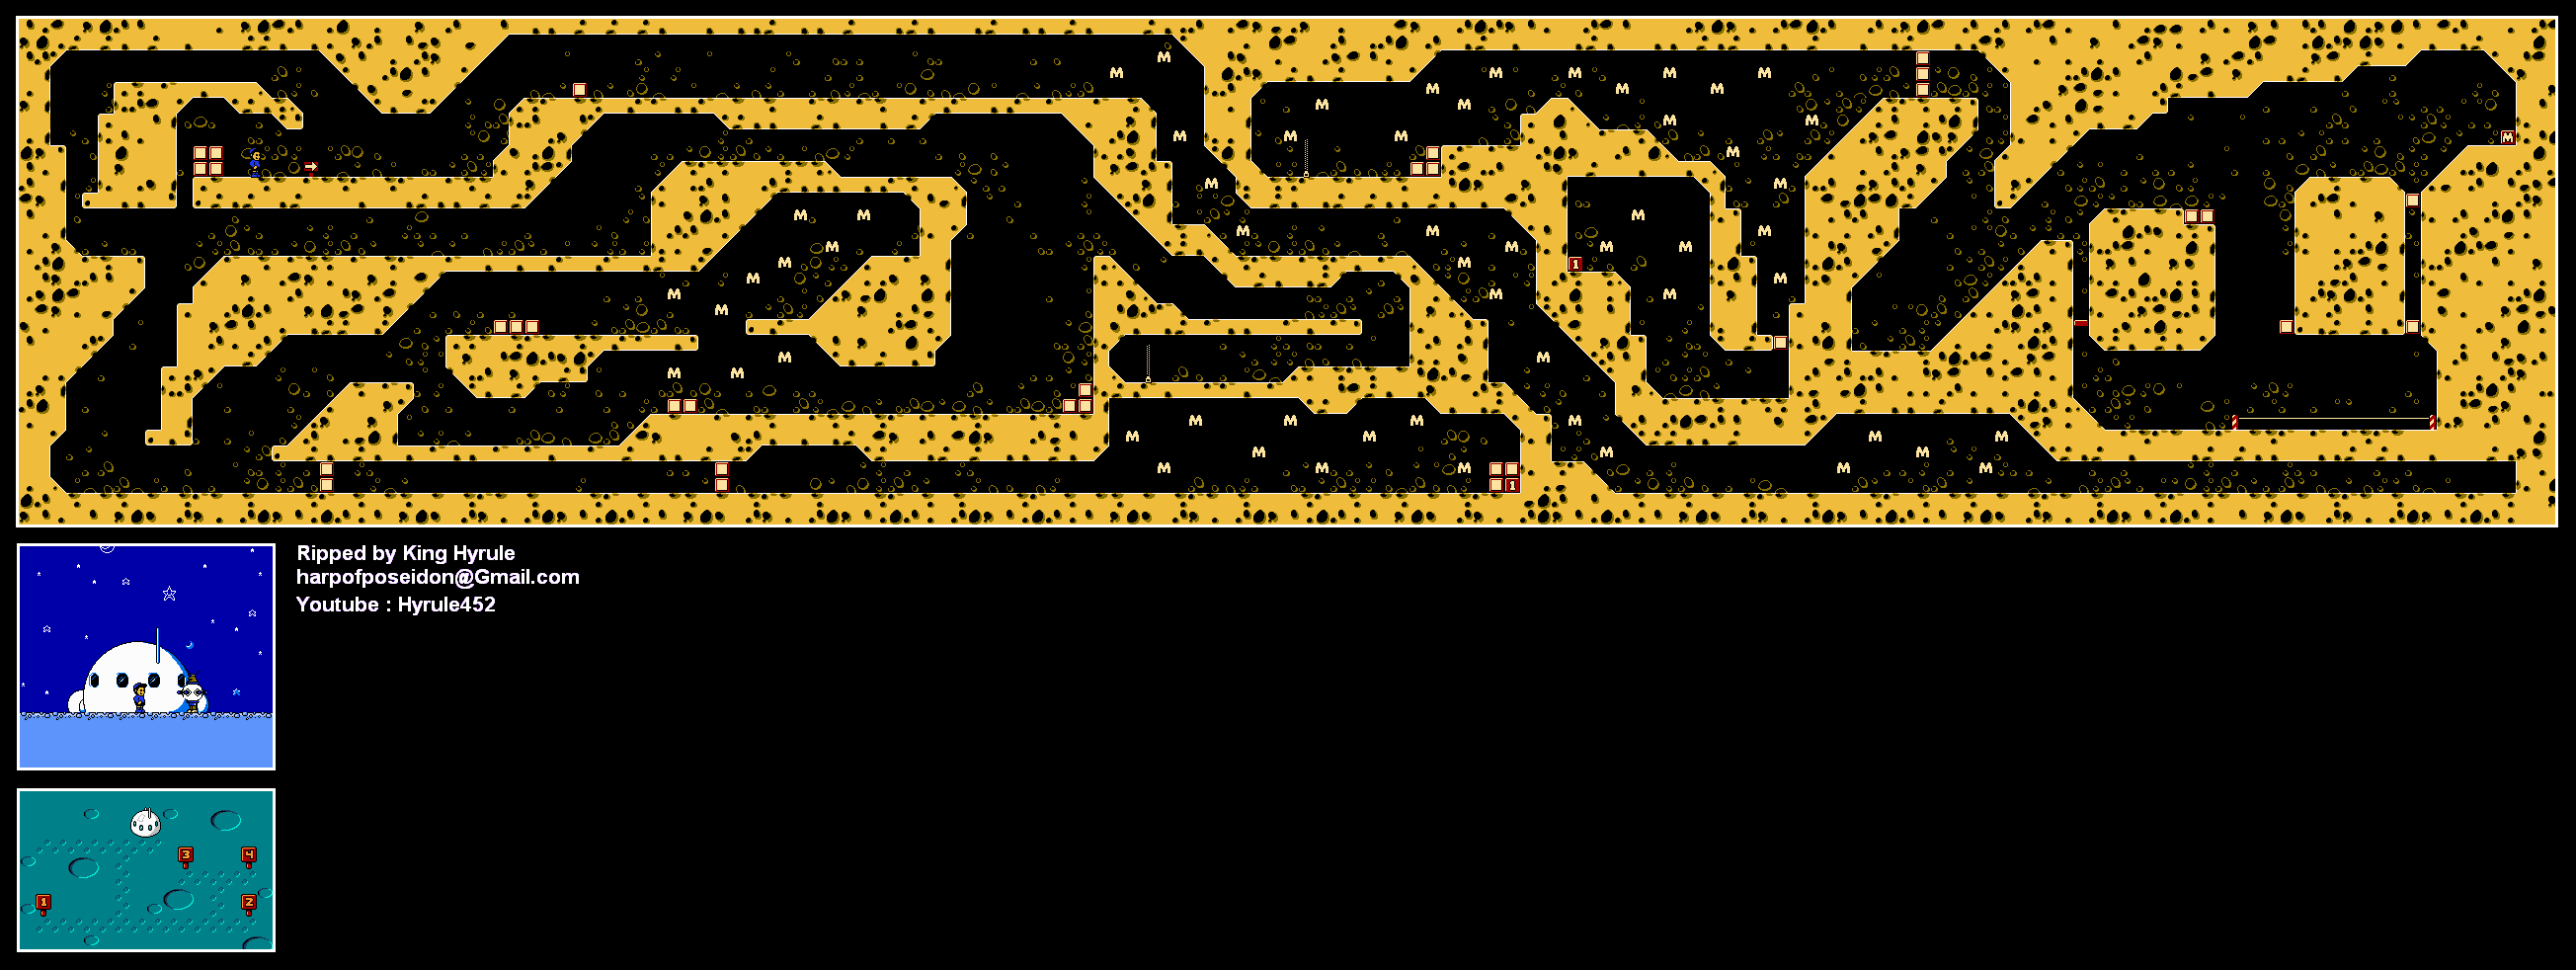
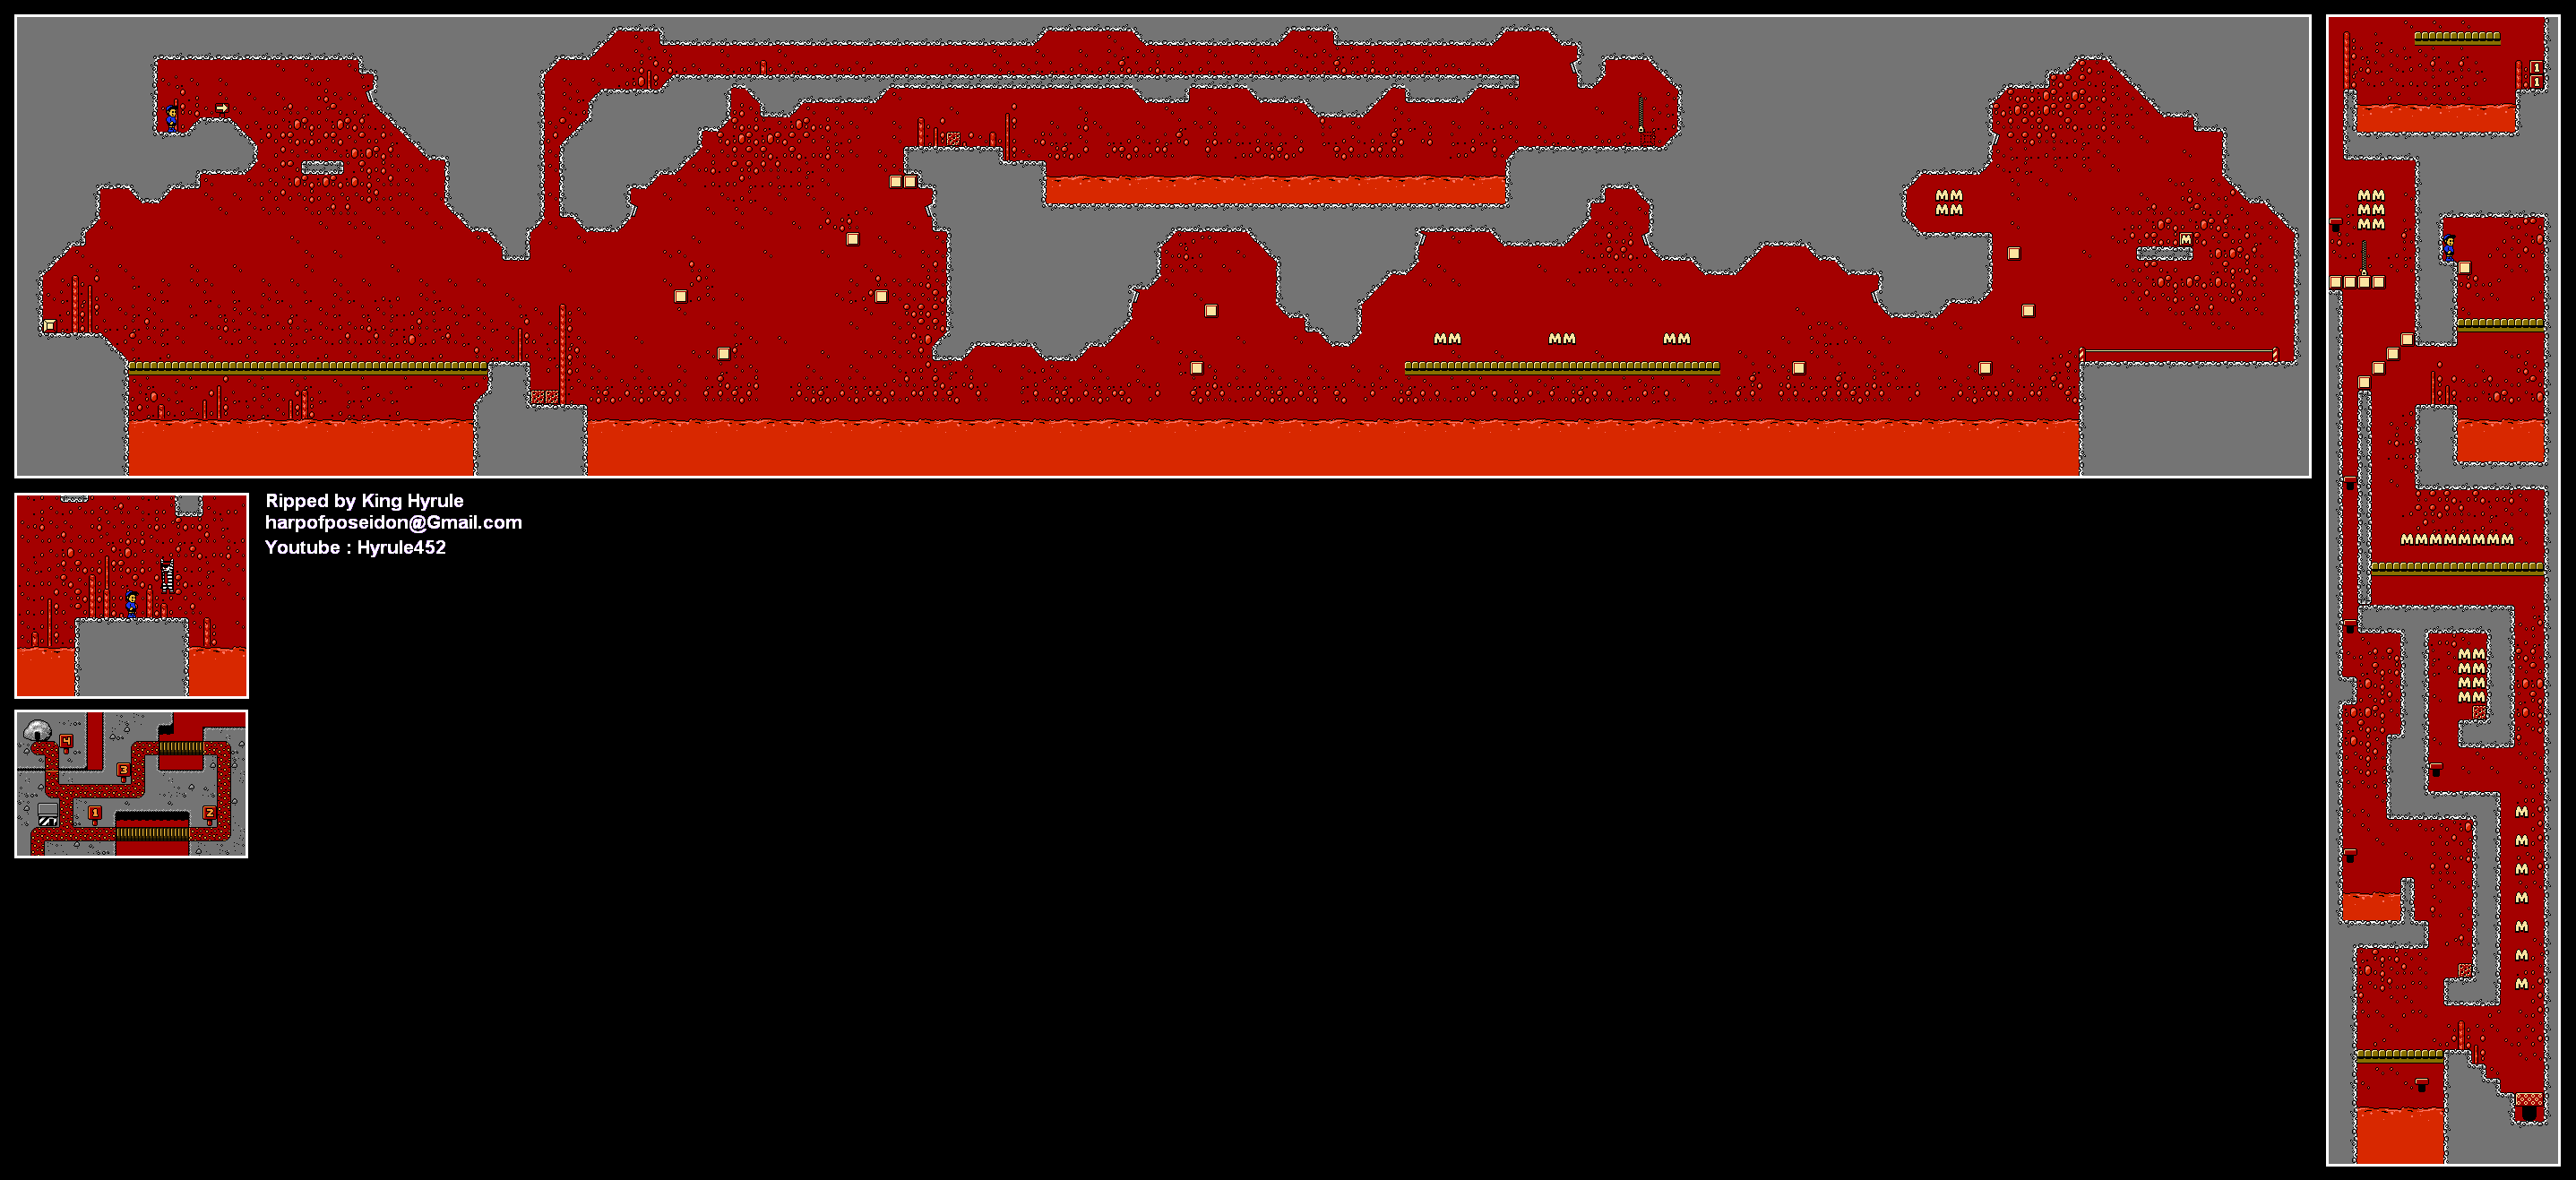
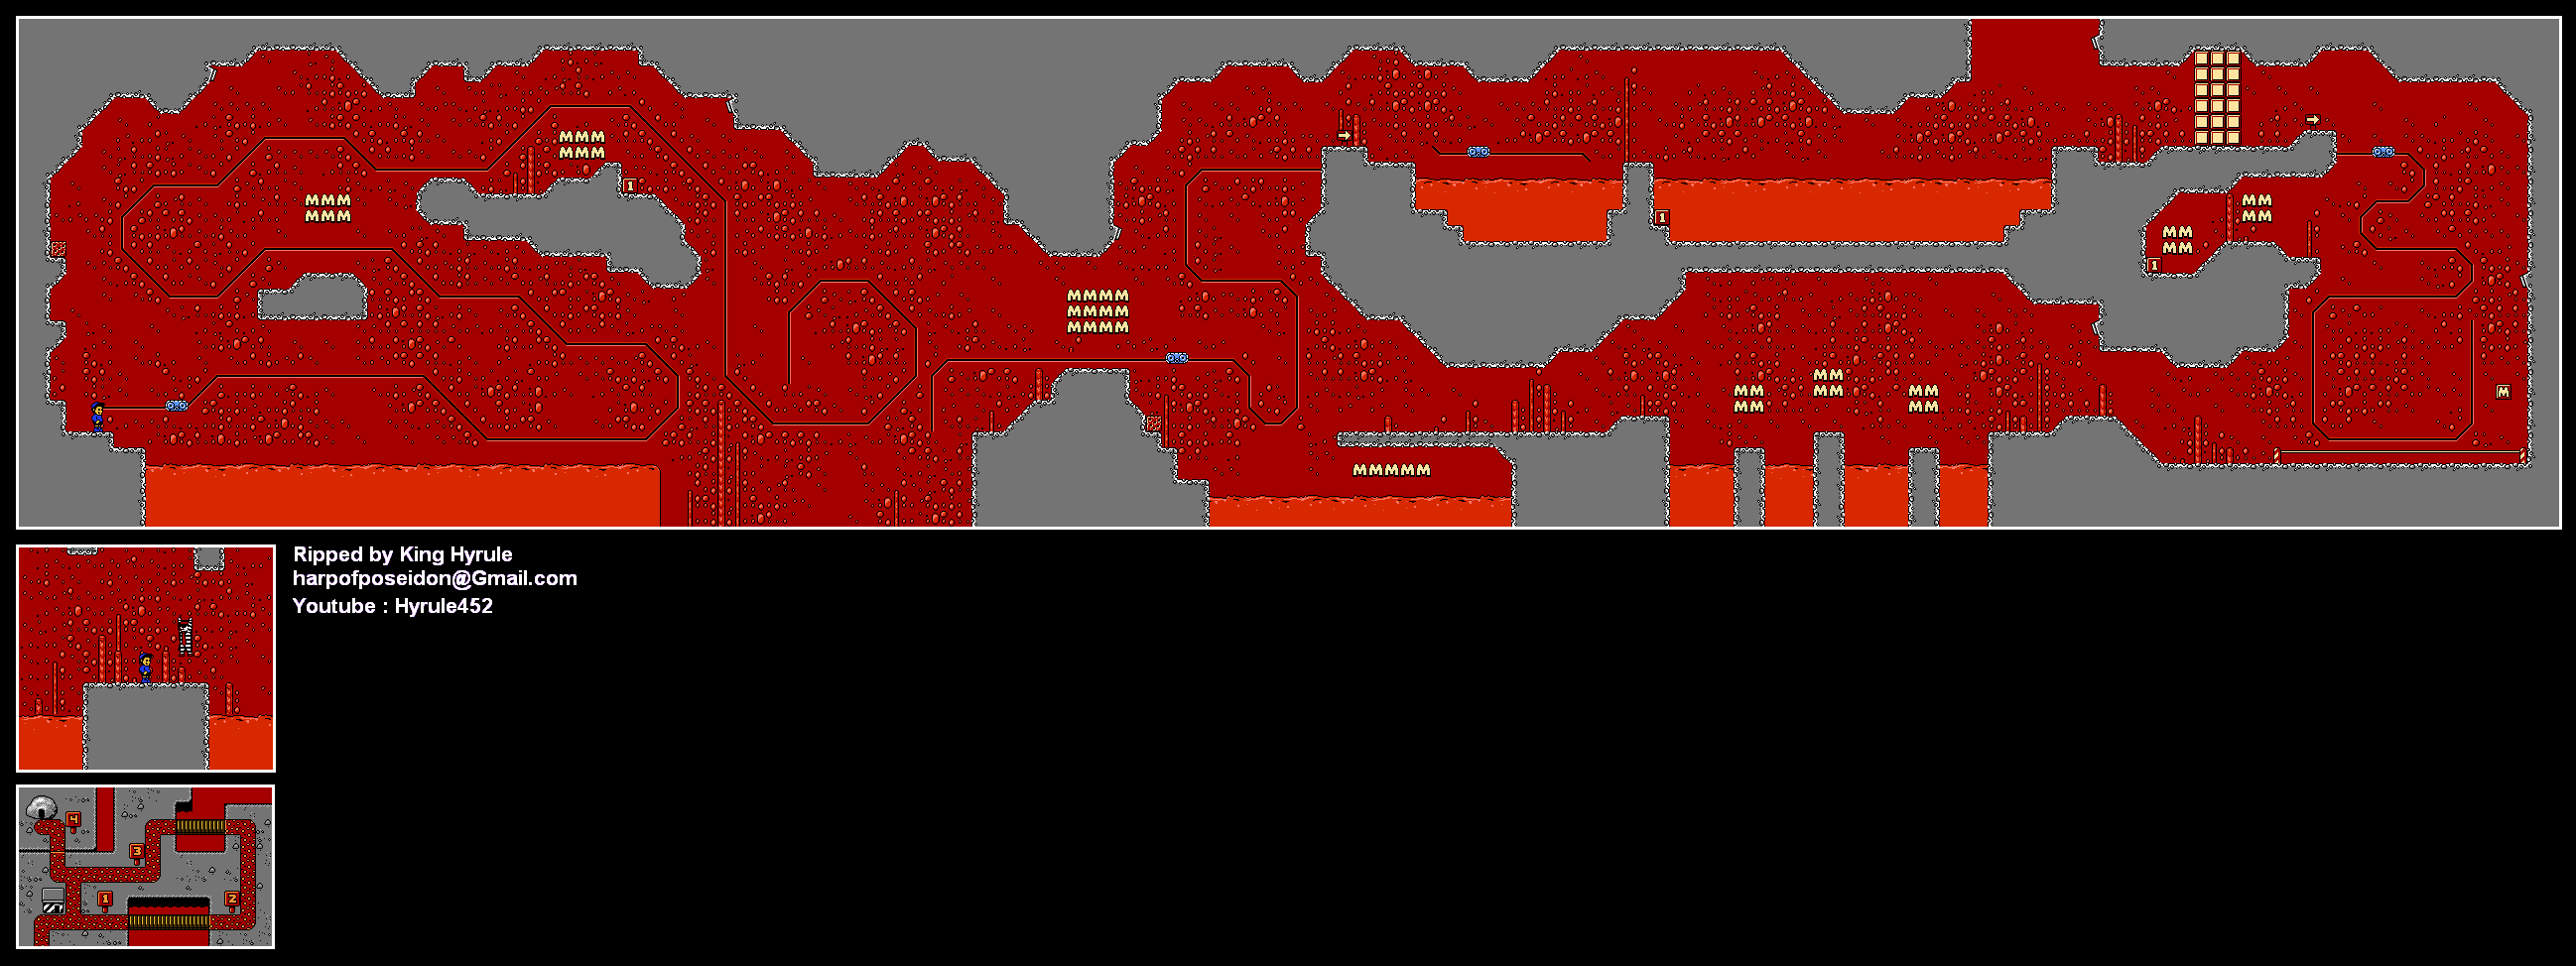
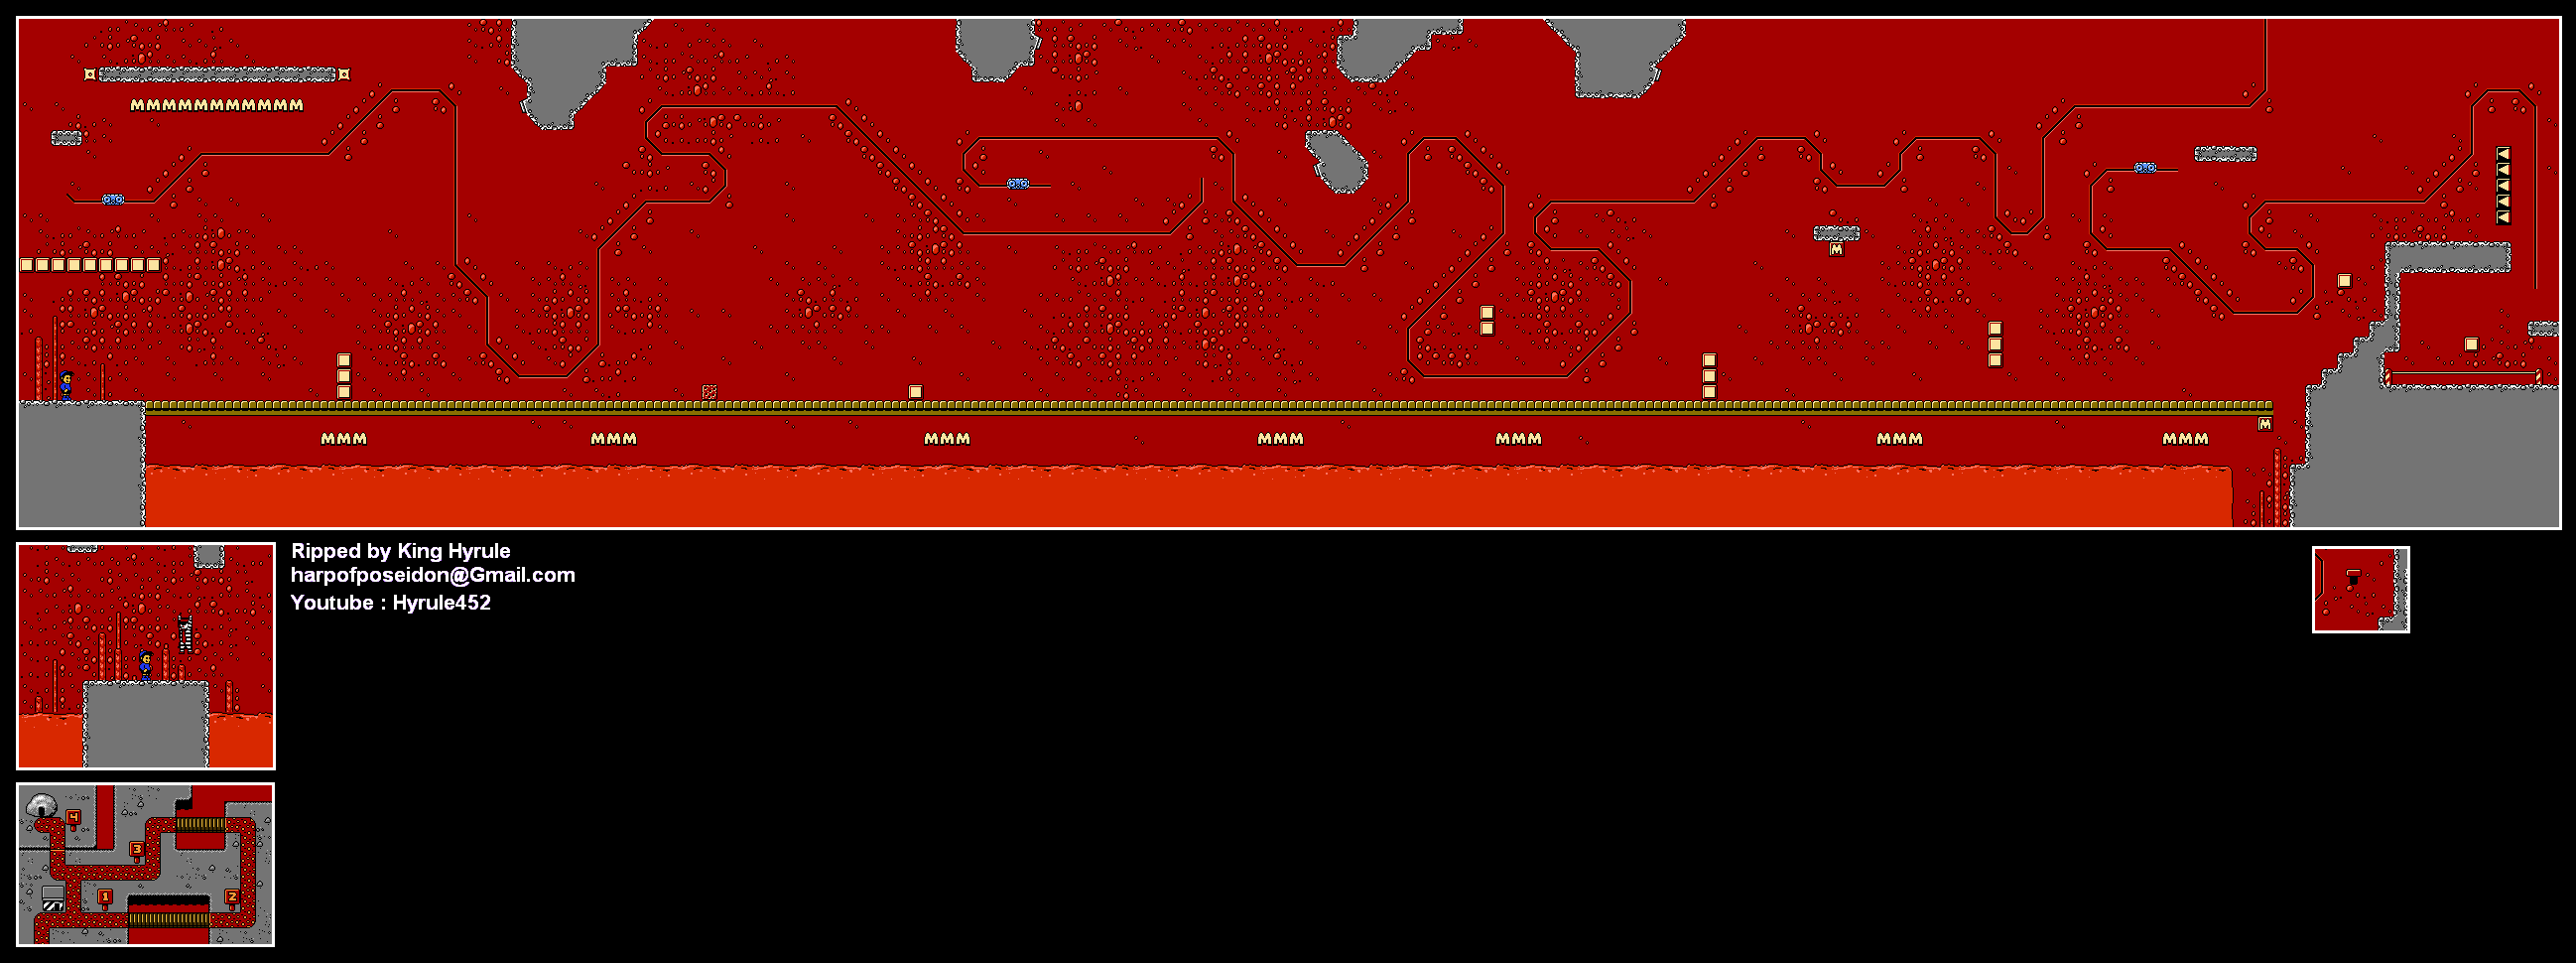
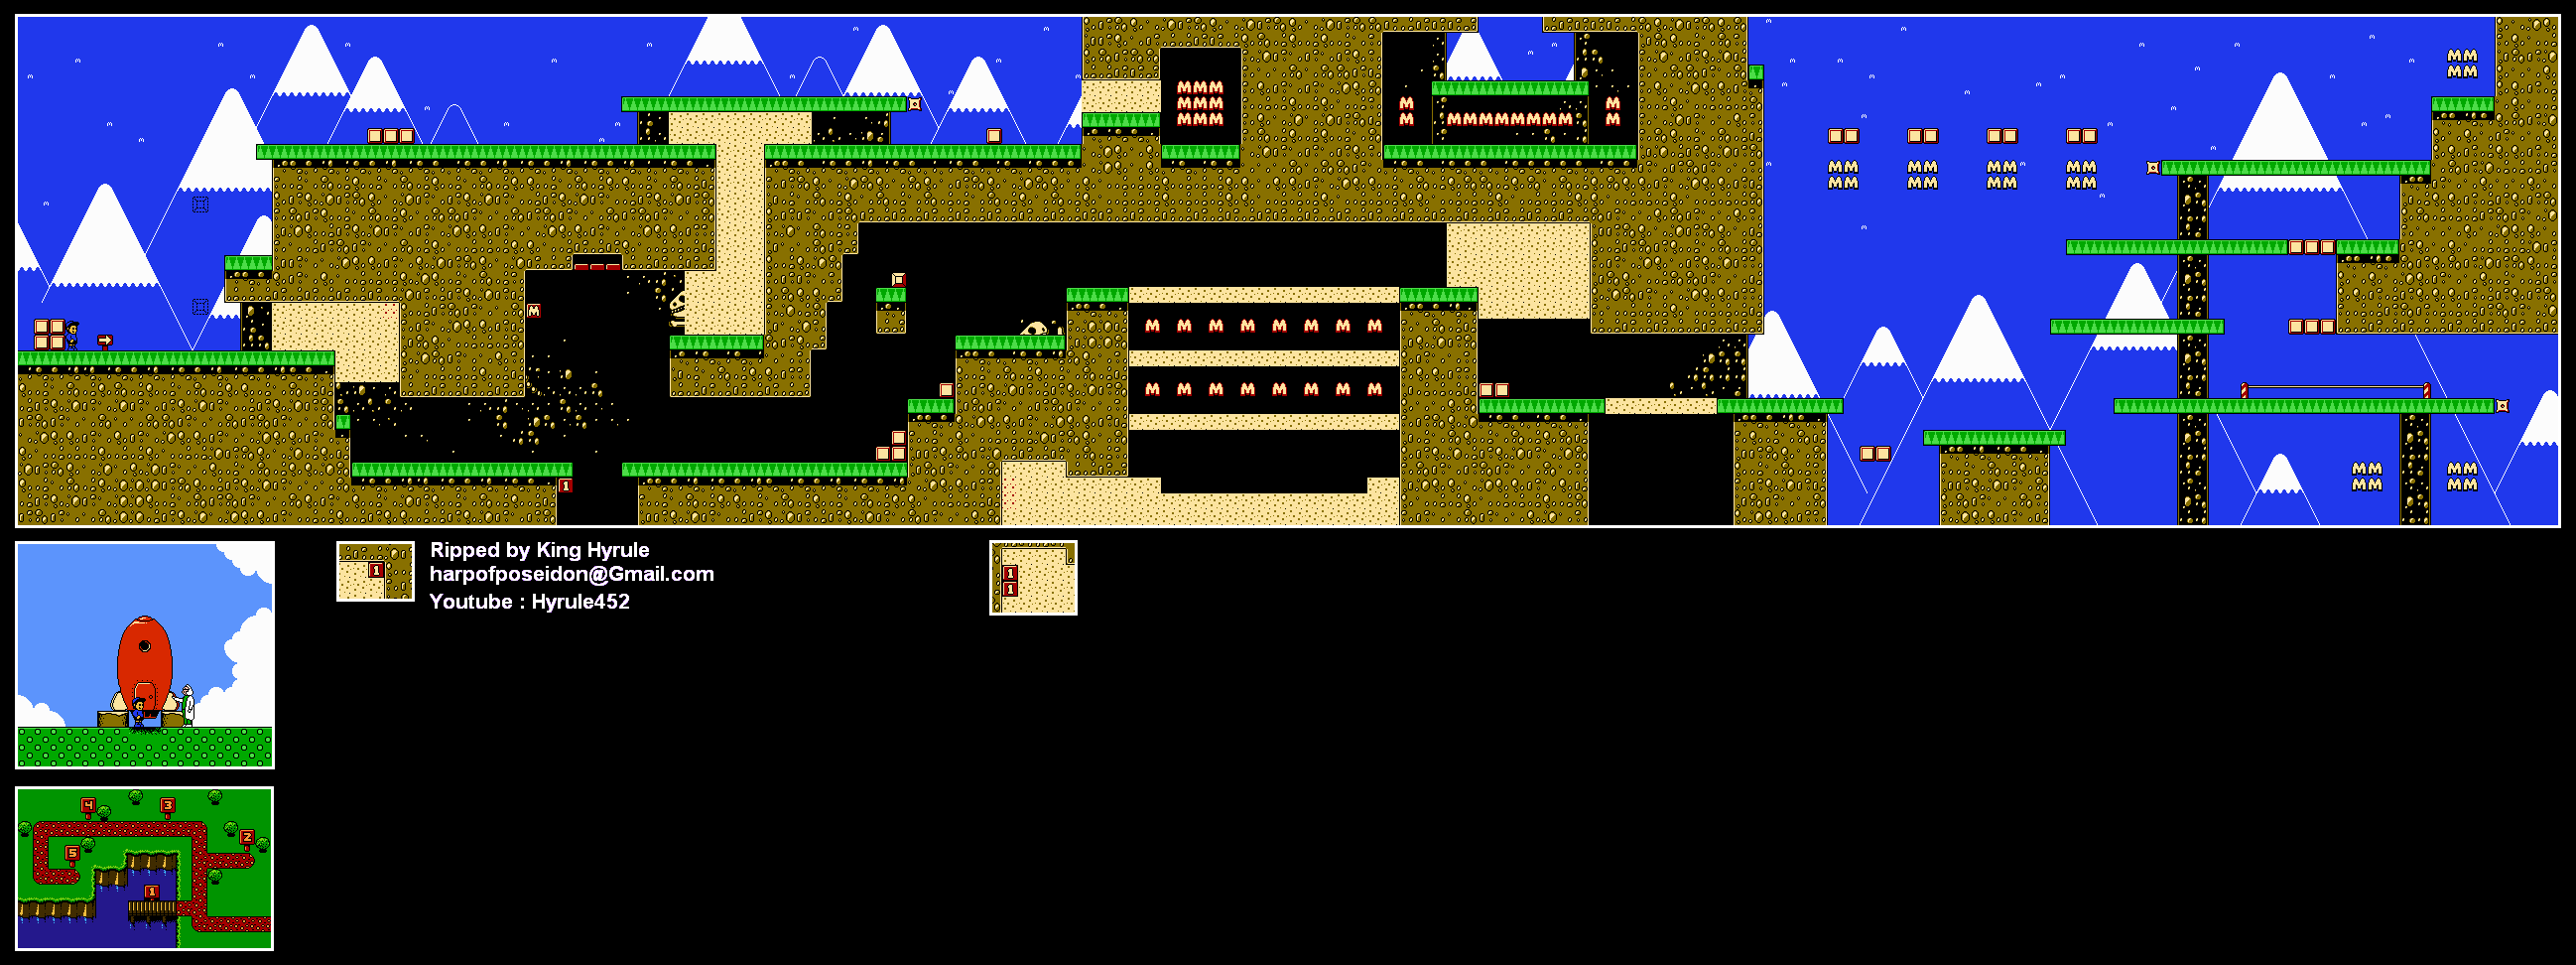
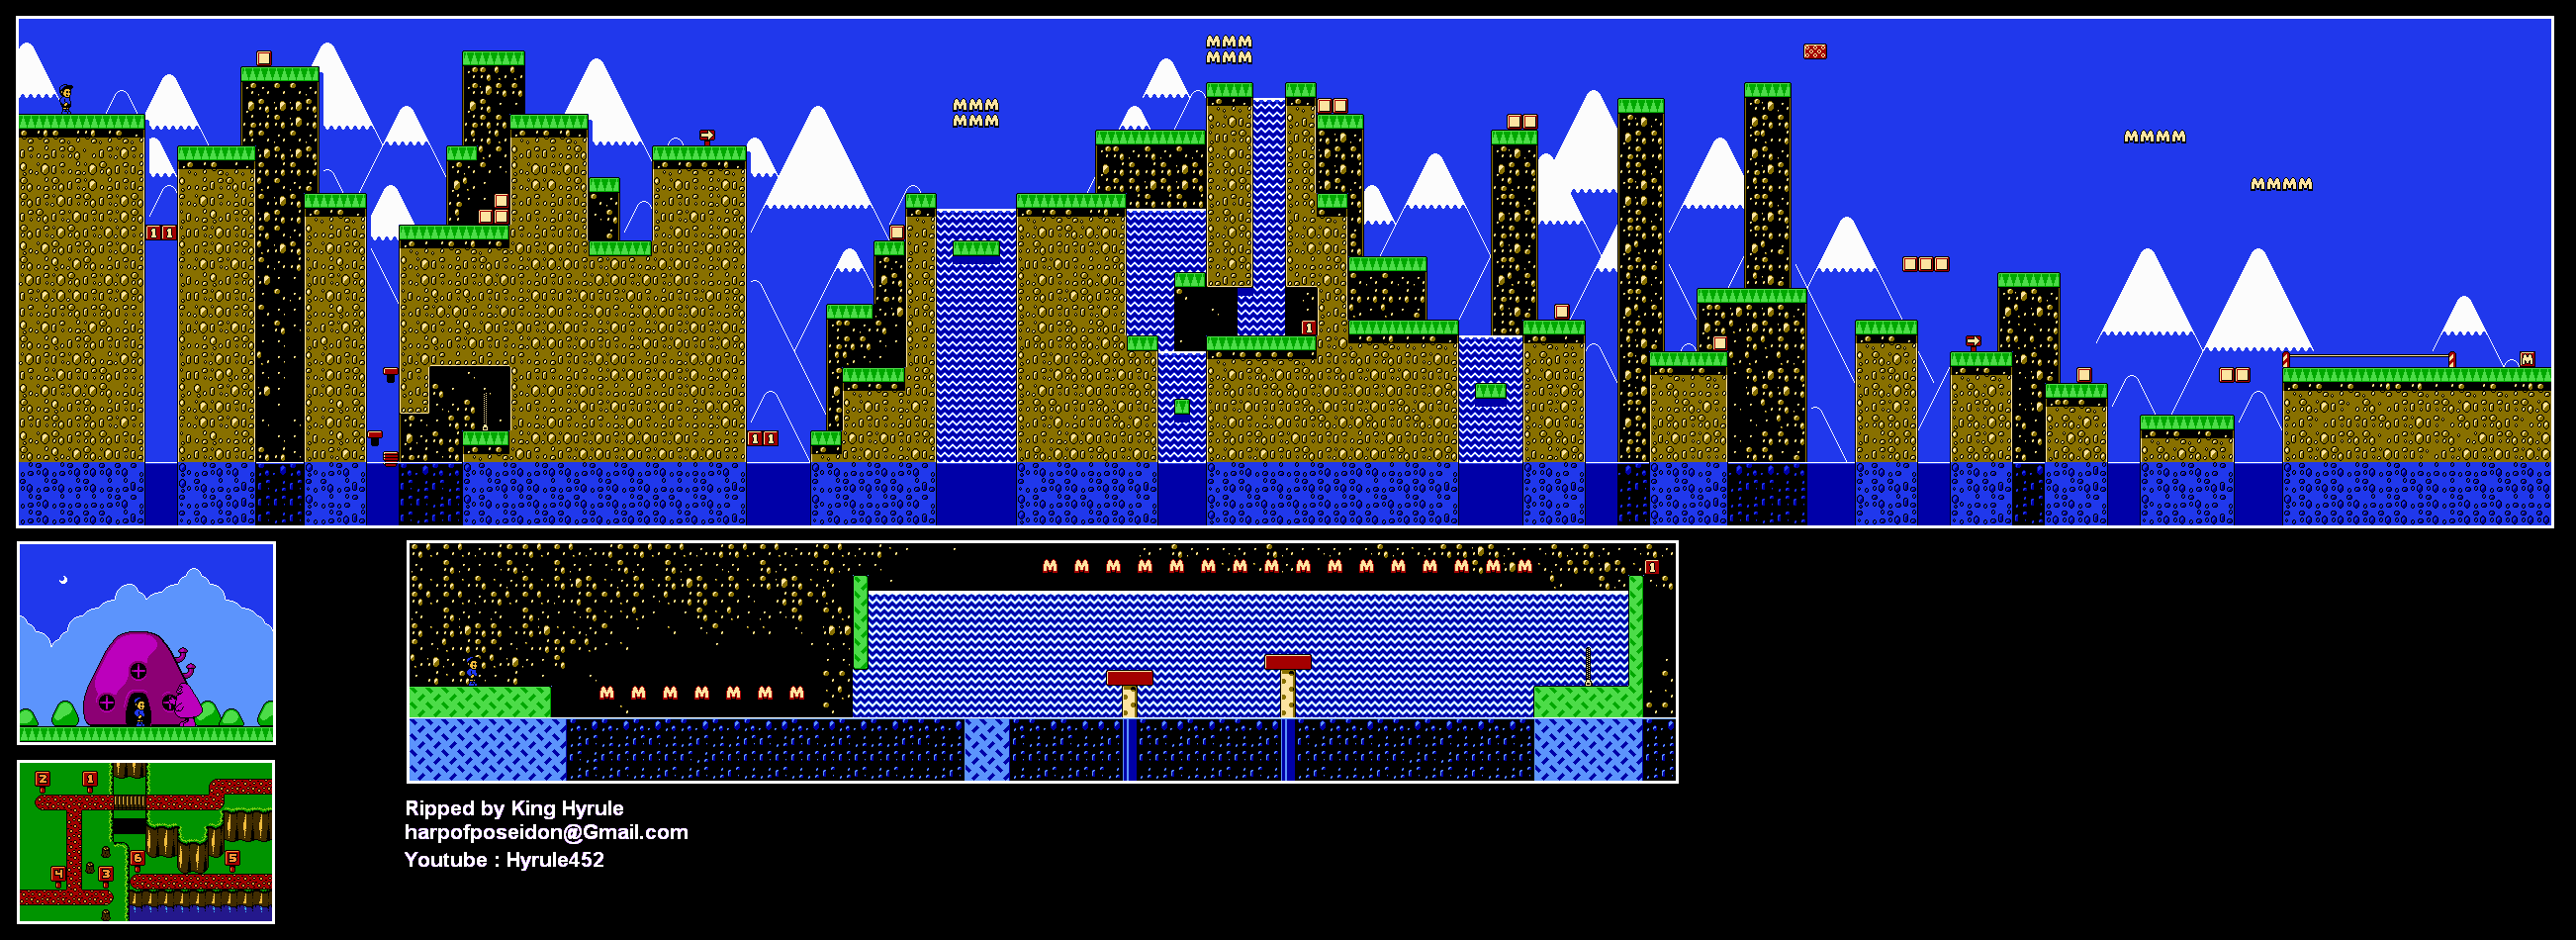
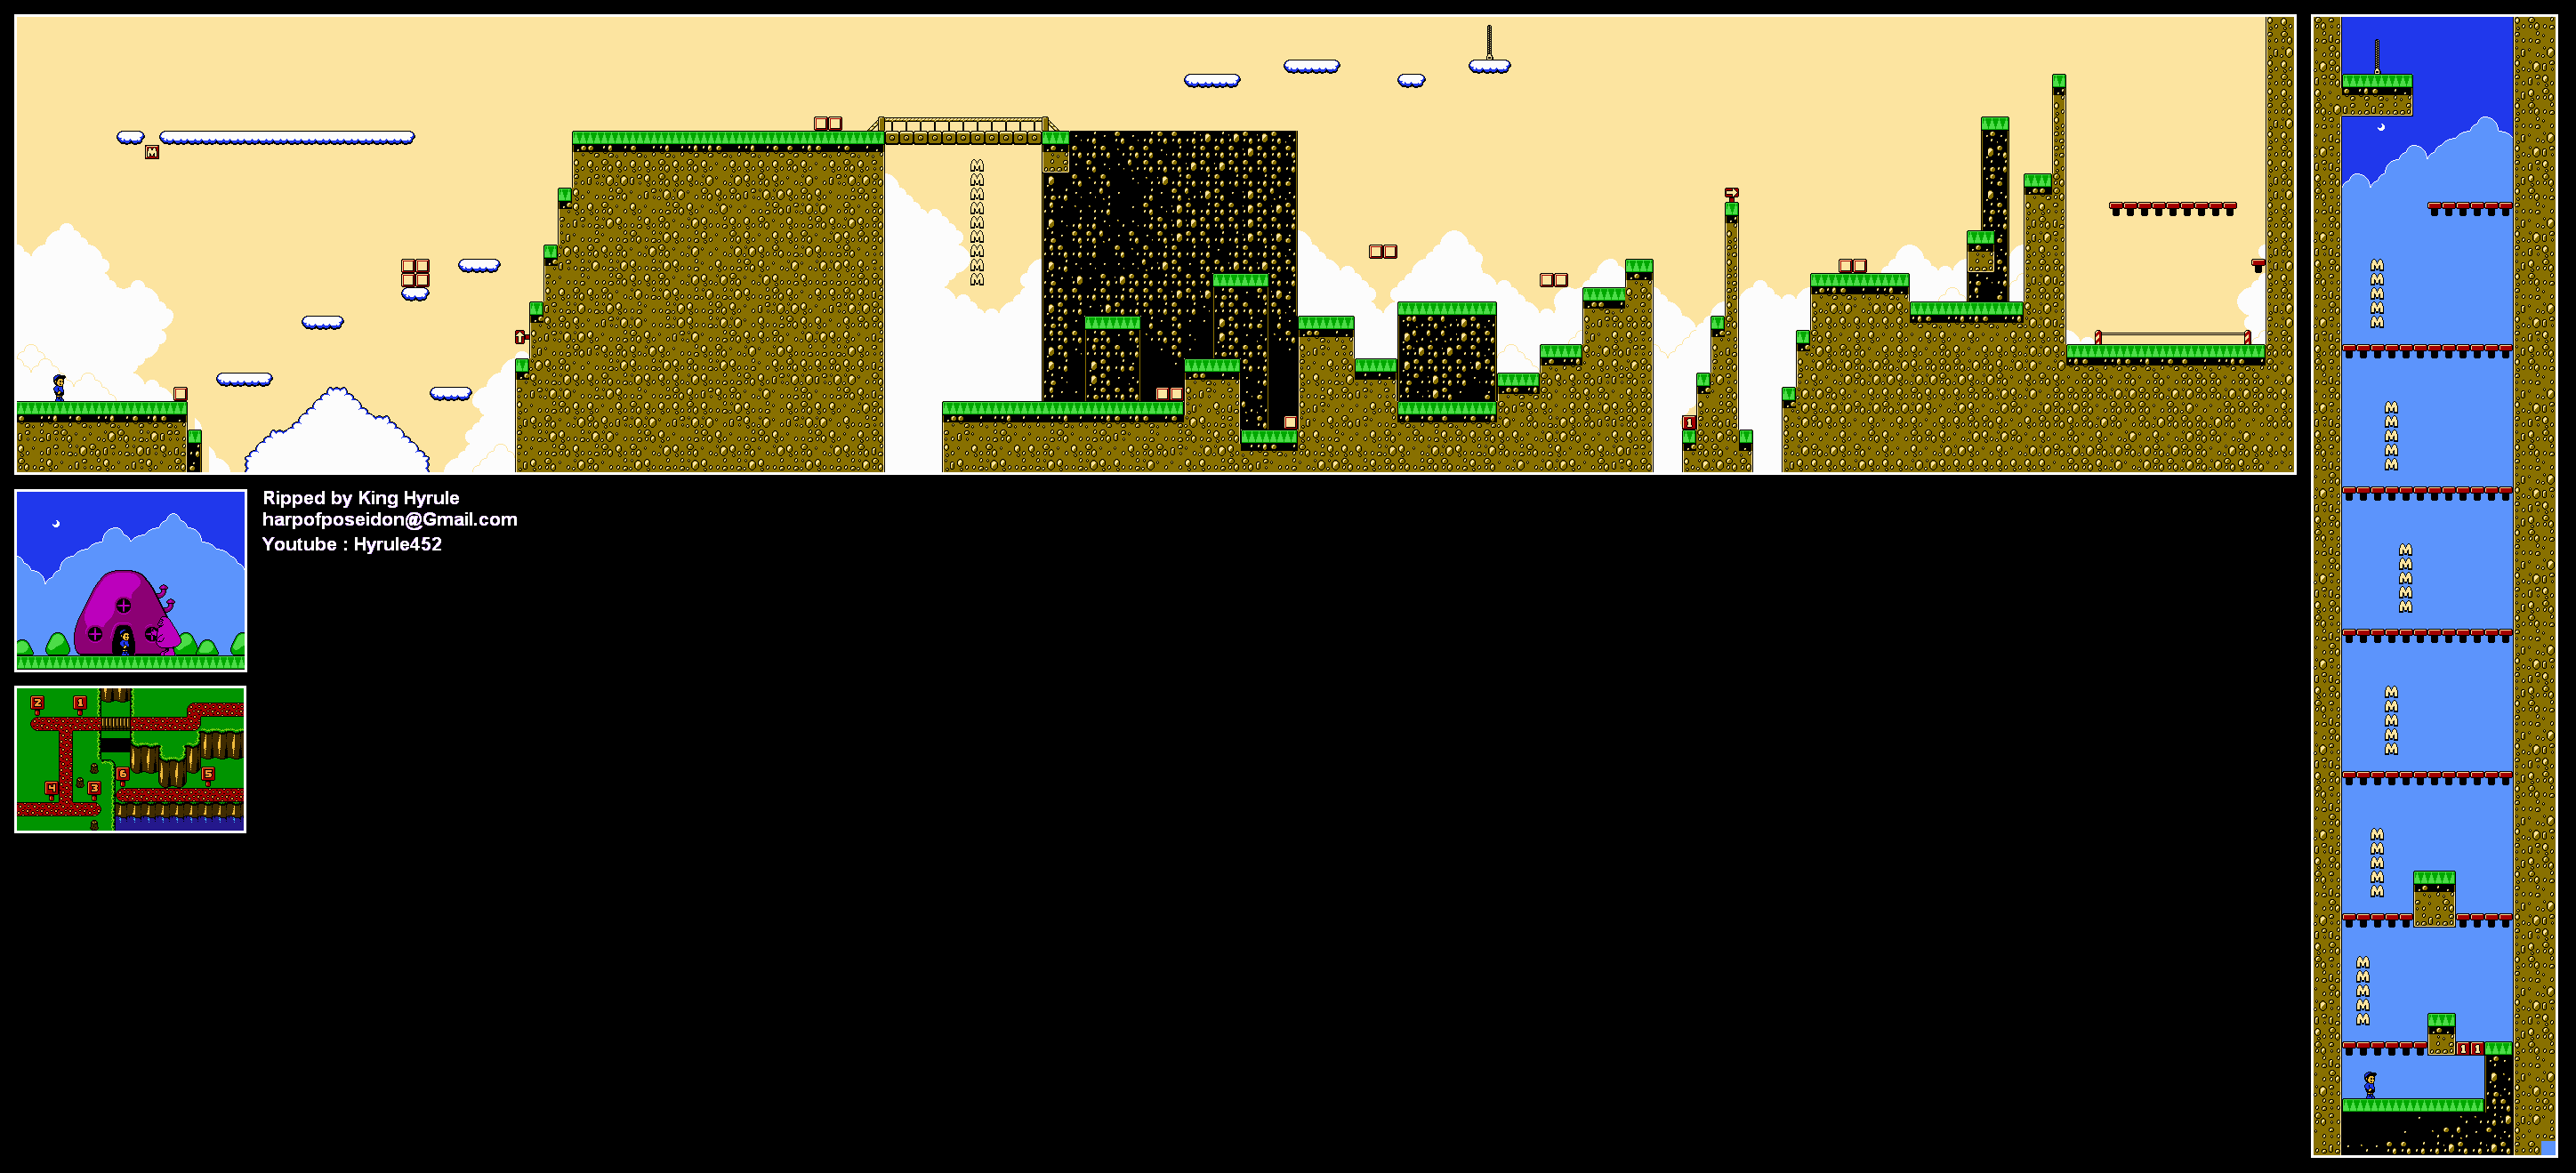
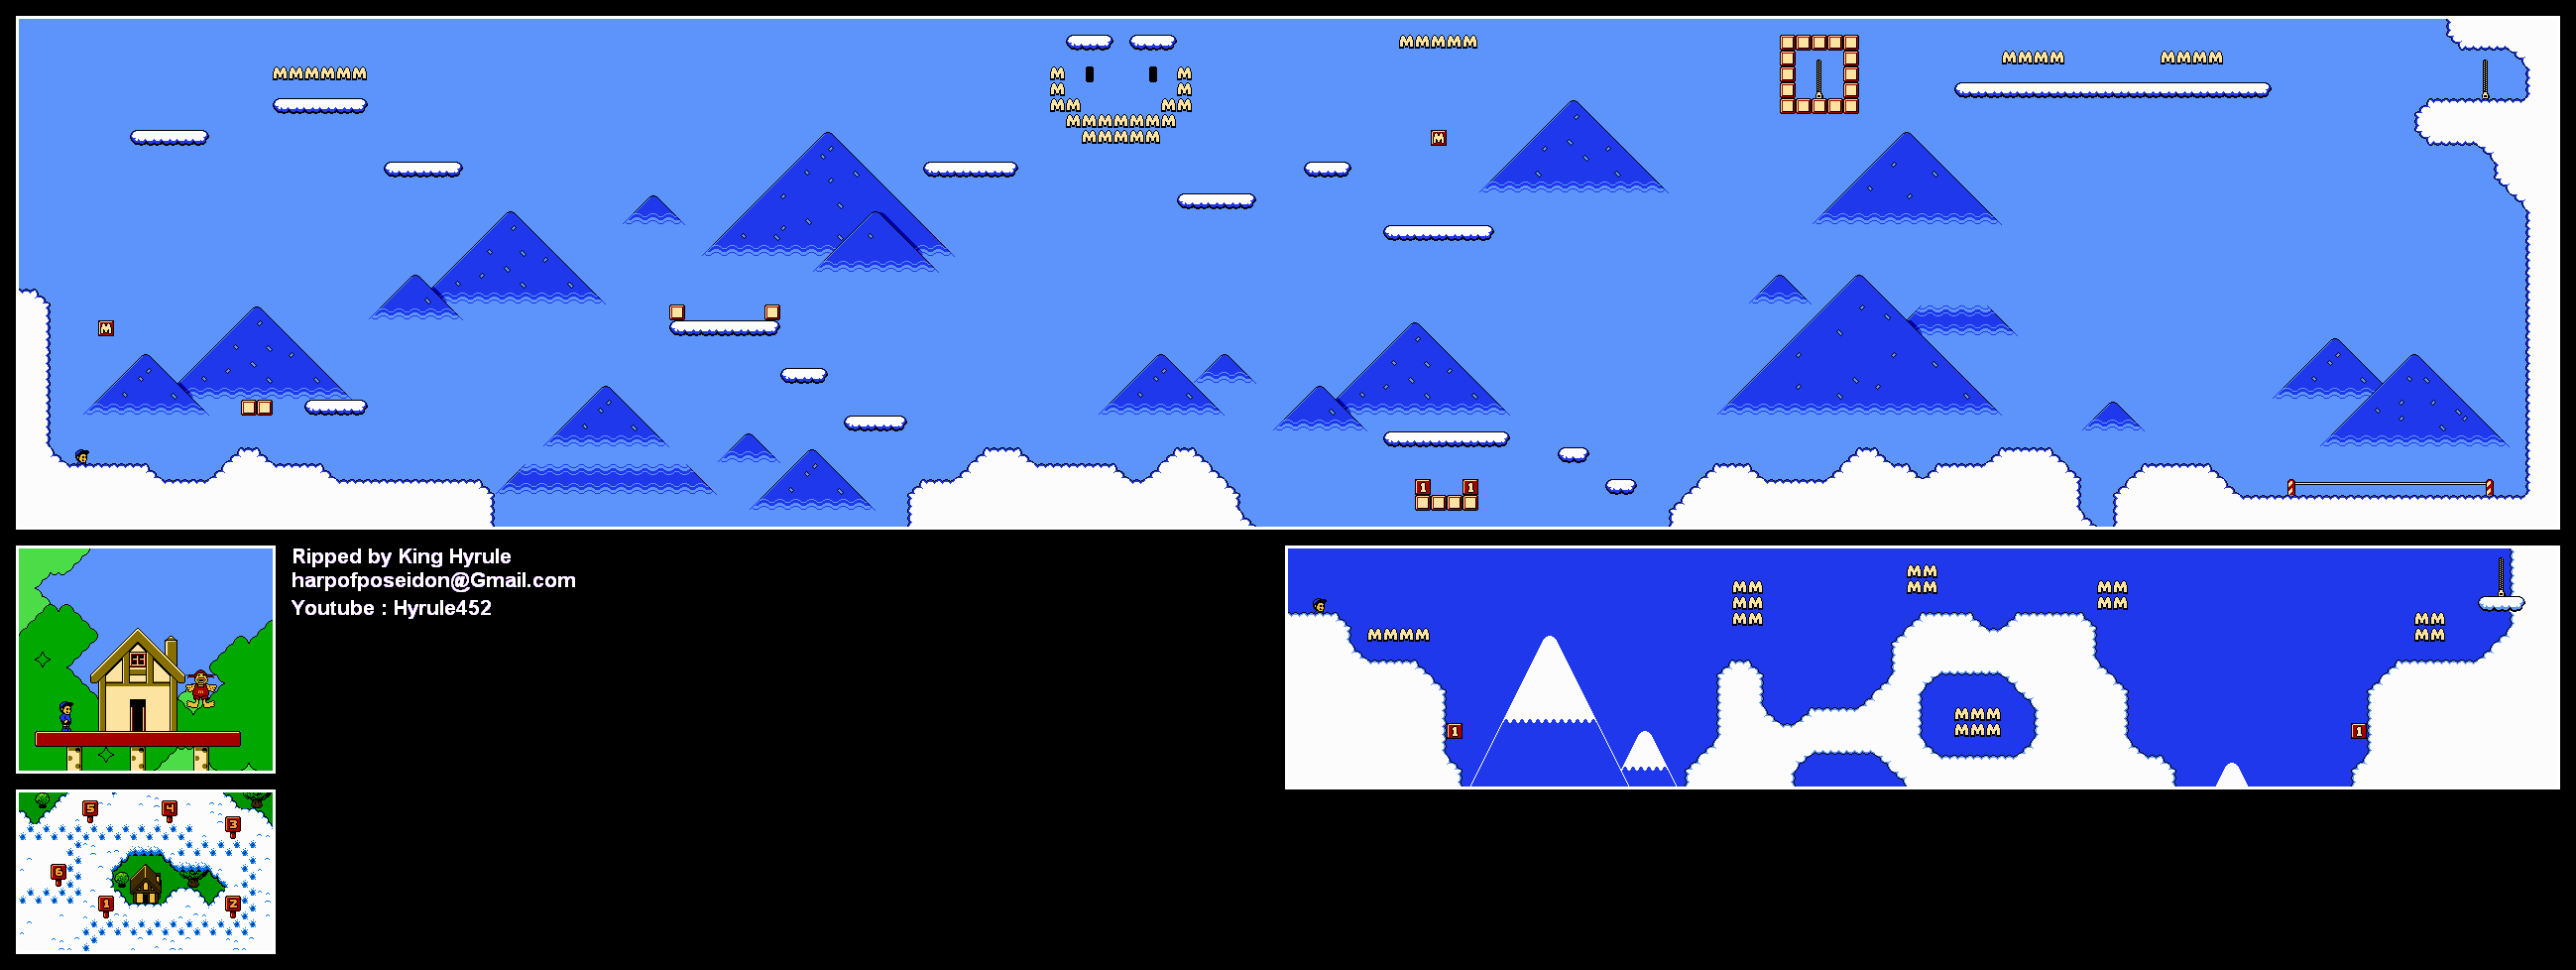
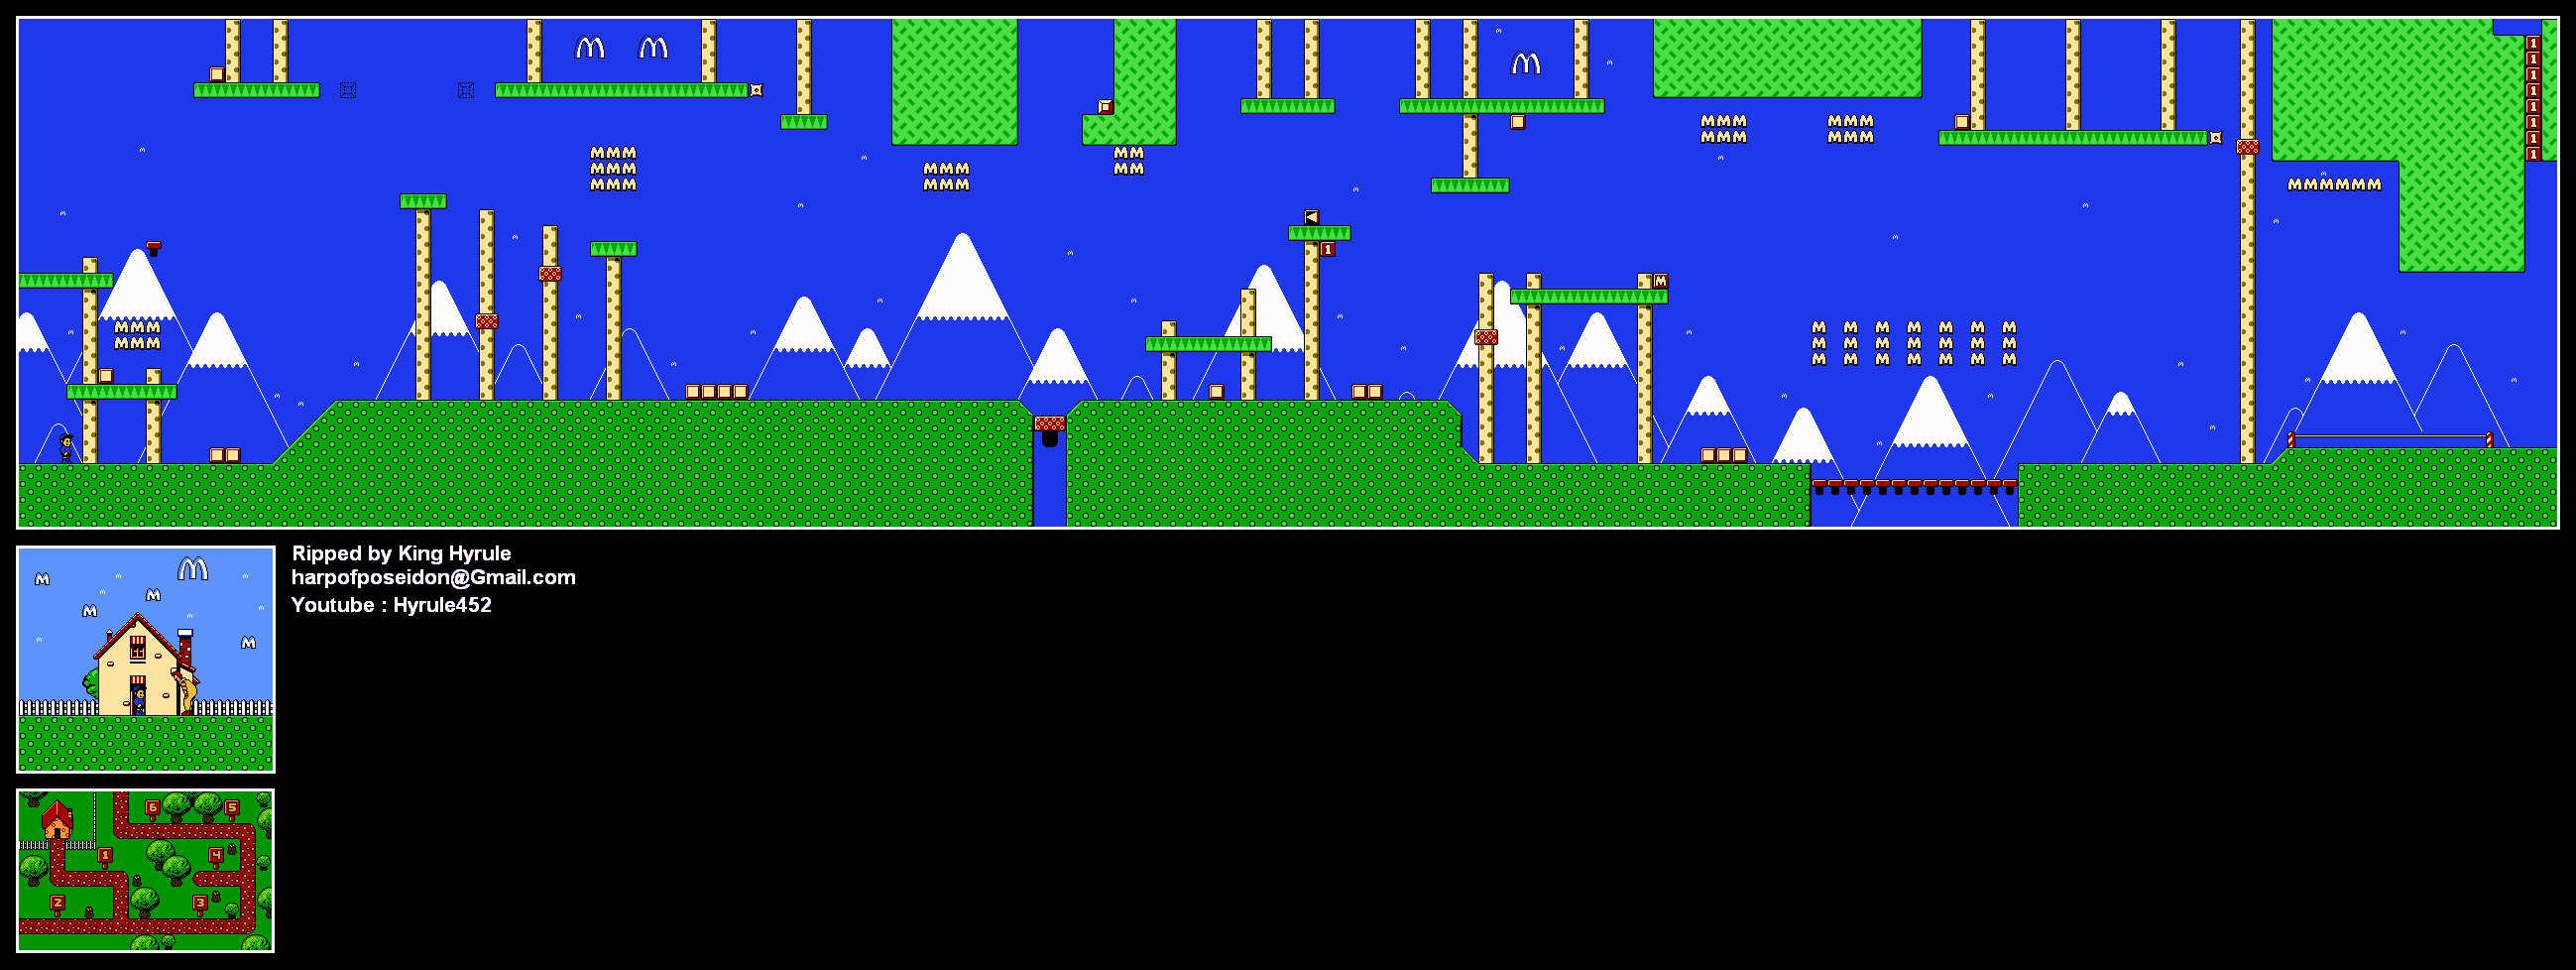
Level 4: Mountain View
This is the first level where you can die from falling into the sky...kinda like Gravity Man's stage in
Mega Man 5. So be careful.


