Guess what? It's another RPG! This time around, it's a hack of the game. It's unchanged, except for one interesting thing...there's two-player mode available, which wasn't available when the game first came out!
Thankfully, you can find a link to said patch in the video description, in case you and a friend want to try it out.
Also, I apologize for the sound in the game being extremely fuzzy.
At over 150 KB and 96 parts (including intermissions and epilogue), this is my biggest one yet. You'd better enjoy watching this as much as I did making this, because this is one of the most hilarious ones I've done in a while.
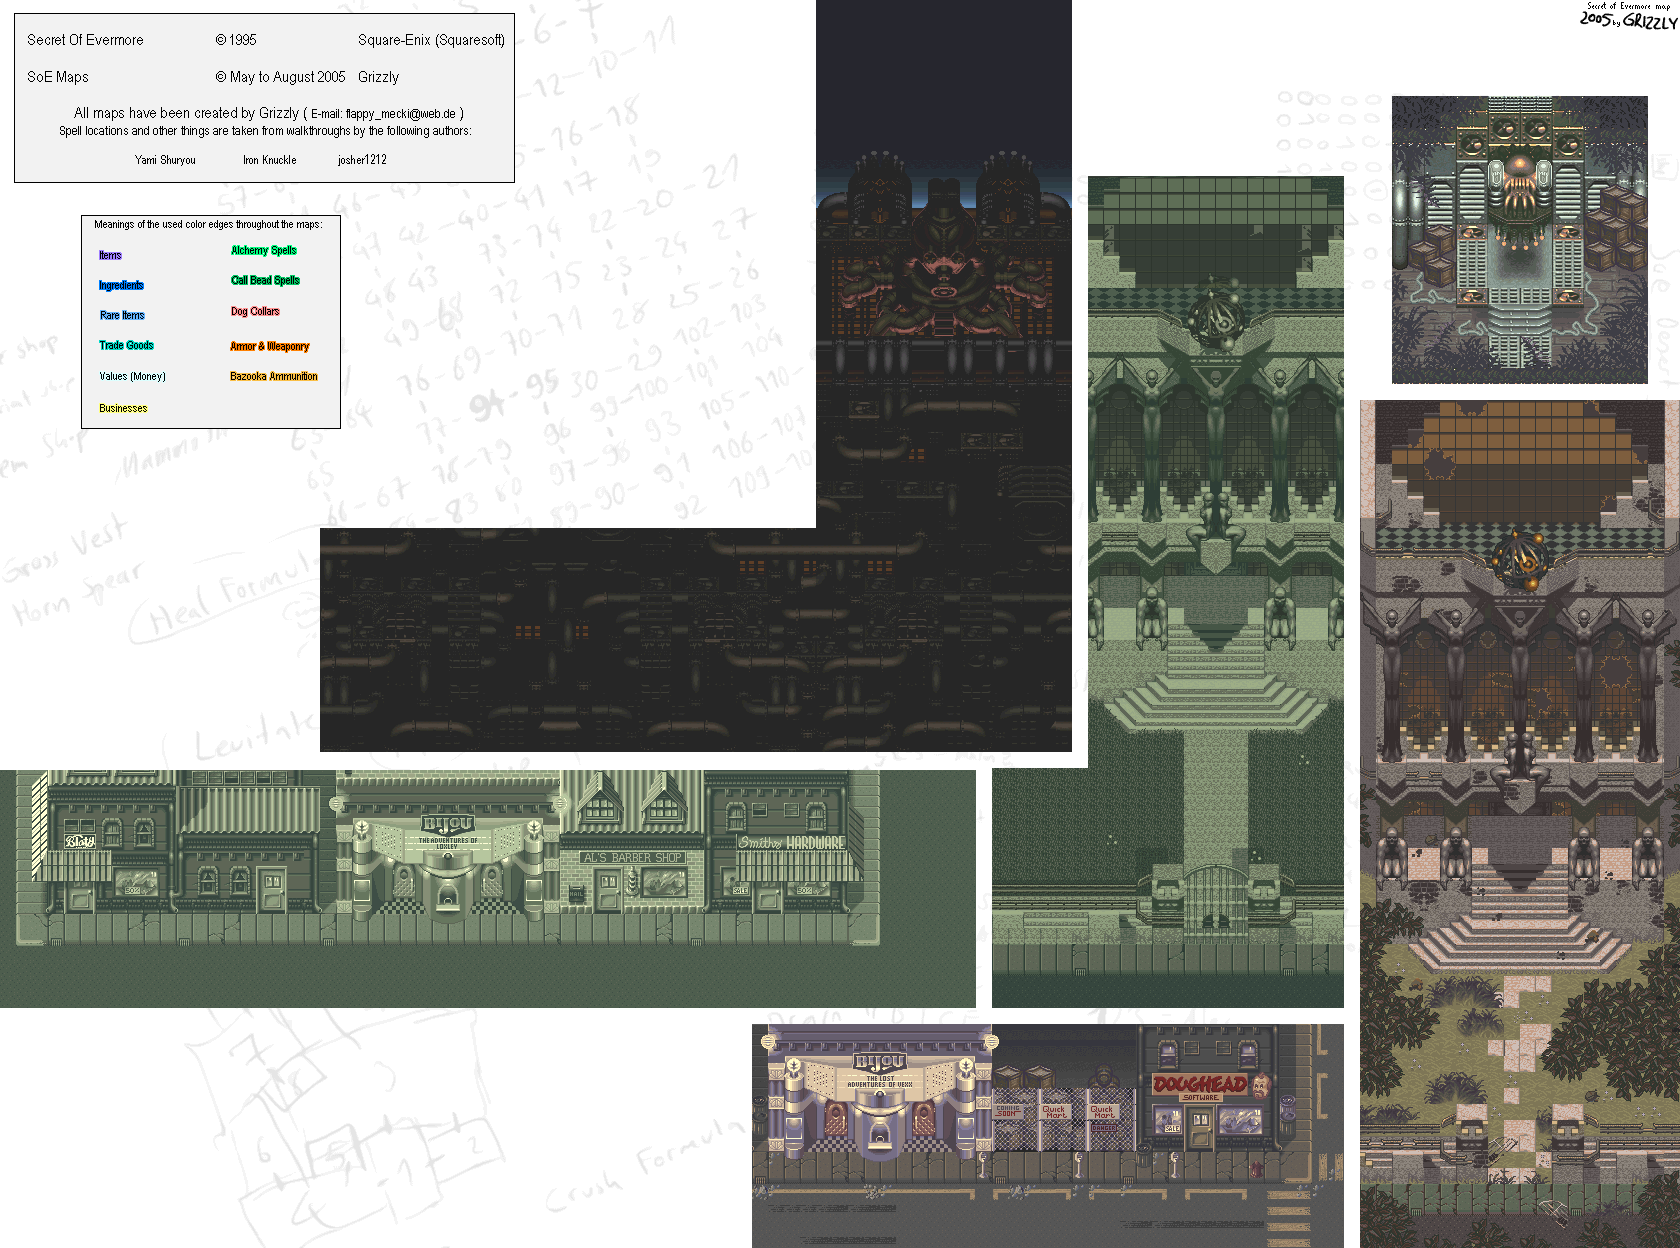
All maps by Grizzly.
Introduction
Fall, 1965
Podunk, USA
A major experiment is about to conclude...however, it goes awry...
Thirty years later...
A boy and his dog happen to come across the abandoned laboratory where the experiment took place. They are transported to a strange place...
The boy tries to find his dog after it chases a cat, but he loses track of the dog. Thinking that it went into the abandoned house nearby, he heads inside only to find a bunch of crates and a teleporter. He also find his dog, who chews on some wires. The teleporter zaps him into another area...
A robot butler sends the boy into a room...and our adventure begins...
Robot Battle
All right, once you're in the room and The Kid's HP appears (I'll refer to the heroes as The Kid and The Dog, since you'll want to name them something different), you finally have control of the game.
Go up to the pod near the stairs and you'll get the Bazooka. When you grab it, two Guardbots will pop out of the portholes below. Wait for your attack meter to hit 100%, then let 'em have it!
When you beat them, you'll enter the porthole for an escape pad of some sort, and you'll find your dog in the cockpit. Unfortunately, you won't be able to control it, and you'll crash-land somewhere...
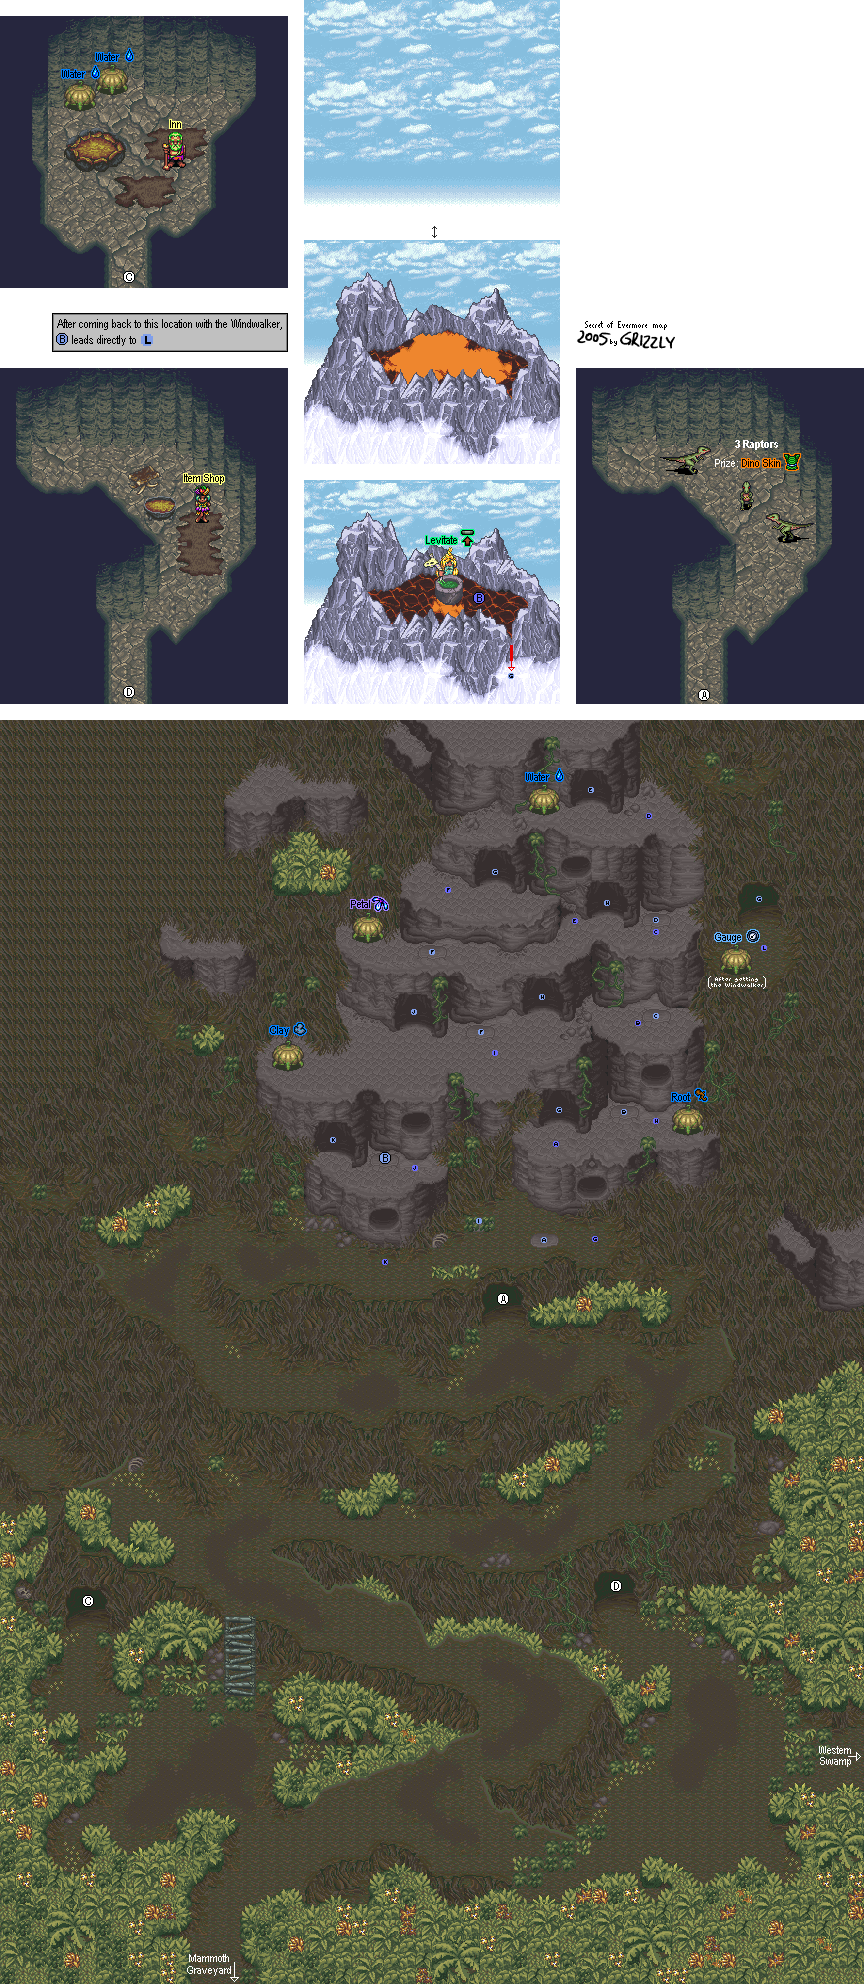
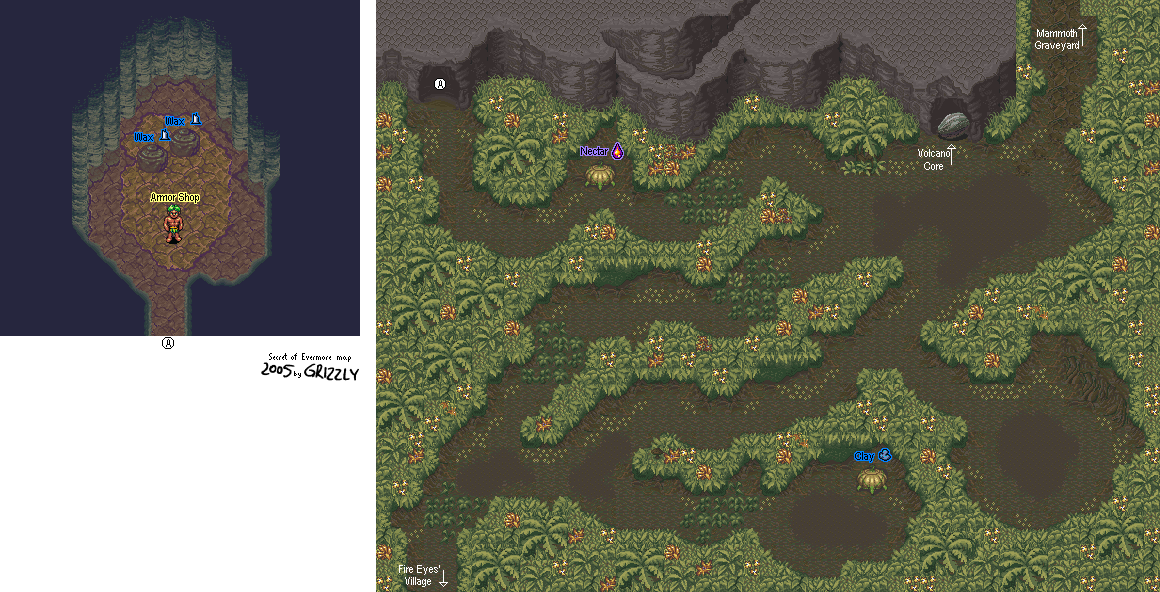
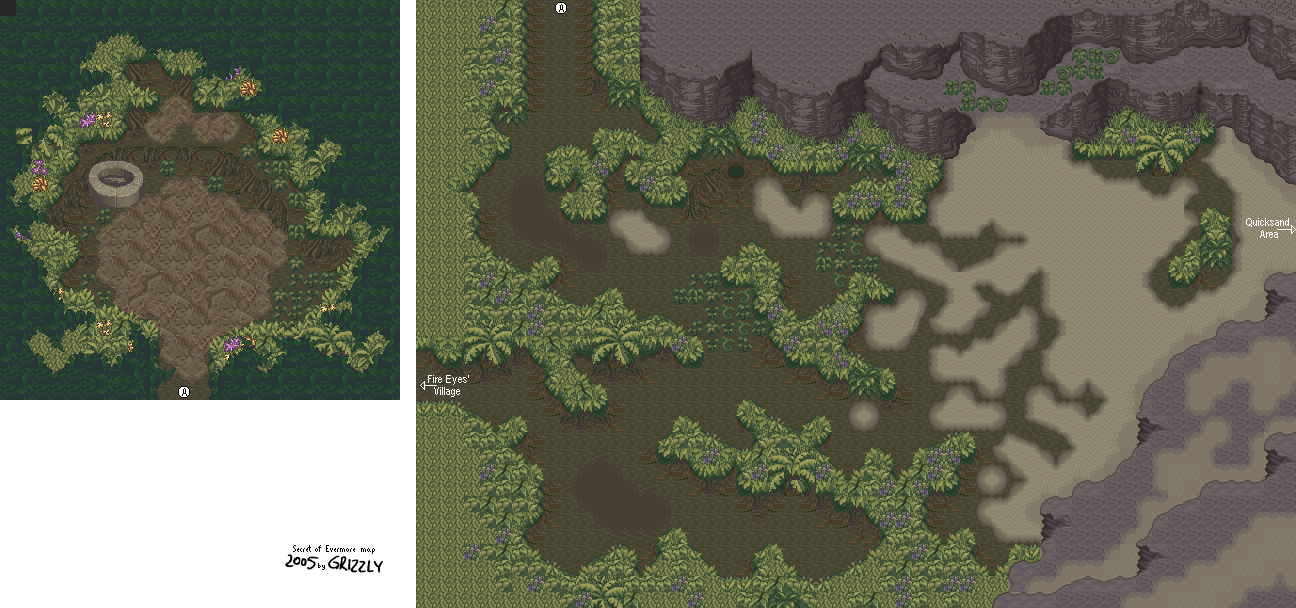
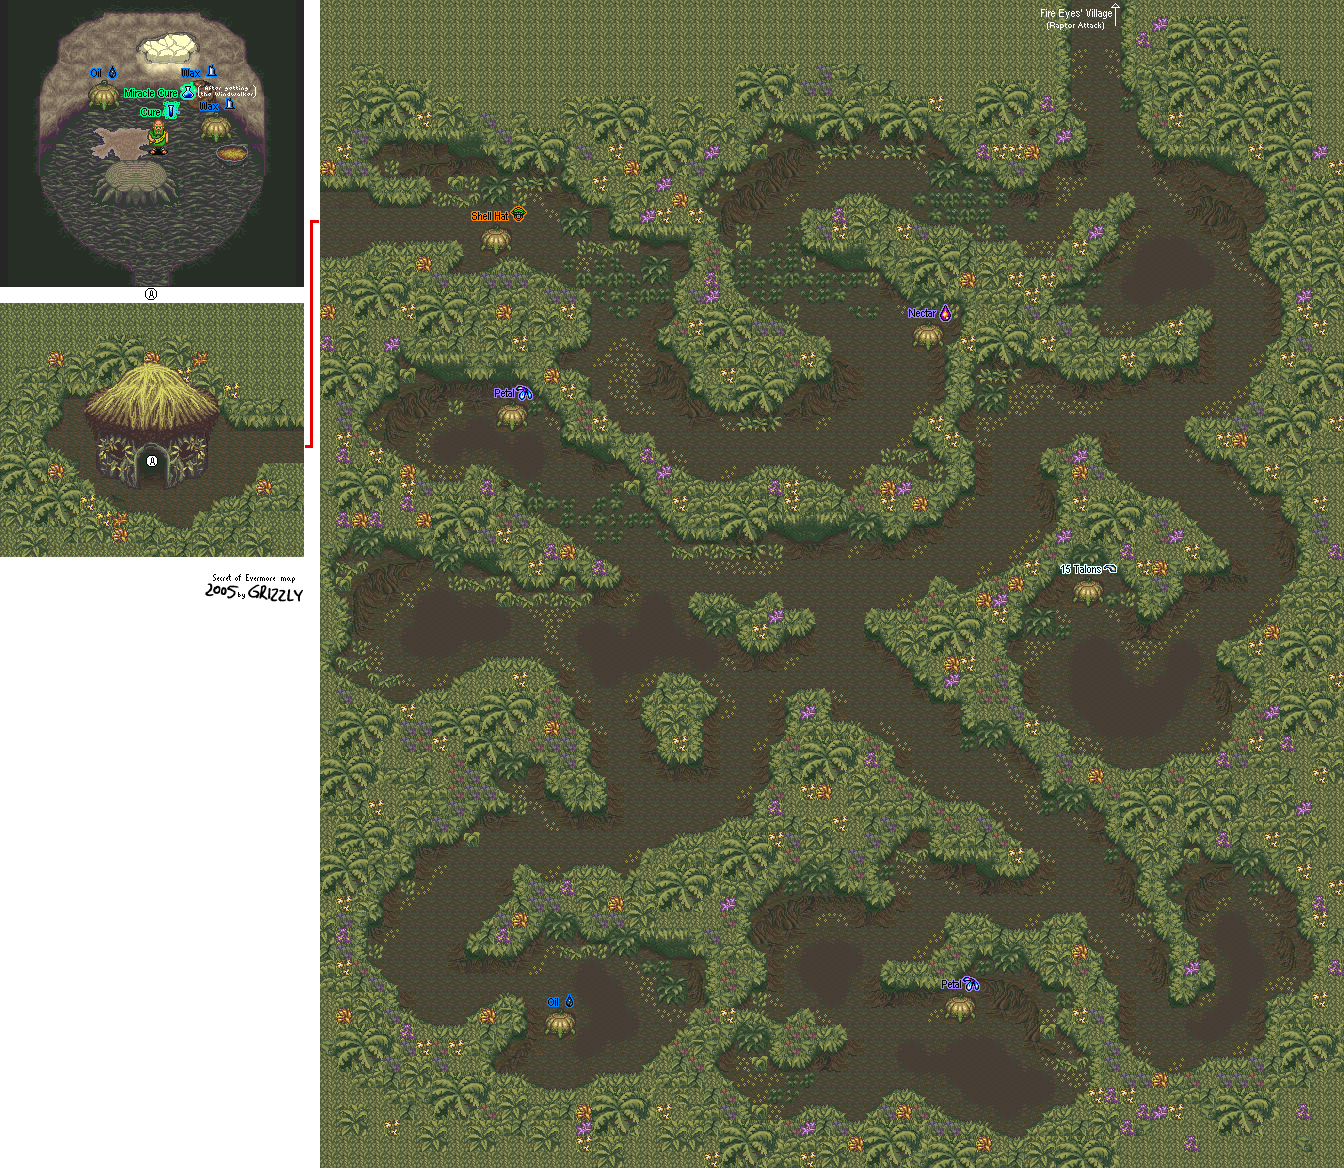
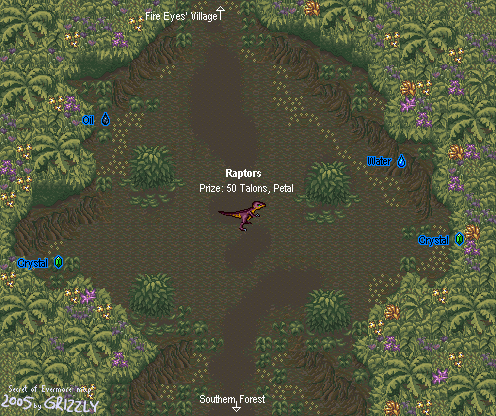
Jungle
When you crash land, you'll end up in a jungle. The escape pod is shot and the bazooka is lost to you, but you find your dog...or at least, you assume it's your dog. You throw a stick to prove it's your dog, but he comes back with a dinosaur bone. This is the Bone Crusher, and it's not only your first sword but also your first weapon.
The Dog has only one attack, and it's a lunge attack. It can be powered up to Level 3, but once it's powered up, it can do some immense damage, especially later in the game.
Walk around the jungle and attack the Wimpy Flowers and Mosquitos. If you find any gourds, pick up the stuff inside. You'll usually find Petals (for healing) and Essence (for curing status ailments), but it's better than nothing.
Controls
Control Pad: Move character
Select: Switch characters
A: Run (you need the Jaguar Ring to do this; hold down to Run)
B: Attack
Y: Your Command Ring
X: Ally's Command Ring
L/R: Dog Sniff (hold down)


.gif)
.png)