I'm going to use this criminally underviewed LP simply because it's the first one I could find that uses the human form at the end. Seriously.
Anyway, this is a Super Nintendo game released by Enix in 1993. The gameplay and storyline is pretty good. There's not much in the way of music, though. Yeah, I'm covering a completely underrated game again.
I have played through this, by the way. Why else would I want to put this on the wait list? It's actually worth beating, since they put at least a good amount of effort into the entire game.
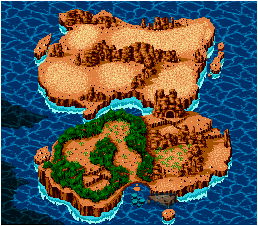
All maps by Tropicon.
I'm also posting the link to the video from GameAnyone.com, since it's criminally underrated, too.
Chapter 1: The World Before Land
500 ~ 450 Million B.C.
After you meet Gaia and you basically see the beginning of the storyline, you start the game.
As a tiny, unimpressive fish.
...
Don't run away, guys. It gets better. I
promise.
Okay? Okay.
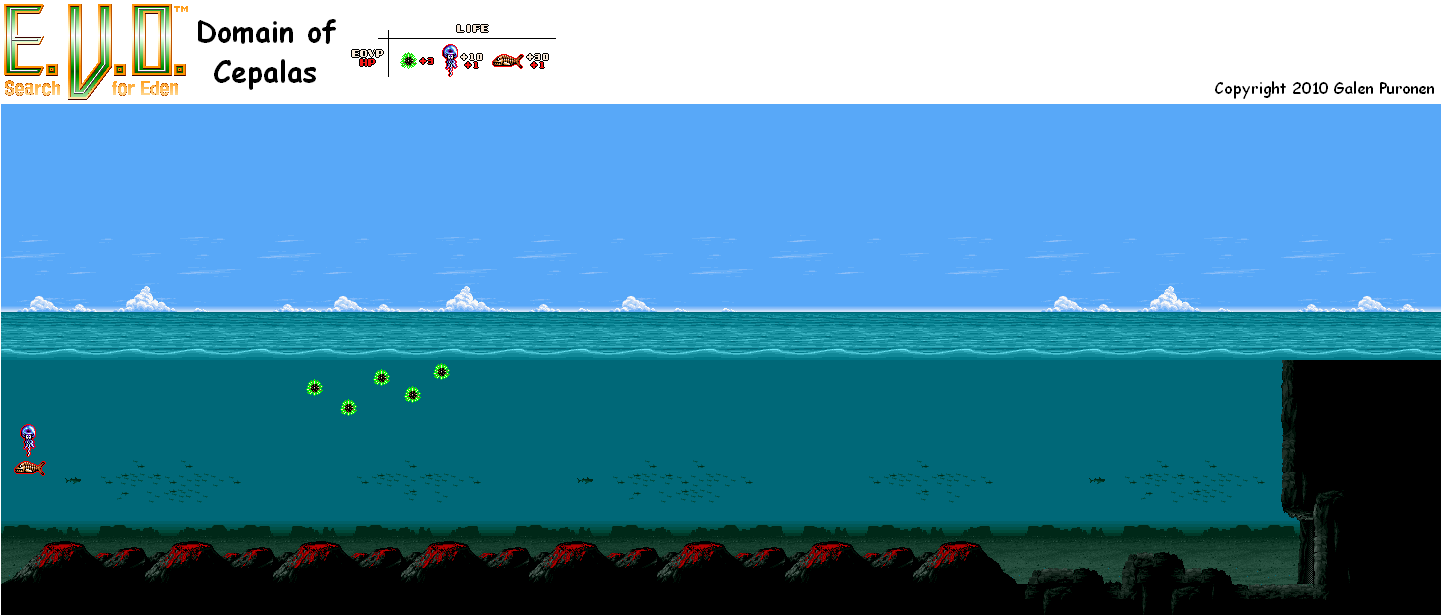
Ocean of Origin
After the first jellyfish tells you about evolution and whatnot, you can basically attack the little jerk, then eat the meat he leaves behind. The meat not only heals you, but it also gives you Evo Points, which basically let you evolve your character, adding and changing to your abilities.
The jellyfish here are pretty weak, thankfully. If you still need some HP, though, the plankton can be eaten, though it won't give you any EP. Just don't run into them or give them the chance to sting you.
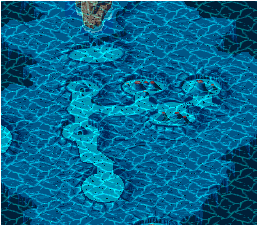
When you make it all the way to the right (which doesn't take long at all), you'll be in the next area. Whenever you're in the world map, you can switch to other areas that you've already completed, which are indicated by the red dot. The green dot is an area you haven't cleared yet.
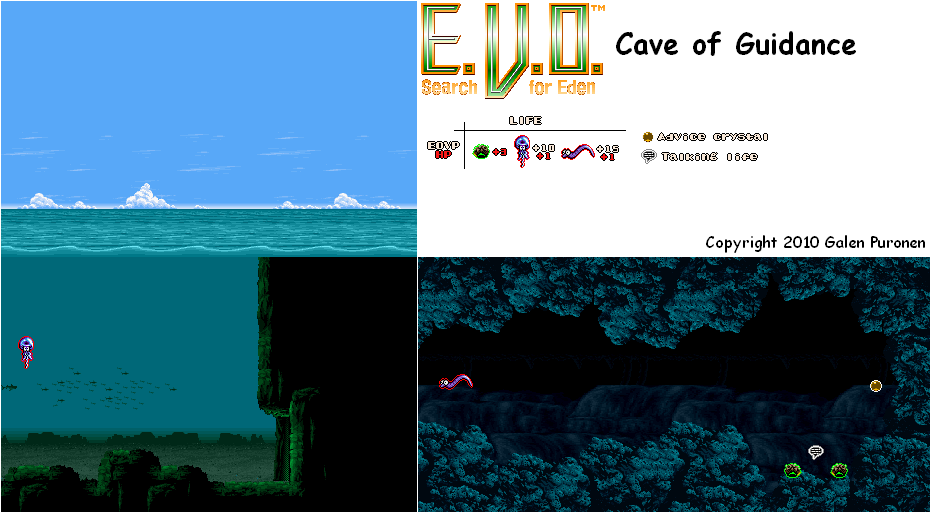
Cave of Guidance
When you enter the cave, you'll take on a few eels. They take a little more damage than the jellyfish and they can be annoying when they walk right into you, but they can't do much besides move around and swing their tails.
You should have at least 200 EP by the time you enter the cave from leveling up. Some of the new evolutionary options, such as a bigger dorsal fin (which allows you to move faster) and bigger jaws (for a more powerful attack) cost this much, but some others cost even more, especially when you're trying to become even more powerful.
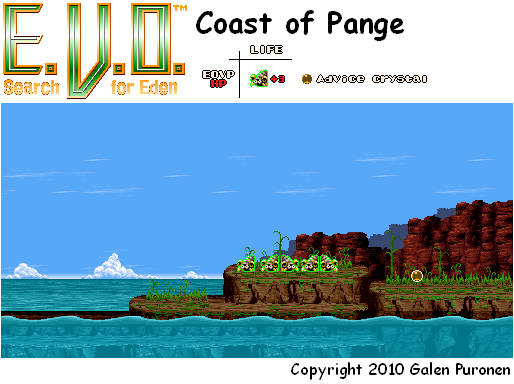
When you approach the sea cucumbers near the end (which you can eat), you'll hear them saying that Gaia has a plan for the fish to create a new world, and that you won't be able to go back after you reach the third volcano in the sea.
If you eat the brown crystal at the end, you'll get a message about how the brown crystals work. You'll also get the basics on evolution:
Evolving your teeth increases your attack power.
Evolving your body increases your defensive power.
Evolving your horn will increase your attack power. (Be careful, as your horn can break after a few uses.)
Evolving your hands, feet, and dorsal fin as well as your tail will increase your agility, HP level and strength.
Evolving one part of your body may decrease the ability of another. (Don't be surprised if you find yourself experimenting in order to build the perfect beast.)
Since you're done here, head out of the cave and leave the same way you came in. You're done here.
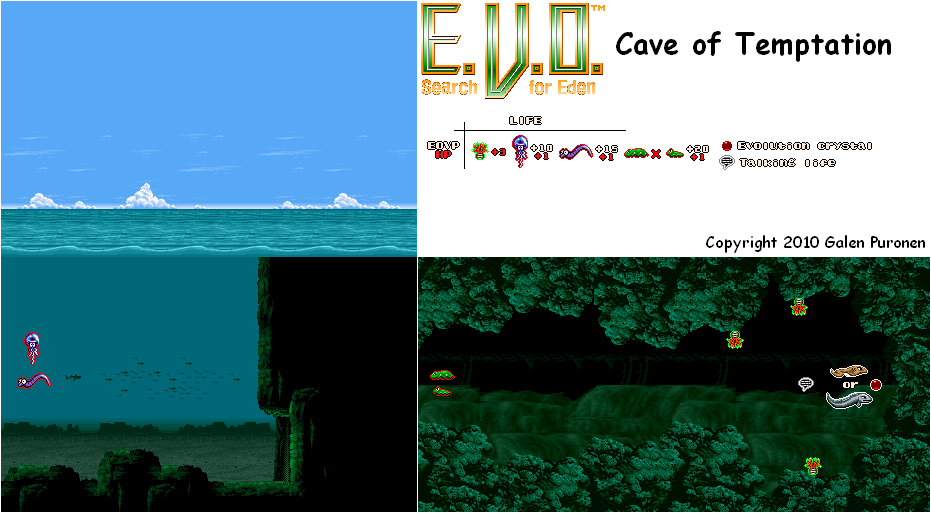
Cave of Temptation
Oh, boy. You might want to level up your attack power in the first two areas before going in here, since the tiny sea creatures in the cave that split into two when you attack them have quite a few HP for this stage in the game. They're not hard, they just require a slightly higher attack power than what you've started the game with.
Thankfully, the two tiny things (I guess they're tiny green manta rays, but I can't really tell what they are) give you 20 EP apiece when you eat the meat they leave behind.
The coral here heal you when eaten. One of them will tell you about the red crystal.
There's a red crystal here that you can eat to transform into something completely different. Eating the one here will turn you into a manta ray with 80 HP. This is temporary, though, so enjoy it while you can.
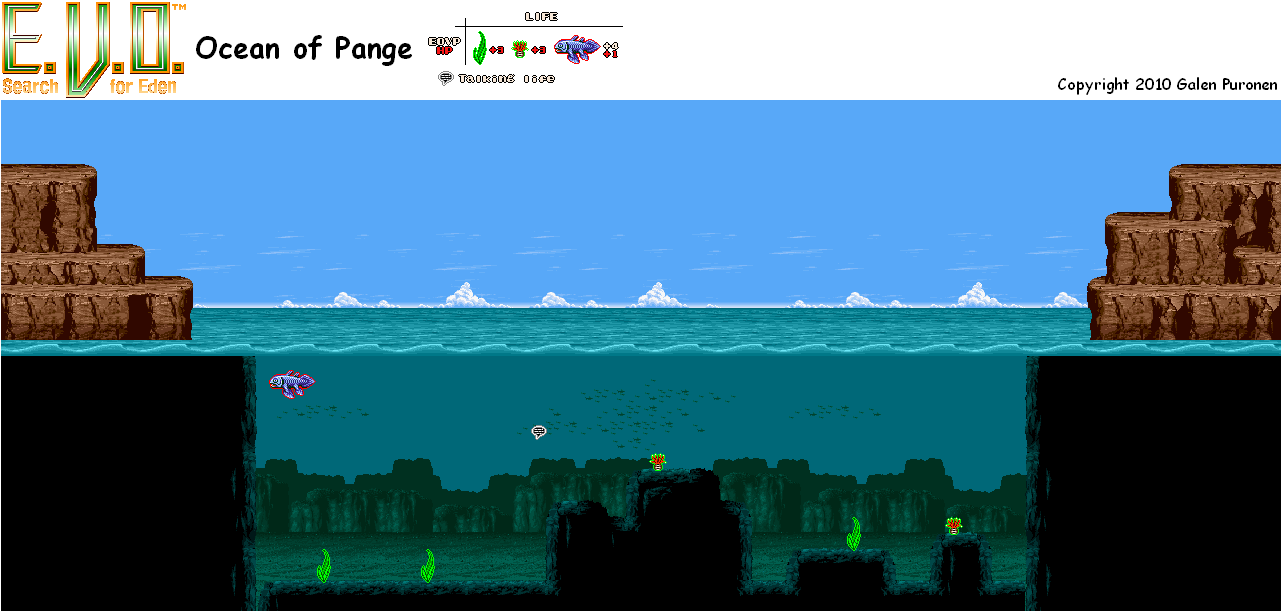
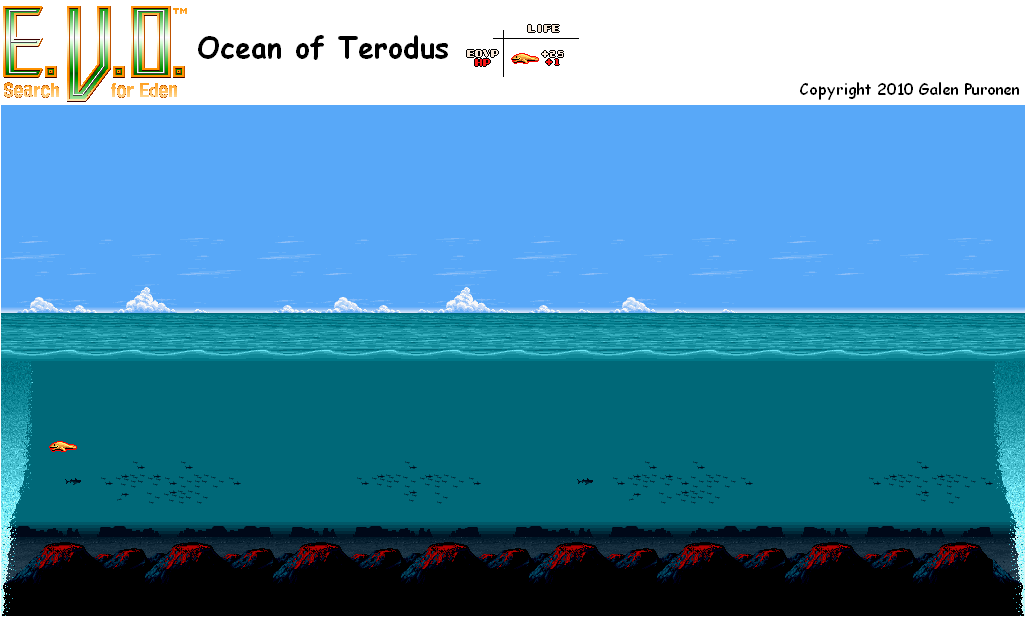
Ocean of Terodus
The yellow fish run away from you. If you've evolved and become fast enough to go after one of them, you can attack them and get some more health and EP.
Move around as you wait for the volcano to erupt. When it does, the wall of bubbles blocking your path will disappear and you'll be able to continue. Just watch out for those rocks. They hurt.
You can jump in and out of the water like a real fish, but it doesn't really serve a purpose. Yet.
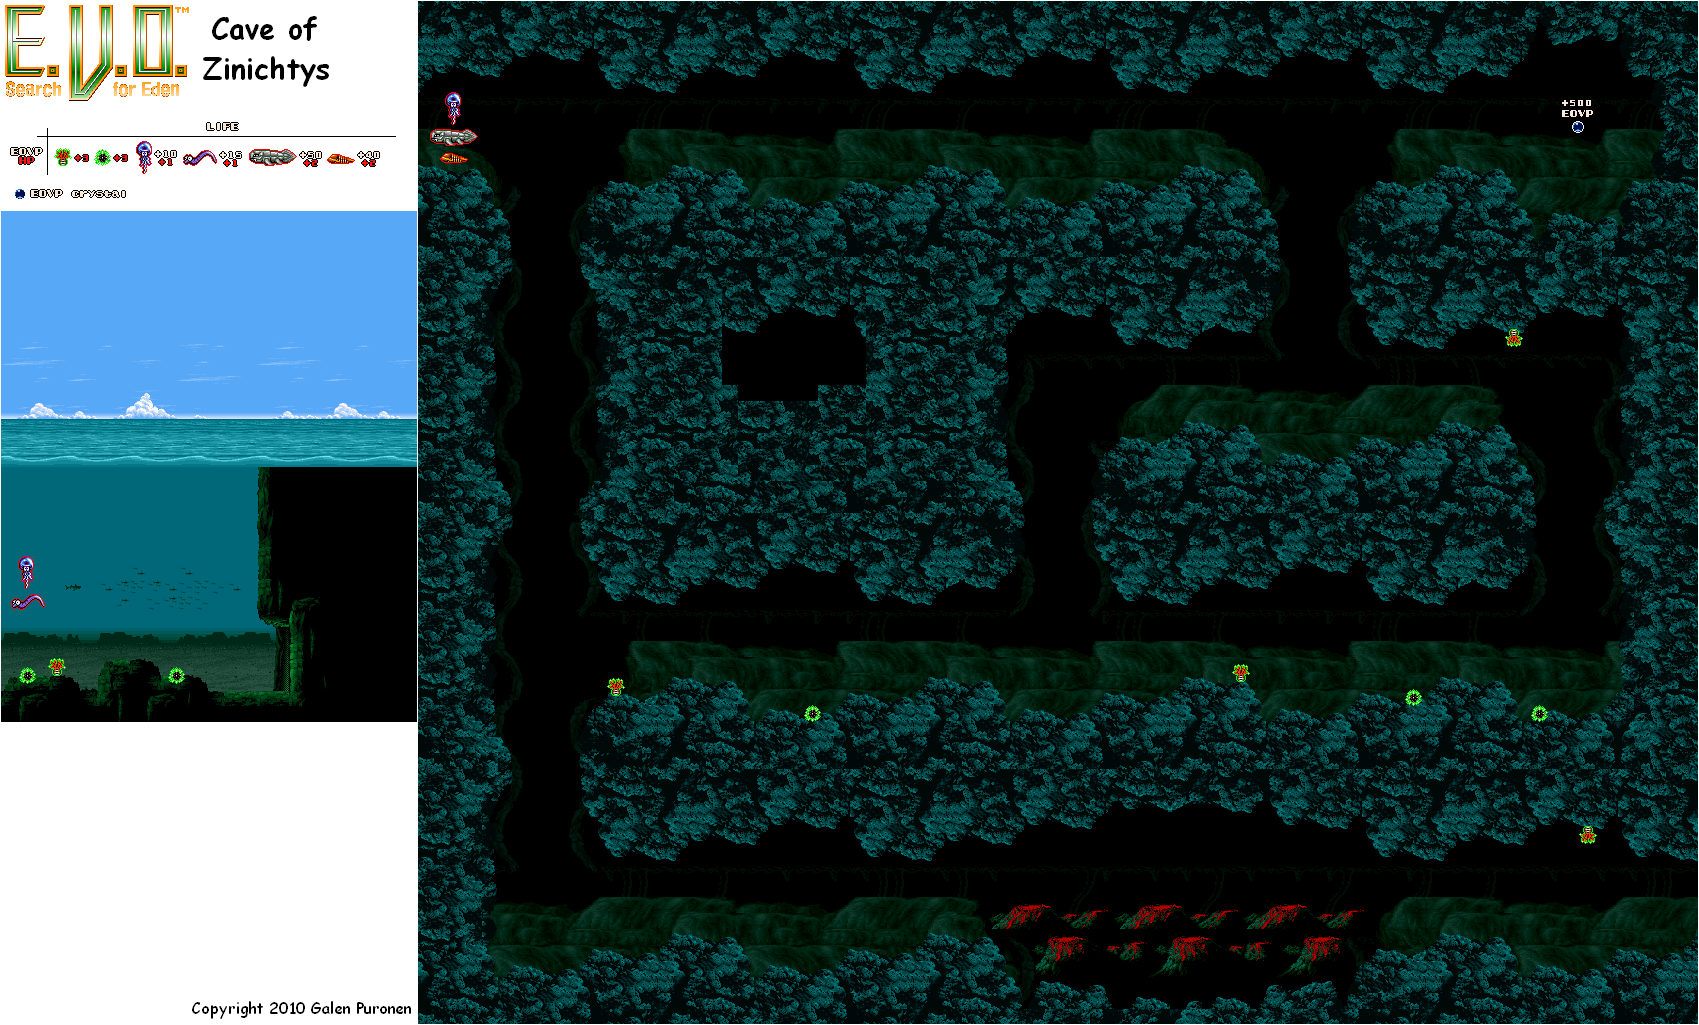
Cave of Zinichtys
You'll see see urchins on the ocean floor. Just like everything else you've seen on the ground so far, these things will heal you when eaten.
When you enter this cave, you'll not only be in a short maze, you'll also take on some
real competition. The fish here are menacing and look like they're armor plated. If you haven't evolved much yet (especially to increase your attack power and HP), this is your excuse to do so. The grey fish give you 50 EP when defeated.
Watch out for the trilobites. They may seem unassumingly weak, but their attack - launching themselves up and down for a few seconds around the area - can pack a punch!


