In this entry, we start facing the insects that are devouring the food across the land in an attempt to give land creatures the edge and the ability to evolve.
Since the last video, I spent an hour getting to almost 6000 EVO Points. As a result, I'm able to evolve some things and bump my stats way up.
If you're in one of the lands long enough, day turns to night. You can then attack the creatures while they're sleeping for a free hit.
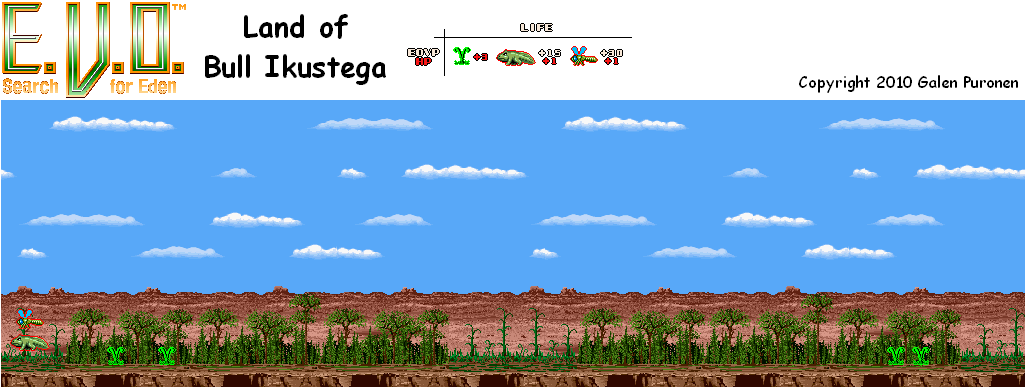
Land of Boss Ikustega
Now you meet one big one. To beat Debustega, keep away from him and bite him when he lands on the ground. You'll definitely want to evolve a little bit before you take him on.
He can also spit green balls at you. Acid, perhaps?
If you have the Power Tail or better, you can reach the dragonflies. They have more than one hit point, so if you don't want to get hit after you knock them down, get some powerful jaws along with that tail or back off as they're coming down before turning around and biting them again. They give you 30 EP, making them worth the effort to take down.
Land of Boss Ikustega
Well, now that we've levelled up, getting some damage on this guy is a lot easier. Your best strategy is to stay on one of the higher platforms and bite Debustega when he's leaping up to your level. Doing that will stun him and bring him back down, which makes timing it right just perfect.
When you defeat him, you'll be able to get up to 400 EP. Head to the right, and you'll meet the Elder of Ikustega. He'll be relieved that you beat Debustega. When he asks you to do him a favor, say yes. He'll tell you that there used to be a lot of plants and that the insects has evolved quickly and have started eating them all up as a result. They have refused to co-exist with the Ikustega and he needs you to take them down.
Just walk to the right and you'll leave the area.
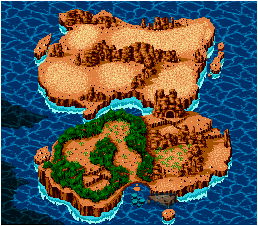
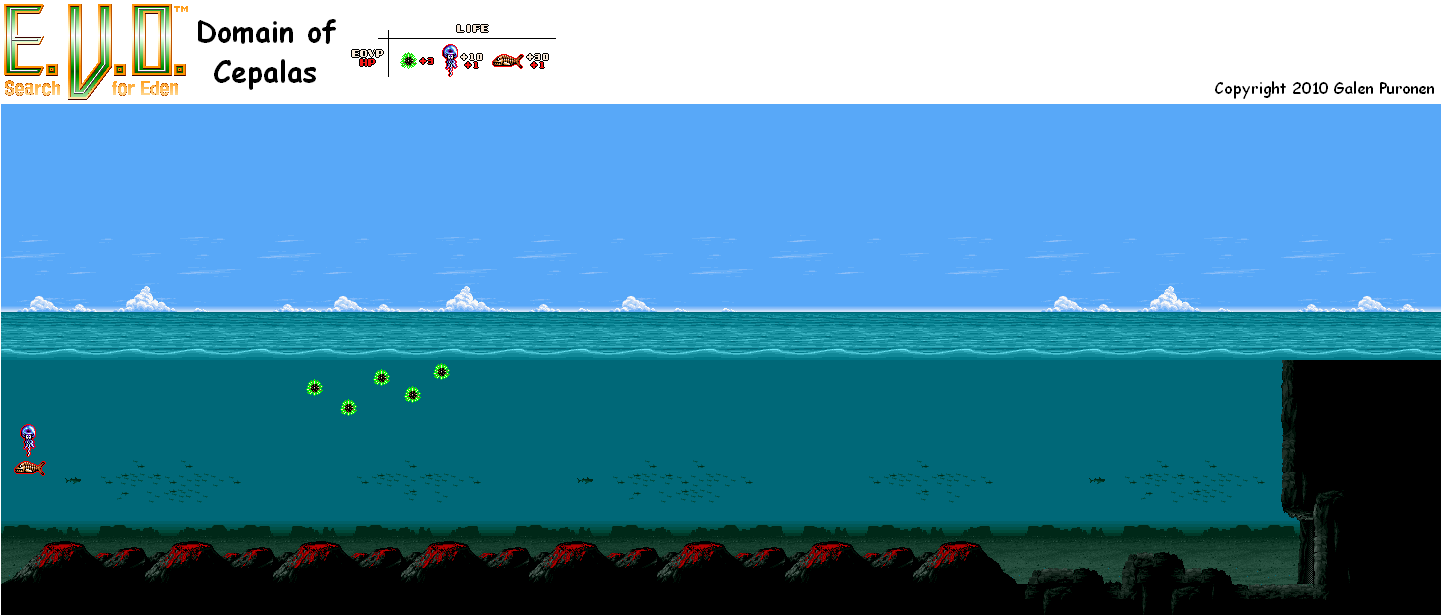
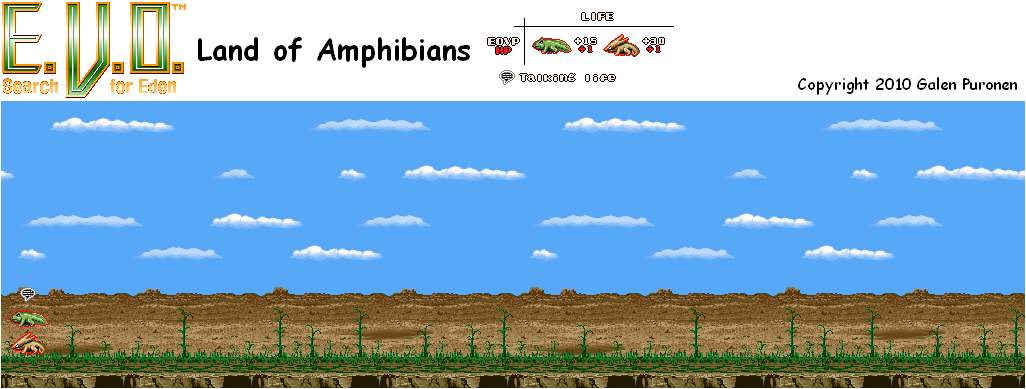
Domain of Profasu
There is now a third fork at the first area. Go there and you'll enter the Domain of Profasu. This is the road that will lead you up north to the end of the chapter.
The Profasu are basically amphibian-sized cockroaches, and they'll scuttle into you in an attempt to beat you up. You'll have to be quick to beat them if your jaws are not strong enough, as they will fly away if you don't kill them in one hit or you're not quick enough to bite them again. These guys leave 40 EP for you, making the Domain of Profasu a really nice place to farm EP.
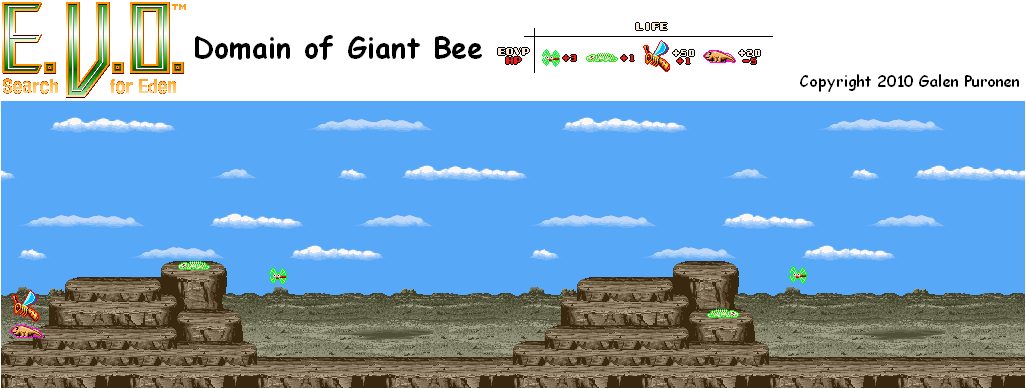
Domain of Giant Bee
Making it all the way to the right in the Domain of Profasu takes you to an area with giant bees in it. The bees fly around and try to sting you, and they also try to grab the tiny Ikustega and run off with them. This distracts them from you, so take advantage and bit the bees for a free hit. These bees drop 50 EP. They also recover 6 HP, which also make them worth it, assuming you have jaws powerful enough to take them down in one hit.
The Ikustega bones and the tiny red dragonfly heal you slightly.
The only problem with this area (which is bearable after a while) is the slight dip in the frame rate.
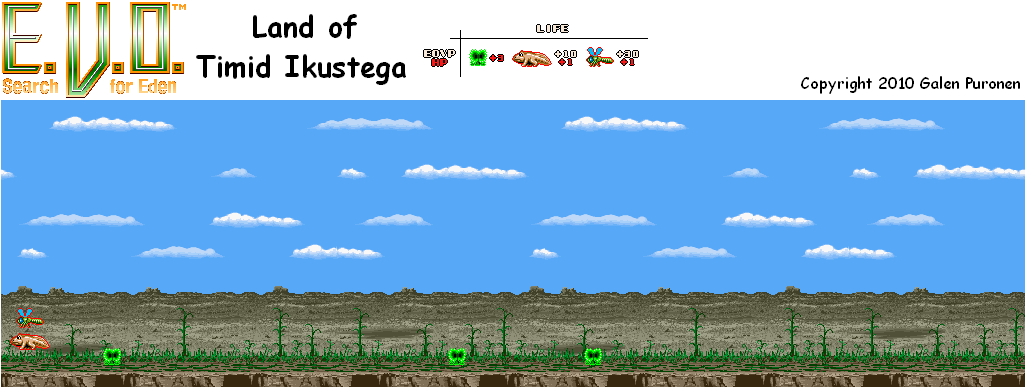
Land of Insect
This is an even better farming point than the Profasu and Giant Bee domains. You still have the giant bees, but they won't be able to attack you at all because they're too busy carrying those tiny Ikustega around. Since these things will always keep spawning, you can definitely farm EP here.
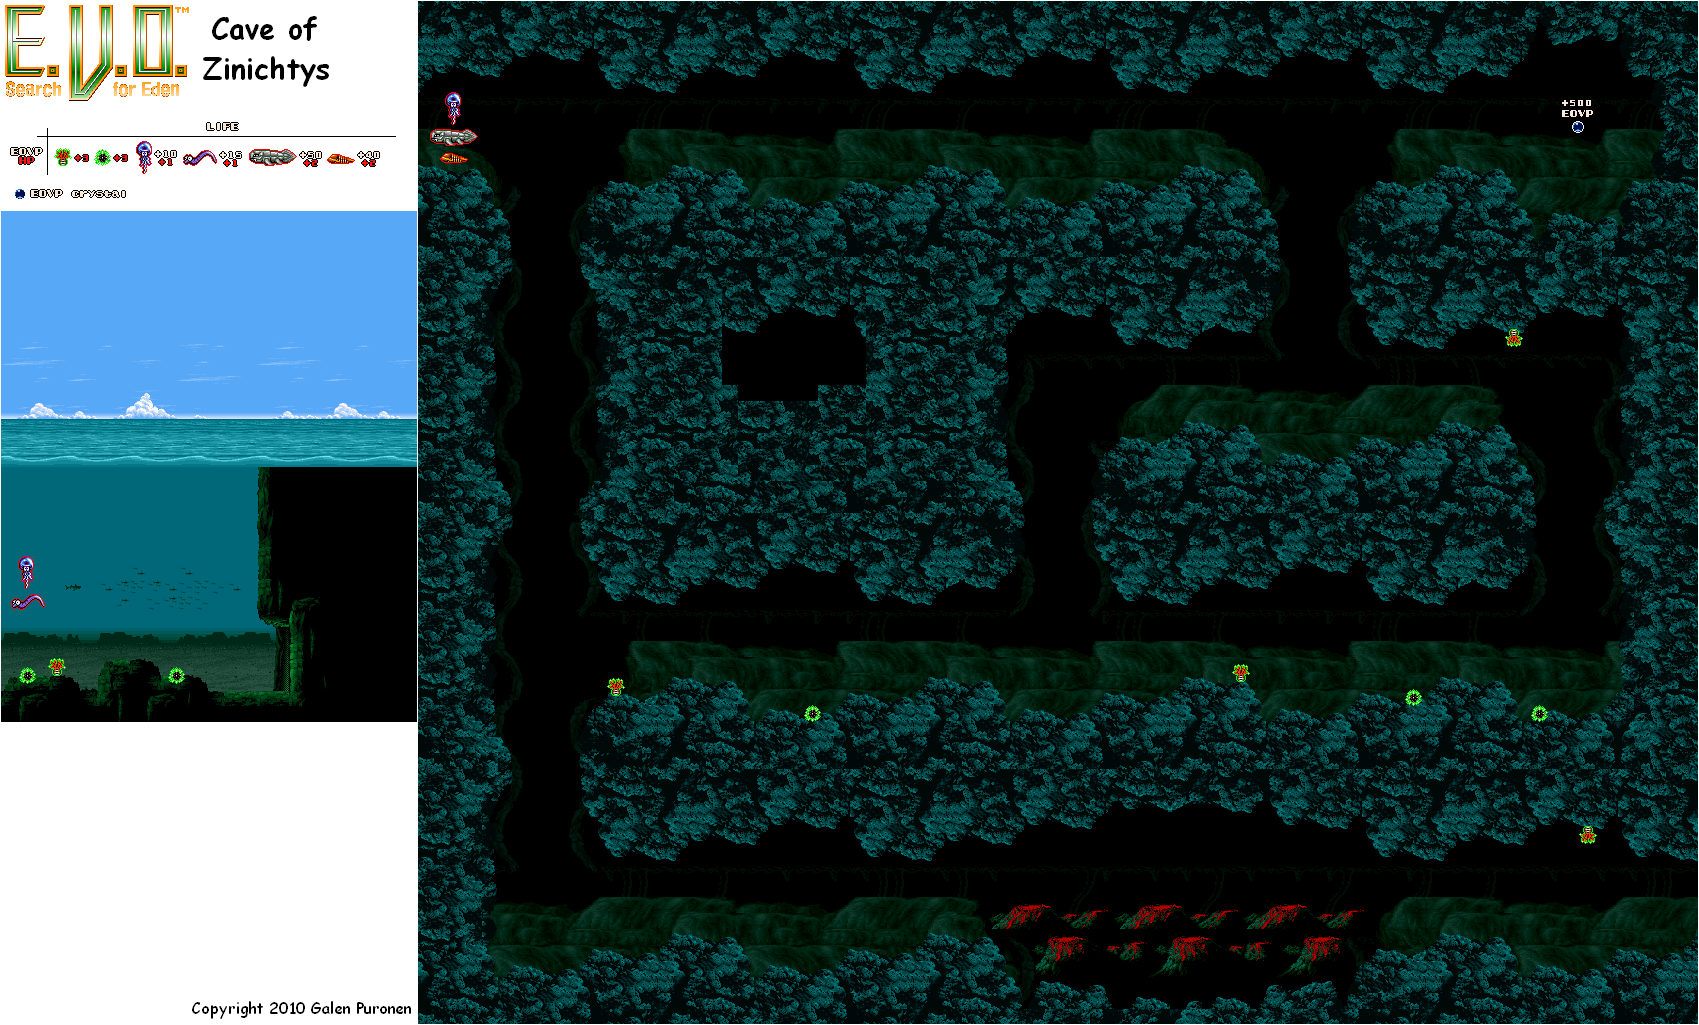
Cave of King Bee
Well, if those bones are a tell-tale sign, the King Bee must be strong.
An Ikustega (probably the dad of the kid that followed the elder around) walks out and is about to collapse right in front of you. He asks you to eat the food he's collected in order to prepare for the King Bee. Eat it, as it heals 49 HP and gives you 1000 EP. Thanks, game.
Once you enter the cave, eat the eggs as well as the little blue worms that pop out. At 20 EP apiece, these are a great way to get stronger at the last second if you need just a little bit more.
Remember, it's the eggs that don't wobble that contain the blue worms.
Once you make to the end, it's just you and the King Bee. Don't stand below it and stay out of the way whenever it shoots out the stingers, as those stingers pack a punch and they can end you instantly. Keep on moving - and quickly! - and they should hopefully miss you.
The best thing to do prior to this battle is to get the best tail, and evolve your dorsal fin to one of the 1000 EP varieties in case you run low on health. From there, you can jump as high as the ceiling and hit this guy before he can attack, canceling all that stinger stuff out and causing the King Bee to reposition himself.
If the King Bee flies into the ceiling, run like hell to avoid the stingers.
When you beat him, you'll get 1200 EP.
Walk all the way to the right, and you'll come out of the cave. You'll meet a dragonfly named Megausu who didn't agree with a lot of thing the King Bee did. He'll tell you that the Sand Eater is near, and that he's pretty powerful.
Desert of Sand Eater
From here on out, the path is linear.
Avoid the tentacles and the sand they spit out, and just make your way to the right.
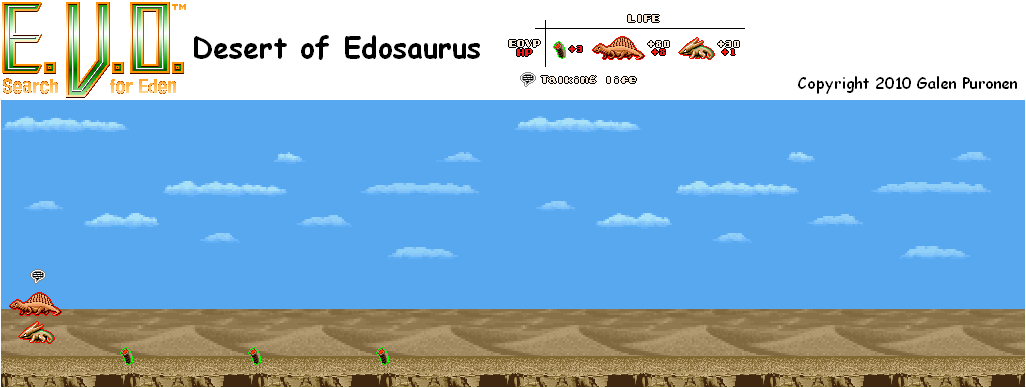
Desert of Edosaurus
The Edosaurus will basically tell you that if you're not a reptile, you're screwed. Guess what? We don't care. And these guys are going to be chewed up.
The Edosauruses dig into the sand and try to tail whip you in retaliation. They give you 80 EP, which is pretty nice.
The brown creatures that look like worms coming out of the sand heal you when eaten.
Desert of Mosuchop
The Mosuchops come out of the sand to try and attack you. If it is night, they will come out of the ground and walk around due to the cooler temperatures. Thankfully, you can see them coming and bite them as soon as they come out. They give a good amount of EVO Points, so I end up getting more points here before the next video.


