Showing posts with label SovanJedi. Show all posts

Sunday, December 29, 2013

brickroadbrickroad and SovanJedi play Secret of Evermore - Part 88 of 88


Everything finally comes to an end in this entry!

The Boy and The Dog get everyone back, and everyone returns to the real world. The Dog is back in his real form when they return to Podunk.

The Boy wonders if everything they went through was real, then return to the theater and find that the movie currently playing is called "The Secret of Evermore."

Meanwhile, the others are back at Professor Ruffleberg's abandoned mansion, wondering what will become of Evermore.

Strong Heart is the new leader of Fire Eyes' Village, Madronius is the new leader of Nobilia, and the King now rules Ebon Keep. We also see the Windwalker one last time, and the evil robot clones are now part of Percival Plank's exhibit.

When you wait a while after it says "The End," you'll find that Carltron is now a docile robot...or is he?

If you wait a while after the credits (about 30 minutes), you'll find out that Brian Fedrauh is credited for "Dolly Grip." If you wait a little longer after that (another five minutes), you'll get the message "It's Bill's fault."


Saturday, December 28, 2013

brickroadbrickroad and SovanJedi play Secret of Evermore - Part 87 of 88


Here it is. Part one of the ending.

The video wall is destroyed with a brilliant white flash. Carltron was controlling the robot via a remote, which he still presses the buttons on when it's destroyed. Professor Ruffleberg turns him off, and then Carltron disappears.

Professor Ruffleberg holographically sends you back to Evermore, where you'll witness Evermore imploding on itself now that Carltron's influence has been destroyed. The only way to let Evermore survive is to remove the influence of both you and the people involved in the botched experiment. Your only hope is to find Elizabeth, Horace and Camellia and bring them back to the space station so that the Professor can send everyone back to the real world.

brickroadbrickroad and SovanJedi play Secret of Evermore - Part 86 of 88


For the first time ever since Jurassic Park: dinosaur genocide. Yeah, I went there.

All maps by Grizzly.

Metal Raptors


Your first opponents in this epic battle are six, metallic blue Raptors. They'll teleport into the room from the video screen...and boy, do they pack a punch or what?

They fight just like the regular Raptors. Take to them with Energized Dog Attacks and Cryoblast. These things have a lot of hit points (as well as a really nice high metallic screech when they attack).

Whenever you destroy a monster, it turns into dust. When you defeat one wave, a cleaning robot comes in to clean up the mess. DO NOT DESTROY THE CLEANING ROBOTS. If you do, a Death Spider comes in, and those things are quite powerful, especially when you're up against more than one. If you do trigger a Death Spider, you'll have to destroy any and all of them on the screen before you can begin the next wave.

When you destroy the first two, you'll take on two more. Finish them off like you did before. Then let the cleaning robot do his thing. And you'll get one last wave. After the cleaning robot makes another pass, you'll then get...
 

Eyes of Rimsala


You get three of these, and just like their red and gold Antiquan cousin, these will roll all over the room. Thankfully, these things are weaker than the metal Raptors, especially if The Boy and The Dog are both Energized. This shouldn't be too hard, just keep them away from you.
 

Bad Boy and Dark Toaster


Once you take down the Eyes of Rimsala and the cleaning robot takes care of business, you'll fight Bad Boy. Guess what? The Level 3 Dog Attack wipes him out in one shot. Watch him turn to dust, then you'll take on the Dark Toaster...an evil clone of the robot dog.

Guess what? He's nothing like Bad Dawg.

This thing will attack with The Dog's laser attack, which does double-digit damage when it connects. Keep your characters healed.
 

Metal Magmar


The next opponent is a much more powerful version of Magmar. He has the same attacks, and the video screen acts as the lava in this face. If he leaps towards it, hit him. That'll make him change his mind really quickly.

He also has the ability to cast Crush as well as Heat Wave, so be on the lookout for that.

Carltron's Robot


Here it is...the moment you've been waiting for!

Carltron's Robot jumps around and fires rockets at you from the north side of the wall. If you ever get close, you'll set off explosions that will cause a lot of damage.

Your best bet it to hit him while he's in mid-air. That way, you don't have to worry about trading punches every single time you attack.

When you take him down, the game is over. Enjoy your ending, which is in the next two entries.

Friday, December 27, 2013

brickroadbrickroad and SovanJedi play Secret of Evermore - Part 85 of 88


Well, this is it. The final battle.

After more than three months, a long wait, and about a month and a half of posting all these entries, we've finally taken it full circle.

All maps by Grizzly.

Final Preparations


Main District

Time to go through the Main District one more time. Leave the Professor's laboratory and head to the Boiler Room.
 
Shopping Center

If you need Iron, go to the Shopping Center. Easiest place to find it. Go ahead and use the Inn and save here, while you're at it.

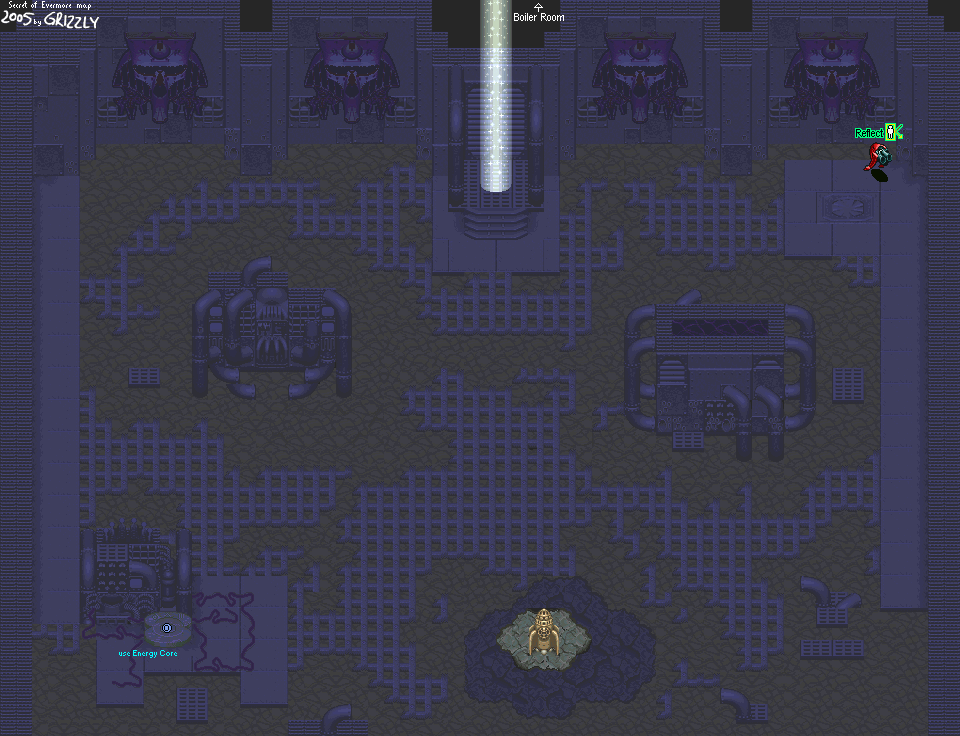
Get to the left end of the Boiler Room, get to the junkyard, and go west of the rocket. There will be the teleporter that takes you to Carltron. Insert the Energy Core, and you'll step onto the teleporter pad. This will take you to the room in the middle of the Main District. Go down the porthole. There's no turning back, so you'd better be prepared!
 

Final Boss


Fans and Speakers


Your first order of business is to destroy all the fans and speakers on the northern wall. The fans blow you back a little less gently than normal, but the speakers quickly knock you all the way back to the other side of the room. Either way, you'll be constantly blown back, so use Energize on both characters (use it solely on The Dog and get the bazooka equipped on The Boy for best results). Take the bombs that come out of the pipes and knock them into the fans and speakers with your melee weapons. The Cryoblast bazooka ammo will also work well here, as well as with all the bosses in this final chamber. Remember, you have infinite ammo because of the programming, so use it.

When you destroy all the fans and speakers, get healed up and prepared and whatnot. Then, flick all the switches and you'll trigger a large video wall...and epic boss music!

brickroadbrickroad and SovanJedi play Secret of Evermore - Part 84 of 88


It's a quick jump to Gothica for the Energy Core, then it's back to the space station...

All maps by Grizzly.

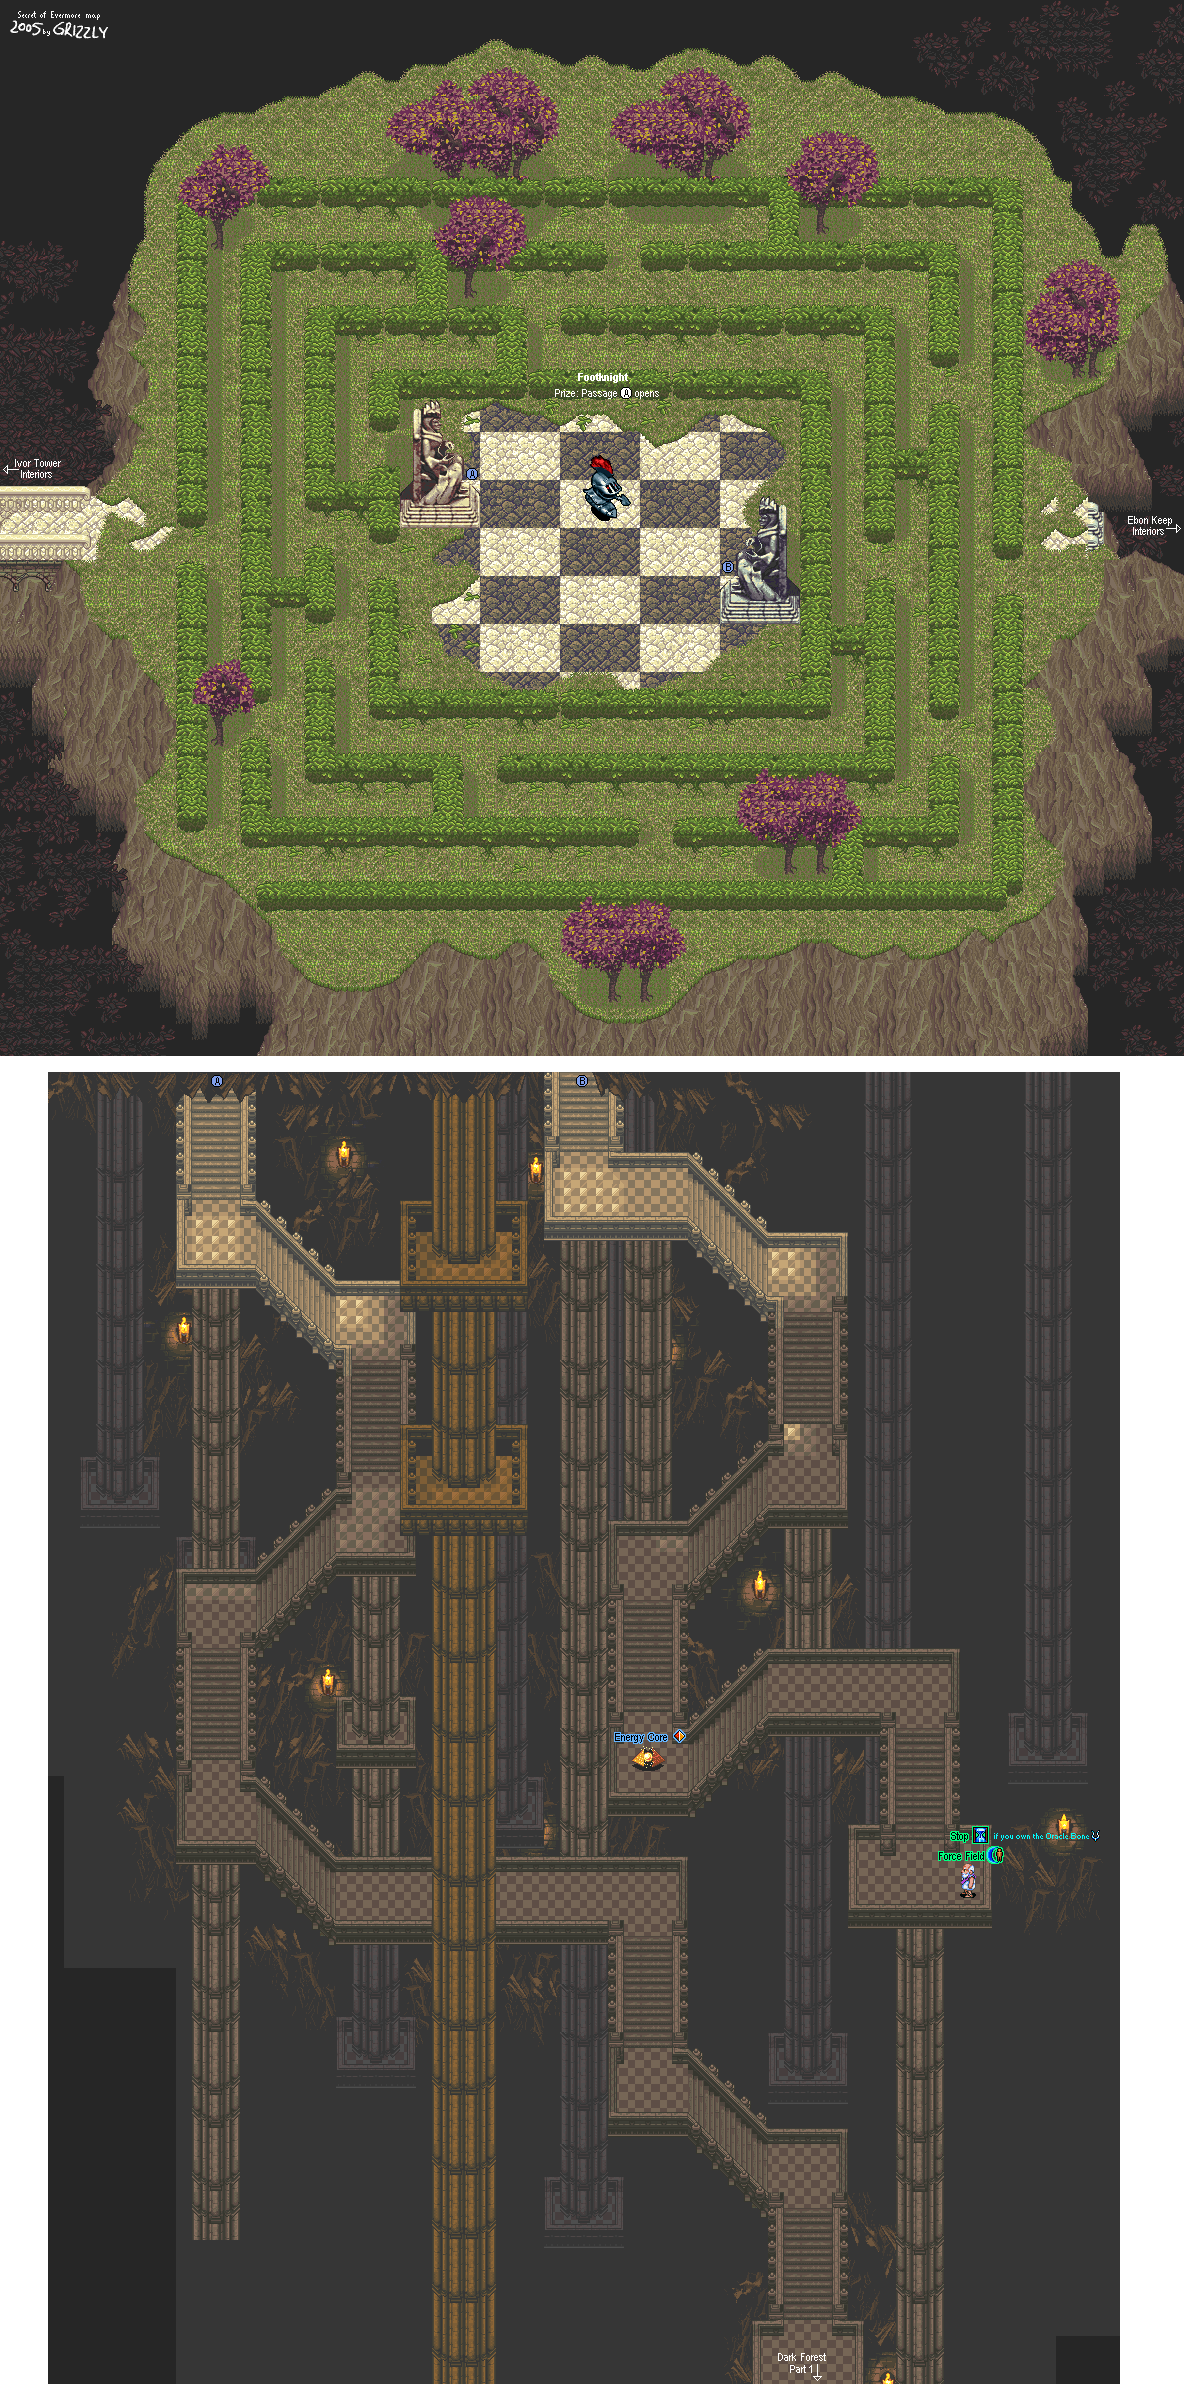
Chessboard


Map

Make your way to the staircase on the right of the chessboard that the Professor just opened. Go down the stairs and you'll find the Energy Core. Go up to it, press B, and you'll pick it up.

If you go down further, you'll find another alchemist. He'll give you Force Field, which protects the hero from one enemy attack.

Force Field

1 Grease, 1 Iron

If you have the Oracle Bone, talk to him again. He'll give you Stop, which halts enemy attacks.
 

Stop

2 Wax, 1 Crystal

If you need alchemy ingredients for both of these formulas, you'll be able to buy them from him...but nothing else.

Head back to Tinker's Lab and get back on the Spaceship. When it asks if you want to go to Omnitopia, select "Yes" and you'll automatically fly up into the atmosphere and head back to the Professor's laboratory.
 

Professor Ruffleberg's Laboratory


Go back to Professor Ruffleberg and talk to him. He'll give you the Energize formula, which lets you do nothing but max power attacks for as long as it's in effect. Equip this, since you're going to need it for the final battle.

Also, what the hell is this.

Energize

1 Crystal, 1 Iron

You now have all the spells in the game.

Thursday, December 26, 2013

brickroadbrickroad and SovanJedi play Secret of Evermore - Part 83 of 88


The greenhouse.

OH DEAR GOD THE GREENHOUSE

All maps by Grizzly.

Greenhouse


Map

> checks map to see which flowers are alive
> finds out there's absolutely no way to tell on the map at all

FFFFFFUUUUUUUUUUUU

If you come in here while the lights are on, you'll get the Prehistoria jungle music and some of the flowers will try to attack you as soon as you come near them. These flowers are called Flowering Death, and if one lands a successful attack on you, it instantly causes a 999 HP which puts The Boy out for the count via an insta-kill. Unless you use Pixie Dust and you have six of those things (and a hell of a lot of gall), I wouldn't even recommend going in here while the greenhouse lights are on. Instead, you'll have to turn them off, and to do that, you'll have to go to the Security Access Chamber and turn the greenhouse lighting off.

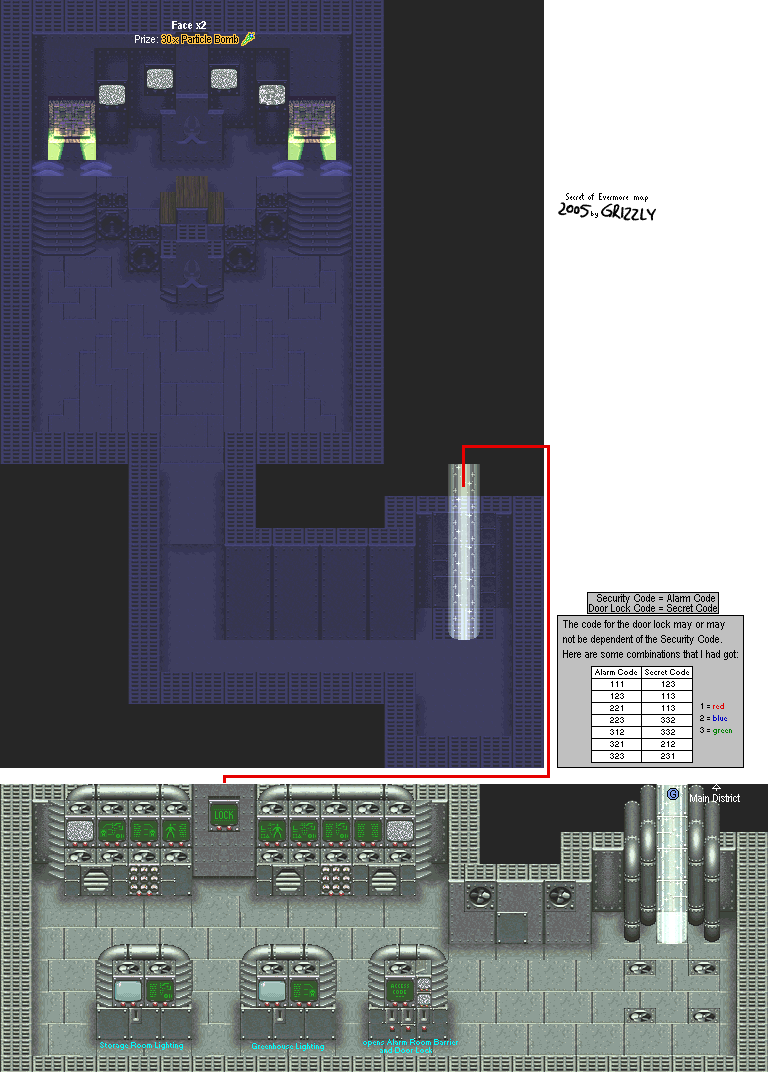
Security Access Chamber


Floor Plan

When you come down the transporter beam, take down all the fans that come out of the floor. They may look like they're powerful, but they're not. Now you can do stuff around here without being very slightly hassled.

The console in the middle is the greenhouse lighting switch, while the one to the left is the storage room lighting switch. They're both connected to each other, so if you light up the storage room, you're also going to light up the greenhouse. Keep this in mind.

If you don't flick the storage room lighting, you'll have to fight some monsters if you go into it.

The console on the right controls the alarm. If you used this before you went into the alarm room and used the code for it, you won't have to fight the eight Guardbots (which aren't very hard, anyway) in the Alarm Room.

There is a green monochrome screen that says lock. Play around with all the possible combinations after turning on the greenhouse and storage room lighting and you'll eventually open a passage that leads to a hidden boss through trial and error.

Boss: Face Man


The two faces will cast powerful forms of Flash on both The Boy and The Dog. It's easier to take one face down before taking the other one on. Keep both characters healed and give one face all you have as quickly as you can. Spells, Level 3 Dog Attacks, Level 3 spear strikes, everything. Use. It. All.

When you win, you'll get 30 Particle Shot bullets. That's it, really. Powerful boss, wimpy prize. But it is optional.
 

Greenhouse


Map

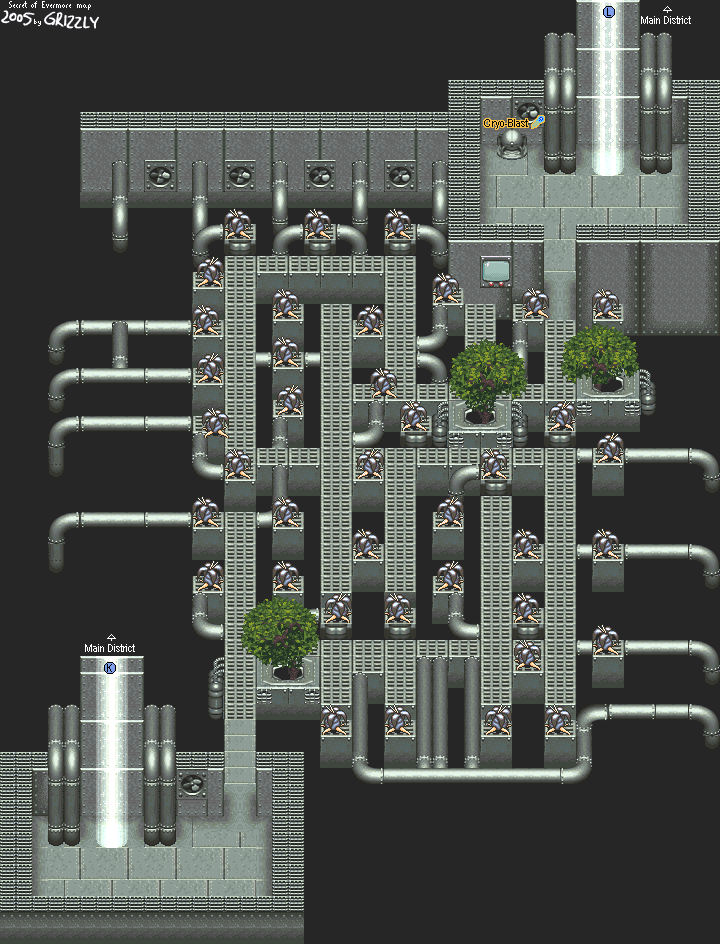
Now that it's dark, you can actually do some stuff. Head to the transporter beam on the other side of the maze. Open the treasure bubble to get some Cryo-Blast ammo, which is even more powerful than the Particle Bomb.

All you'll have to worry about in the maze now are the grey mosquitos that show up near the north end of the maze. They're just like the ones in Prehistoria, so trust me when I say that they aren't that powerful.

You'll come out through A-3. Go right to A-4...and you'll finally meet Professor Ruffleberg!
 

Professor Ruffleberg's Laboratory


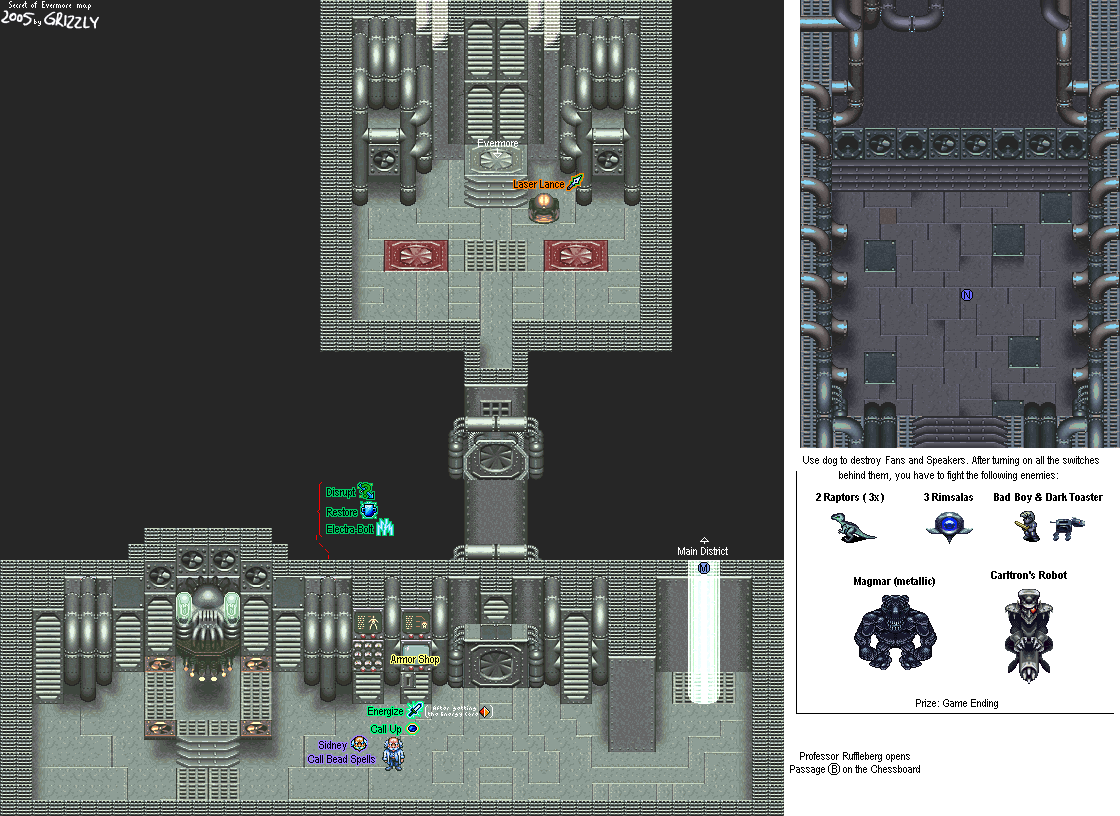
Map. Also, this kinda spoils the final battle, so sorry about that.

When you meet Professor Ruffleberg, he'll tell you how all this started:

It was all a scheming plan by his household robot servant, Carltron (the guy who sent you into the room with the two Guardbots at the very beginning of the game). The AI that he had from being programmed into a very good chess player also gave him free will. Carltron got tired of being the Professor's household servant and sabotaged the Evermore experiment. He then schemed throughout the years, which led to the creation of the robot body doubles and all the problems going on in Evermore. Now the Professor needs your help to stop him.

TL;DR: The butler did it.

He'll then tell you about the Energy Core that's located at the base of the Chessboard in Gothica. He will then open the door to it so you can get. You'll be able to use the spaceship (which actually works this time) in order to head down there and get it. He'll also give you Call Up, which uses the super-rare Meteorite and Dry Ice ingredients (there's only 13 of each in the entire game). It lets you create Call Beads. He'll also give you his Call Bead spells as well.

Call Up

1 Meteorite, 1 Dry Ice

The switch that the Professor was standing at will give you the most powerful armor in the game. Go buy it. You'll need it for the final battle.

Go through the door that led to the Guardbot chamber in the game. The treasure bubble that used to hold the Bazooka now carries the Laser Lance, which is the fourth and last spear weapon in the game. The porthole you went down to Prehistoria from now takes you to a working spaceship, which controls exactly like the Windwalker.

Tinker's Lab


When you head back to Tinker's Lab, you'll find the treasure box closed again and another spell on the table. The chest now contains the Atom Smasher, the last axe in the game. There is also the spell for Nitro.

The formula on the table next to the chest is the one for Nitro.
 

Nitro

1 Gunpowder, 2 Grease

brickroadbrickroad and SovanJedi play Secret of Evermore - Part 82 of 88


As we explore Omnitopia, we forget to turn off the alarm in the alarm room. D'oh!

All maps by Grizzly.

Main District


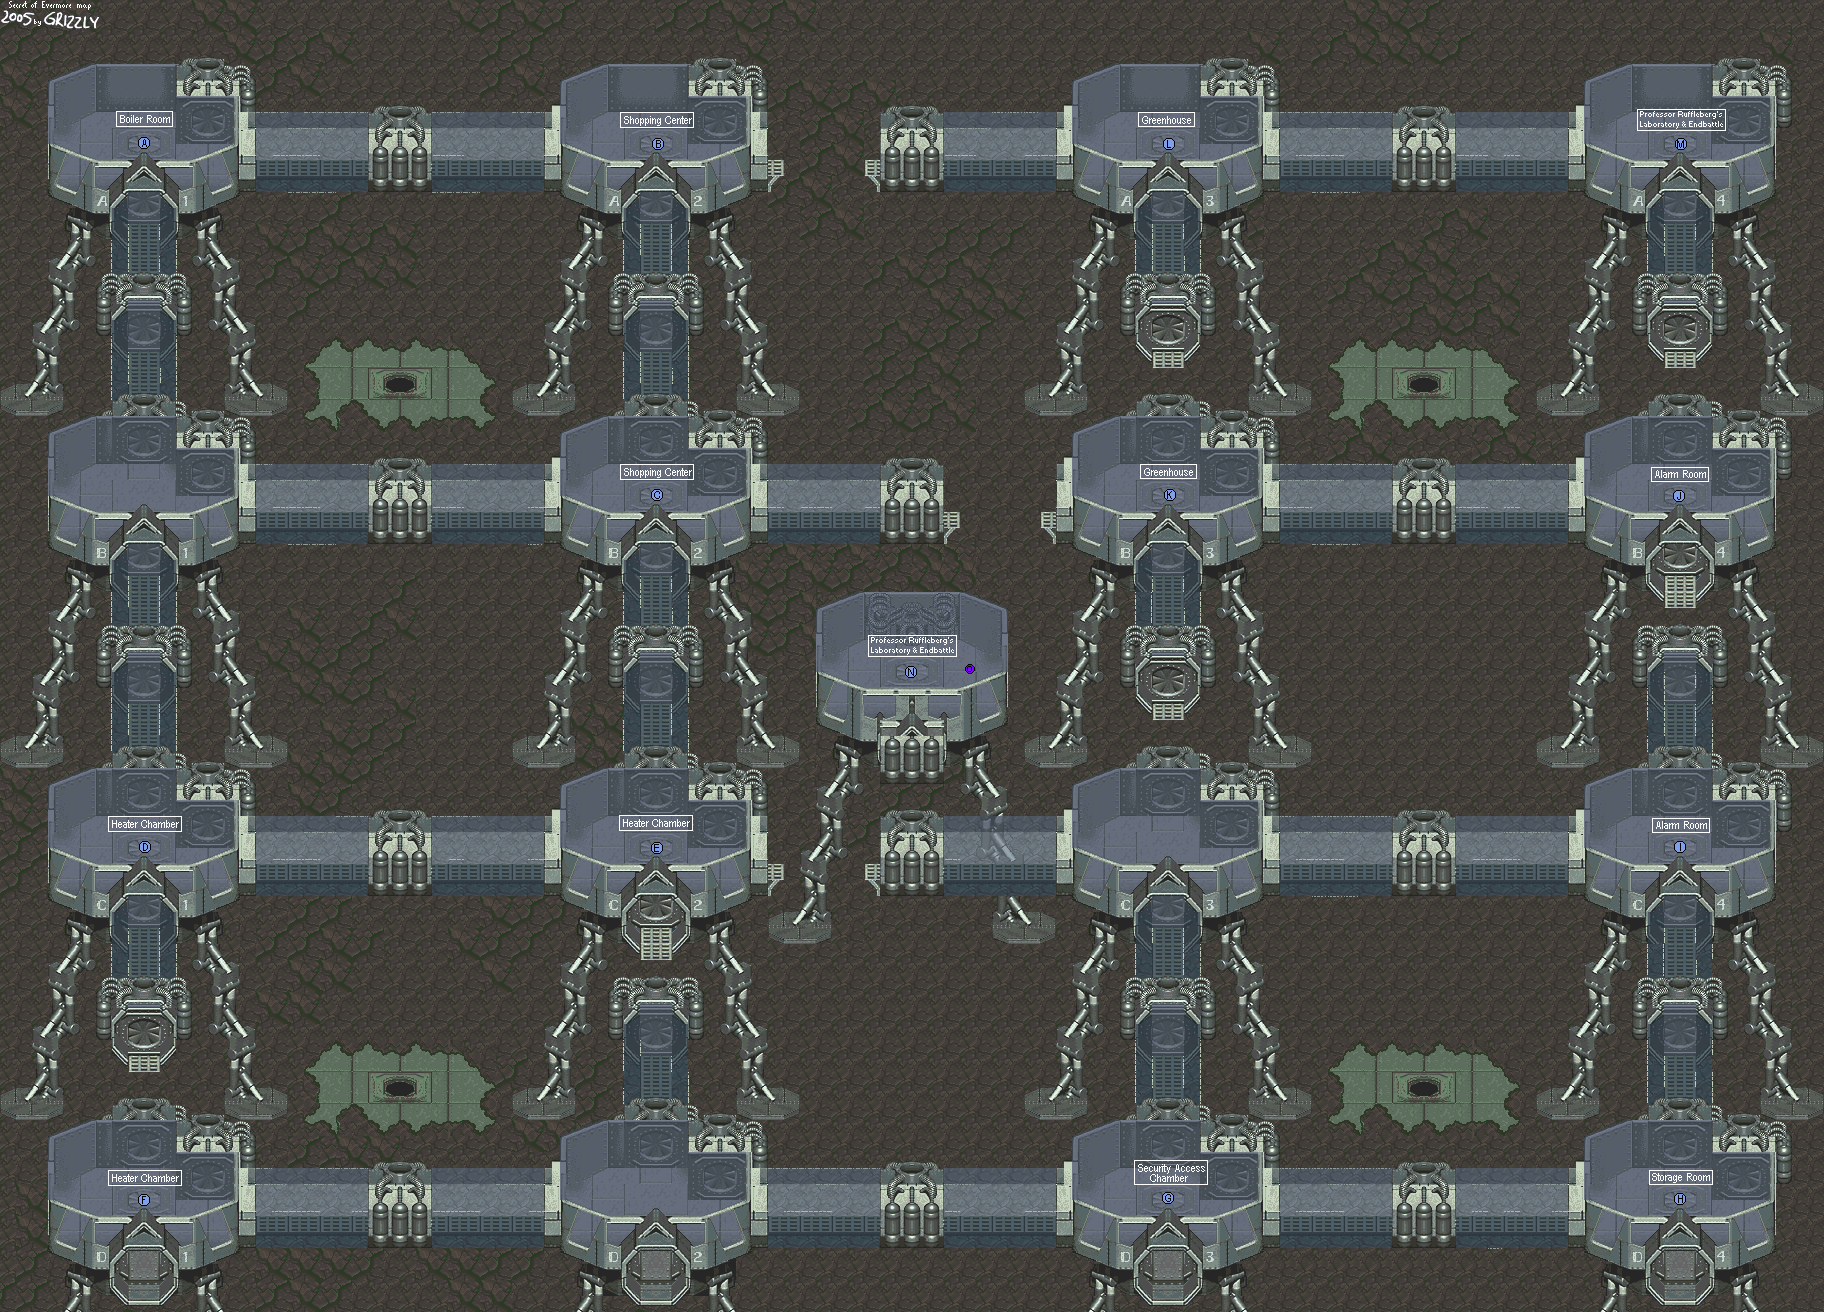
Really useful map

The portals to the outside world can only be accessed fully by The Dog. From there, The Dog can go anywhere he wants and blast the orb-shaped robots shooting lasers to smithereens, opening up doors to other rooms. These things will track The Dog quite well, so power up the Dog Attack to Level 3 before you even think about attacking these things. If there's a port hole in the ground, it can be accessed to enter different areas of Omnitopia. You'll have to go through some of these to complete your first order of business, which is to find Professor Ruffleberg.

If the focus is on The Boy in the two-player patch, The Dog can kill it and get away with it scot-free. lolGameBreaking

There are also blue Eyes of Rimsala moving back and forth in some of the horizontal walkways. Killing one not only makes getting around a lot easier, you'll be able to get 1000 credits. There isn't much to Omnitopia, but there are a few stores littered amongst the Main District, as well as an inn. This will make getting some Credits at the beginning of Omnitopia a bit easier.
 

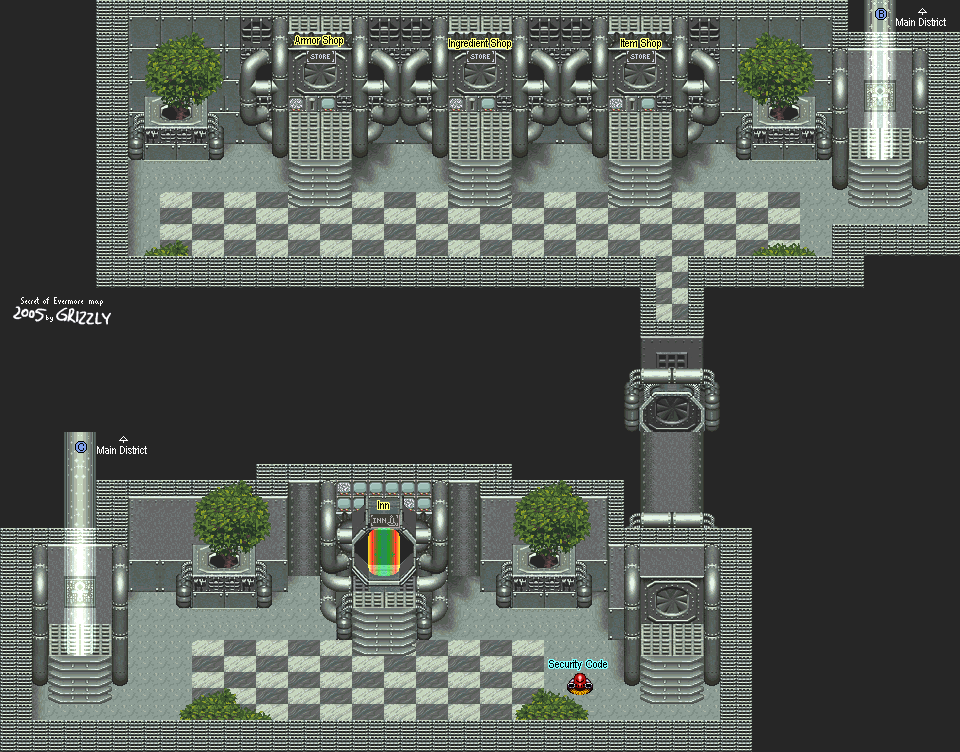
Shopping Center


Map 

The porthole in A-2 sends you to the Shopping Center. Here, you can buy some armor for both The Boy and The Dog and even use the Inn. One of the cleaning droids gives you a color combination that will come into use later.

B-2 leads to the other transporter beam on the other end.

Be sure to buy Particle Shot and Cryoblast for the Bazooka. Unlike Thunder Ball, they both give you infinite ammo because of a glitch in the game that fails to count down your ammo for both of these weapons by one when you fire it. Whoo-hoo.
 

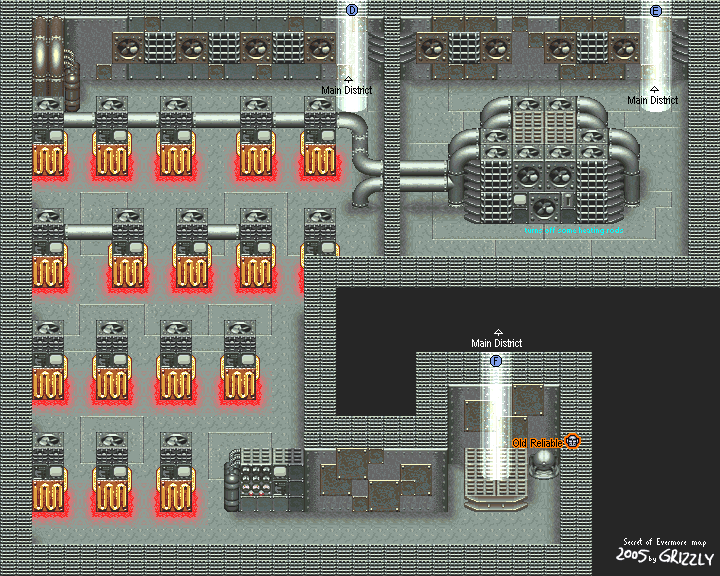
Heater Chamber


Map

C-1 leads to a bunch of heaters. If you touch them, however, you will take damage. In order to get to the other side of these things, you'll have to turn the switch off that controls some of these. To do this, you'll have to go to C-2, flick the switch, then return to C-1. When you do, some of them will be turned off and you'll be able to get to the other side without a problem.

Unless you're playing the two-player patch. Then you can use The Dog's smaller hit box to your advantage and instantly make your way to D-1. lolGameBreaking

Be sure to open the little bubble next to the teleporter when you reach the other side, too. It contains Old Reliable, which is stronger than what you can get in the Shopping Center.
 

Alarm Room


Map

There is a switch that turns the alarm in the Alarm Room off somewhere in Omnitopia.

Guess what? We ain't usin' it.

For our trouble, we'll have to fight off eight Guardbots before we can continue on. Hope you got the more powerful Bazooka Ammo before you got here.

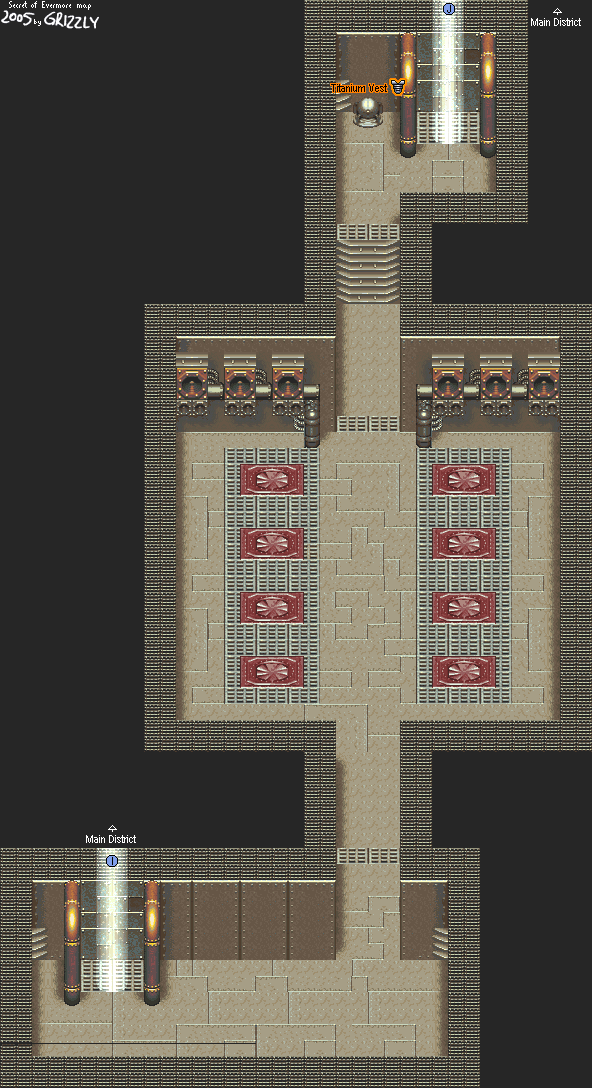
The little bubble here gives you the Titanium Vest when you get to the transporter beam on the other side. Sweet!

Wednesday, December 25, 2013

brickroadbrickroad and SovanJedi play Secret of Evermore - Part 81 of 88


Okay, let's try this again.

All maps by Grizzly.


Boss: Coleoptera


When you return to where you killed Thraxx, you'll find a blue recolor in his place. This is Coleoptera, and he's much stronger...but so are you.

You fight Coleoptera the same way you fight Thraxx. This time around, you'll have some more devastating spells to deal with, as Coleoptera will usually cast Storm, Flash and Heat Wave. He can also zap you with an electric attack straight from his eyes. (At least he doesn't drop Maggots this time.) Since you have some strong spells on you as well as a spear in your hand this time around, you'll be able to hit the heart without going through all that trouble like you did with Thraxx.

Word to the wise: keep The Boy's health above 100. The Dog's, too, if necessary...pulling a Level 3 Dog Attack on that still helps if you can situate yourself just right.

Like last time, killing the arms gives you extra experience if you need it.

When you kill this thing off, you'll get 4000 Talons. Now hack the cocoon that's inside where Coleoptera used to be and you'll get the Wheel. You're done! Now to head back to Gothica to fix the rocket. But first, Strong Heart's Hut.
 

Crash Landing Site/Strong Heart's Hut


Map

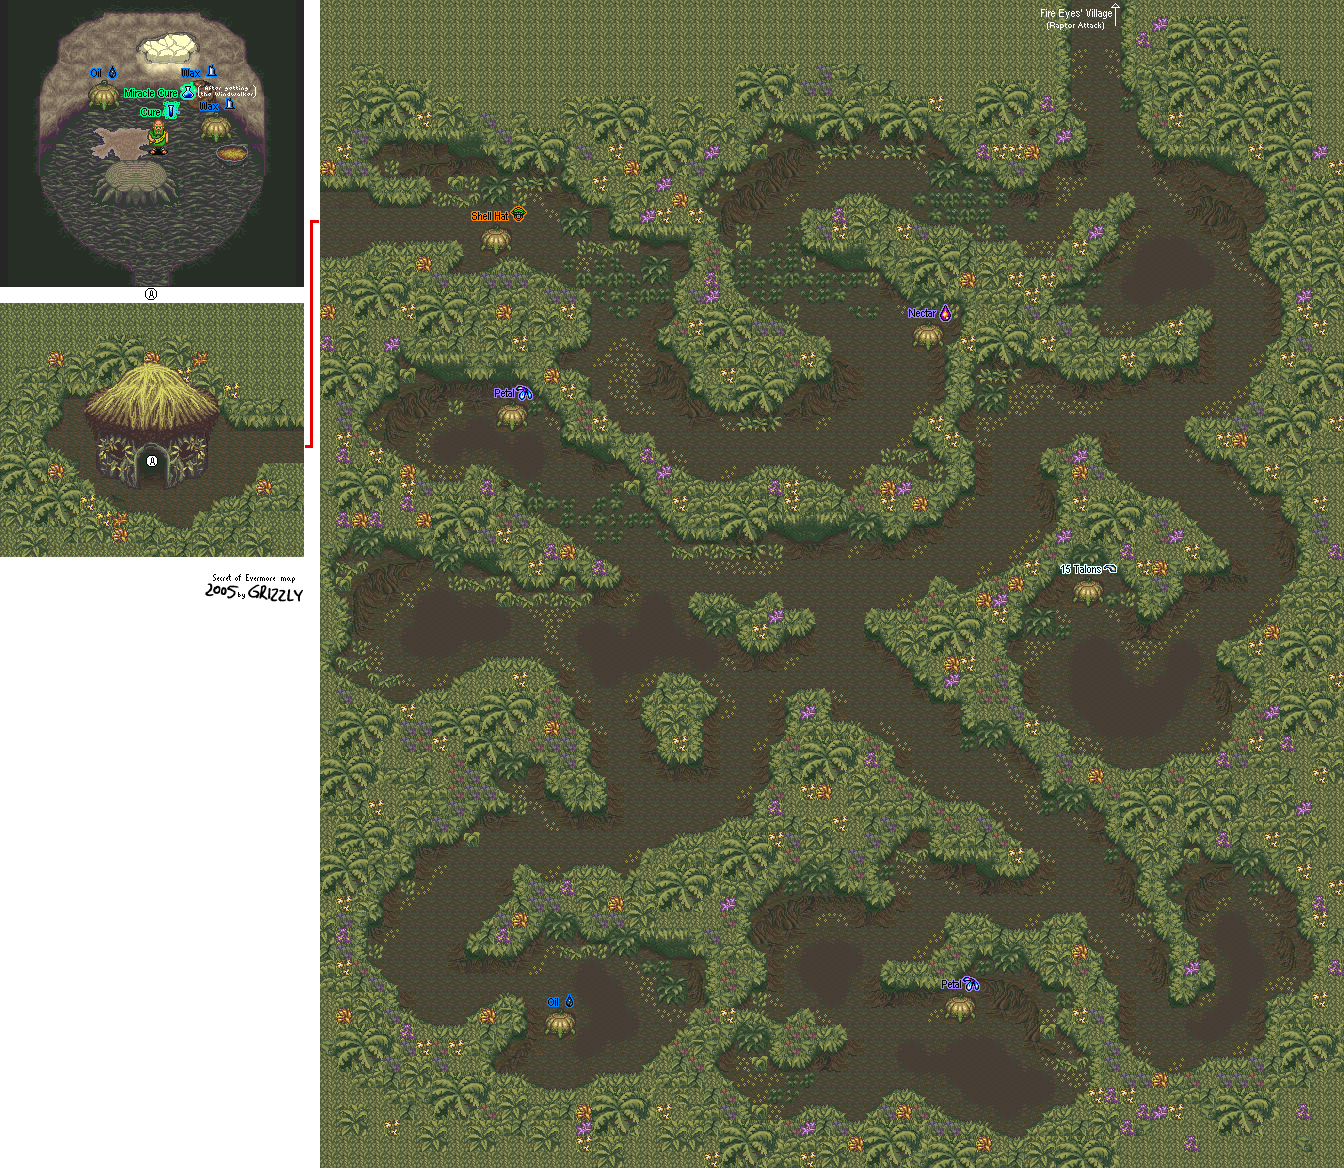
Head back to the southern jungle and find Strong Heart. Talk to him and he'll give you Miracle Cure, which is a combination of Cure and Heal. Yeah, you'll be replacing Cure and Heal with this, leveling this sucker up, then farming money and alchemy ingredients to get more, because this thing is just fucking awesome.

Miracle Cure

2 Root, 1 Vinegar

Also, talk to Strong Heart as The Dog and you'll get the Spot's Collar, which is the dog collar for Omnitopia (the space world) absolutely free! Equip this sucker on The Dog immediately, it's much better than the Defender Collar.

All right, let's get back to Gothica. Head back to the fire pit near Ebon Keep. That's Tinker's Workshop.

Tinker's Workshop


When you head back in, you'll automatically walk to Tinker, have a discussion with him, and give him all the parts. Then he'll send you back outside where the rocket is. You'll go in and in a minute or two, you'll be back in Omnitopia.

Junkyard


Map

When you land in Omnitopia (aka Metroplex), a cleaning droid will drop you down into a chute to the junkyard. You'll both come out of the rocket, and you'll find out that The Dog has changed form yet again, this time into a toaster dog. Instead of a bite attack, the toaster dog (as some of us want to call it), shoots lasers. The Level 2 and 3 attacks are slightly larger lasers that pack a punch. Finally, the dog is a little more useful.

There is a Guardbot here, but he won't hurt you. Instead, he asks you to find his replacement so that he can get off of sentry duty. It won't take you long to find him, but remember the location of this first Guardbot later.

Anyway, follow the path and be careful near the tentacles that come out of the ooze that makes up Omnitopia's trash. The transporter beam will take you to the Boiler Room, where some creatures are held in holding cells...as well as the replacement sentry!

Boiler Room


Map

The beginning of this room contains the green Neo Greebles. These guys actually walk around and try to run into you. They're not much of a problem, though.

You'll then see four holding cells, one of which has four switches and two small monitors on the wall. Hit the third one to release the Guardbot. If you want to fight the monsters inside, open the others...but be careful against the Raptor, because he packs a punch!

When you talk to the Guardbot here, you'll get your final sword...the Neutron Blade. Now go back to the junkyard and talk to the Guardbot you met there. He'll give you a formula called Reflect. This formula reflects magic, like Wall in Final Fantasy and Secret of Mana.

Reflect

2 Grease, 1 Iron

Head back to the Boiler Room, then enter the transporter beam on the right side of this area. This will take you to the Main District, which is the meat and potatoes of the Omnitopia area.

brickroadbrickroad and SovanJedi play Secret of Evermore - Part 80 of 88


Click here for a namedrop of an obscure(?) puzzle game from the makers of GTA, Beavis and Butt-head jokes, and dogs with psychic powers.

All maps by Grizzly.

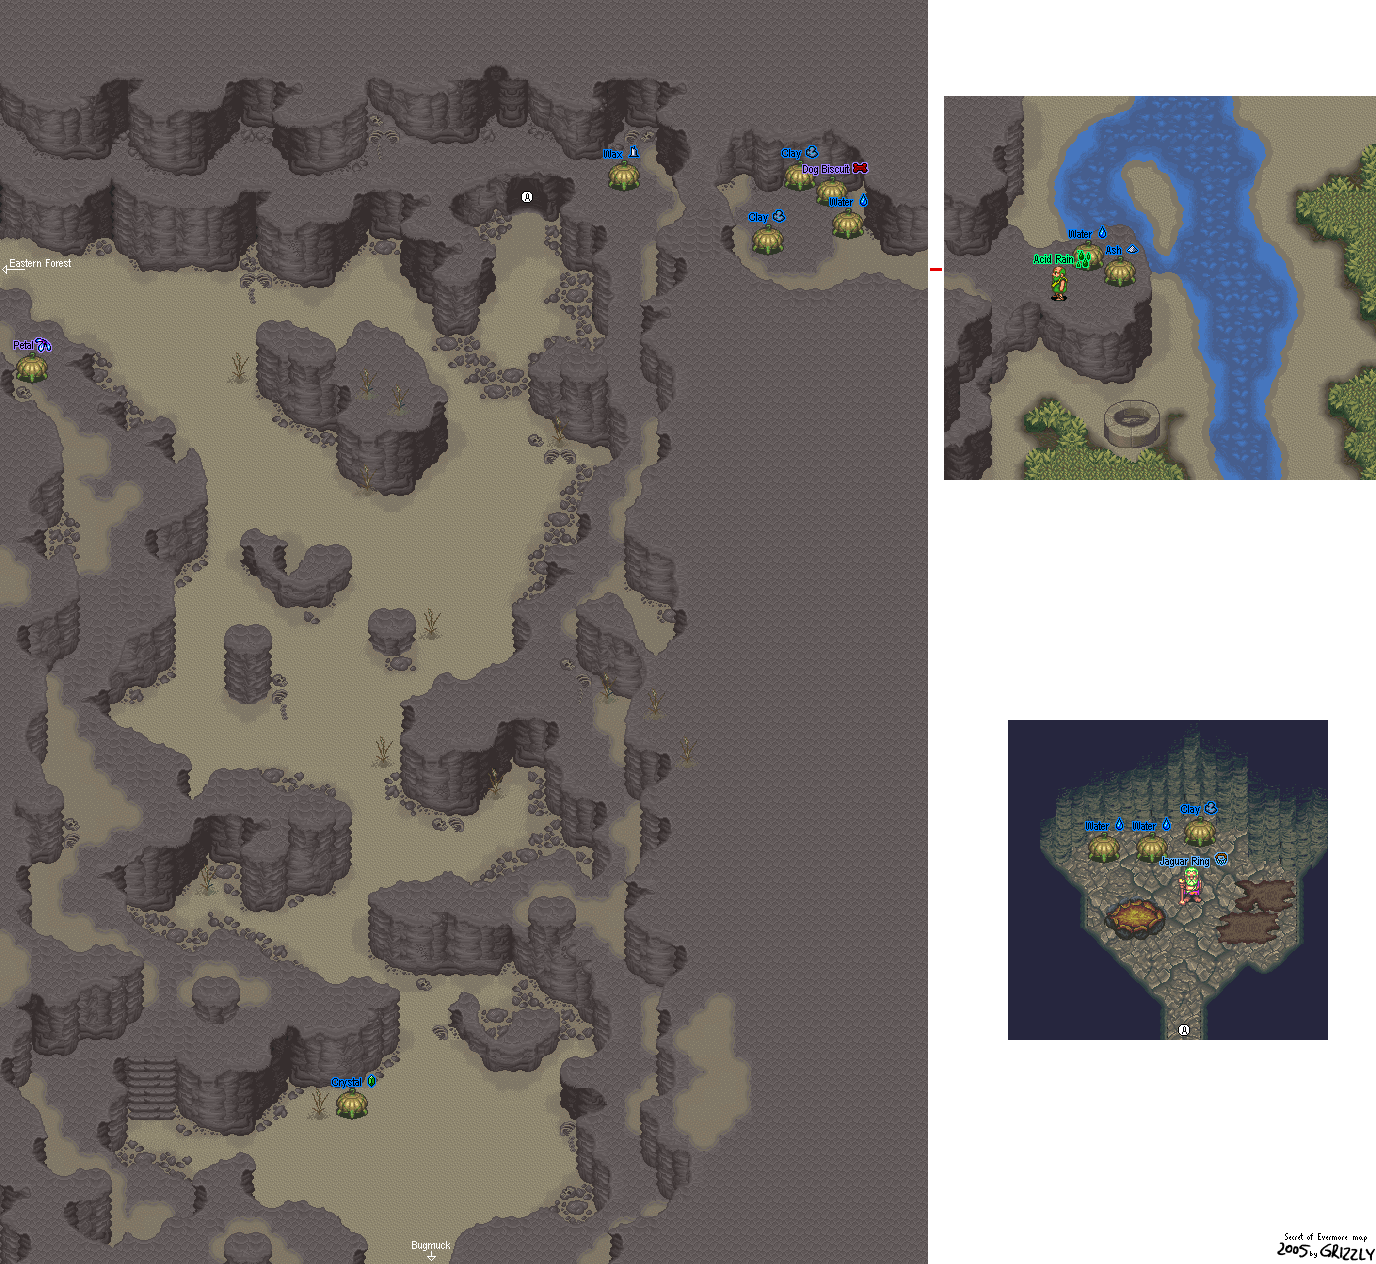
Village Exit to Bugmuck


Map

Why walk when you can fly? There's a fire pit near there as well.

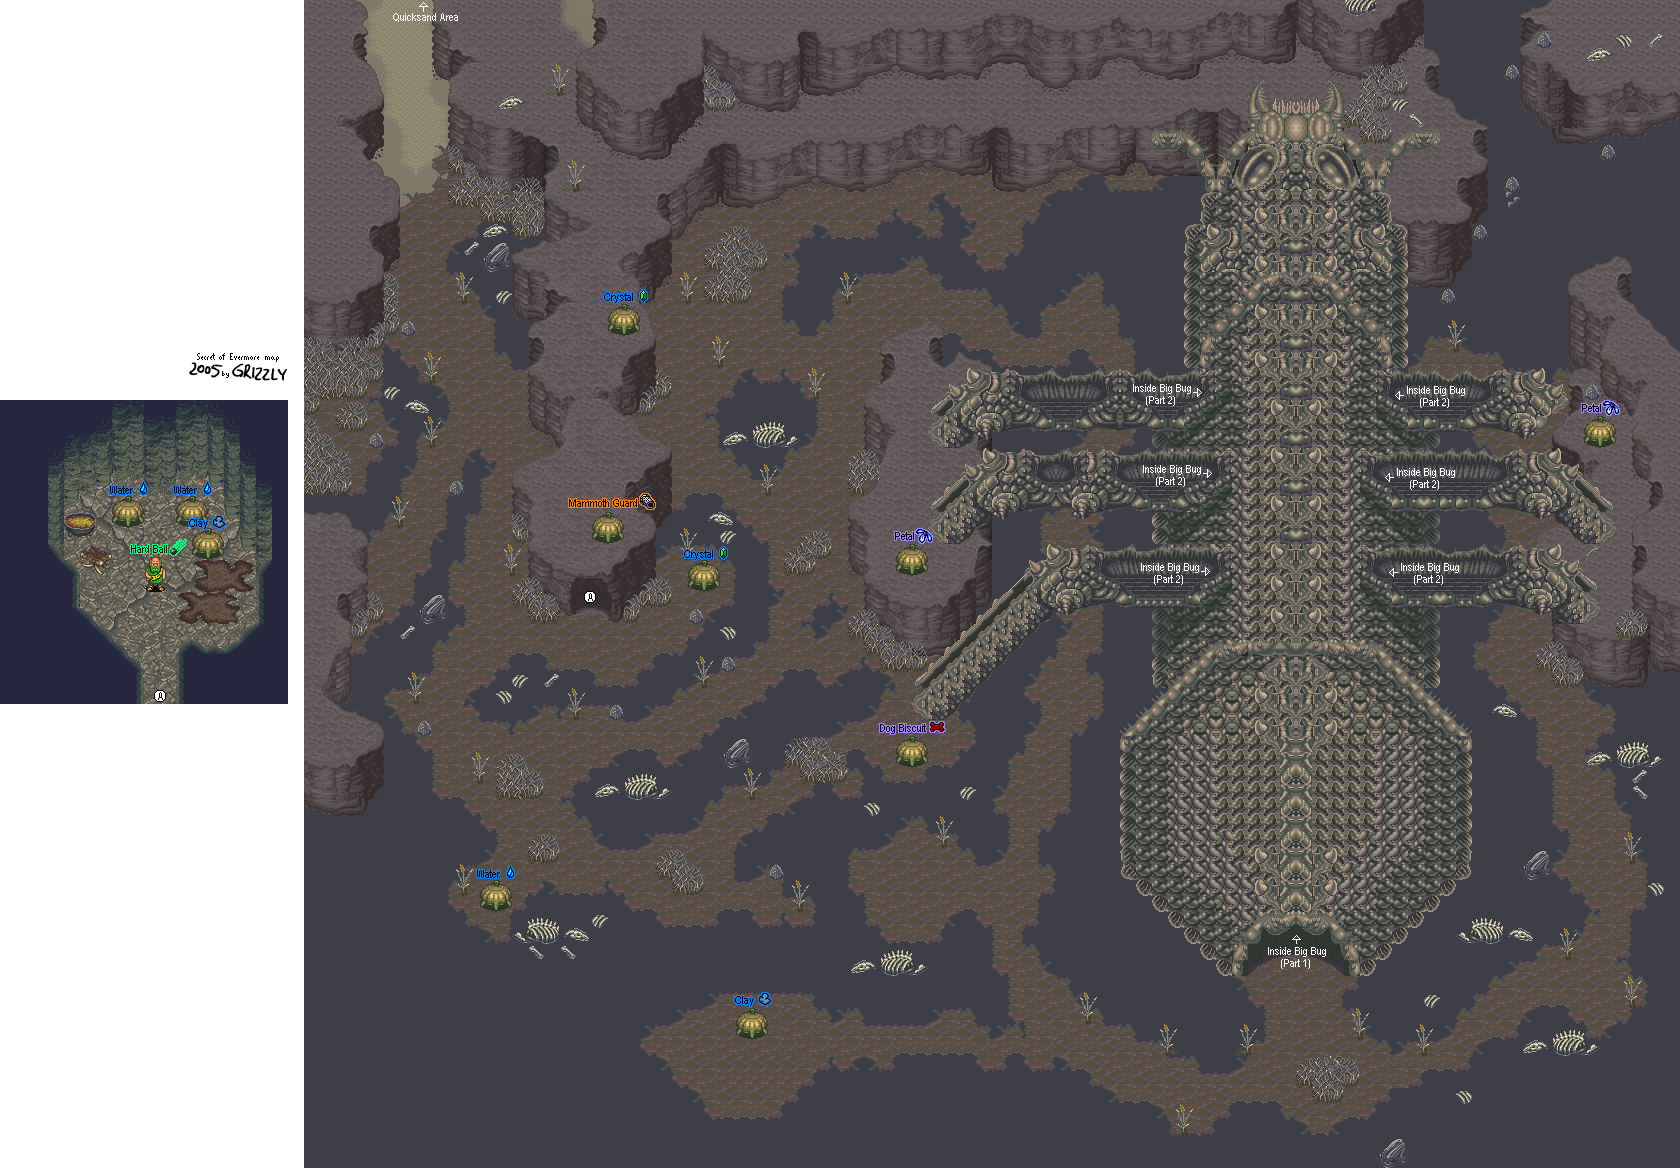
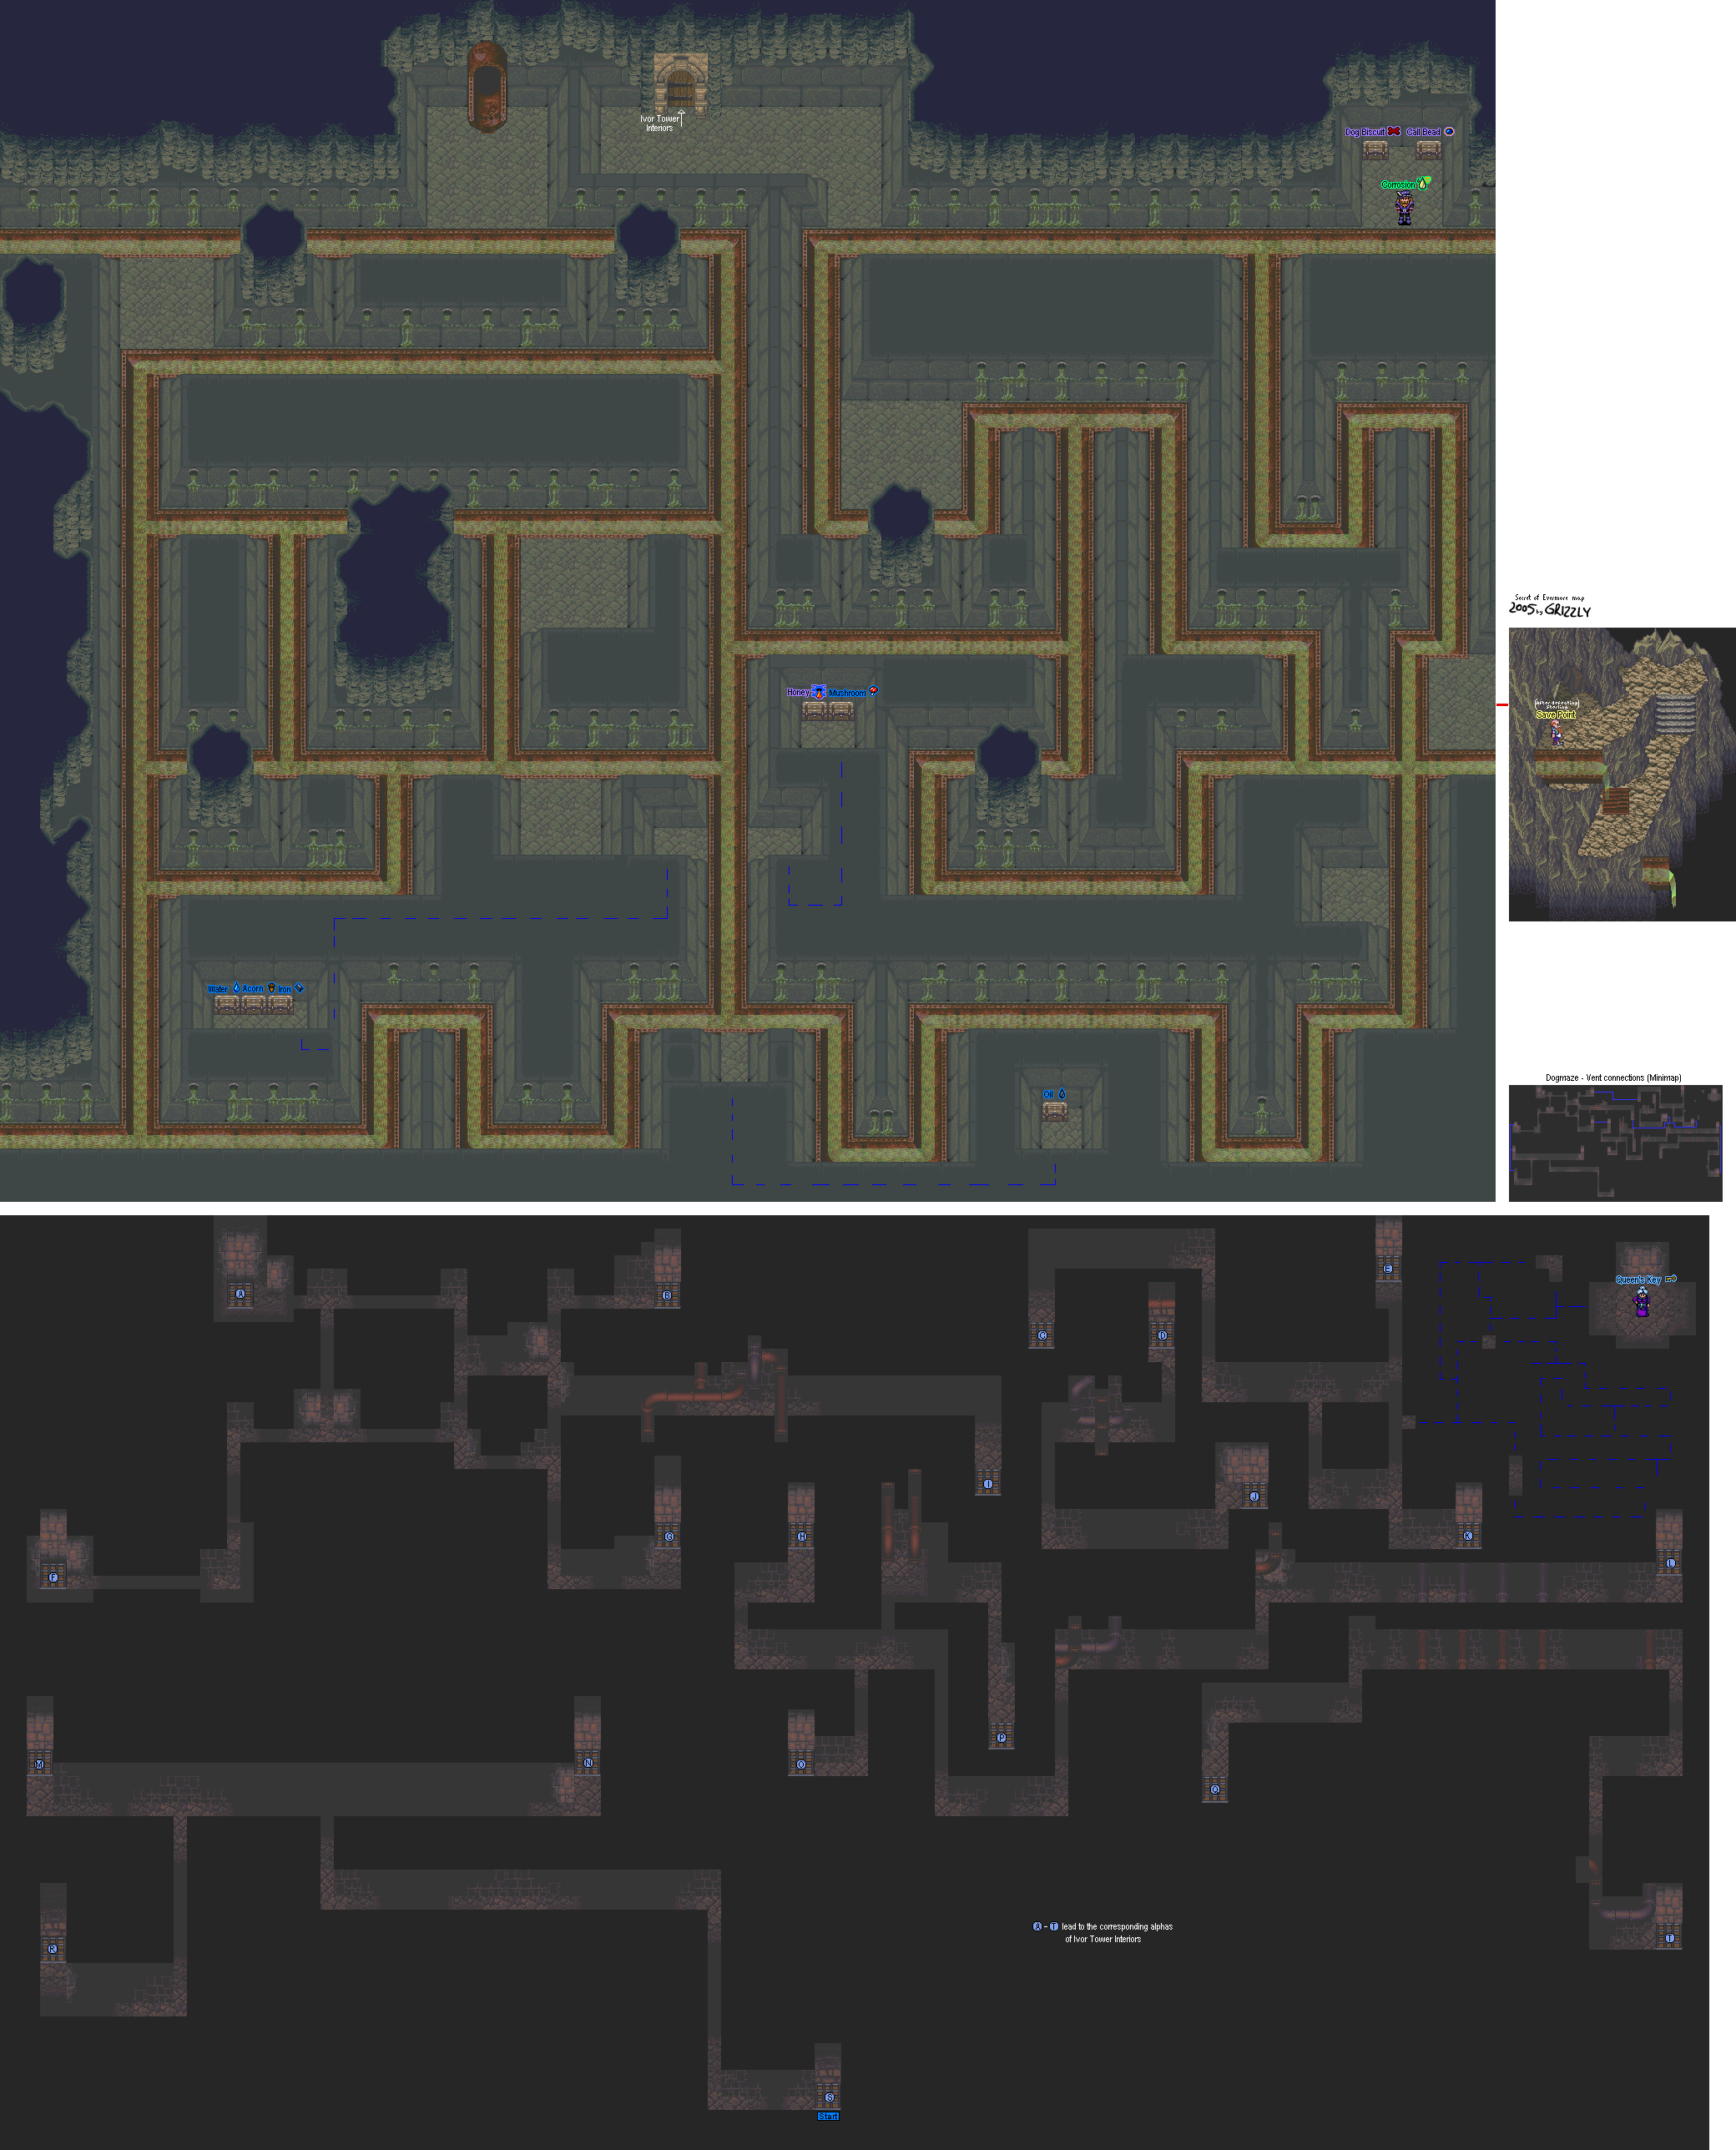
Bugmuck


Animated Bugmuck Maze Map

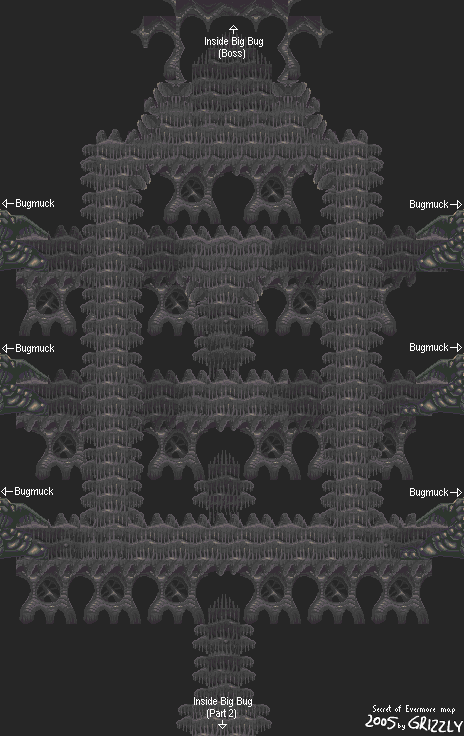
Go through it like you did Thraxx. Yes, you'll have to deal with the collapsing maze again. The only thing is, you're much stronger than you were at the beginning of the game...and you have sharp instruments. Remember to look for free alchemy ingredients, including Oil and Wax, in the Bugmuck. Free is good.

Tuesday, December 24, 2013

brickroadbrickroad and SovanJedi play Secret of Evermore - Part 79 of 88


Now that we have the Diamond Eyes, we're free to get the other parts for the rocket! Next stop, Prehistoria!

All maps by Grizzly.

We're done here, so let's go get back to the fire pit in the Left Bank and head to the fire pit near the Bugmuck. Consult the world map if you need help finding it. (You can also press Select to pull a black-and-white map of sorts up, but having a color one is much easier.)

There is another one in the Volcano Path. If you land there, you'll find the remnants of the Sacred Dog statue in the landing pad.

Fire Eyes's Village


If you go to Fire Eyes's Village (which isn't shown here) and meet with Fire Eyes, she'll clue you in as to what's going on and she'll help you out on your quest. She'll also tell you to go meet Strong Heart, who has an awesome new spell for you.

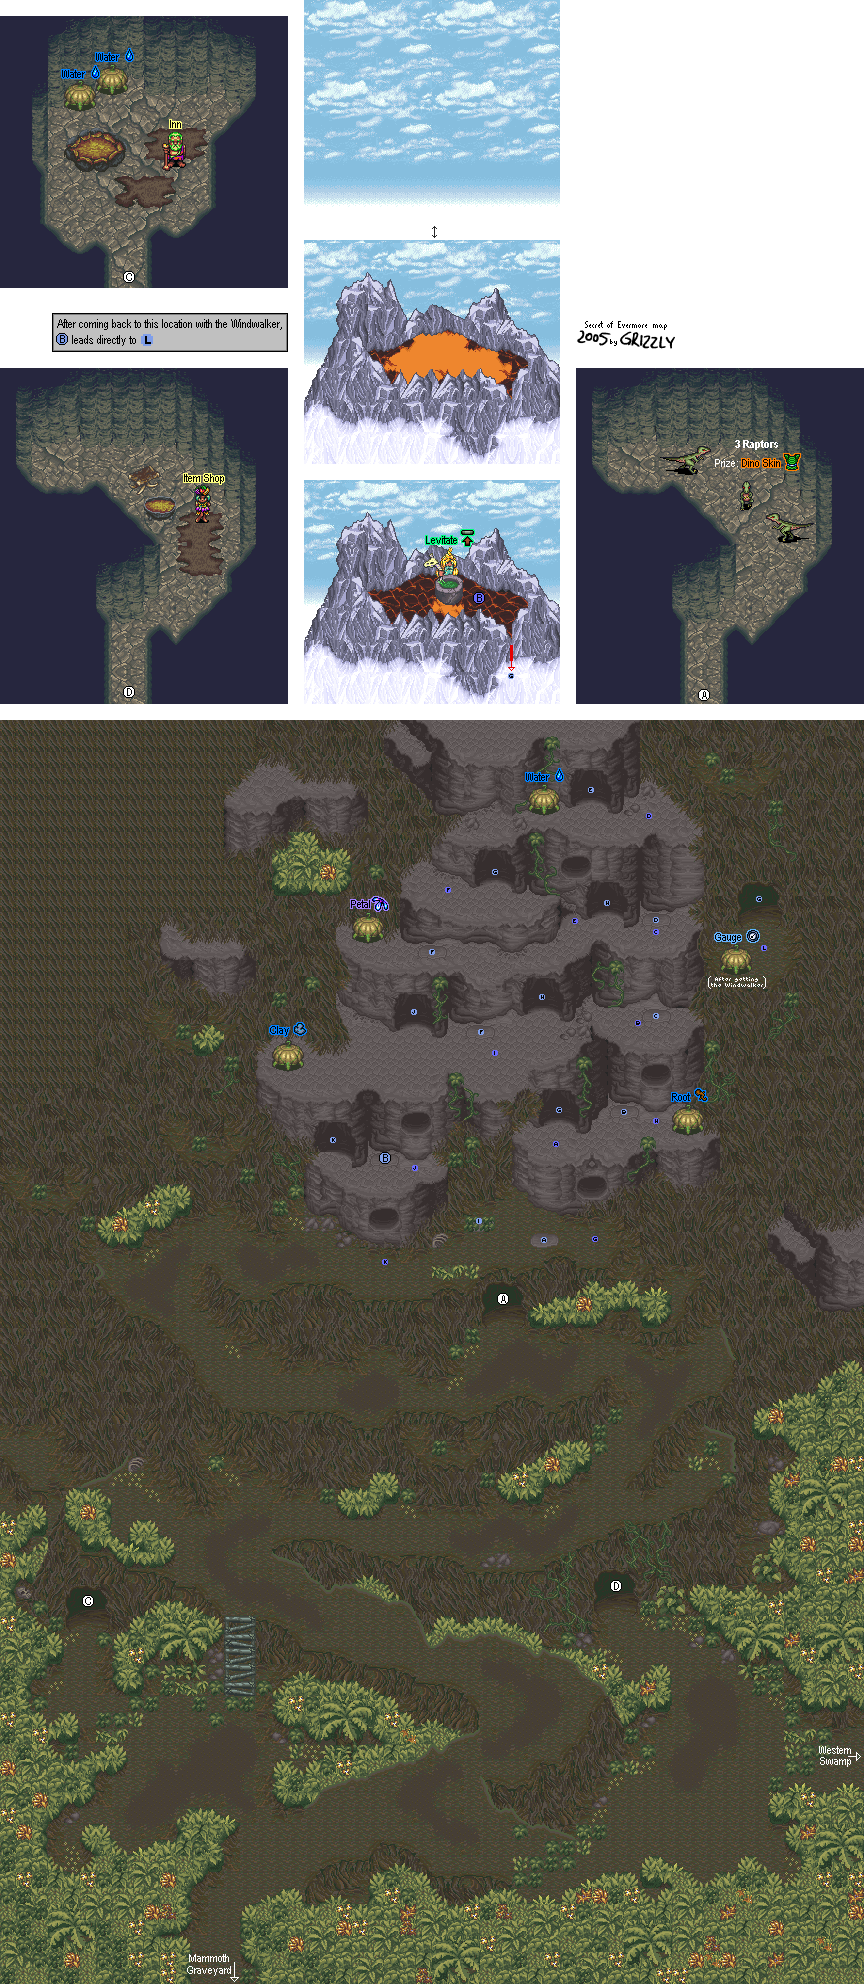
Volcano Path

Map

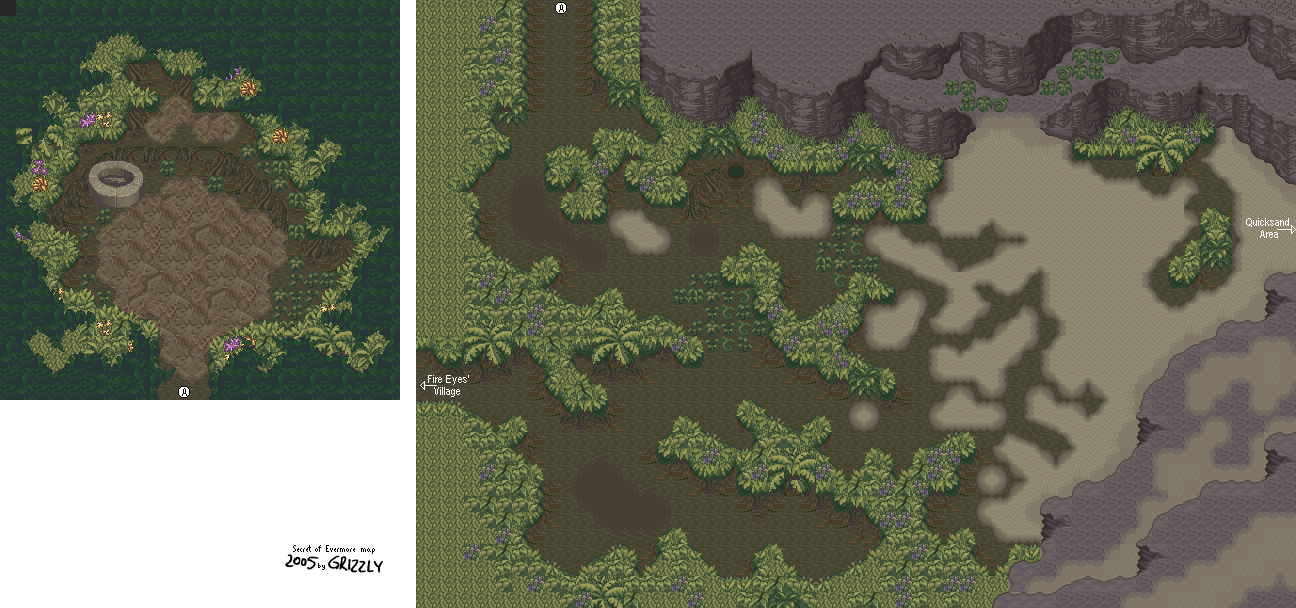
See? I told you.

Now just go south and exit the swamp area. Don't even worry about going through the maze. Since the volcano exploded, you won't be able to enter that maze full of Frippos ever again. :(

Remember how you got to the top of the Volcano and got the Levitate spell. Do it again. Now that the volcano has blown its top, the old man and the floor he was standing on is gone...and you'll land on that ledge with the gourd that you couldn't reach at the beginning of the game. Open the gourd up and you'll get the Gauge. Next stop, Bugmuck.

brickroadbrickroad and SovanJedi play Secret of Evermore - Part 78 of 88


We finally do something worthwhile in that pyramid dungeon we weren't supposed to be in much earlier in the game.

All maps by Grizzly.

Pyramid


Pyramid Area Map

Well, since we covered this area before, there isn't much to do except to go through that door we couldn't go through before. Just hit the middle floor plate and you'll finally open it.

Of course, now that we have the Knight Basher, we can enter areas that we couldn't enter before and find some new treasure. So let's do that first, shall we?

Boss: Tiny


To beat Tiny, just step on the teleporter and step back on it when you re-appear. You'll eventually end up on the same level as Tiny. He'll give you the Diamond Eyes when you do.

Don't even bother with the Oglins unless they're being a pain in the ass.

Monday, December 23, 2013

brickroadbrickroad and SovanJedi play Secret of Evermore - Part 77 of 88


Even though they landed in Prehistoria last time, they decided to go to Antiqua after the game froze. That's why I never mentioned Prehistoria in the last entry. Details, details.

Left Bank


Now that we've landed here instead, let's head back to the Pyramid.

Of course, if you went to Nobilia one last time and landed in the fire pit near the palace, you would have known that the palace is open, the real Horace is back there, Tiny's acting strange and has joined the Oglins, and that Horace will give you a new spell: Barrier. It's a better version of Defend...if you level it up.

Barrier

1 Limestone, 2 Bone

Hey, it's a better use for the Bones than Revive.

It should also be mentioned that if you forget to get the formula and beat Tiny, you won't be able to get it.

Anyway, if you go through all that, then you'll have to go through the trouble of getting through the desert again, back to the Right Bank, and then back to the Pyramid. If you don't have Revealer equipped right now, re-equip it before you head back there. Don't worry, we'll wait for you.

Sunday, December 22, 2013

brickroadbrickroad and SovanJedi play Secret of Evermore - Part 76 of 88


This became my favorite part of the game the first time I saw it.

Now...you can fly. There. I said it.

All maps by Grizzly.

Ebon Keep Interiors


Map

When you return, you'll be in a room west of the hallway to the Verminator's lair. You'll find a boy that changes into a man at regular intervals. If you win at his guessing game (the answer is random), he'll reward you with Super Heal, which lets you heal all your HP in one shot. If you get it wrong, you can wait a little while and then try again.

Super Heal

2 Ethanol, 1 Acorn

Tinker's Workshop


When you return to Tinker's workshop, you'll find what looks like a large brown rocket near where you'd find Tinker. Go outside, and you'll find Tinker coming down in a flying machine. This is the Windwalker, and it allows you to fly between the three worlds of Prehistoria, Antiqua and Gothica. But to enter outer space, however, you'll need three items - a gauge, a wheel, and the Diamond Eyes. (Yes, we're getting these again. Everything will make sense in due time.)

Once he explains your mission to you, you'll be flying around. You'll be able to land at any one of the fire pits in the world of Evermore, which will now be lit up.

Flying Around


Remember the Flammie controls from Secret of Mana? They're exactly the same in Evermore. Everything just looks better, and that's the only difference.

Sometimes you'll have to go in reverse before you can go forward. I don't know if it's a glitch in the game or what, so keep that in mind. It's a flying machine, Square. Not a car.
 
World Map

Here's another glitch...if you land just off the coast of the fire pit near the beach area where Blimp's Cave is, you'll end up back in the balcony of Tinker's workshop...minus the Windwalker. If this happens, reset the game. You were warned. (I'll mention it again in the next intermission, because this game has a treasure trove of information and whatnot.)

brickroadbrickroad and SovanJedi play Secret of Evermore - Part 75 of 88


We're lost again!

All maps by Grizzly.

Now that you're done in Ivor Tower, you'll have to take the chessboard maze all the way back to Ebon Keep. With that, you'll be able to get some stuff done. Finally!

Sadly, it takes them almost the entire video to pull this off.
 

Saturday, December 21, 2013

brickroadbrickroad and SovanJedi play Secret of Evermore - Part 74 of 88


We finally foil the fake Queen's plans!

Boss: Mephista and Old Nick


Defeat Mephista and Old Nick a few times, then Mungola from Percival Plank's exhibit will finally show up.

Boss: Mephista, Old Nick and Mungola


Use Crush, Fireball and Lance on Mungola. If you have the Lance (the weapon, not the spell) powered-up to Level 3, you can go through all three guys at once if your aim is true.

Mungola can cast Fireball and Corrosion, while Mephista can heal Mungola (albeit not very well). The puppets still respawn when both of them die, so if you have to kill one, kill Mephista. Also, letting The Dog go after the puppets isn't a bad idea, either. So is getting lucky with a Level 3 Dog Attack on Mephisto, which will do as much damage as Crush at this point.

When Mungola is destroyed, the puppets disappear and you've won this fight.

Ivor Tower Puppet Room


The evil Queen will try to jump off the balcony in an attempt to come after you. Instead of squishing you, she misses and falls straight through the floor, destroying the castle foundation in the process. The King is finally free of the Queen's hypnotism. He'll give you 10,000 gold coins before he gets out of dodge with you. Talk to the King after you escape the throne room, and he'll tell you everyone is gone. He'll then leave the castle.

And with this, Ebon Keep is populated again while Ivor Tower is now a ghost town.

brickroadbrickroad and SovanJedi play Secret of Evermore - Part 73 of 88


It's time to head back to Ivor Tower and set things straight!

All maps by Grizzly.

Gomi's Tower


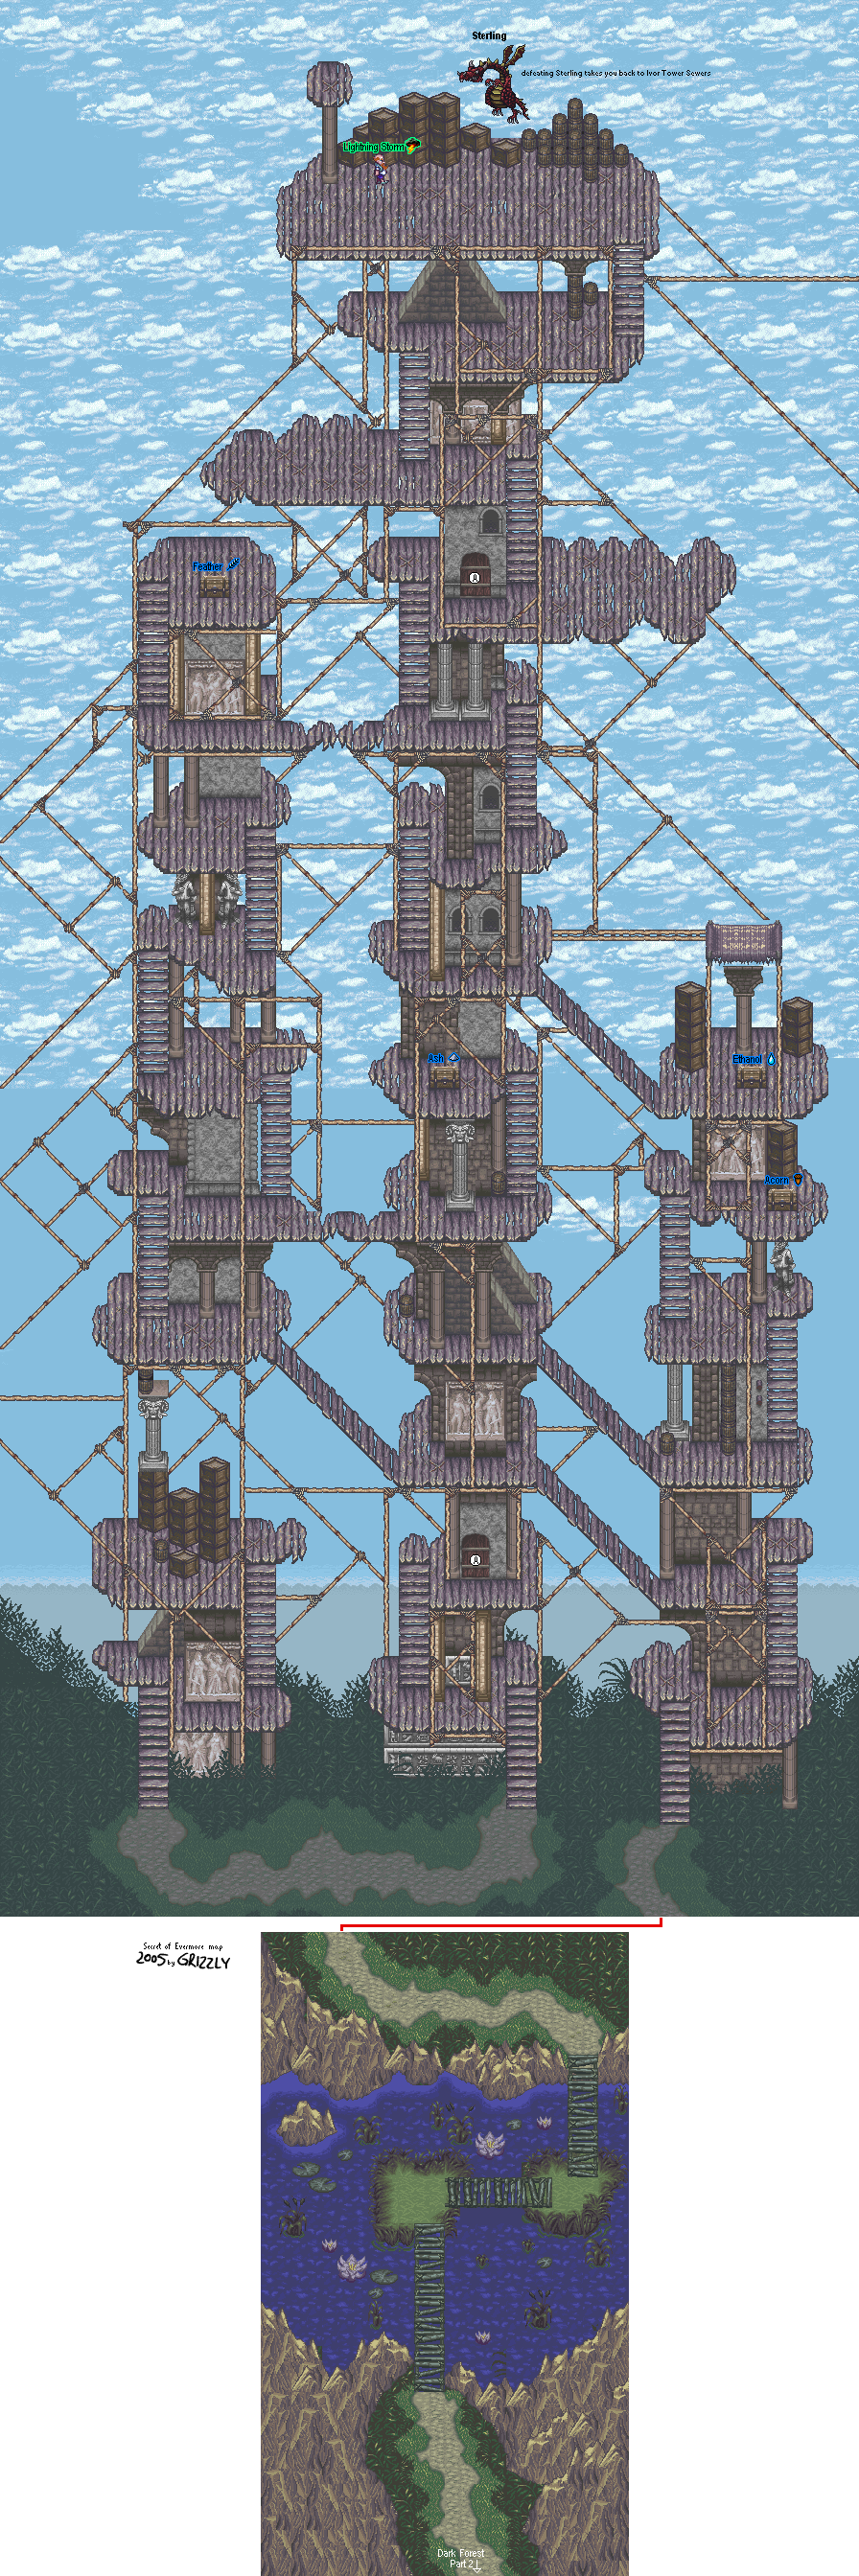
After you beat Sterling, he'll return to his perch and you'll meet Gomi, who looks exactly like Tinker. Gomi will heal you, then he'll command Sterling to take you back to the Ivor Tower sewers. Before he does that, though, he'll teach you a new alchemy formula: Lightning Storm.

Lightning Storm

1 Iron, 2 Ash

Remember that little mountain crag in that exit to the east? That's where Gomi and Sterling will drop you off. Talk to Gomi and he'll save your game.
 

Ivor Tower Sewers


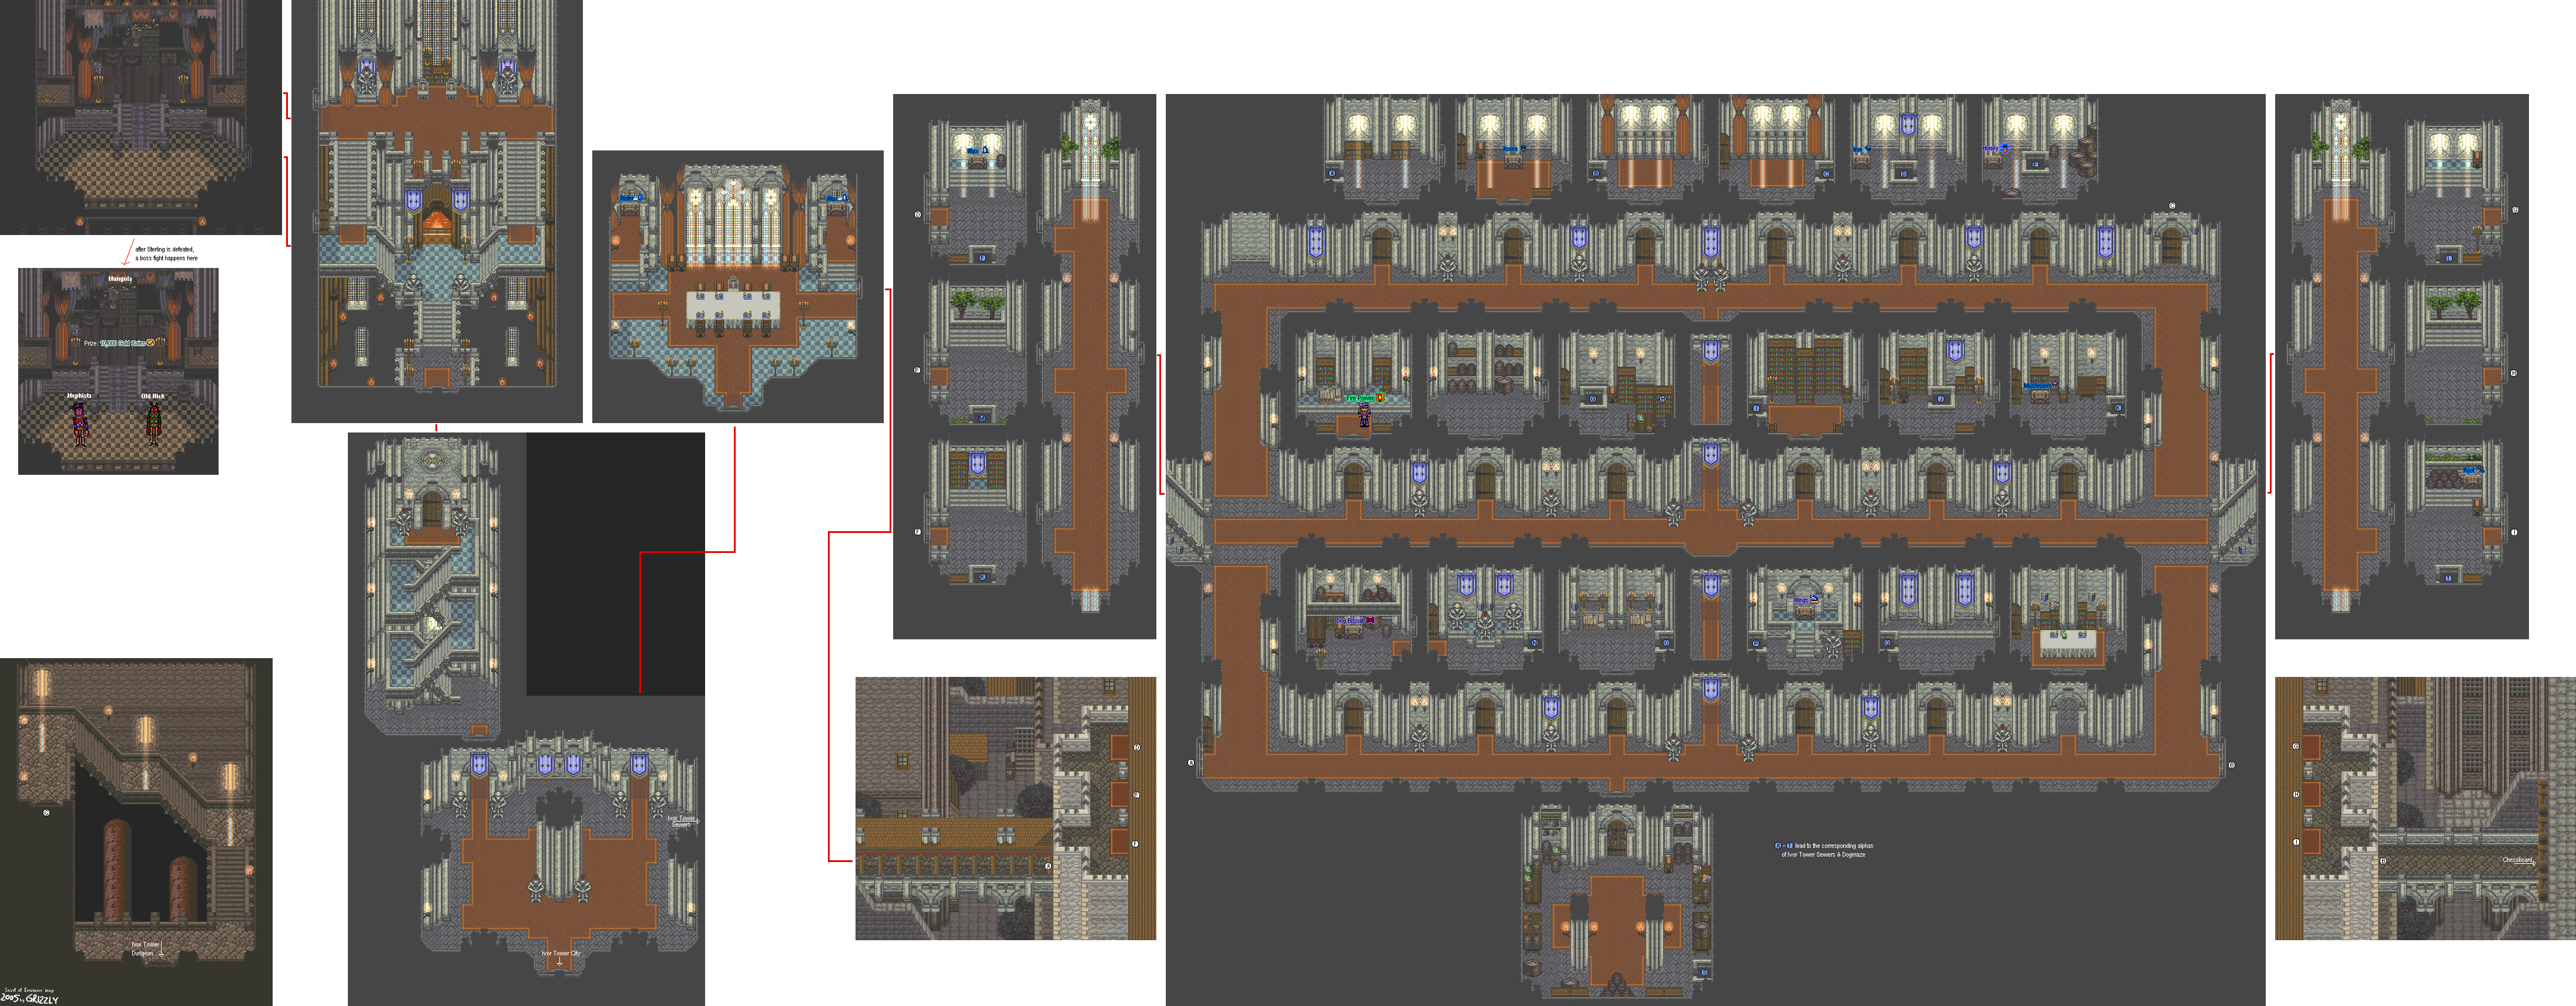
Interiors Map

Make your way back to the interiors of Ivor Tower, then go to the puppet room on the left in the Throne Room. You'll meet the evil Queen, then the two puppets will come out and fight you.

Friday, December 20, 2013

brickroadbrickroad and SovanJedi play Secret of Evermore - Part 72 of 88


In this entry, we deal with excessive lag, namedrop Kikoskia and curse Sovan for not using spells.

Boss: Sterling


Another dragon. Fight him like you did the Timberdrake: cast spells on him and keep him at bay with the Lance.

The big thing to watch out for is Sterling grabbing The Boy. If Sterling does this, The Boy is going to be dropped at a random spot at the tower and will have to make his way back up to where Sterling is in order to rejoin the fight. Once again, powered-up Lance shots to the rescue.

He won't do the grab and drop attack on The Dog, so Level 3 Dog Attacks will work very, very well here. At anywhere from 400-something to about 530-something HP per successful hit, it's something you can safely consider. Just keep The Boy alive.

Sterling can also cast Fireball on you. Not surprising, considering he's a dragon.


brickroadbrickroad and SovanJedi play Secret of Evermore - Part 71 of 88


In this entry, we climb up a rickety tower and somehow find a working elevator in it. HOW IS THIS EVEN POSSIBLE

All maps by Grizzly.

Gomi's Tower


Map

The part where you return to the barriers is dead simple. Just go north and break the barriers with the Knight Basher.

The Gargons are just like the Dragoyles, except with higher HP. You also have the Gore Grubs, which are red versions of the Maggots from the Bugmuck.

Be careful as you make your way to the top, as parts of the floors will break away when you step on them. Thankfully, there is an elevator (of sorts) that makes it easier to get up to the very top.

Thursday, December 19, 2013

brickroadbrickroad and SovanJedi play Secret of Evermore - Part 70 of 88


We finally go north of the entrance to the sewers and tear some stuff the hell up.

All maps by Grizzly.


Tinker's Lab


Now that you've seen through the fake Queen's even faker nice demeanor, Tinker will tell you to go to the sewer entrance and break the barriers to the north. You can do that with the axe in the treasure chest in his lab. Go get it. You now have the Knight Basher.

There are also two spells here. One of them (Slow Burn) in is in the bookcase, while the other (Explosion) is on the table next to the chest where the Knight Basher was.

Slow Burn

1 Iron, 1 Brimstone

Explosion

2 Ethanol, 1 Ash

Slow Burn gradually diminishes the target's HP (levelling it up can be quite awesome), while Explosion is...just that. An explosion.

Tinker will also let you buy alchemy ingredients if you need them.
 

Ebon Keep - Dungeon


Map

Here's the map, in case you need it again.

Ebon Keep - Sewers


Same here.

Now that you have the Knight Basher, you can break the stone barriers in the maze. Try it out.

brickroadbrickroad and SovanJedi play Secret of Evermore - Part 69 of 88


Wait...what?

All maps by Grizzly.

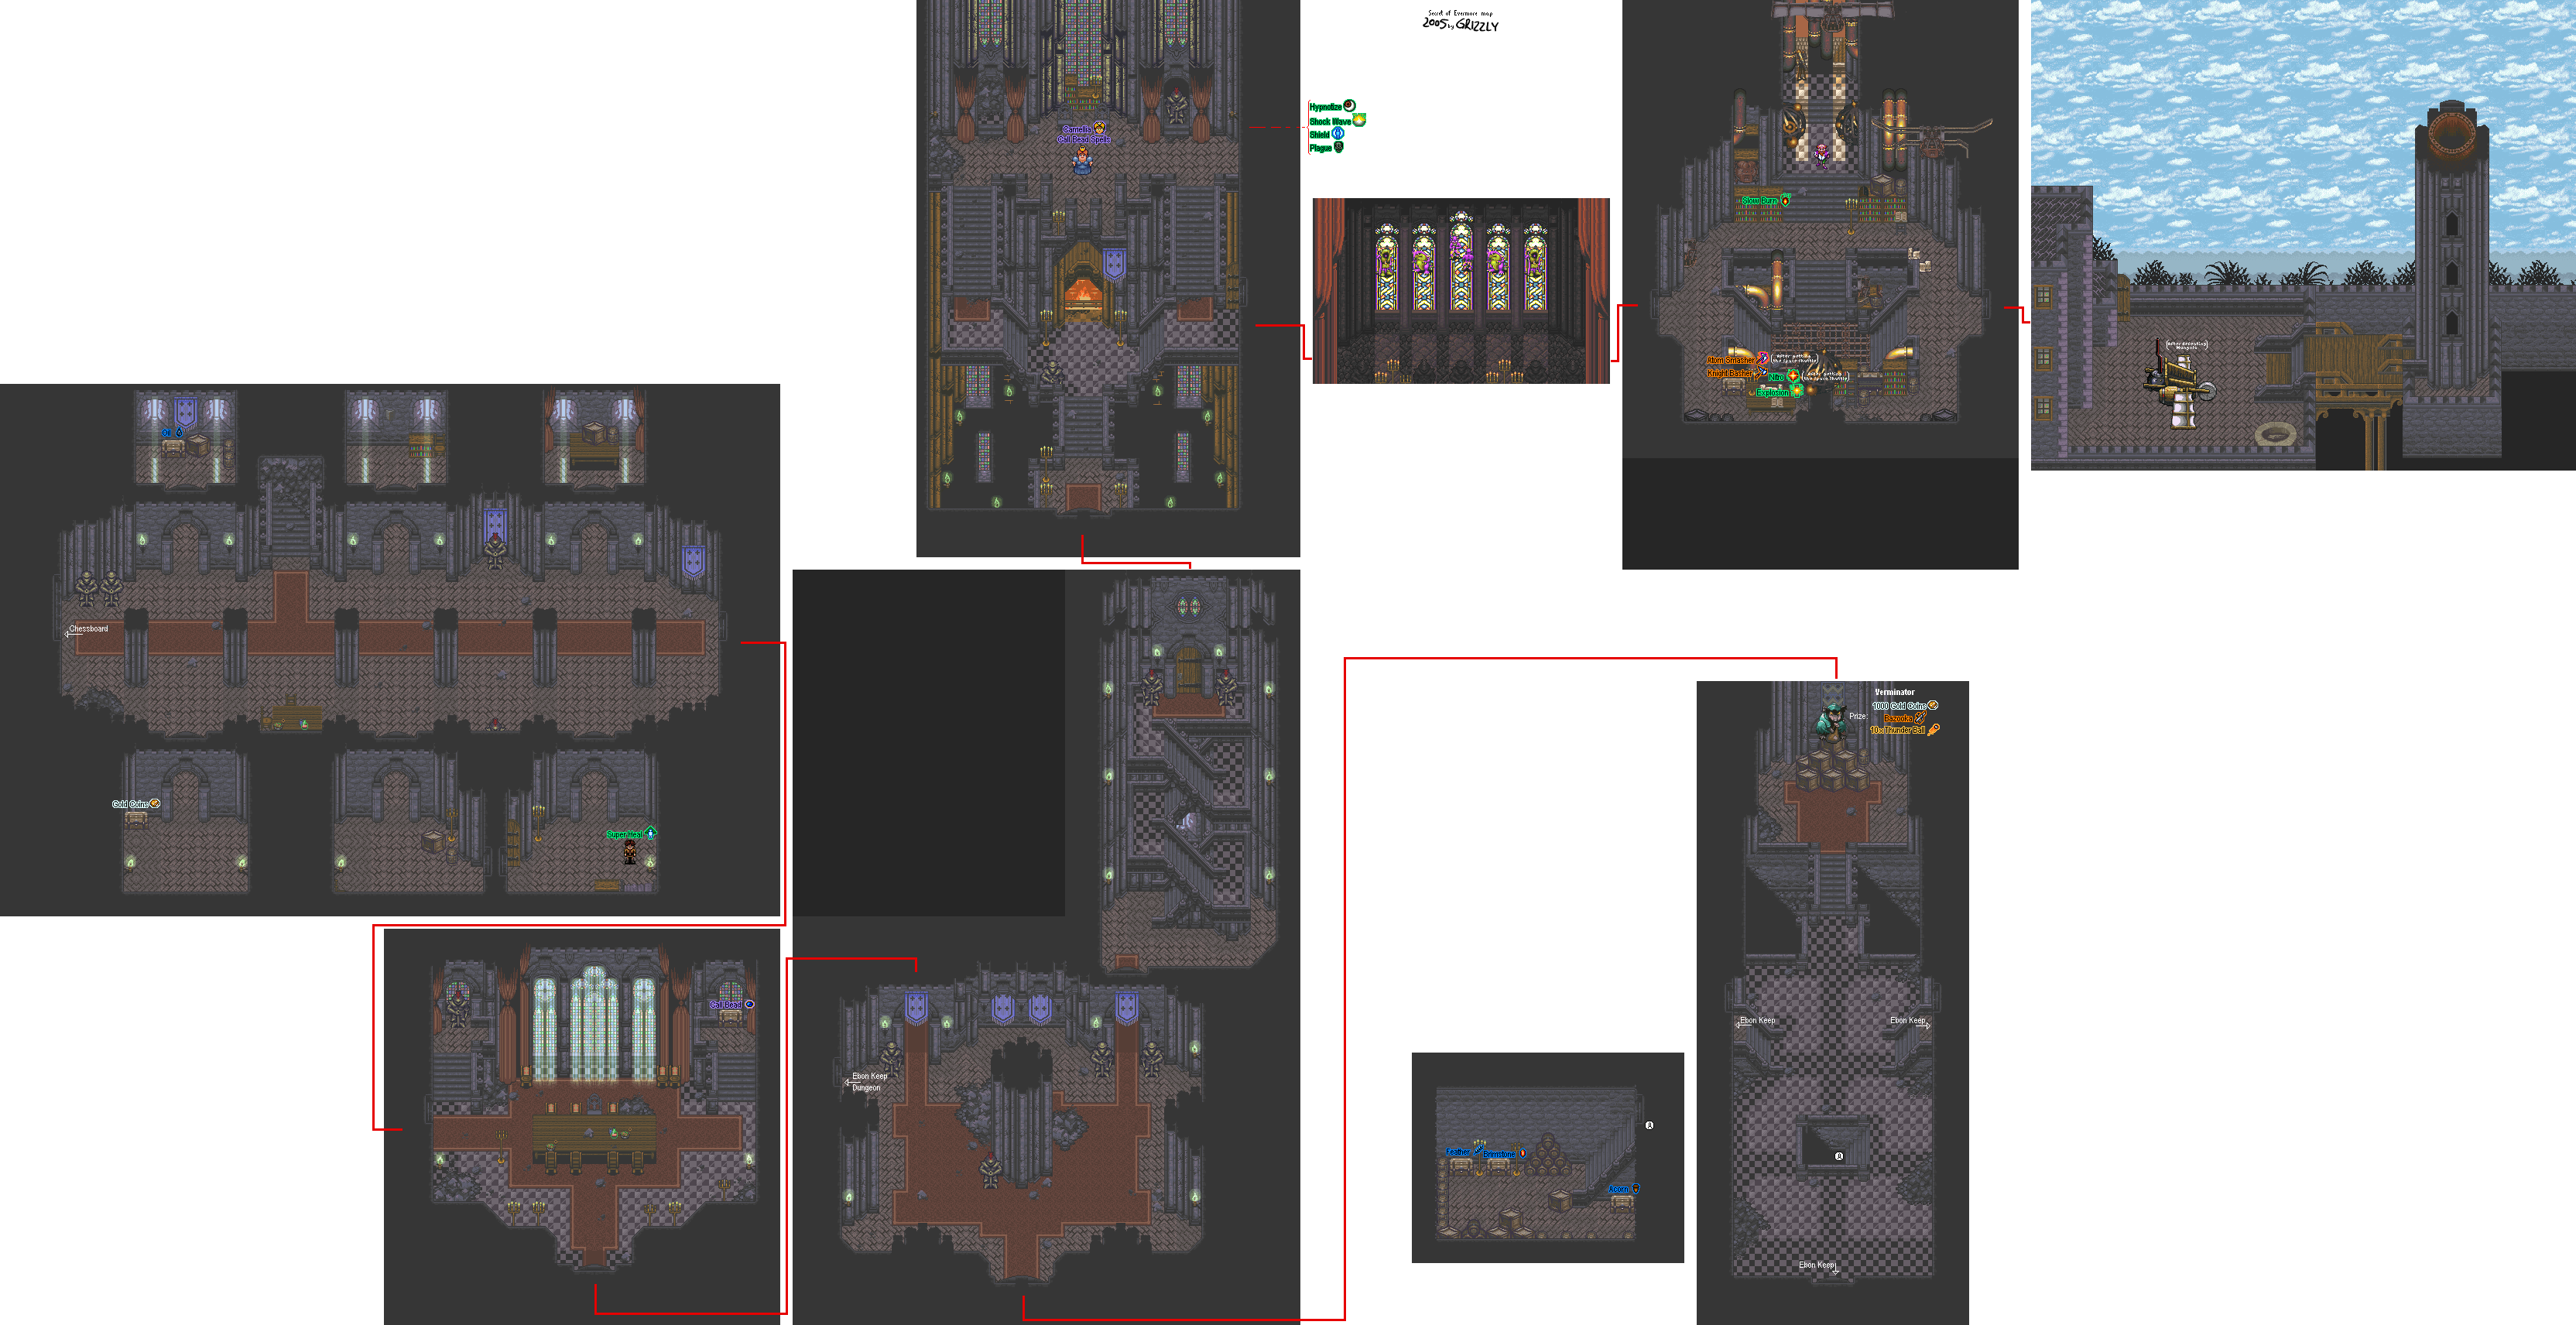
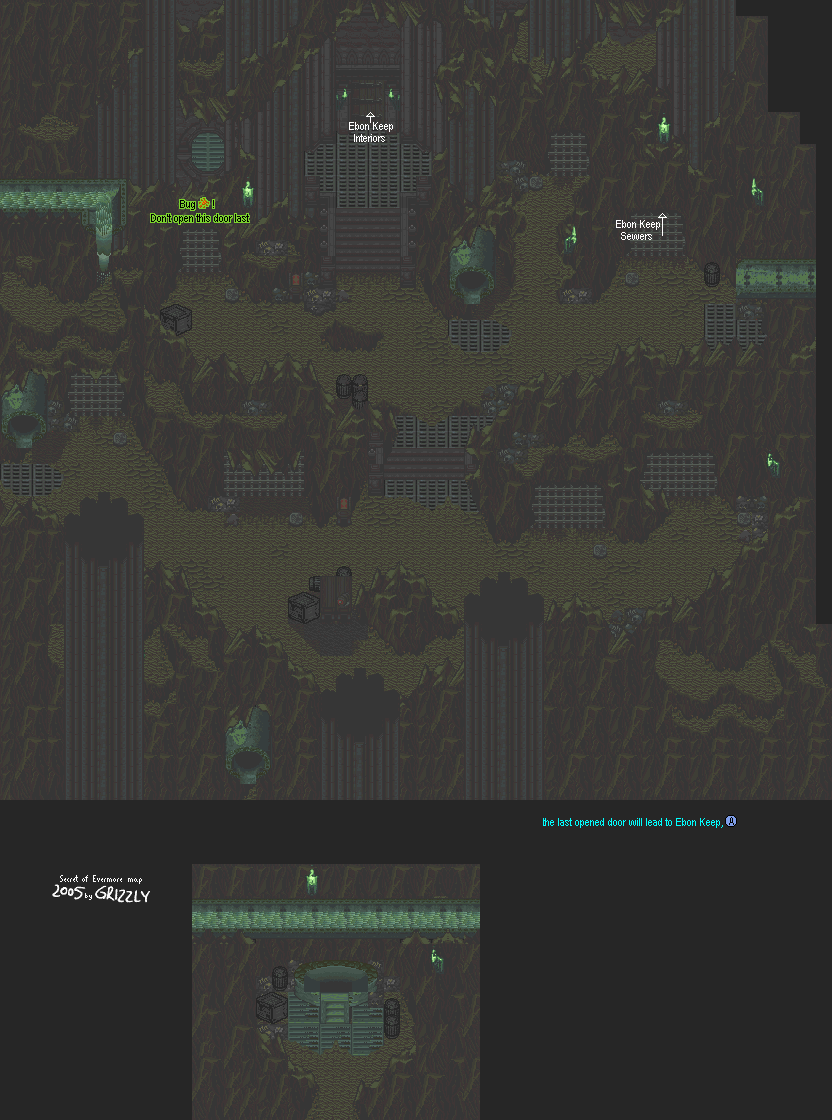
Ebon Keep


Map

You'll enter the throne room and meet...Queen Bluegarden. She's wearing a darker shade of blue this time. When you explain what's going on, she'll tell you that you met her evil twin and that she's the real Queen Camellia Bluegarden. She'll tell you what happened that caused the people of Gothica to move to Ivor Tower, then ask you to see Tinker (the man who escorted you to the throne room) and deal with the impostor Queen. She'll give you some more Call Bead spells that you can use.

On the right-hand wall of the throne room is a small hallway that leads to Tinker's lab. The monsters on the stained-glass windows, however, will come to life. They're really easy by now, though, as they're monsters you've fought in the previous worlds. Your reward is The Boy raising his weapon followed by a really cheap attempt at humor. Thanks, game.

Tinker's Lab


You'll finally meet Tinker Tinderbox. He'll let you look through the telescope, where you'll find out that the Queen in Ivor Tower was tricking you all along. (How you can hear from a telescope, I have no idea.)