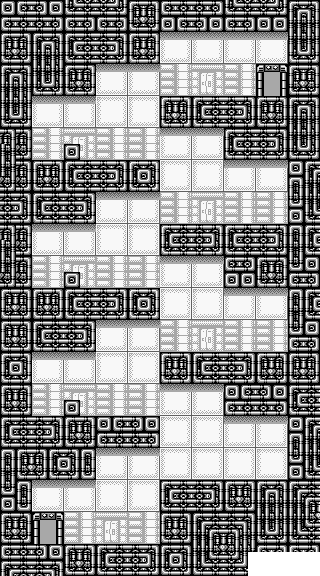
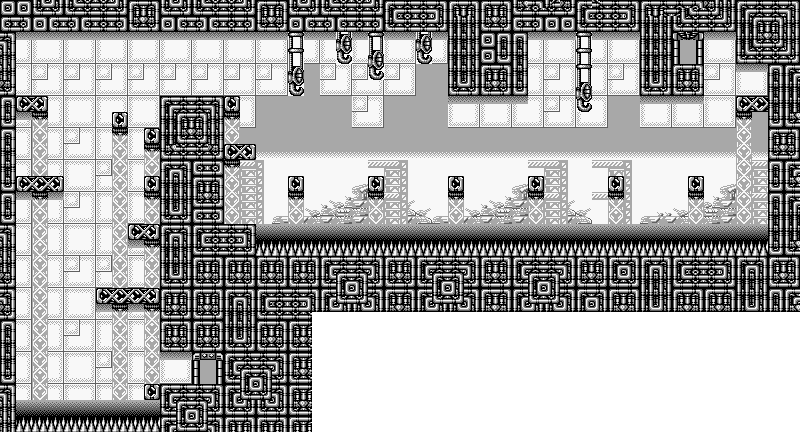
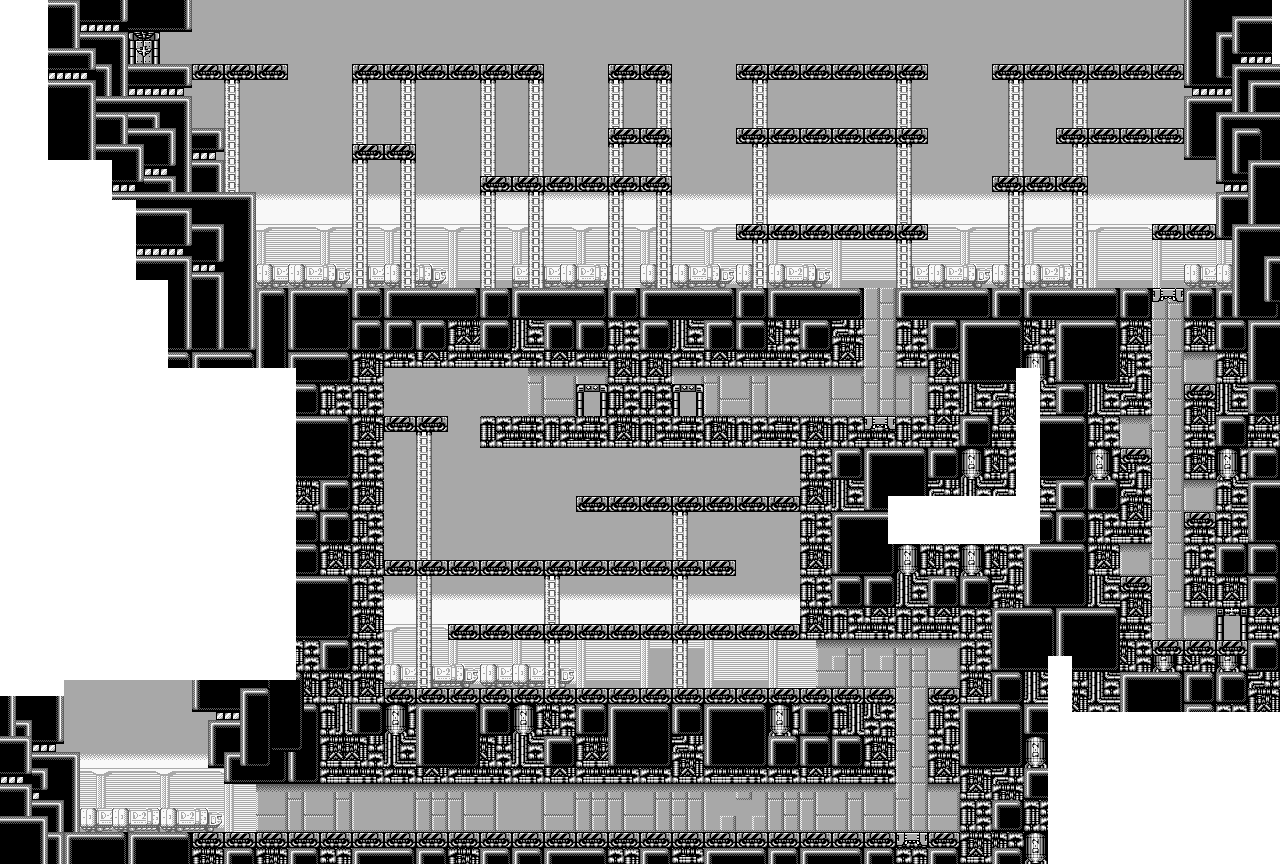
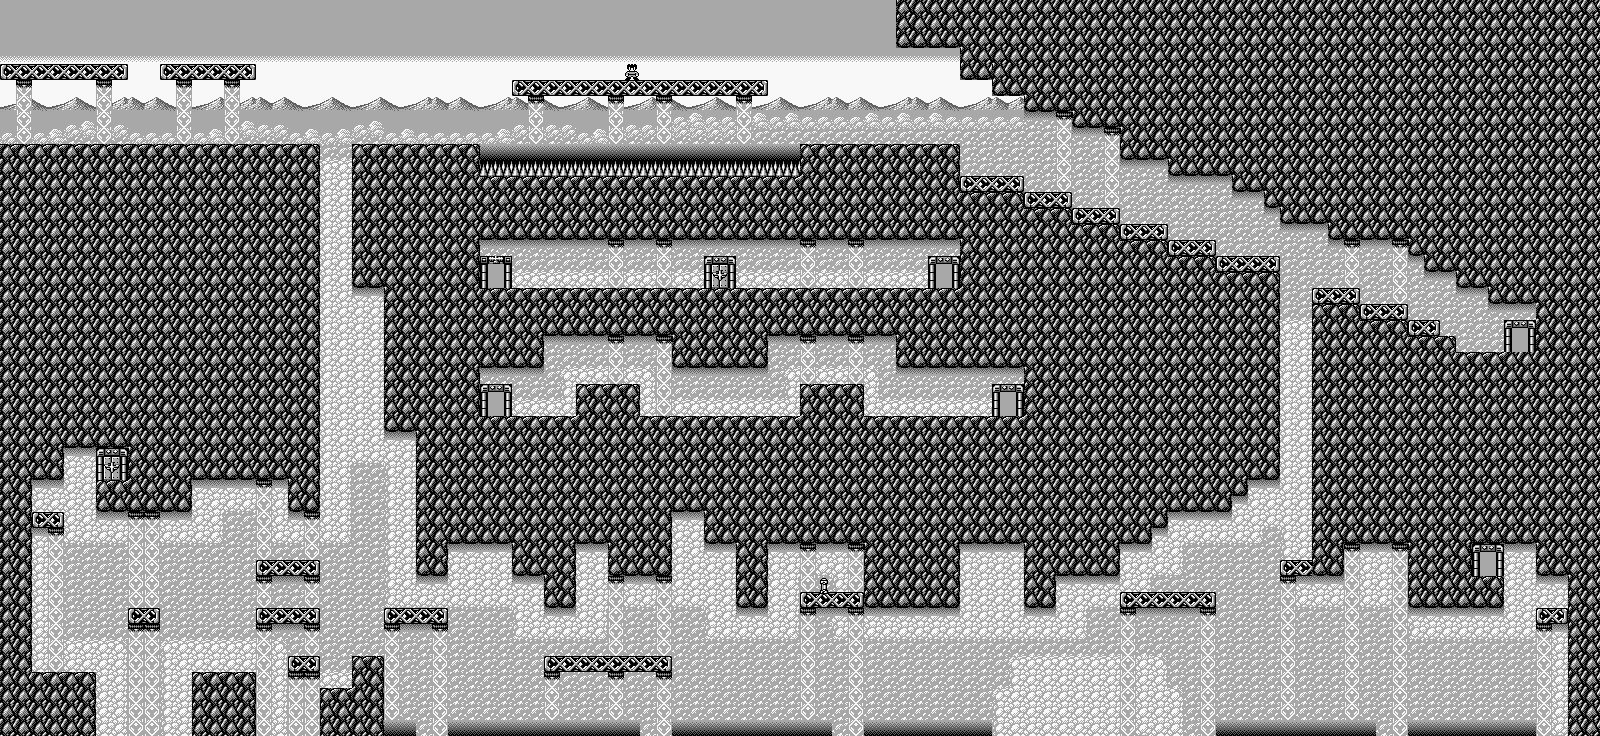
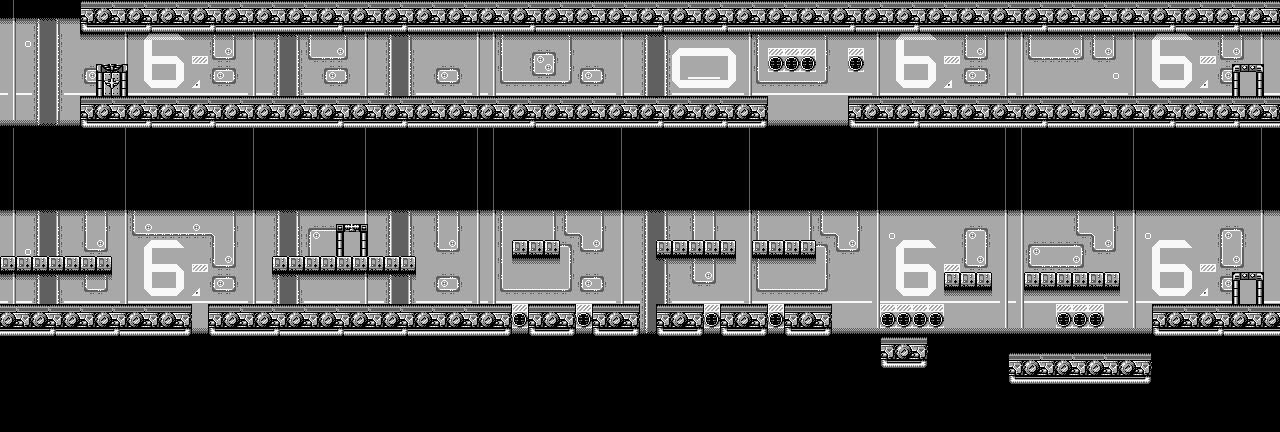
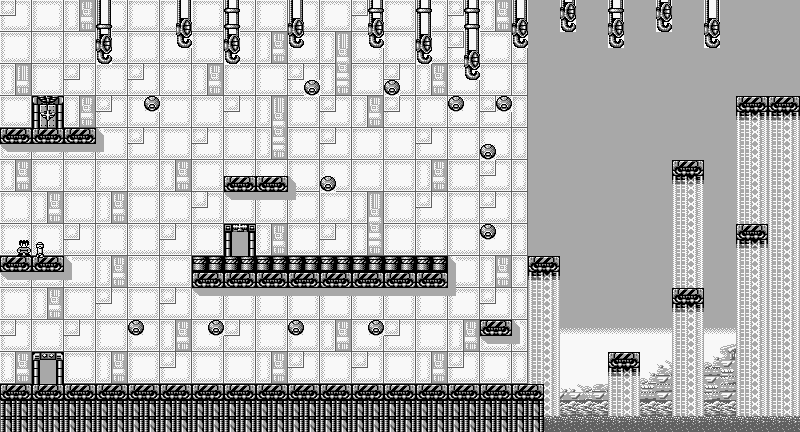
Yep, Sailor Moon got a Game Gear game. It's obviously Japan-only, as is a lot of the Sailor Moon game, and there's not much to it due to being geared towards younger and/or casual female gamers, but it's something.
You can play as Sailor Moon or as Sailor Mini Moon. For this Let's Play, I'll be playing as Sailor Moon.
Stage 1-1
Left and Right let you move left and right, Button 1 attacks and Button 2 jumps. Holding Button 1 and releasing it after a few seconds lets you throw your tiara as a short-range projectile.
In the upper-left corner, you'll have your current amount of health (up to four hearts), your charge meter for the tiara attack, and the amount of scepters that you have. If you have at least one and you hold Button 1 long enough, you'll perform a full-screen attack at the cost of a scepter. You can find them out in the open or from enemies (good luck with either one), but you'll receive the majority of the ones you get from the mini-games.
The stages are pretty short, and it does not take long to get through them. There are enemies, and the attacks you'll use will depend on how close you are and whether you're standing or crouching. If you're holding forward on the D-Pad, you can do a punch. Crouching kicks will temporarily knock enemies down. You can throw enemies, but you need to be extremely close to the enemy, and I only did it once on accident. Enemies will go down in three hits, and they will only attack if you let them, and it's pretty easy to keep them from doing it.
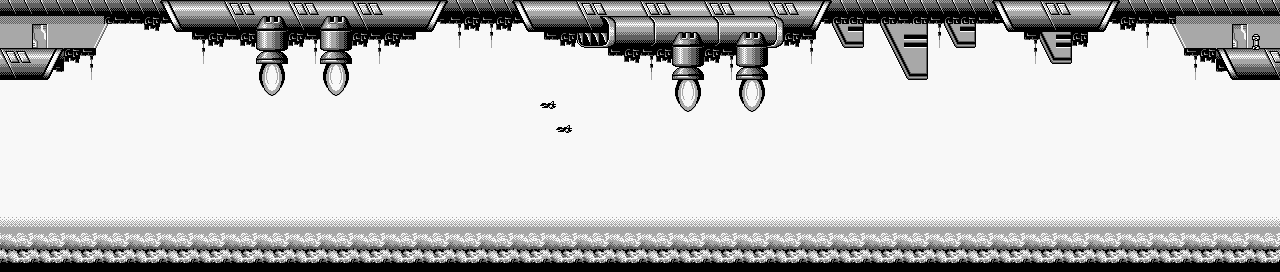
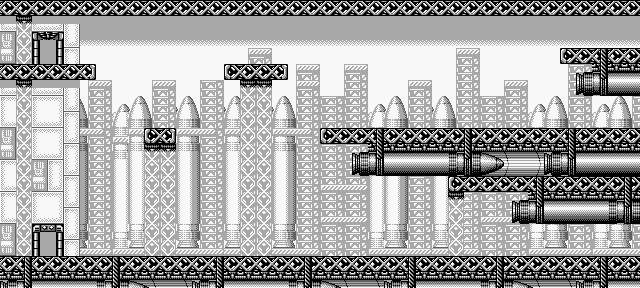
You'll see your first platforms moving up and down. Pay attention to where platforms change direction before you jump and land on them.
You can shimmy on wires by jumping into them and then moving across with Left or Right. Moving off the wire will allow you to get back to the ground.
If you hear what sounds like a brief earthquake, something is falling down from above. You'll want to avoid the falling object to keep from losing one of your hearts. Hearts can be dropped by enemies every once in a while, although you can also find these in the open, too. A big heart will give you full health.
Bottomless pits are instant death and loss of a life, so don't fall into them.
The bouncing sphere enemies go down in one hit, but they can take you surprise and hit you if you're not paying attention.
When you complete the first level of a stage, you'll get a sword. This is the Space Sword that was Sailor Uranus' Pure Heart talisman. You'll need it to transform at the end of the stage.
Stage 1-2
The rose grants you temporary invincibility. You'll hear a chime when it runs out.
You'll have a choice between the upper path and the lower path halfway through; I take the upper one because it's easier and you can see the falling objects before they fall.
Beating the second level of a stage will grant you a mirror. This is the Deep Aqua Mirror, Sailor Neptune's Pure Heart talisman and another transformation.
Stage 1-3
The third level of every stage is extremely short and has a bunch of block platforms that are out of place compared to the rest of the stage. Jumping across them will lead to the heart, which is the last transformation item. Grabbing it and heading to the end will transform you further.
You'll then enter the boss battle screen. The three enemies that pop in one after the other will now go down in one hit. As for the boss battle with Eudial, also known as Eugeal in the original English language dub by Cloverway. You'll want to hit her, then let her teleport to the other side of the screen and jump up to hit the projectile. Avoid the projectile as it comes down, and hit the boss again. You can easily hit this boss with your regular attacks, but the moon tiara can work, too. After enough hits, the boss goes down.
Password: 3633
Sailor Team Roulette
At the end of every stage is a mini-game. For this mini-game, you'll want to match the character at the roulette wheel on the bottom with the one in the center. You'll want to press Button 2 just when the character you need to match is just about to speed by. If you press it any earlier, you'll land on the character before the one you need. The more matches you make before the timer at the top turns completely gray, the more scepters (or Rods, as the game calls them) you'll be able to get, up to a maximum of nine.
Stage 2-1
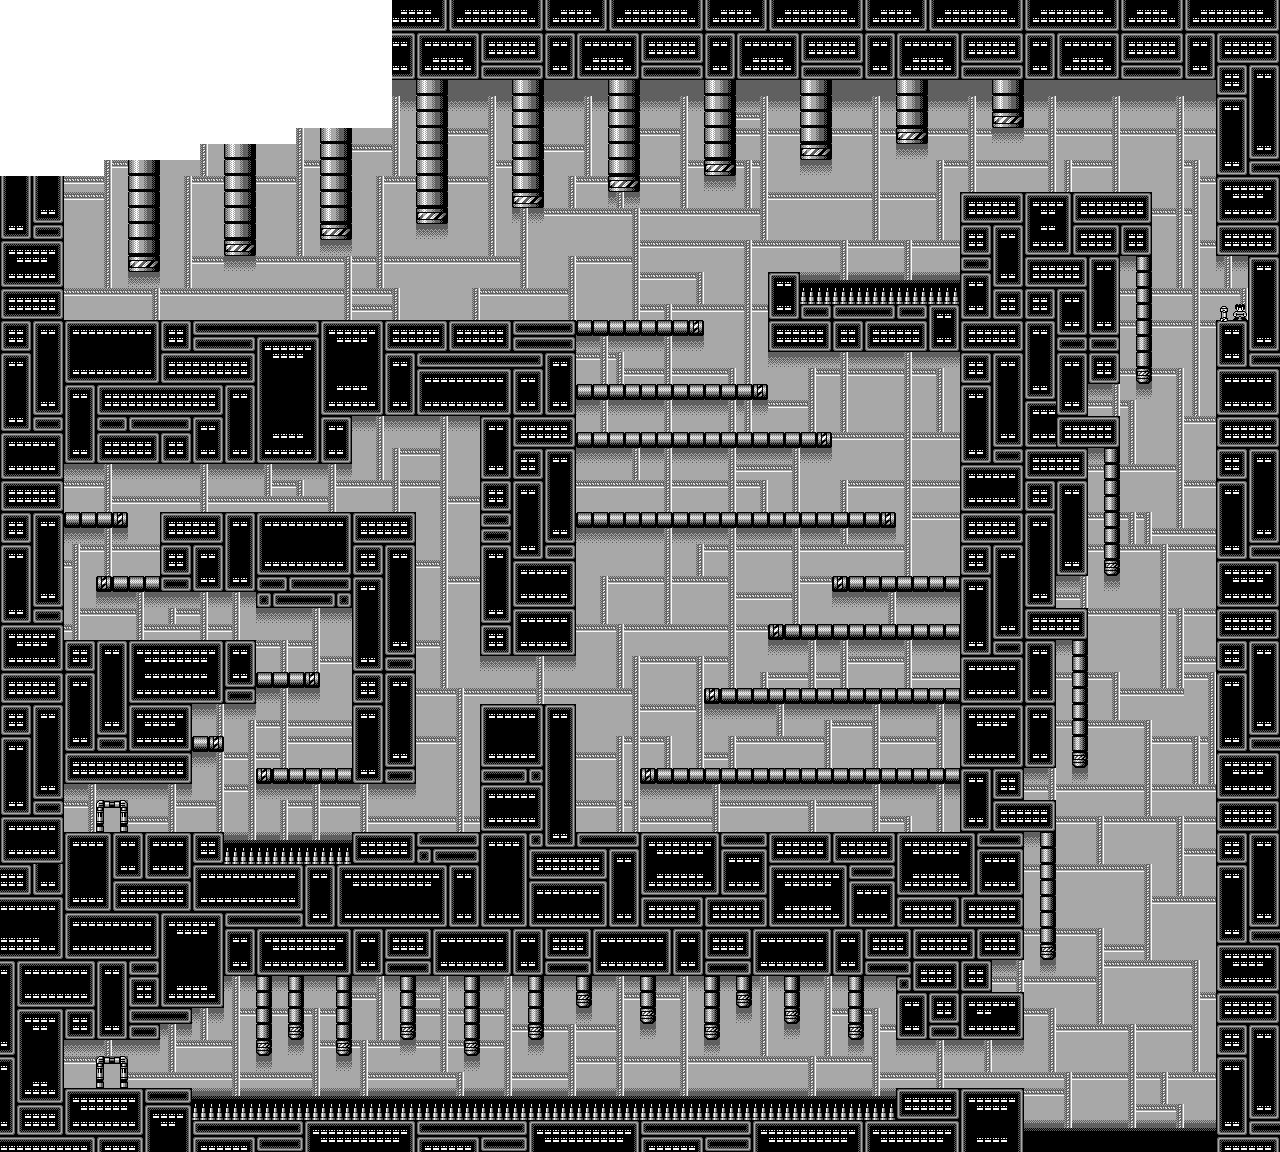
Pay attention for the rumbling sound again so you don't get hit by falling glass spheres. Also, you'll have to jump up the steps near the end.
Stage 2-2
Shimmy across the stage at the middle for an extra scepter. Also, watch out for the falling glass sphere at the stairs; one will fall near the end.
Stage 2-3
Jump up the blocks and shimmy to the left to get the heart near the start.
To beat Mimete, you'll need to hold down the B button briefly to throw the tiara at the boss, then avoid the notes that the boss shoots at you when she goes into the air. After four hits, it's over.
Password: 4141
Find Tuxedo Mask!
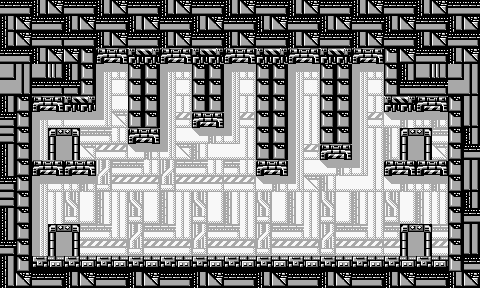
Use Left and Right to go between the doors and the elevator. Use Up and down on the elevator to switch floors. Press Button 1 or 2 to open a door and either get a hint as to where Tuxedo Mask is as well as to find Tuxedo Mask himself. Finding Tuxedo Mask will refill your health to four hearts. You have four chances to find Tuxedo Mask, and each extra chance you have after finding Tuxedo Mask gives you bonus points.
Stage 3-1
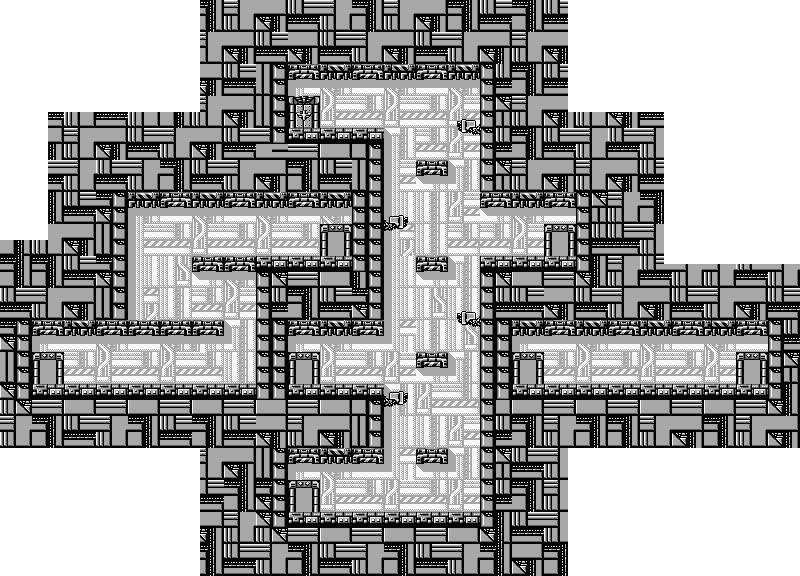
In this world, you'll have to jump over open manhole covers. What is going on with the road safety here? You'll also have to jump over stacks of boxes, but that's the easiest obstacle to deal with around here. Also, watch out for falling objects. Again.
This level is pretty short, honestly.
Stage 3-2
Now you'll have to jump over gaping pits in the road itself. While you're doing this, you'll need to be alert for falling objects, which will make performing this rather mundane task harder. It won't be long until you reach the end again.
Stage 3-3
You'll find the path to the heart above the crates at the start. Just watch where you're landing, as there is an open manhole cover nearby.
To beat Viluy (Byruit in the original English dub), just use your tiara attack and keep a fair distance away. The boss shoots projectiles upon taking damage, but they only have a limited range.
Password: 5151
Quiz World
Here, you'll need to answer five questions. They're going to be random every time you play. You have five seconds to answer each one, and each correct answer awards you a scepter for the super attack that I end up never using. Ironically, while I couldn't find a list of the quiz questions, I was able to find the names of the transformation items as well as the bosses.
Stage 4-1
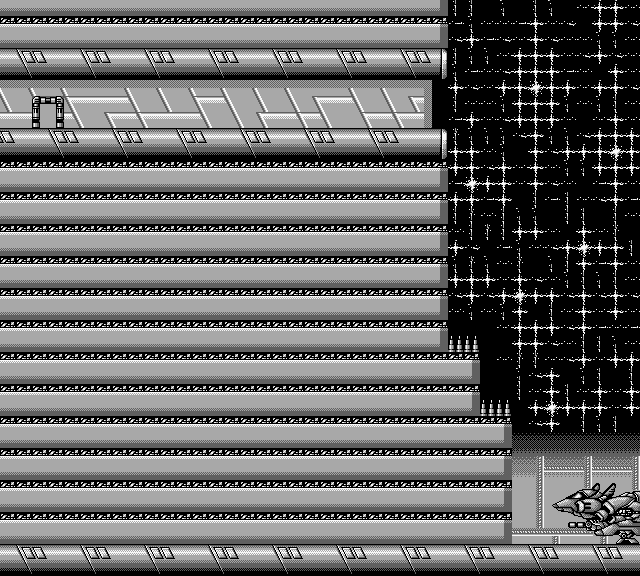
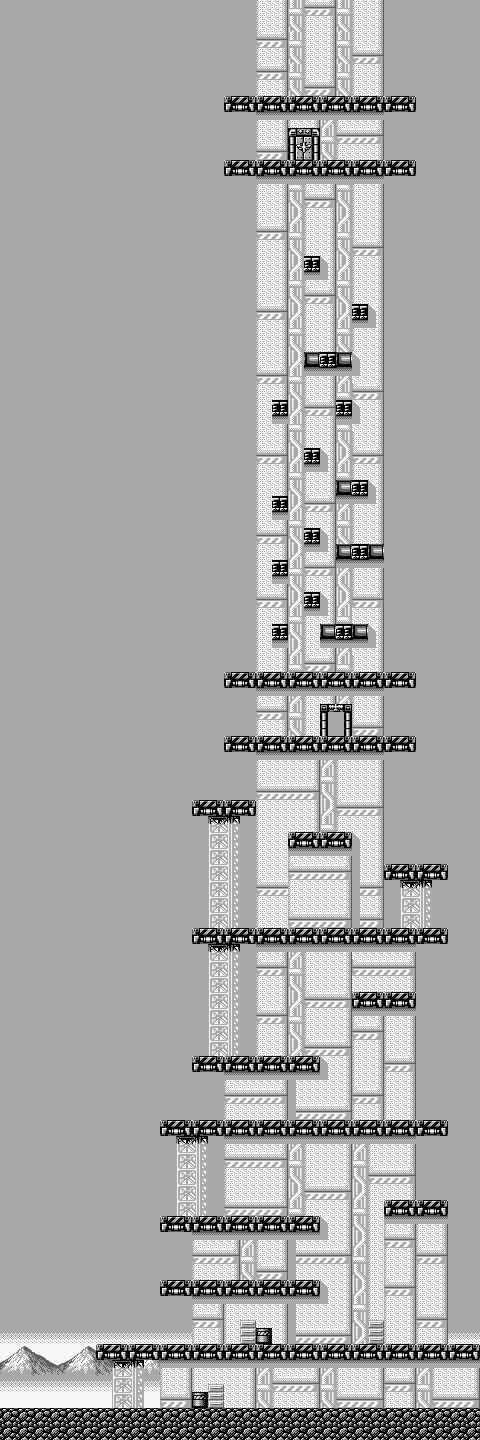
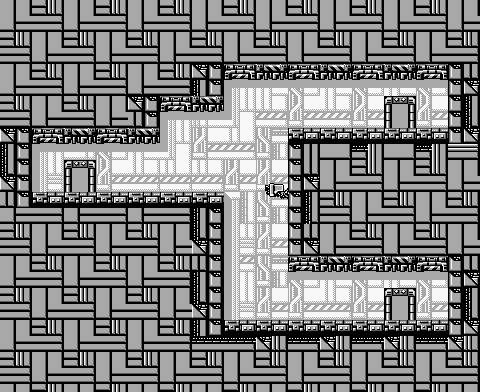
Unlike the other stages we've been in, you'll be going upwards in addition to back and forth. You'll be able to see what's going to fall down in front of you a little more easily, and if you jump around, you can trigger a couple of falling objects early.
Be careful with the platforms and watch where they stop before you jump, or else you'll be taking a tumble.
Stage 4-2
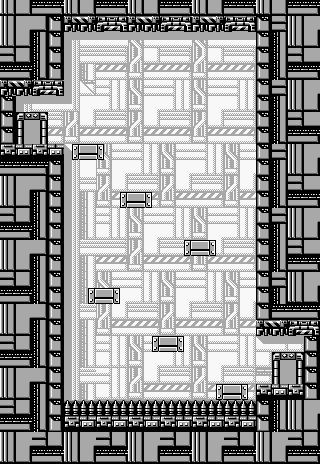
You'll definitely want to be careful with the platforms here, especially when there is a bottomless pit at the bottom of this level.
Stage 4-3
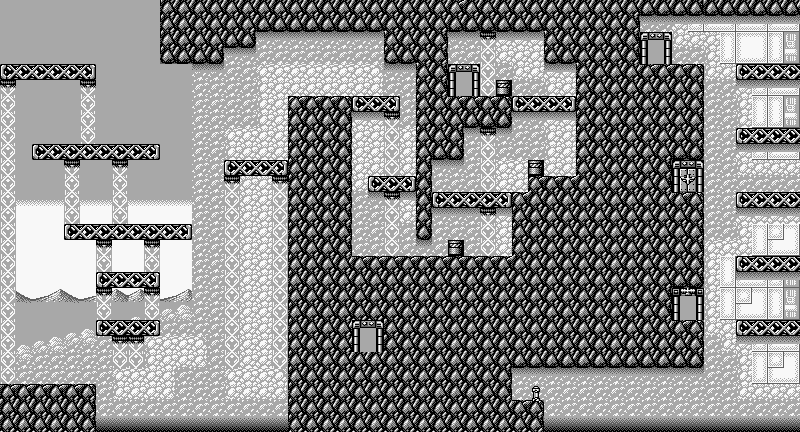
You'll find the last transformative items just by jumping up the blocks. Jump to the left when you grab the last item so you don't risk falling into the bottomless pit.
To beat Tellu (Telulu in the dub), hit her with the tiara, then avoid the red balls that fall from the sky. After four hits, she goes down.
Password: 6060
Luna-P Ball's Picnic
Press Button 1 to move Luna-P left and Button 2 to move Luna-P right. You'll have to get to the end without bumping into Luna or Artemis, and if you can do that, you'll refill all of your health. You only get one shot, however, and it's all too easy to mess it up.
Stage 5-1
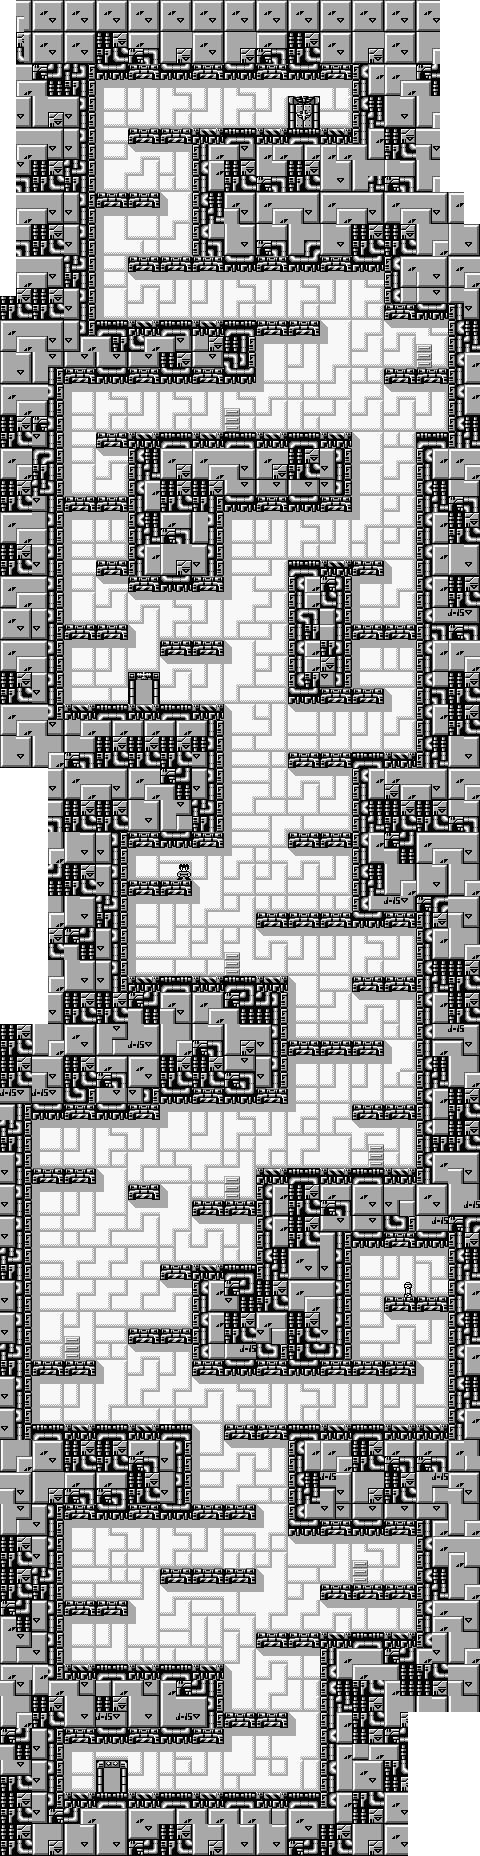
There are some pits in the game that will appear as the level terrain moves downward. Watch out for platforms as well as falling items, as you'll need to deal with both to get to the end.
Stage 5-2
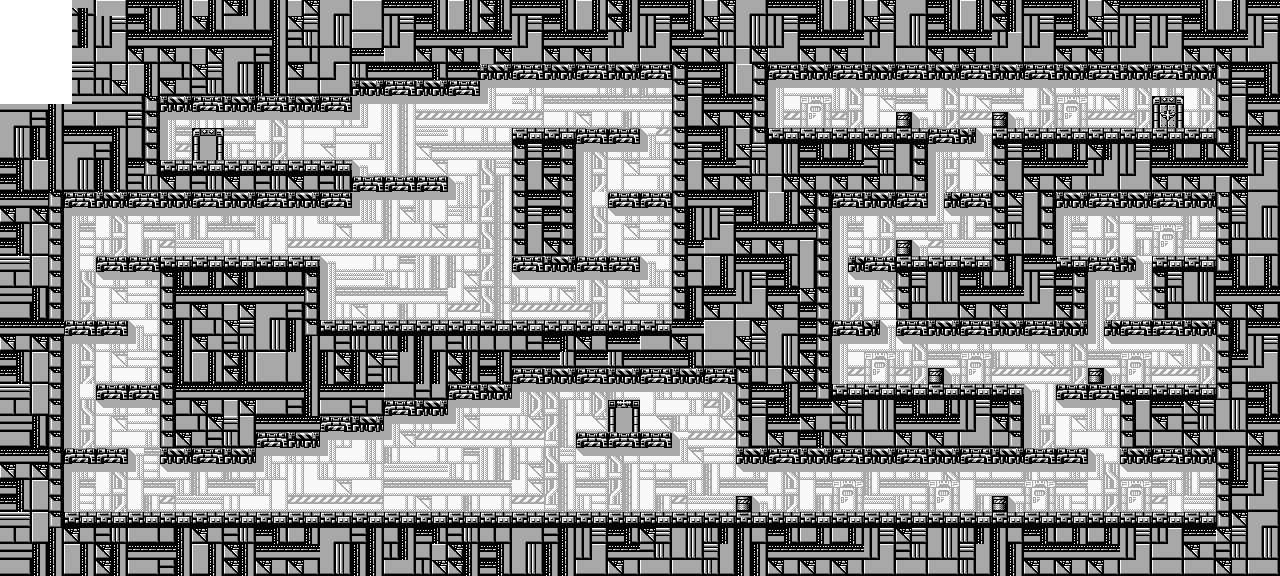
While the terrain does not raise or lower, you'll still want to watch the platforms carefully to ensure you don't fall into a pit.
Stage 5-3
When you get on the moving platform above all the blocks you need to jump on, jump straight to the Garnet Orb.
The boss here is Cyprine and Ptilol (Petirol in the dob). You'll attack Cyrpine first, then she will jump away and Ptilol will jump in. You'll need to move back and forth in the center of the room to avoid colliding with them and eventually hit them. They'll both eventually go down.
You'll then face Kaolinite (Kaorinite in the dub). You'll need to move around and keep moving to ensure she doesn't show up on top of you, and then hit her before she can attack. Every time you hit her, she teleports; move around to ensure she doesn't show up right where you are, and attack her before she can attack you. After enough hits she finally goes down.
Password: 8888 (which gives you the credits)
After this, you'll be taunted by Professor Tomoe (Dr. Tomoe in the English dub), then you get the credits.
As for the Fortune Telling Mode, you just put in your date of birth, today's date and your blood type, and you'll get to see your fortune for the day regarding love and money as well as the lucky number and color of the day. It has no bearing on anything in the game and is just there for fun.
Nevertheless, you've just beaten Bishoujo Senshi Sailor Moon for the Game Gear!