This may not be the NES version that everyone knows and loves, but this version is still a whole lot of fun.
The Doraize Empire has started attacking the world as part of the Albatross project. Super Joe was sent in to investigate, but the Federal States have lost contact with him. The FF Corps and the Bionic Commandos have now stepped in, and Rad Spencer, the strongest commando, has snuck into the Empire to look for Super Joe. The final battle is about to begin...
When you start the game, your mission is clear: sneak into the main base, rescue Super Joe, and destroy the Albatross project. You'll then fly into the in-game map. The white numbers are the action stages, while the black numbers are neutral zones. Descend lets you enter the current area, while Transfer will let you move forward, assuming you've cleared the area you're currently flying over.
Area 0
You'll start the game with a basic pellet gun and the Alpha Receiver. Just press A to go through the equipment screens for now; you'll get more stuff to equip as you go through the game.
Left and Right let you move Left and Right, Down ducks, B shoots, and A fires the hook. You can hold Up to aim the hook upwards. While hanging on a ceiling, you can press Down or forward to jump forward, with forward (Left or Right, depending on where you're facing) lets you go further than down does. Pressing A will allow you to scurry up to the surface of whatever you're hanging on. Up and A will allow you to pull yourself to the top of the platform, assuming the platform will allow you to do that.
Shooting enemies will cause them to leave cartridges. Pick up the cartridges to get closer to increasing your health, which is on the lower-right corner of the screen. You start out with three hits, but you'll be able to get as many as eight by the time the game is over. Pressing the Select button will allow you to see your current equipment, the current amount of cartridges that you have, the current amount of lives that you have, and the current amount of continues that you have. You'll be able to get a few extra lives along the way, and you'll also more easily be able to get up to nine continues. This will be explained later. By collecting enough cartridges, your maximum health will increase by one unit, and you'll also refill your health along with the extension.
Your first order of business is to get to the door with the antenna at the top, which indicates the communications room. With your currently equipped receiver, you can communicate with the Federal States army, but you can also tap into the communications network to overhear what the Doraize army have to say. You'll be able to get some hints doing both of these things, as well as open doors elsewhere in the current area. You can also re-equip items in the middle of the stage whenever necessary.
There is a chance that if you tap into the computer to overhear Doraize communications, you'll trigger an alarm once you select "End" to get off the computer. Enemies will endlessly parachute into the room until you leave.
If you see a briefcase parachuting downwards, shoot it down to get the contents, which will be random.
The POW item gives you a shield that revolves around you and only lasts for a limited time, but the shield can take down any regular enemies that it touches. Don't expect to see this item very often. The tiny Rad Spencer doll gives you an extra life, but these are few and far between.
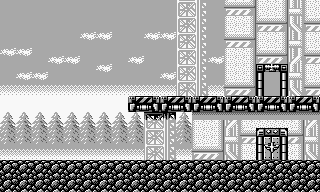
The doorway with the eagle above it usually signifies an important place to go. If one of these doorways is closed, look for the communications room and contact the Federal States army. That should usually unlock it.
You'll soon enter the room with the power reactor, which you'll learn about if you tap the enemy communications. The enemy captain just stands there and points, and can be shot down rather easily; the enemies that parachute in and chase after and shoot you put up more of a fight. To take out the power reactor, shoot at the middle of it until it explodes.
Completing a stage will net you ten cartridges, which will get you a tad closer to your next unit of health. You'll also get a password in the form of a 4x6 rectangle with circles, squares and triangles, which is something that the NES game did not do. Be sure to write these passwords down.
Area 1
Once you beat Area 0, you can descend into Area 1.
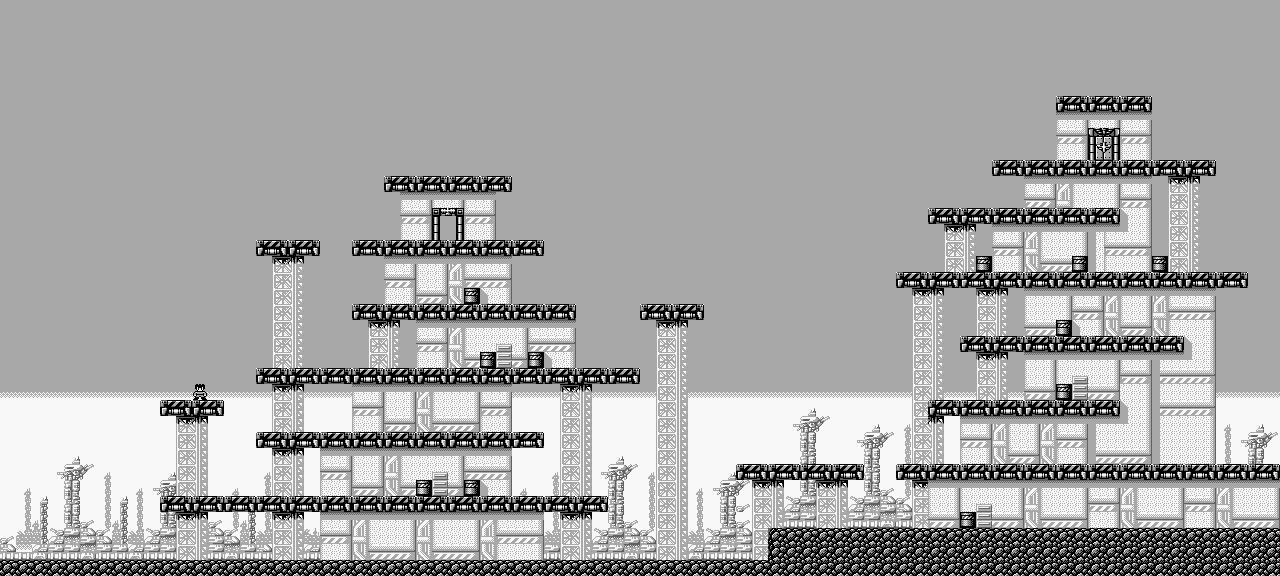
At the start, you'll need to enter the communications room. Use Com. and Tap. to open the door at the bottom level and find out about the elevators, one of which is a trap. You can stand on them and press Up and Down to move the elevators up and down. As for which one is a trap, it's the one on the left; the one on the right actually works and doesn't fall down when you stand on it.
Swinging forward off the ceiling will let you get past the barrels that are in your way. Since you can't actually jump forward by pressing a button like in every other platformer, using the hook and swinging forward is how you're going to hop past pits and obstacles.
You'll find the communications room halfway through the base, off to the right past the spike pits. Be sure to do the usual things that you do in there to open the exit. You'll learn from the Federal States army about the neutral areas, where you can move freely without being attacked, but if you fire any weapons while you're in them, you will be swarmed by peacekeeper soldiers. Keep your thumb off the B button while in those areas. Tapping will reveal that the enemy knows you are in the base.
Landing in spike pits will take off two hits when you touch the spikes, and you'll want to use your grappling hook in order to get out of them.
Shoot down the machines on the ceiling producing the force fields to get rid of the force fields.
The men with the rocket launchers take two hits with the default gun, and the explosions that they create when they are destroyed can also do damage to you if you're too close.
In the power reactor room, the soldier with the shield can be easily avoided if you stay off ground level. He can be easily taken out from behind, but you're better off just ignoring him entirely. Destroying the power reactor in Area 1 allows you to access Areas 2 and 3. You'll also obtain the Bio-Protein, which acts as a free heal with the Start Button if you equip it before entering an area.
Area 2
Area 2 is a neutral area, and you are prohibited from firing weapons from here, lest you want to be surrounded by an endless flood of parachuting soldiers. for best results, keep your thumb off the B button while in neutral areas.
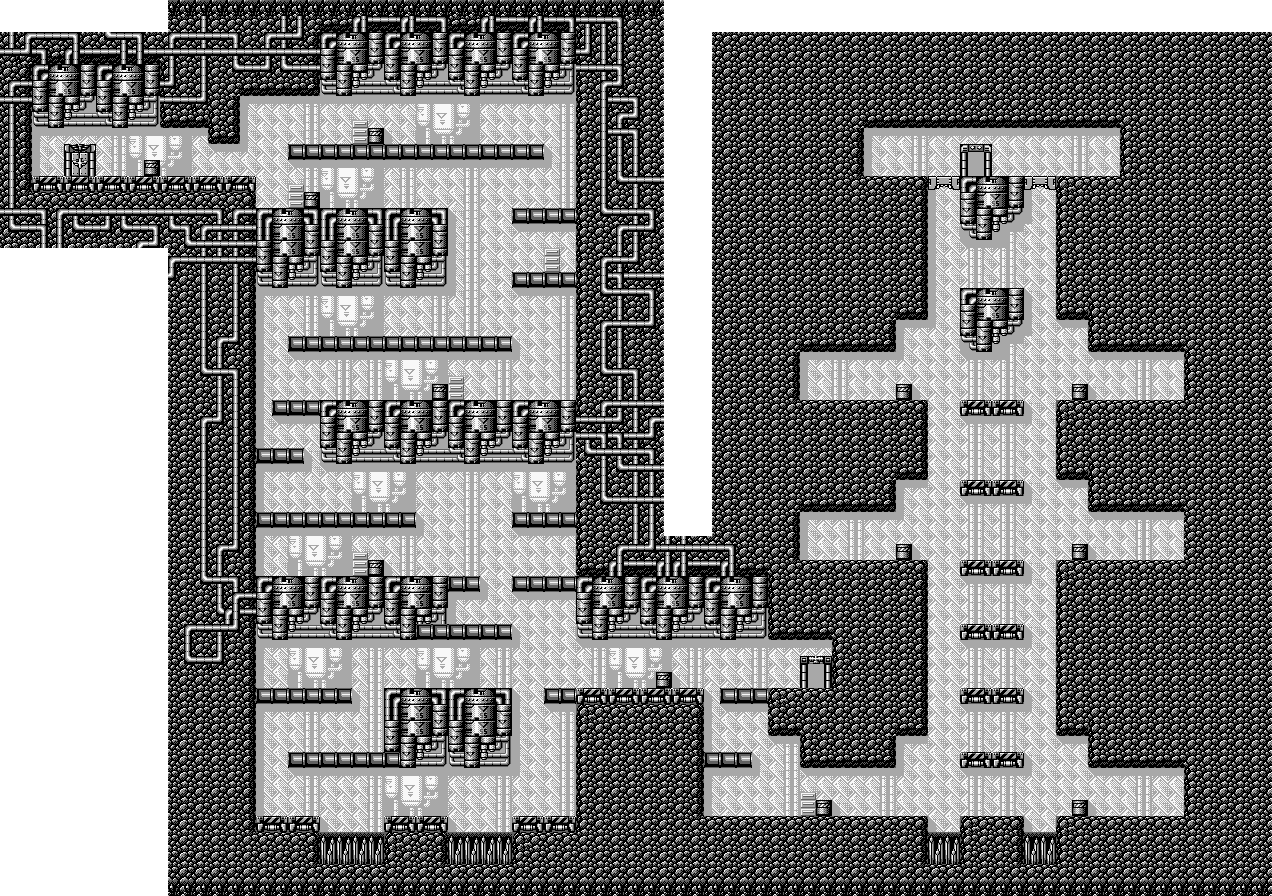
Some of the rooms in the neutral areas will contain items. You won't get much here, but you'll get more stuff in future neutral areas. Watch out for the floor spikes, and use the item rooms to get used to the grappling hook controls. Keep in mind that if you swing into a wall, you'll let go of the ceiling and you'll get knocked back.
Near the end of Area 2, you'll find the flare. You can equip it and press Start in a dark area to light a dark area up.

No comments:
Post a Comment