This video took more time to make than it should have.
Area 5
Be sure to equip the Shield Goggles to protect yourself from damage.
Area 5 is another neutral zone, and in one of the doors, you'll find the Beta Receiver. Equip it before you enter Area 6.
You can only talk to certain people. If you don't get a dialogue box when you approach people, they don't have anything to say.
If you latch onto a ceiling from the ground, you can simply move forward with the D-Pad to start swinging.
Area 6
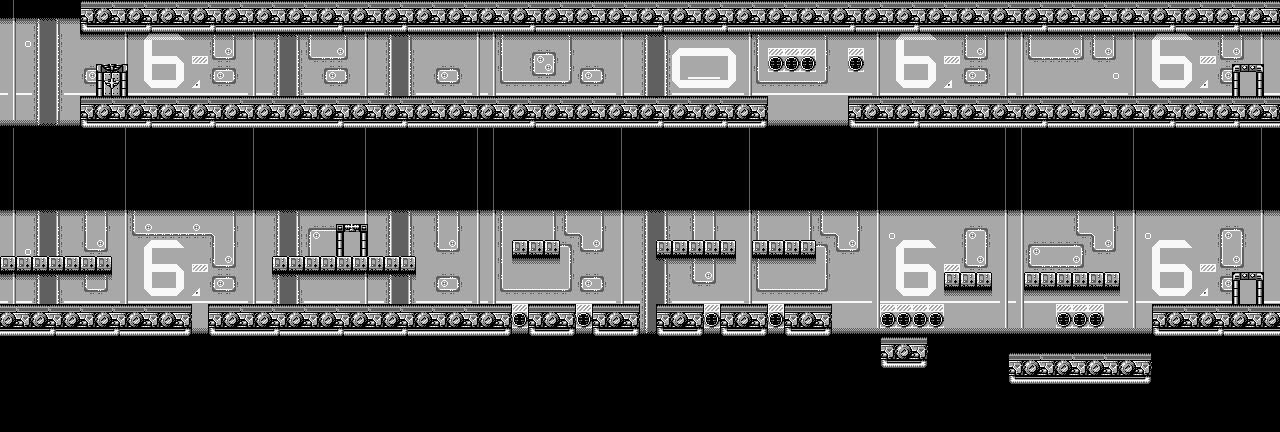
Equip the Beta Receiver! You're going to need it for the communications room, which is right after the start. If you don't have it, you won't be able to get anywhere. Get on the mine cart to get through the second section faster, and make sure it doesn't hit you from the side, as it can damage you.
The animated platforms you see throughout the stage are actually Game Boys turned 90 degrees to the left. Your side will reveal that the Doraize are making mutants out of human beings, and that tapping into enemy communications will confirm it.
There is a chance that when you tap into enemy communications, an alarm will sound and enemies will flood the room. Fight your way out and get out of the room immediately, as there will be no end to the number of enemies parachuting in.
In the second section, some of the platforms will fall down. You'll have to use the platforms that the game throws at you to get further into the section and make it to the end here.
Near the end, you'll need to watch out for the slimes, especially near the gap you'll need to swing across to get to the power reactor. If you fall down, you're doing quite a bit of the area over just to get back to where you were.
To take out the mutant cyborg with the grappling hook, duck down near the edge and keep firing the Wide Range Rifle. You'll eventually shoot it in the head enough times to destroy it. The power reaction will be fair game from here.
Beating this area will net you the Grenade Launcher, which is one big projectile instead of three smaller ones. It also takes out enemies in fewer hits. You'll want to equip this, as it is going to be helpful. (Sadly, it will not destroy the barrier in Area 15.)
Area 7
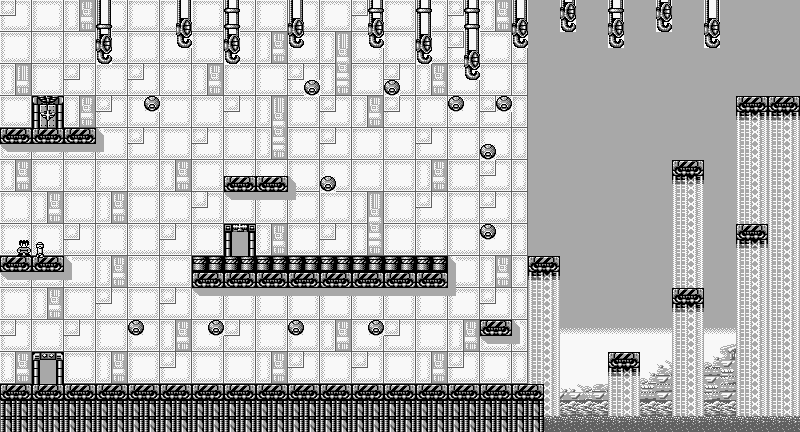
The rocket launcher will, however, take out the barrier at the beginning of Area 7, so getting it in Area 6 and equipping it before entering Area 7 is an absolute must. Even the soldier at the start will tell you this. From here, you'll have to swing on hooks to get to the other side. Remember that pressing forward when you've swung all the way forward throws you further than pressing Down, so make sure you press the right direction as you're swinging your way through to ensure you don't miss a hook and fall down the pit. Thankfully, the first section is mercifully short.
The big guys who throw projectiles take two shots with the grenade launcher (and a lot more with the other weapons), so it's a good thing you have the weapon now. When you enter the second section, enter the communications room before you do anything else; you'll need to do this to unlock the exit. Contacting headquarters will reveal that General Rile, who is believed to be Super Joe's kidnapper, is waiting for you in Area 8. Tapping enemy communications will reveal that the Beta Receiver will be useful in Areas 6, 7 and 8, and that you'll need a Gamma Receiver when you enter Area 10.
The orbs on the background can be hooked onto, but if you stand on them, you will slide off.
You'll need to use the hooks at the top in the second section to get to the power reactor room. Be mindful of the enemy that's waiting for you near the door; you can leap into him and get knocked back down to the beginning on the final stretch.
There is a life replenishment and an extra life below the power reactor entrance, but be prepared to go around the second section again if you grab them.
The power reactor room is easy; you just have an enemy commander and parachuting enemies being the only obstacles to the reactor. Beating this area will net you Leg Armor, which acts as even more protective armor.



No comments:
Post a Comment