In this entry, we finally get to meet the main antagonist, and we also get ourselves into a bit of a bind.
Area 9
Area 9 is another neutral zone. Unfortunately, you'll need the Permit to enter, and to get the Permit, you'll need to beat Area 8.
Area 8
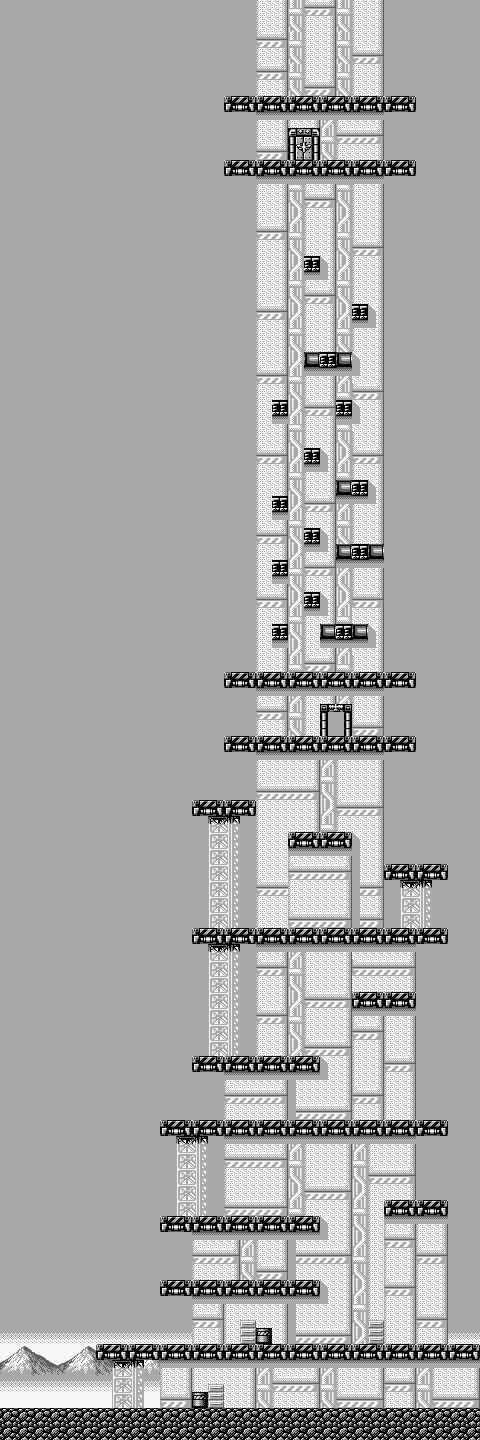
The first part of Area 8 is an upwards climb to the top of a tower. You'll have new enemies to worry about in the form of ceiling turrets that fire lasers in two directions, soldiers with backpack copters that fire a short-range laser downwards while moving to the side when they see you, and Donkey Kong barrels that roll forward at you from out of nowhere.
You'll need to enter the communications room to continue. Communicating with your army will reveal that Super Joe has been taken elsewhere, while tapping into enemy communications will reveal audio of the Doraize army breaking a door open.
Above the communications room is a series of spring blocks you'll need to use to spring upwards and latch onto the next platform with to enter the second section. You'll also see another briefcase. Sadly, it only gave me another cartridge.
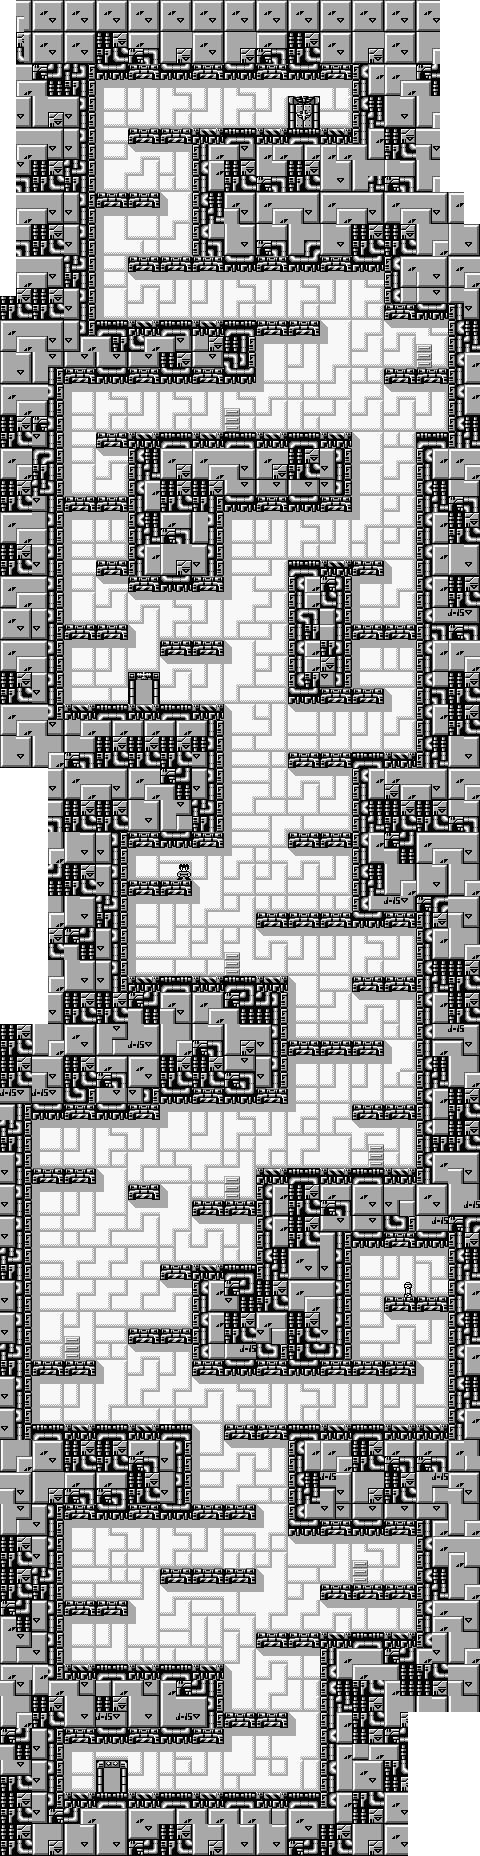
In the second section, you'll be defeating a ton of enemies as you make your way to the power reactor room at the top. There is a full health pick-up off to the side at the start, and there is an extra life you can get from leaping from a high place. Enter the communications room here to continue; you'll find out from your side that Director Wiseman (the leader of the Doraize army) is upstairs, and tapping enemy communications will reveal that General Rile knows you are here.
The power reactor is at the end. You'll see General Rile and Director Wiseman, and you'll fight the former. Line yourself up with Rile, duck down and keep shooting. That will be enough to take him down. Once Rile is out, destroy the power reactor. Beating Area 8 will net you the Permit, which will allow you to enter Area 9.
Area 9
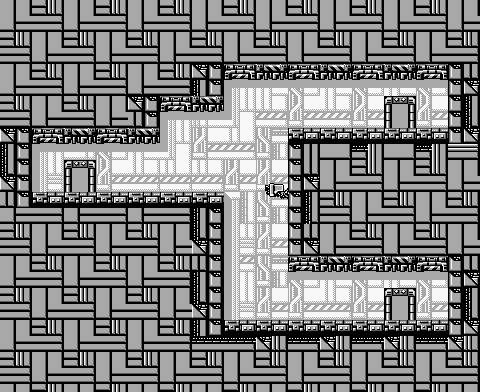
Equip the Permit in the Tool menu so you can enter. The first door will contain the Gamma Receiver, which you'll need for Area 10. By talking to the people here, you'll find out that Area 10 is the capital of the Doraize Empire, and that other FF Corps members are there. The final door contains an extra life.
Later on in the game, you'll find yourself in this area when you run into the enemy on the overworld map. Destroying the cannons on the two submarines will net you continues for each one. As for the enemies you'll encounter, you'll see guys with guns and later, guys with parachutes. You'll need to swing to get across the submarines.
Area 10
Equip the Gamma Receiver. You'll need it here and for the next couple of areas.
You'll land in the city. Enemies will parachute into the area ad nauseum, and you can keep defeating them over and over to stock up on cartridges for the next hit point. You can run past the helicopter to get past it.
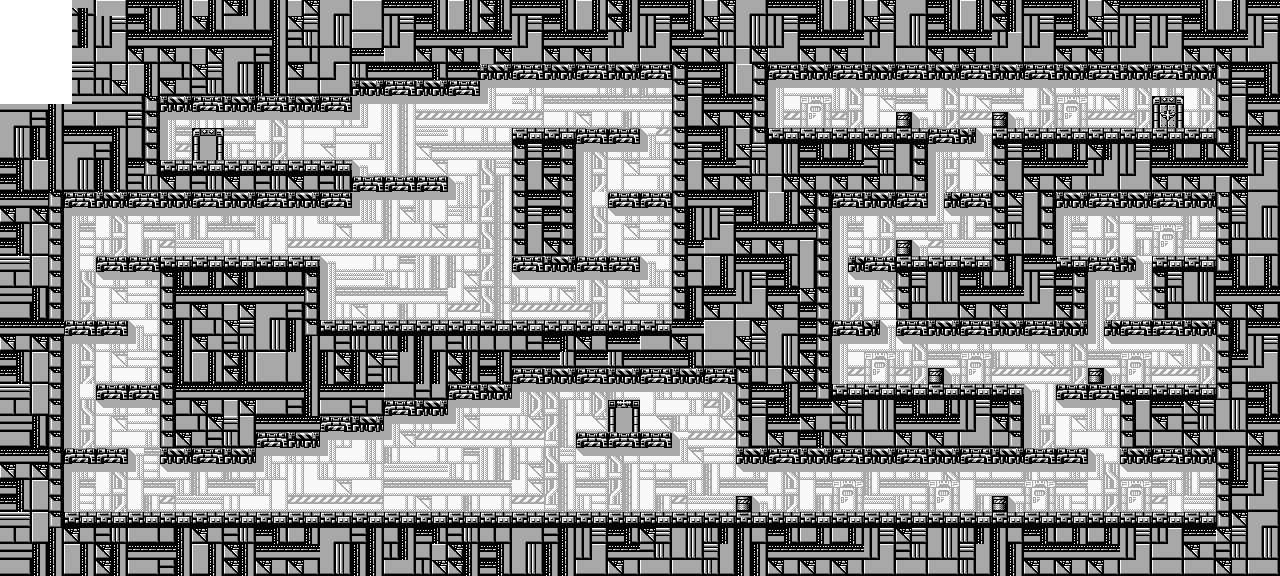
Once you're inside, you'll need to swing your way to the left across the ceiling below where you start, so you won't have to deal with even more parachuting soldiers. Once you make your way down, you'll need to get to the communications room. Thankfully, you don't have to swing across the ceiling to get there; you can hook up to the platform where the room is from underneath and pull yourself up from there. Once you're inside, your side of the war will tell you that the Gamma Receiver can be used in Areas 10, 12 and 13, and that you'll need to find the Delta Receiver. Tapping into enemy communications will reveal that the enemy is ready for you here.
To take out the enemies strapped to the ceiling, you'll need to hook onto the ceiling, drop back down and fire before you hit the ground. If you do it right, you'll hit the enemy as he is about to pull himself to the ceiling.
Once you enter the next door, you'll move right into an ambush and be thrown into a cell. Another FF Corps member will bust you out, and you'll need to use her wire (which she gives you) to get to your weapons and get to Area 11.
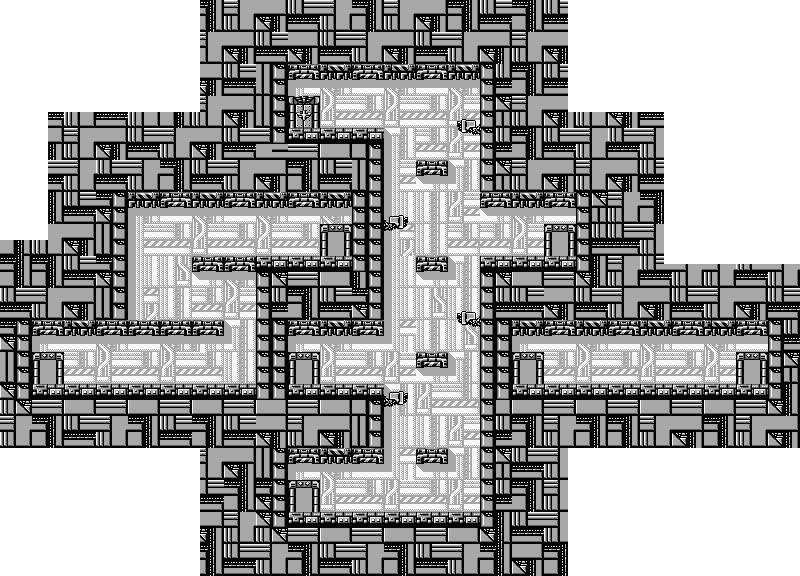
You'll need to grapple to the second doorway from the top, and you'll also need to ride up the laser cannons that slowly move up and down the walls to get there. The cannons will fire if they are lined up with you, but if you are pulling yourself up a platform, the laser will miss you on your way up. Keep that in mind as you go up the next room and get to the second door from the top, which will be the only door on the right.
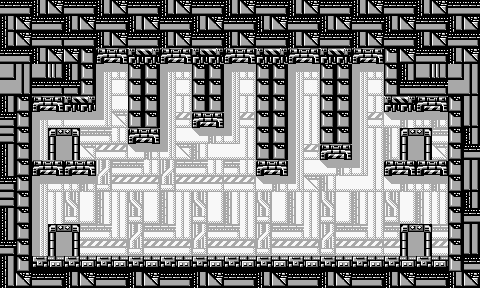
From here, get up to the ceiling and swing your way to the right, and watch out for the laser cannon. Run past the ceiling guns so you don't get hit, then enter the door on the other side.
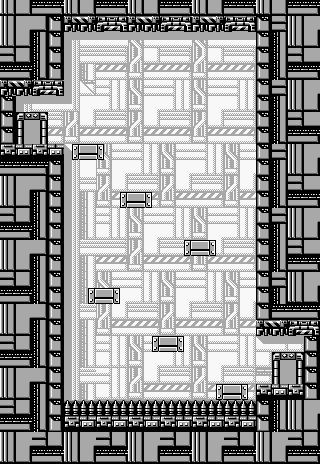
Get on the platforms when you are able to walk off the edges and land on them. Use your hook to get to the door at the bottom so you don't fall into the spike pit. Thankfully, you can latch onto the moving platform at the bottom to save yourself if you fall in.
Use your grappling hook to get past the rovers. You may be able to destroy one by kicking as you swing. You'll then have to swing across the ceiling to get to the armory, and if you mess up, you're doing this whole section over just to get back to the final part. Once you enter the armory, you'll get all your equipment back. Just move right when you're in the room and you'll have all your stuff again.
After that, head back to the beginning, then go all the way to the top. The door that was there will now be open, and you can now go in. You'll have the guy with the drill head again, but this time, there will be a gun that shoots at you at the top of the power reactor. Focus on shooting the center down as much as you can, and you won't have a lot of problems. Beating Area 10 unlocks the Hyper-Barrel, which gives the normal gun a rapid fire ability that allows you to shoot three bullets with the normal gun at once. Unfortunately, we're going to be finding better guns rather soon.


No comments:
Post a Comment