Okay, let's try this again.
All maps by Grizzly.
Boss: Coleoptera
When you return to where you killed Thraxx, you'll find a blue recolor in his place. This is Coleoptera, and he's much stronger...but so are you.
You fight Coleoptera the same way you fight Thraxx. This time around, you'll have some more devastating spells to deal with, as Coleoptera will usually cast Storm, Flash and Heat Wave. He can also zap you with an electric attack straight from his eyes. (At least he doesn't drop Maggots this time.) Since you have some strong spells on you as well as a spear in your hand this time around, you'll be able to hit the heart without going through all that trouble like you did with Thraxx.
Word to the wise: keep The Boy's health above 100. The Dog's, too, if necessary...pulling a Level 3 Dog Attack on that still helps if you can situate yourself just right.
Like last time, killing the arms gives you extra experience if you need it.
When you kill this thing off, you'll get 4000 Talons. Now hack the cocoon that's inside where Coleoptera used to be and you'll get the Wheel. You're done! Now to head back to Gothica to fix the rocket. But first, Strong Heart's Hut.
Crash Landing Site/Strong Heart's Hut
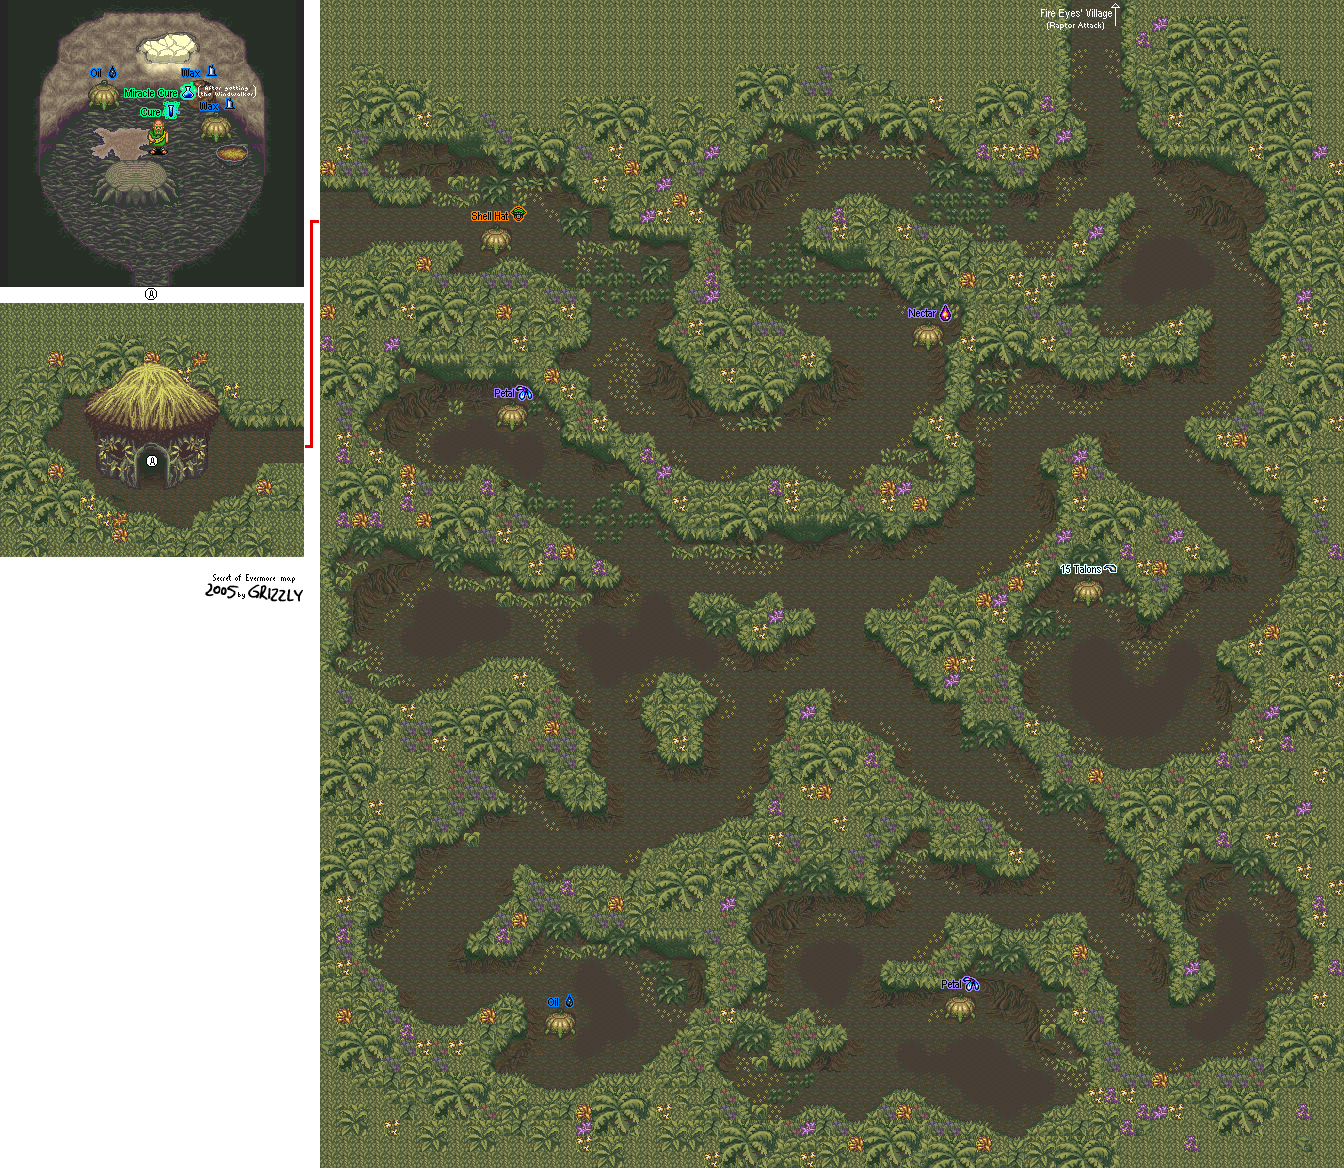
MapHead back to the southern jungle and find Strong Heart. Talk to him and he'll give you Miracle Cure, which is a combination of Cure
and Heal. Yeah, you'll be replacing Cure and Heal with this, leveling this sucker up, then farming money and alchemy ingredients to get more, because this thing is just fucking awesome.
Miracle Cure
2 Root, 1 Vinegar
Also, talk to Strong Heart as The Dog and you'll get the Spot's Collar, which is the dog collar for Omnitopia (the space world) absolutely free! Equip this sucker on The Dog immediately, it's much better than the Defender Collar.
All right, let's get back to Gothica. Head back to the fire pit near Ebon Keep. That's Tinker's Workshop.
Tinker's Workshop
When you head back in, you'll automatically walk to Tinker, have a discussion with him, and give him all the parts. Then he'll send you back outside where the rocket is. You'll go in and in a minute or two, you'll be back in Omnitopia.
Junkyard
MapWhen you land in Omnitopia (aka Metroplex), a cleaning droid will drop you down into a chute to the junkyard. You'll both come out of the rocket, and you'll find out that The Dog has changed form yet again, this time into a toaster dog. Instead of a bite attack, the toaster dog (as some of us want to call it), shoots lasers. The Level 2 and 3 attacks are slightly larger lasers that pack a punch. Finally, the dog is a little more useful.
There is a Guardbot here, but he won't hurt you. Instead, he asks you to find his replacement so that he can get off of sentry duty. It won't take you long to find him, but remember the location of this first Guardbot later.
Anyway, follow the path and be careful near the tentacles that come out of the ooze that makes up Omnitopia's trash. The transporter beam will take you to the Boiler Room, where some creatures are held in holding cells...as well as the replacement sentry!
Boiler Room
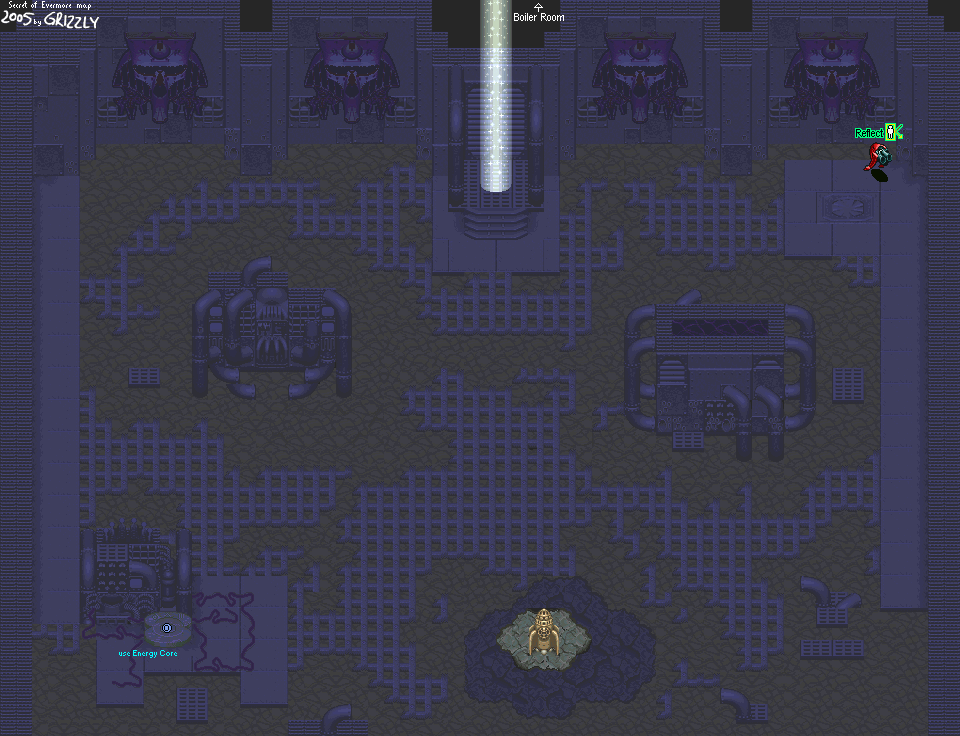
MapThe beginning of this room contains the green Neo Greebles. These guys actually walk around and try to run into you. They're not much of a problem, though.
You'll then see four holding cells, one of which has four switches and two small monitors on the wall. Hit the third one to release the Guardbot. If you want to fight the monsters inside, open the others...but be careful against the Raptor, because he packs a punch!
When you talk to the Guardbot here, you'll get your final sword...the Neutron Blade. Now go back to the junkyard and talk to the Guardbot you met there. He'll give you a formula called Reflect. This formula reflects magic, like Wall in
Final Fantasy and
Secret of Mana.
Reflect
2 Grease, 1 Iron
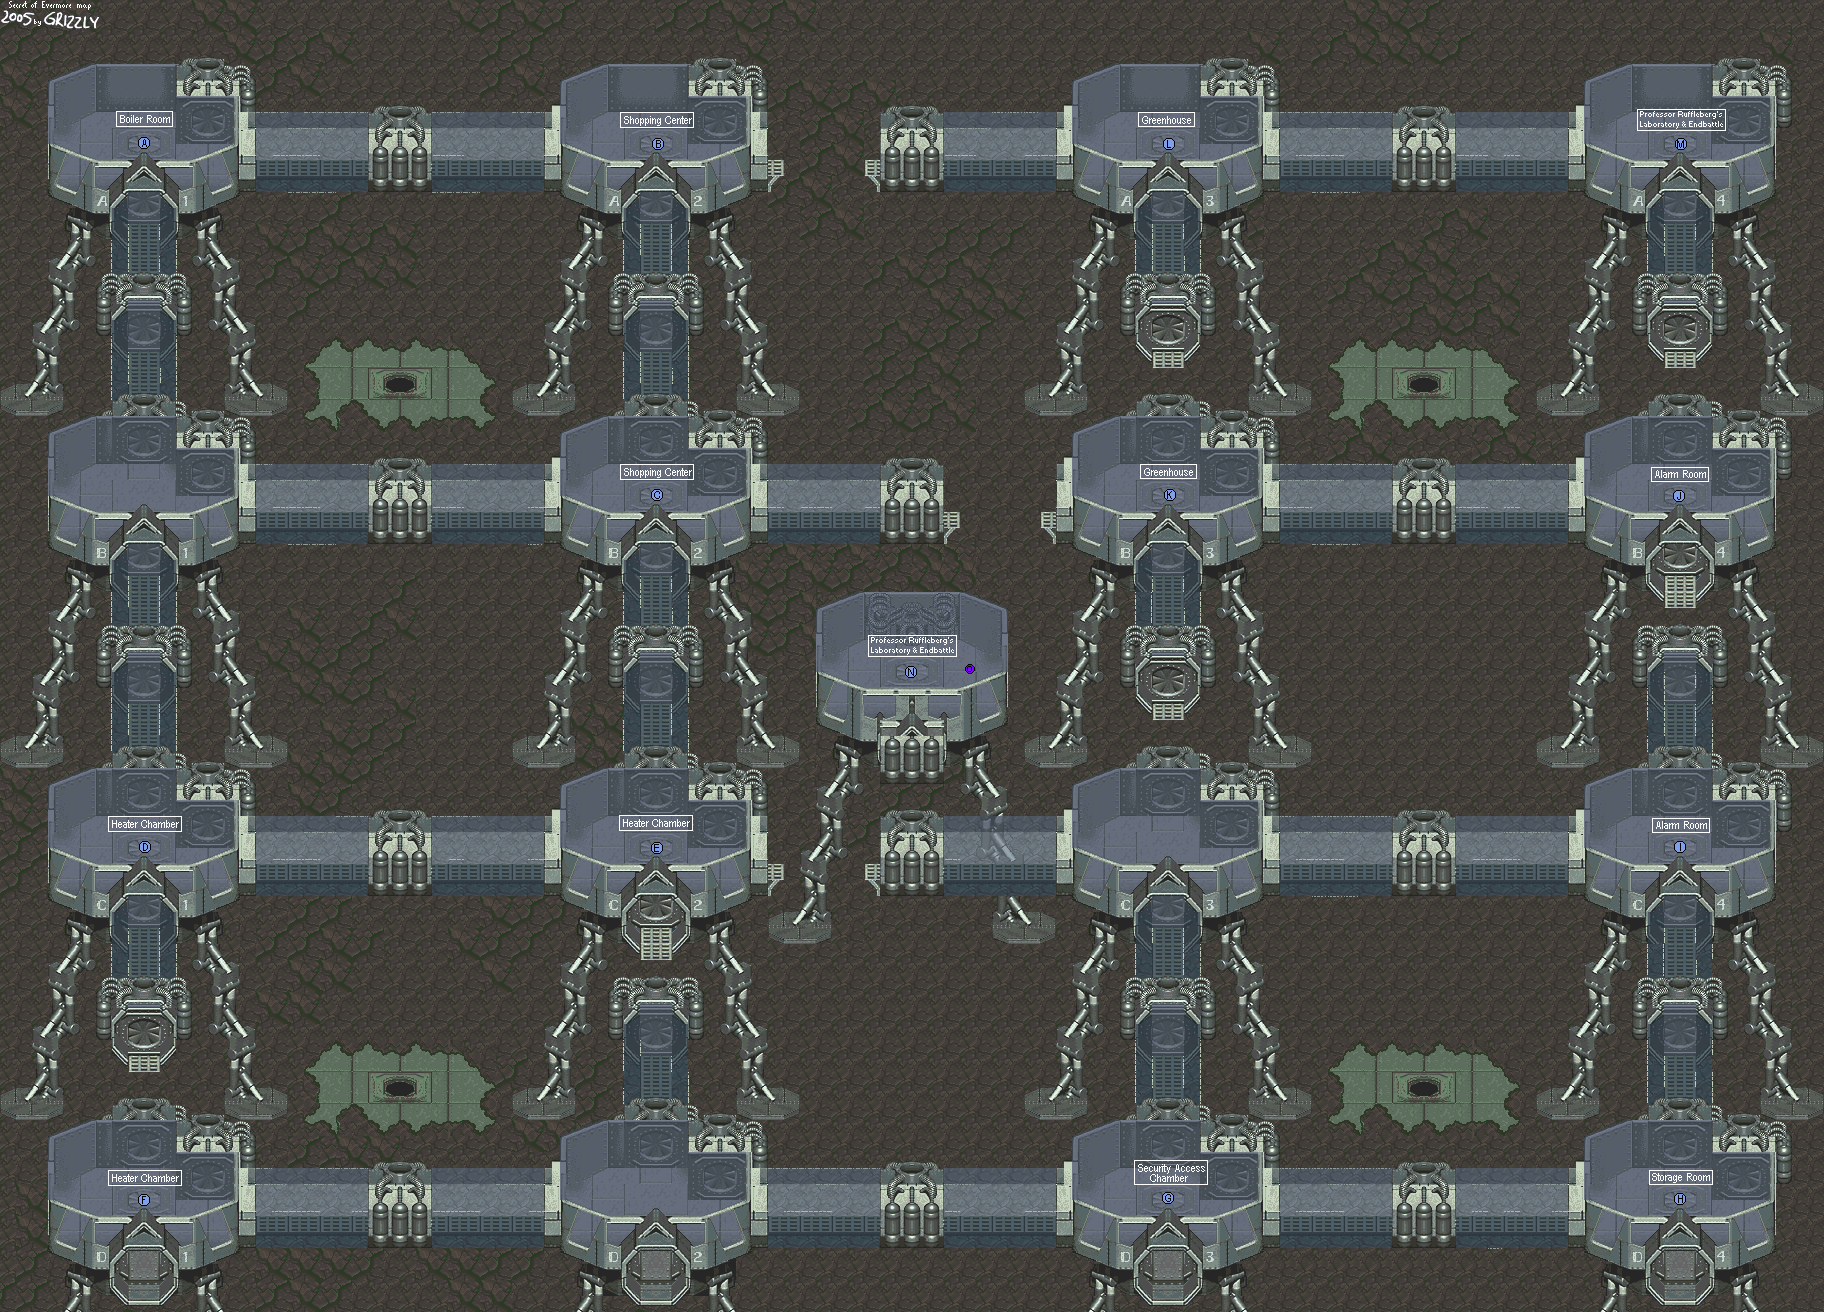
Head back to the Boiler Room, then enter the transporter beam on the right side of this area. This will take you to the Main District, which is the meat and potatoes of the Omnitopia area.

.gif)