Showing posts with label Cauchemar89. Show all posts

Monday, October 13, 2014

Cauchemar89 plays M.C. Kids - Part 9 of 9

Now that the PuzzLeWoRld is all taken care of, let's get the Magic Bag.

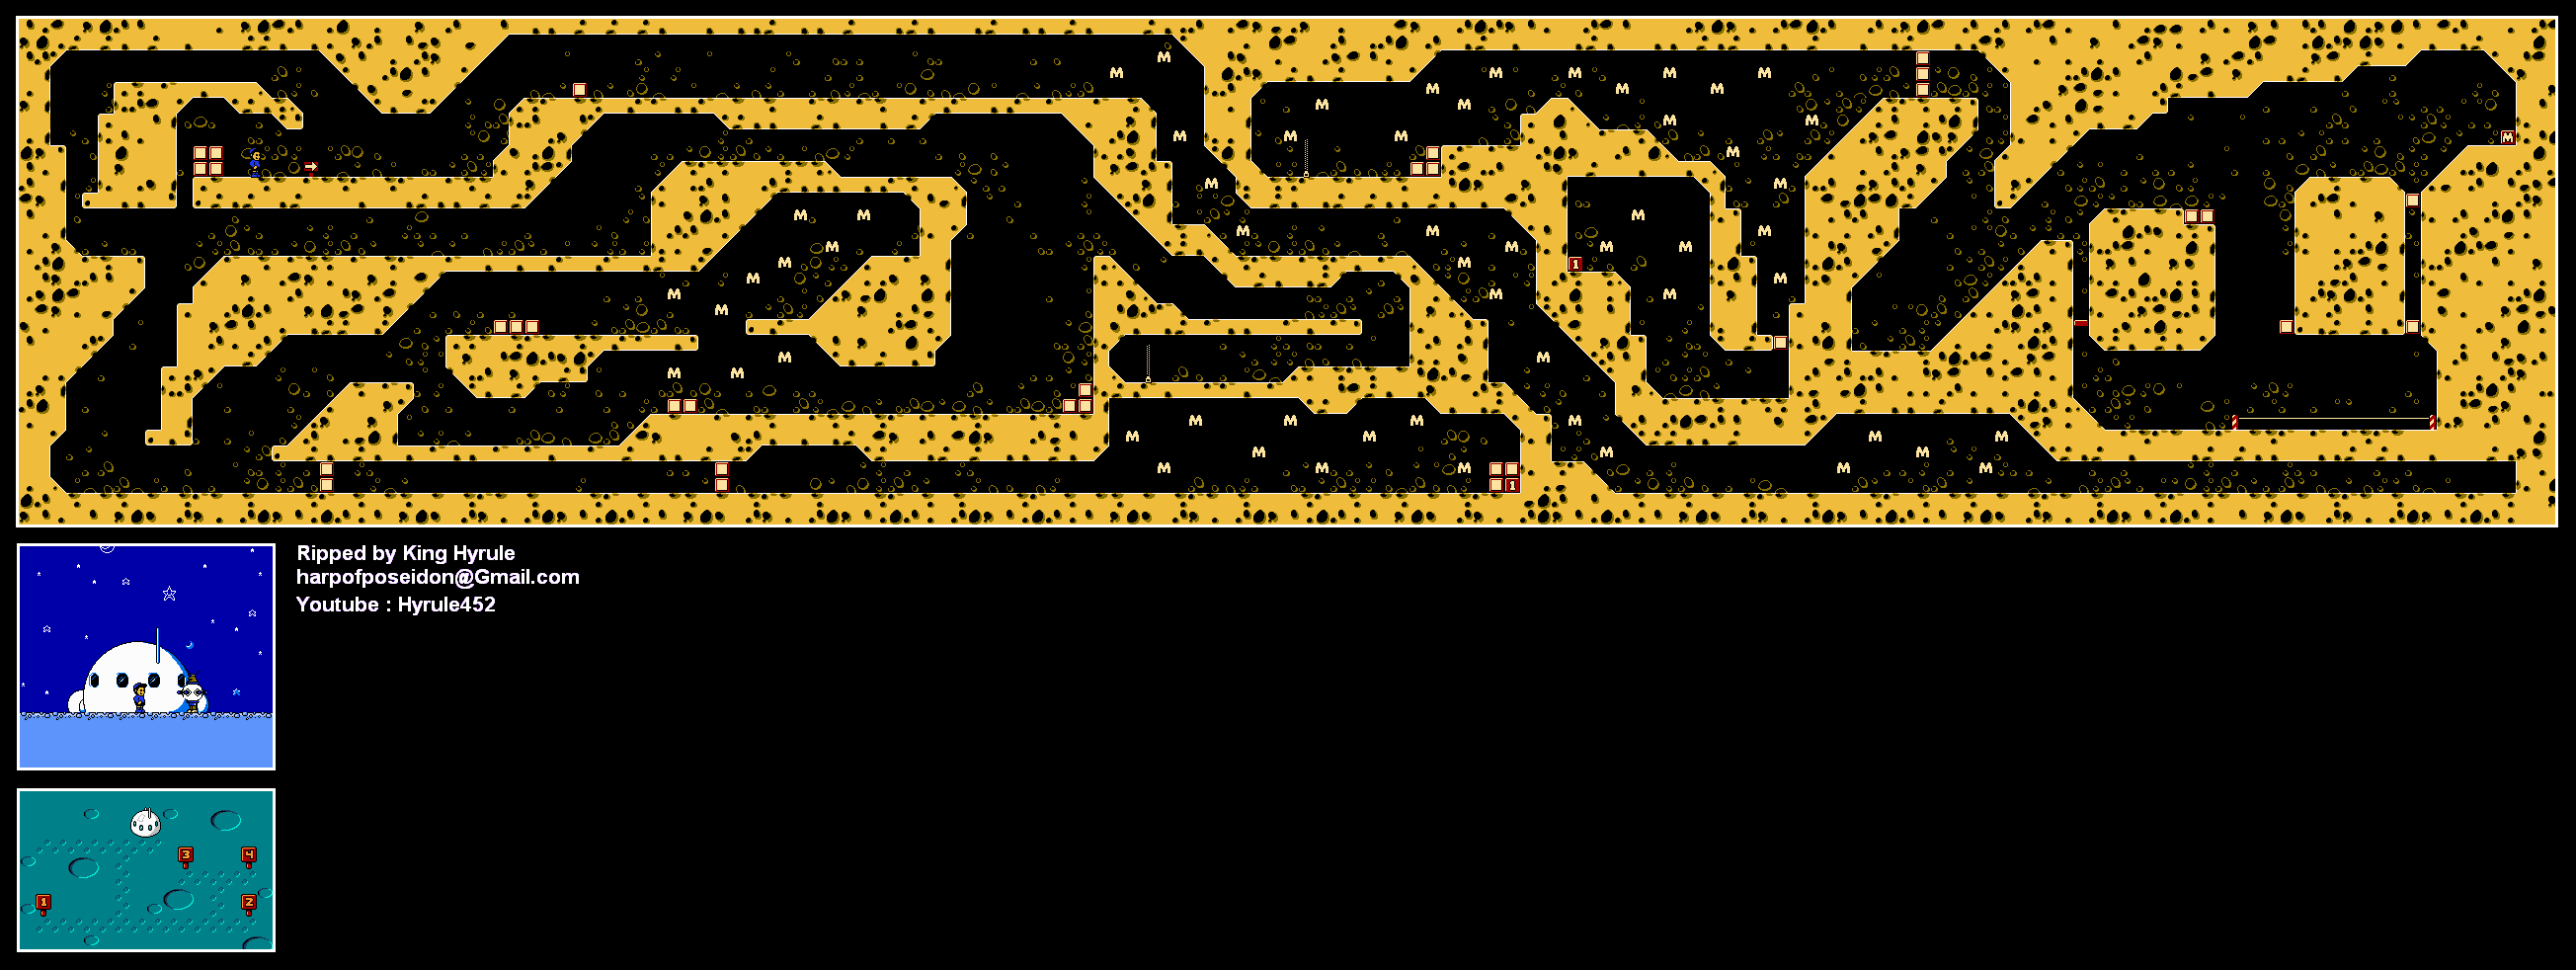
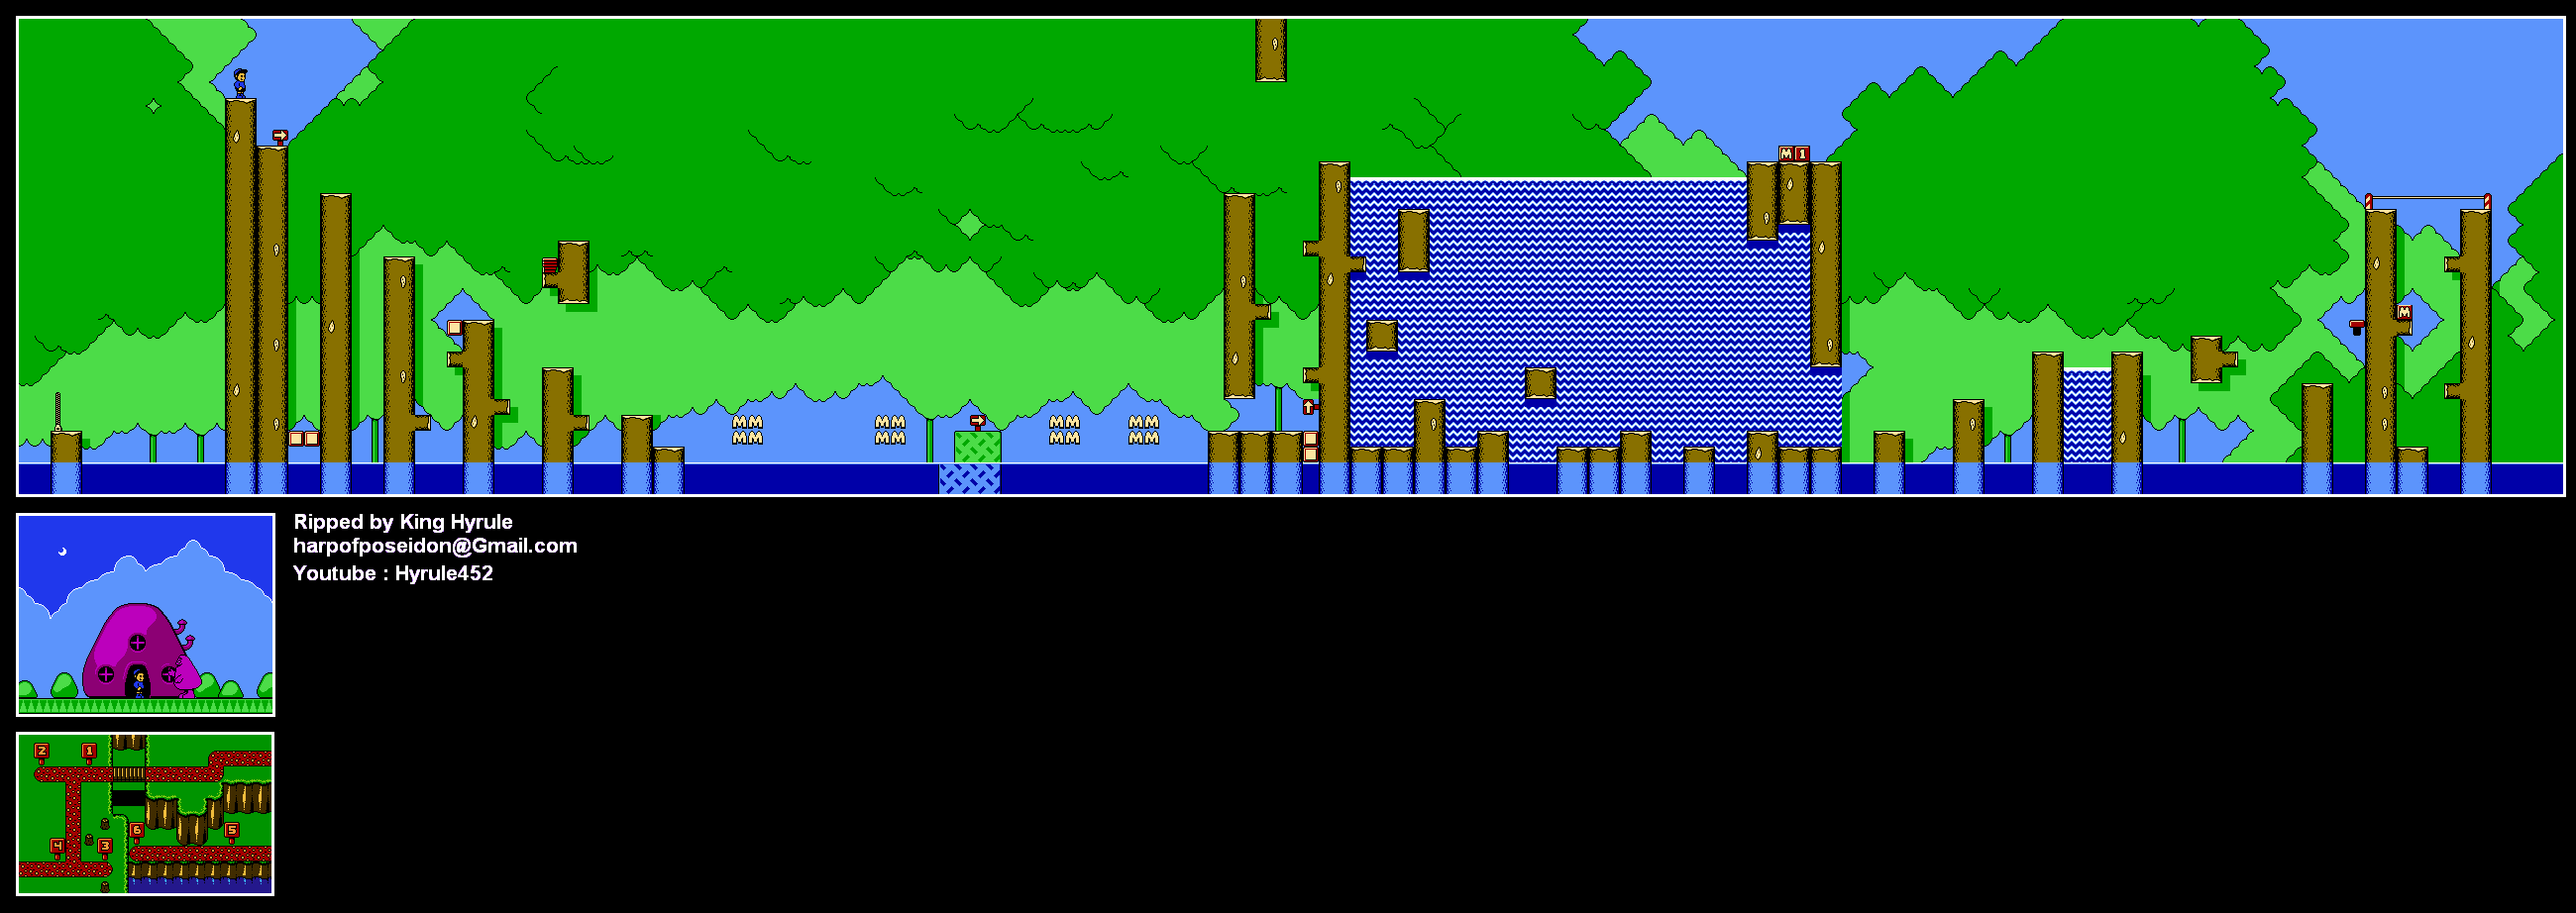
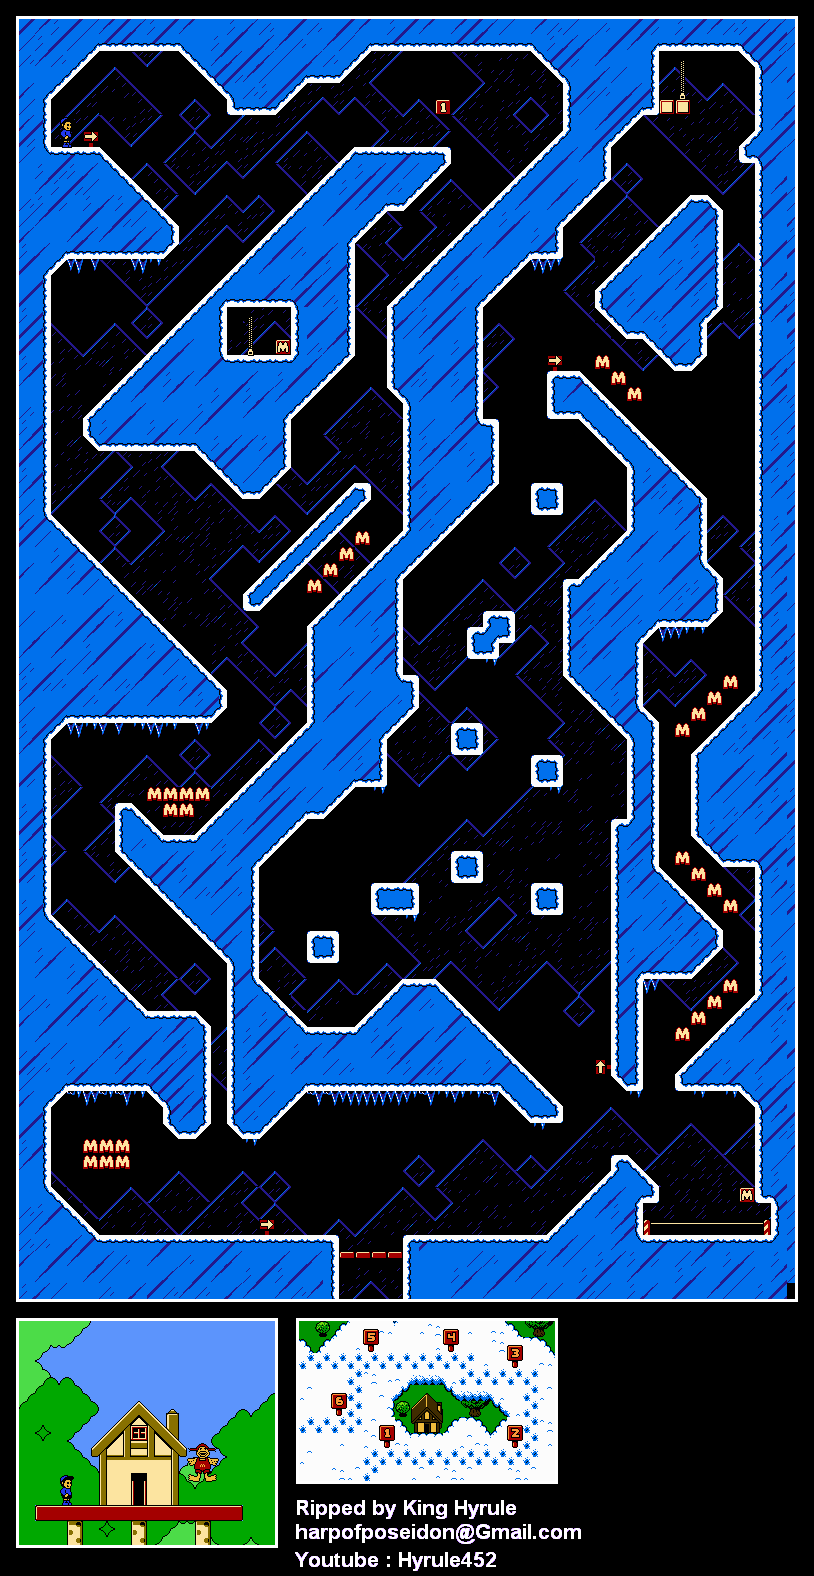
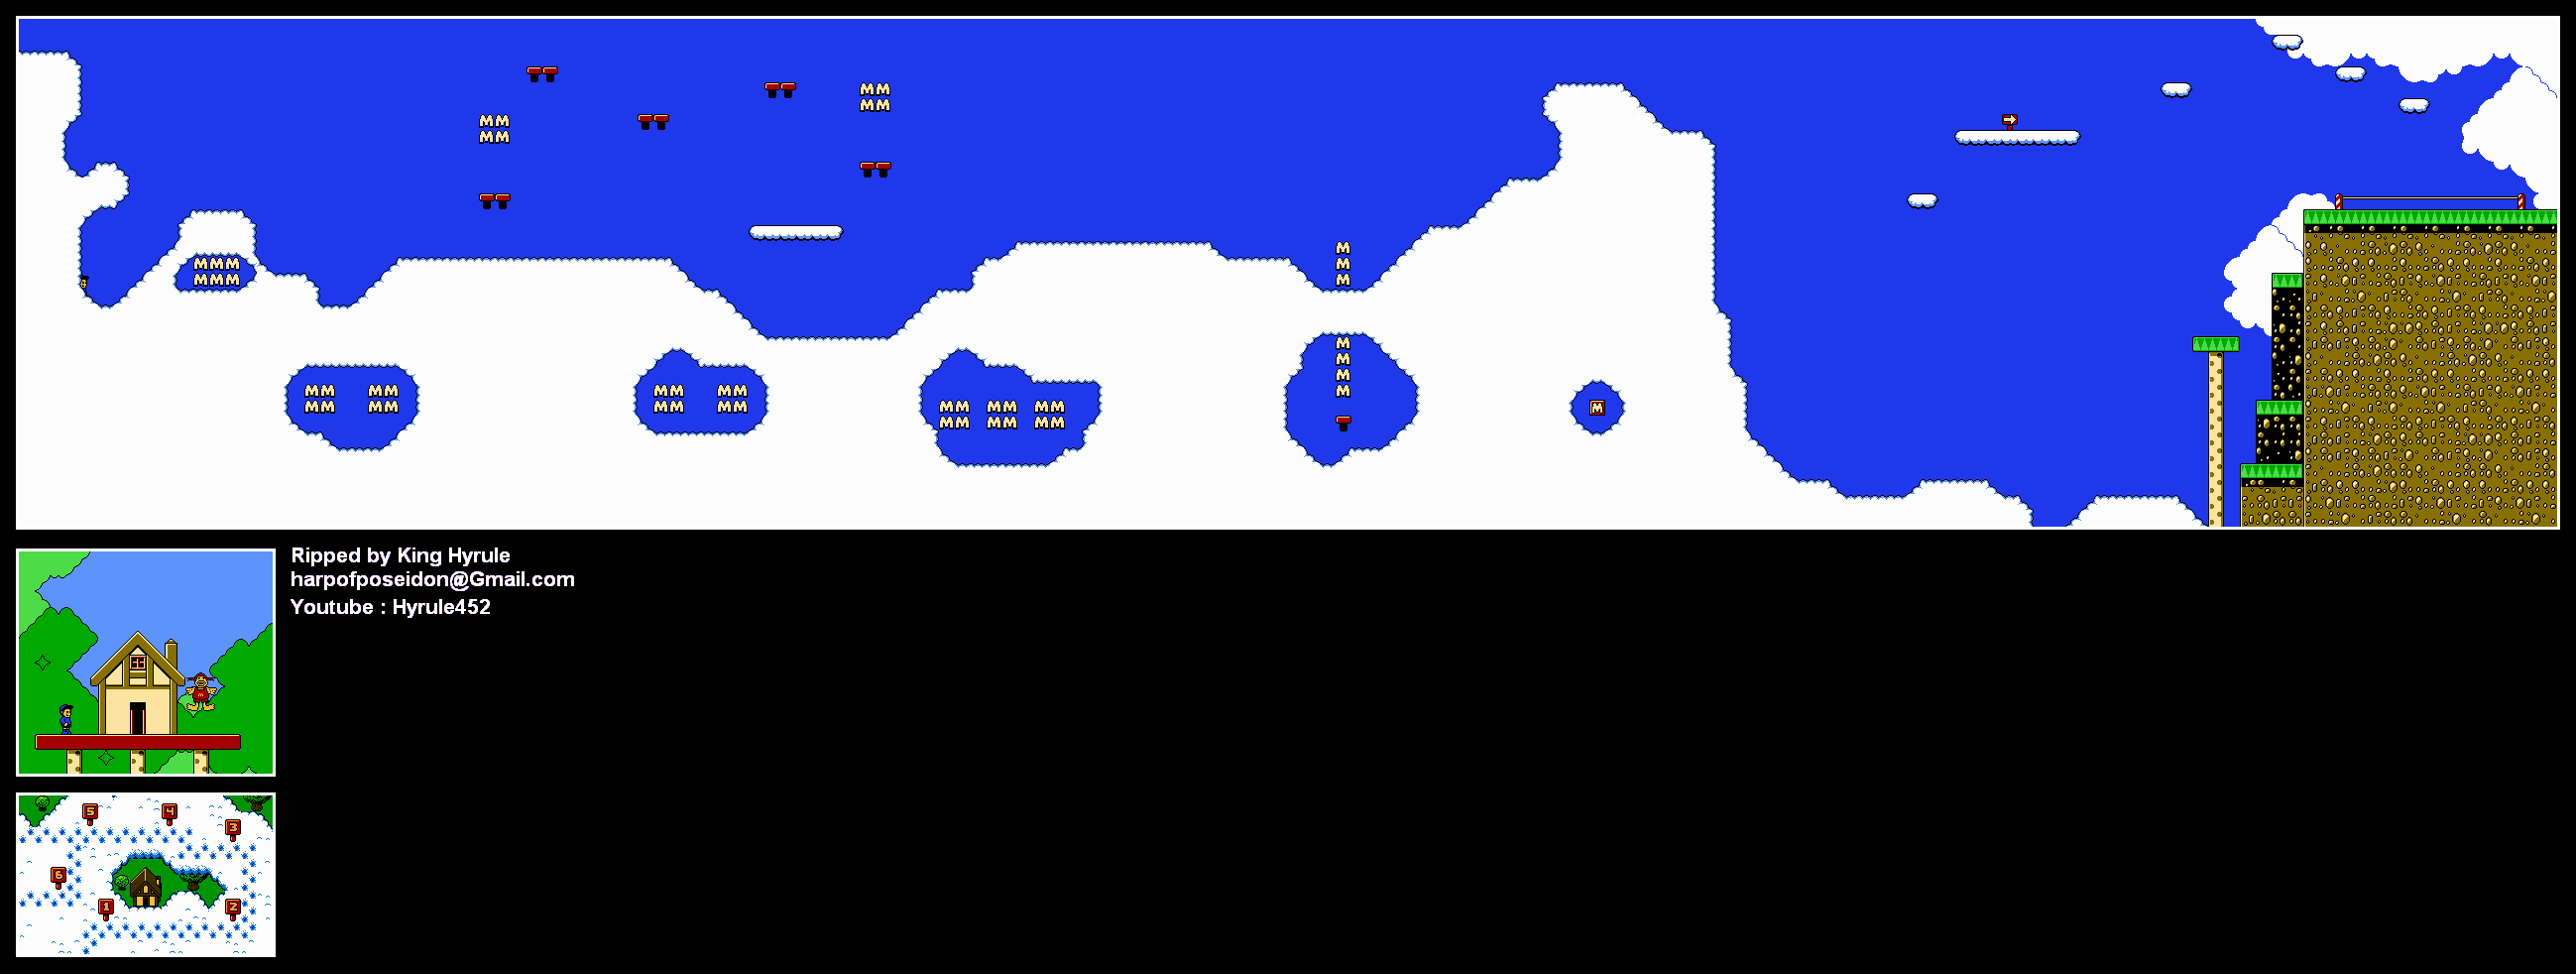
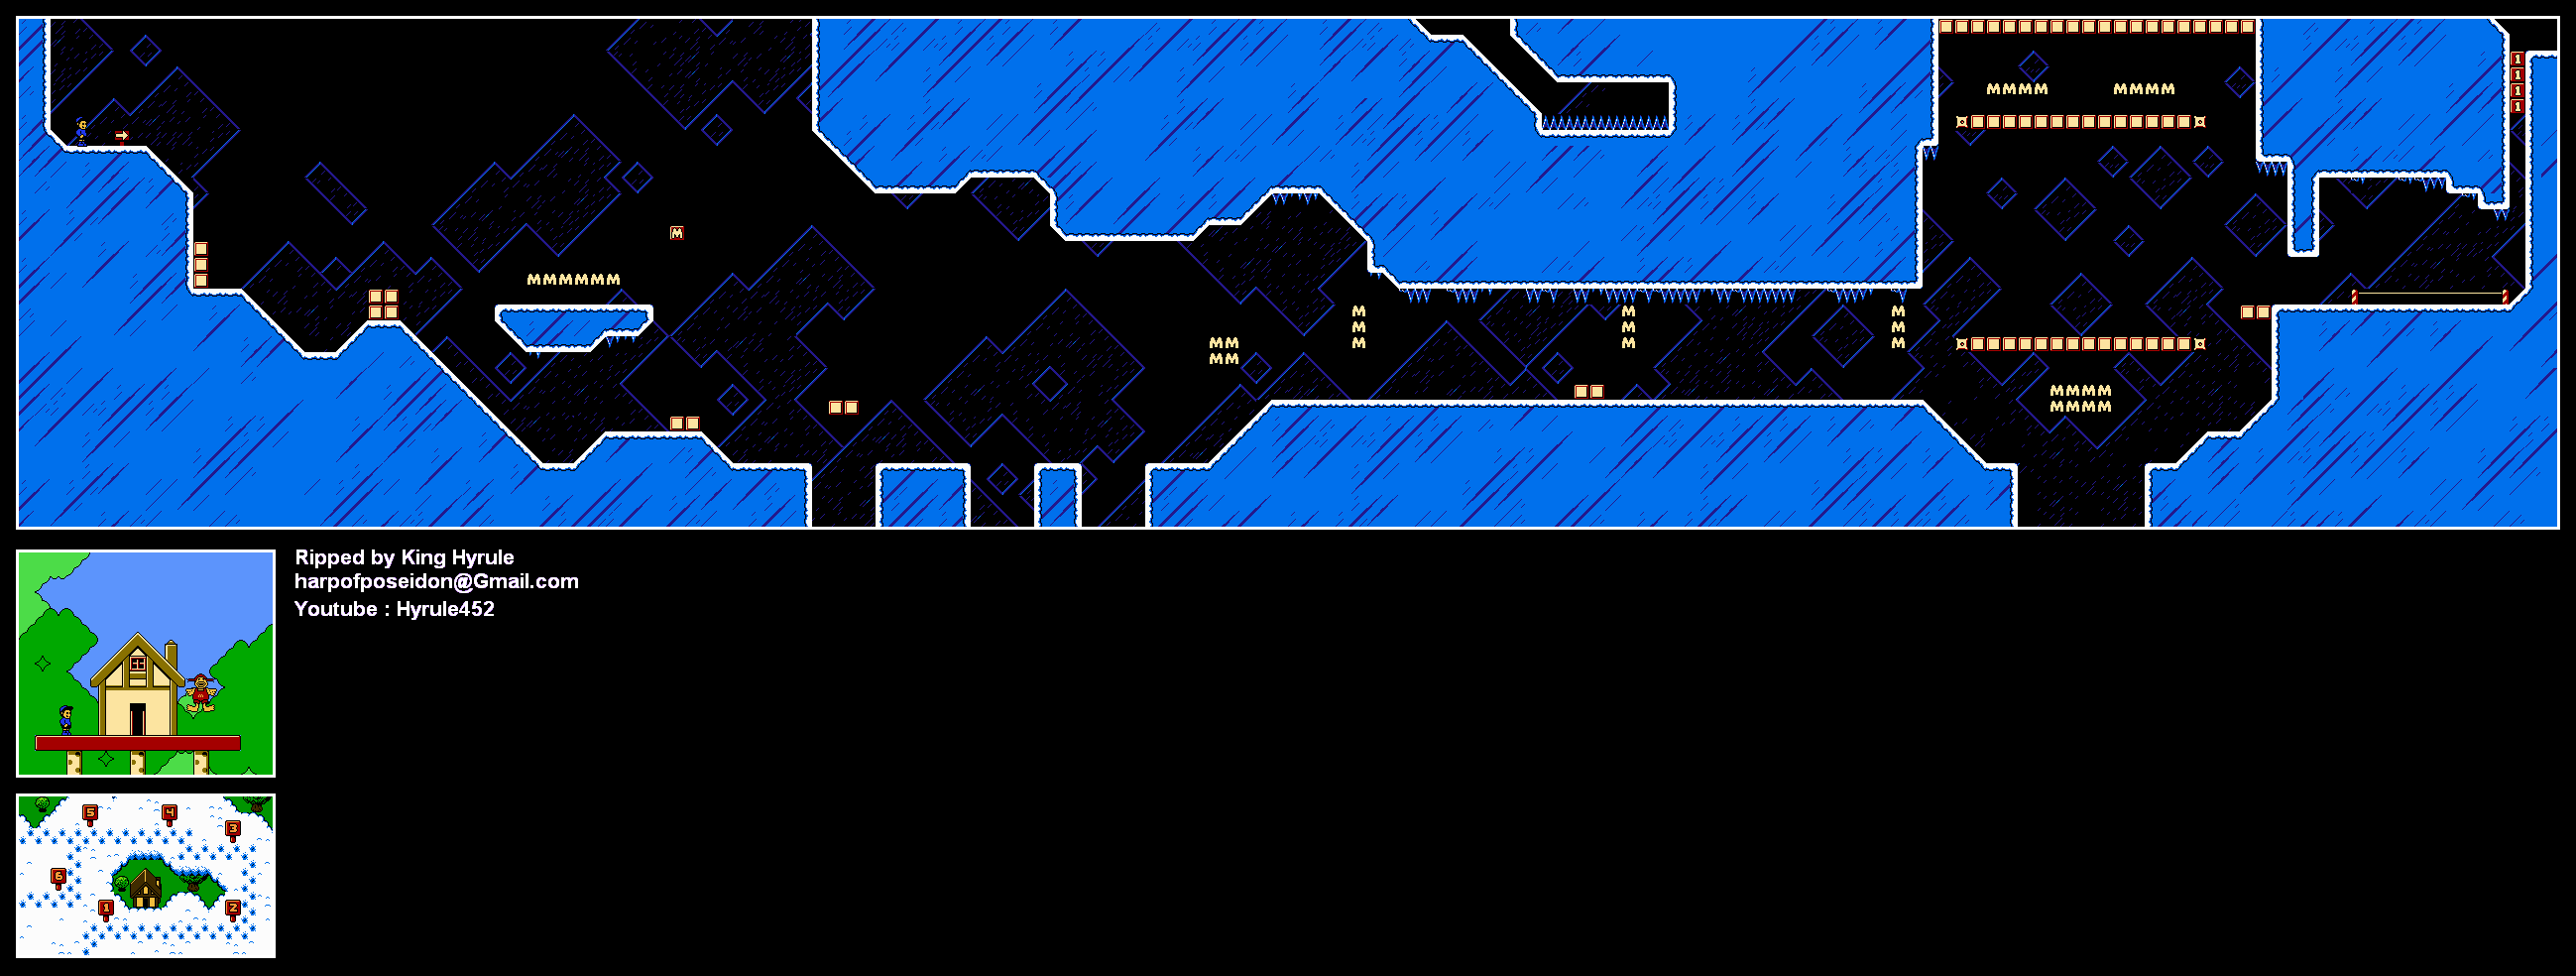
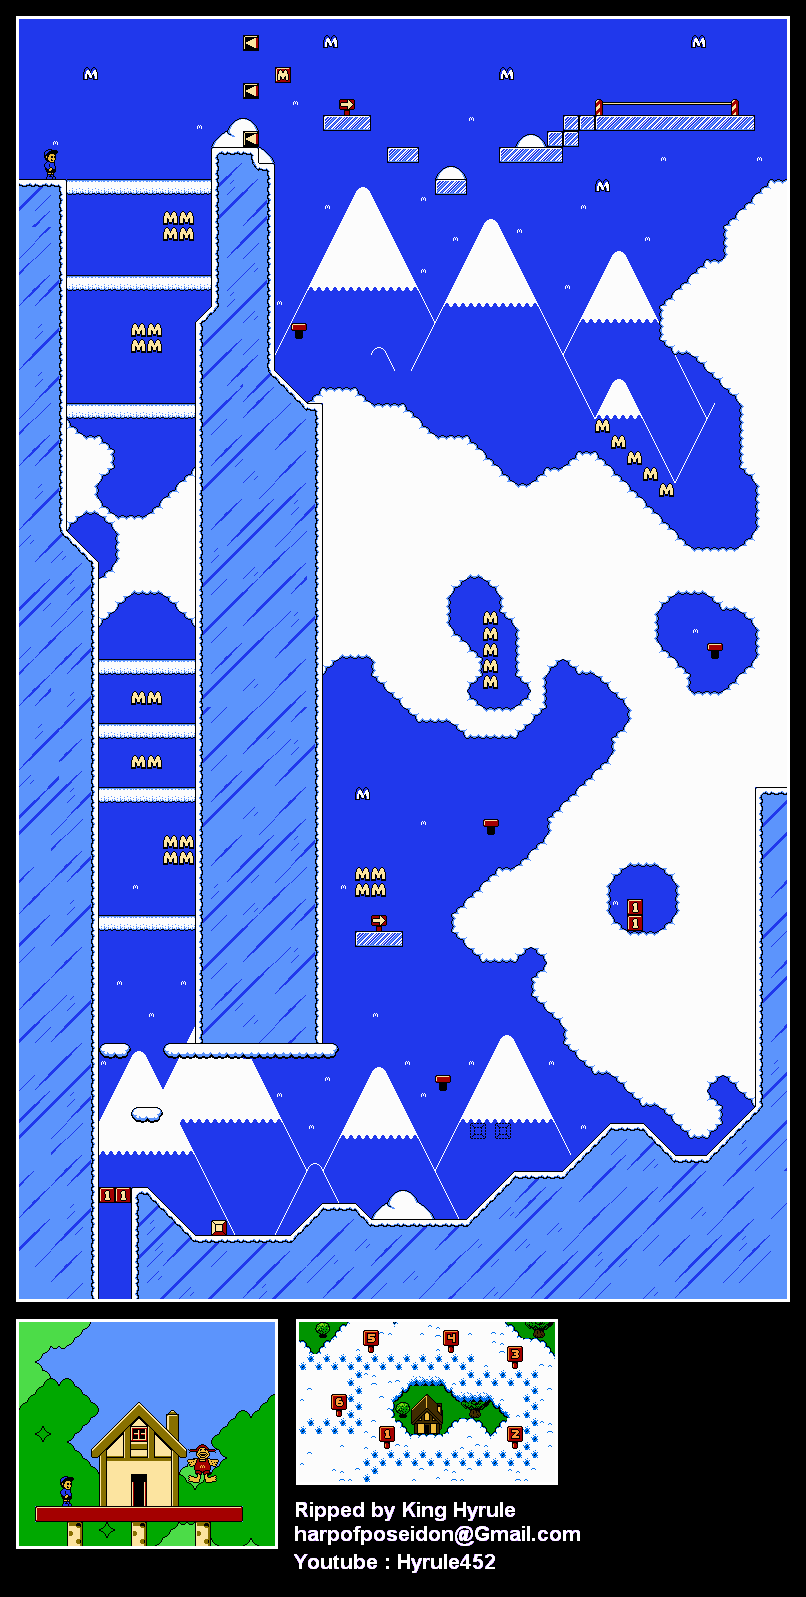
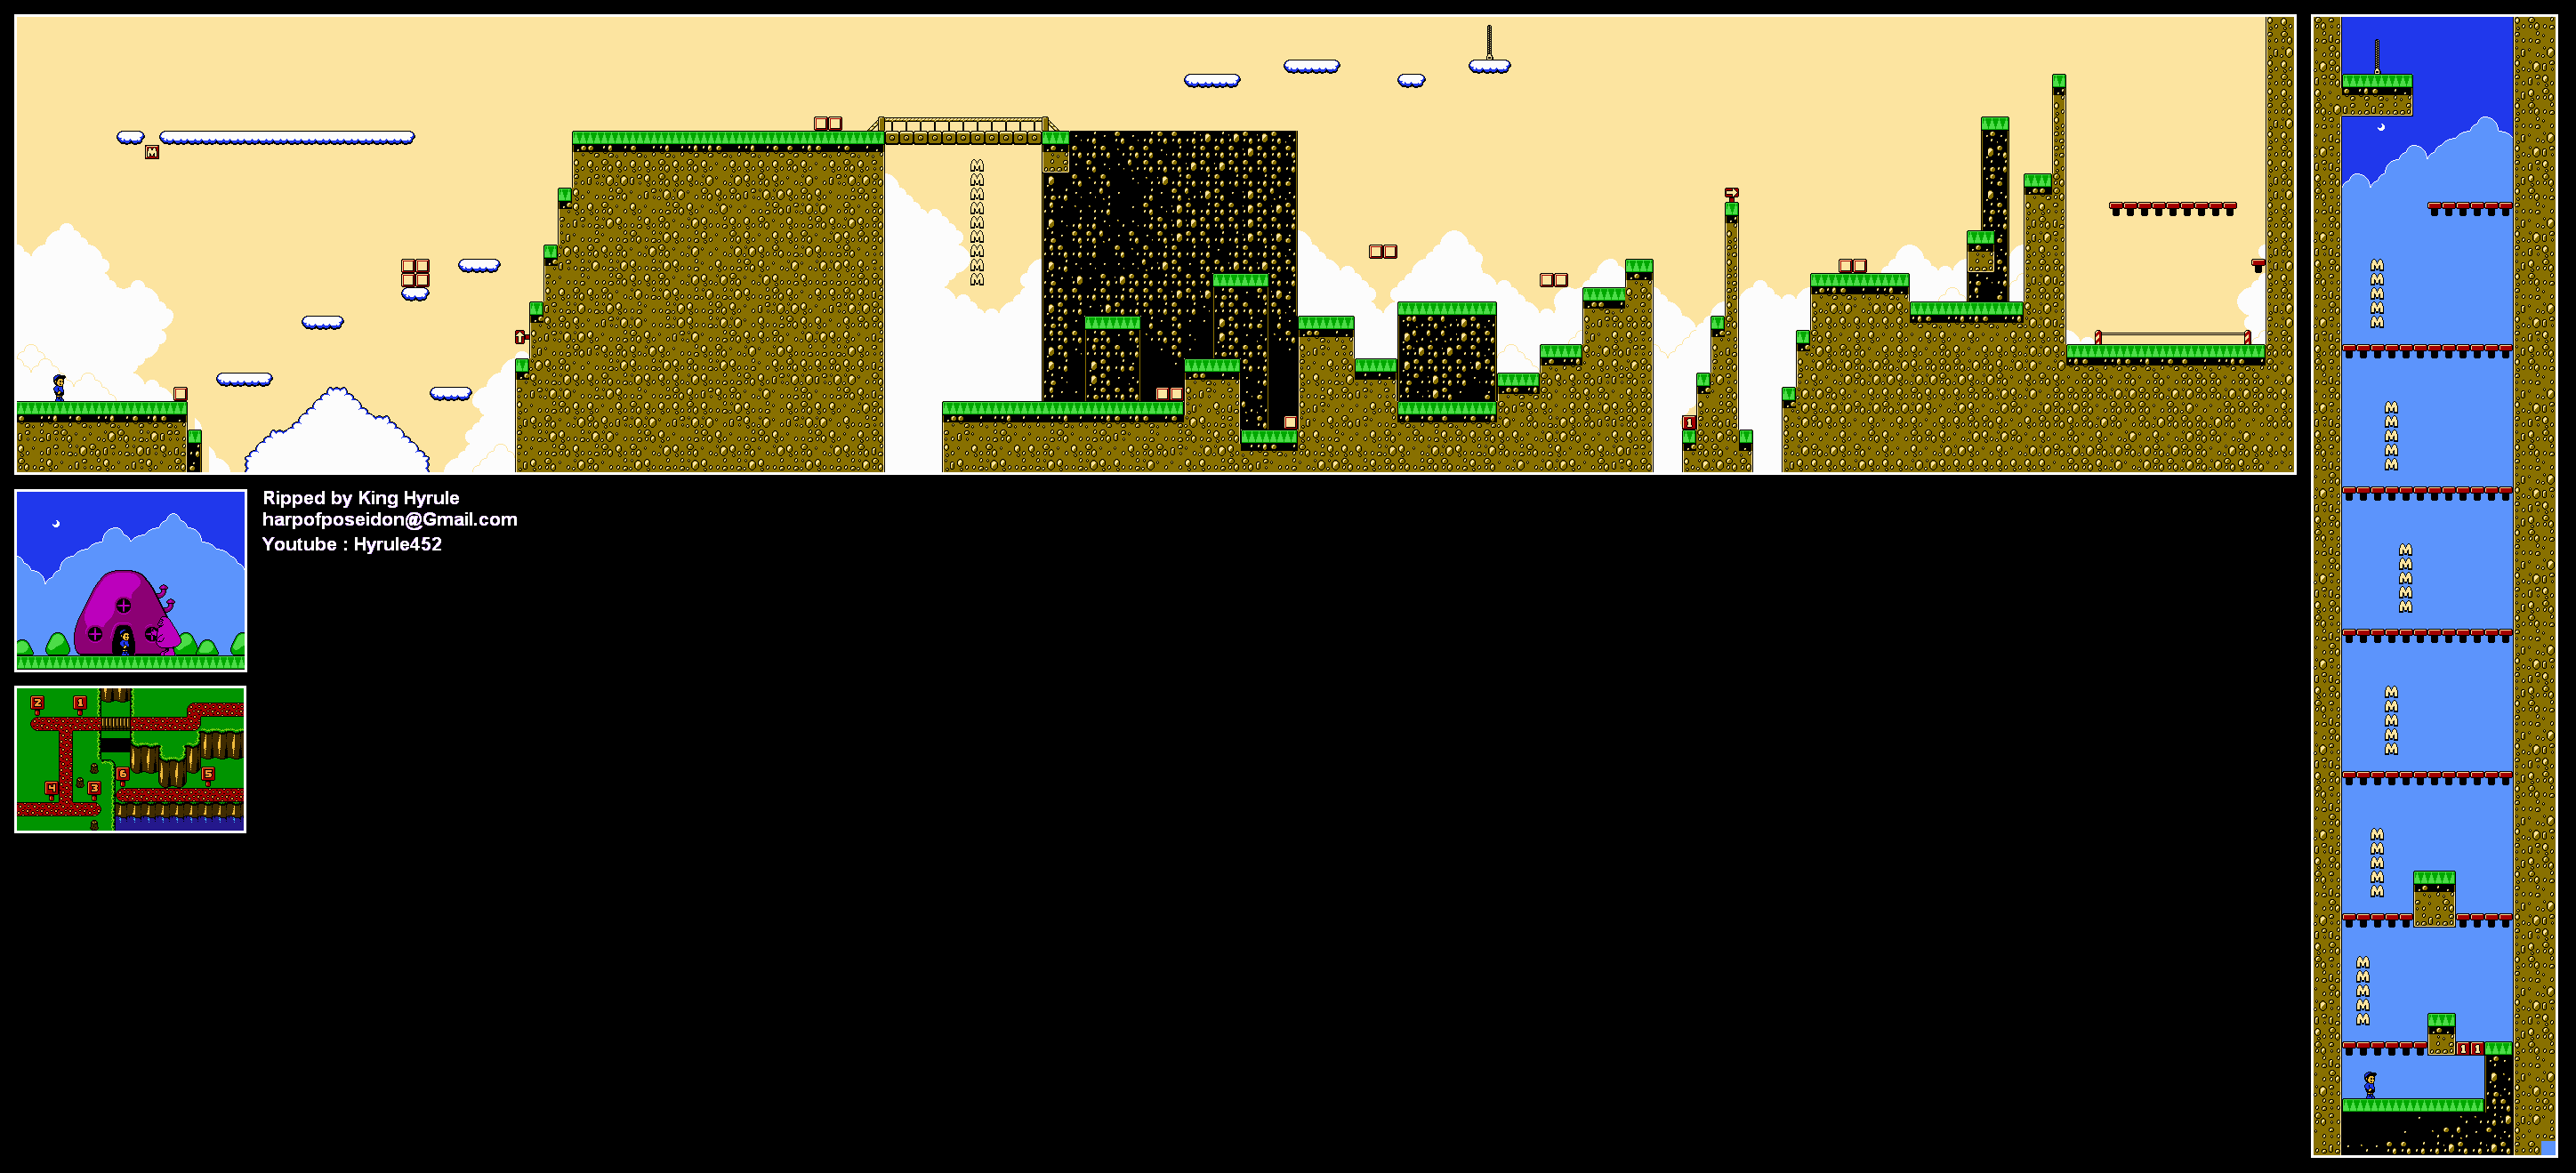
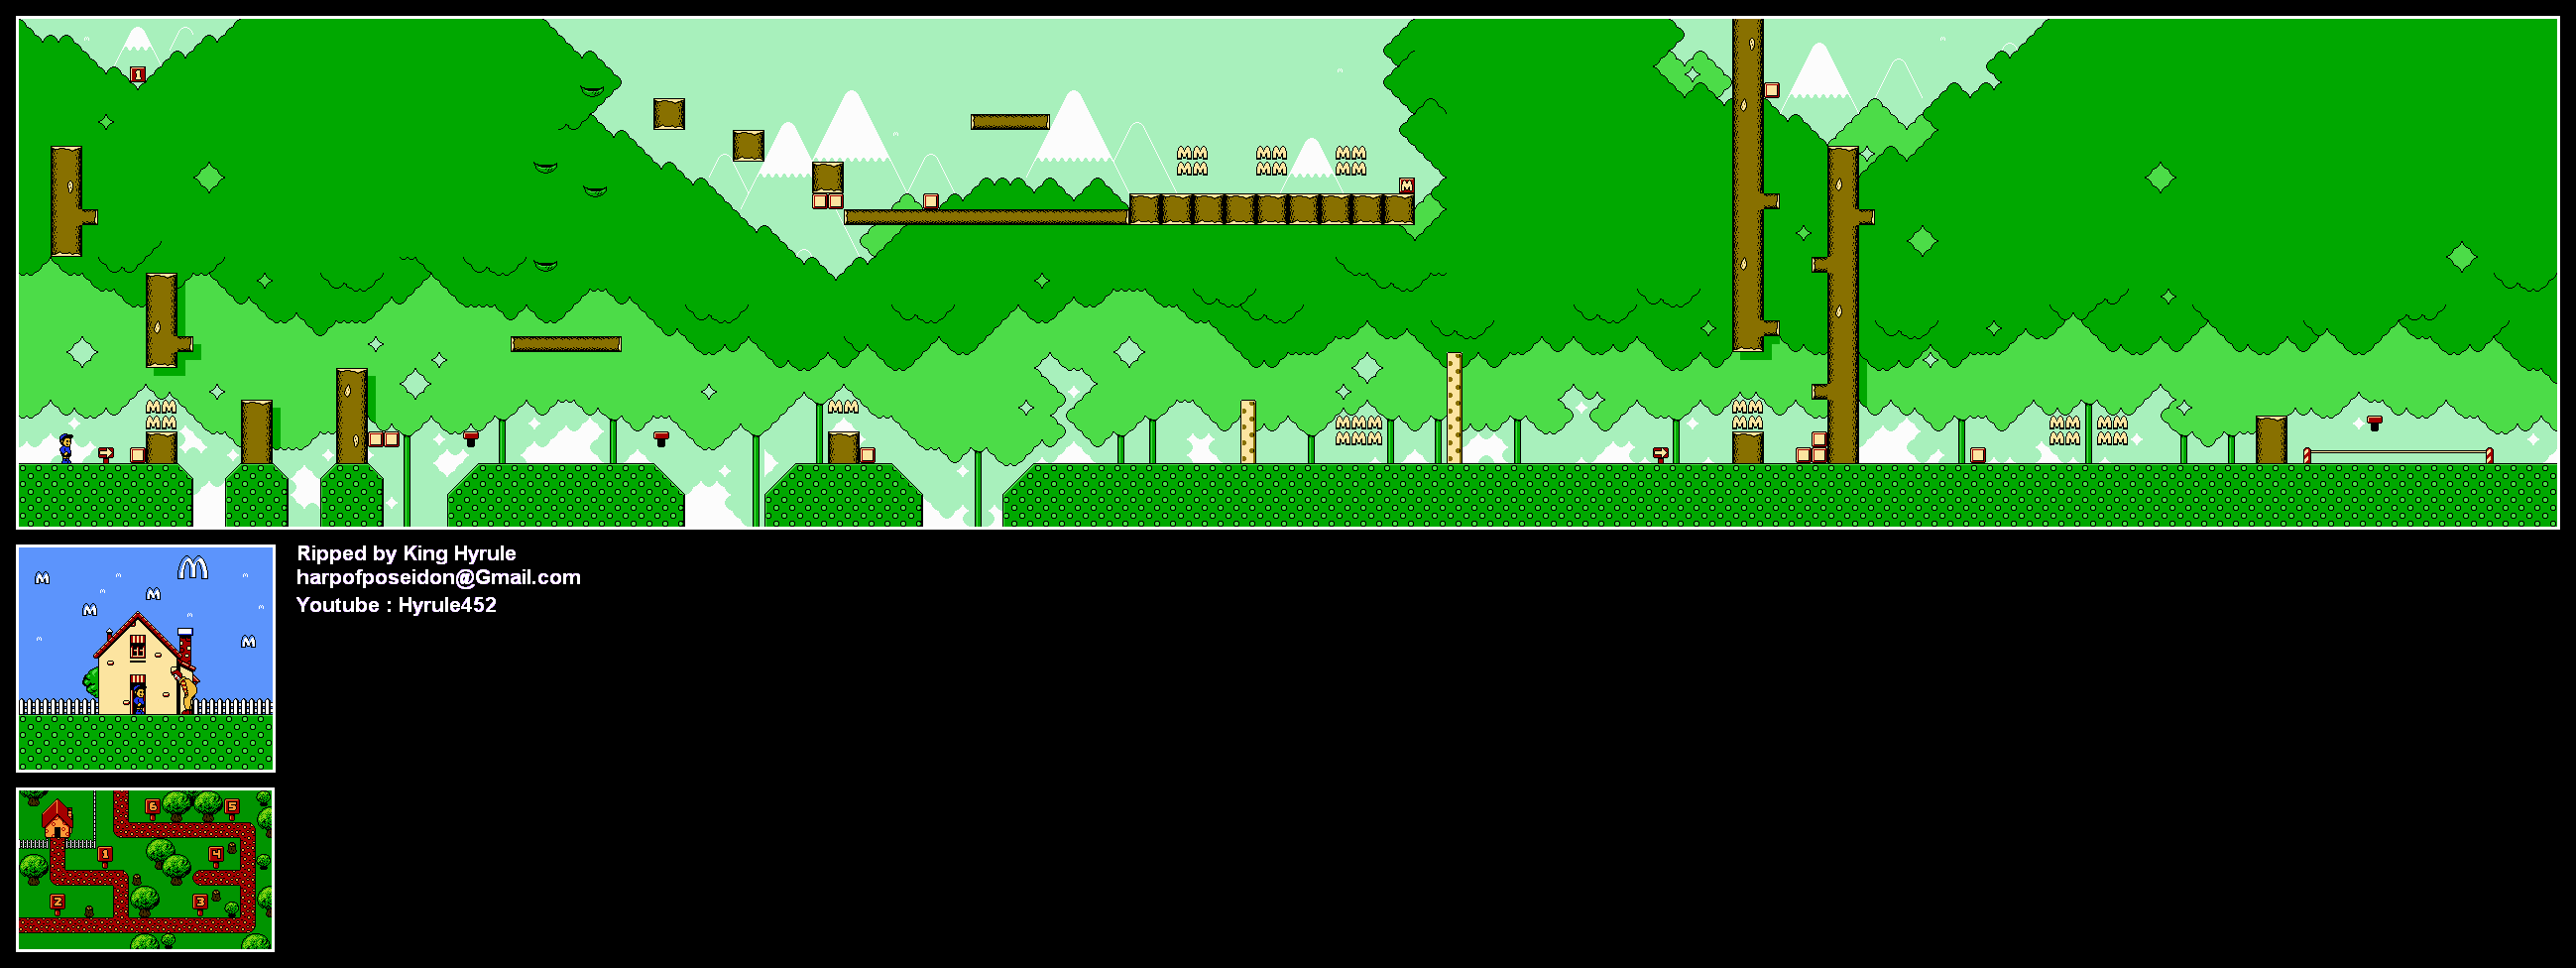
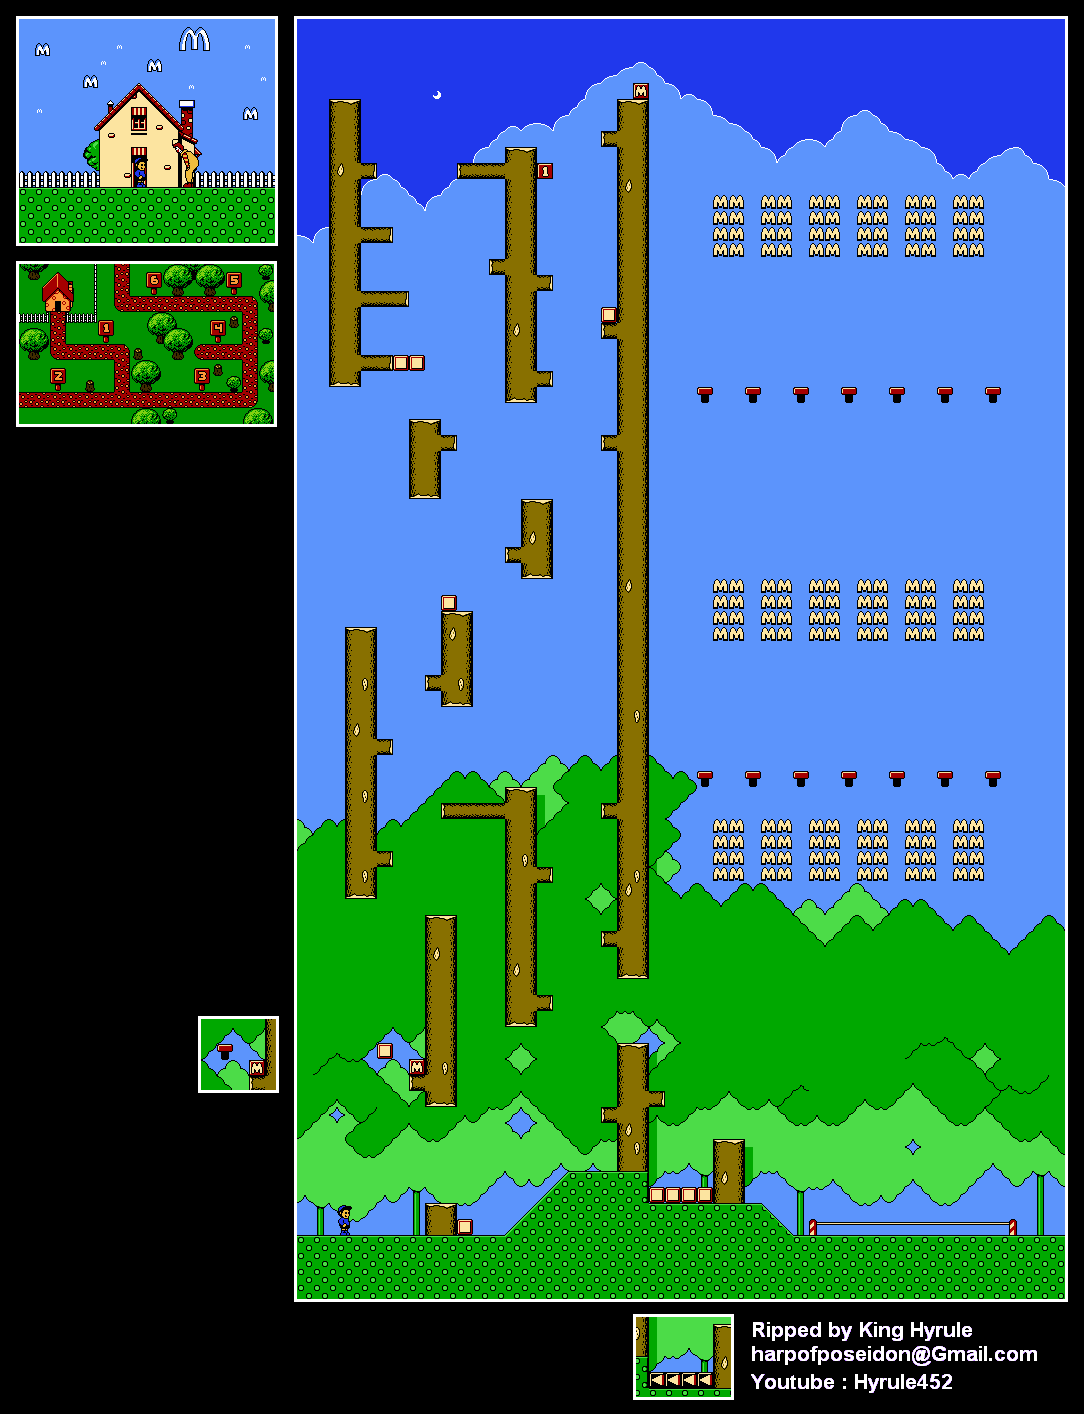
All maps by King-Hyrule.

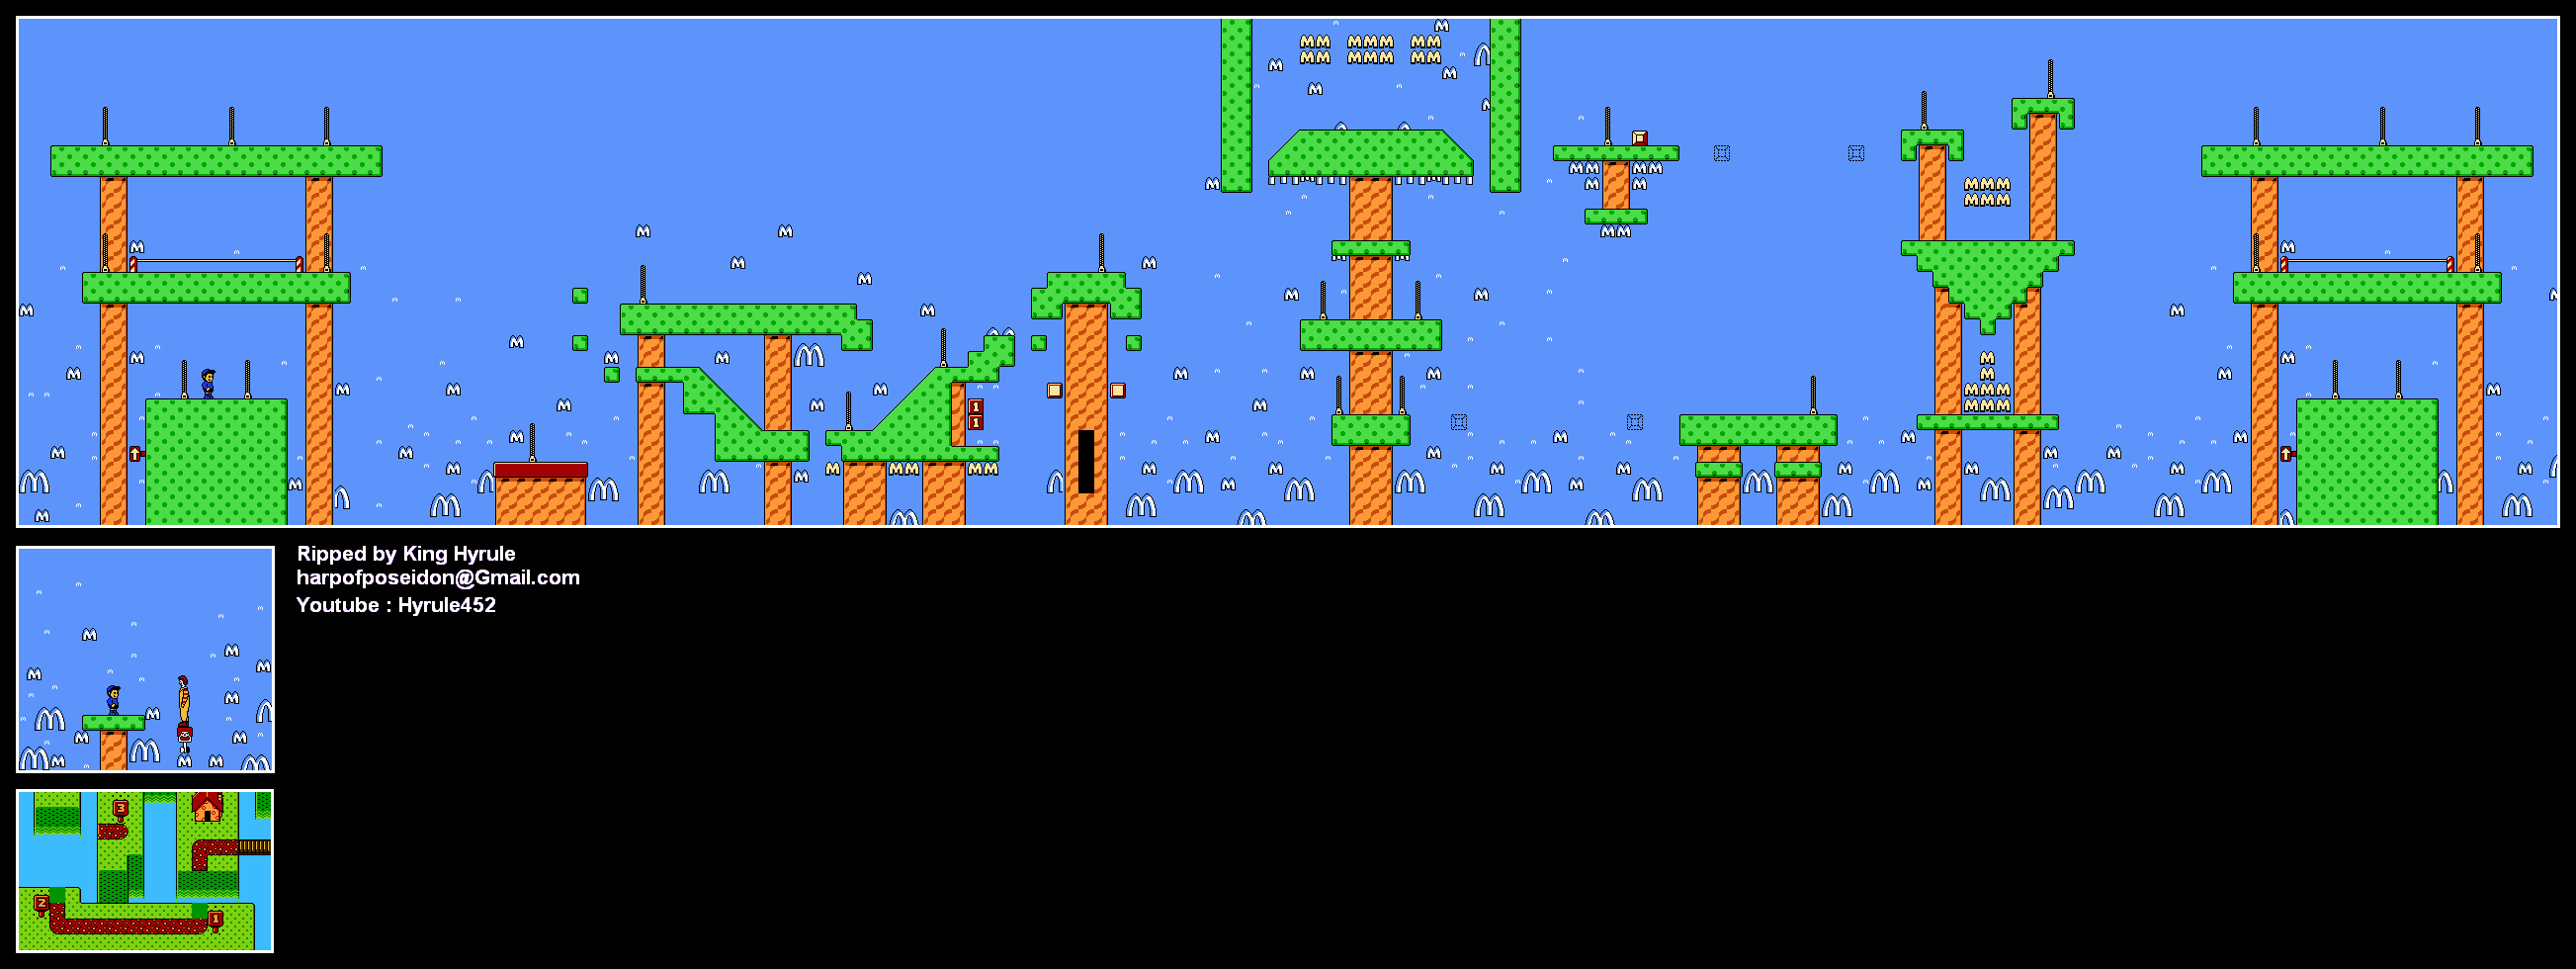
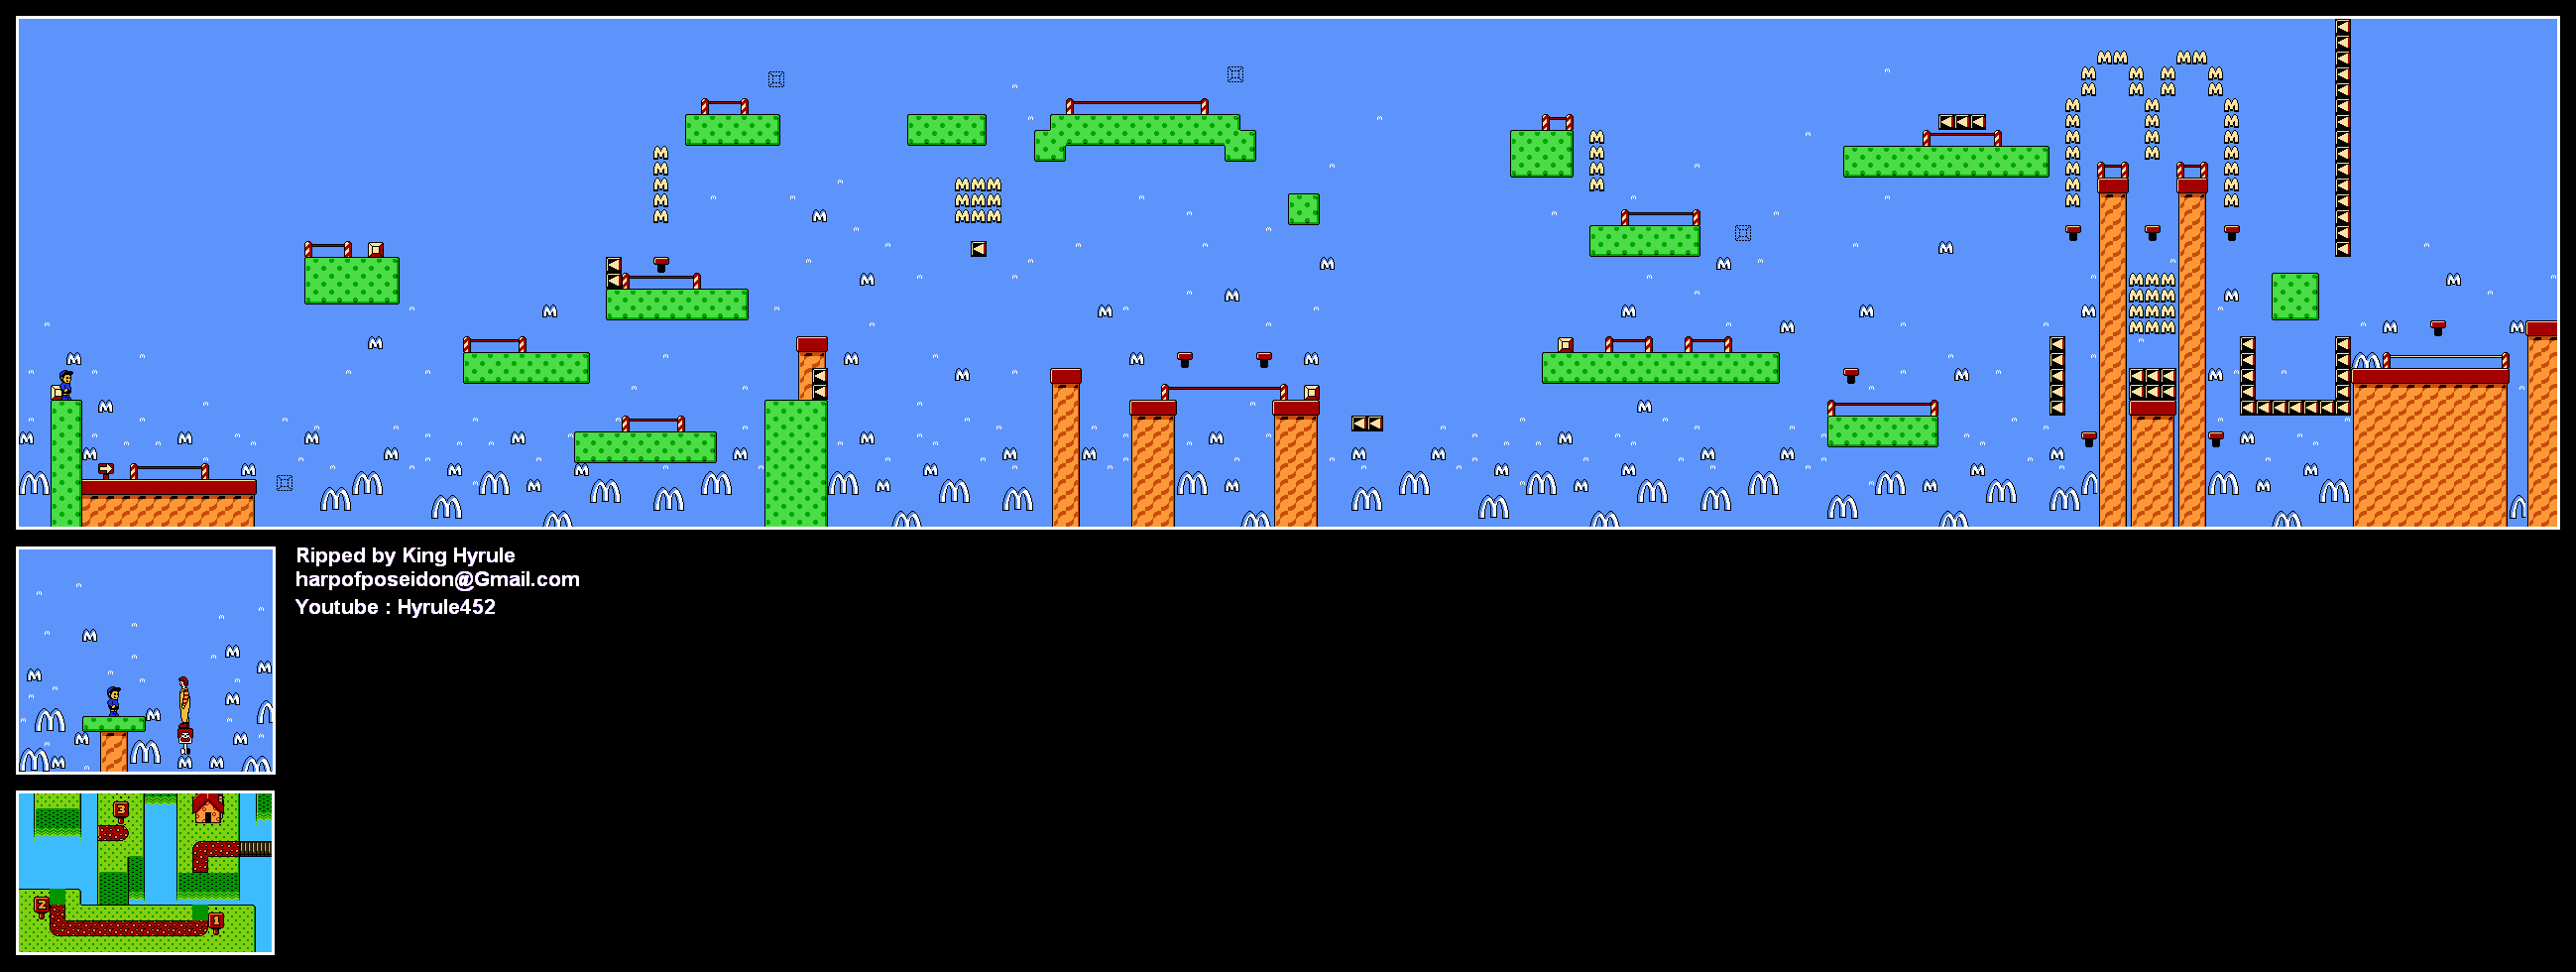
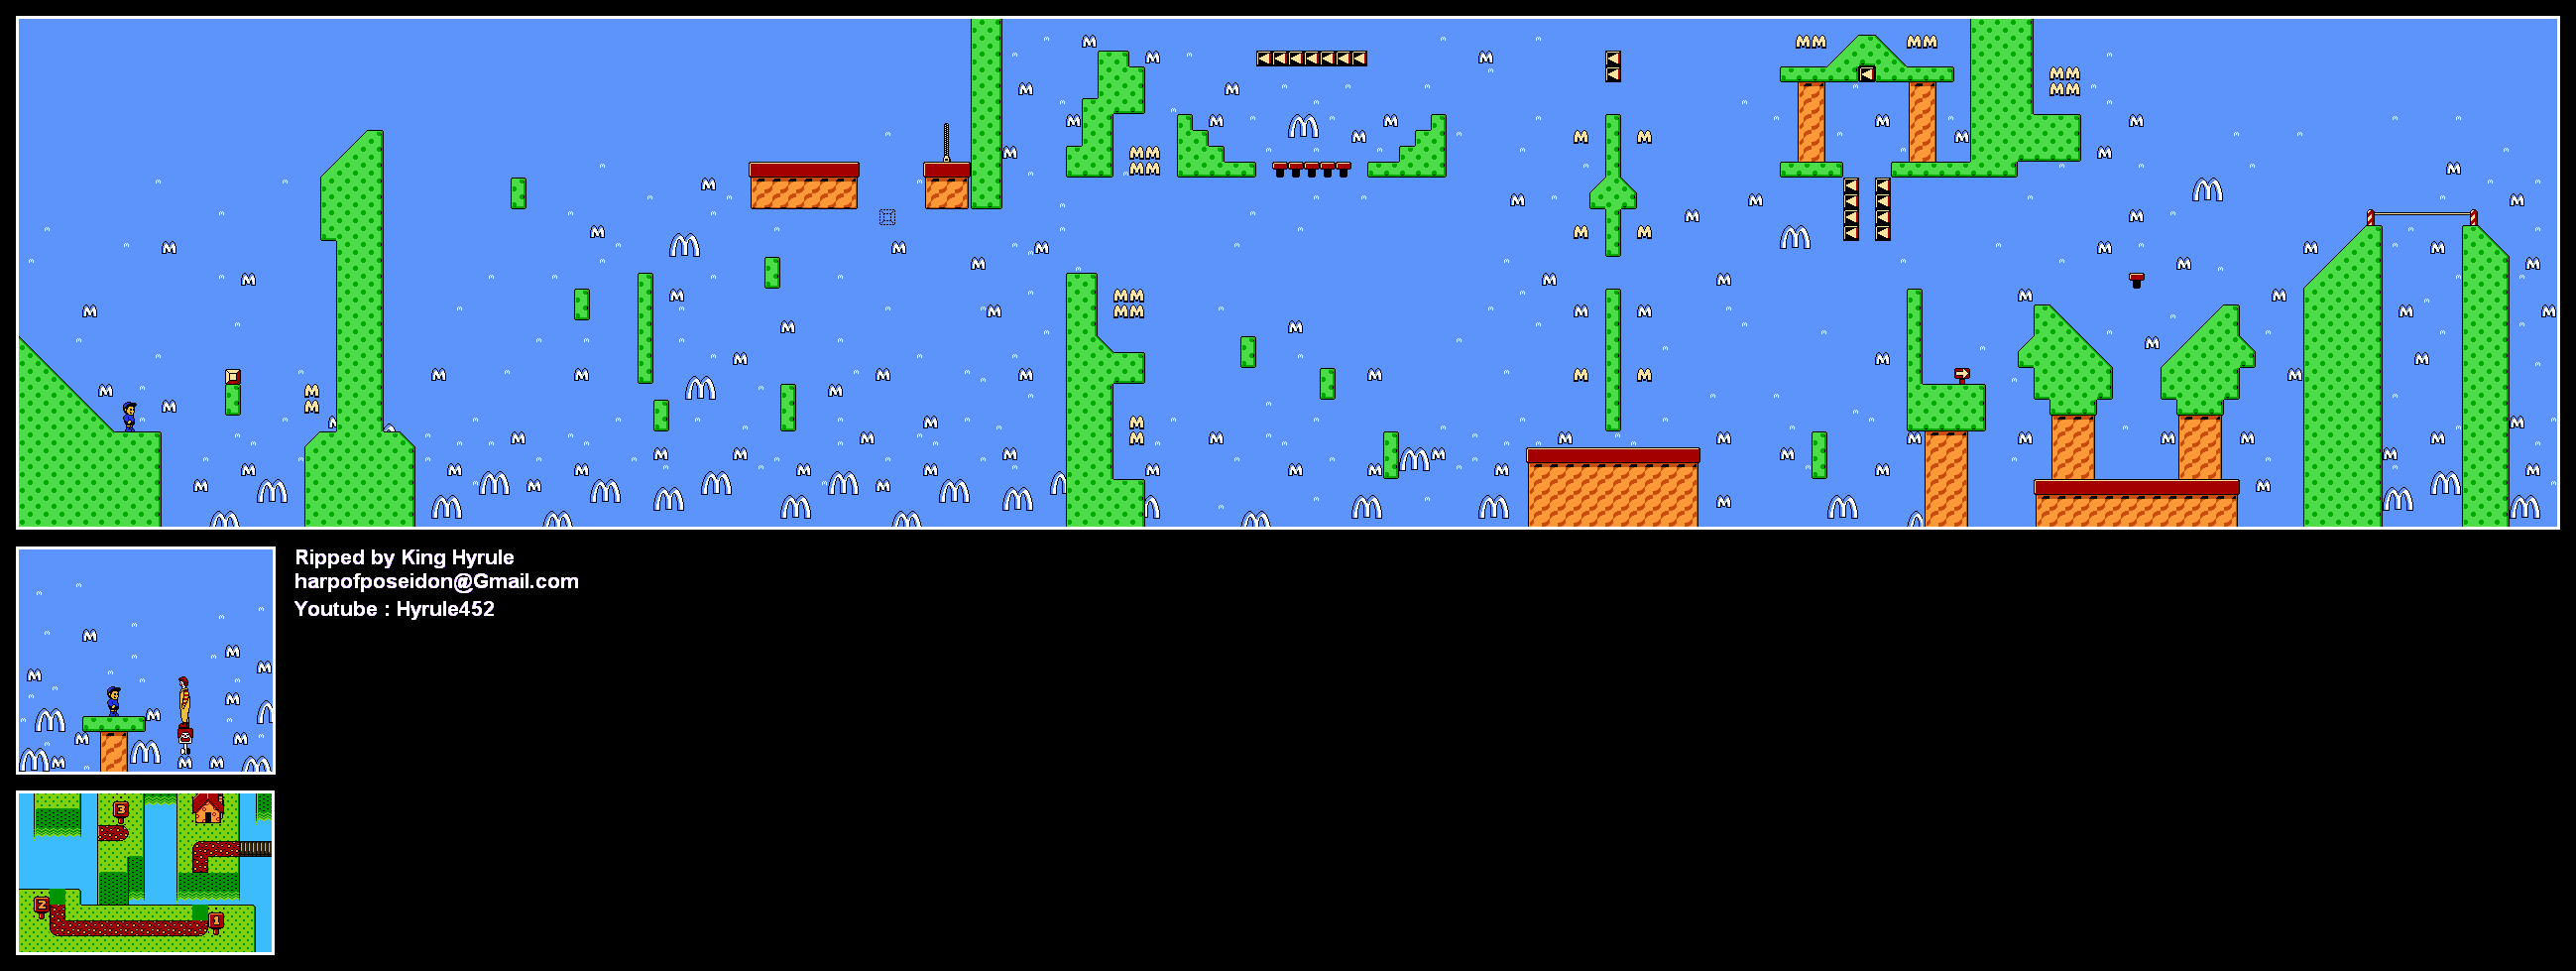
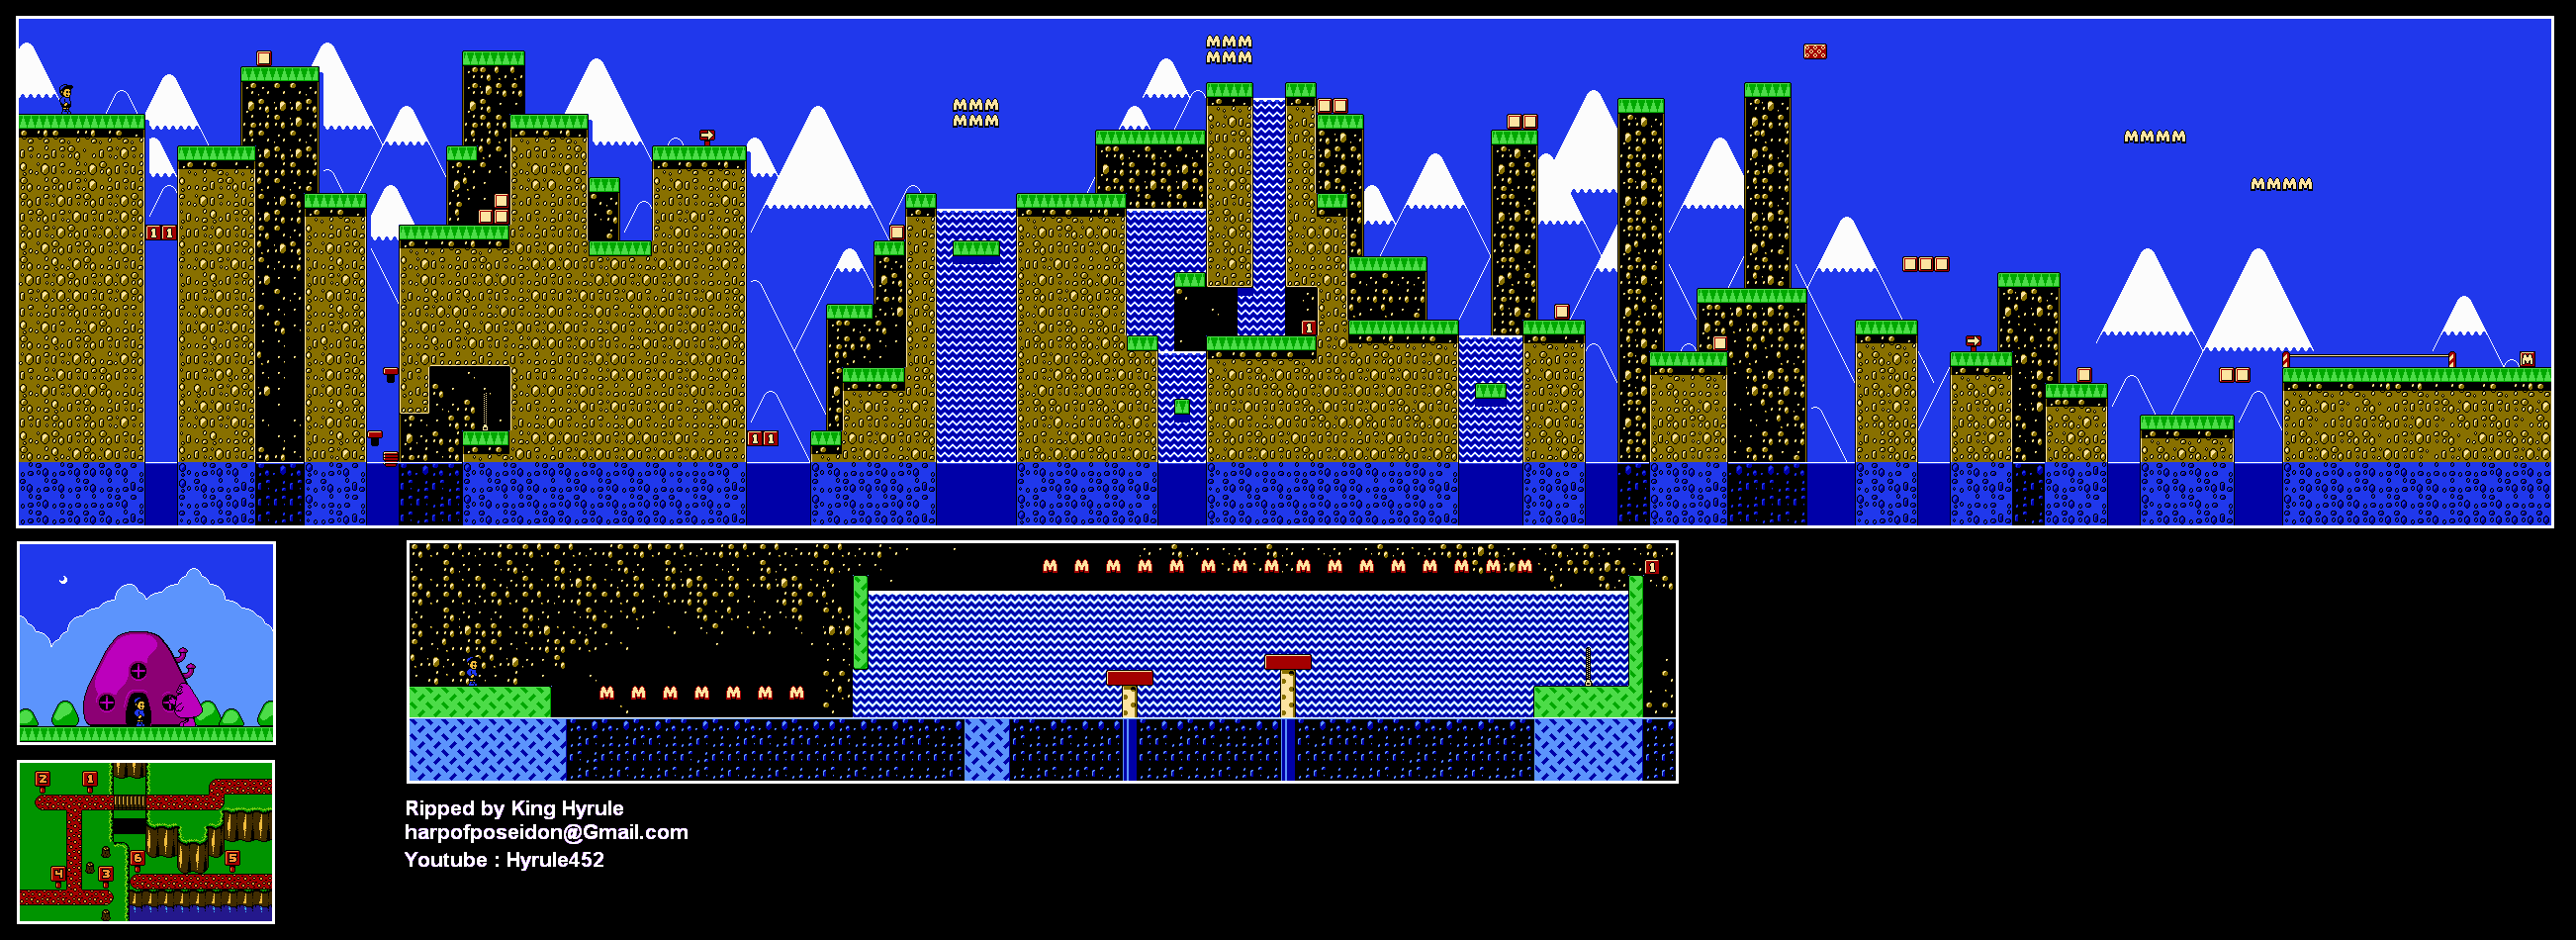
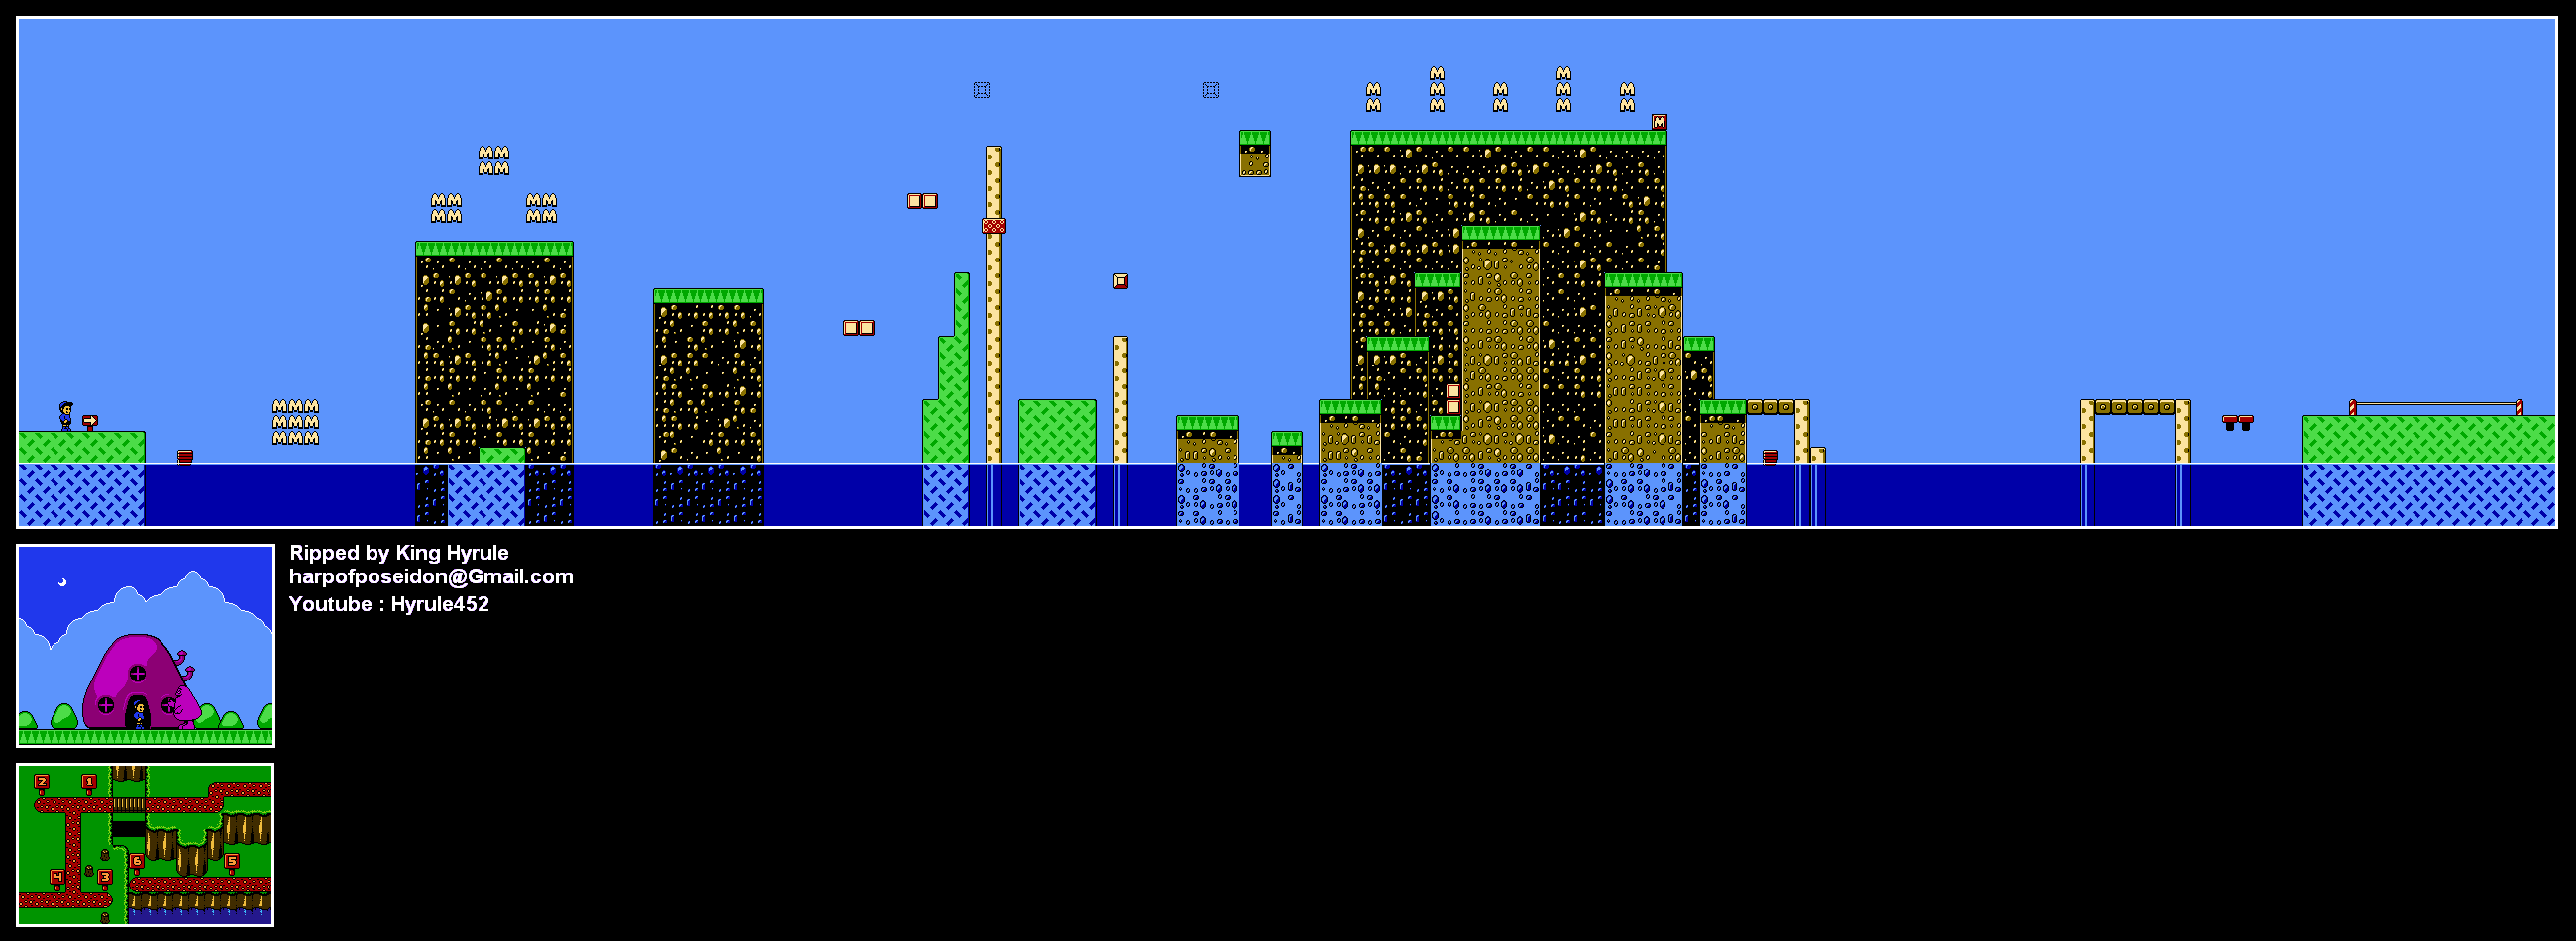
Ronald's PuzzLeWoRld

(continued)


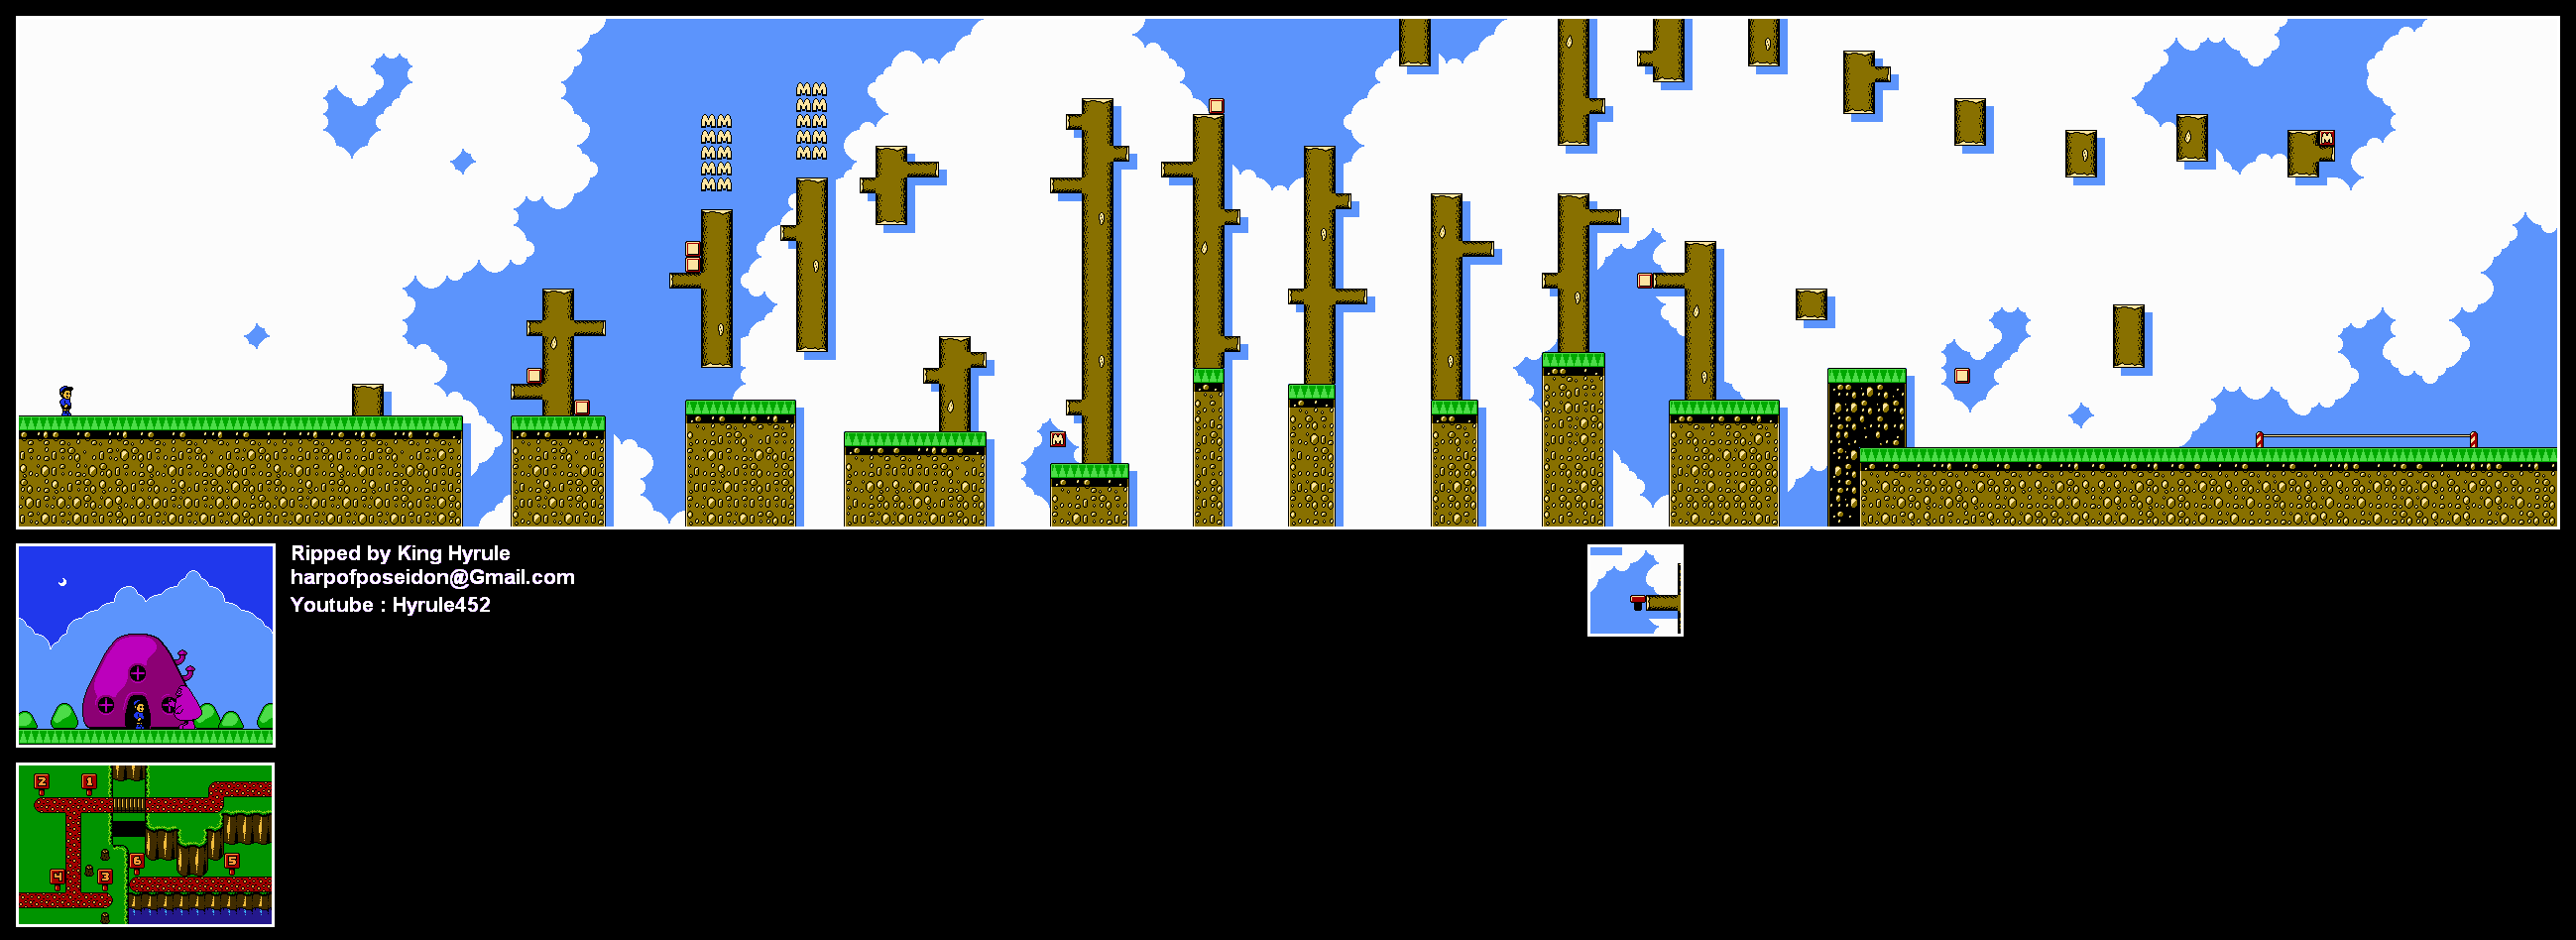
Level 3: Zipetty Do Da


Yes, you get a level with a uncapitalized first letter in its name along with a mispelling. Damn it, Virgin.

Anyway, you'll have to time your jump right so that you can hit the goal below you in that one part with the three zippers at the top. I can't even find the solution anywhere else outside of YouTube, and I'm not even going to try, so I'll just show you an exploit the programmers probably didn't intend because Cauchemar89 did. Yeah, I'm such a good note taker.

If you beat all three levels, you'll get...10 extra lives. Thanks, Ronald. You dick. If you collected every single M in PuzzLeWoRld, however, you'll get 99 lives. If you go down to 90 after that, Ronald will come back, apologize and give you infinite lives.

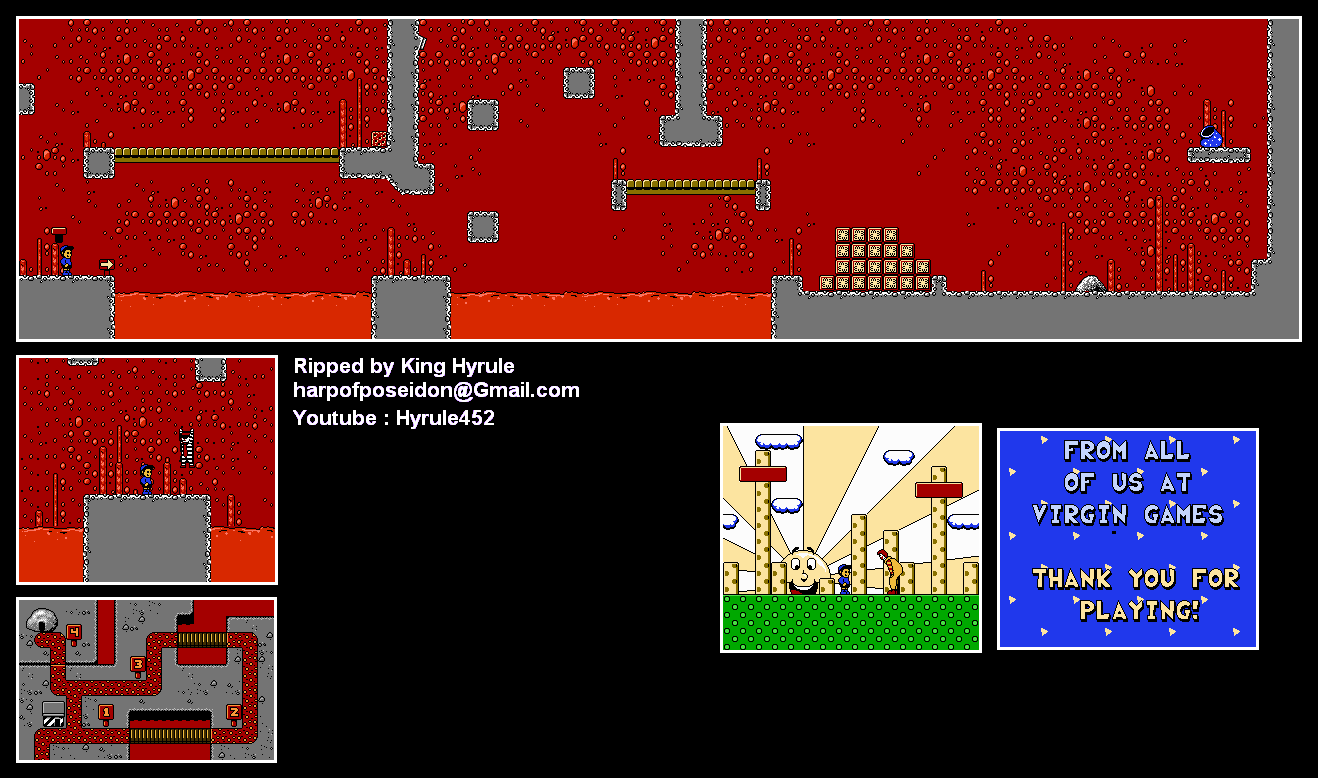
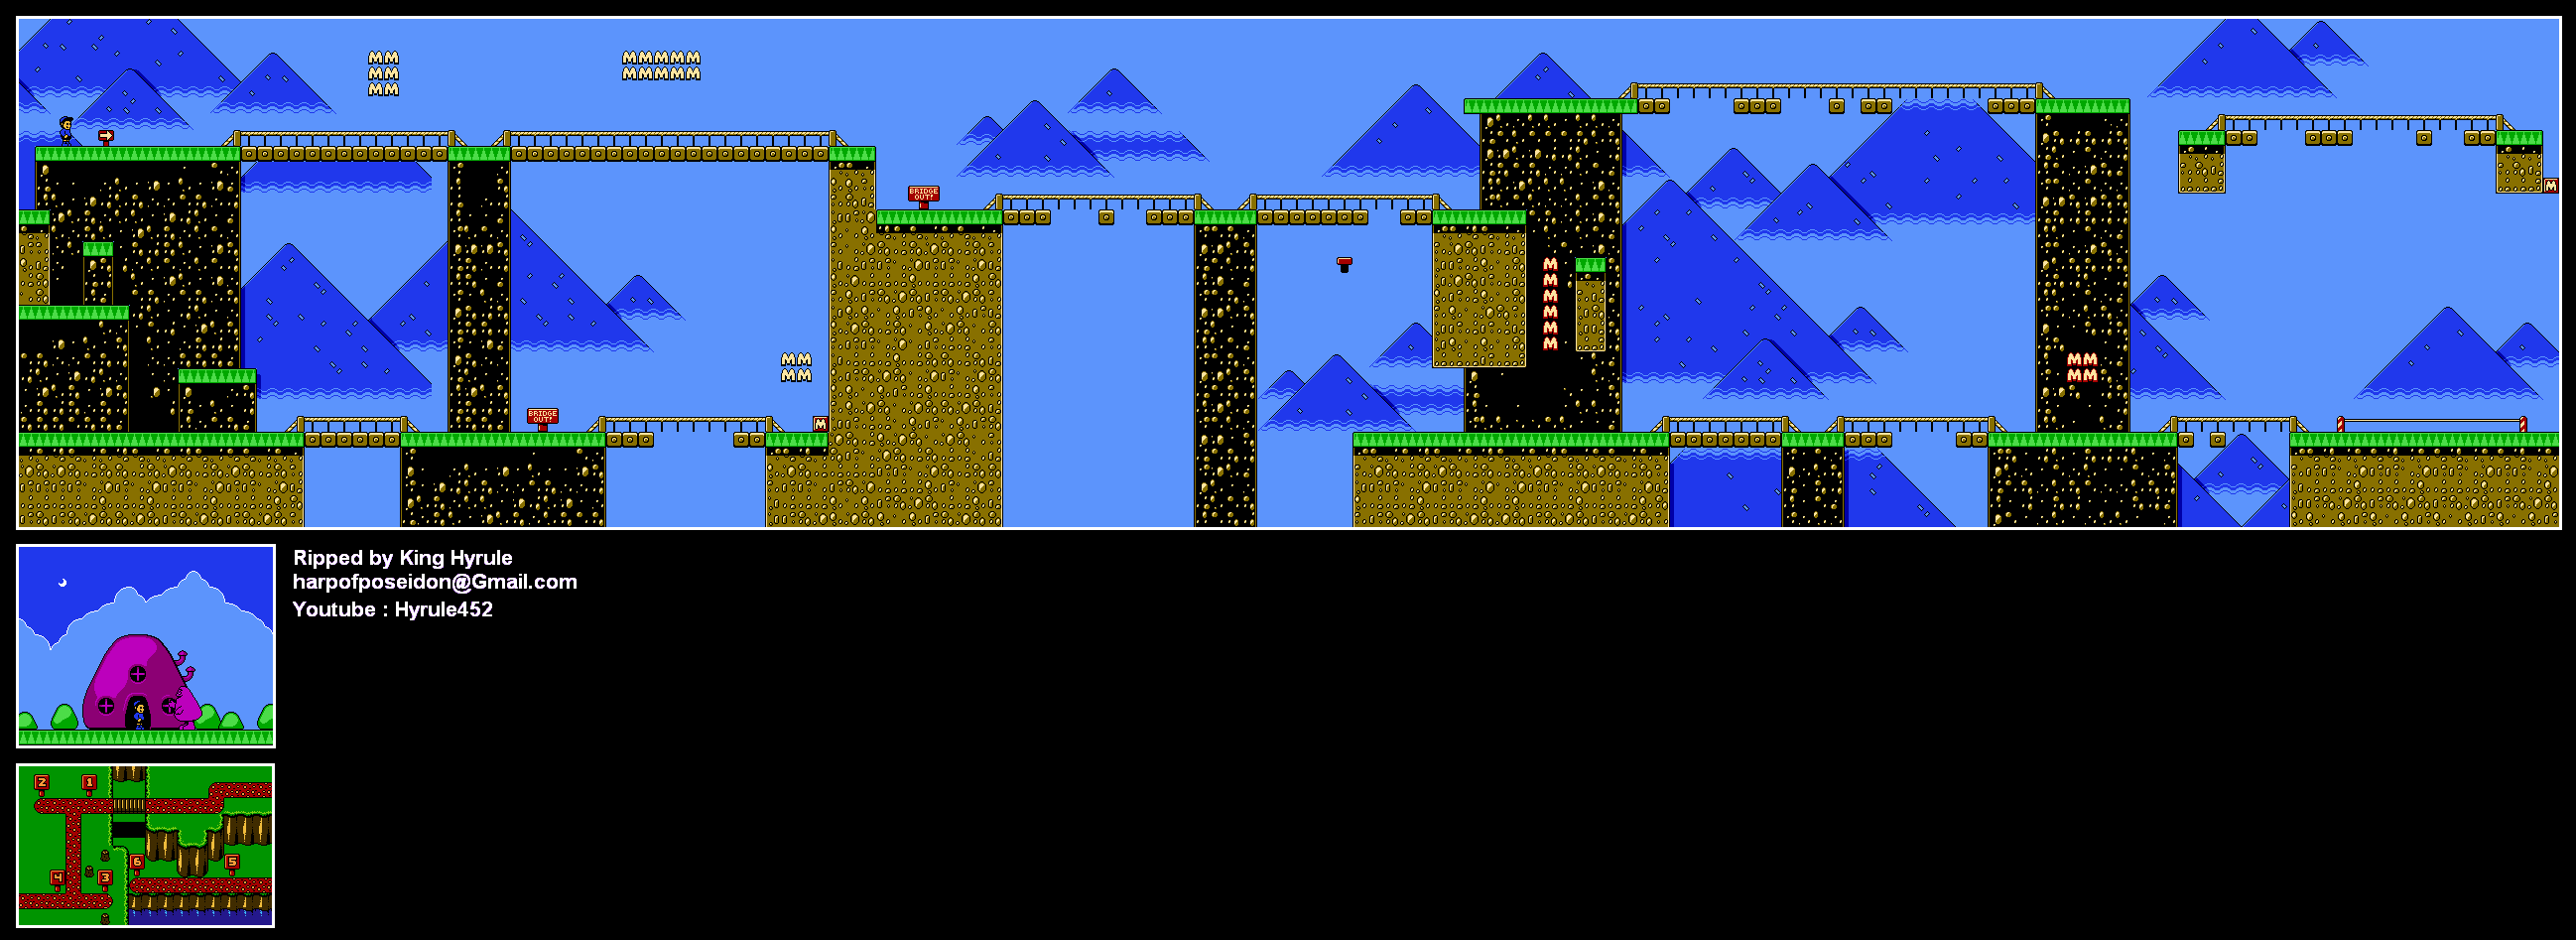
Hamburglar's Hideout

Level 4: Magic Cave


If you haven't gotten all the cards yet, do so now. There's no turning back.

Really hilarious non-game sequence. The song in the YTPMV-ish section is "Kero Kero Destiny," by the way. You're welcome.

All right, that's enough of that.

Anyway, the first thing you fight is some rolled-up magic carpet with electricity coming out of the sides. Go up to the mound of dirt in the middle, stand there and just keep throwing dirt balls at it. You'll fight a few of these things before the Magic Bag sends something else at you.

If you need to refill your health, throw the blocks with the M's on it at whatever you're fighting. If you hit the enemy, you'll refill your health with every successful hit.

The second form is the magic wand. You'll have to duck, then jump (just like Super Mario Bros. 2/Doki Doki Panic). Then, you'll have to throw the dirt clod upwards.

The final form is the bunny in the hat. It will just jump after you, so run under it when it jumps and throw dirt clods at it. When the hat shrinks, it just runs around. From there, hit it with one more dirt clod, then the bag will shrink in size and drop down. Grab it. You've finally won the game! Too bad the ending is crap.


Sunday, October 12, 2014

Cauchemar89 plays M.C. Kids - Part 8 of 9

We finally find out what those secret cards are for...

All maps by King-Hyrule.

Hamburglar's Hideout

(continued)


Hamburglar


Now that we have all the Hamburglar cards, talk to Hamburglar again. He'll open up the Magic Cave. But don't go there just yet.

Professor's Workshop

The Workshop


Talk to the Professor again. He'll make a shortcut for you for getting all six cards. This leads to Ronald's Clubhouse.

Ronald's Clubhouse

The Clubhouse


Talk to Ronald, and he'll take you to Puzzleworld.

Ronald's PuzzLeWoRld

The Secret House


Remember all the Secret Cards? Well, you'll need them all in order to even play this world. When you get all six, come back to The Secret House. Ronald will open up all the levels.

Here, there are no enemies and no cards. It's just you, the hardest paths from Point A to Point B ever, and the goal.

Level 1: Phony Finishes


U.N. Owen was her.

I honestly have no idea how you're supposed to get through this, especially when you have a map. Either way, you're more than likely to take shortcuts like Cauchemar does.

Level 2: Clowning Around


Ride to the zipper, then run fast enough to be able to jump up the gap above you when you come out. From there, it's an easy run to the right for the goal.

Cauchemar89 plays M.C. Kids - Part 7 of 9

We come really close to finishing off two whole levels this time around! Yes!

All maps by King-Hyrule.

Level 2: Swisserland


You'll have to make your way to the zipper to find the card and get out of here. Guess what? You'll have to jump a huge gap to make it, but if you know what you're doing, it's not impossible.

Unlike the big moon guys, the small ones are not taken out when hit by a box.

Level 3: Constellations


Get underneath all those tiny springboards at the start to get the card. You'll have to head all the way to the right and get it from there to make it easier.

If you can make it all the way to the top, you'll get another card.

It should be noted that above the goal, the stars create a picture of one of the kids.

One of the cards is the Secret Card.

Level 4: Spring Fever


Stay to the left to reach the first zipper. Enter it to get a card.

The Getaway


Head back to CosMc's house. You'll find out that Hamburglar is hiding in a volcano.

Hamburglar's Hideout


Well, you've found Hamburglar...but not the Magic Bag. Turns out the Magic Bag has a mind of it's own and it's escaped.

You'll need five cards here.

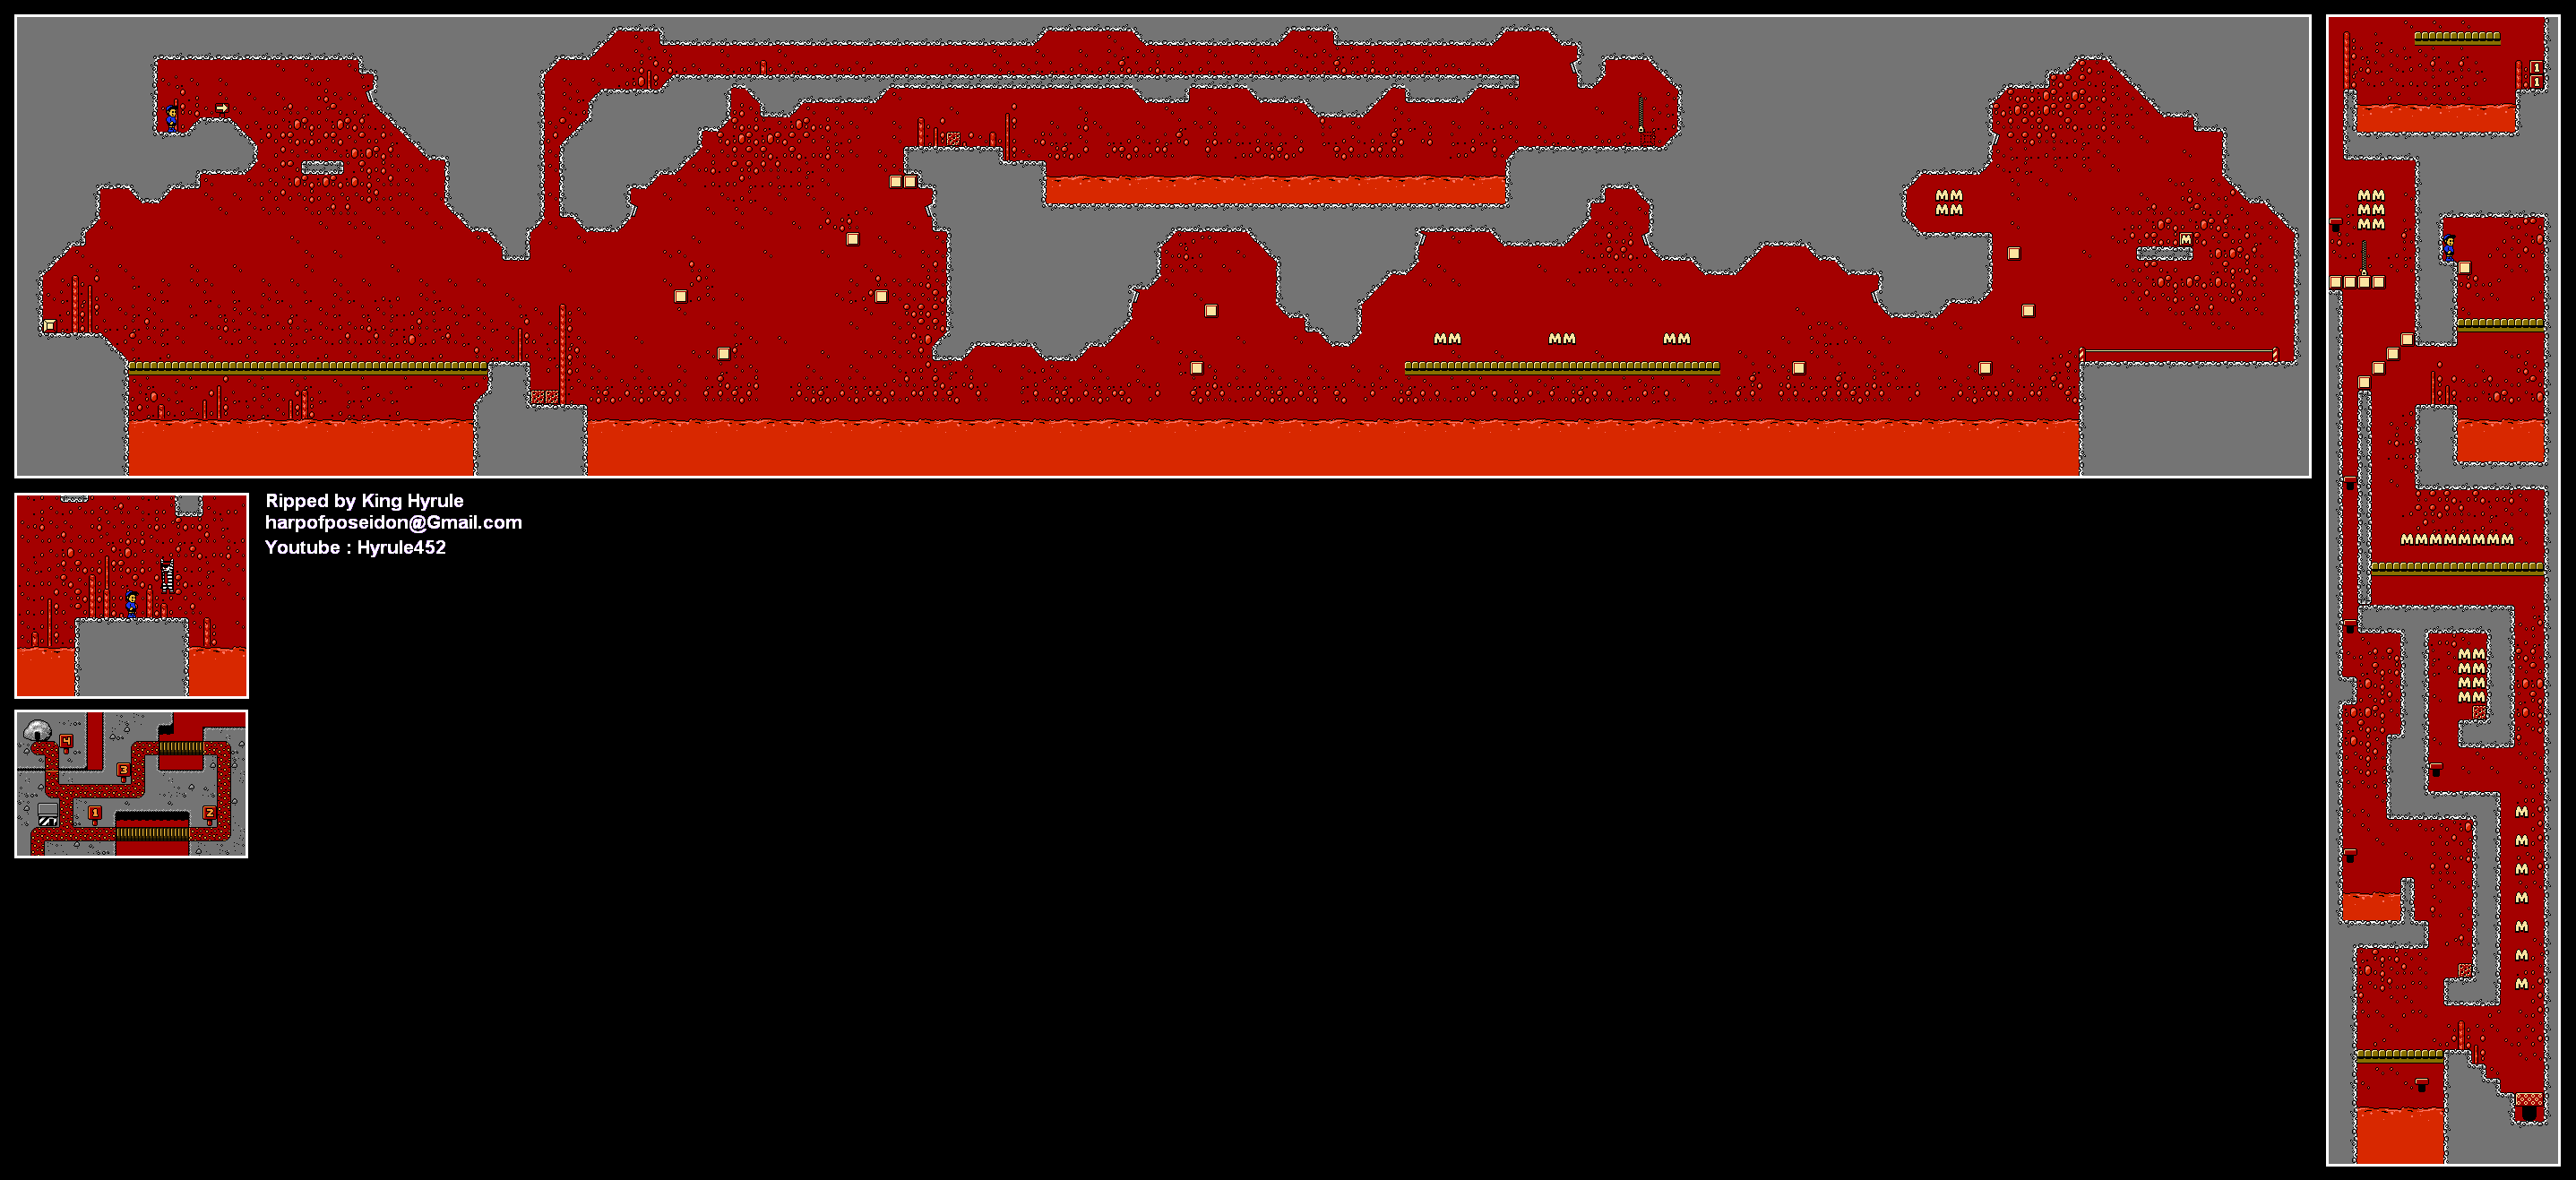
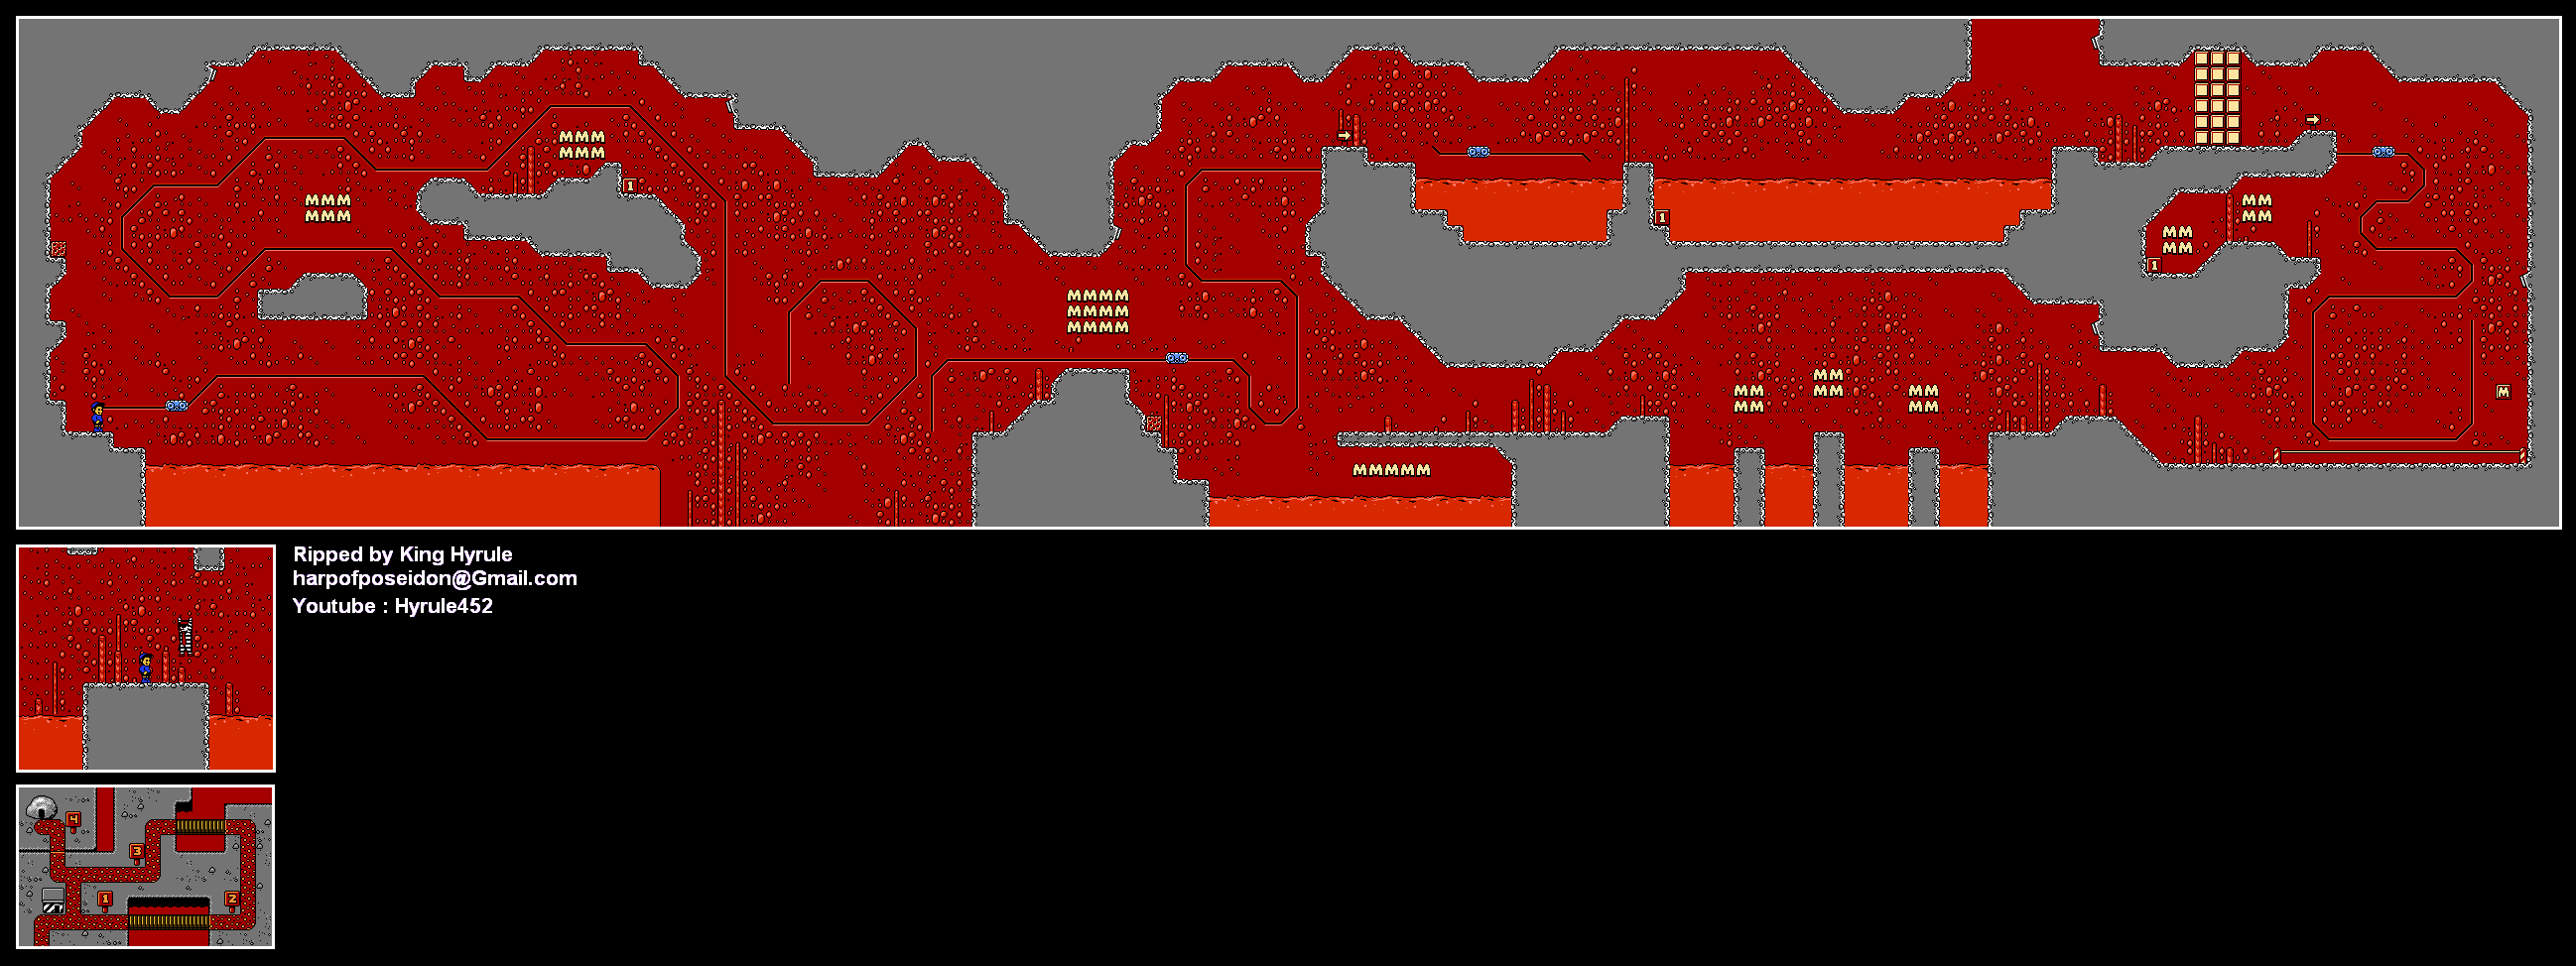
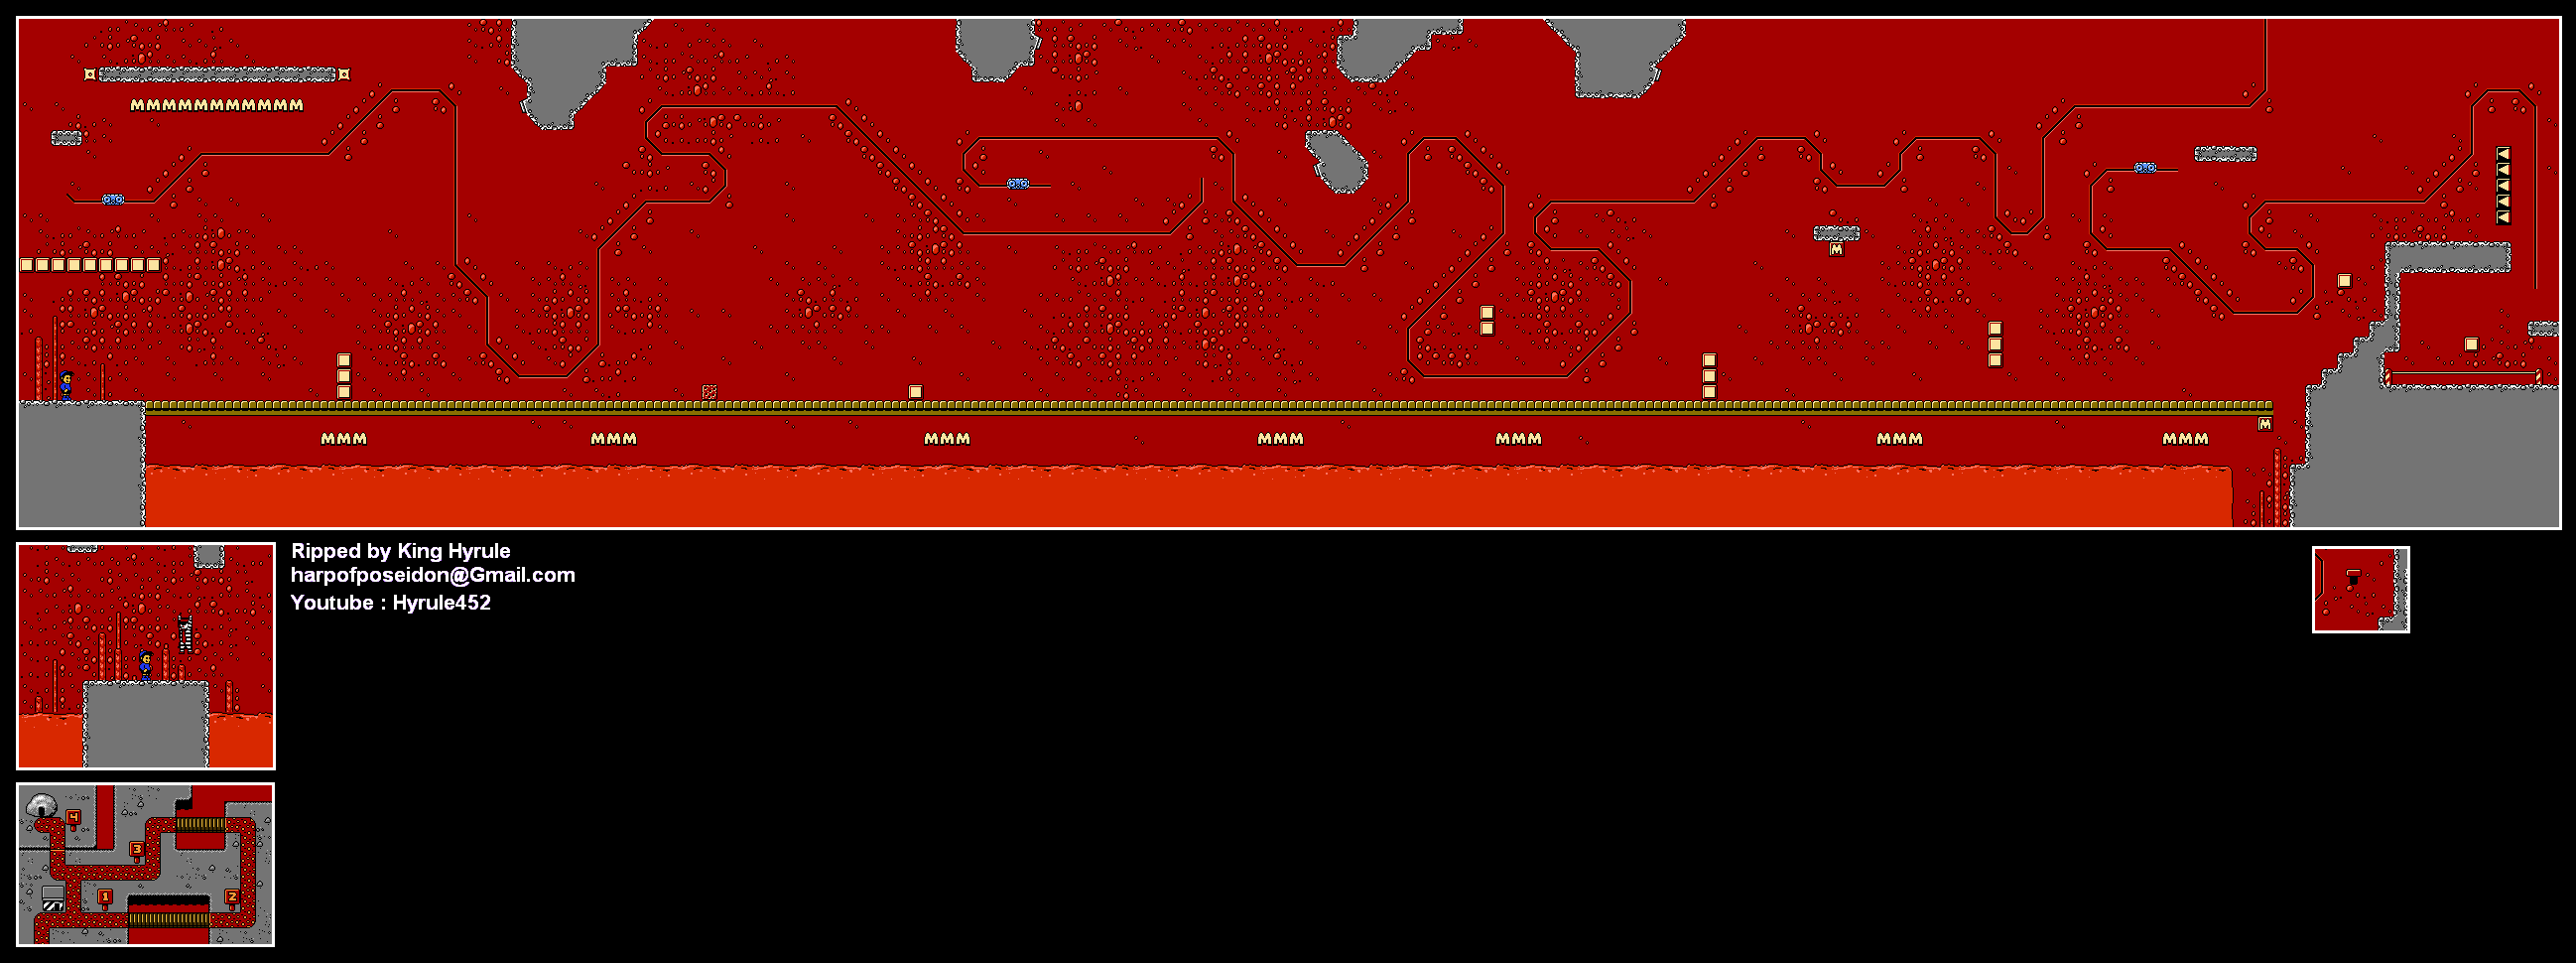
Level 1: Burning Bridges


The boxes that look like sponges act as rafts that get you safely across the lava. While you're out and about here, watch out for the volcanic fire that rains down from above in places.

The card is right above the goal. You'll have to make a nice running jump to reach it.

Also, the bridges starting burning up when you stand on them.

Level 2: Lava Belts


The platforms that move along the track on the wall are actually quite simple to get going once you know how. Just move the [b]opposite[/b] direction of where you want to go, and the platform will immediately take you there.

Grab the sponge box near the second track platform, and throw it into the lava pit after the third.

Use the last track platform to get the card if you need to.

Level 3: Molten Madness


The first card is right underneath a platform, while the second card is underneath the end of the bridge at the beginning of the level.

The second card is easy if you go upside down. Hit the arrows blocking the goal to return all the way to the left, then get upside and ride the track platforms. You'll be able to jump on the platform where the first card was and safely be able to get it (which takes more effort than Cauchemar's way of jumping up to it and grabbing it at the beginning, but is a lot less chancey).


One of the cards is the Secret Card.

Saturday, October 11, 2014

Cauchemar89 plays M.C. Kids - Part 6 of 9

In this episode, we polish off the Workshop, go to the moon and try not to be killed in one hit by those nasty tentacles. Who needs hentai when you have the moon world?

All maps by King-Hyrule.

Professor's Workshop

(continued)


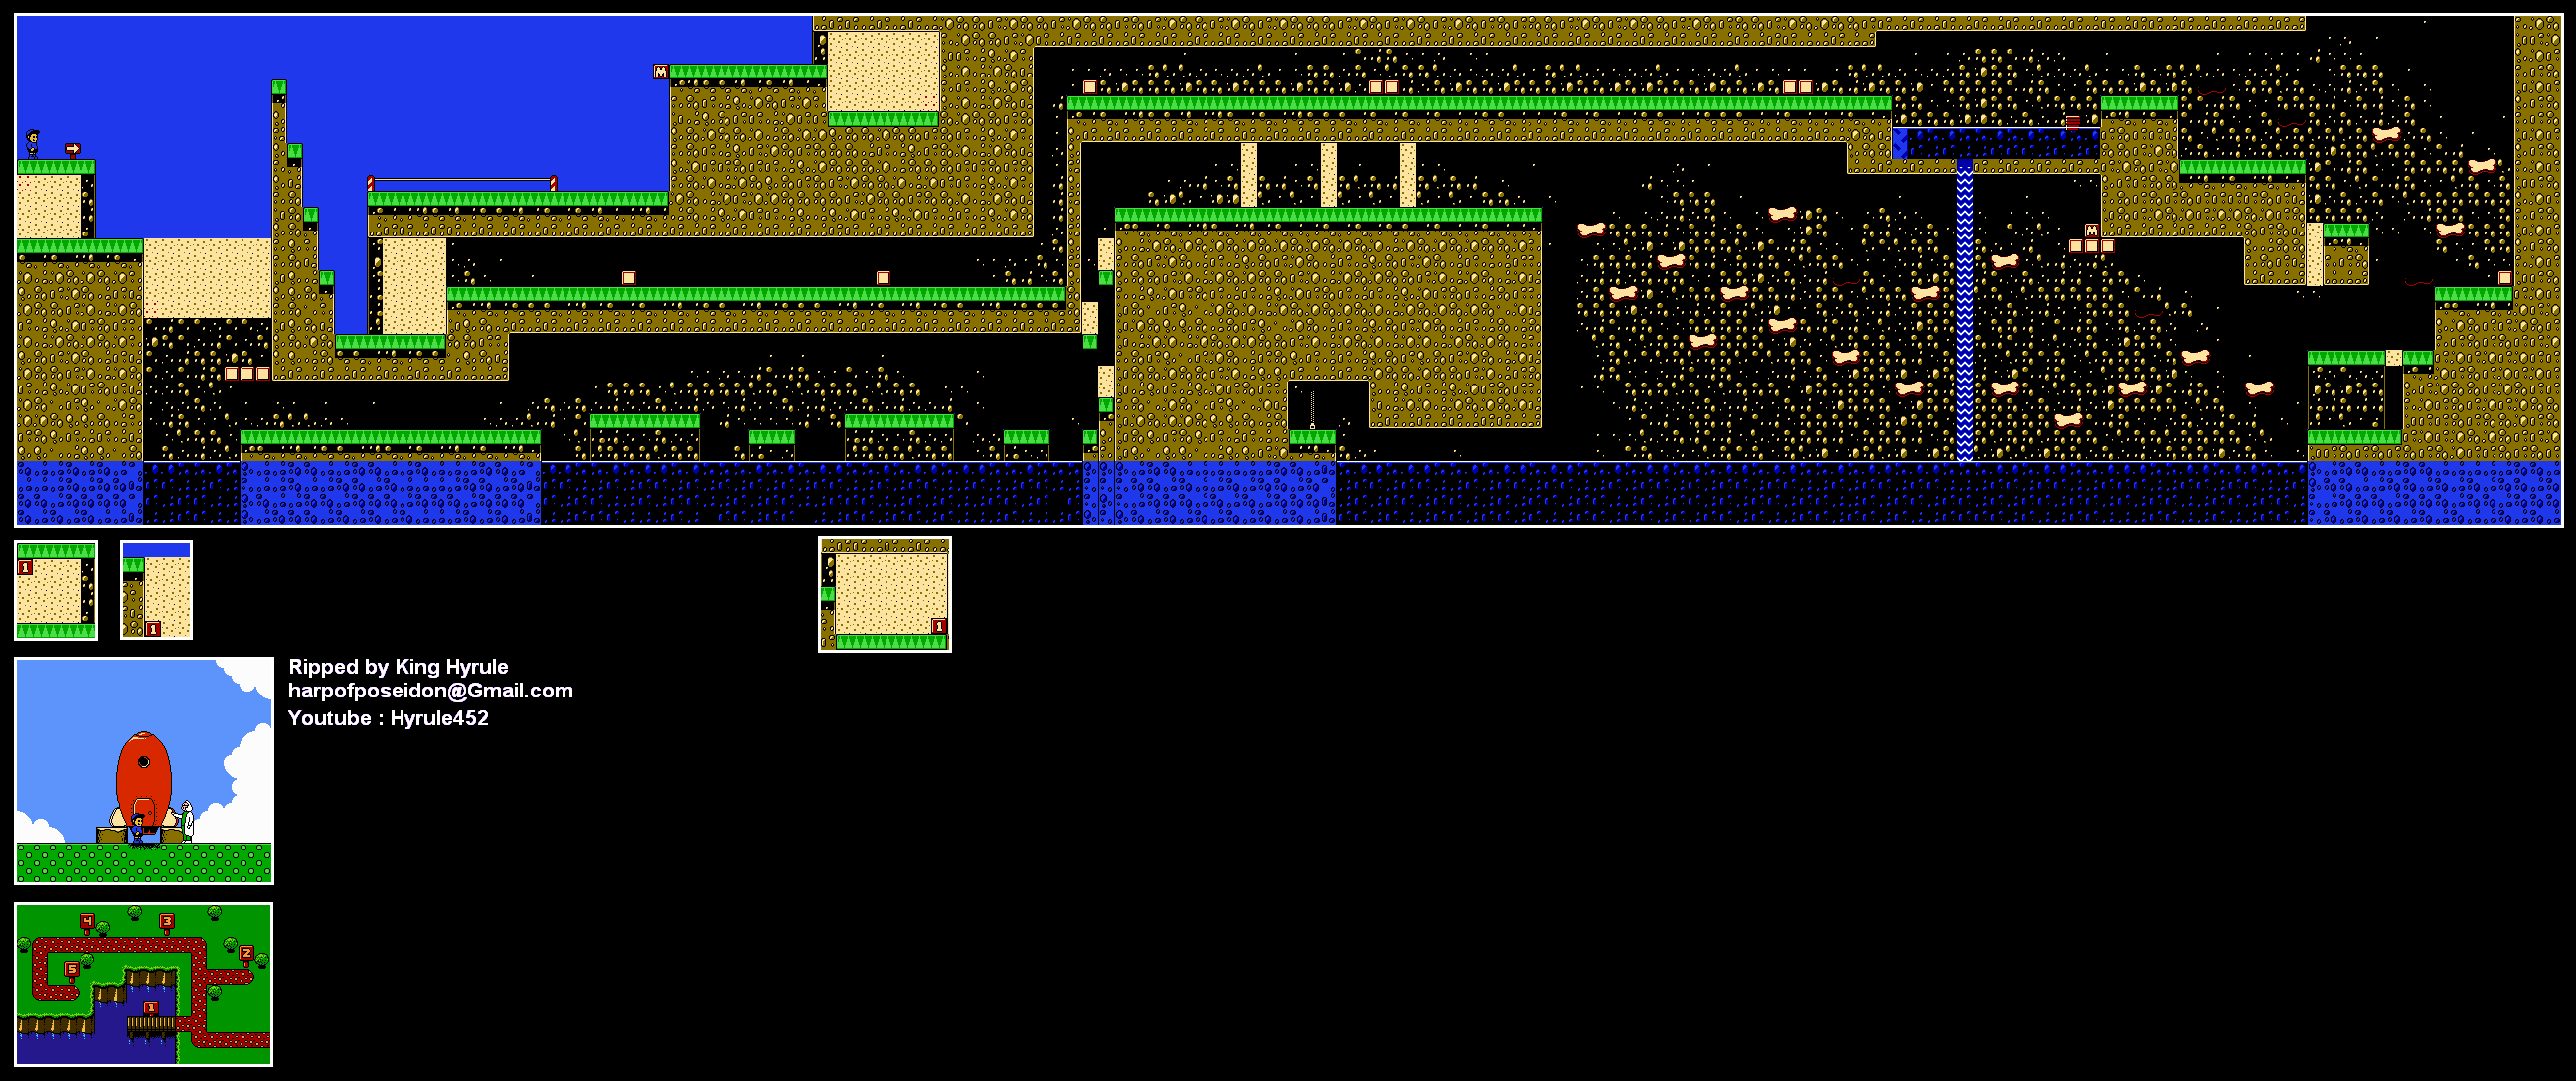
Level 4: Desert Cove


Dig into the dirt at the very, very beginning to find a hidden 1-Up.

Time your jump son the bones right to get the first card. They act like the Donut Blocks in the Mario games if you stand on them for a second too long.

When you see the boat, grab it and take it back to the water underneath the first card. Go left and enter the zipper. Boom! There's the second card! Be sure to dig in the dirt to the right of it before you get it, as there's another 1-Up hidden over there.

One card is for the Hamburglar's Hideout, while the other is yet another Secret Card.

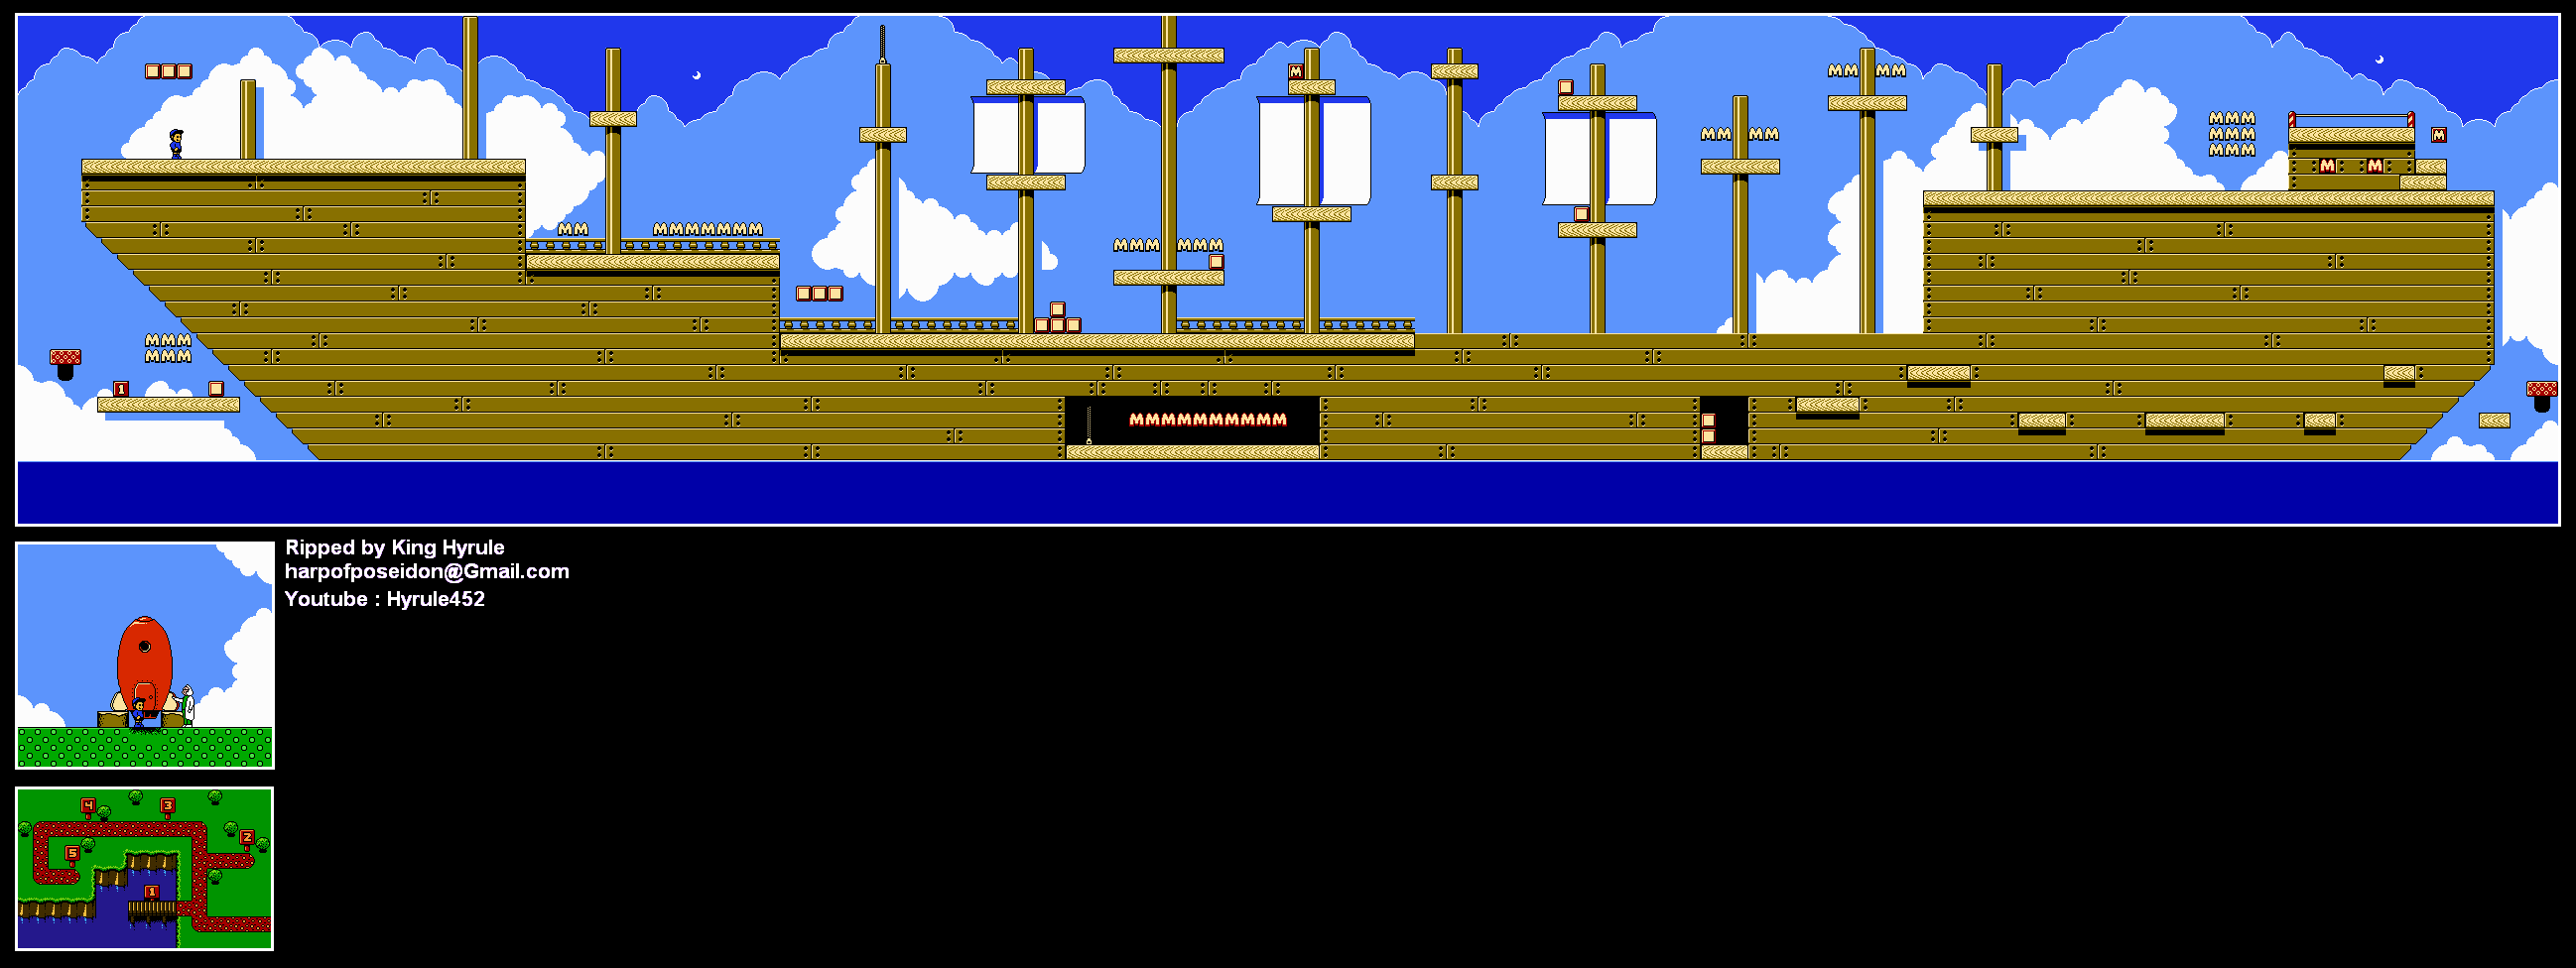
Level 5: Captain's Ship


There's an easy 1-Up below the beginning of the level. Use the box to jump back up via the springboard.

The first card is located on top of one of the ship masts. Thankfully, getting up there is pretty easy.

You'll have to hit the water and run all the way to the right to get the second card. From there, use a box to jump off the springboard and reach the goal.

The Workshop


Now that you (obviously) have all of the Professor's cards, go back to the Workshop. He's got the rocketship all ready for you! It's moon time!

CosMc's Retreat


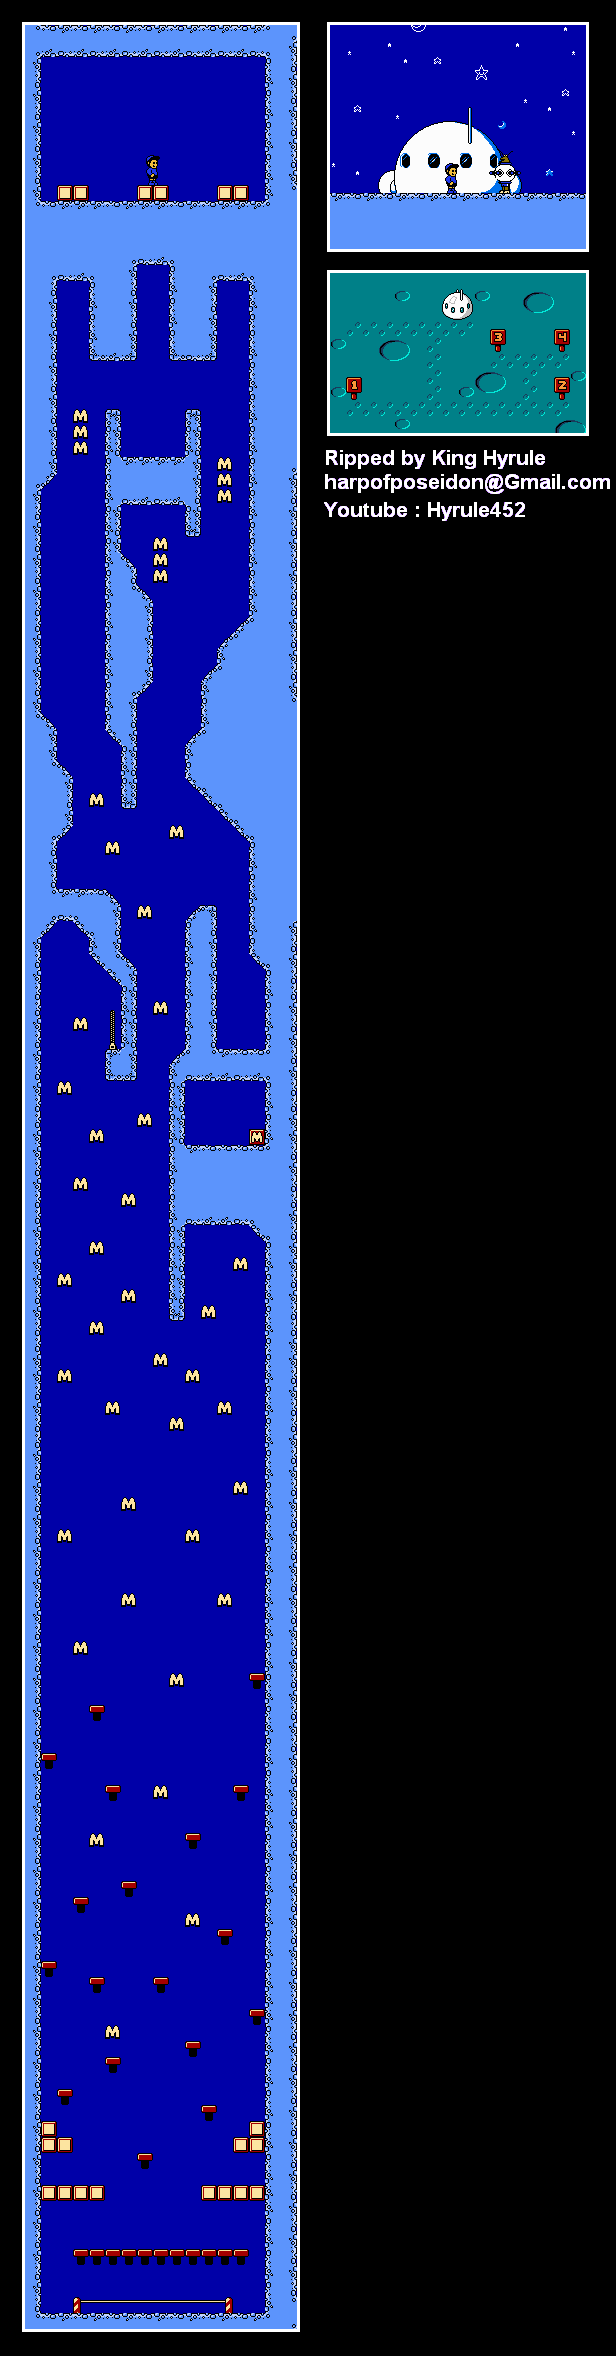
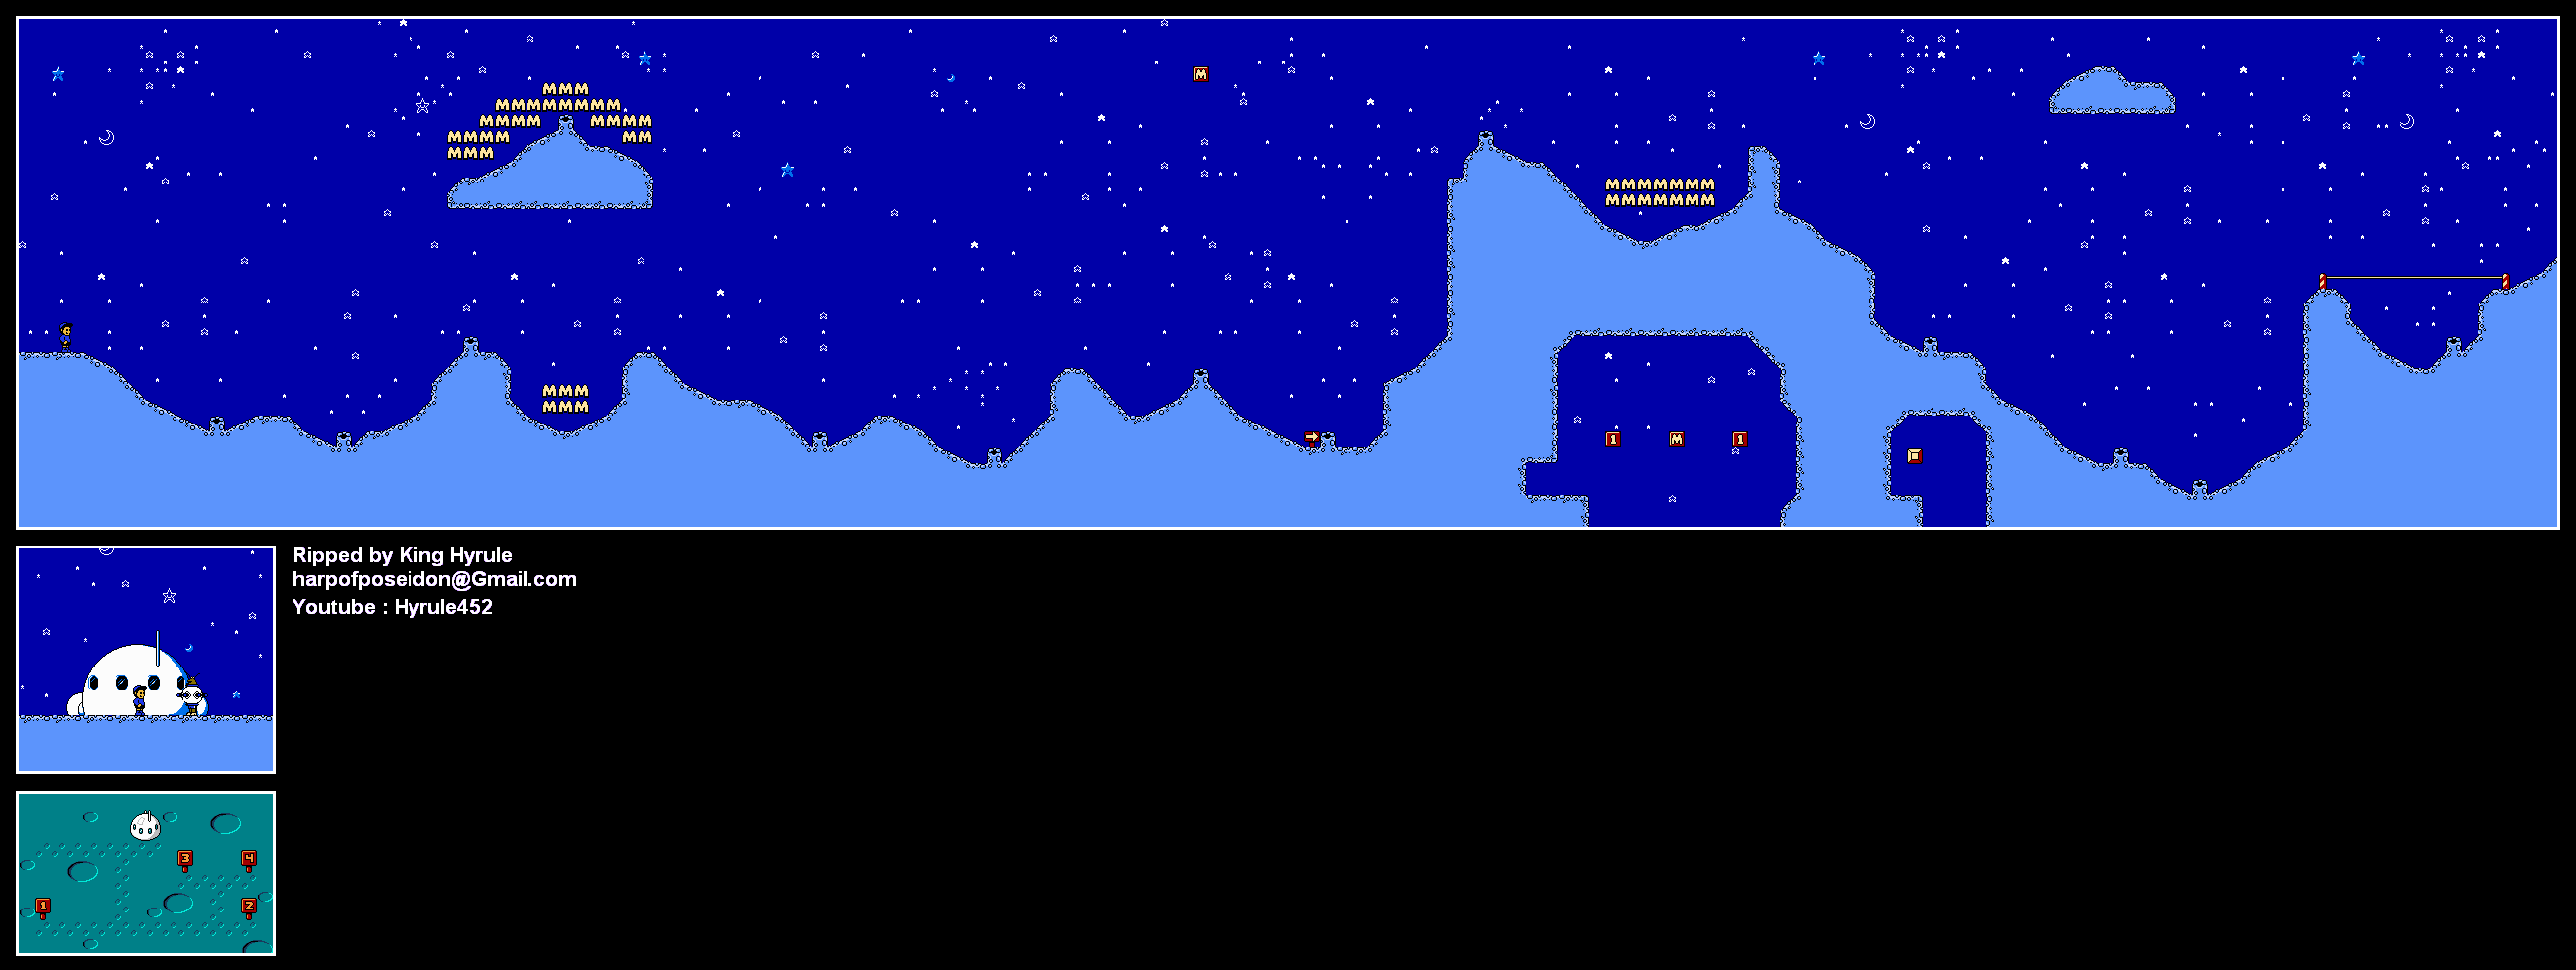
In this level, the gravity is reduced! Have fun jumping around while trying to find everything!

You'll have to find five cards, and these will probably be the most interesting to find yet.

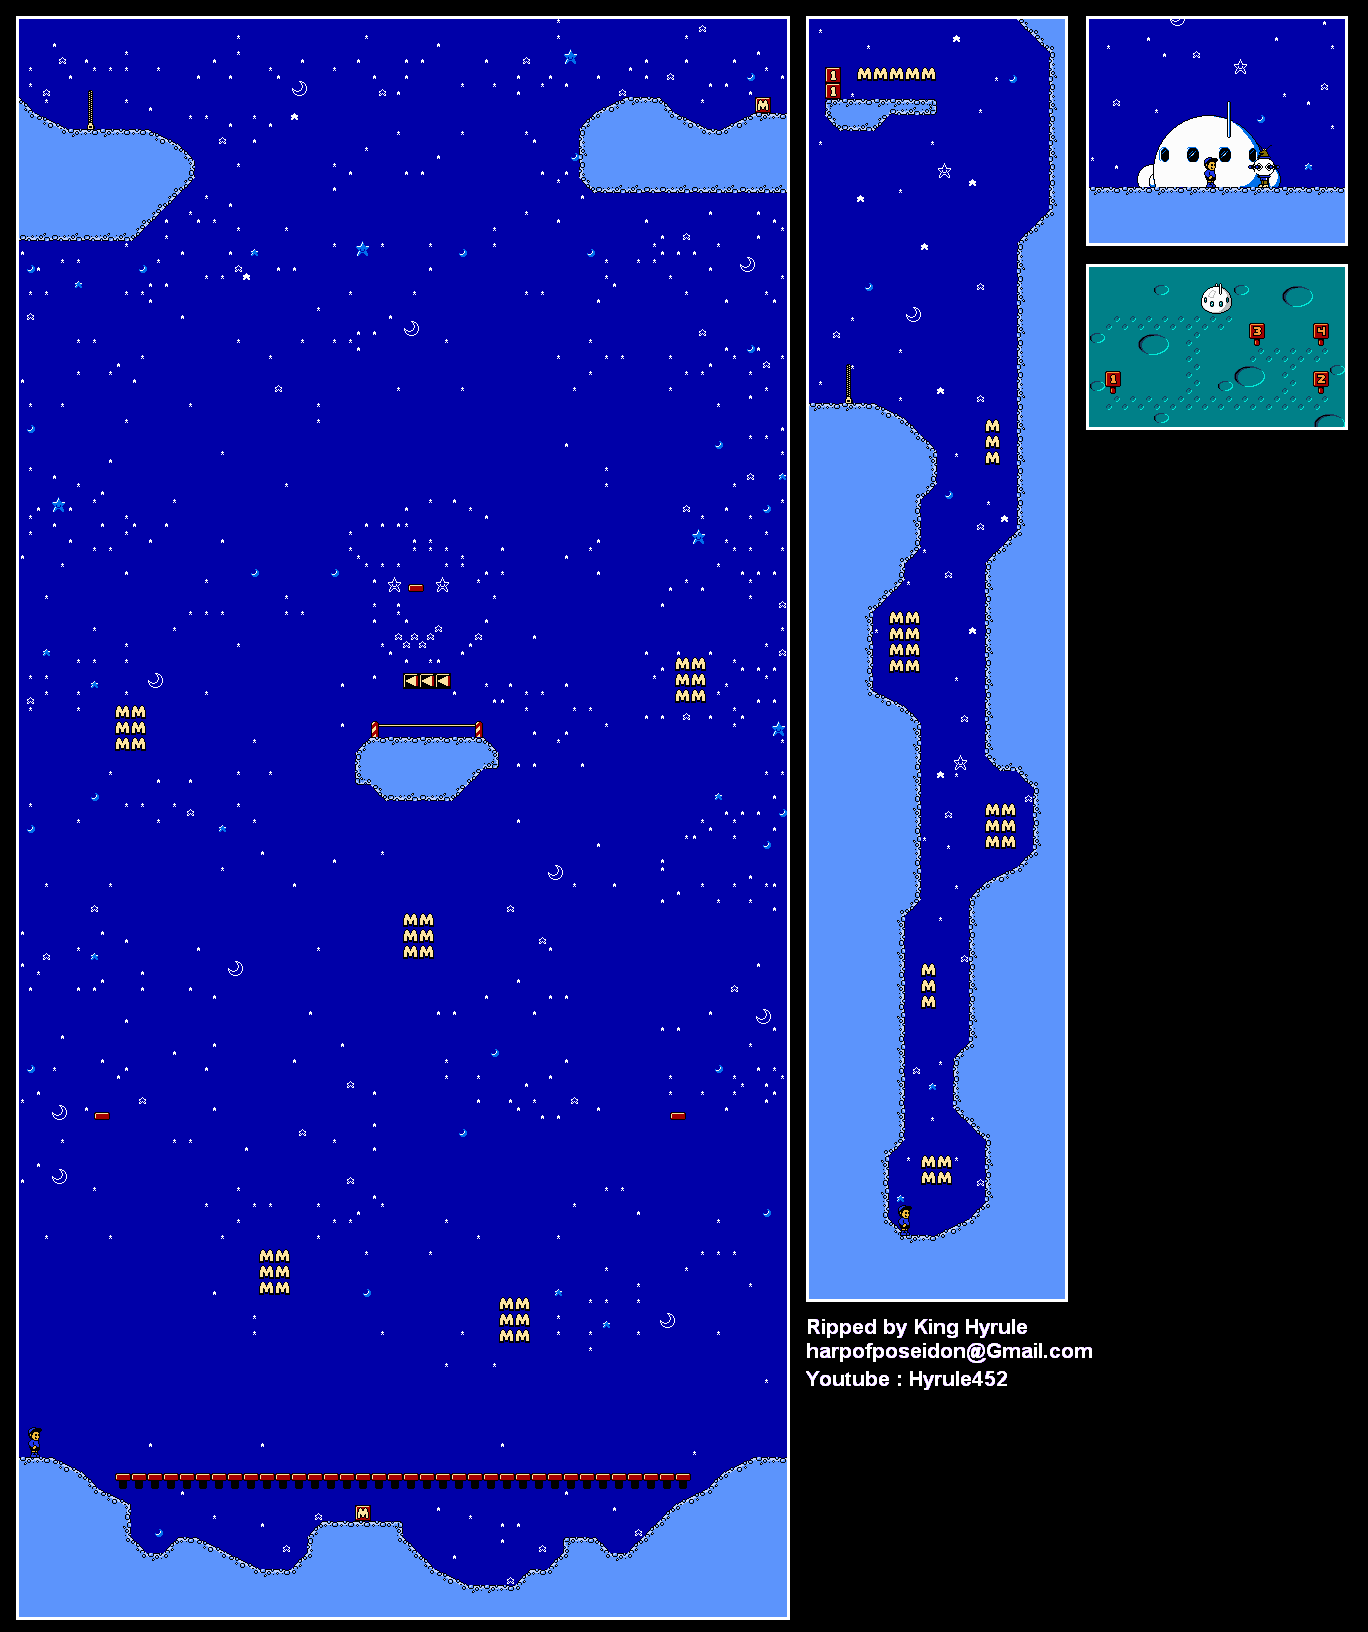
Level 1: Moon Monsters


No, seriously, don't do hentai.

The moon monster tentacles cause instant death if you touch them, which adds some frustration to this level. You'll have to jump out of their range with those low-gravity jumps of yours if you want to get past them.

You'll also have those helicopter robots flying around too. Joy.

The card here is located at the top of the level, to the right of that mid-air platform with all those M's.


To the right of the arrow pointing left that sits next to the moon tentacle, move to the right of the hole where the tentacle comes out of. You'll find a secret room inside with a dotted-line block, the second card and two 1-Ups. Keep going right to find the block.

Friday, October 10, 2014

Cauchemar89 plays M.C. Kids - Part 5 of 9

We finish off the Highlands and finally get to see that wonderful Professor's Workshop we've been getting cards from in various places.

All maps by King-Hyrule.

Grimace's Highlands

(continued)


The Loft


Talk to Grimace again. He'll build a path to the Professor's Workshop, and you'll find out he's building a rocket ship for you. Apparently, the Hamburglar went to the moon with the Magic Bag.

You'll need five Puzzle Cards to continue on. If you've been getting every card so far, though, you'll have two right off the bat.

Professor's Workshop

Level 1: Ports O'Comets


You definitely want to avoid the comets. Love the animation on them, by the way.

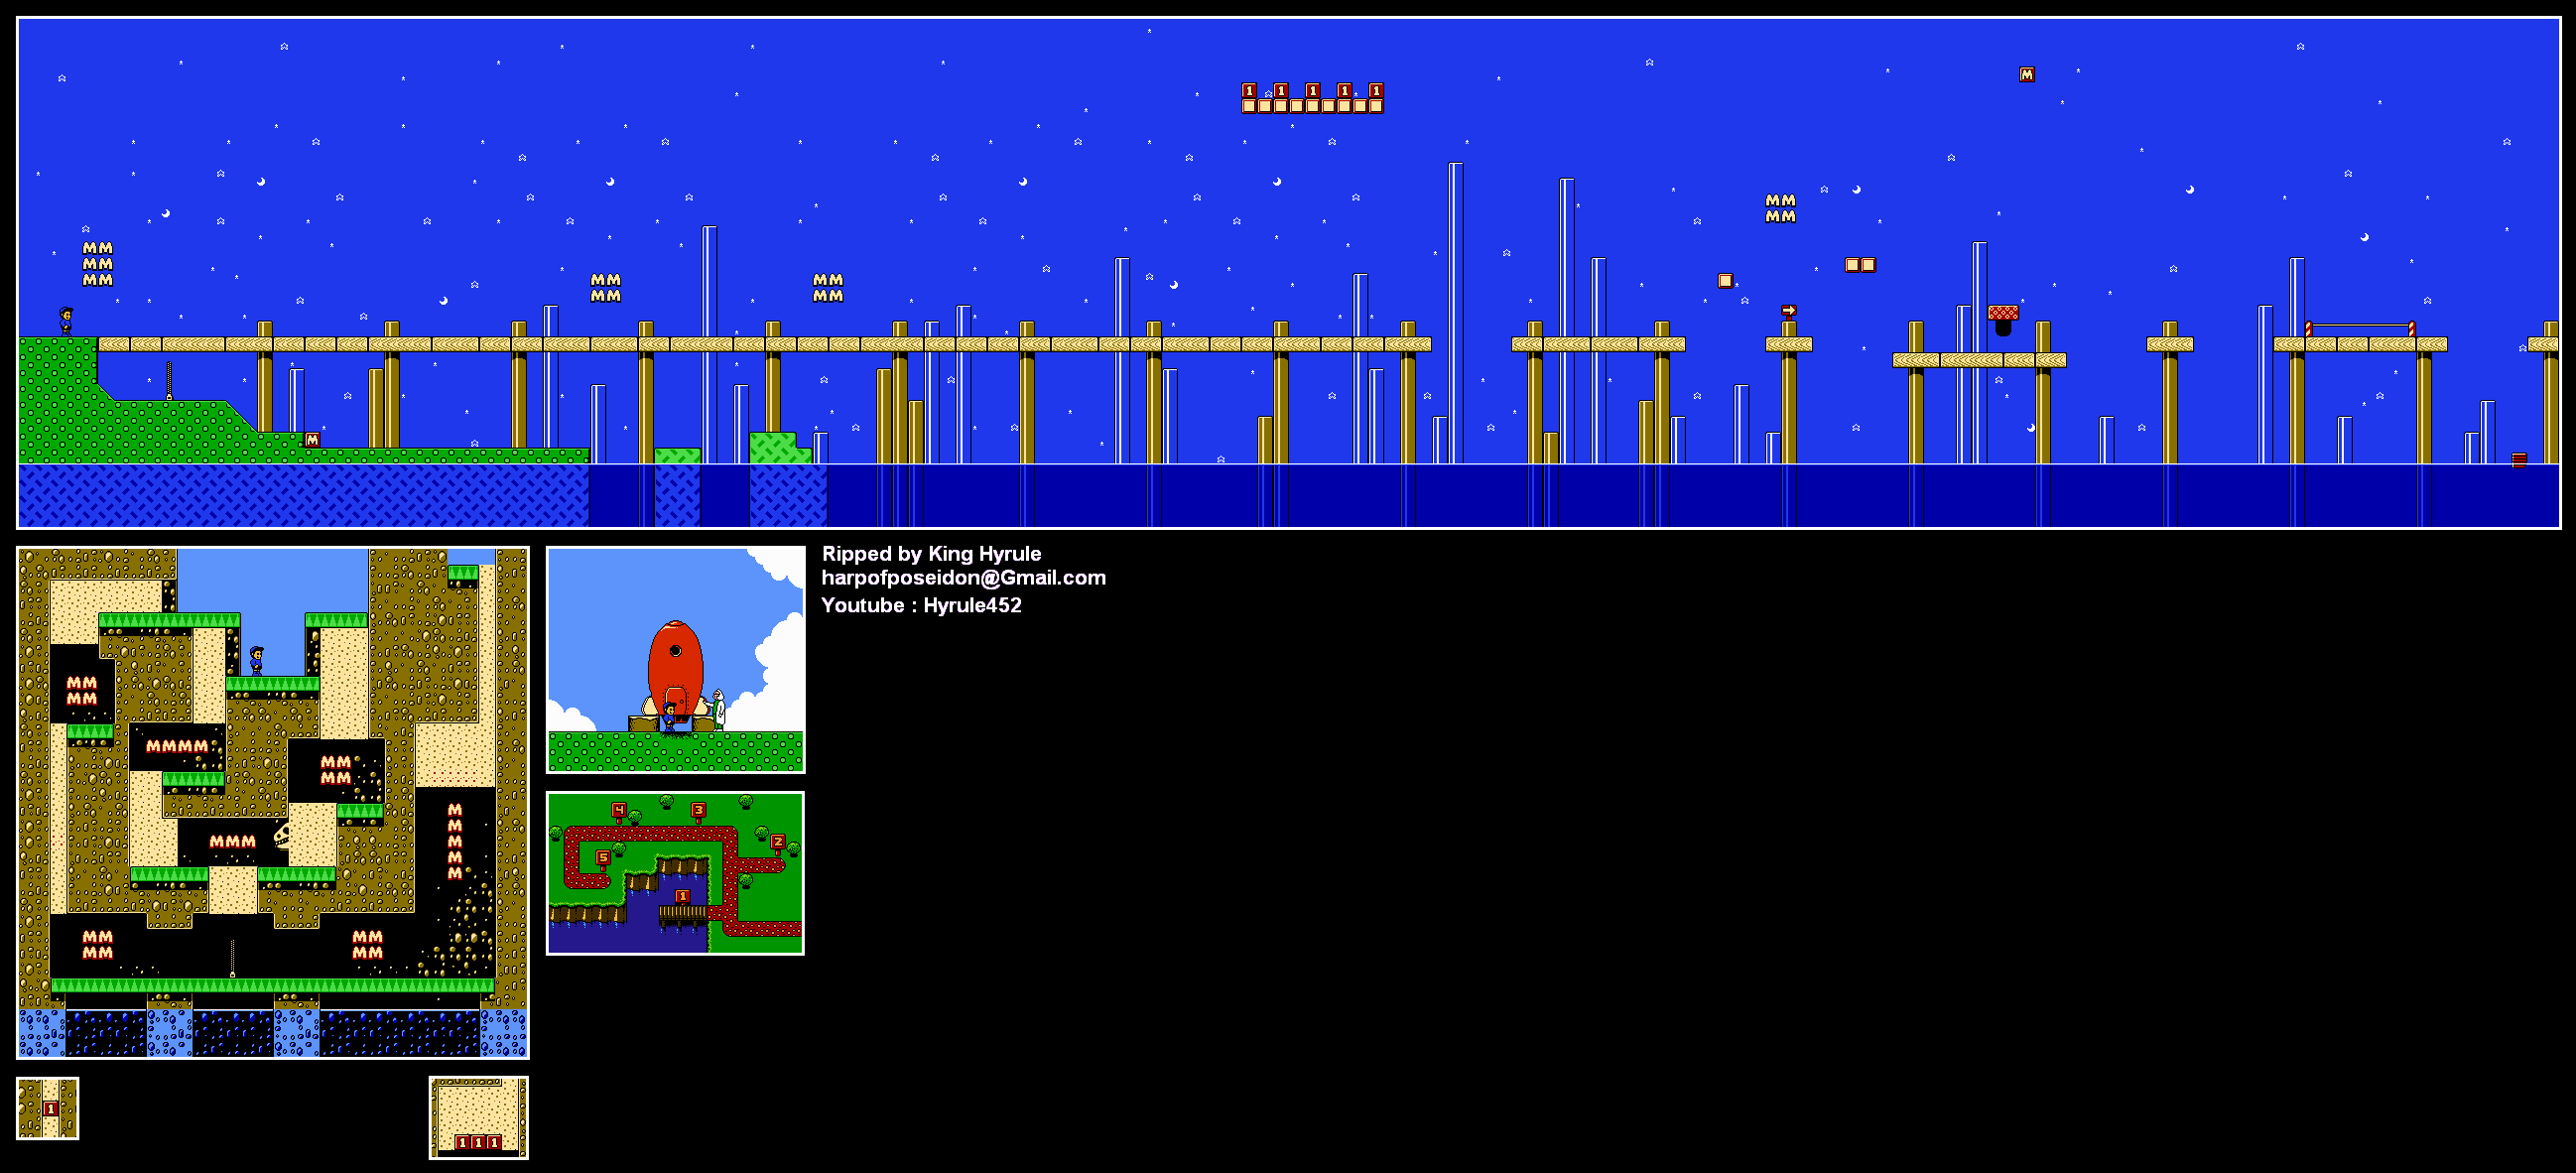
To reach the zipper at the beginning of the level, you'll have to jump across the water and try not to get hit by the piranha on the way left. You'll also find a card near the zipper, too! Joy!

The zipper leads to a bonus level where you can dig through sand a la Super Mario Bros. 2/Doki Doki Panic. Nice touch, game.

The second card is right above the large spring. Grab a block, jump up and reach for the sky to get it.

That last jump before the goal is freakin' nasty, by the way. You'll have to time it so that you don't get whacked by a comet.

One of the cards is the Secret Card, but the other one is for CosMc's retreat. Who the crap is CosMc (pronounced "Cosmic")? We'll find out soon enough.

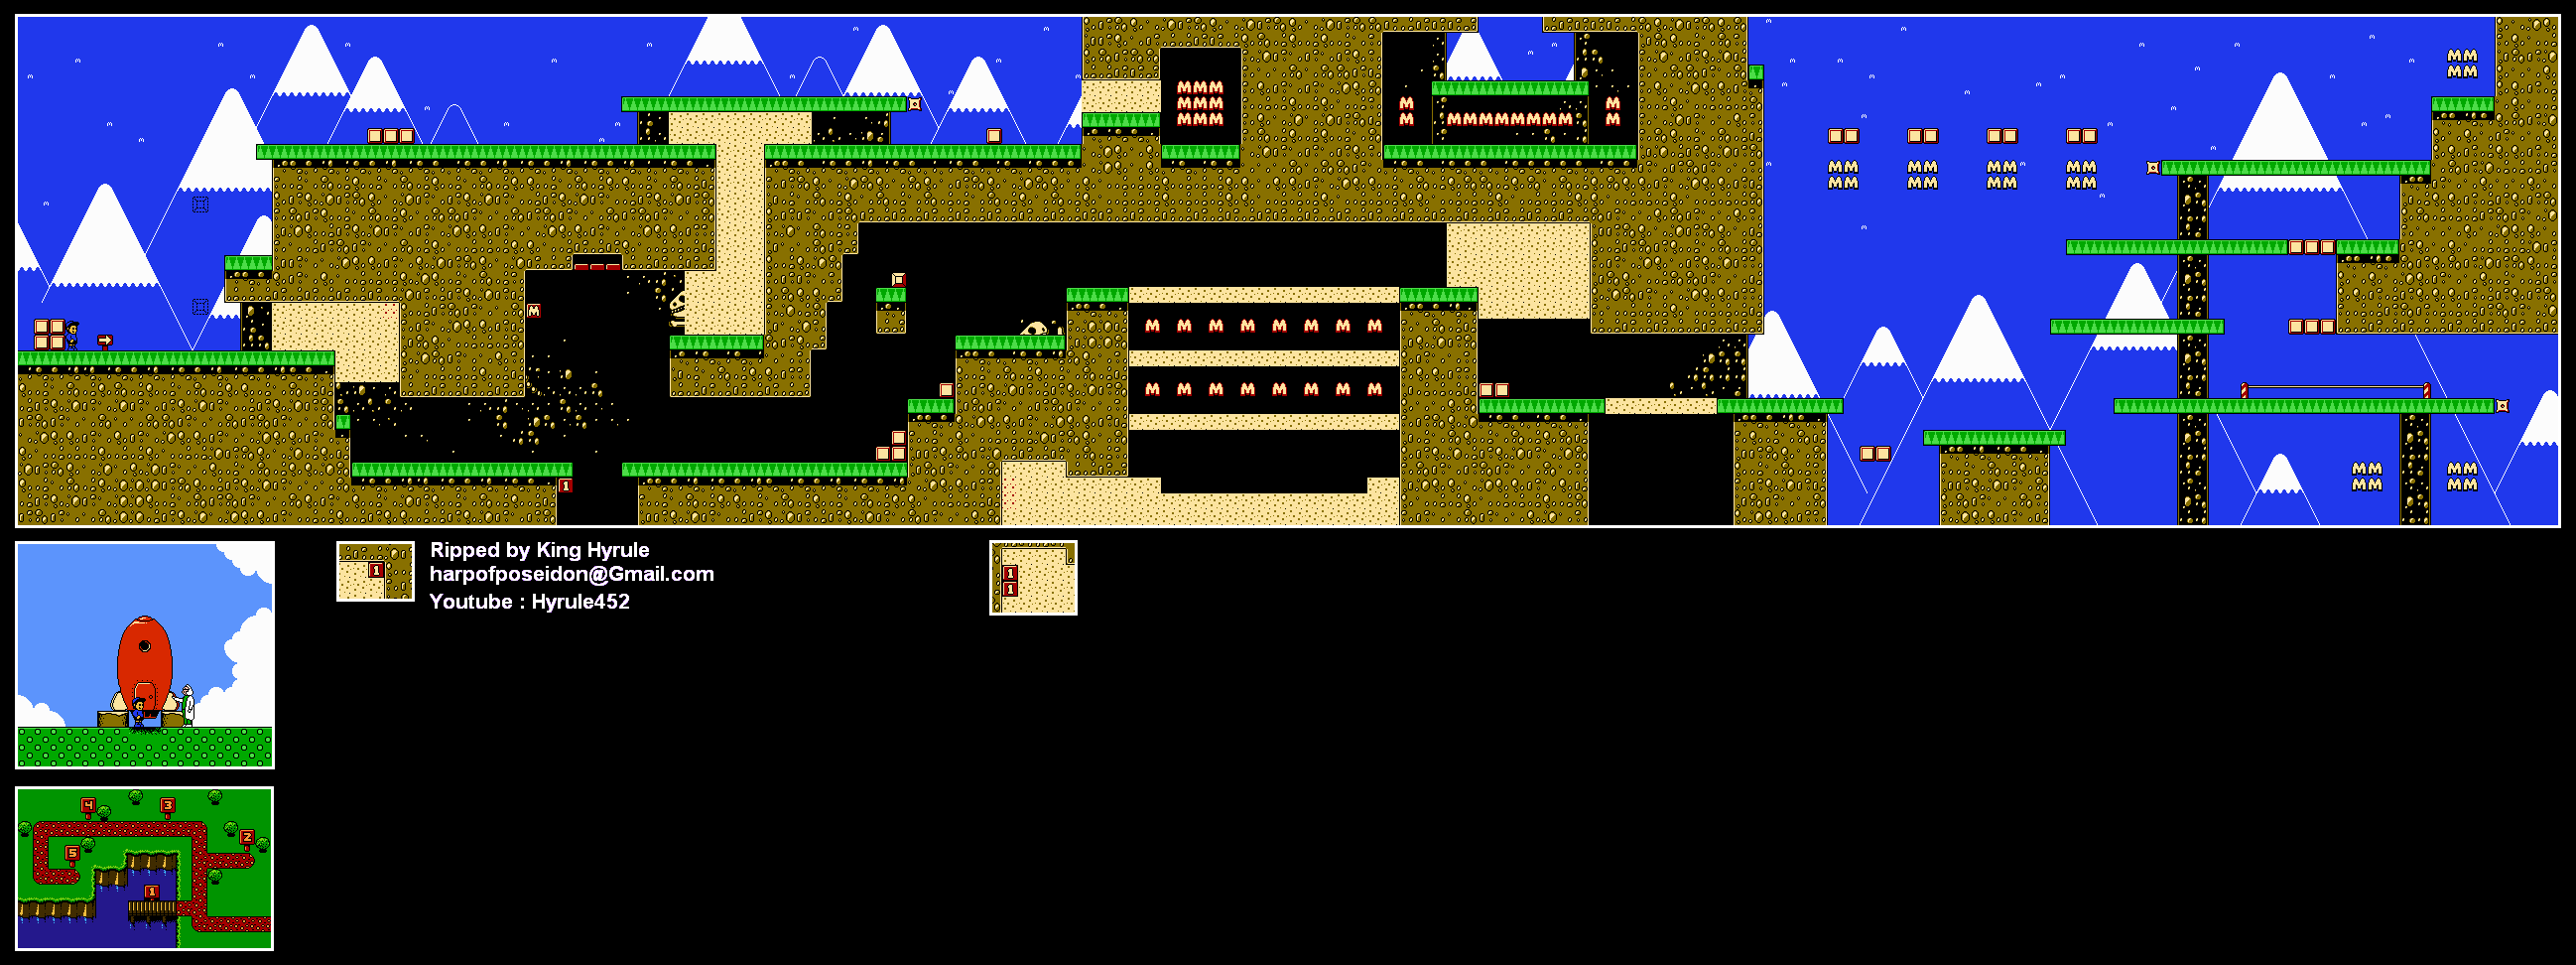
Level 2: Dino Dunes


To get the card, you'll have to take the block to it's dotted-line twin, then go up, dig a path down (just like with the block, you'll need to be able to make your way to and fro), then head back up and go upside down. From there, head back down that chasm you just dug through and you'll be able to get the card. If you use the springs here, you'll be able to get that 1-Up without dying.

The little spiked bugs just stop and walk at regular intervals, while the drills go up and down in the ground.

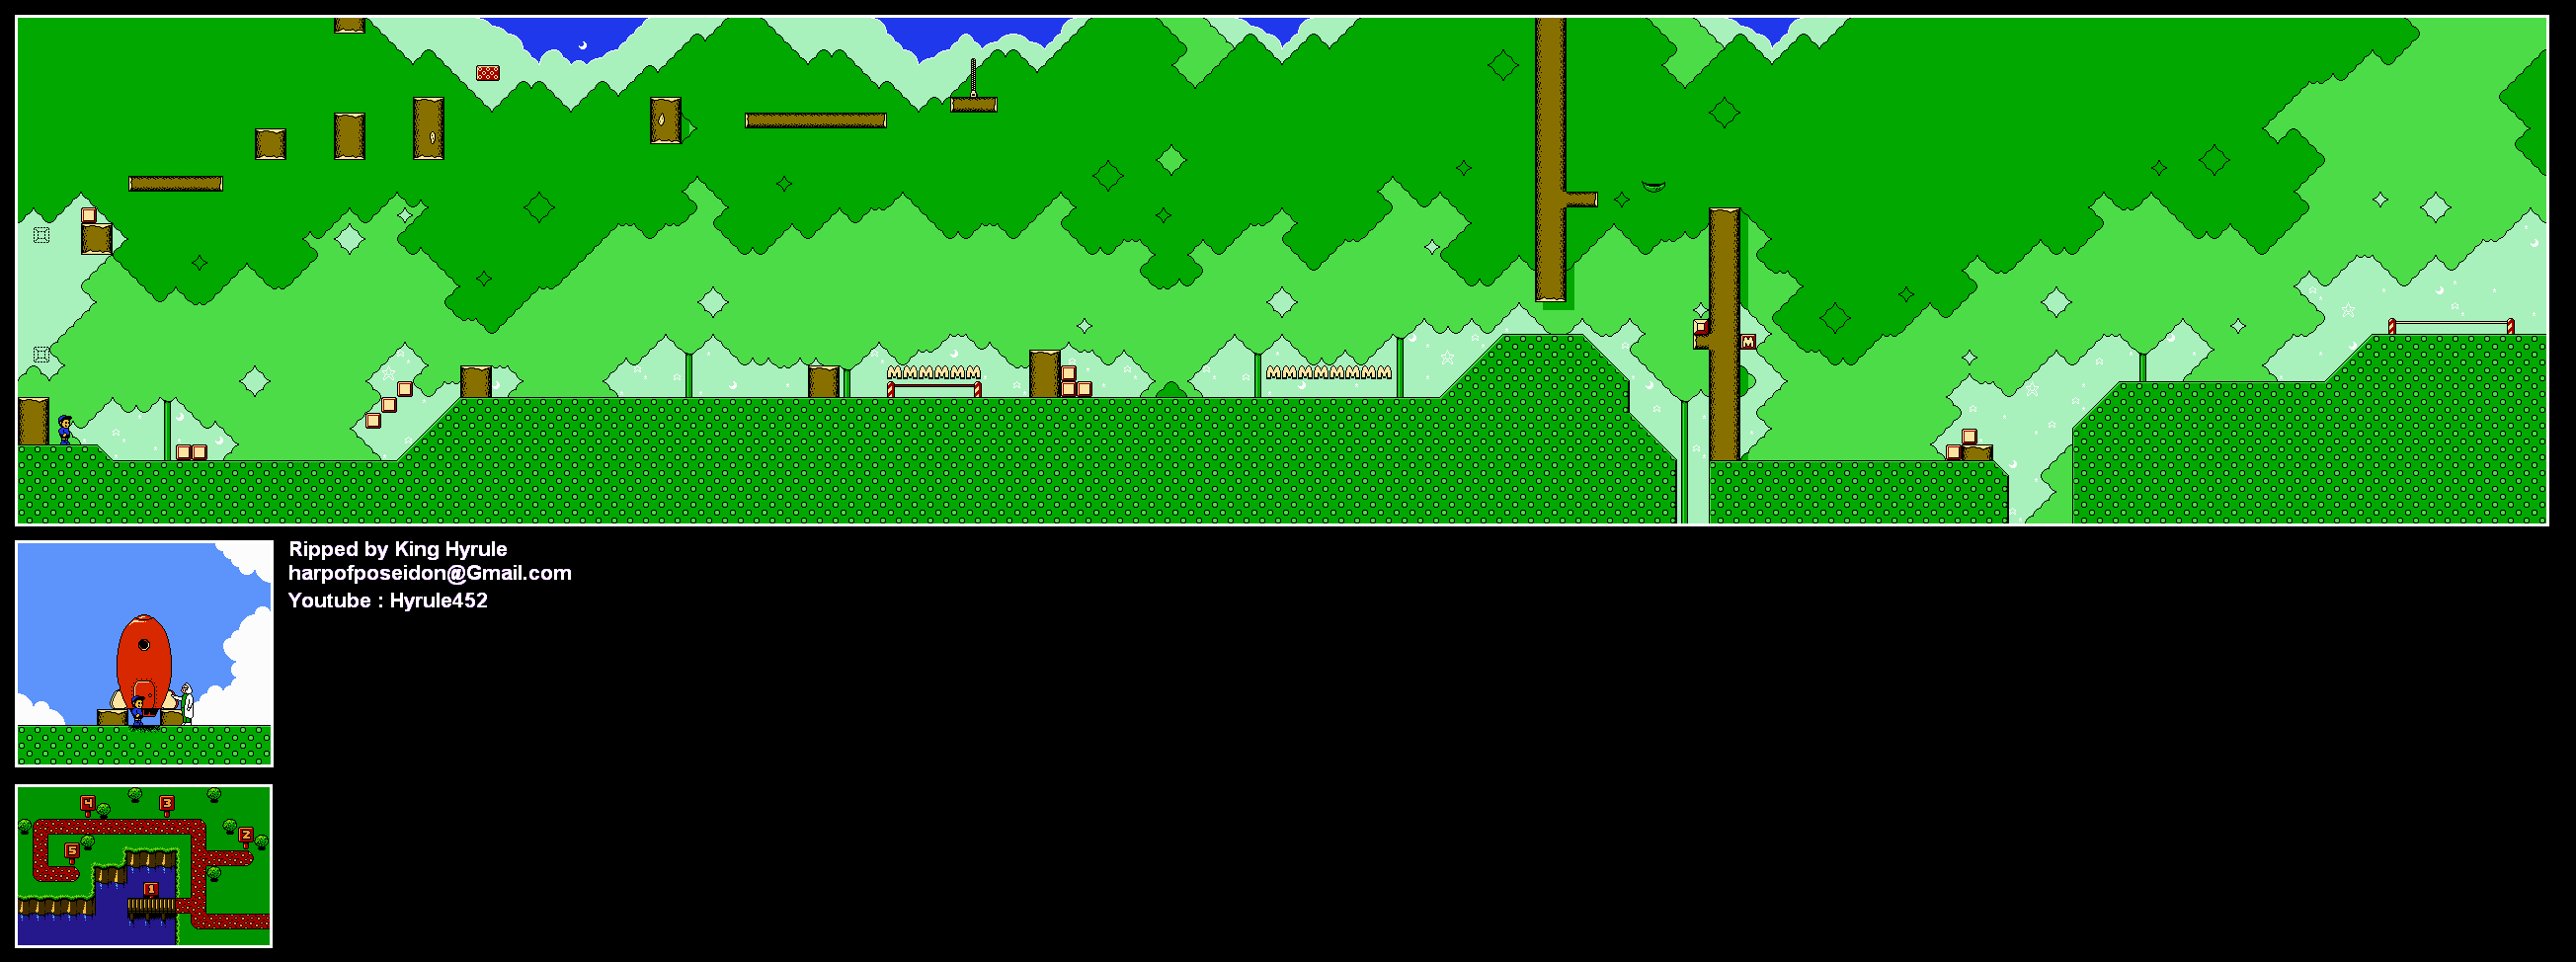
Level 3: Magic Forest


Jump over the finish ribbon to get the block, then take it back to the beginning of the level. Ride the block up, kill the spider with the box, and make your way to the right until you find a zipper. Go in, walk off the edge of the tree platform and you'll land right on the card.

Cauchemar89 plays M.C. Kids - Part 4 of 9

We explore Grimace's Highlands and also come up with a very nice alternate storyline that has a slight chance of being used if somebody made a fan-made remake of the game today.

All maps by King-Hyrule.

Grimace's Highlands

(continued)


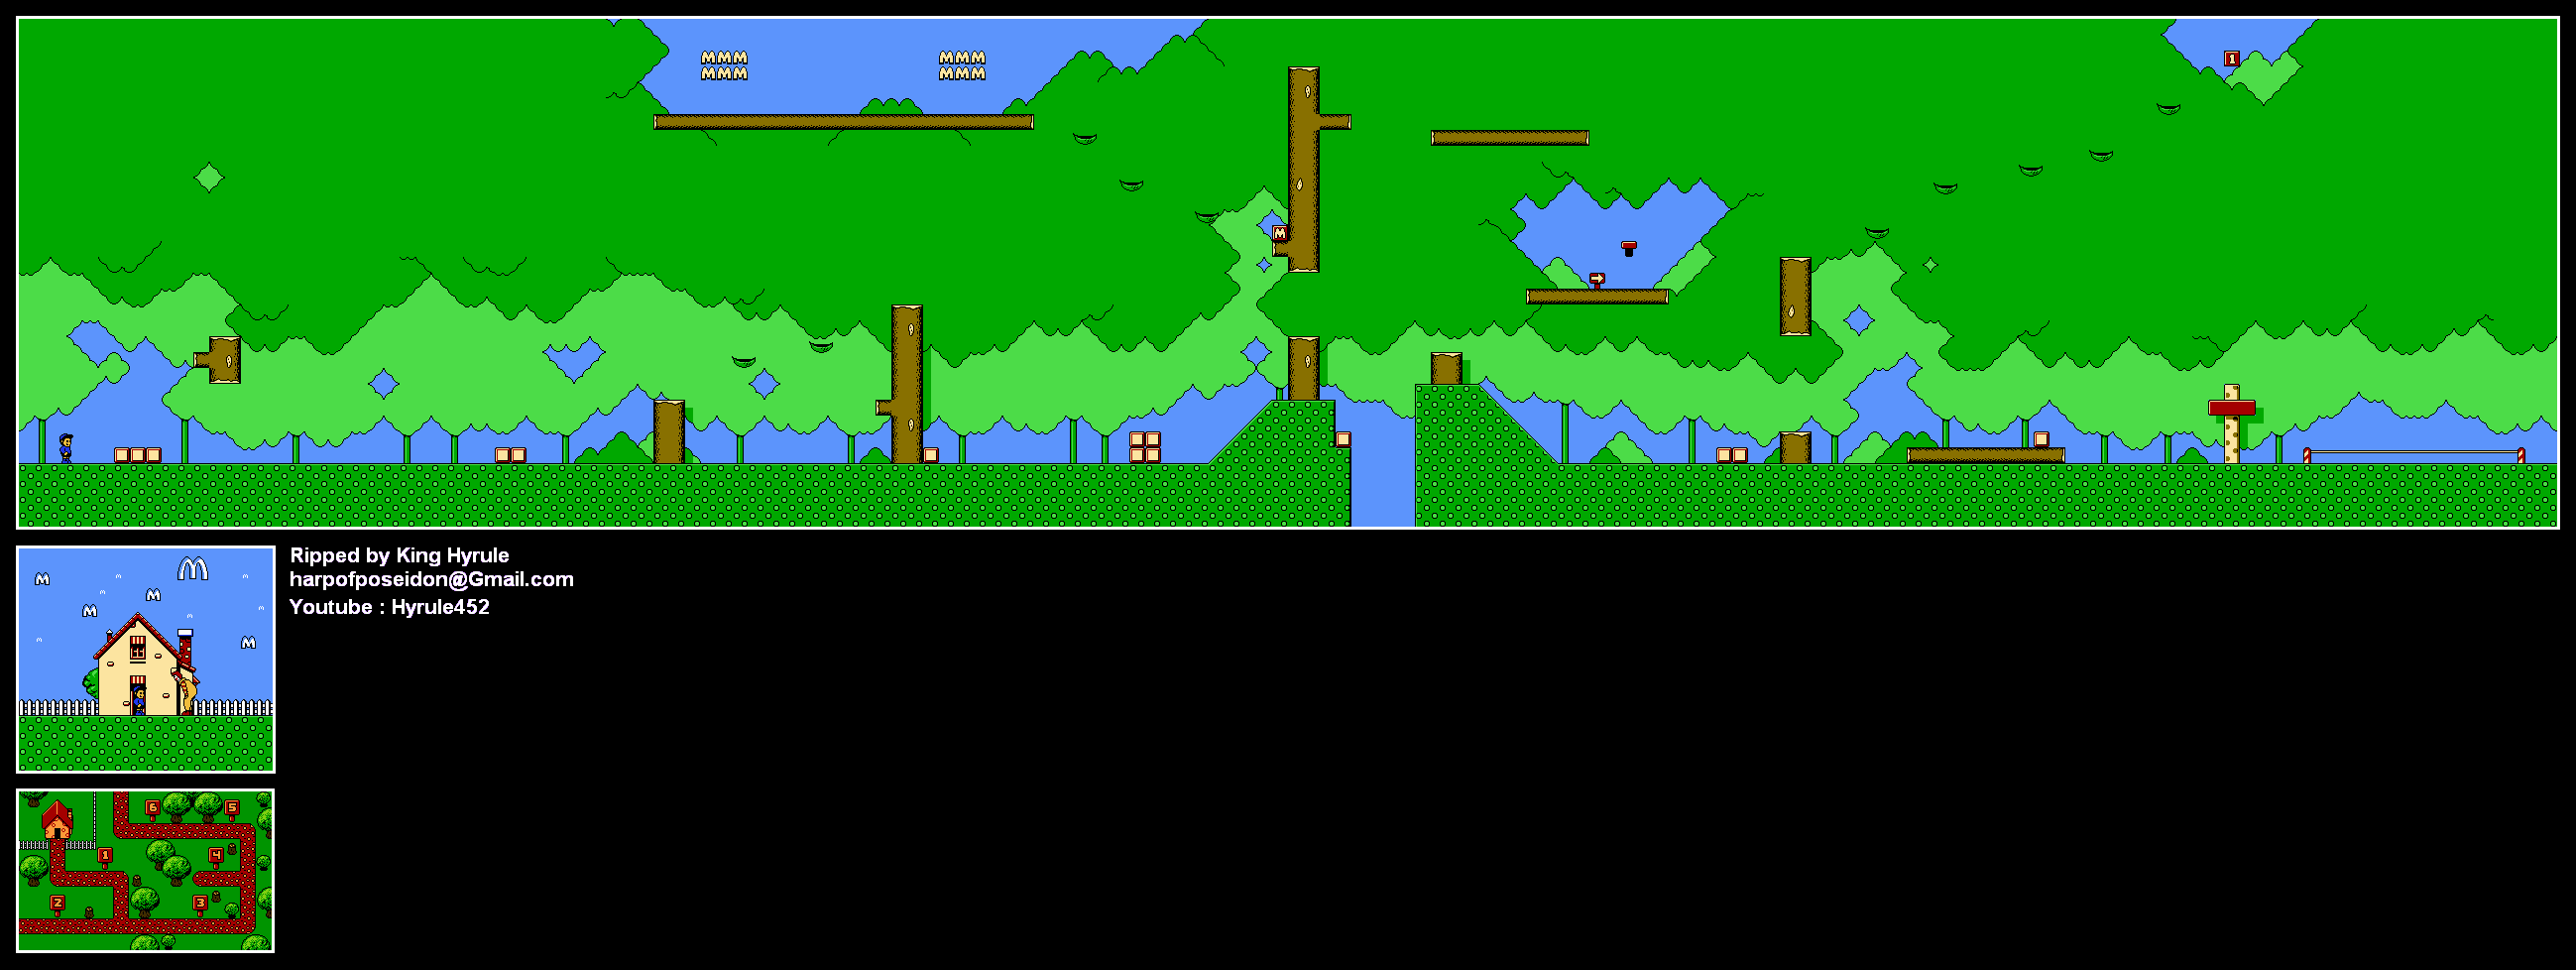
Level 2: Moose Bridge


Oh, boy, this must be where the moose that AVGN talked about must be.

Go down at the beginning of the level and go right. Jump over the bridge that's out and you'll find a card.

Midway through the level, you'll have to take that springboard up and keep going to the right, jumping over those gaps in the bridges to reach the other card.

And the moose? Hit it with a box when it's right next to you.

One of the cards is a Secret Card. Hmmmmm...

Level 3: Lumberjack Lane


Aside from gophers and tree platforms, there's not much to this level. One of the cards is shortly after the beginning of the level near one of the pits, while the other is high above the goal.

One of the cards is for the Professor's Workshop.

Level 4: Fry Kid Falls


You can also use the 1-Up trick with the 1-Ups near the start.

The boat that AVGN hates (the one with the two springboards above it that make falling to it harder) is near the start.

I legit LOL'd at this.

Remember when I said you could press B to pick up the boat while you were in it. Well, if you're on one of the platforms that are visible underwater, you can do just that. Here, you can take basket and throw it into the top of the waterfall, giving you a whole bunch of M's to collect. Watch out for the fish! You'll also find another 1-Up if you make it to the end of the waterfall.

After you leave this area, you'll be able to find two more 1-Ups above the water. Take the platform that moves when you land on it to reach the card.

The Loft


Go back to Grimace's House and you'll open a path. Go back to Birdie's World and you'll be able to go left from Level 6. Do that, and you'll be able to reach the fifth and sixth levels of Grimace's Highlands.

If you have five cards, you'll be able to blaze a path to the Professor's Workshop.

Level 5: Danger Lake


You'll be avoiding quite a lot of fish in this level.

To get the card, you'll have to get the block, move to the left so the lowering platform respawns, then get up to the top of the pole and place the block in the moving dotted-line block. From there, ride the block to the card.

Level 6: Far Falls Forest


Drop all the way to the left at the beginning to find a zipper. Go in, and you'll find a card.

The card is for Ronald's Clubhouse. Finally, you have all of Ronald's cards.


For the other card, go right this time. Take the boat to the waterfall and throw the boat in the waterfall. You'll find the other card for Grimace's Highlands.

Thursday, October 9, 2014

Cauchemar89 plays M.C. Kids - Part 3 of 9

We finish off our cloud-jumping adventures and head straight to the mountains in our continuing quest for Ronald's magic bag!

All maps by King-Hyrule.

Birdie's Treehouse

(continued)


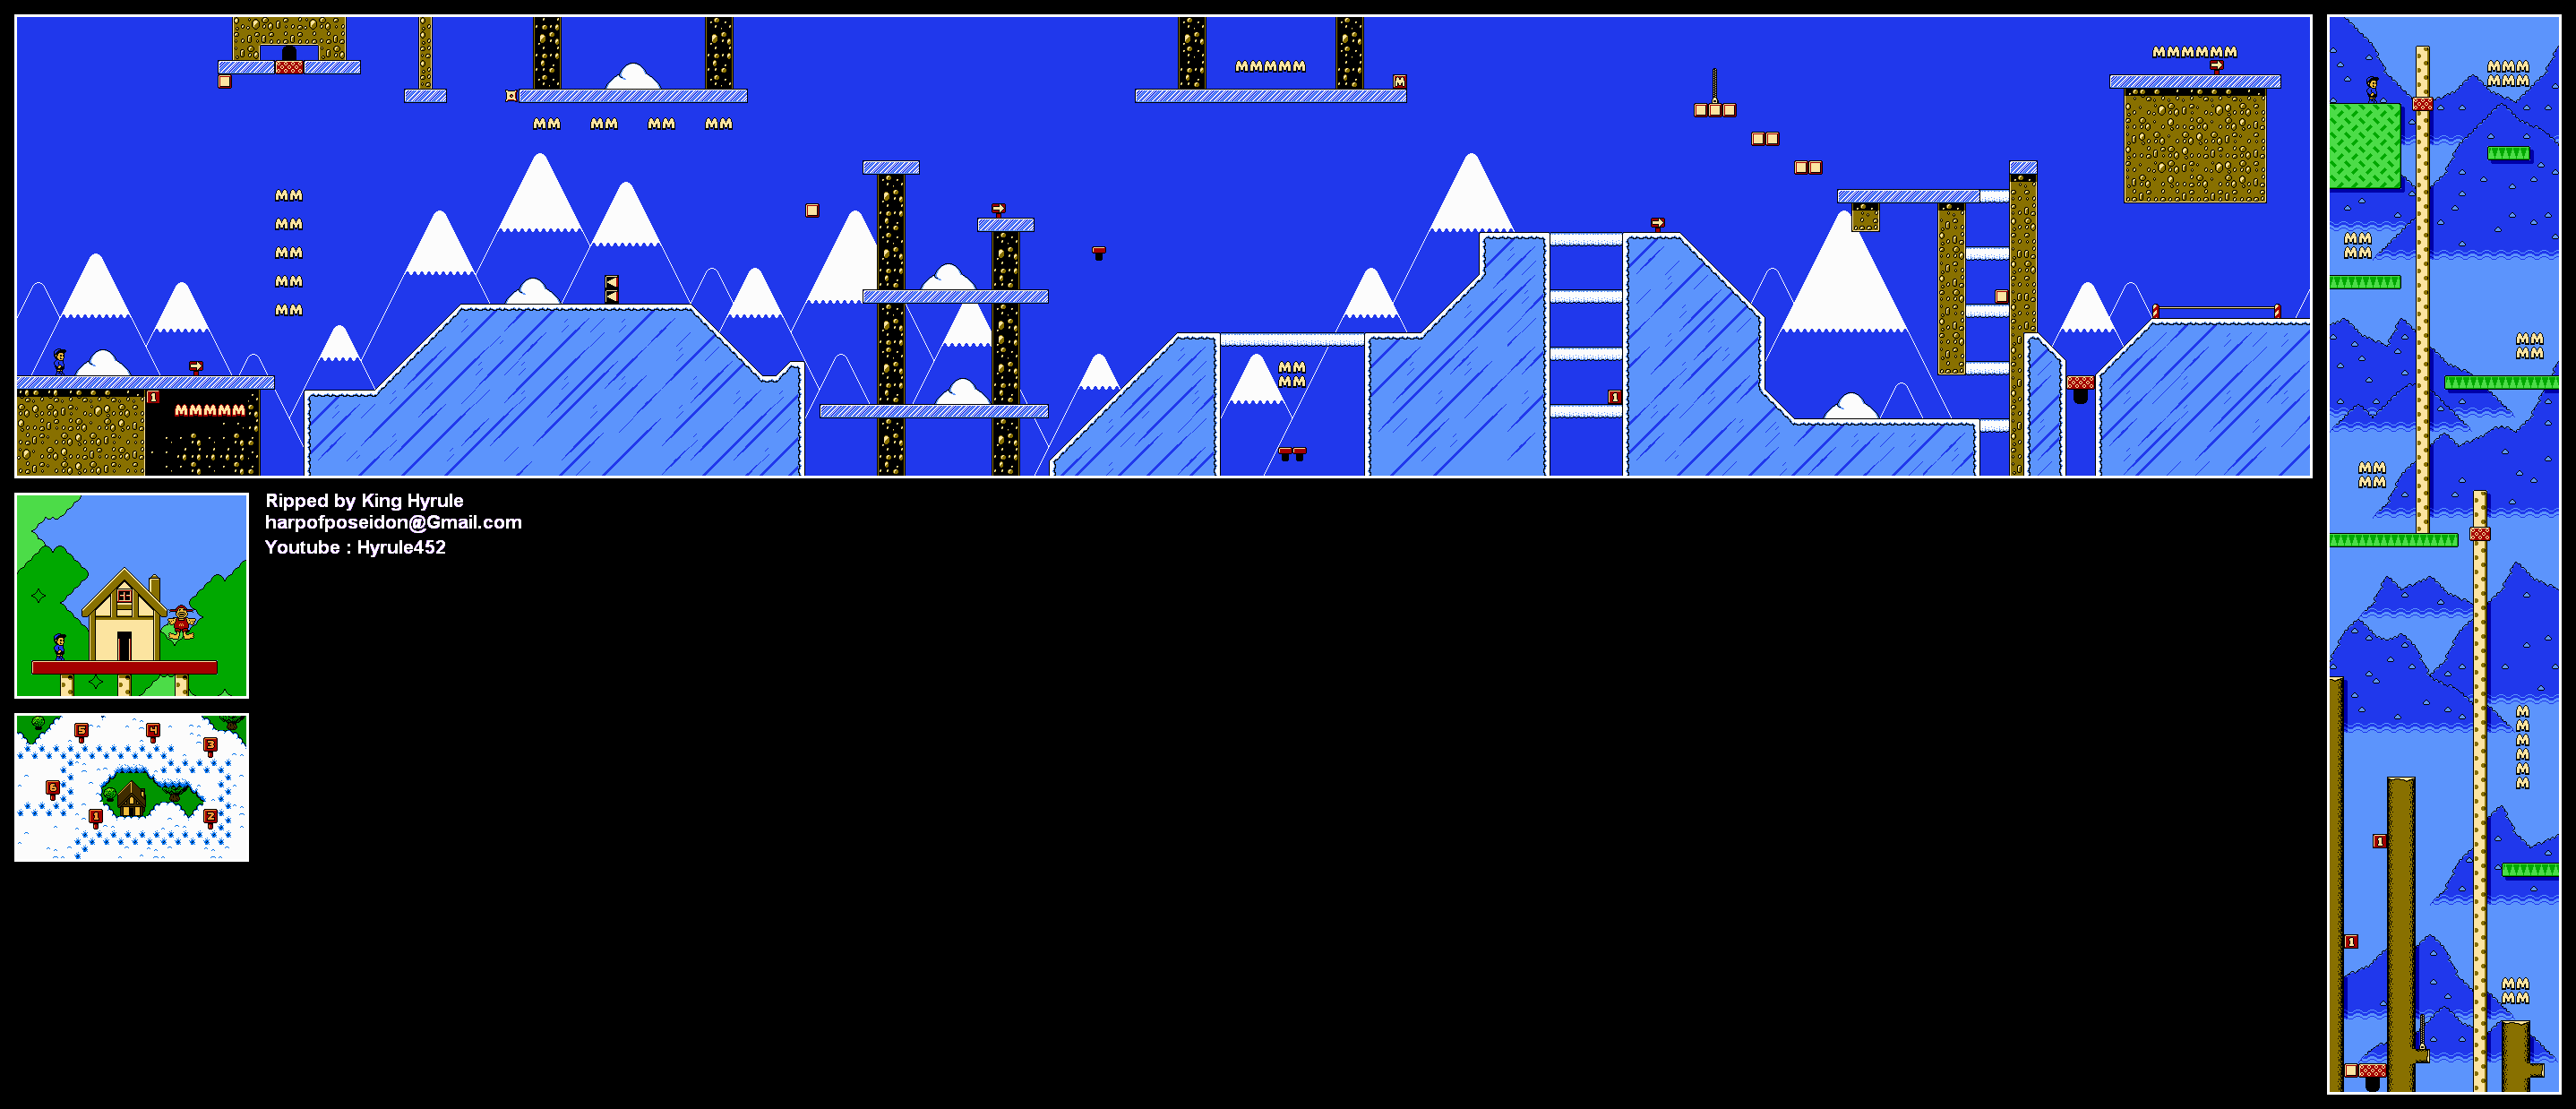
Level 3: Icy Maze


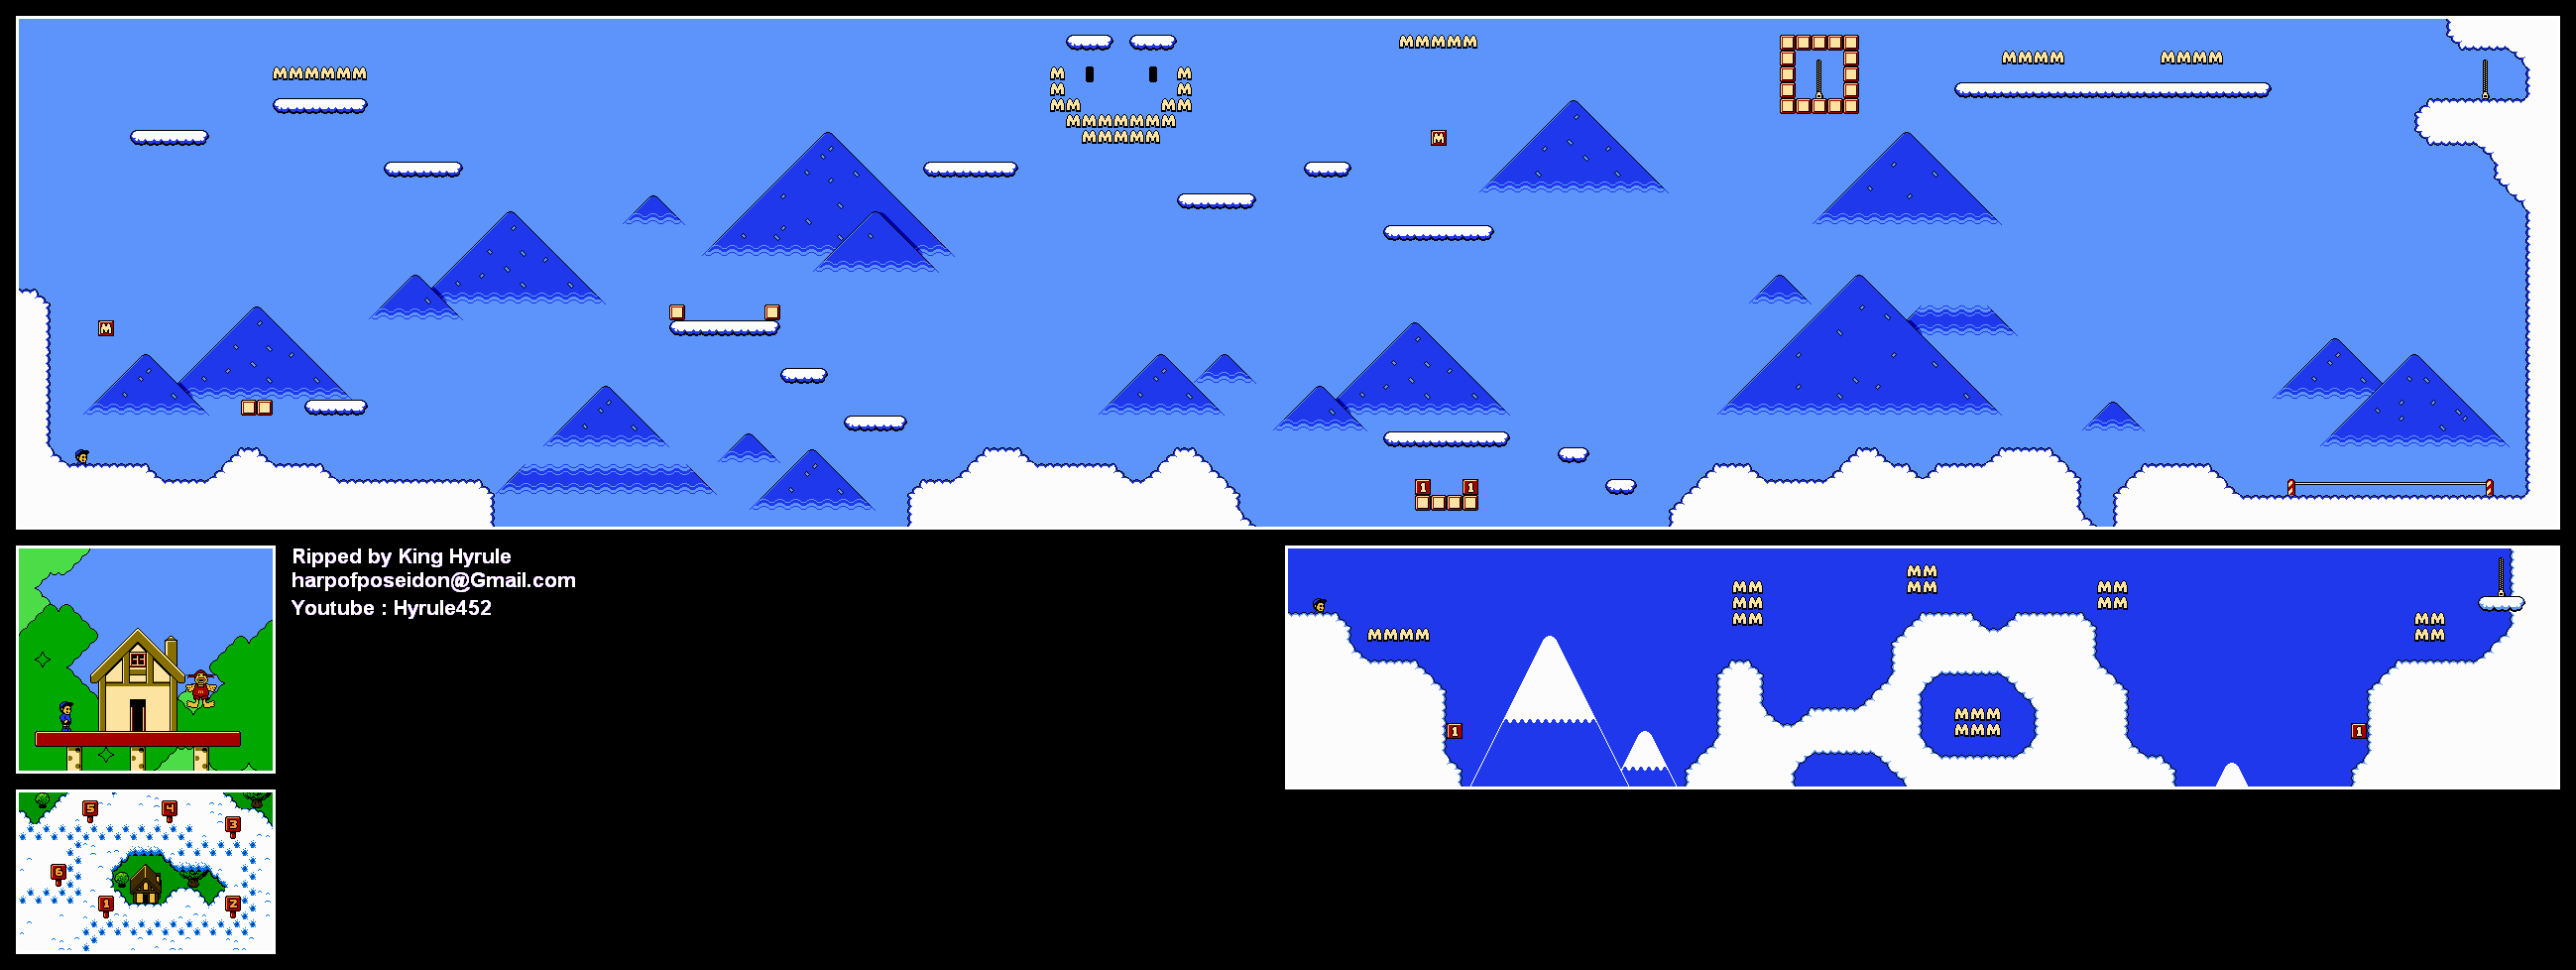
Be ready to move! It's an ice level!

When you make it to the goal, keep going up and you'll find a zipper. Go in and you'll find a card. (It's a "SECRET card," according to the game. Hmmmm...) The other one is at the goal.

Level 4: Secret Surprize


iseewhatyoudidthere.jpg

Go up and left at the start, and keep going right until you find a card. The rest of the level isn't that hard.

Level 5: Frozen Caverns


Be careful not to go too fast near the start, or you might miss the card.

Level 6: Frosty Mountain


Once you make your way down at the beginning, you'll find two 1-Ups that you can do the infinite 1-Ups trick with.

There are also two more 1-Ups elsewhere in the level, but the ones at the beginning are the only ones worth getting due to the 1-Ups trick.

The Treehouse


All right, go back to the Treehouse, now that you have all the cards. You'll be able to head to Grimace's House.

Grimace's Highlands


You'll have to find only three cards this time if you want to make your way to the lake levels and find more cards.

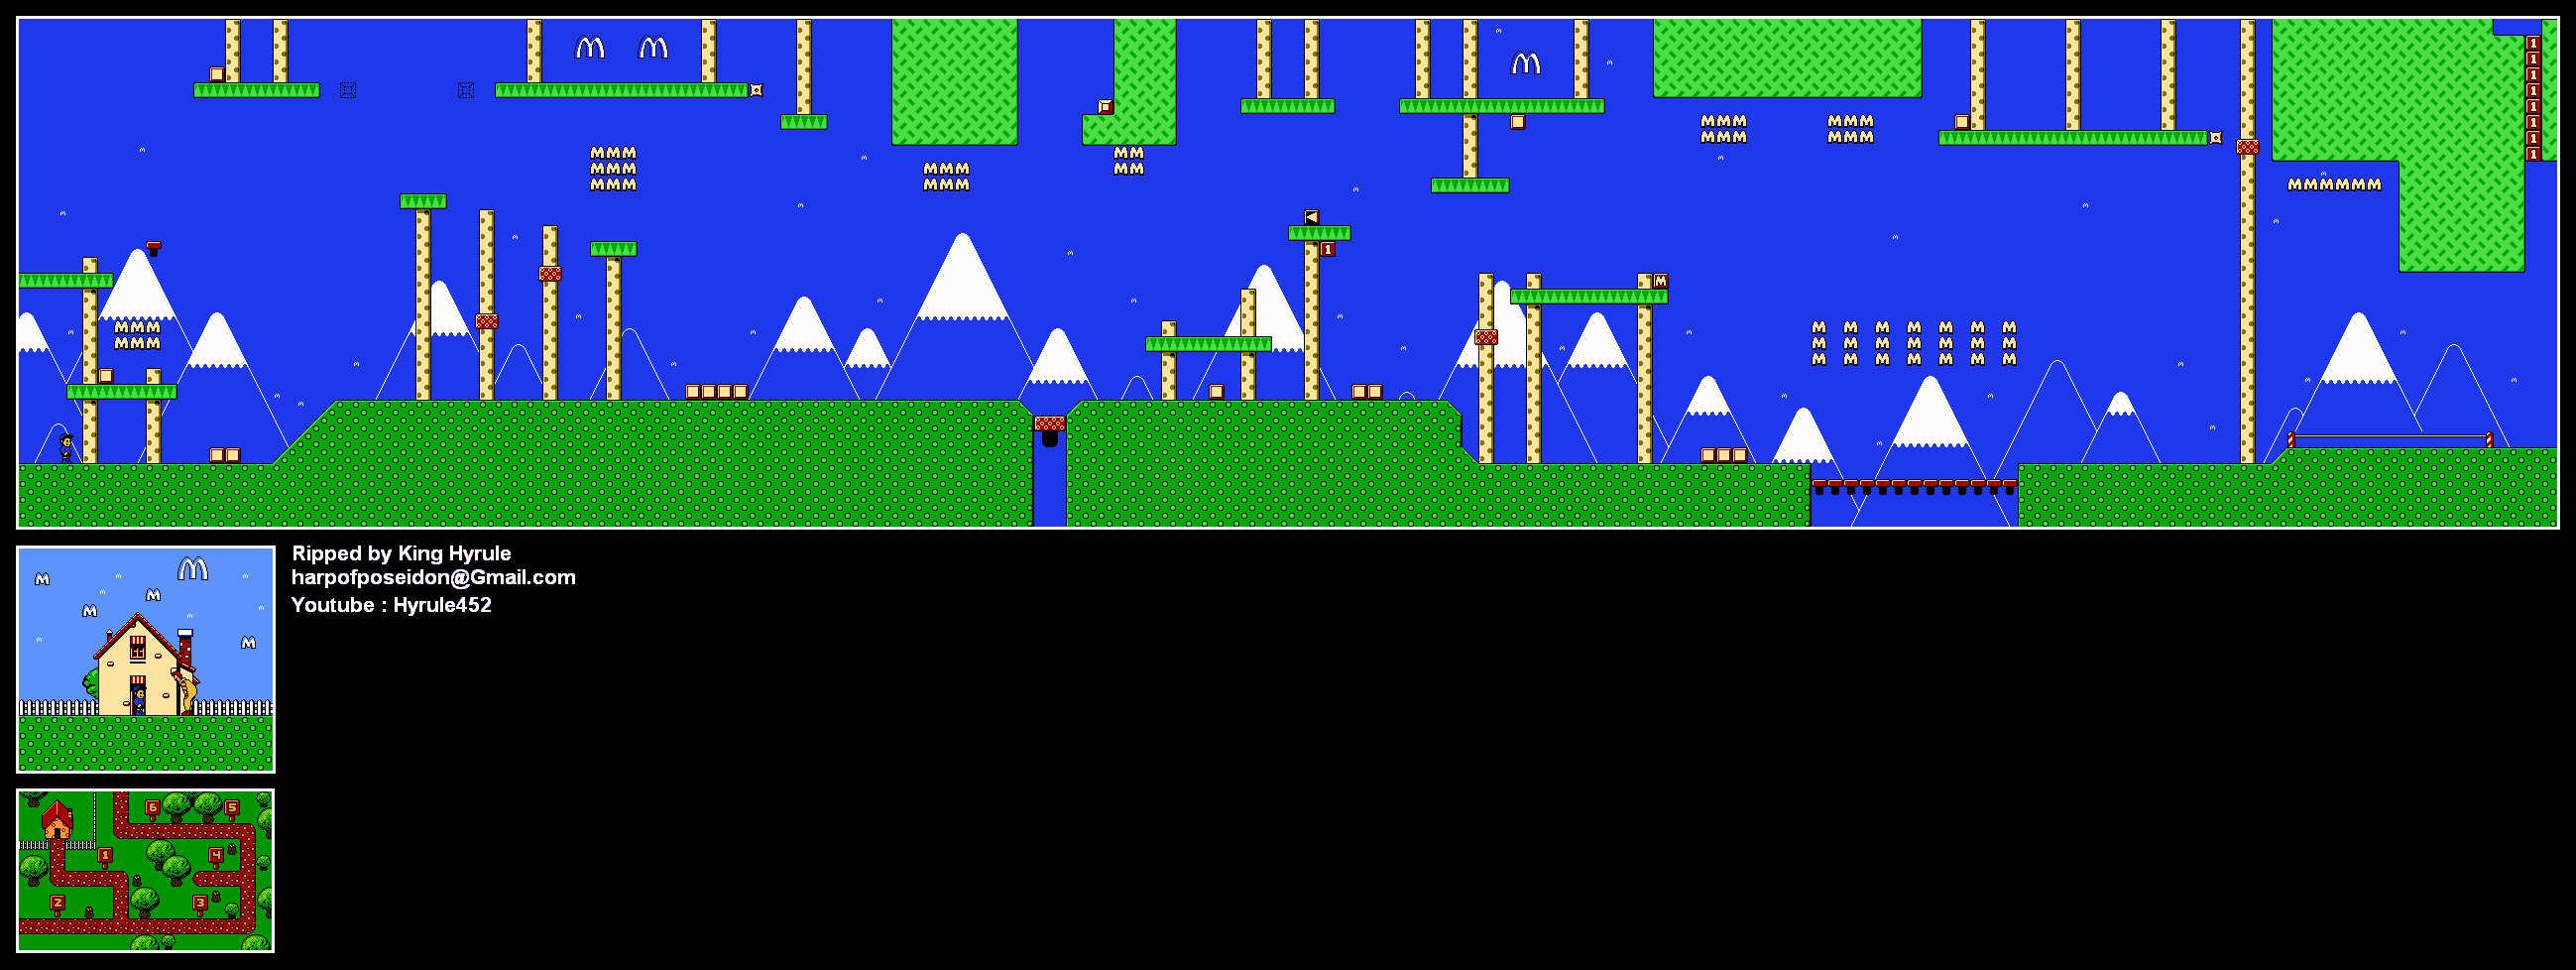
Level 1: Cliffton Heights


We have a new enemy here: the tornadoes. These guys will follow you around and come right for you as soon as you're on their level. If they get trapped in a corner, you can easily nail them.


Run all the way to the left before you reach the collapsable bridge and jump. You'll find the card there.

Cauchemar89 plays M.C. Kids - Part 2 of 9

In this episode, we collect the last of the cards for Ronald's Clubhouse and head to Birdie's House.

All maps by King-Hyrule.

Ronald's Clubhouse

(continued)

Level 5: Hidden Glen


The red birds are a new enemy and are the only thing worth mentioning here.

When you collect the card here, you'll get a card for Hamburglar's Hideout. Hmmmm...

Level 6: Towering Trees


One of the cards is for Ronald's Clubhouse, but the other one is for the Professor's Workshop. Thankfully, all you have to do to find them is to climb up at the beginning of the level.

This is one of the shortest levels in the game, and it's really easy to farm on lives here.

This is the first of what will prove to be quite a few levels with more than one card in them.

The Clubhouse


Since you've collected all the cards here, go ahead and head back to The Clubhouse. Since you (obviously) have more than four cards, Ronald will show you the way to Birdie's House.

Birdie's Treehouse


You'll have to find five of Birdie's Puzzle Cards to continue the game. Thankfully, there are six more levels for you to hunt them down in.

Level 1: The Stratosphere


I'm pretty sure there were quite a bunch of little kids looking up what a "stratosphere" was back in the day because of this game.

Anyway, take the moving cloud platform up, then head back left to the beginning of the level. You'll be able to land on the card and get it.

The squirrels carrying what look like shark fins above their heads aren't fooling anybody. I'm guessing they're supposed to be on the ground, since some of your body is in the clouds when you walk on them.

The zipper surrounded by boxes takes you to that pair of seemingly unreachable 1-ups earlier in the level.

To the right of that zipper is another zipper. Run to the right and jump to reach another bonus area with two 1-ups.

If you stayed at the top in this level, you'll have a card for the Treehouse as well as another one for Hamburglar's Hideout.

Level 2: Slippery Slopes


You'll have to get upside down and use that big spring to get that 1-Up at the beginning.

Press B at the hills of snow in the immediate background to throw snowballs. You have an infinite supply as long as you're at that little hill of snow. They have a weird arc, so aim carefully.

The gophers in ice cannot be killed, but they can be pushed out of the way with a snowball or a box.

You'll also meet the little yeti creatures. They move around and jump at random times, but they're really nothing special.


Be careful as you walk on the ice platforms, as they break apart in some places.

Wednesday, October 8, 2014

Cauchemar89 plays M.C. Kids - Part 1 of 9

Oh, snap, it's this game. Despite what the Angry Video Game Nerd says about it, it's not really that bad.

All maps by King-Hyrule.

The game was released in Europe as McDonaldLand. Interestingly, the kids look cooler on the box art for that version. It has that early 1990s look to it all up in that joint! Heck, the kids actually look awesome.

Despite the absolute minimal promotion the game got, it's a cult classic. It's kinda interesting, but the people who will be able to beat this game definitely won't be their target audience of little kids from that time.

Anyway, after seeing a plane that is the metal airborne spawn of Richard Branson fly in clouds, wondering if the black kid either has a huge fade or a ginormous pillbox hat on his head (you can choose between the white kid and the black kid with the moon block at the title screen), and finding out the moon is smiling, we find out that Ronald's magic bag has been stolen by the Hamburglar. Good lord, where are those classic McDonald's characters nowadays?

Ronald's Clubhouse

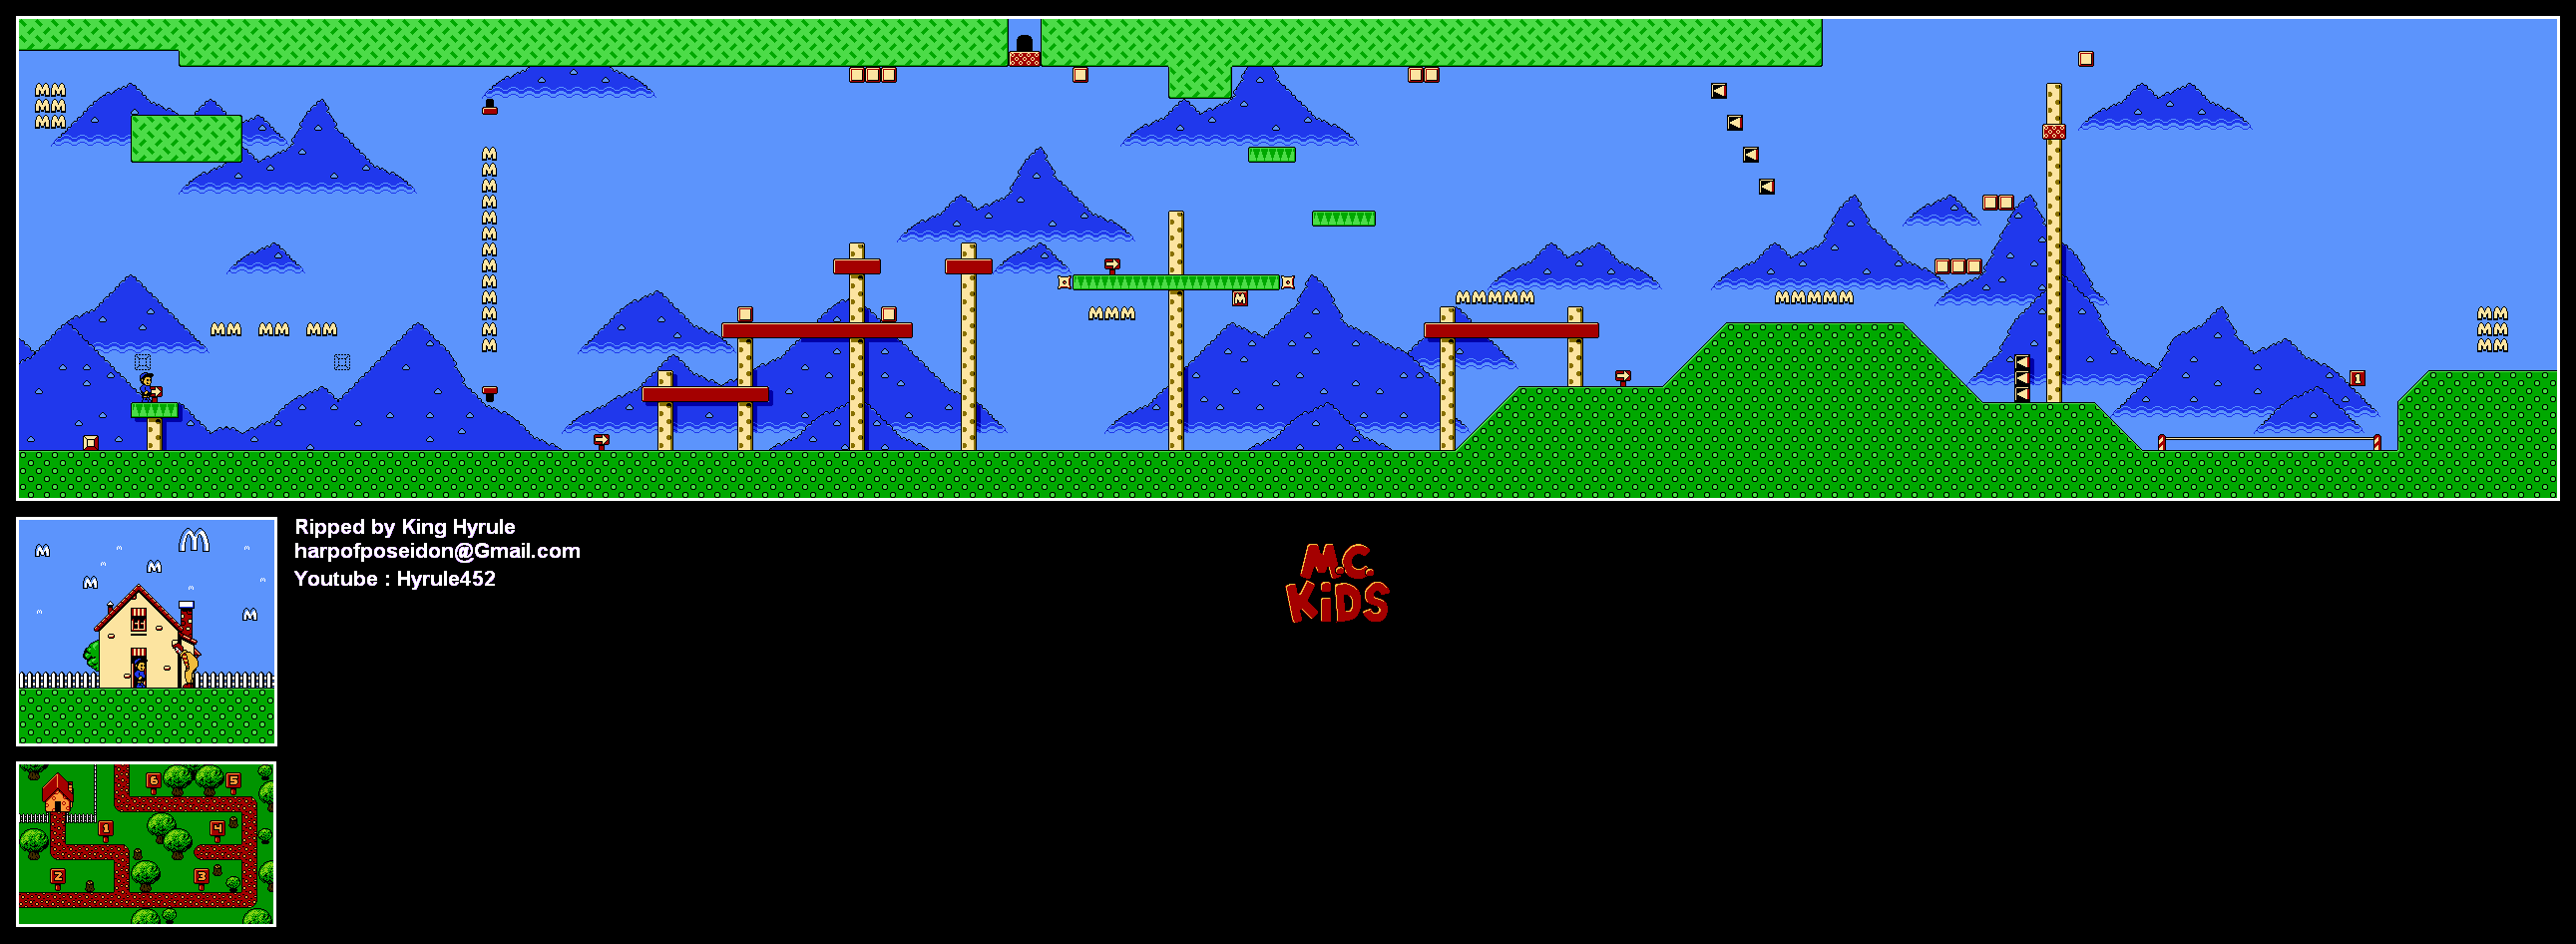
Level 1: The Garden


The M's act like coins. Collect 100 for a 1-up.

To change that dotted line block into a real block, just pick up a block off of the ground and place in the dotted line block. No throwing is required if you're right up next to it or the dotted line block moves up to the real one, which is nice. Virgin actually programmed this bad boy pretty well.

You have four hit points. When you lose all your hit points, you lose a life.

That red thing that looks like that button that lowers the toast on the toaster is a springboard. It lifts you into the air to new heights. You'll also see even bigger ones that shoot you up even higher than the small one. To use those, carry a yellow box and step on it to weigh it down and amplify your jump.

To defeat enemies, throw yellow boxes at them. (I'll call the box that we saw in the beginning that we placed in its dotted line twin a "block" so you won't get confused. You're welcome.)

Run into the little things that look like cowboy boot spurs and you'll run down the side and end up underneath it...and upside down. Pretty interesting thing for its time, and it's still kinda nifty today. Adds a nice puzzle element to the game, no?

The block with the M on it is a card. Pick it up and you'll get the card for that level.

The block with the 1 is a 1-Up. Pick it up to get an extra life.

The block with the moving arrow on it whips you in that direction, sometimes to force you to get through the level in a certain way. Look out for those.

At the end of every level is a string tied between two posts with an M moving around on it. Cut the string by landing on it. If you land on the M, you get a random number of M's, which will get you much closer to an extra life.

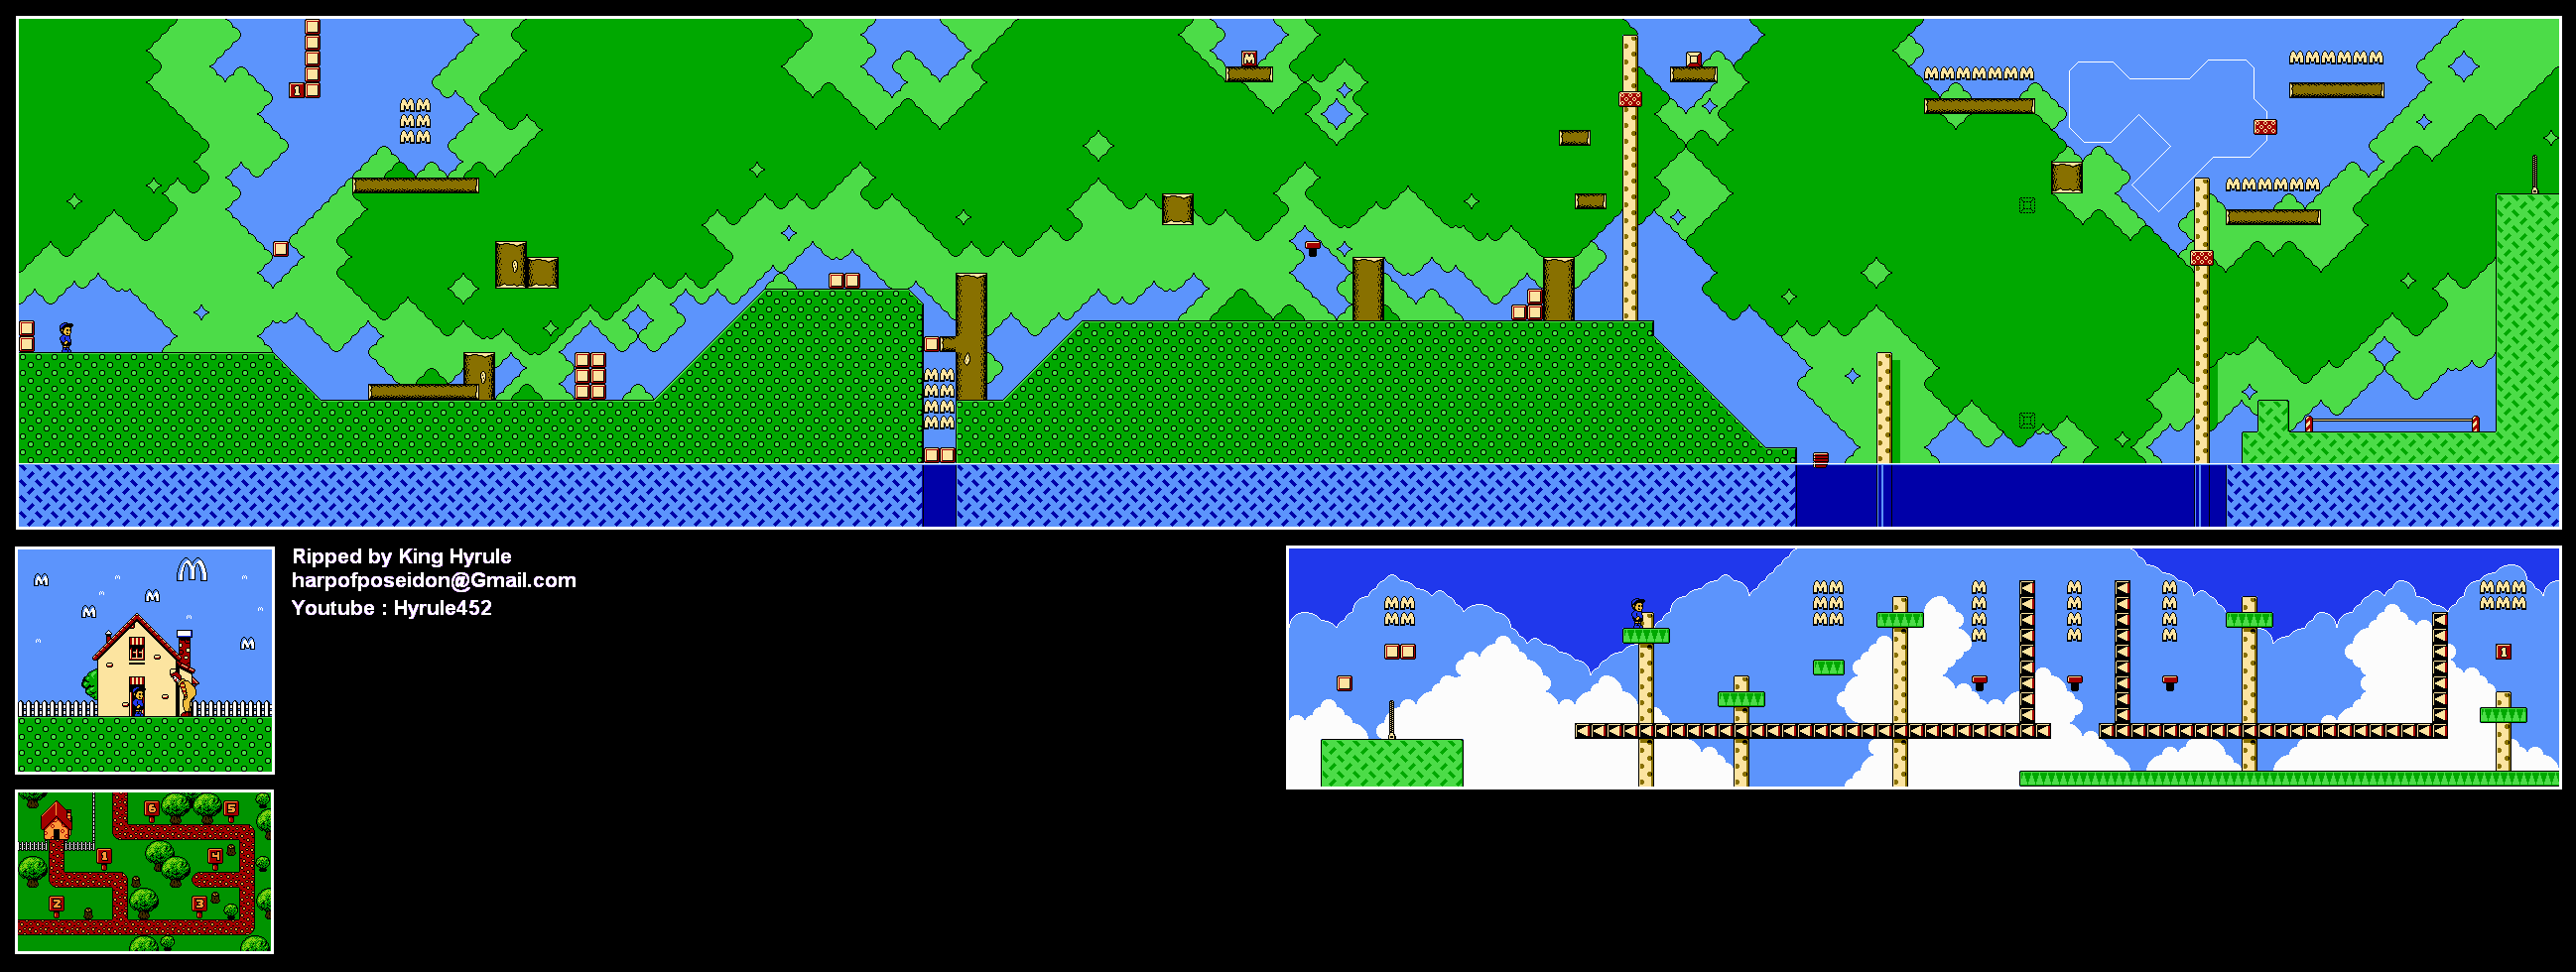
Level 2: Gopher Grove


Love the music for this stage.

Anyway, you've seen the gopher in the last level, but he makes some more appearances here.

The weird things that look like nets blowing around in the wind are really spiders. Sometimes they'll drop down on you, so be careful.

You'll sometimes find springboards when you pick up a box. Explore!

The piranhas are instant death if you touch them.

Don't press B when you're in the boat. Otherwise, you'll pick the boat up and fall into the water and die. Blame the game's coding.

Enter the zippers to find bonus areas. In these areas, you can find extra lives.

If you collect more than 100 M's in a stage, you can enter a bonus game! Jump on the Up arrow while avoiding all the Down arrows to get lives! If you fall to the bottom, you'll have to exit the room. You can also change your character if you want to play as the other kid (who doesn't play any differently than the other one, by the way).

Level 3: Lazy Leaves


The leaves act as platforms.

New enemy here: a small bird. He's not any harder than any of the other enemies you've seen.

To refill your health, you'll have to kill enemies. This is the only way you can do it, and you'll probably refill your health without even realizing it.

Level 4: Mountain View


This is the first level where you can die from falling into the sky...kinda like Gravity Man's stage in Mega Man 5. So be careful.

Monday, March 17, 2014

Cauchemar89 plays Kiwi Kraze aka New Zealand Story - Part 3 of 3


We finally make it to South Island, where everything comes to a fitting conclusion!

World 5: Mt. Cook


World 5-1


Oh, boy. Lots of narrow corridors and lots of dodging the red bullets that come out of the volcanoes. If you're quick enough, you can make it to the end just before "Hurry Up!" appears.

World 5-2


Well, those star-shaped cat-like things can jump if you're above them. If you're unlucky, they can actually get you. At least you'll be getting some more points.

This is just like World 5-1, except there's even more narrow corridors to deal with. You'll also be doing a lot of walking, save for one part where you'll need a flying sheep head for probably...what...three seconds?

World 5-3


Everything's now ice-related instead of fire-related. We must be getting close.

Despite the openness of this stage, the time limit is really short. If you see a sign of a snowman with the word "Stop!" on it, you're heading towards a dead end. So turn around.

If you're following all the purple backgrounds, you're doing all right.

Thankfully, the correct path isn't really that long.

World 5-4


Love the picture of the ghost at the beginning.

If you haven't noticed already, the last two levels of the game have ice stage physics (read: you're going to be sliding around). And with the small squares acting as platforms for most of the first half of this level, you're going to be having yourself a (not-so-good) time.

After the whole "tiny platforms" segment, get on a flying sheep head and make your way to the end. You'll need it to reach the boss room. If you find a laser gun, grab it and keep it. You'll need it for the boss as well.

To beat Wally the Walrus, shoot down the balloon and avoid the little balls that come out of his hand cannon. If you have the laser gun, this is a lot easier than it already is as the laser gun is both stronger and faster (you've probably figured that out by now).


Congratulations! You've saved all the Kiwis and got past the crazy level design! You did it!


Cauchemar89 plays Kiwi Kraze aka New Zealand Story - Part 2 of 3


At this point, the level design gets waaaaaaay out there...

World 3: Waitomo Caves


World 3-1


The waterfalls cause you to fall down, so don't even think about entering those, since you can't climb up them.

The blue joystick makes it so that you can control the little clouds you can ride on solely with the Control Pad, so if an enemy drops one, go get it!

Thankfully, this stage isn't very long at all.

World 3-2


The stage begins with a climb upwards followed by a long drop where you have to find the right path. Thankfully, if you make a wrong turn, the enemies on clouds will spawn, so you'll be able to find your way back.

You've seen the frogs before, but guess what? They can shoot bullets everywhere when in close. So watch out.

World 3-3


New enemy here: penguins that look strangely like Kiwis that ride on green porcelain swans and throw pills at us. Wow, I thought the Green Underwater Tentacle Monster was wacky enough. Check that out.

Anyway, the green swans act like the flying sheep heads (thankfully). When you drop to the bottom, you'll deal with cats on flying red nuclear warheads (to be honest, I don't even know what those red things you can hijack from them are). Unlike the sheep heads and green swans, it takes forever to ascend on one of these things, so you'll have to be fast to get through the level.

That's it, I want what Taito was smoking.

World 3-4


After that short, easy maze, you'll fight some red babushka doll thing.

Avoid the bullets she shoots at you and keep firing at her. She sends the bullets out in five, which makes this slightly harder than it should be.

World 4: Cookstrait


World 4-1


Oh, wow, it looks really good around here!

You've seen the flaming guys before, but they're really going to come into play when it comes to your demise around here. These guys will clone themselves before disappearing, and it basically becomes a moving line of flaming guys. Shoot them down to stop the madness.

Also, the cats throw axes at you. What the fuck.

World 4-2


This underwater maze can be quite nasty if you're not careful.

The bubbles that come out of the underwater craters push you underneath the surface, and they can make it really difficult to get some air.

Also, you have to do this whole level in one shot, since this level doesn't let you continue where you last died.

World 4-3


It can be very confusing getting around at the beginning of the stage, but as soon as you know where to go, this level is easy.

World 4-4


Jesus Christ, this level has so many spikes it's not even funny. You'll have to do some pretty deft maneuvering to get through this stage.

Believe it or not, there are two sections. Make your way to the upper-right hand corner of the level and you'll enter a doorway. Go in and you'll be able to make your way to a pirate ship! How about that?

Believe it or not, there's no boss. The pirate ship is the boss itself. Thankfully, you can walk on the side of the spikes, but once again you'll have to carefully make your way to the trapped Kiwi if you want to finish this.

Sunday, March 16, 2014

Cauchemar89 plays Kiwi Kraze aka New Zealand Story - Part 1 of 3

It took me forever but Cauchemar89 finally makes his first appearance since the early days of the PrinceWatercress blog!

The game is known as Kiwi Kraze in America, but it was also known as New Zealand Story in Europe and Australia. In Japan, it was known as Nyu Jirando Suton.

Anyway, you're playing as Tiki, a yellow kiwi. Your girlfriend, Phee Phee, as well as the rest of your Kiwi buddies have been kiwi-napped by a leopard seal named Wally. Wally wants to eat your friends...but that's not going to happen now, is it?

World 1: Auckland


World 1-1


The enemies here are deceptively simple. The guys in the red shells only attack when they hide in their shells and send out some green projectile that runs across the floor, and the blue soldier guys move forward with guns at the ready. (It looks like they shoot blue bananas. Boomerangs? I dunno.) One of the blue soldiers drops a green gun when you kill it, which changes your default bow and arrow into a laser gun.

The thing that looks like a shining cross is really a spike. Touching it equals instant death.

Take the fruit that the enemies leave behind for points.

As you can see, there are warps, but since Cauchemar is playing without them, they won't be mentioned.

It's easy to reach the Kiwi you're needing to save from there.

World 1-2


Well...this is different.

Just a run to the top where you take down more enemies. When you reach the top, follow the enemies and you'll reach the exit.

World 1-3


Wait for the flying enemies to appear, then shoot one of them off their ride, jump on it and move around with the Control Pad. Use the A button to ascend. Flying practice at its best.

The tiny circles that look like gears are miniature spikes. Yes, they're still dangerous.

World 1-4


If you see a book, grabbing it destroys all enemies currently onscreen. The tiny clock on the pedestal freezes all onscreen enemies, leaving you free to destroy them and take whatever fruit they leave behind.

The boss here is an ice-encrusted whale. Stay on the far right side to avoid its snowflakes, then let it come at you. Shoot at the whale while you're in its mouth, and avoid the water droplets. When you shoot him enough times, he breaks away and you're free to head to World 2.

World 2: Rotorua


World 2-1


Look at that. Different textures in this world.

The guy that looks like a six-point star can make clones of himself if you let him run around and do his thing.

The little statues that look like boys blowing horns are really wall turrets. Avoid the fireballs they shoot out.

The green eight-point stars, on the other hand, are spikes. Use the two-sided arrow block to fly over them.

World 2-2


This one is a maze. The spikes look like wildly-designed shurikens and there are bats that fly around and poop spikes. You'll be alternating between flying around and walking to avoid spikes.

If you take too long, the game will tell you to hurry up and the music gets fast. After about ten or fifteen seconds, the music is even faster and Satan himself comes after you. If he touches you, it's instant death, but then again, everything kills you in one hit anyway.

Thankfully, the maze here is linear, even if it's really huge.

World 2-3


You can attack in the water. Only thing is, you have to be at the very surface in order to shoot water waves at your opponent. At least they arc slightly upwards, so you can attack anything in front of you with more accuracy.

You'll meet what looks like some sort of green underwater volcano at the end. When you get it near it, though, it expands upward in size and tries to grab you like some sort of mutant tentacle. What in the world was Taito smoking?!?

World 2-4


The stage begins with a bunch of wall turrets shooting balls in a maze-like corridors. You'll have to time your movements correctly to keep from being hit.

Afterward, you'll have to swim in the water and head to the spike infested section of the stage. Thankfully, you can easily reach alternate routes just by jumping. Be careful when you're doing this, as you can jump through ceilings and end up somewhere you were just at.


The boss here is a red mosaic octopus shooting bats. Keep shooting at it and avoid/shoot down the bats. The bats can track you, but they can't follow you around!

Sunday, December 23, 2012

Cauchemar89 plays Syobon Action - Part 6 of 6

To quote the late, great Curt Hennig aka Mr. Perfect..."'cause I'm the Macho Chicken! Oooooh, yeah!

I've covered all the bases in the first five entries...so this one's just for show.
0:23 - Here's the giant chicken, who I've endearingly nicknamed the Macho Chicken. You can see where I got that nickname from here. If you're wondering what the source video is, it's a promo made before WWF SummerSlam 1992, when Randy Savage and Ultimate Warrior were about to go at each other before Mr. Perfect said that one person paid for his "services" to help with winning the match. (In the end, neither man sold out.)
1:05 - More Swiss German cursing.
2:56 - And the man finally figures it out and decides to let the robot toss him while it's in mid-air. About time.
3:05 - And screw you too, you sadistic cockblocker.
3:11 - And you do all this for...a melon. Yeah. That's right. A melon.

You then get a message in Japanese that basically says "Thank you for playing." Then the credits roll.

Well...hope you enjoyed this.


Saturday, December 22, 2012

Cauchemar89 plays Syobon Action - Part 5 of 6

Cursing in Swiss German...win!

Yes. You heard right. Cursing in Swiss German. Yes, I'll tell you the precise moment when it starts happening. Because as Cauchemar89 puts it, there is nothing more patriotic than cursing in your native language. Indeed, my friend.

Immediately after the platform and fireballs are three Podaboos that leap out of the lava when you jump over the pit. You'll have to inch your way to the right, jump to the right at the edge and immediately make your way back left while still in mid-air in order to trigger them prematurely. Be sure not to jump on the springboard and to your doom.

Here's the big one. You may be tempted to hit the left-most ? block of the three, and then hit the right-most one to bring up the robot and have it get the Poison Mushroom and inch your way to the right so you can kill the other cat (Cat Luigi? I dunno.) who would jump to the sword (which acts like the axe in Super Mario Bros.) before you could even reach it and chop the bridge down, causing you to plummet into the lava if you had not already been hit by the falling ceiling. And if you did grab the sword, you'd hit a giant chicken that is impossible to avoid. I'm not joking.

Don't do it. Instead, hit the rightmost block to get the robot. Jump to the springboard just before the robot steps on it. The robot will grab you while it's careening into the sky, and throw you to the ceiling. Run all the way to the right, and you'll make it all the way to the end, past Cat Luigi, the sword, and the sword (without triggering a falling ceiling), and you'll also run past the giant chicken and the pipe that has "51" above it. I think the "51" is supposed to be "5-1," which is weird since there's only four stages...so I'm guessing it's supposed to say "15" or "1-5." But I'm getting off track here...

I'll post the ending in the next entry. You won't believe what you're doing all this for...

Cauchemar89 plays Syobon Action - Part 4 of 6

Once you enter the last level, prepare to die...and die...and die.


Do not run all the way to the right and jump. You'll trigger an invisible "On" switch and extend the fire bar, leaving you in another deathtrap. Instead, jump before that point. When you're at the pit, don't jump at the edge or else you'll hit an invisible coin block and fall to your death. Instead, you'll have to jump early to land on the ? blocks. If you do hit the coin block, you're pretty much boned. Instead, jump on the coin block and jump to the right, so you can commit suicide by cloud. Srsly.

After the ? blocks will be yet another falling ceiling.
6:16 - For some reason, the On/Off Switches are a bit buggy. Maybe it's just me?

Just past the next two fire blocks and the falling ceiling is another falling floor. You'll have to time it so that you can jump into the flag without injury.

Once you touch the flag, do not hit the message block. It is a spike trap. And don't drop to the brick floor near the lava; it breaks. Instead, jump on the Goomba when it's near the edge of the brick floor near the lava and you'll jump to the ? block on the other side. This block contains a Fire Flower that will kill you, so just jump on top of the ? block and move on.

The next platform comes with a nice wall of fireballs similar to Bowser's. Run to it, and jump back to dry ground shortly after it starts to drop into the lava. You'll have to time your jump so you don't accidentally hit an invisible coin block at the right edge of the pit.

Friday, December 21, 2012

Cauchemar89 plays Syobon Action - Part 3 of 6

You are about to see how frustrating the last third of World 3 can really be.

Jump on top of the message block and onto the brick platform, and the platform will immediately fall down. You'll have to time your jump so that you'll jump off of the man with the cape that's flying up and down while he's at his lowest point. You have only one shot at this, so make it count. You can also make a running jump off of the falling platform to reach the next one.

Break the right block, then jump to the upper platform. Stomp on the Koopa. Walk to the right a bit after the Koopa, and you'll trigger some lasers. Dodge them by moving to the left, slightly but slowly. Here's the best way to do it. Now that those things are out of the way, kick the Koopa to the left. It'll break that block, break the one on the left, then go past the flag. Be ready to run and jump to the flag post, so the Koopa shell will take down the robot.
If you don't take care of the robot...it'll grab the goal and throw it away. If that happens, you'll have to kill yourself and start this all over. Also, if you run into him after touching the flagpole, he'll throw you into the pit.  This will definitely take a couple of tries, especially with the part concerning the lasers...but it can be done!

World 4

Well, here we are! We're at the fortress! Gee, don't you think the Ghosts 'n Goblins music is a bit of a late indicator of how difficult this game is?

Run past the Cat Thwomp and jump over the pit. Activate the "Off" switch...it'll make the fire bar even bigger, but it'll shorten the one after it. Now that's sadistic.

The platform will open up and split apart depending on how far you jump. If you leap onto either the left side or the extreme right edge of it, it won't split apart (or split apart as much, one of the two). You can also jump over that platform completely and land just near the spawning point for the next trap.

Inch to the right just past the lone ceiling tile, and you'll trigger a Cat Thwomp. Now you can jump past the pit. Just remember to wait for the fire bar to pass by.

Thursday, December 20, 2012

Cauchemar89 plays Syobon Action - Part 2 of 6

Don't you just love this game?

...


The first set of platforms acts normally. The second set will want to drop you down immediately. There is also a falling floor near the exit that activates when you step on it. Luckily, Cauchemar steps on it so that he isn't on it, but he activates it anyway. Yeah, some of these traps involving stand on a certain pixel, which makes it easier to get down to a science.

Once you're outside, as soon as you jump off of the pipe, another Pedobear will jump out.

There is a fake flag post before the real one. To keep from getting killed by it, jump on top of the fake flag post so that you go over the real one. You'll have to make a running jump and use the jump button while bouncing off to do this. Touch the flag post at the very bottom as soon as the fake flag post turns around, and you're done with World 2!

World 3


Avoid the ? block (it contains a Fire Flower that kills you), and do not touch the ? ball. It will trigger a falling floor as well as cause a few Starmen that will drop down from the sky in front of you and behind you.

Be careful at the first pit. There is a coin block that you can hit to get higher, but there are also invisible note blocks covering that pit that takes you to a hidden area that gives you just a bunch of useless coins. When you go down the pipe, you fall down and hit a cloud that immediately kills you. Some shortcut.

Don't jump on the first platform. It will immediately break and send you plummeting into the abyss. The second platform falls.

There will be a block that gives you a P-Switch if you hit it from the bottom. Unfortunately, it turns the entire floor into coins and kills you. Jump on top of the block instead, and use it to jump over the brick wall. Then jump on top of the ? blocks (the bricks covering the pit break when you land on them). Grab the flag, and do not hit either of the ? blocks. The one on the right just gives you a coin, while the one on the left sends a spiky enemy your way that you won't be able to avoid if you're not fast enough. The easy part is complete...now it's time for the hard part.

7:03 - Do not go down the pipe...it will send you into a deathtrap full of spiky guys.

Jump off the message block to avoid the invisible coin blocks, and jump over the robot! Jump to the brick platform, and be careful around the Goombas on the rockets. The spiky guy nearby will jump when you do if you're close enough, so you'll have to be a little further away from him to jump over him. Either that, or you can just wait on the brick platform when he appears and wait for him to fall to his death. If you back up to the brick platform, you'll trigger a ghost that is impossible to avoid.

The next platform is bouncy. You'll have to set up your jump so that you'll land on the flag! Another continue point!

The message block near the flag breaks when you hit it, so don't bother.

Cauchemar89 plays Syobon Action - Part 1 of 6

Hey, a Mario game where you play as a neko. I'll just download this and play it...okay, press Enter to begin...

A FEW MINUTES LATER

#%^&!*&$%^*#&&@%*&^#&*!^%$^&%@(!*(^%%#@

Yeah, everybody. I'm covering this game now. As soon as I first saw it, I had a blast seeing all the possible traps.

Anyway, this is a freeware game that is easily found on the Internet. It's like Mario, except you play as a white cat, all the coins are useless and the game seems to have been programmed by some sort of Japanese psychopath with a masochism fetish.

Here's some download links for the lazy:

Link 1 

Now, on with the show! Be sure to use this FAQ only if you're truly stuck.

World 1


The first stage is similar to World 1-1 of Mario Bros. Unfortunately, as you'll soon see, it's really twisted and takes everything you know about Super Mario Bros. and drowns it all in a pool of acid. I'll post what you really should not do on these stages. Once again, refer to this only if you're stuck.

The first pipe has a ghost that pops out when you stand on it. You'll have to jump on top of the blocks and make a running jump to the right to avoid it. The Goomba after the first pipe works as a springboard. Jump off of it to reach the second pipe.

1:36 - The second pipe that acts as a shortcut to the finish is actually a trap...if you go down the pipe, it'll rocket into the sky and instantly kill you.

1:59 - The hidden 1-up block gives you an infinite supply of poison mushrooms. So don't hit it.

Near the next ? block is a crushing ceiling and another ghost. You'll have to run right to trigger the falling ceiling and then leap to the top to run and avoid the ghost.

There will be a blue flag nearby. Grab it - in case you die, you can restart there.

3:07 - Don't grab the Starman, it'll kill you.

Under the ? blocks is a falling floor. Run and jump to avoid it.

When you reach the second staircase, step on the second step and jump straight up. You'll hit a hidden coin block. Jump on top of that and jump all the way to the pipe. Otherwise, you'll be trapped.
3:47 - Do not touch the cloud afterward...it will kill you.

Four Goombas will fall from the sky at the big staircase, but they're easily stompable.

The flagpole is crucial. You'll have to stand at the top of the stairs and jump over the flagpole. But first, jump straight up. This will trigger some weird yellow laser that would kill you otherwise. Keep going right until you trigger a ghost that would kill you if you didn't jump over it. Get away from it, then touch the flagpole. You're done with the first stage!

World 2


Now we get to play a very twisted version of World 1-2.

Instead of going into the pipe like you normally would, go into the top pipe. If you go through it like normal you will die.

5:48 - Time your jump to the top pipe carefully so you don't accidentally trigger a Poison Mushroom block. And land on the edge of that pipe so you don't get hit by a ghost.

6:16 - When you start falling down to the bottom, immediately move right...or else [b]this[/b] happens.

6:28 - This is what happens if you grab a Mushroom. The cat gets ultra-buff! Then he falls through the floor. Poor neko.

The space where that coin block is at the beginning is a death trap. Don't go there. Also, one of the columns is a spike trap that triggers when you stand on top of it.

7:09 - Whatever you do, don't take the shortcut that everybody knows about it. It triggers a hidden cloud of death when you drop back down.

7:38 - It is possible to kill a Koopa in this game. Not that you'll need to know this for future reference...but I might as well share this. The game has its own open-source version that has levels shared all over the Internet like Super Mario World, y'know. I have a feeling there's a custom level out there that takes advantage of that. Unless they fixed it. I dunno.

There is an indestructible spiked enemy that jumps out of the next pit, but you can avoid it if you're both fast and careful enough. There is also a coin block after that, but if you step on it, it'll break. Fall to the left when that happens, and then jump the pit again. Problem solved!
When you near the pipe, some sort of weird, Pedobear like creature appears. (The way that Cauchemar pronounces it makes it unintentionally hilarious.) Jump over that, and it's just a simple jump to the checkpoint.

After this is not one, not two, but three falling ceilings. You have to step to the left to avoid the first one, then run to the right at the correct moment and jump the pit at the correct height to avoid the coin block that will spoil your effort as well as to dodge the other two ceilings. This will show you how best to dodge it.

You'll see three ? blocks and a spiked enemy. Hit the first block to trigger a Mushroom, and let it hit the spiked enemy. It'll grow bigger and fall through the floor, leaving a pit in its wake. You'll have to compensate your jump carefully in order to move on.

9:27 - Do not grab the green ? ball. Otherwise, you won't get past the pipe. It'll still shoot out fireballs if you don't grab it, but not that many.