We have the Titan's Mitt...so now we can do stuff before going to the fifth dungeon!
Romancing The Sword (Again)
Now that you have the Titan's Mitt, you could use the Titan's Mitt to get the Magic Cape as intended, but since it's easier to do the Magic Mirror thing to get it, it's a moot point now.
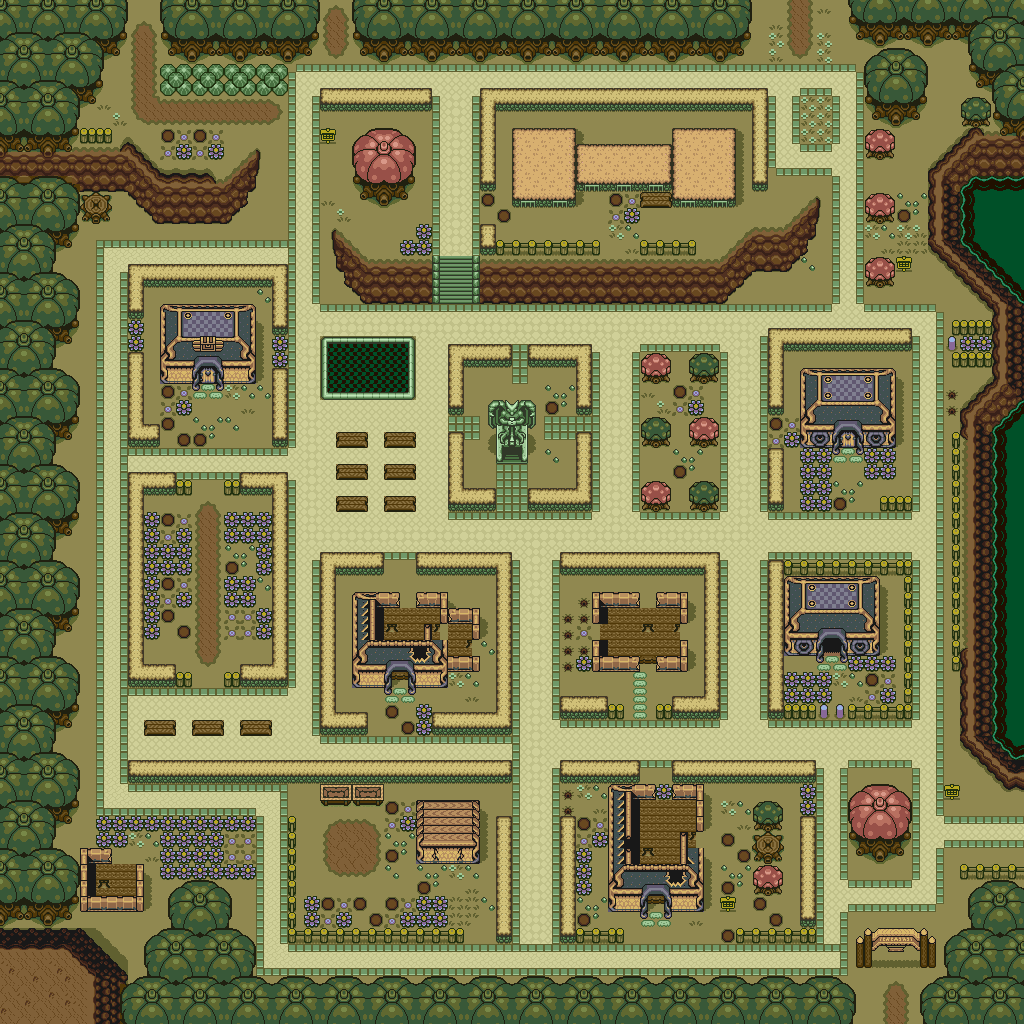
You can now go east of the village. If you pound all of the posts with the Magic Hammer, the tree stump to the south of them all will turn into an underground passage. Go inside and you'll find a Heart Container.
If you go south of the village and go to the east near the south village entrance, you'll find a frog in a blue tunic hopping around. Now that you have the Titan's Mitt, you can rescue the guy and talk to him. He is from Kakariko Village, and he wonders how his partner is doing without him. He'll then want you to take him to his partner.
From here, use the Magic Mirror to go to the Light World and head back to the Smithy's house. When you return to the Light World, the frog will change shape and will turn into an old man that looks exactly like the Smithy. Now that the Smithy's partner is back, walk out and walk back in. They'll offer to temper the Master Sword for a huge discount of just 10 Rupees. Take it. You're going to need the extra strength.
Also, if you use the Magic Hammer on whatever the Smithies are working on, they'll politely ask you not to do that.
Since your sword is being tempered, you're going to be running around without a sword as you leave, off-screen the smithee's house and come back. If you want, you can walk outside and roam around for a few minutes. If you have to attack any enemies, use your Magic Hammer as a weapon. (Yes, you can do that with just about every normal enemy in the game.) Pressing B will allow you to swing your hand around as if you have a sword, and you can even perform the whirlwind slash minus the sword. Strange.
Anyway, go back to the Smithees and the Master Sword will have a red blade. This is the Level 3 sword, and it's pretty powerful.
Now that you've got the Level 3 sword, head back to the Dark World and return to where the Smithies' house was. Now that you've got the Level 3 sword, you can find a chest in this abandoned house. If you touch it, you'll find out that since the key is locked inside the chest, you can't open it.
*record scratch*
Okay, first of all, how do you know this? Does Link just look at the chest, peek inside and find the key? I can picture that being the most logical scenario. But then the chest follows you as if by magic. What, is there some invisible chain between Link and the chest? Or stranger still, did the chest tell Link "Hey, my key is inside me!" with the same magic that just lets it follow Link wherever, especially when you use the Ocarina to warp wherever you want in the Light World?
Anyway, you have to take this chest to the old man near the desert entrance. You'll have to teleport all the way to the Light World and then give it to the man sitting near the sign. While you're doing this, you'll stop moving the chest around when you press the A button. If you do that, just move over the chest and it'll follow you again. The old man at the desert will ask you to keep the fact that he used to be a thief a secret, and if you do, he'll open the chest. Inside will be the fourth and last Magic Bottle!
The Ice Palace
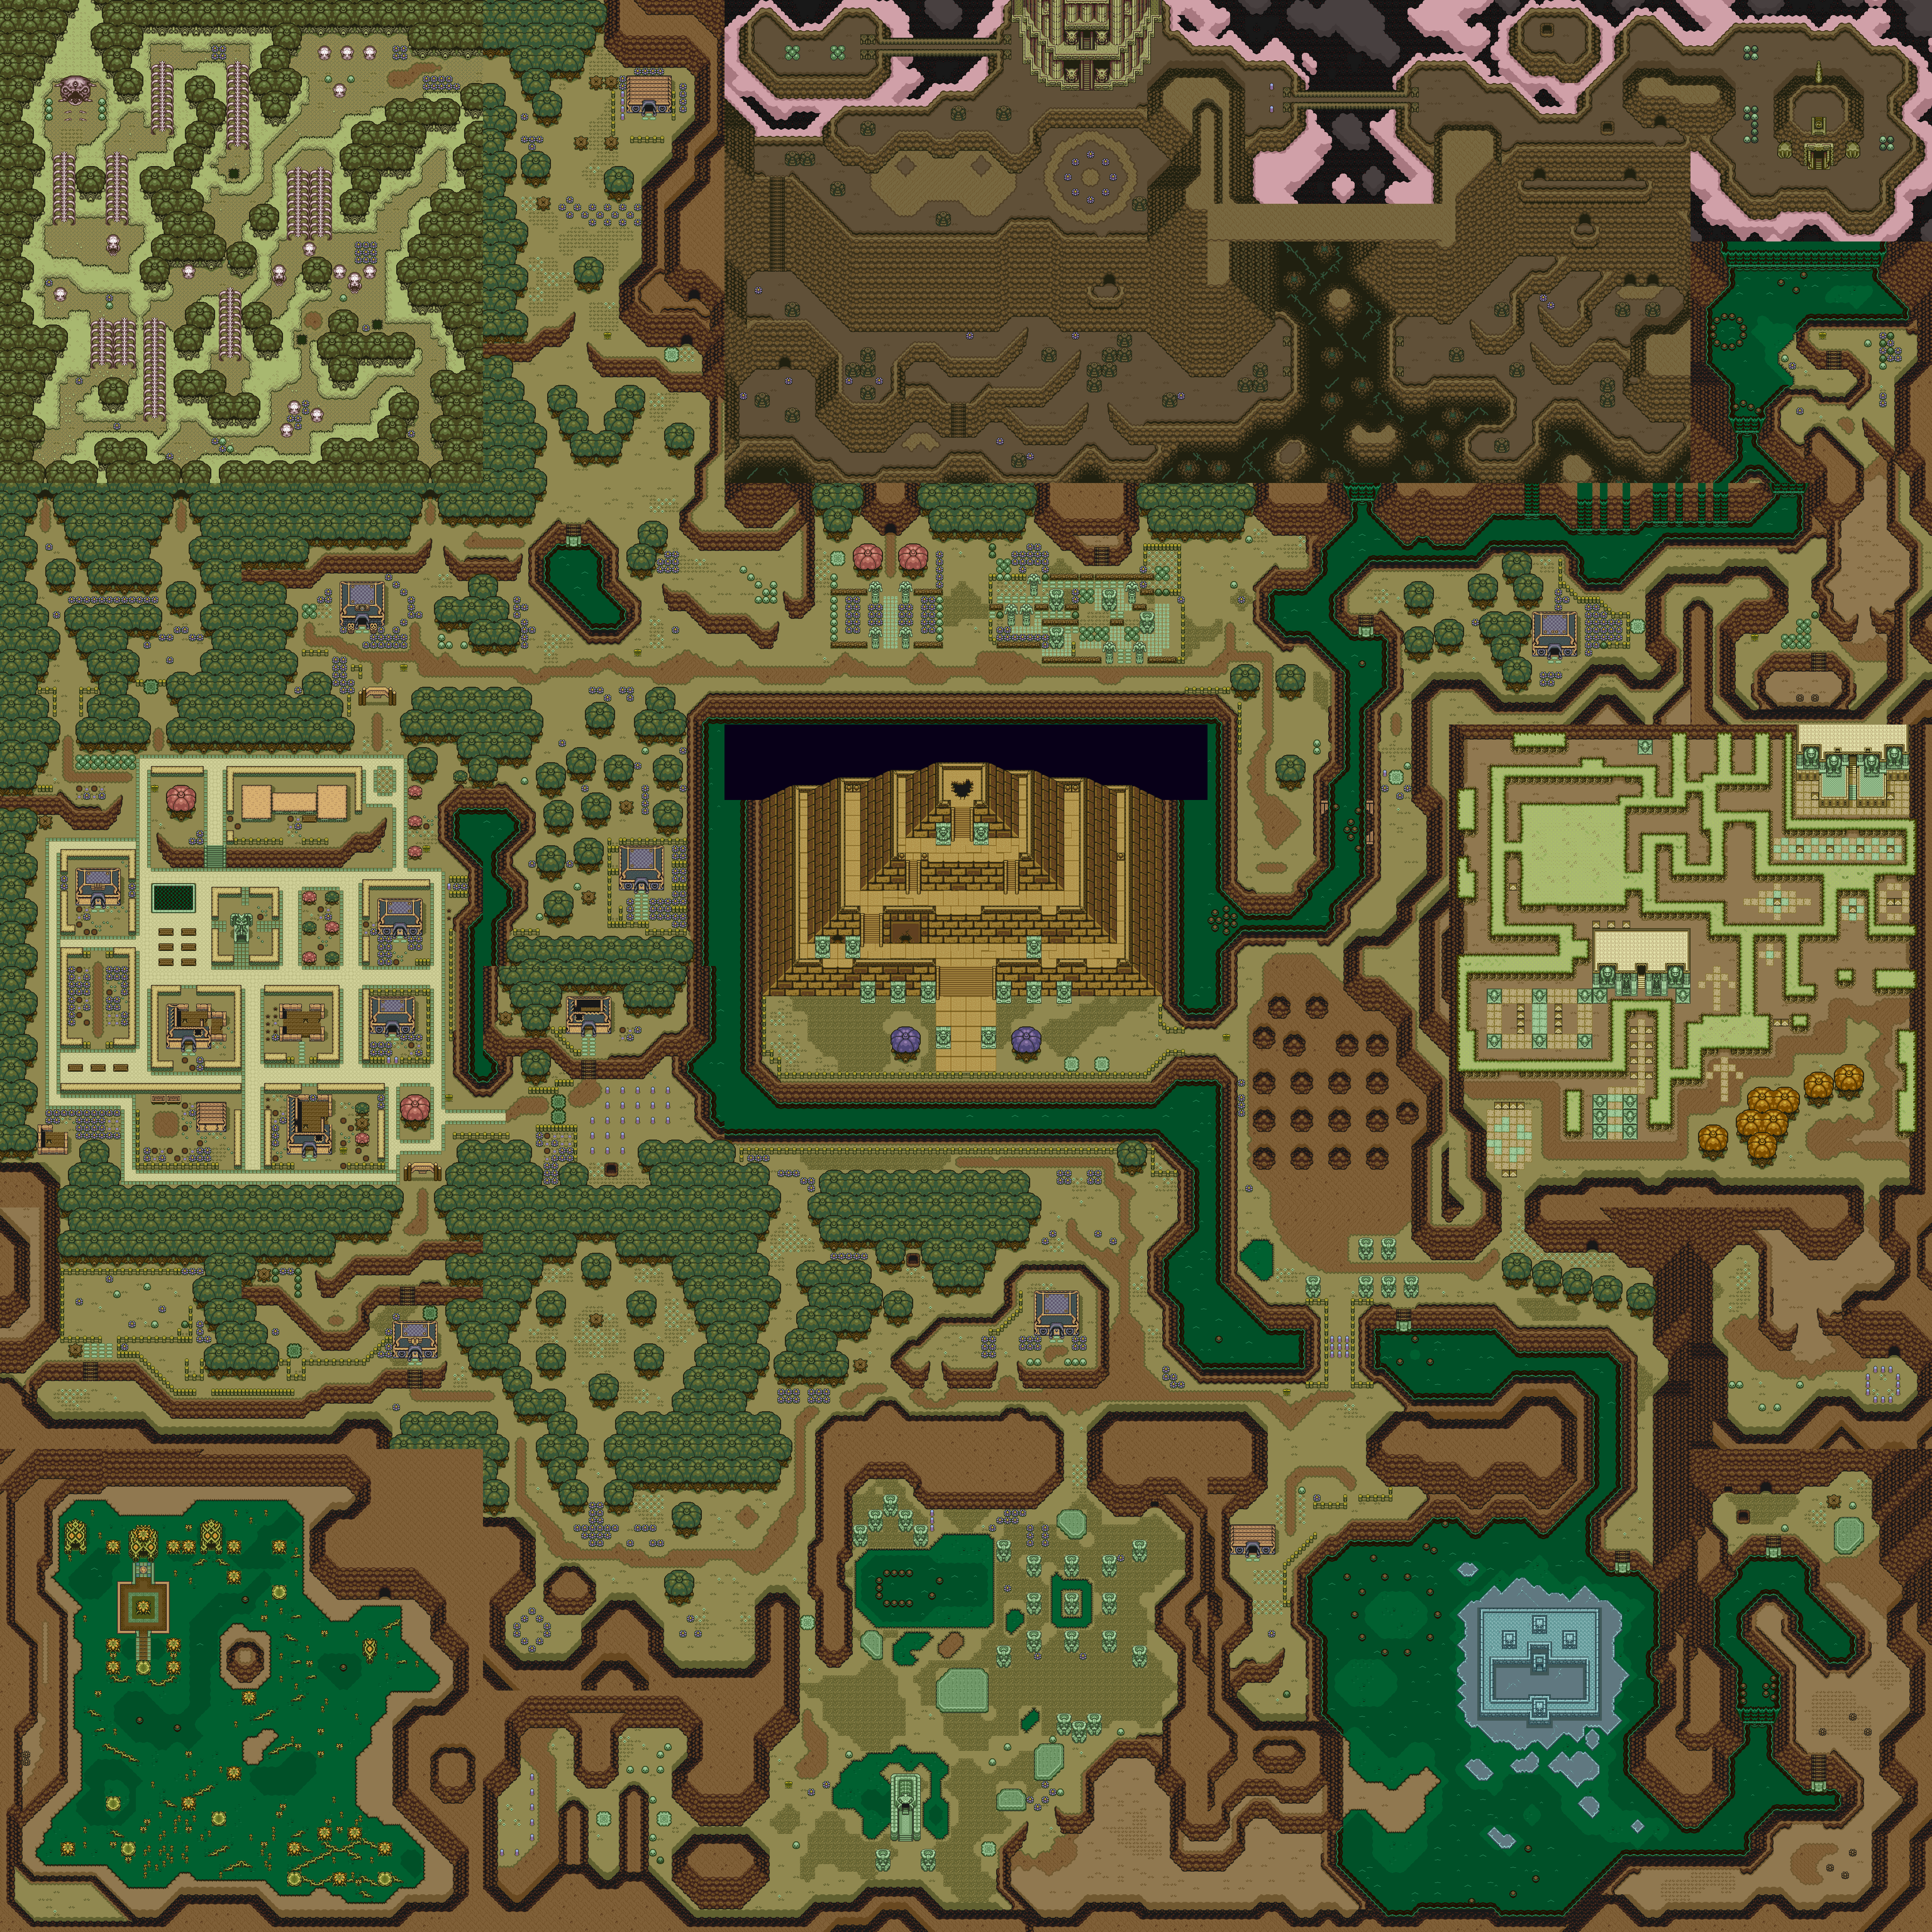
Now that you're done with the fourth dungeon, you'll want to go to the dungeon at the Lake of Ill Omens. To do that, however, you'll have to head back to the Light World.
From here, go back to Lake Hylia and grab the dark-coloured rock near the Well of Wishes. This rock hides another teleporter to the Dark World. Stand on it, and you'll be in a part of the Ice Island that you've been unable to access up until now. This is the entrance to what should be the fifth dungeon.
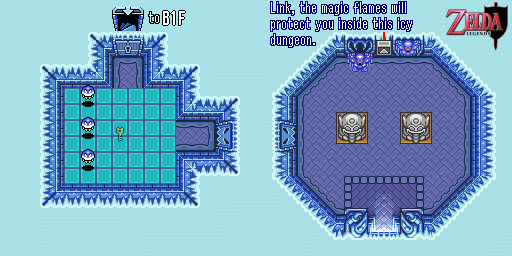
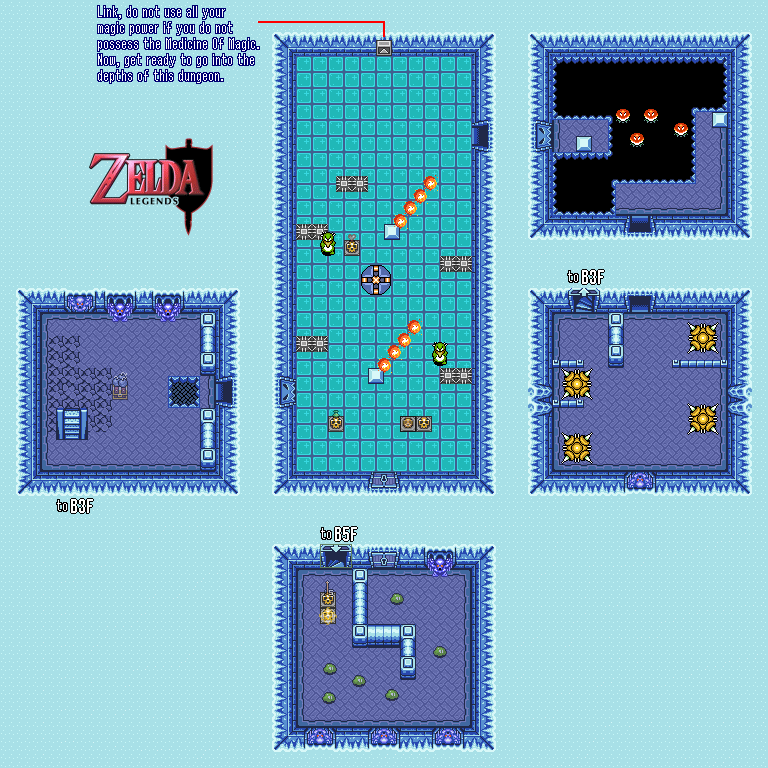
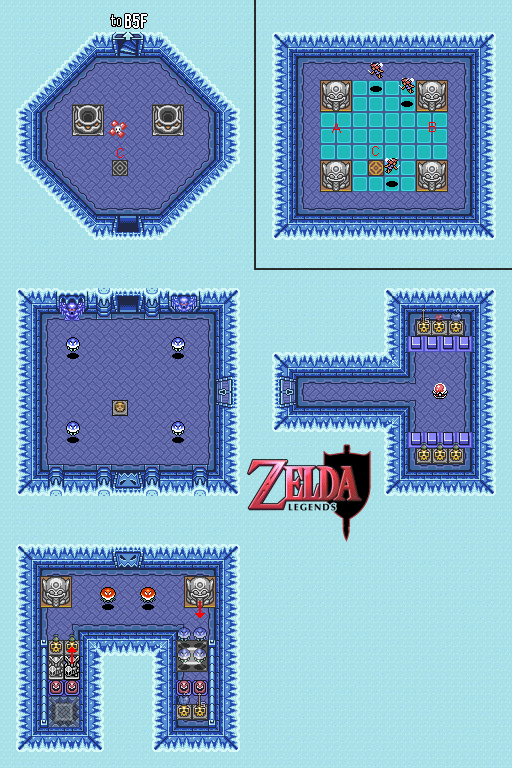
You're going to need the Flame Rod and plenty of magic power if you want to complete this dungeon. The telepathic message tile at the entrance even says that the magical flames will protect you. If you don't have the Flame Rod yet, get it before you come back here.
Some of the blue monster statues on the walls will come to life and chase after you when you get close enough. The Fire Rod is the only way to kill them.
The light blue tiles make Link slip and slide around, so be careful when you walk or fight monsters on them.
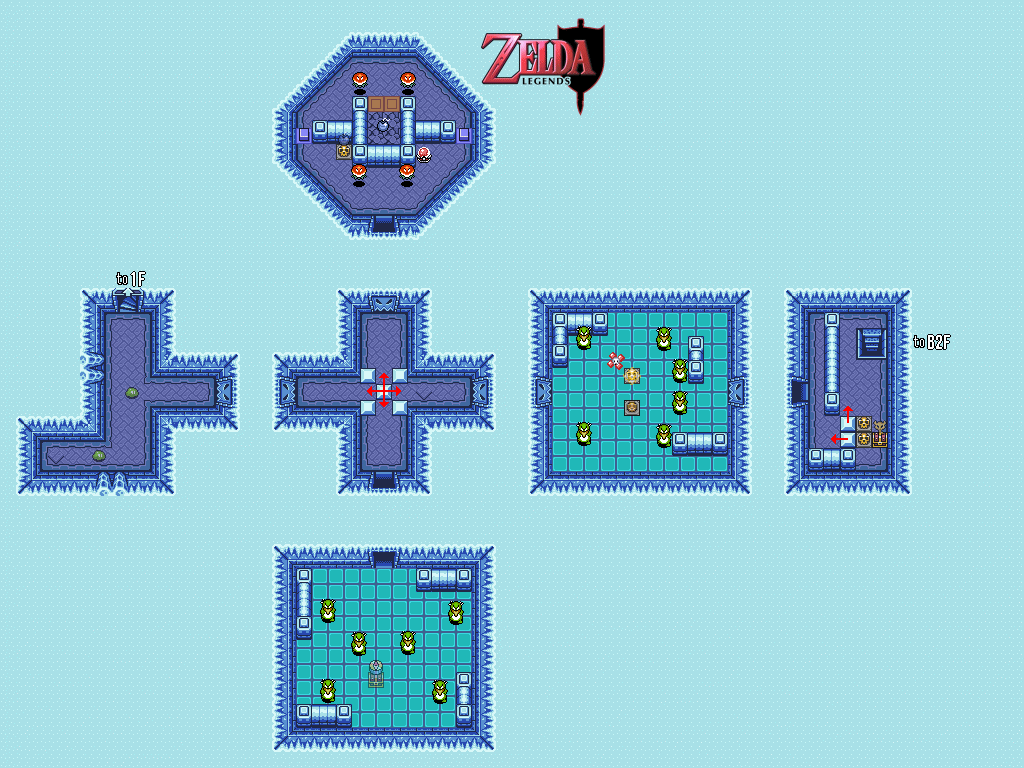
The green penguins can be killed with the whirlwind slash, but they can also be killed easily with the Bombos Medallion if you're dealing with a large group of them.
The yellow balls of light from Blind's Dungeon also appear here, and they can be killed with either the Magic Powder or the Bombos Medallion if they're still underneath a skull.
You'll be bombing a few cracked floors as you make your way down this massive dungeon. There are eight floors in all, counting the entrance.
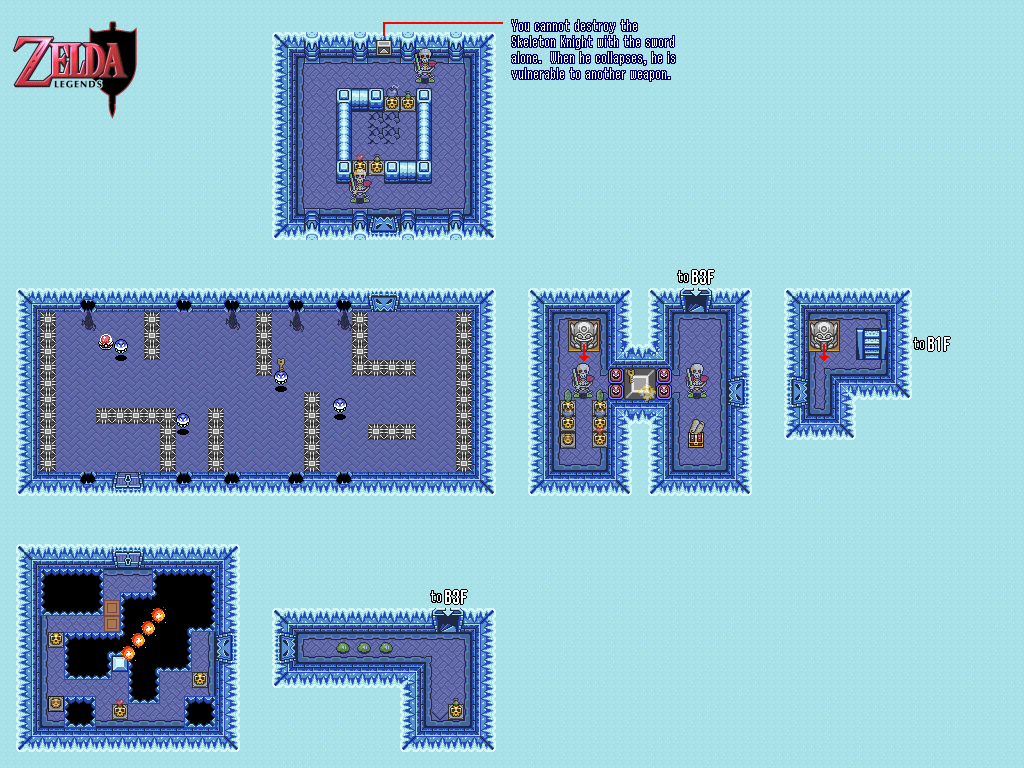
When you make your way down, you'll meet the Stalfos Knights. The telepathic message tile you'll see when they make their first appearance tells you that you'll need another weapon to finish them off. To take them out, hit them with the sword, then destroy them with a Bomb while they lay lifeless on the ground like a pile of bones.
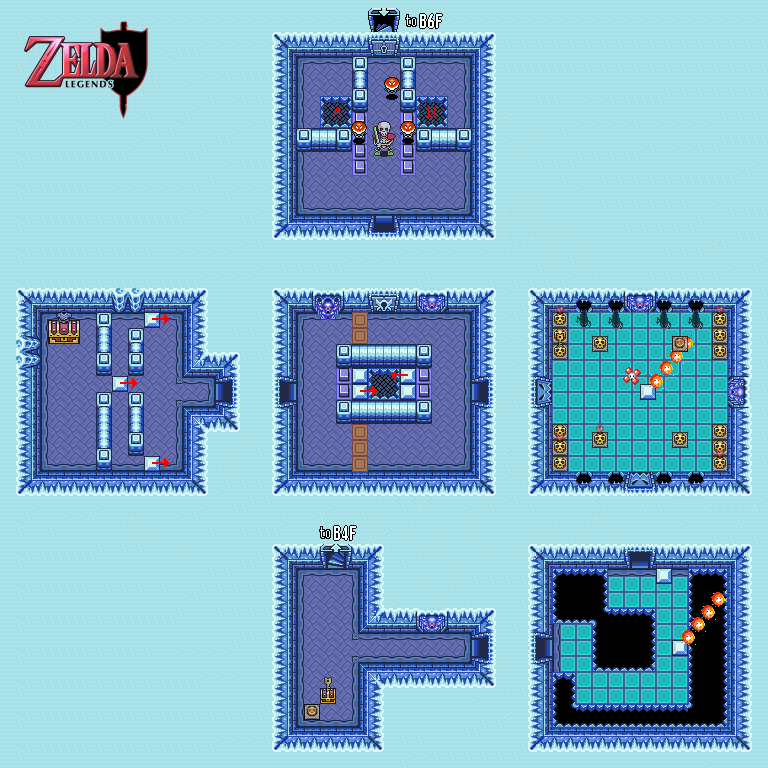
The next room is another conveyor belt amassed with spikes, those blue flying things that electrify themselves and black lizards crawling from one hole in the wall to the other.
Watch out shortly after you reach the third basement floor. You'll see another spiked yellow monster come straight for you when you enter the first door. Hide near the door and it won't hit you.
When you drop down to the fourth basement floor, the telepathic message tile will tell you not to use all your magic if you don't have the Medicine of Magic. This is crucial, because you will need several replenishments of magic for this dungeon.
Some of the statues are faces with tongues sticking out. Sometimes, you can pull the tongue out to either open doors or find other things. Try it out.
The big yellow square-shaped monster with spikes on each corner is a larger version of the spiked squares that you see in the dungeons. They can move in any direction and will move rush you when they sense you.
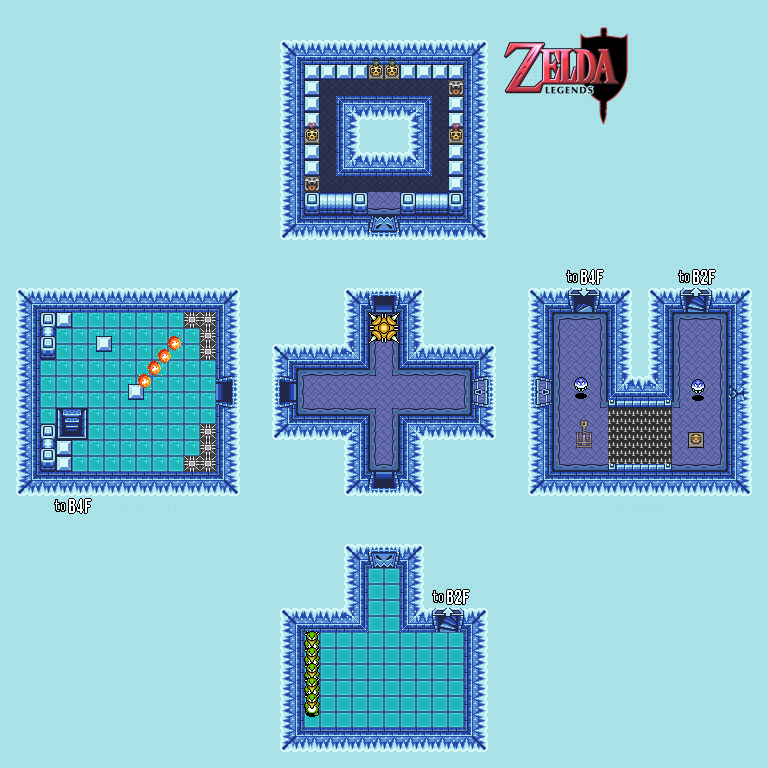
The stairway that leads to the fourth basement floor that isn't a door has some floor that you can bomb. Bomb it to get the Big Chest...which contains the Blue Mail. This reduces the damage you receive slightly. (Believe it or not, I could never find this when I played the game for some reason, and I ended up making it almost to the end with the Green Mail. How you're supposed to know that you can do this besides the help of a Player's Guide is beyond me.)
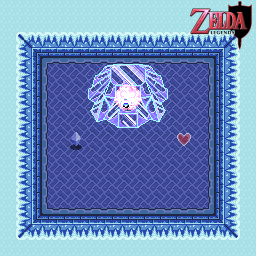
The boss is reachable via a hole from the sixth basement floor. To reach it, you'll need the blue tiles down. From there, you'll have to go to the room on the fourth basement floor. where you dropped down to the Big Chest from. Drop down the pit on the east side of the room, then go east. You'll be on the west side where you'll need to push a block into the pit.The boss here is a one-eyed cloud encased in ice, and you're going to need all the magic you can get for this one.
You could melt the ice the boss is encased in with the Fire Rod, but if you use the Bombos Medallion, this becomes a moot point. All you have to do know is avoid the falling ice as well as the boss itself. Thankfully, the boss is easy: just keep whacking the boss and all the clones it creates with the whirlwind slash.
Cave of Byrna
.png)
.png)
.png)
.png)
Due to my lack of practice runs, I get the Cane of Byrna, thinking that it was the way to get the Cane of Somaria, which I thought I was going to need for a puzzle. It wasn't. But since I get it here, I'll tell you how to get it here, anyway.
Head back to the Light World and return to Death Mountain. Use the teleporter near the Tower of Hera, then drop down the edge to the south. Go inside the cave you land near, and use the Magic Cape to get past all the spikes and obtain the Cane of Byrna. (You could have gotten this earlier after getting the Magic Cape and the Magic Hammer, if you wished.) This cane produces a force field that protects Link as long as he has Magic Power.
No comments:
Post a Comment