I really need to play these Zelda games beforehead before Let's Playing them. Watch me not heed this advice during Link's Awakening!
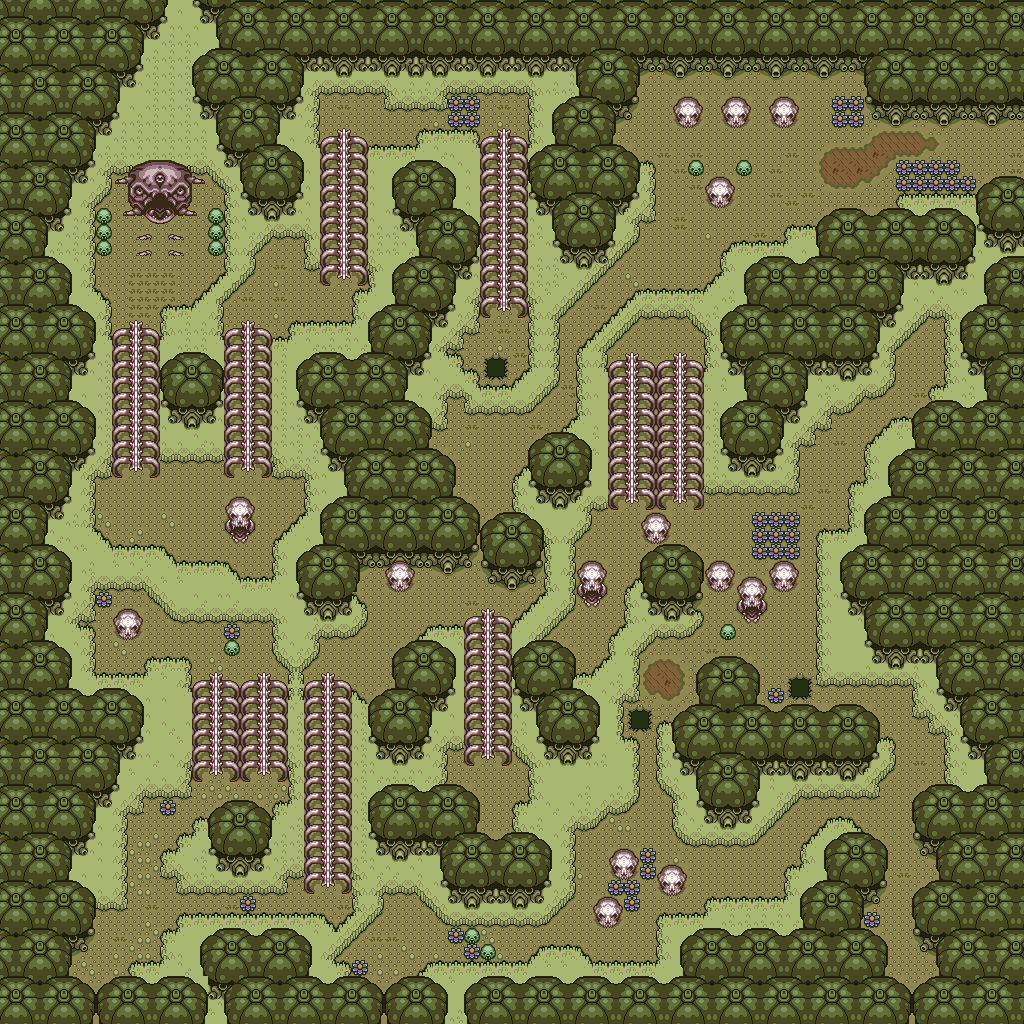
There are multiple entrances to the dungeon here...but which one should we use? Turns out, there are a couple of entrances to this dungeon in the Skull Woods, and there's no correct one. Some are inside skulls, while others are holes in the ground. So go ahead, pick one and look around.
The entrance in the center of the Skull Woods will take you straight to the Big Key, so go ahead and take that one first.
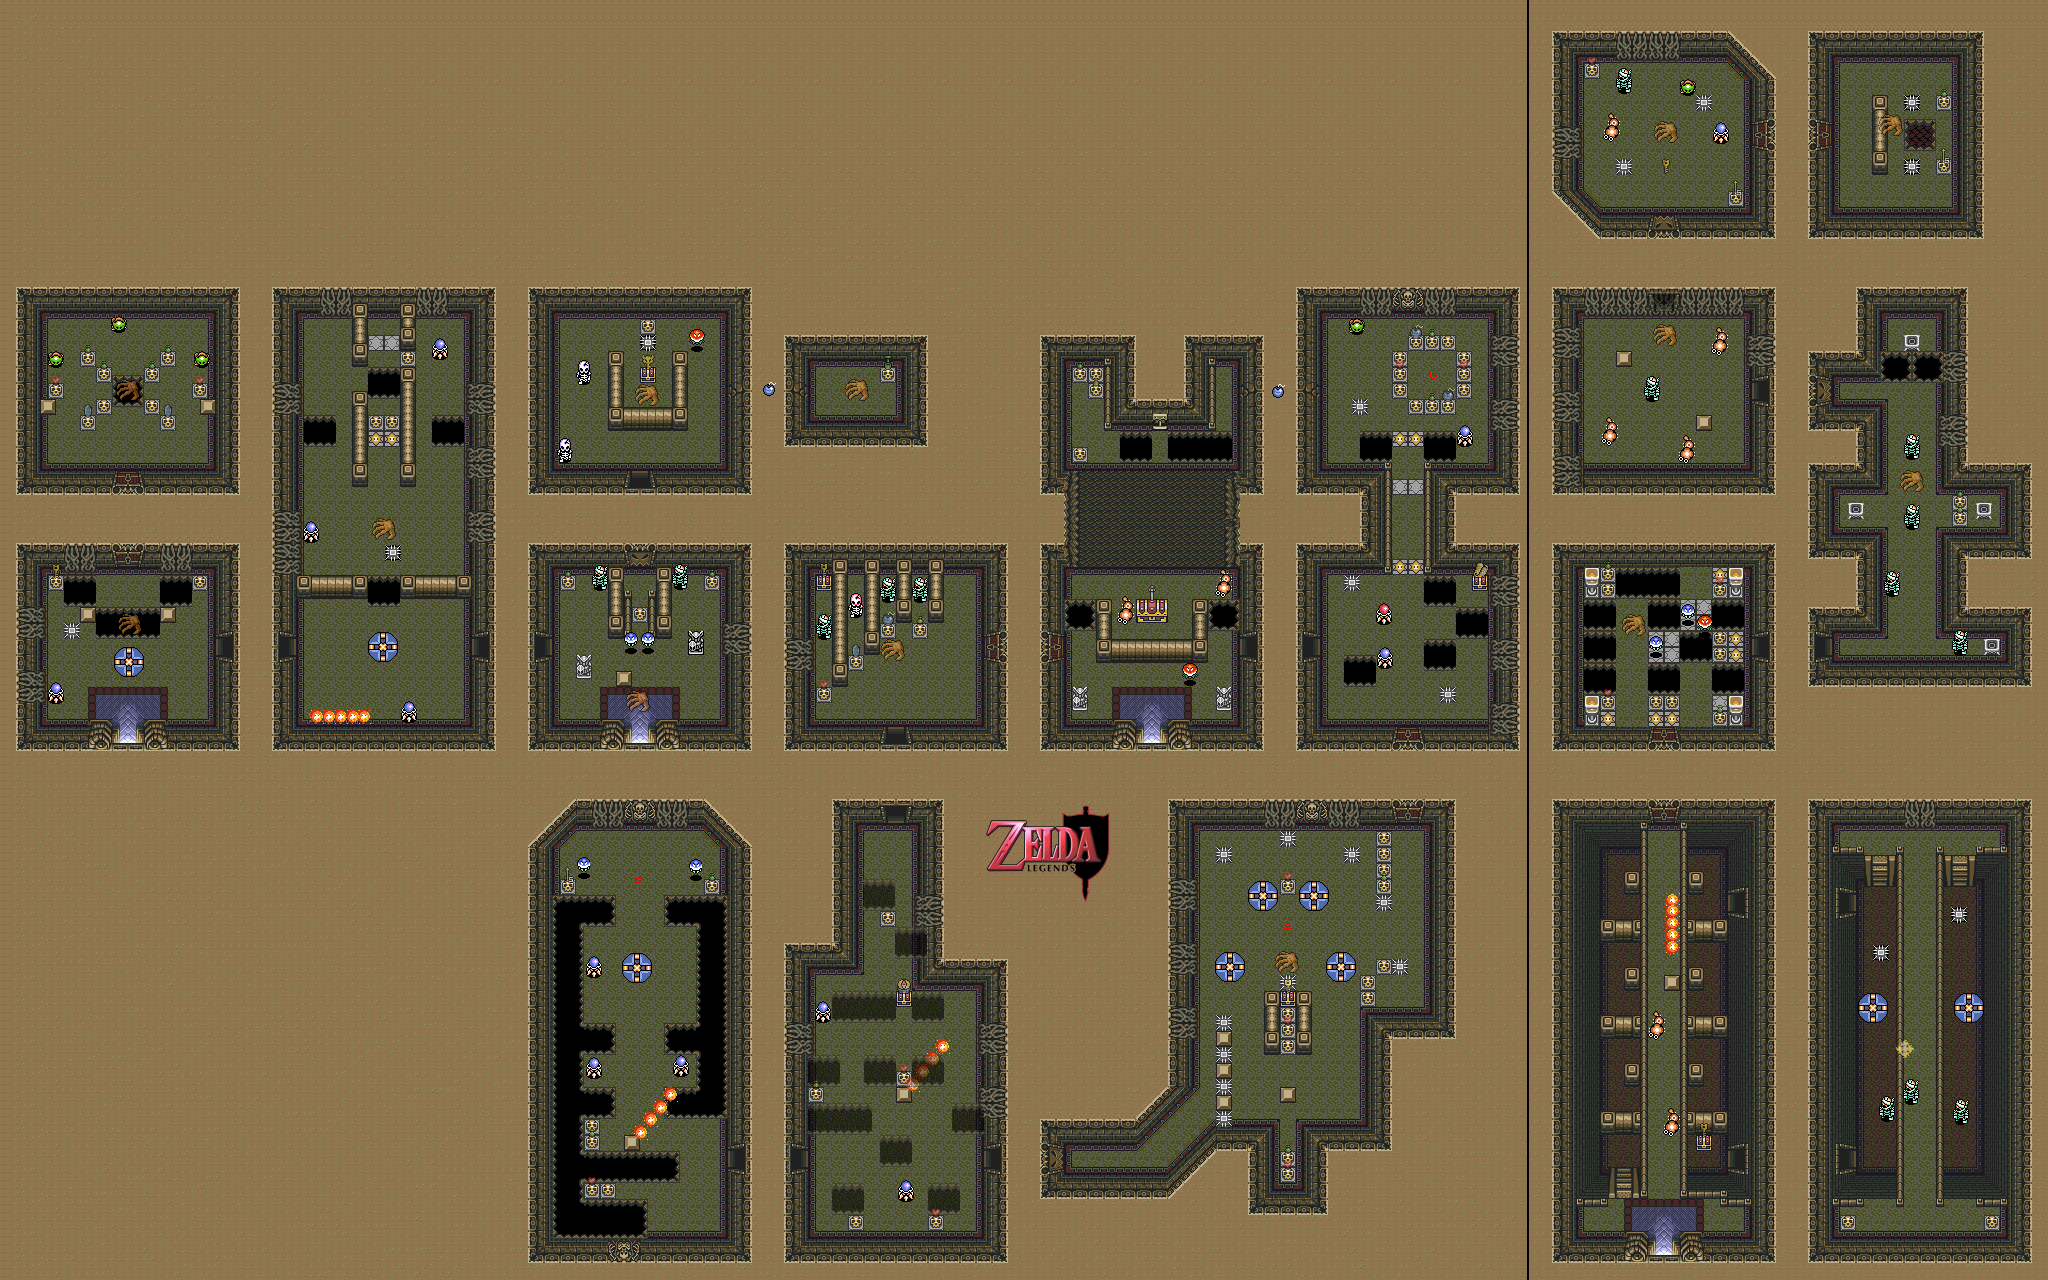
The Ceiling Masters are the giant hands that come out of sky and fall on Link, taking him back to the dungeon entrance he last used if they catch him. Thankfully, you can hear the sound of something following as well as see the Ceiling Master's shadow before hand. If you kill one, you'll still have to deal with another one. Just pay attention whenever you're doing something so you won't get caught off guard.
When you open the chest containing the Compass, you'll cause pits to form all over the floor.
Some of the pots in this dungeon (and other dungeons) contain a yellow magical wisp. The wisp will follow you, and if you run away from it long enough or it runs into a wall, it will disappear. If it touches you, however, Link will turn back into the bunny, and the Moon Pearl will be negated for a few seconds. It doesn't last very long, though, so more often than not you won't have to worry about running into a situation where your bunny form will render you helpless.
One of the entrances to the dungeon is underneath some bushes. Find it, go in, and you'll be able to pull the switch to open up a wall and access the Big Chest. Inside the Big Chest is the Fire Rod, which you'll really need here. It works like the Ice Rod, only it shoots fire instead of ice.
The mummies take a good bit of abuse, but now that you have the Fire Rod, you won't have to worry about that. If you have multiple mummies on-screen, you can kill them with the Bombos Medallion.
The Star Tiles from the Mountain Tower in the Light World make a return appearance here, and you'll have to hit them in order to move some pits around and reach areas that you wouldn't be able to get to normally.
You'll eventually find a giant, monster-like skull in the ground with a giant bone sticking out of where the mouth should be. Use the Fire Rod on this stick and you'll set it on fire, burning it out of existence and opening up another entrance that leads to another part of the dungeon.
There is a chest at the beginning when you enter this area, but you'll have to get past some walls hidden underneath the bridge in order to reach it.
You'll need the Fire Rod to light all four torches and open the door in time.
You can actually slash the vines that cover parts of the walls. One of them, not surprisingly, hides a door that leads to the boss.
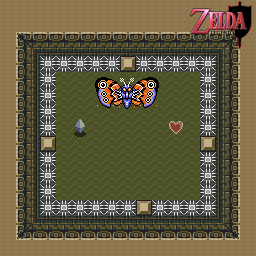
The boss is a giant moth. As you fight it, the floor moves like a conveyor belt and some of the spikes move into different positions. You can fight this thing with the Fire Rod, your sword, and the sword beams, but you can also use bees on it. Yes, bees work on this boss, and they do quite a bit of damage before they finally fly away.
By going to the Village of Outcasts and pulling on the pitchfork of the demon statue, you can enter the fourth Dark World dungeon, Blind's Dungeon.
No comments:
Post a Comment