Our adventure takes us to the sixth dungeon in the Dark World...and inside is a ton of Wizzrobes. Yep, those guys finally show up again.
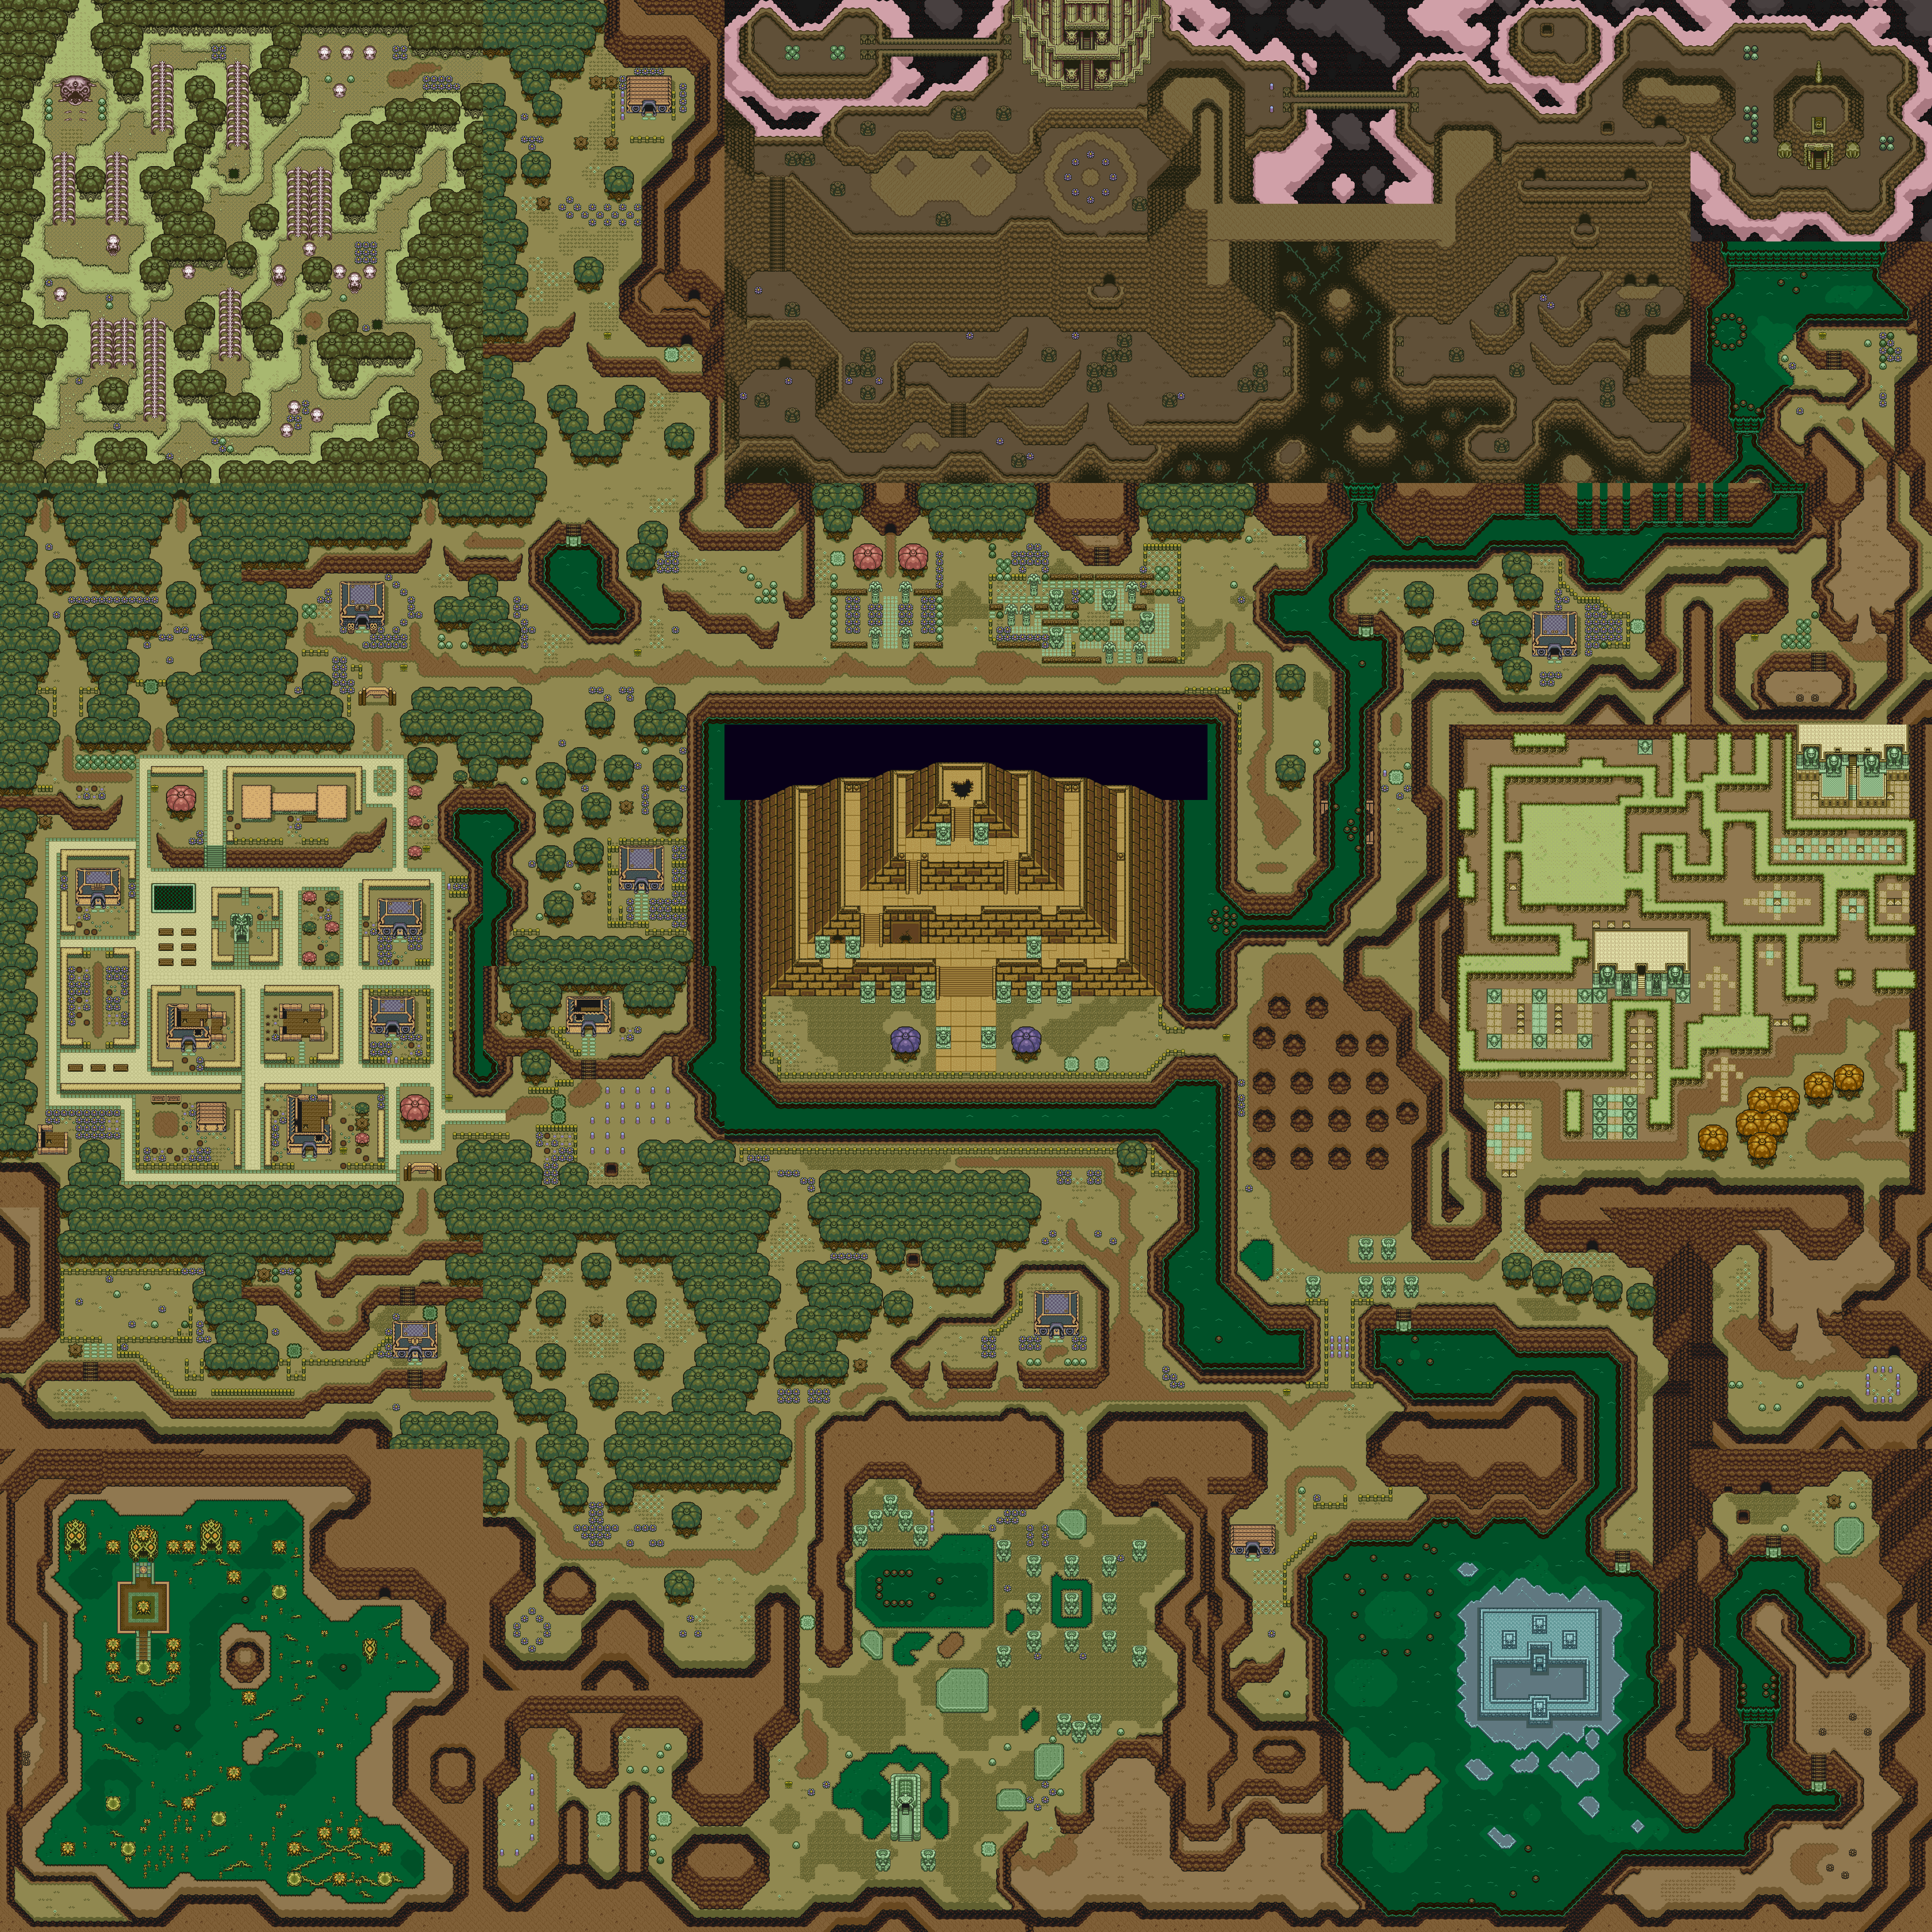
Misery Marsh
It's time to head into the dungeon in the lower-left corner of the Dark World. The only catch is getting there, and since you can't enter that area on foot like you could the Light World, here's how to get there.
Return to the Light World. Play the Ocarina, and choose number 6 for the landing location. From there, pick up the rock to the right where you land and you'll find a teleporter underneath. Congratulations, you're finally at the secluded marshlands area.
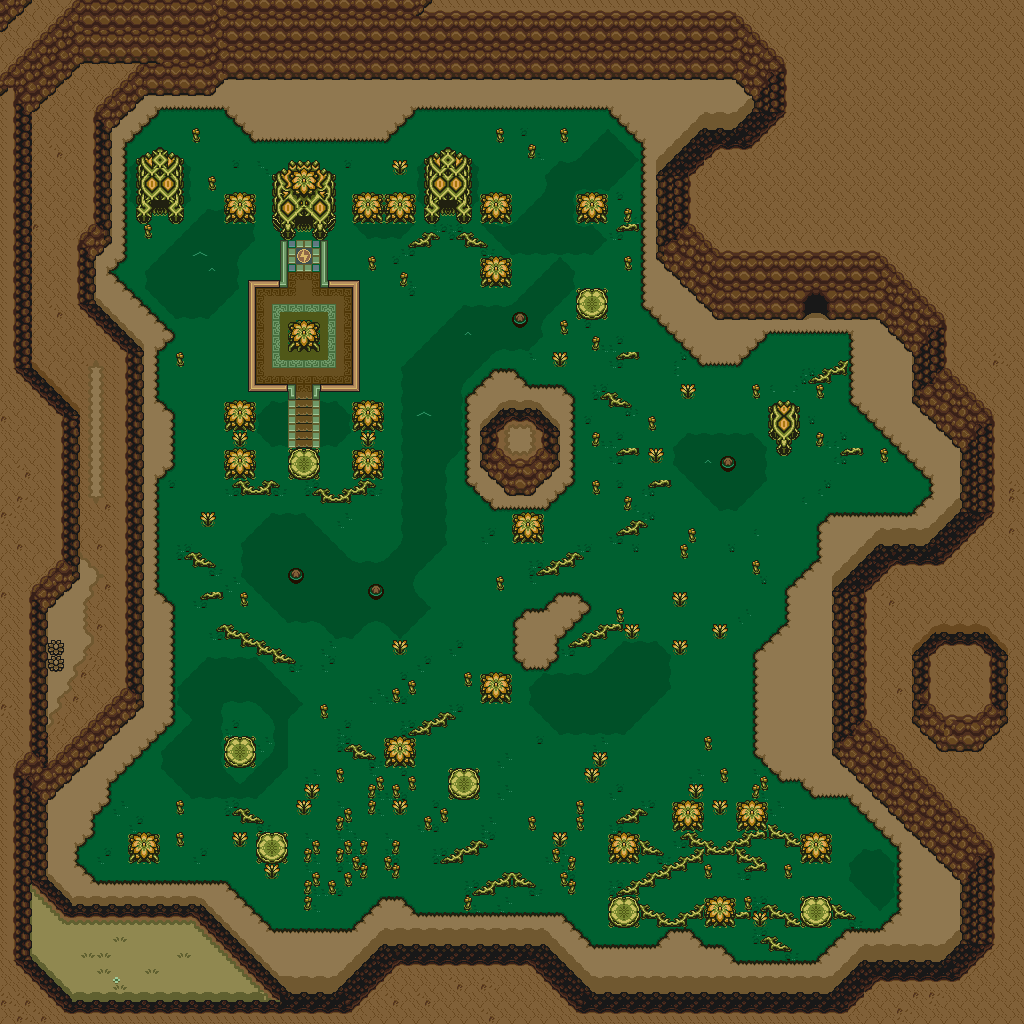
When you enter the building to the left of the dungeon entrance, move the blocks around so you can open both chests. (It's pretty easy.) From there, you can get another Piece of Heart.
Also, walk to the upper-right corner and you'll find a nook that doesn't exist in the desert in the Light World. Walk into this area, use the Magic Mirror, and lift the Rock to find a hidden passage. Go inside to find another Piece of Heart.
The building to the right contains a large Faerie that completely refills your health.
The enemies in the mire can be easily defeated with the whirlwind slash.
The flying guy in the cave will tell you that a monster is making it rain in the swamp, and if you can defeat the monster, the rain may stop.
You'll see the Ether Medallion symbol near what should be the entrance. Use the Ether Medallion here and you'll stop the rain, causing the dungeon entrance to appear.
Misery Mire Dungeon
.png)
.png)
You can make it across the pit at the beginning without the Hookshot. To do that, just run into the block near the pit and hold Right on the Control Pad when you're knocked back.
The Wizzrobes rear their ugly heads here, and they'll shoot beams at whatever direction they see you in. They're limited to four directions, however, and having the Level 3 Sword, especially at full health, makes them much easier to kill.
You'll also start seeing the lamps spit fireballs at you now.
The slugs not only do three hearts' worth of damage to the touch, they also drop bombs at random intervals. Take them out with the whirlwind slash.
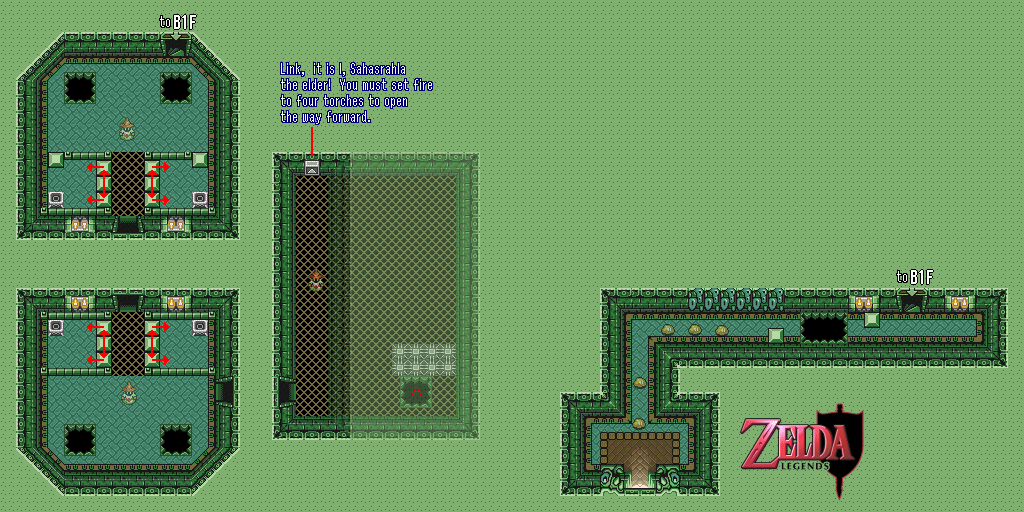
There is a telepathic message tile with a message from Sahasrahla saying to light the four torches to continue. This is in reference to the two rooms that come before this one, where you have to light the four torches in both rooms to move a wall and find a passage to another part of the dungeon. If you move any of the blocks in either of these two rooms in the wrong direction, just go back down a floor and then return. The hardest part of this isn't moving the blocks in the wrong direction, but the infinite Wizzrobes that show up in the two rooms. Once you open up that part of the room, you'll find a pit that you'll have to drop down. Despite its appearance - which makes it look like a pit you should not drop down - you'll have to drop down into it to explore the rest of the dungeon. As you can see, this has the potential to trip some people up.
You can get to the Big Chest without the Hookshot, but just barely. Inside the Big Chest is the Cane of Somaria. This lets you create a red block that can be pushed around in lieu of a statue. If you use the wand while the red block is onscreen, it splits into four fireballs that can damage enemies.
In one of the dark rooms, there will be a bunch of black mice grouped together that run out of the north wall and towards the south. They can easily be destroyed, but if you're not paying attention, they won't be easy to see coming.
The boss is a giant eye with a bunch of smaller ones grouped around it. You'll have to destroy all the smaller eyes with your sword while avoiding the lightning blast from the big one (the big eye peeps out of the water just before it blasts you). Whatever you do, don't let the smaller eyes touch you, as they can do three hearts' worth of damage.
Once you destroy all of the smaller eyes, the big eye will come after you itself. Keep it away from you (it does three hearts' worth of damage much like the smaller eyes) and keep attacking it with your sword.
The Maiden here will tell you that Zelda is waiting for you inside Turtle Rock.
No comments:
Post a Comment