Here's every track from Secret of Mana in one playlist!
Showing posts with label Secret of Mana. Show all posts
Showing posts with label Secret of Mana. Show all posts
Monday, December 27, 2021

Sunday, December 26, 2021
HCBailly and JB play Secret of Mana - Part 41 of 41
It's time for the final battle against the Mana Beast
It's time to take on the final boss of the game. Before that can happen, Randi has doubts about fighting a Mana Beast as they only want to restore Mana, and there is also the issue of Popoie disappearing if he uses up all of his Mana power. Popoie mentions that his world is separate from this one, and his disappearance will only lead to him going back to his own world. It also becomes apparent that Randi has no choice due to having the Mana Sword as well as his vow with his mother. From there, the fight begins.
First, have Purim and Popoie both cast Mana Magic on Randi, and have Randi equip the sword. This will revive the Sword temporarily. Next, cast Lucid Barrier on the whole party, then case Moon Energy on Randi. The fireball that the Mana Beast shoots at you won't work, but the charge attack will. From here, strike the Mana Beast with 100% shots from the sword with Randi. The Mana Beast will cast Wall on itself and also cast Lucent Beam on your party, but if you keep healing, you should be okay.
Once the Mana Beast goes down, the Mana Fortress comes crashing down, and Popoie disappears. Randi and Purim say goodbye to Popoie and Dyluck, then the Mana Beast turns into snow. Randi and Purim then take one last world tour and meet with everyone from their journey as the snow falls all over the world, then Randi and Purim both head back home, all as the credits roll. You just beat Secret of Mana!

HCBailly and JB play Secret of Mana - Part 40 of 41
After a brief preview of the end, we make our way even further into the Mana Fortress and finally go face-to-face with Thanatos.
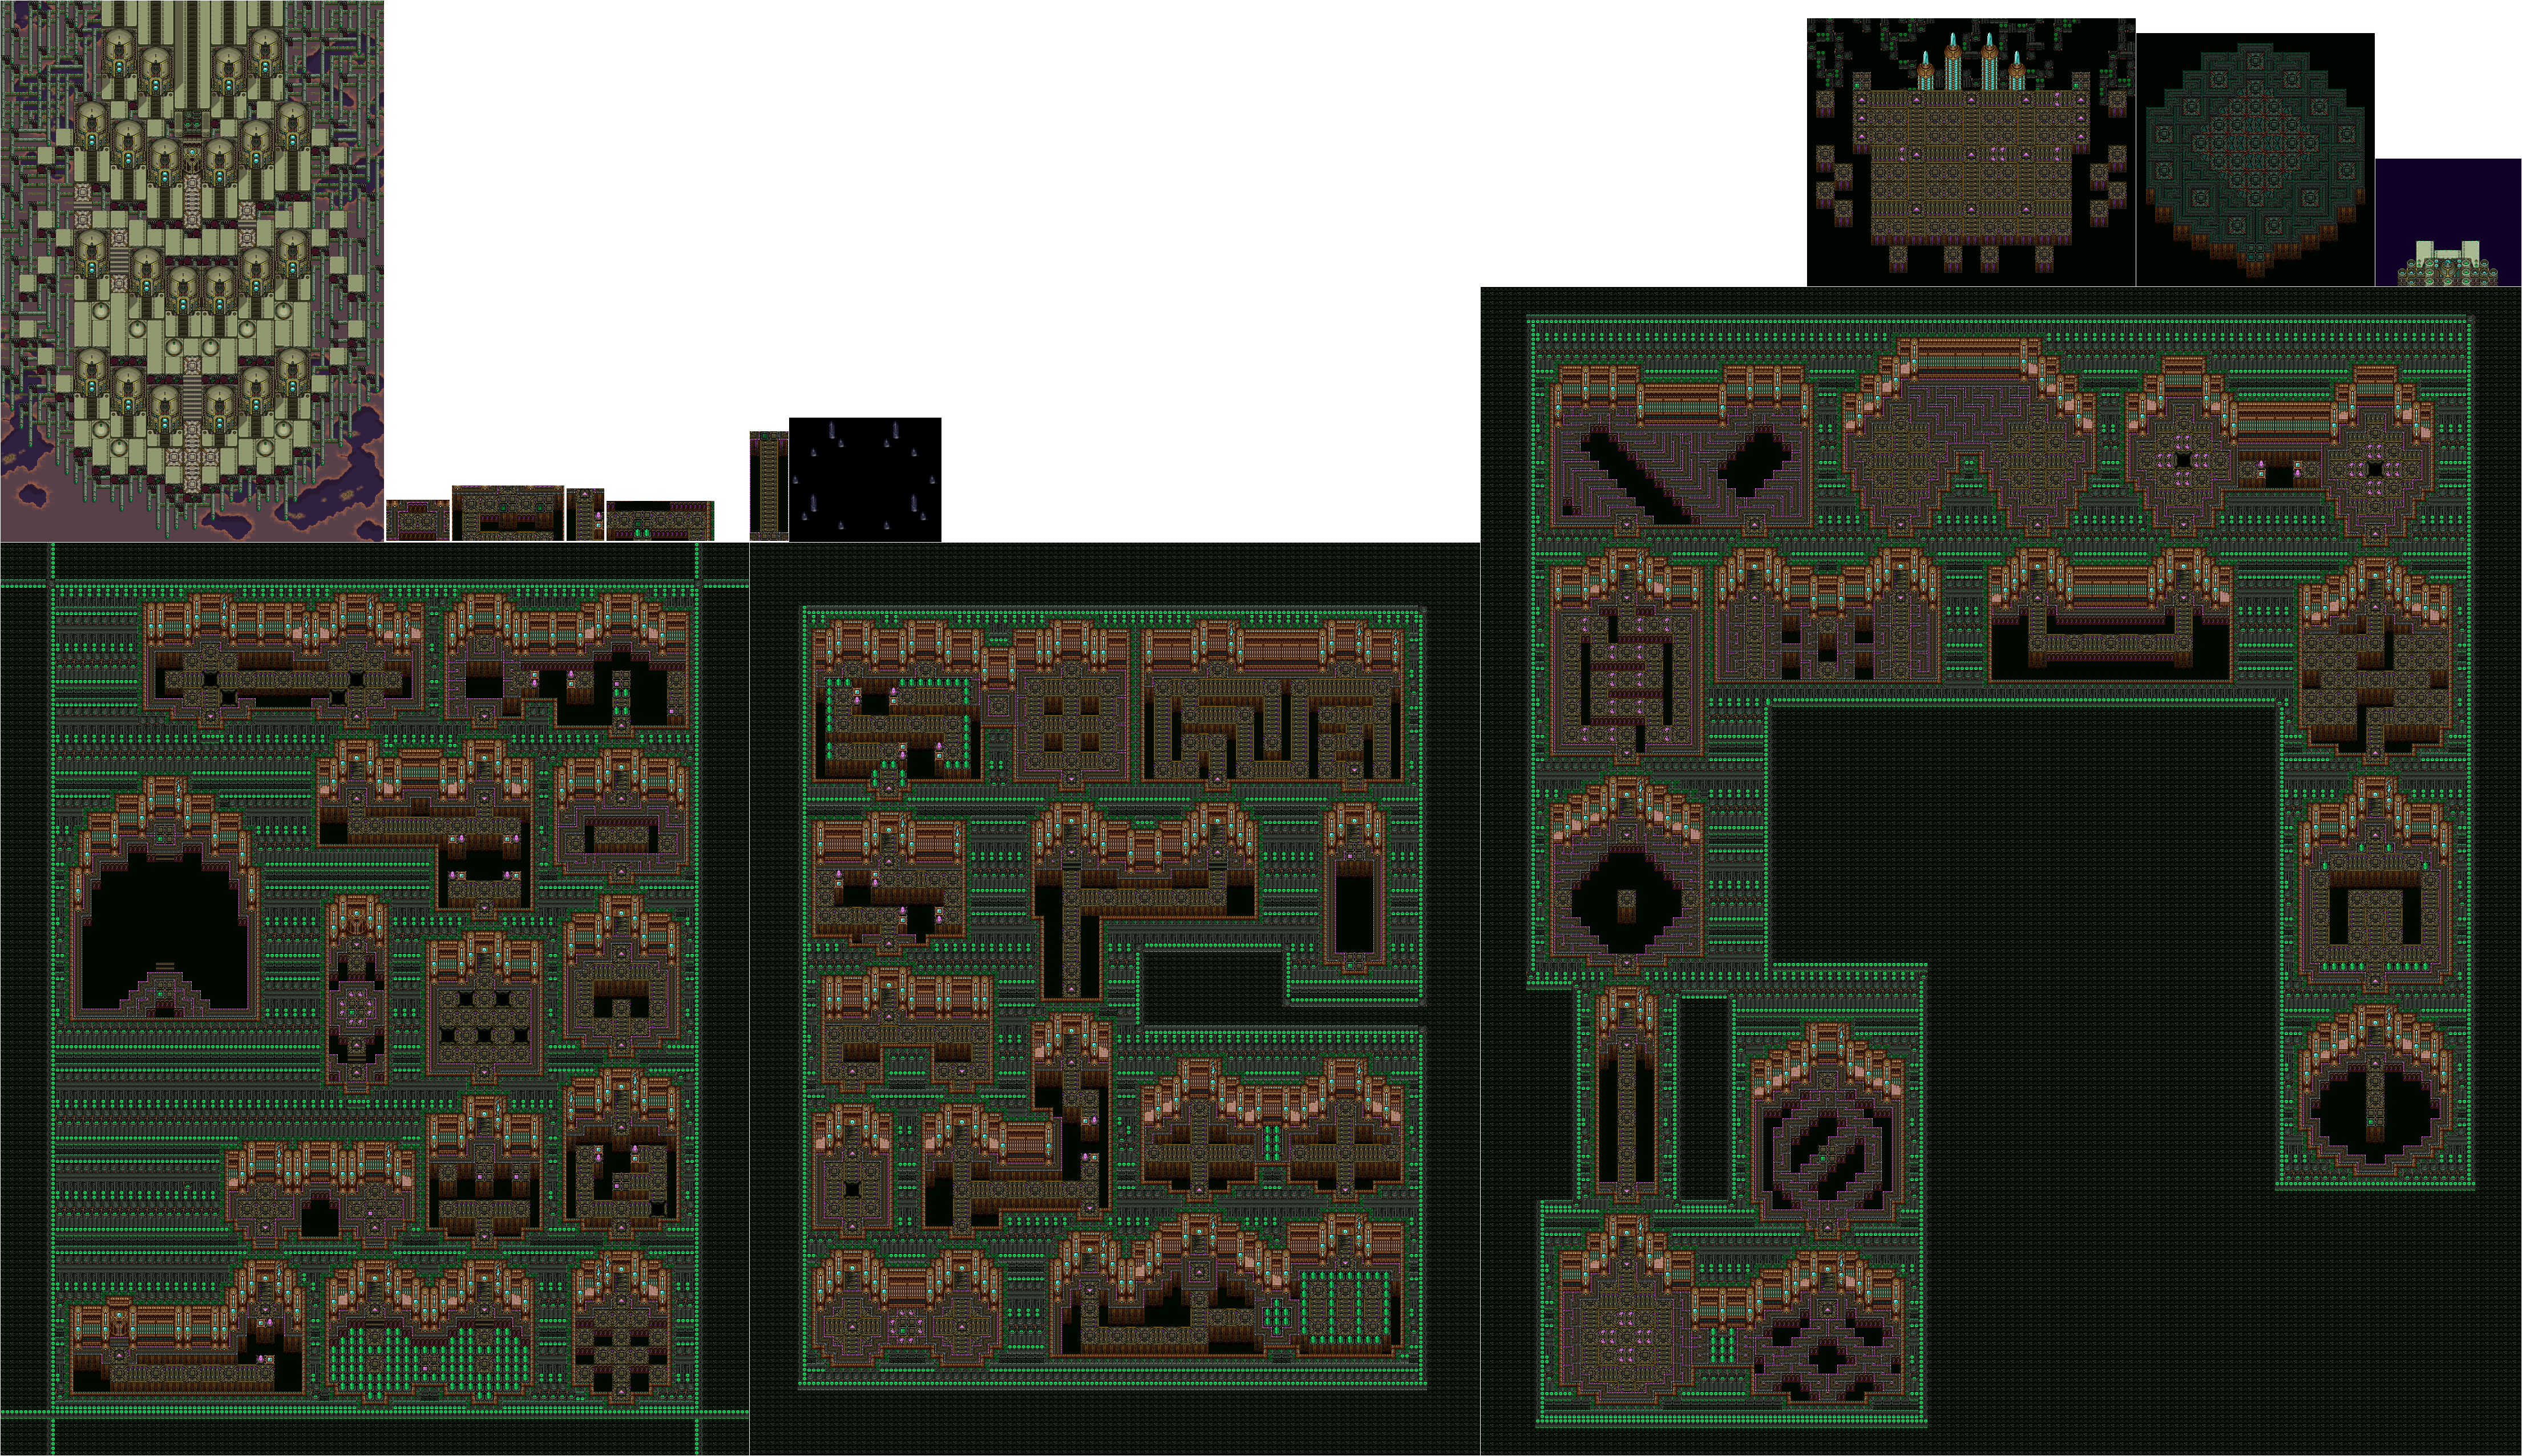
The Master Ninjas are even more powerul versions of the Dark Stalker. They can cast Exploder and Stone Saber. They can also drop a Boomerang's Orb. The Ninja's Trump is the best boomerang in the game.
The Terminators are more powerful versions of the Dark Knight and can drop the Whip's Orb. They can also protect themselves from physical damage with Lucid Barrier. The Gigas Flail is the best whip in the game.
At the end, you'll meet Thanatos, who has Dyluck. Thanatos will tell you that he has been searching for a human with the power to conquer the world who was born in the shadow of darkness and raised in the light of Mana. He says that Dyluck is the one, then tries to transfer himself into Dyluck's body and take the Mana Fortress. Purim defends Dyluck from Thanatos by hitting and supposedly killing Thanatos, but Thanatos succeeds in transferring himself into Dyluck's body. Unfortunately for Thanatos, Dyluck resists. He tells the party that Thanatos is an ancient sorcerer who sold his heart to the underworld, and although his life force is eternal, he does not have a body. He also tells you that Thanatos feeds on hatred and destruction and that his life force is growing darker. Dyluck sacrifices himself to draw Thanatos out, and from here, you have another boss battle with the Dark Lich.
Dark Lich has a ton of attacks: Freeze Beam (for frostying your party), Balloon Ring (for casting Balloon), Confuse Hoops (for casting Silence), Petify Beam (for petrifying your party), Dispel Magic, Sleep Gas (for putting your party to sleep), Pygmus Glare (for shrinking your party) and Thunder Beam. He can also cast Evil Gate, Dark Force, Freeze and Energy Absorb. Lumina's Lucent Beam will do a ton of damage to him if you've powered Lumina to Level 8. Dark Lich can teleport away, then try to hit you with energy waves out of his fists when they stick out of the floor. You can still hit him with magic in this form, however. Also, this boss battle has its own music that is very much worth listening to.
Once you beat Dark Lich, the seal of Dryad's Mana Magic spell is gone, giving Dryad a saber spell. Afterwards, it will be apparent that Dyluck is gone, then the Mana Fortress will be attacked. When you head out, you'll be on the roof of the Mana Fortress, where a Mana Beast will be attacking the fortress.
Saturday, December 25, 2021
HCBailly and JB play Secret of Mana - Part 39 of 41
Now that we're in the Mana Fortress, we'll be facing a few bosses before facing the Mana Beast.
If you can get your magic to 99 experience points at Level 8 (which is shown in the magic level screen as "8:99"), you can get some alternate animations for the spells at random.
The Whimper enemies can cast Wall on themselves and Earth Slide on your party, and they have a chance of dropping the Javelin's Orb. The Valkyrian is the best javelin weapon in the game.
There are a few bosses in the Mana Fortress. The first is Buffy, an obvious "Buffy The Vampire Slayer" reference. Buffy can cast Freeze on your party and also petrify them with Leaden Glare. Buffy can also cast Dispel Magic. Since Buffy is a palette swap of the Vampire, it fights more or less the same way. Lucent Beam will do a lot of damage to Buffy.
The Mana Fortress will not drop weapon orbs. To get weapon orbs, you'll have to get them from Mana Fortress enemies at random.
The next boss is the Dread Slime. The Dread Slime will grow as you do damage to it, and it is a palette swap of the Lime Slime. Because of that constant growing, unless you have a lot of Faerie Walnuts and strong magic, you probably won't make it out of this battle alive. Dark Force is the best magical attack you can use against it. Also, Dread Slime loves to use Acid Storm.
HCBailly and JB play Secret of Mana - Part 38 of 41
In this entry, we get some backstory on our hero, and everything starts making sense. There is nothing else to do than to go to the Mana Fortress.
The force of the energy knocks you to the bottom of the Mana Tree, which is now devastated. The Mana Tree then talks to the party, saying that the Mana Fortress is using up most of the world's Mana and that all of the beast will be transformed into one giant creature: the great Mana Beast, the only thing that can bring back Mana. Unfortunately, the Mana Beast has little control over its rage, and if it were to attack the Fortress, the world would be finished, and the only way to avoid this is to beat the Mana Beast with the Mana Sword, which can only be used by the people of the Tribe of Mana.
The tree will tell you that Randi's father, the legendary knight Serin, should be standing here now. Serin was the ghost that you saw at the sword at the beginning of the game. Unfortunately, he's gone after being badly wounded fifteen years ago by Emperor Vandole and eventually felled in Potos Village. You'll be taking his place. Not only that, but the Mana Tree is his wife and Randi's mother. If it isn't obvious at this point, Randi and his parents are part of the Mana Tribe. The women become the Mana Tree and the protectors of the world, while the men wield the Mana Sword and protect against evil.
Now that Mana is weak, the shields on the Mana Fortress are down, making it open to attack. From here, you can now go to the Mana Fortress. The Mana Tree will then use the last of its energy to summon the power of the Seeds of Mana, bringing the Seeds back and bringing your Mana Power to 8, giving the sword maximum power. Soon after this, you'll be able to go to the Fortress.
If you return to the Pure Land after this, you won't be able to explore it anymore. You'll just go back to the devastated Mana Tree.
Mana Fortress
Whenever you see the Mana Fortress on the map (the big gray ball with the spikes at the bottom), just approach it. When Flammie flies upwards towards it, let go of the Control Pad and let Flammie do the rest. Otherwise, keep flying if don't want to go over there, in case you want to get more experience or something. Keep in mind that the Mana Fortress will change position from time to time, so keep an eye on it.
At the outside, Captain Duck will make a return appearance here, as well as the Kimono Wizard, Metal Crawlers and Dark Stalkers.
Once you're inside, you'll meet some new enemies. The Metal Crab can shoot bubbles around itself and cast Light Saber on itself. There is a chance you can get a Bow's Orb from it. The Garuda Buster is the most powerful bow in the game. (It should still be mentioned that the highest power level you can get a weapon to is Level 8.)
The purple crystals and the light blue squares near them are the whip jump points.
The Tsunamis are palette swaps of the Embermen, and can cast Acid Storm and Energy Absorb in addition to splitting into three. They have a chance of dropping the Spear's Orb. The Daedalus Lance is the best spear in the game. They can also drop Amulet Rings.
If you see a pink square tile, step on it to activate something that will open up the path.
The Wolf Lords are more powerful versions of the Werewolf enemy. They can cast Cure Water and Moon Saber, and they can also drop the Glove's Orb. This is the only way you can get the last two Glove's Orbs. The Dragon Claws are effective against Dragons, and the Aura Glove is the most powerful glove in the game.
The Beast Zombies make a return appearance from the Great Palace, as will the Turtlance and the National Scar.
The green crystals have to be cut down with a sharp weapon like the sword or axe. Unless you fully cut them down, however, they will soon grow back. Watch out with some pink tiles; some of them will cause fields of green crystals to grow back out.
Friday, December 24, 2021
HCBailly and JB play Secret of Mana - Part 37 of 41
We finally made it to the Mana Tree! But before we can do what we came here for, the Empire has other plans...
To the left of the second save point is the Red Dragon. This is a fire-based version of the Snow Dragon, and it has Fire Breath that can engulf one of your party members. It can also damage your party with Breath Wing and put party members to sleep with Sleep Ring. Use Undine to do massive magic damage against it. Beating the Red Dragon will net you a Glove's Orb. The Dragon Claws are effective against Dragons.
Once you beat the Red Dragon, you can leave the cave area and go north past the gate. From there, go west when you have a choice between west and north, and go north at what looks like a four-way intersection. You'll face Thunder Gigas.
Thunder Gigas is a wind- and thunder-based version of the Gigas enemies, and the last that you're going to see in the game. He can hit you with Thunderbolt and Blitz Breath, and he can case Thunder Saber on himself. Defeating Thunder Gigas will net you the Sword's Orb. The Dragon Buster is effective against dragons and is the last sword in the game.
After beating Thunder Gigas, go north. You'll be back on the path. One screen north leads to another save point. Head west and follow the path to face the Blue Dragon.
The Blue Dragon is much like the Snow Dragon and Red Dragon. It can cast Silence on your party with Confuse Hoops, and can also damage your party members with Blitz Breath. Defeating the Blue Dragon will net you a Boomerang's Orb. The Shuriken raises the chance of landing a critical hit on an enemy.
Once you go back to the gate and save your game, you'll finally reach the end of the Pure Land. In the distance is the Mana Tree, and as Randi is about to ask the Mana Tree to revive the sword, the Mana Fortress is revived...
HCBailly and JB play Secret of Mana - Part 36 of 41
In this entry, we head to the Pure Land to revive the Mana Sword.
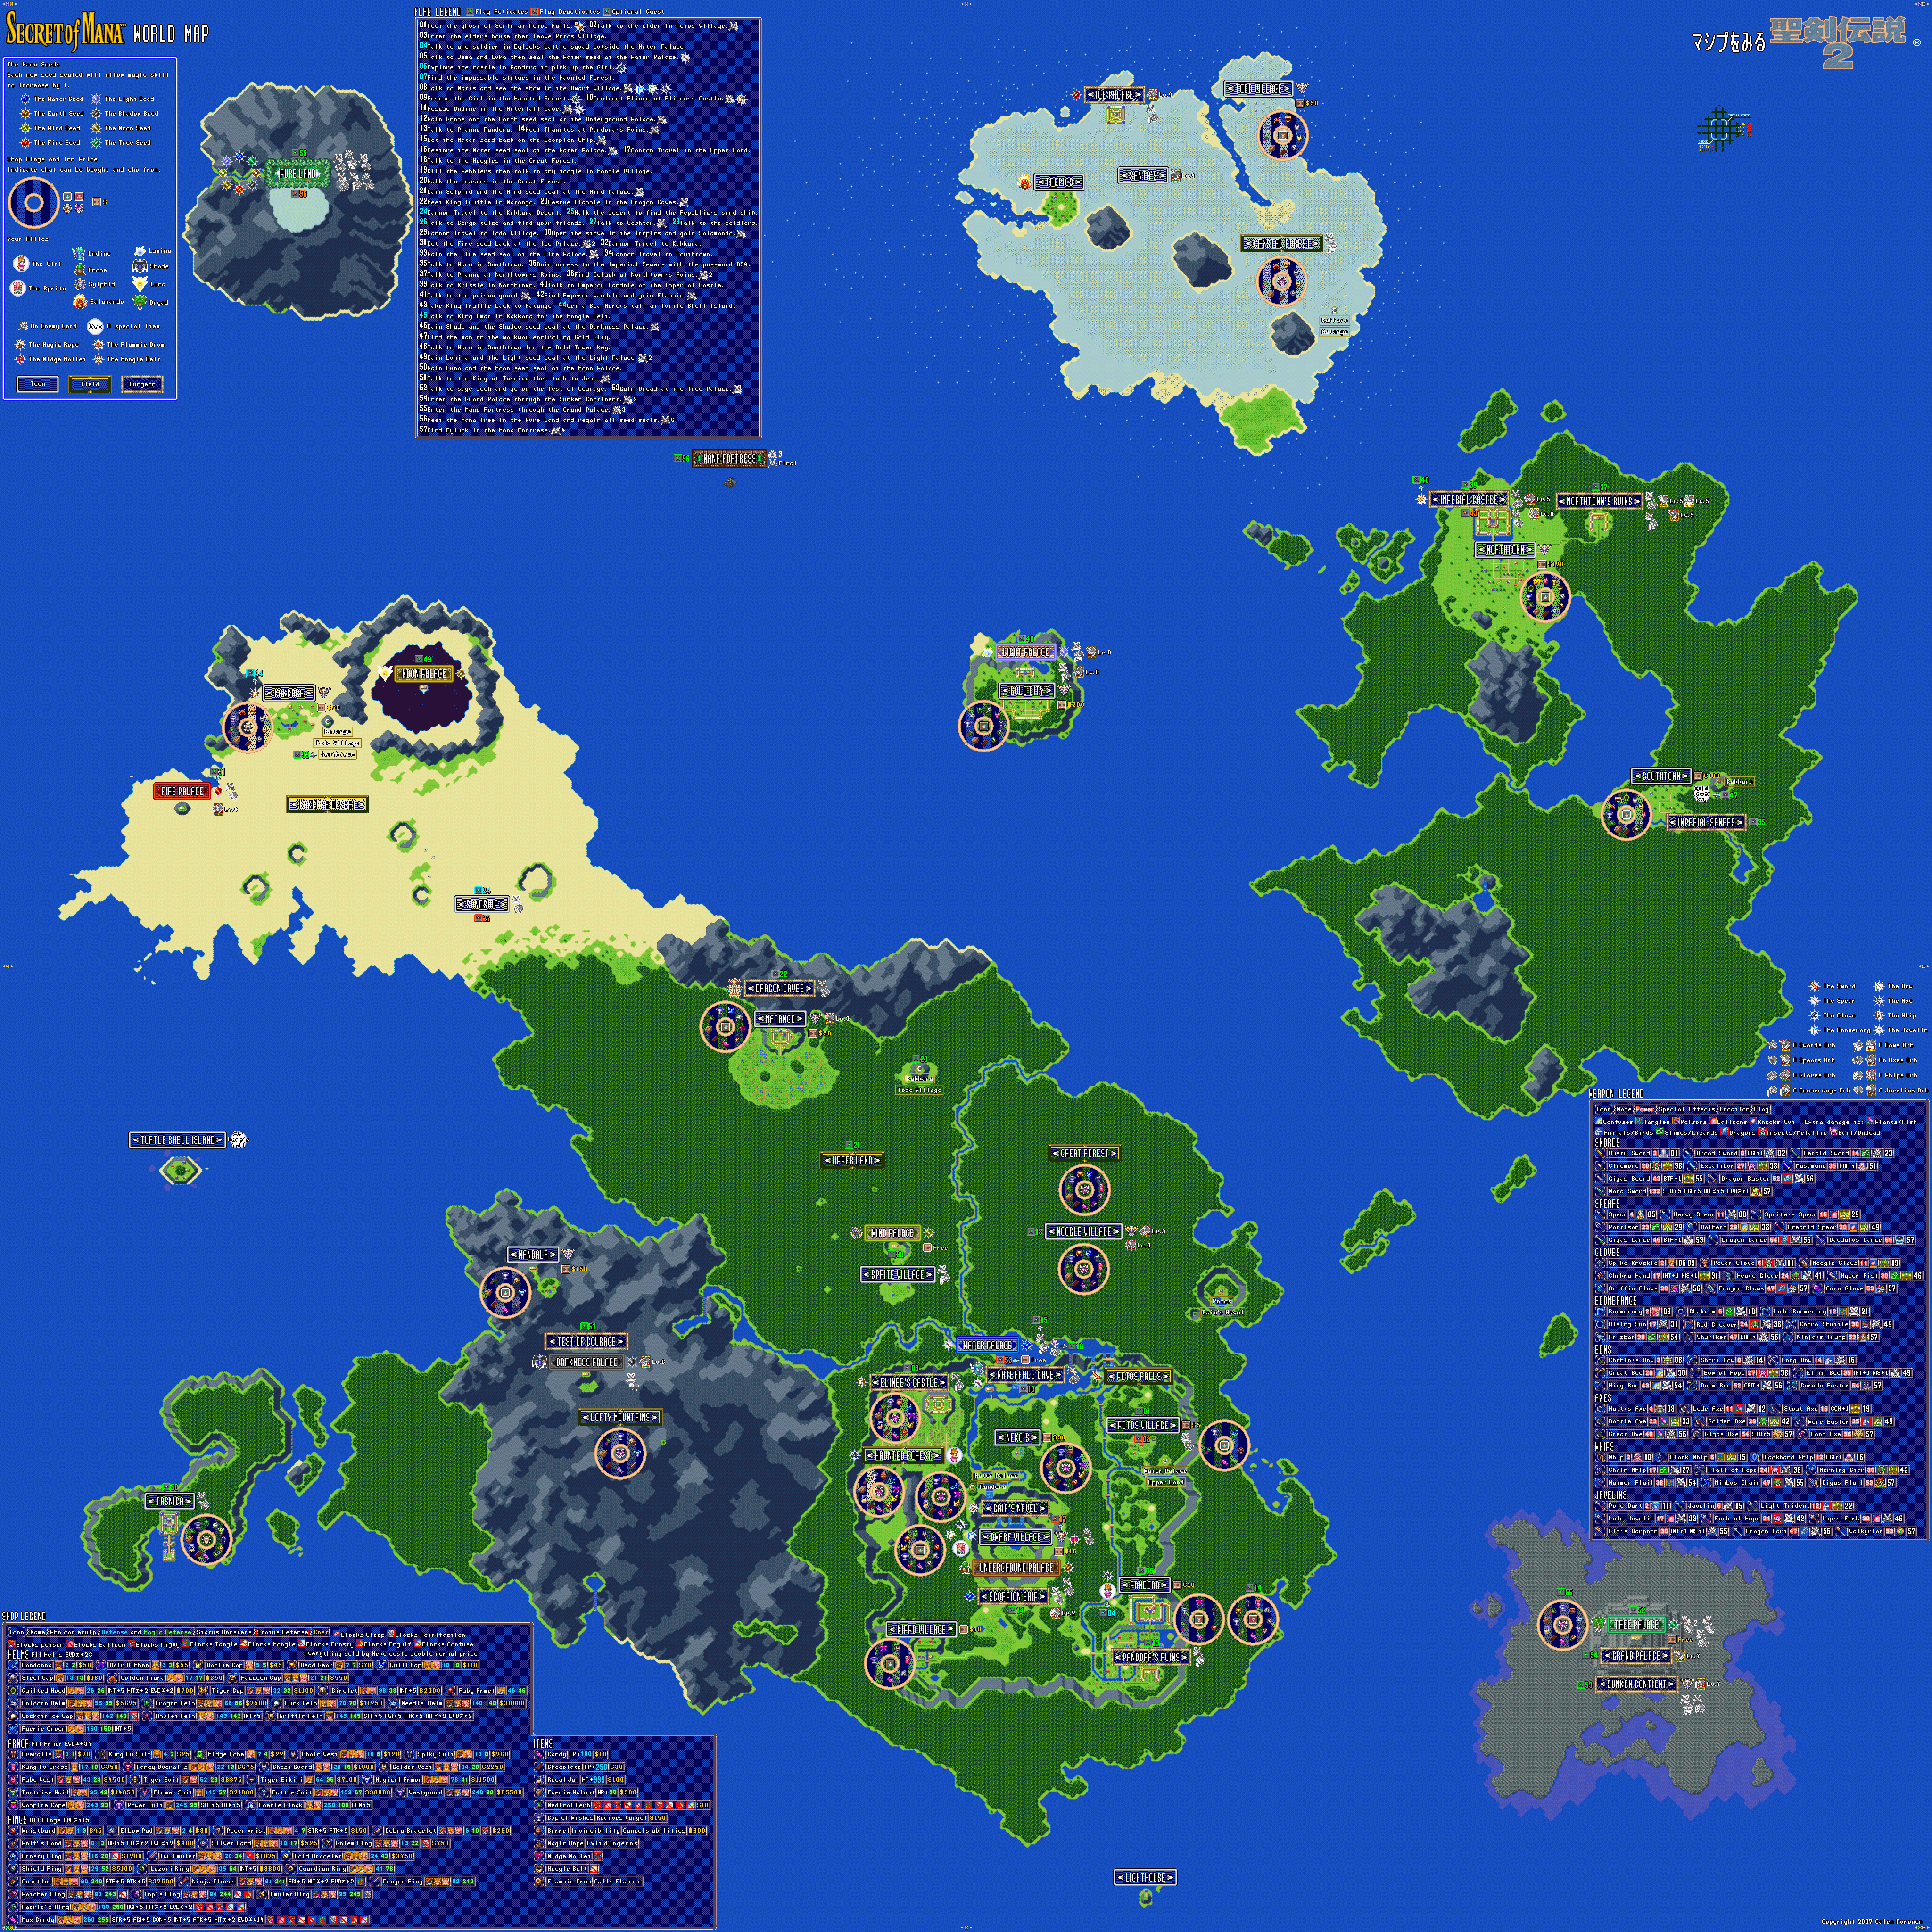
If you approach the Mana Fortress and stay in one spot when Flammie ascends near it, you'll enter the Mana Fortress. Unfortunately, you won't be able to do anything here due to the barrier, so you'll be bounced off it and back onto Flammie.
It is now that you'll need to find a huge mountain with a light blue and light green center. This is the Pure Land. Had you tried to go here earlier in the game, the game wouldn't let you, but now, you can go here.
Pure Land
The Needlions are palette swaps of the Pebblers. They can cast Earth Slide and Defender and can also petrify you with their physical attacks, so be careful. The Griffin hands can grab at you, but thankfully, they cannot cast magic. They can drop Griffin Helms, which only Randi can equipped, but it's a rare drop for the most powerful helmet he can get.
The Mushglooms are palette swaps of the Mushbooms and can cast Wall on themselves. The Ice Thugs are palette swaps of the Water Thugs and can cast Acid Storm and Curew Water. The Ice Thugs can drop Dragon Rings, which are marginally better than the Gauntlet but also increase your Strength a little bit.
You'll eventually find a cave where you'll fight the Dragon Worm. Much like the worm from where you looked for Flammie, you'll want to zap this boss with Slyphid's music. Don't forget to cast Lucid Barrier on your party and give Moon Energy to whoever needs it, and keep the Moogle Belt and Midge Mallet ready in case anyone gets Moogled or shrunken, respectively. The Dragon Worm can also cast Earth Slide, Balloon Ring and Petrify Gaze.
By beating the Dragon Worm, you'll get the Axe's Orb. The Gigas Axe increases Strength by five points.
If you see a staircase leading to an archway, you can save your progress there. Of course, if you do, you'll have to go to the area to the side to continue on.
You'll soon be fighting the Snow Dragon. This boss can cast Freeze, Breath Wing and Balloon Wing. Use Salamando to do a lot of damage to this boss. If you need to use physical attack, aim for the lower part of its body (the tail is considered the hitbox). Sometimes the Snow Dragon will disappear for a while. If this happens, you'll have to wait for the Snow Dragon to come back. Beating the Snow Dragon will give you a Bow's Orb. The Doom Bow raises the chance of critical hits.
The Eggplant Man can cast Lucid Barrier on themselves and can spawn Needlions. If you can smash them before they cast Lucid Barrier, you may be able to destroy them in one hit if you're strong enough.
The Ghosts are stronger palette swaps of the Specter and can cast a stronger version of Freeze.
The next boss on the hit parade is the Axe Beak, which fights like the Spring Beak from the Upper Land. This boss can cast Sleep Gas, Sonic Pulse and Fireball. Hit this thing with magic more often much like you did with the Spring Beak, and use Freeze if you want to deal the most damage. Beating the Axe Beak gives you a Javelin's Orb. The Dragon Dart is effective against dragon-type enemies.
Thursday, December 23, 2021
HCBailly and JB play Secret of Mana - Part 35 of 41
The Emperor is dead. From here, you'll have to revive the Mana Sword.
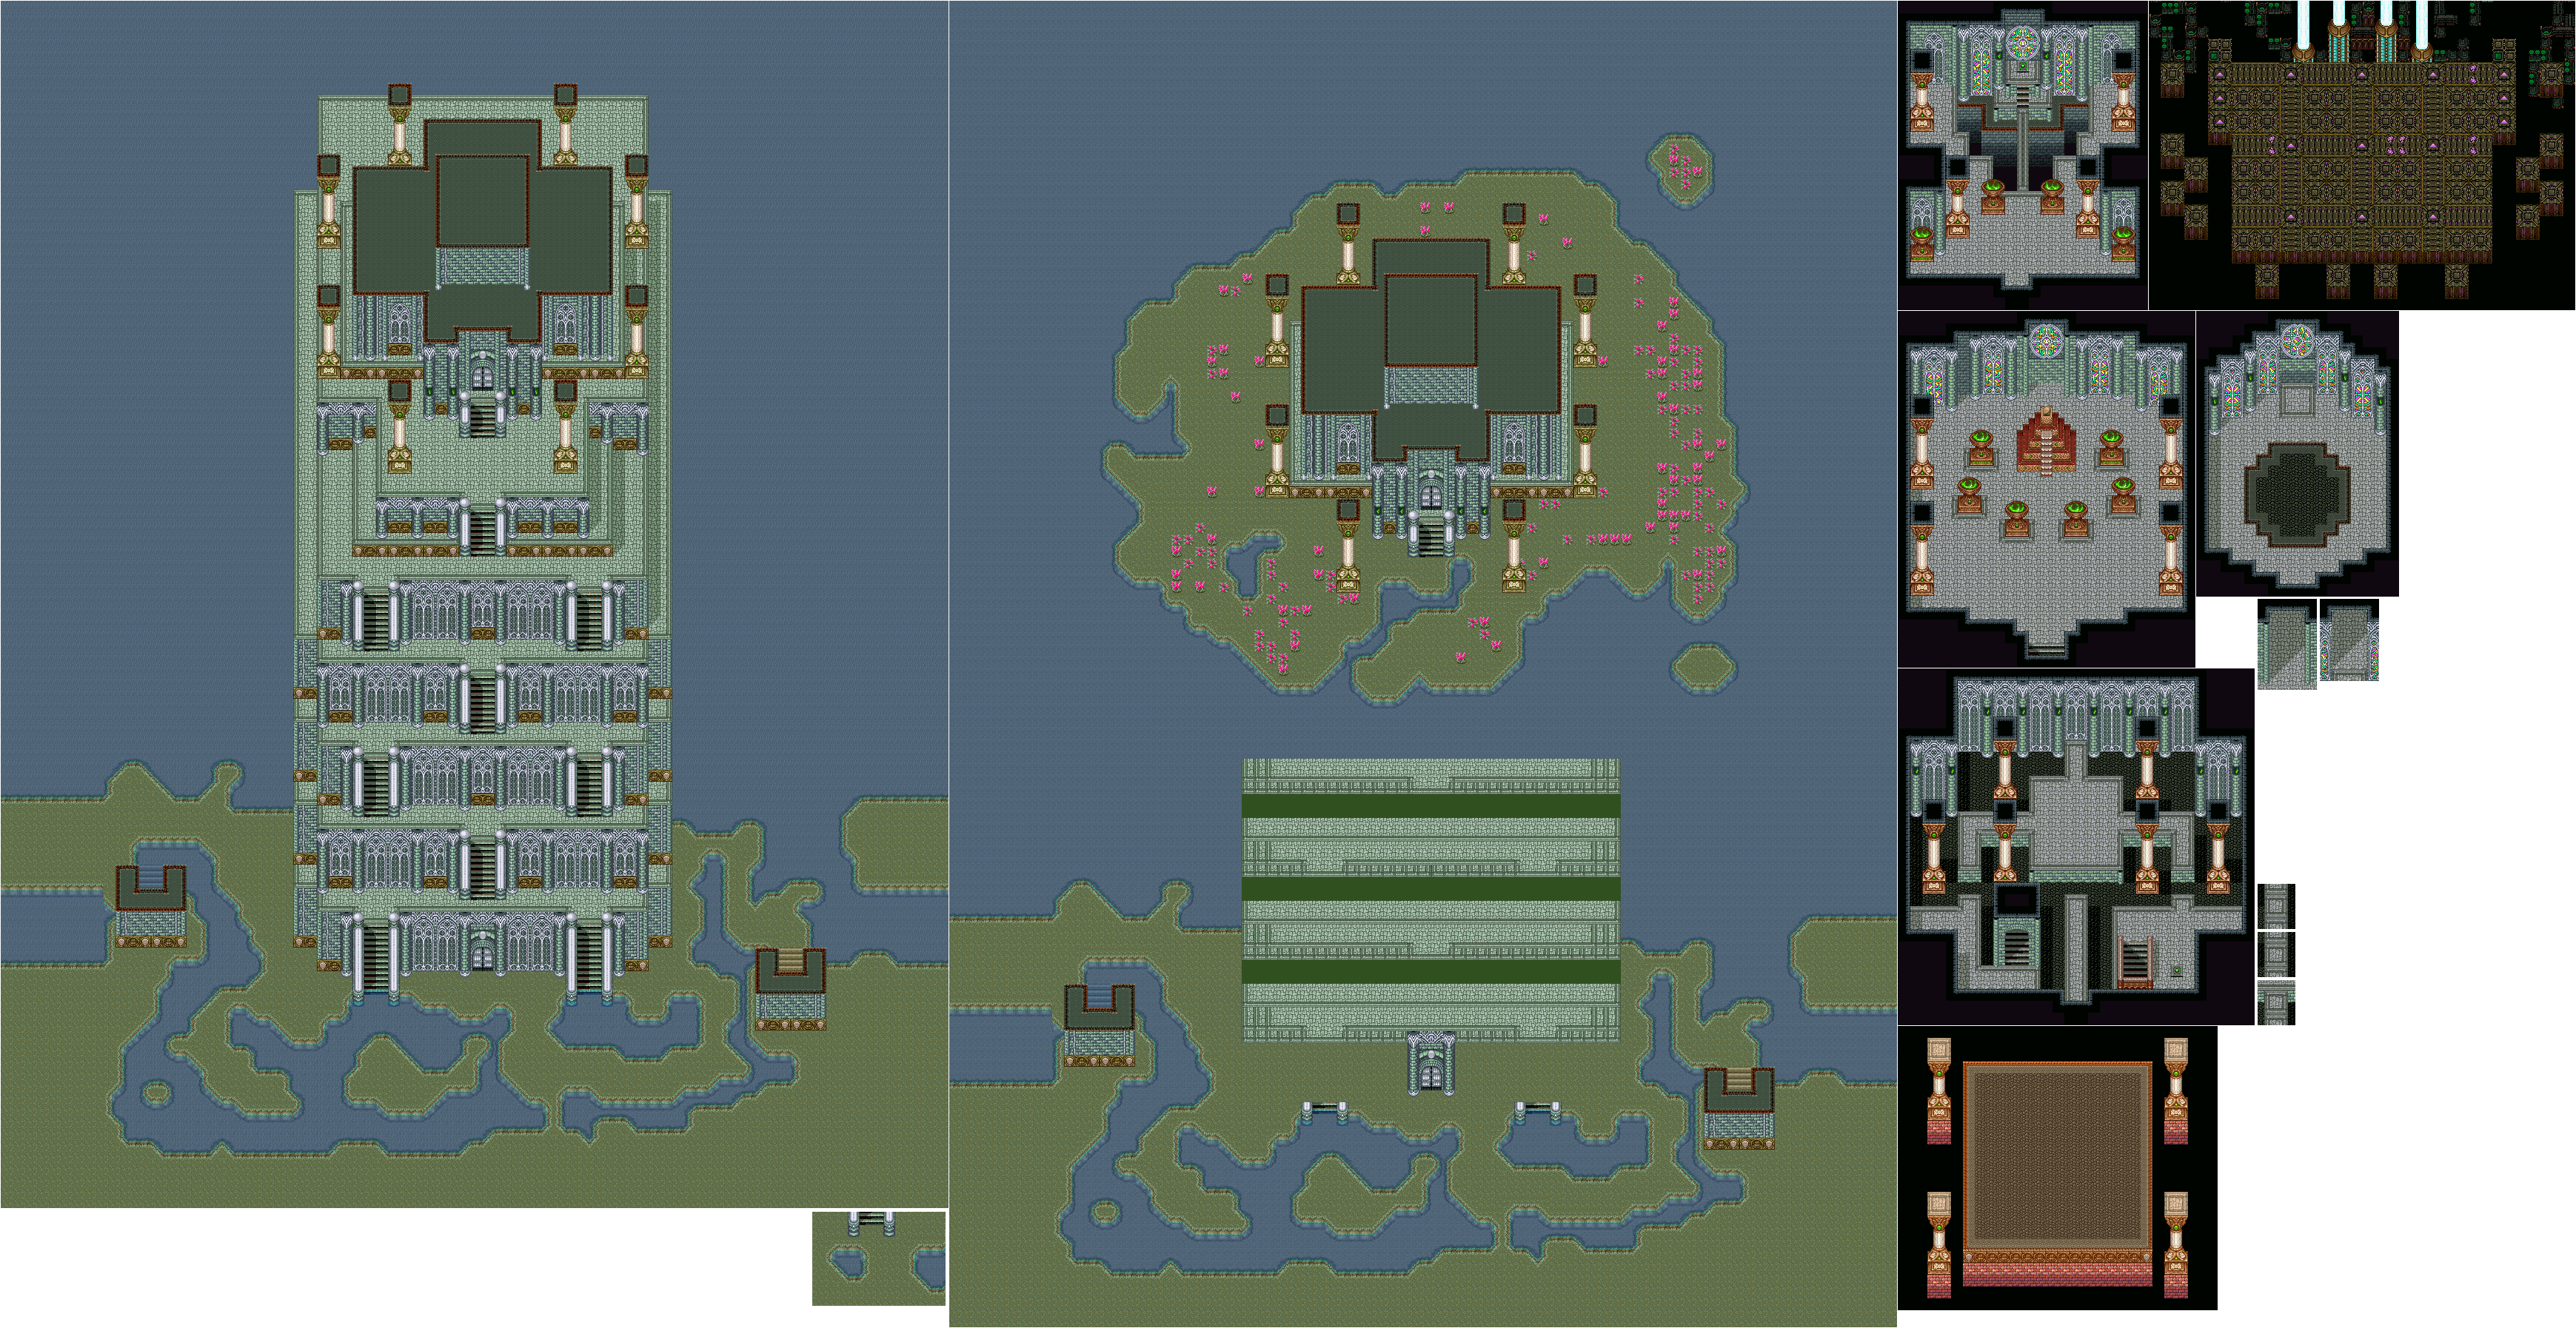
When you go back to the Mana Seed, you'll meet Emperor Vandole. Unfortunately, he is dead. There will be an exit to the north. Go there, and you'll meet Fanha, who admits to killing him so that Thanatos can take over the Mana Fortress. Thanatos says that he will use Dyluck for his new body, then he and Fanha go to the Mana Fortress. You'll then have to face Hexas.
Use Lucid Barrier on your party, and use Moon Energy on one of your party members. Hexas will use Dispel Magic and will also pygmize you with Pygmus Glare, so have that Midge Mallet ready! Hit Hexas from a distance, and use powerful attack spells.
Beating Hexas will give you a Whip's Orb. The Nimbus Chain inflicts damage on insects and other animal-type enemies.
Head further north and step on the switch in the northern end of the room. You'll see Geshtar in his Mach Rider form one last time, even though he is dead. As it turns out, Thanatos revived him. This time around, Mach Rider is riding on a gold bike and can cast Wall on himself. Hit him with powerful physical attack and cast Lucid Barrier on your party. Beat Mach Rider will get you the Spear's Orb. The Dragon Lance is effective against Dragons.
From here, the Mana Fortress will rise into the sky. Your party will automatically leave the palace as the continent sinks back into the ocean.
Land back at the Tree Palace and talk to Jema near the front doors. He will tell you that the Mana Beast will appear and crash against the Fortress at any minute. You'll also find out about the Mana Tree and the Pure Land at the world's end that is usually hidden under a dense cloud barrier. Unfortunately, the Mana Fortress is consuming the last of the world's Mana, weakening the barrier. The seeds of the palaces are a small part of the Mana Tree, and if you can find the Mana Tree itself, you can instantly revive the Mana Sword. You'll have no choice but to go there.
The Resistance will also be on the continent. If you talk to Krissie, you'll be able to restore your HP, but not your MP. You can also see Neko here, and you can get the Gauntlet, Vestguard and Unicorn Helm for all three members of your party. Do that; you'll need the armor, as even though is better armor on the Mana Fortress, they are all rare enemy drops. You can also see Watts here, too.
HCBailly and JB play Secret of Mana - Part 34 of 41
We're not done yet. There's more of the palace to get into. Also, I like the orb puzzle.
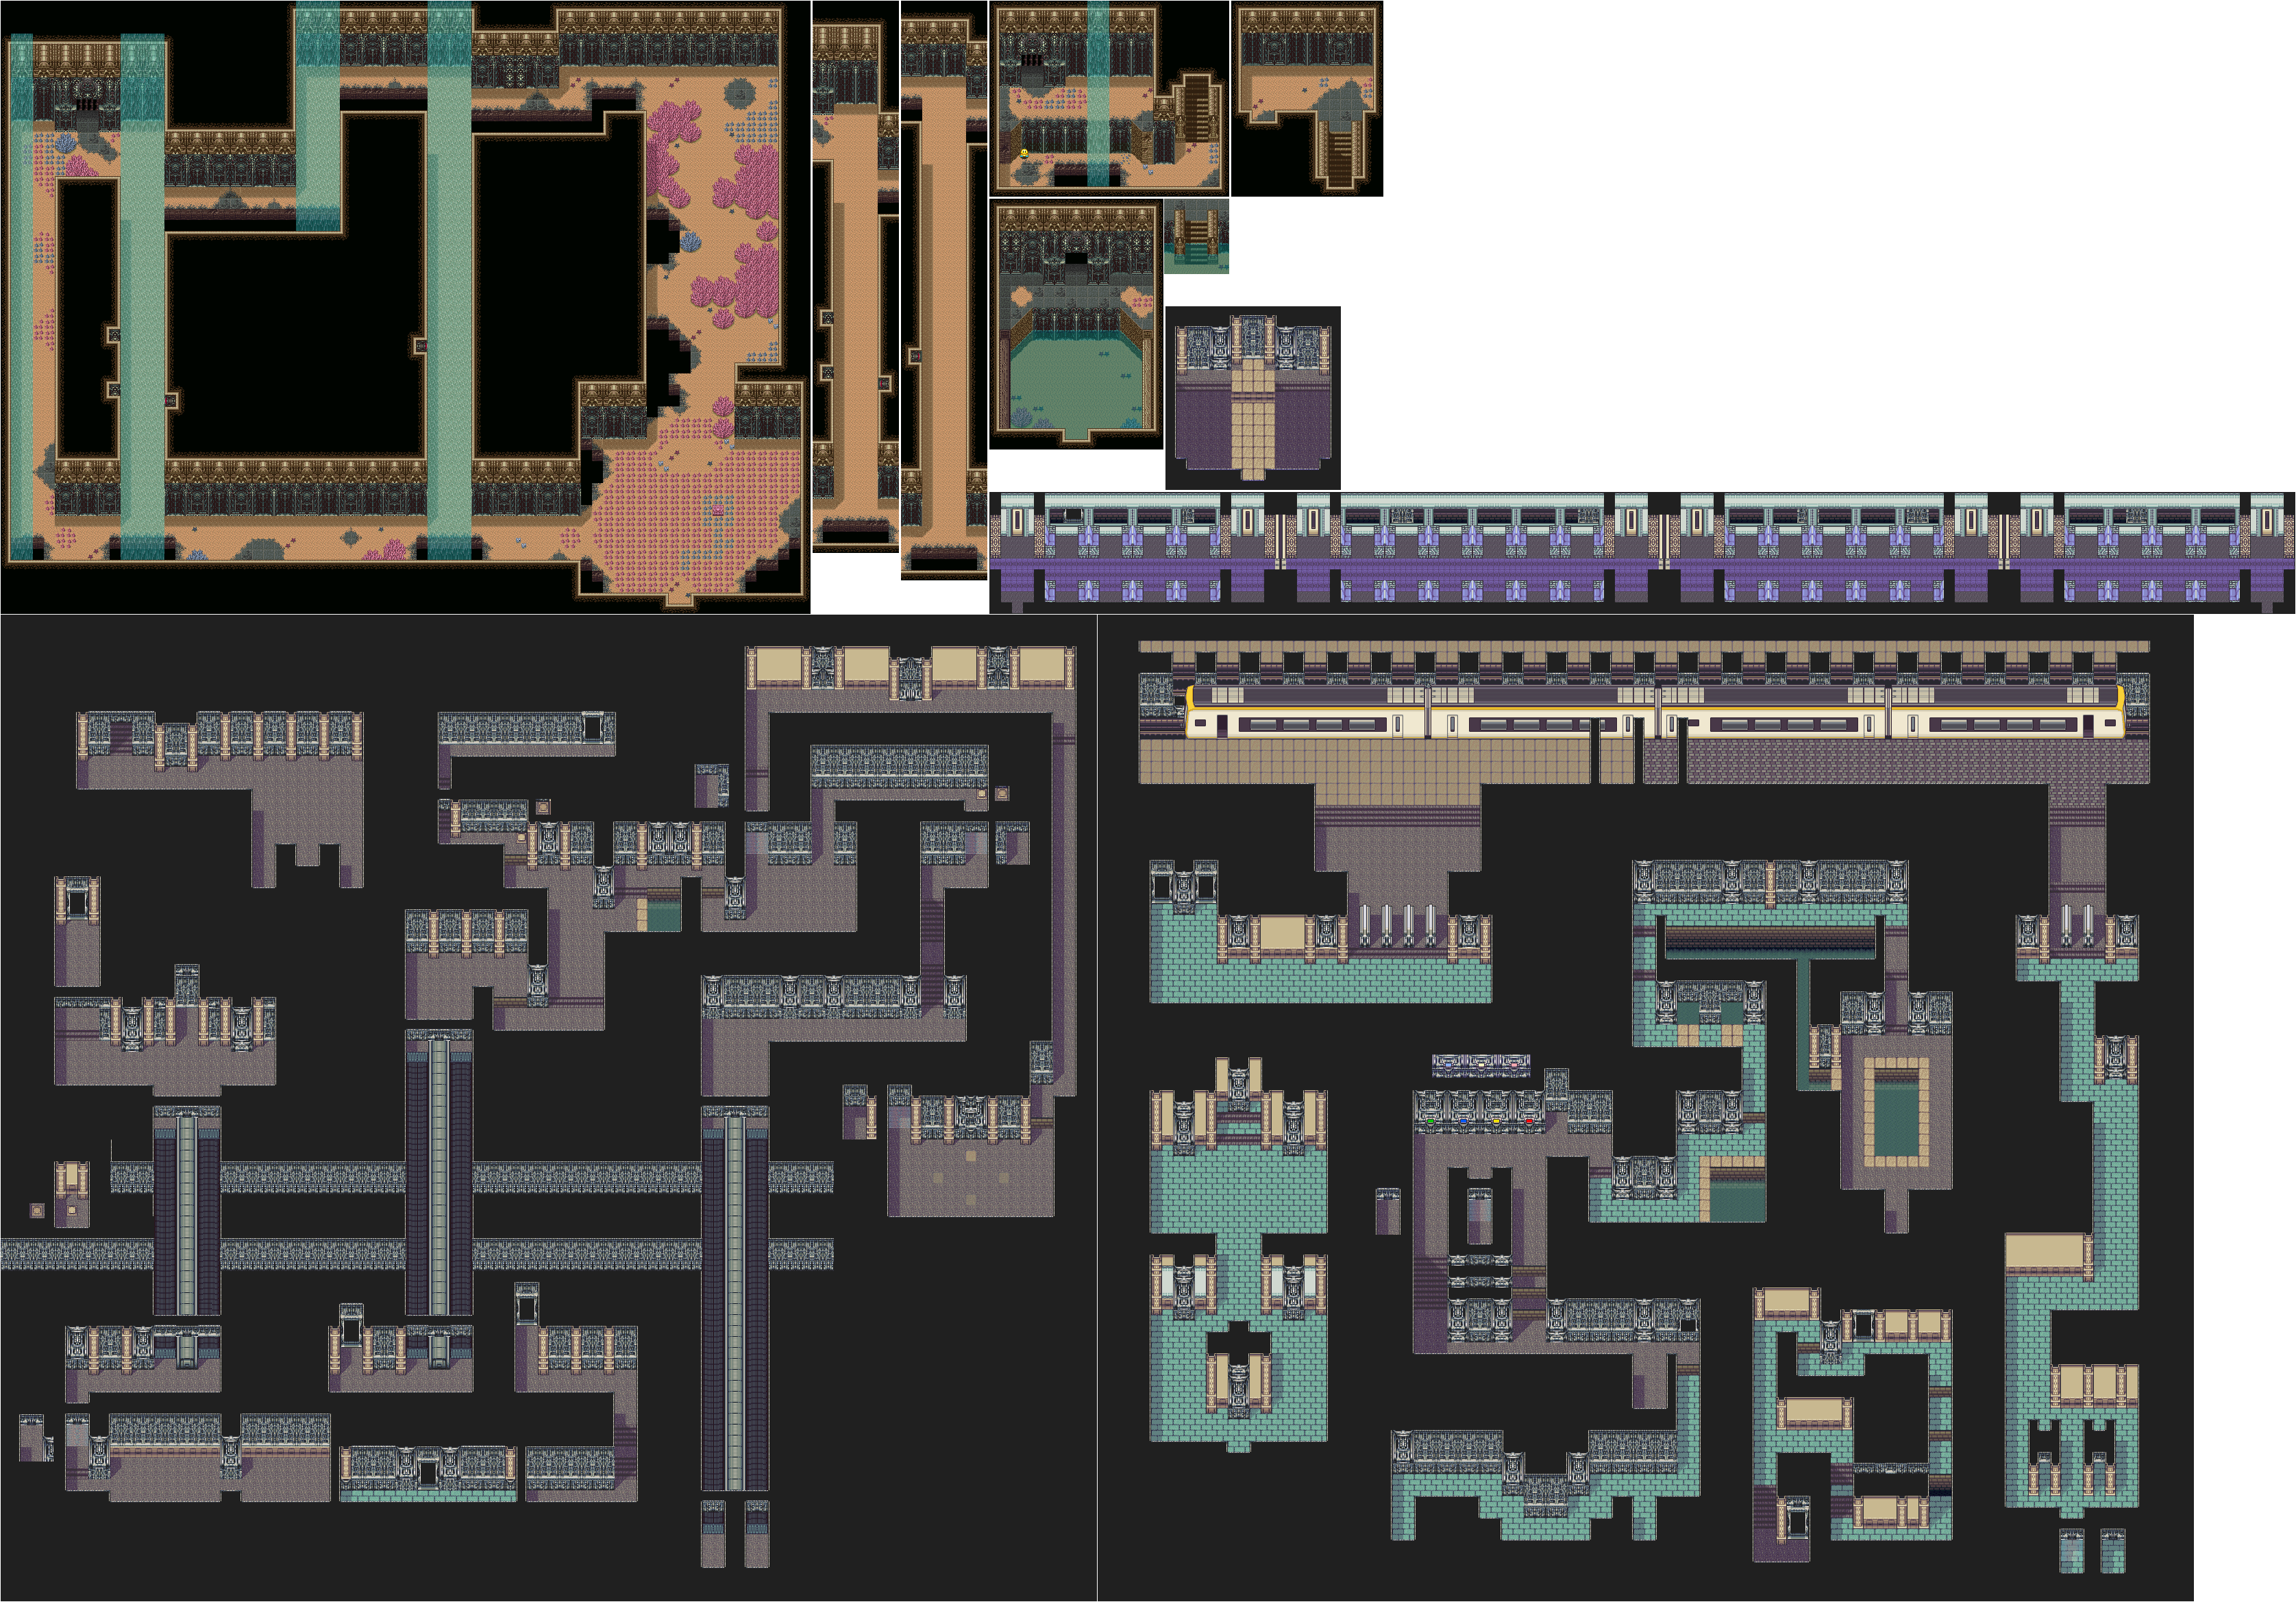
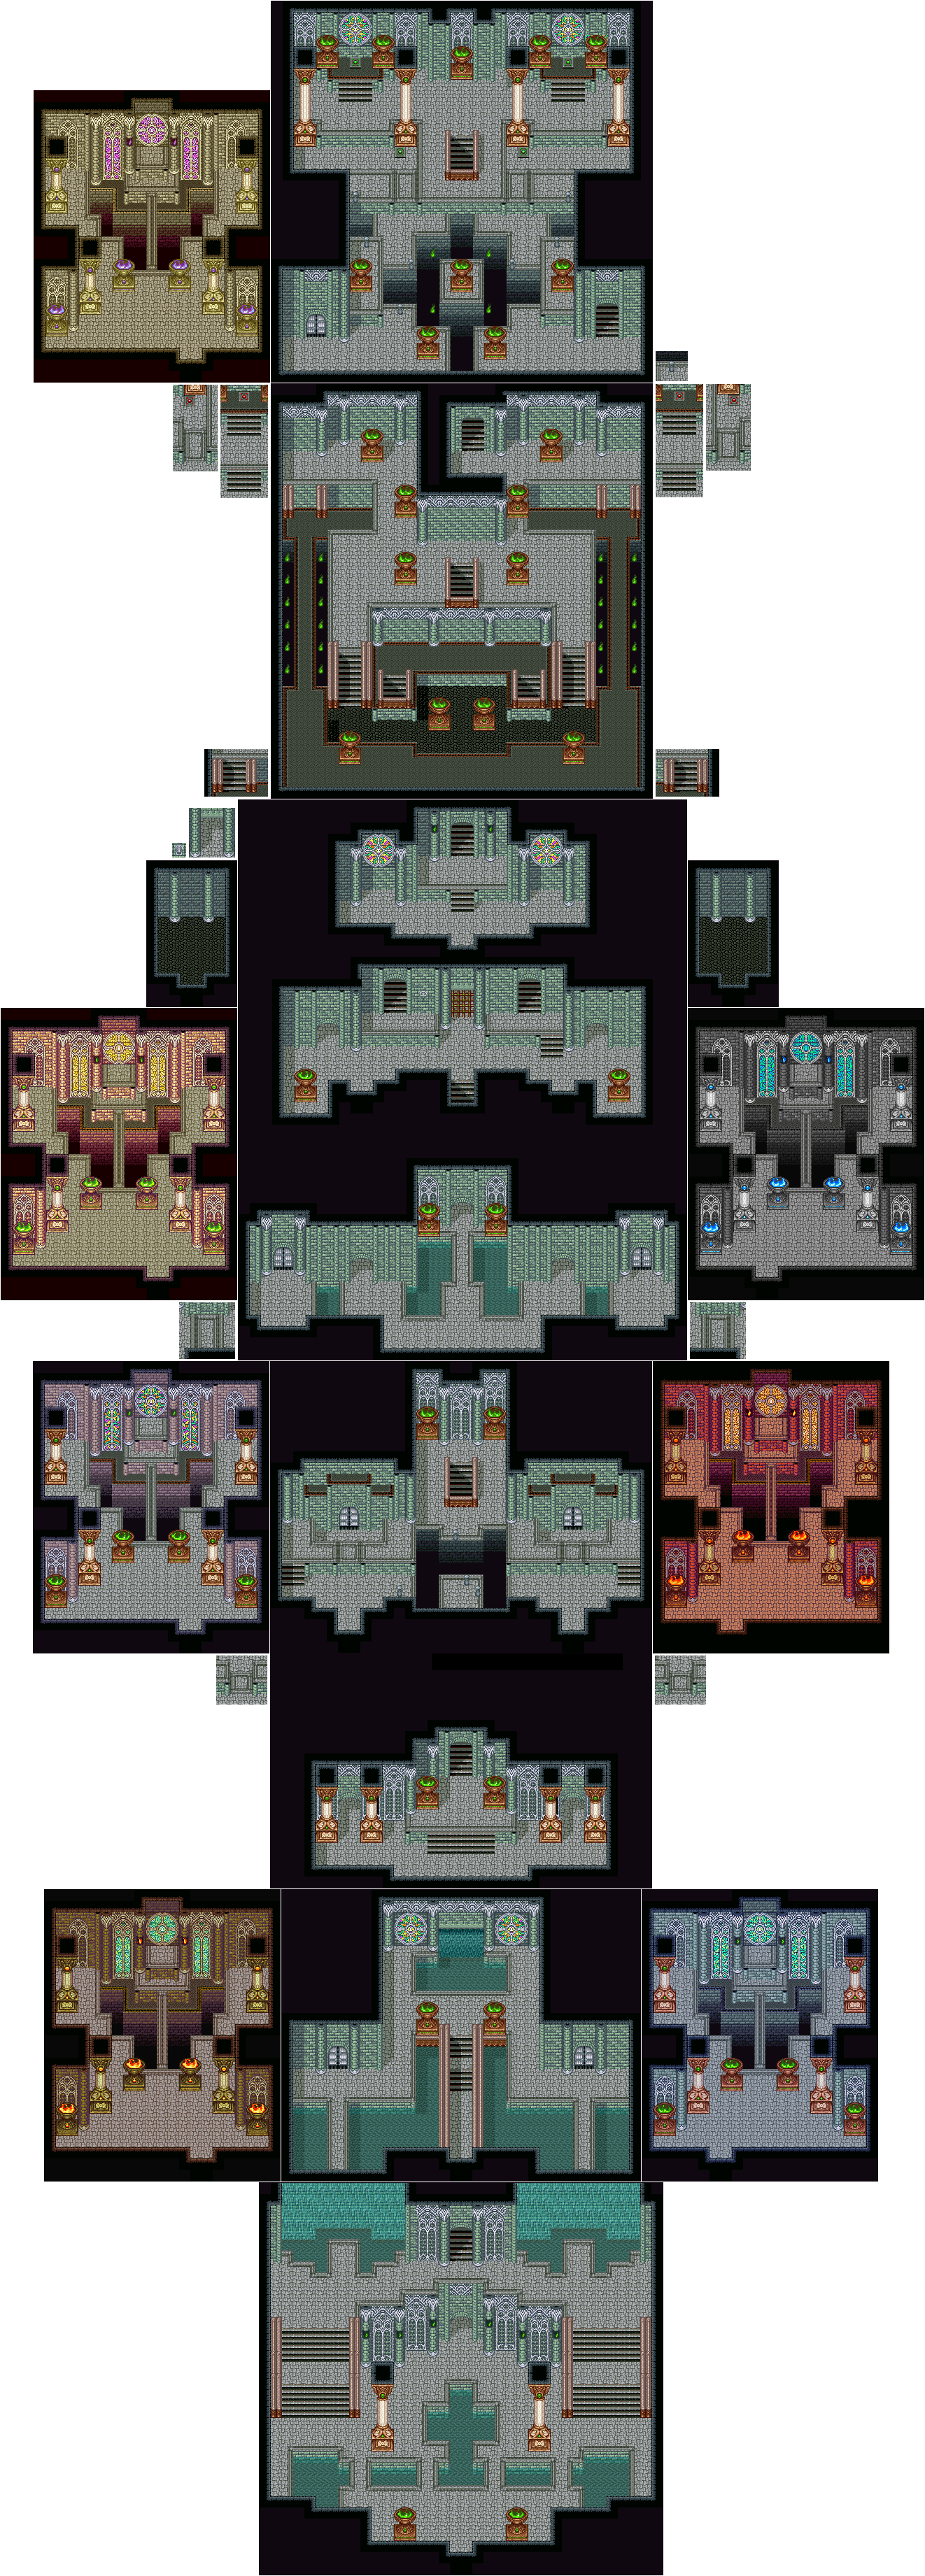
At the bottom of the Tree Palace is the Grand Palace.
There are seven rooms in the Grand Palace that look like the other Palaces throughout the game. Using Analyze on the orbs will tell you which elemental works, but if you know the color palettes for the palaces, you can tell which palace is which immediately. By casting the proper spell on these orbs, you'll be able to open a path to the end. Here are the spells to use on each elemental orb:
Gnome: Gem Missile
Lumina: Lucent Beam
Luna: Lunar Magic
Salamando: Fireball
Shade: Dark Force
Sylphid: Air Blast
Undine: Freeze
When you get rid of an Orb, a National Scar will spawn. The National Scar is a palette swap of the Mystic Book, and it can cast Wall on itself and Evil Gate on your party. Also, the Doom Swords are palette swaps of the Evil Sword and can cast Stone Saber.
The Gremlins are palette swaps of the Imp, and they can turn you into a snowman and Freeze you with Frosties. The Heck Hounds can cast Blaze Wall on your party and can spawn Howlers, and they are also surrounded by Beast Zombies. The Turtlances are palette swaps of the Shellblast and can cast Light Saber.
There is a chest in the Great Palace that contains a Sword's Orb, so don't forget to find it before you leave. The Gigas Sword increases Strength by two points.
At one point, you'll need to go up a staircase to hit a switch with your weapon. You'll need to do this to open a gate. You'll also need to trigger some floor switches to move push platforms down to enter two of the orb rooms.
At the end, you'll face the Snap Dragon, which fights just like the Biting Lizard. Beating the Snap Dragon gives you the Javelin's Orb. The Elf's Harpoon raises Intelligence and Wisdom. From here, you have an shortcut back out of the Great Palace if you need it, but you'll want to head back to the Mana Seed.
Wednesday, December 22, 2021
HCBailly and JB play Secret of Mana - Part 33 of 41
After having made our way into the Grand Palace, we make our way even deeper into something more fortress-like and even take a...subway train?
When you head north from where you fought Hydra, you'll be in a more fortress-looking area. You'll find conveyor belts, and the first one you see has a hidden wall to the west that you can walk through to find a switch. In one room, you'll find Watts as well as the Resistance. Krissie can heal you, while Watts can forge your weapons as always.
There is another room in this area, and if you enter it, you'll find a solder who mentions "Red-blue-yellow-green" before asking what it means. Remember that for later.
If you see another brick patterns, those are drop-off points. When you walk past them, you won't be able to return.
You'll eventually have to hit another switch to open up some barriers blocking certain archways, which will allow you to continue in this area. For the area with the four brown tiles, stand between all four of them. You'll open a door.
When you see the four colored rights, hit red, blue, yellow then green with the B button. You'll open up another barrier. Go down the stairs and step on the switch along the path to open up another door to the west, which is near a switch you stepped on earlier.
This will allow you to head towards a subway. Yes, there is a subway here. Go through the open door and get to the end of the subway, but watch out for all the Ghouls. When you get off, you'll be in another area. Head south. There is a hidden switch near the end; just walk between the pair of walls on the right to step on it and open up the nearby barrier.
You'll then meet the Scorpion Army for the first time since much earlier in the game. They will send another robot named Kettle Kin to take the Mana Sword from you so they can sell it for money. Keep hitting it with spells, as Kettle Kin will use Lucid Barrier to protect itself from physical attacks, and don't stay close to it so you don't get smashed by its spinning hammer attack. Beating Kettle Kin will net you the Bow's Orb. The Wing Bow confuses enemies. Afterwards, the Scorpion Army leaves, and you'll be back outside. Head west to get to the door of the Grand Palace. It's not over yet...
HCBailly and JB play Secret of Mana - Part 32 of 41
We try to stop the Emperor in this entry, but unfortunately, the Emperor gets his wish.
Tree Palace
If you tried to enter this palace before this point in the game, a magic barrier would have pushed you back, but you can now enter at this point.
When you do, you'll meet Emperor Vandole and his two henchmen The Emperor has broken all the seals, then says you won't be around for the last seal to be broken. Sheex will volunteer to defeat you, then turn into another boss: the Aegagropilon. You'll also find out that Sheex was the Dark Stalker to tried to attack Tasnica earlier, and that the Empire has signed a contract with the underworld to take over this one with the Mana Fortess.
To beat the Aegagropilon - who can cast Burst and Sleep Flower on your party and Wall on itself, use Popoie's Earth Slide, and cast Lucid Barrier on your party. Don't forget to cast Moon Energy for big hits.
When the Aegagropilon jump sinto the air and lands, watch the shadow and smack it with physical attacks before it bounces around.
When you beat the Aegagropilon, you'll get the Spear's Orb. The Gigasa Lance increases Strength by two points. You'll also beat Sheex for good. From here you can go to the left and take the stairs to the Mana Seed.
When you do, you'll find out that the seal has been broken, and that your Mana Power has been reduced to zero. Dryad, the tree spirit, will show up and tell you to get out before the hidden continent rises. Popoie and Purim convince Dryad to help, and Dryad will join your party as the last element, even though their Mana Magic is sealed, leaving you with two spells for each characters.
Purim's Dryad spells are as follows:
Revivifier: Revives a character much like the Cup of Wishes. You'll definitely want to get Dryad's levels up for this one, if not for Wall. (10 MP)
Wall: Like Lucid Barrier, but is green and reflects magic attacks back on the enemy. (6 MP)
Popoie's Dryad spells are as follows:
Sleep Flower: Puts the enemy to sleep. (2 MP)
Burst: Hits the enemy with a powerful explosion. (4 MP)
After Dryad joins, you'll be on Flammie, helpless to watch as the sunken continent rises. The music for when you fly around also changes. Land on the continent and start fighting.
When you land, you'll be at the top of the now-risen Tree Palace, where you can talk to Jema. He will tell you to get into the ancient city underneath the palace. Make your way downstairs into the watery area, then find some stairs to the left and go down them.
The Metal Crawlers can cast Wall on themselves, and they can Poison and Engulf you, making them very dangerous to deal with.
The Steelpions can cast Defender on themselves much like the Sand Stingers, but they can also use Gem Missile against you and they can Poison you.
The tiny spikes can be broken with the axe, and the waterfalls will push you back if you stand on them. At the beginning of this area is a chest with the Boomerang's Orb. The Frizbar is effective against slimes and lizards.
Don't touch the floor switch in the second room. It resets all the spikes.
The Kimono Wizard spawns Metal Crawlers, and can cast Freeze and Energy Absorb on your party.
The Basilisks can Petrify your party if they get too close, and they can also spawn Eggatrices. They can cast Defender, but it's really weak.
At the waterfall in the second room, go all the way to the west, keep moving north and strike the switch to the west with a weapon when you see it. This will remove the waterfall. For the waterfall near the end, stay near the east wall and strike the switch.
You'll soon face the Hydra, a re-color of the Jabberwocky. It attacks much like that boss did, too, but it can also hit you with the Current attack. Use Moon Energy and Lucid Barrier to make fighting this thing up close easier.
Beating the Hydra will give you the Whip's Orb. The Hammer Flail will slow enemies it hits down.
After beating the Hydra, you'll meet Emperor Vandole, Fanha and a soldier, but they leave after Emperor Vandole tells Fanha to let the Mana Fortress deal with your party and Fanha blinds everyone in the room with a bright light.
Tuesday, December 21, 2021
HCBailly and JB play Secret of Mana - Part 31 of 41
In this entry, we finally take the test of courage.
The Test of Courage
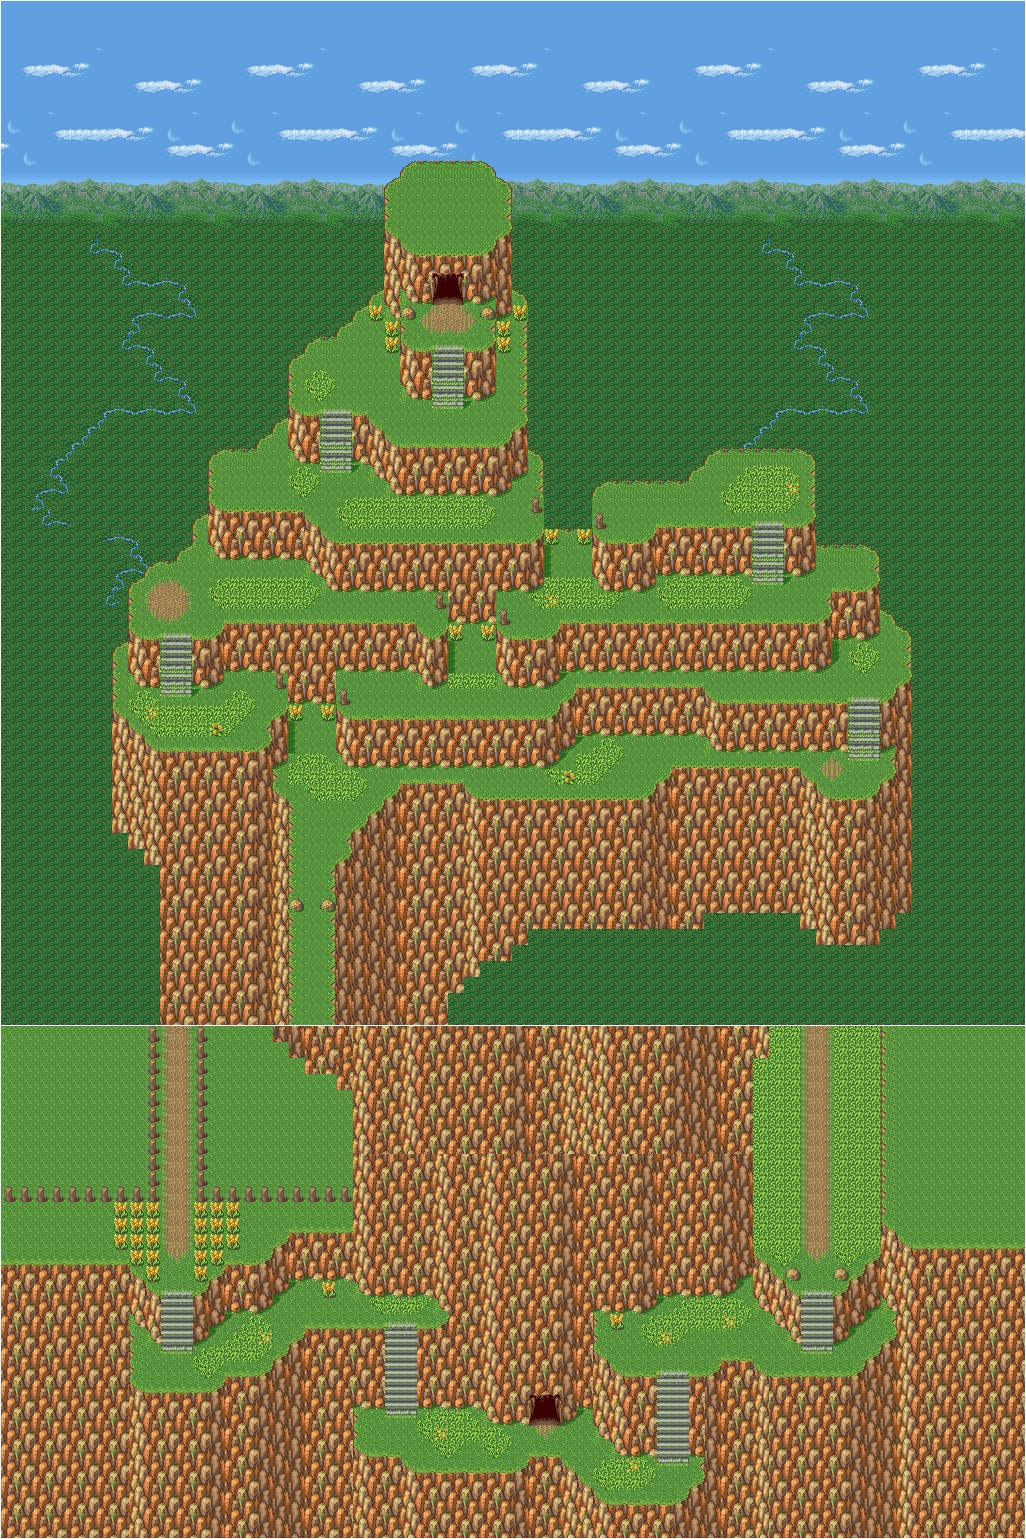
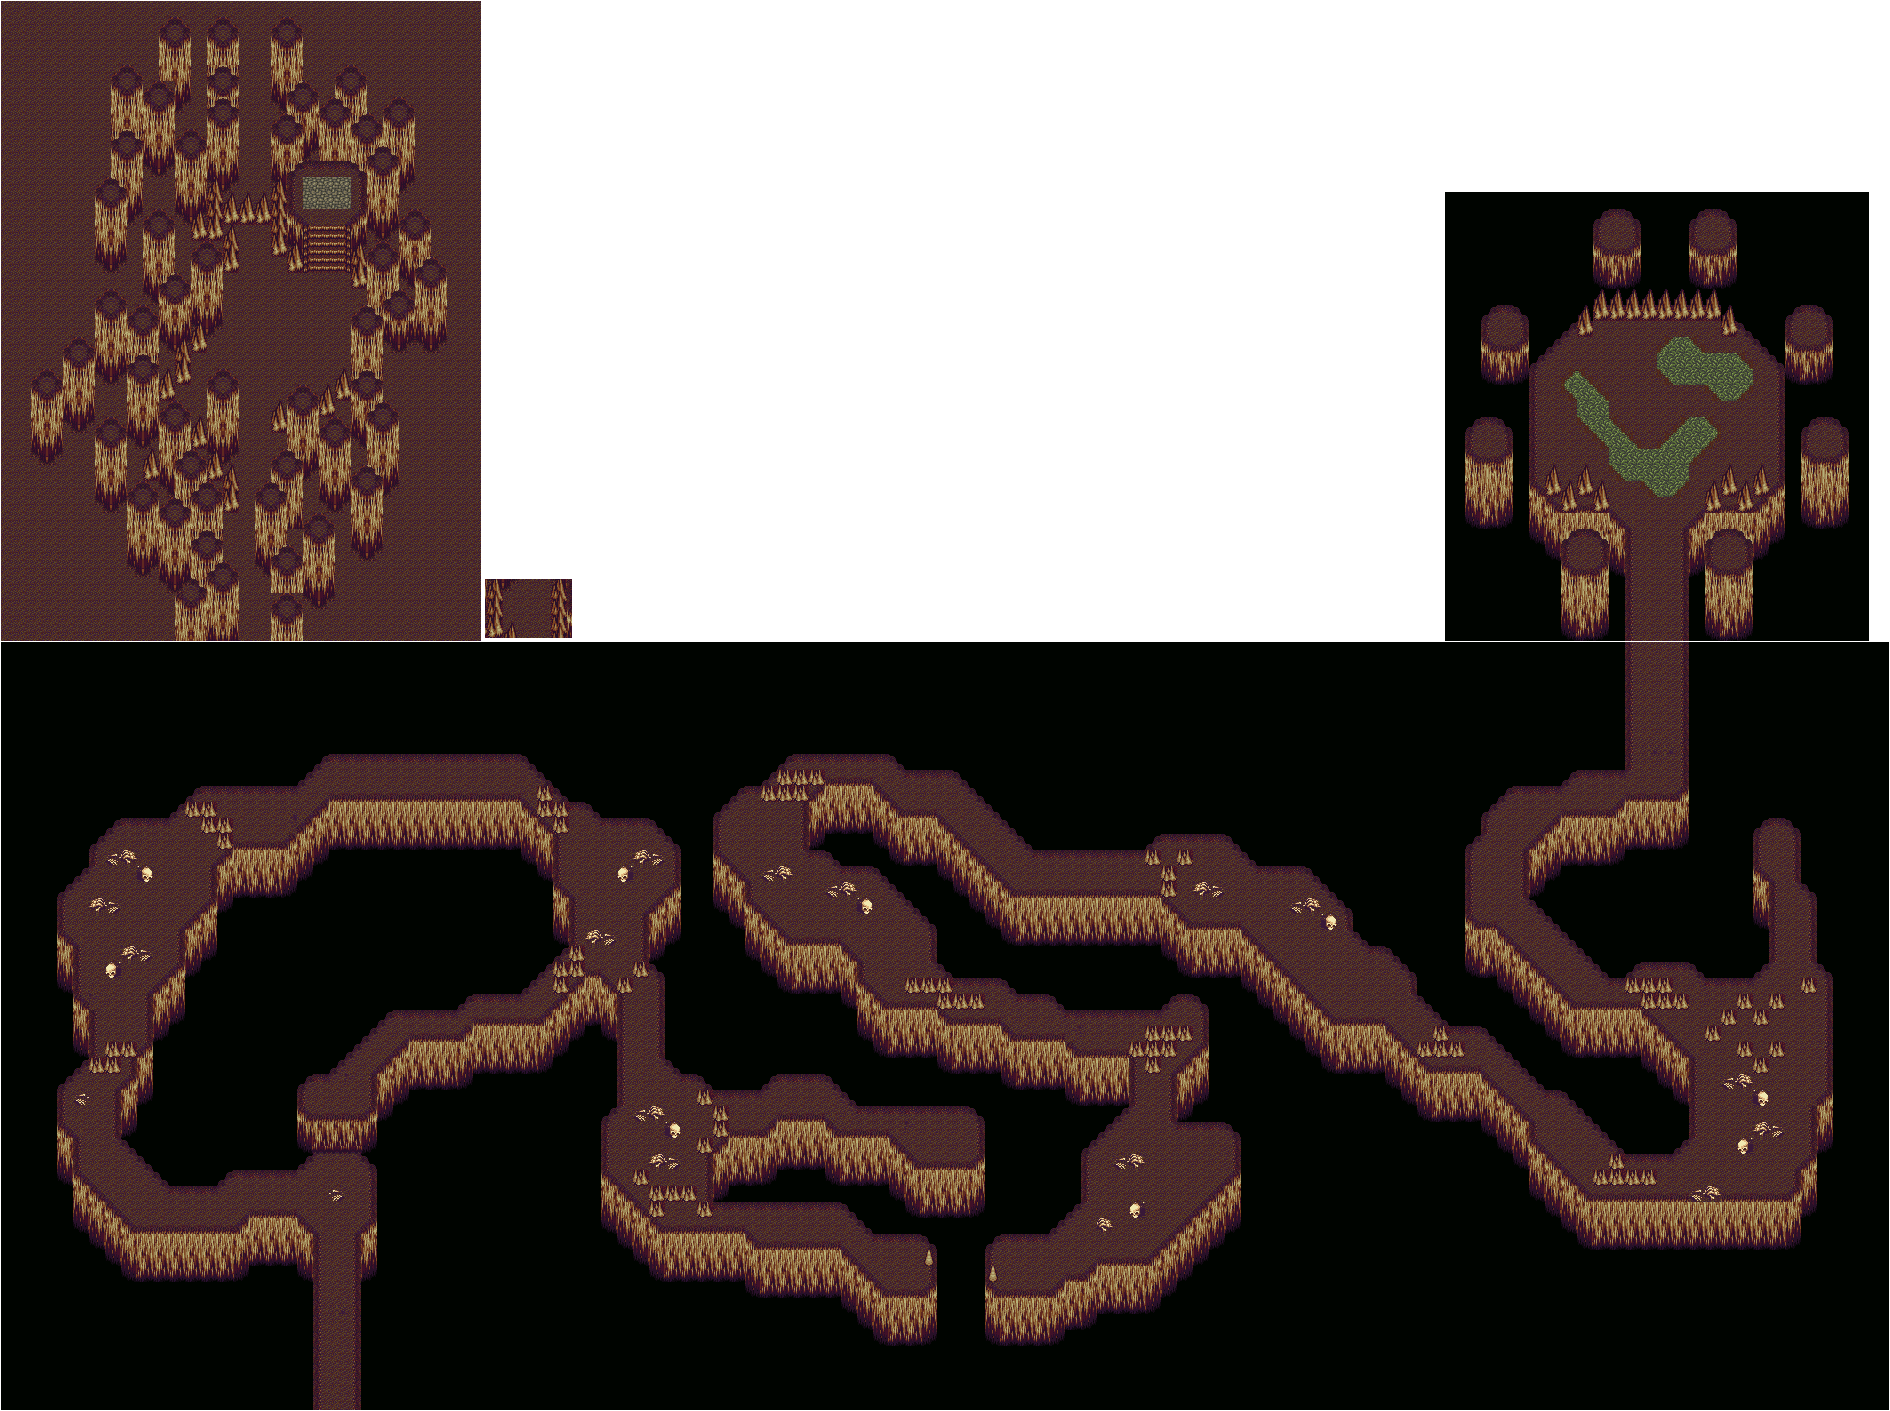
When you return to Jehk, you'll finally meet Sage Joch. Talk to Joch, and you'll find out that you must undergo a test where you must conquer the ones within to learn courage. From here, you can head north.
The Nitro Pumpkins will cast Wall on themselves, and they can cast Burst and Sleep Flower for some good damage. They're also hard to hit with your weapons unless you can land critical hits. Good thing we have Moon Energy. If you can luck out, you can cast Change Form on them to turn them into weaker enemies before they can cast Wall.
The Shape Shifter can spawn other enemies, such as Captain Ducks that can cast Exploder on your party, Eggplant Men that can cast Lucid Barriers, and even Metal Crawlers that can Poison and Engulf you.
At the end, you'll face three clones of yourselves known as the Shadows. The Randi clone (Shadow X1) wields the sword, the Purim clone (Shadow X2) wields the gloves and the Popoie clone (Shadow X3) wields the boomerang. They fight much like you, even down to the high-level strike combos, but they do not have a lot of hit points and a high level physical weapon strike can take them down in one hit if your stats are good.
When you beat the three Shadows, head south and you'll go back to Jehk. You'll find out that Jehk was really Sage Jock all along and that the other guy was just an illusion. He will tell you that he waited for you to find your inner strength before helping you, then tells you that the Emperor seeks to raise the hidden land. He also tells you that atop the coral, you'll find the Tree Palace, and below that, the Mana Fortress. You'll then get your HP and MP restored, and you don't have to come back to the Lofty Mountains again.
There is one place left to go: the purple island with the palace in the center. This is northwest of here. Land at the palace.
Monday, December 20, 2021
HCBailly and JB play Secret of Mana - Part 30 of 41
In this entry, we head to the Moon Palace, then head to Tasnica under the advice of the sage Joch.
South of Pandora is a lighthouse. There is really no reason to go here other than just because you feel like it, and if you walk up to the top of the place, there is a guy spinning in place. If you talk to him, he will tell you that he is the caretaker and that there is a sunken continent underneath a coral reef to the northeast. He will tell you that the Mana Palace is really a switch that will re-float the continent, and that the power of the ancients must have been incredible. You could go there now, but a magic barrier will push you back.
There's not much else to do here, so head to Kakkara. There is a big black spot in the desert, and if you land in the sand near it, you'll land in an area of the desert that hasn't been seen yet that is littered with stars and a big, black night sky. Head north, and you'll find a ship.
On the ship is a Robin foot named Karon (this is a mistranslation of the name Charon...hey, Charon). The ferry boat will take you to the Moon Palace, which is your next destination. After a short ride, you'll be able to get off the pier and head north.
Moon Palace
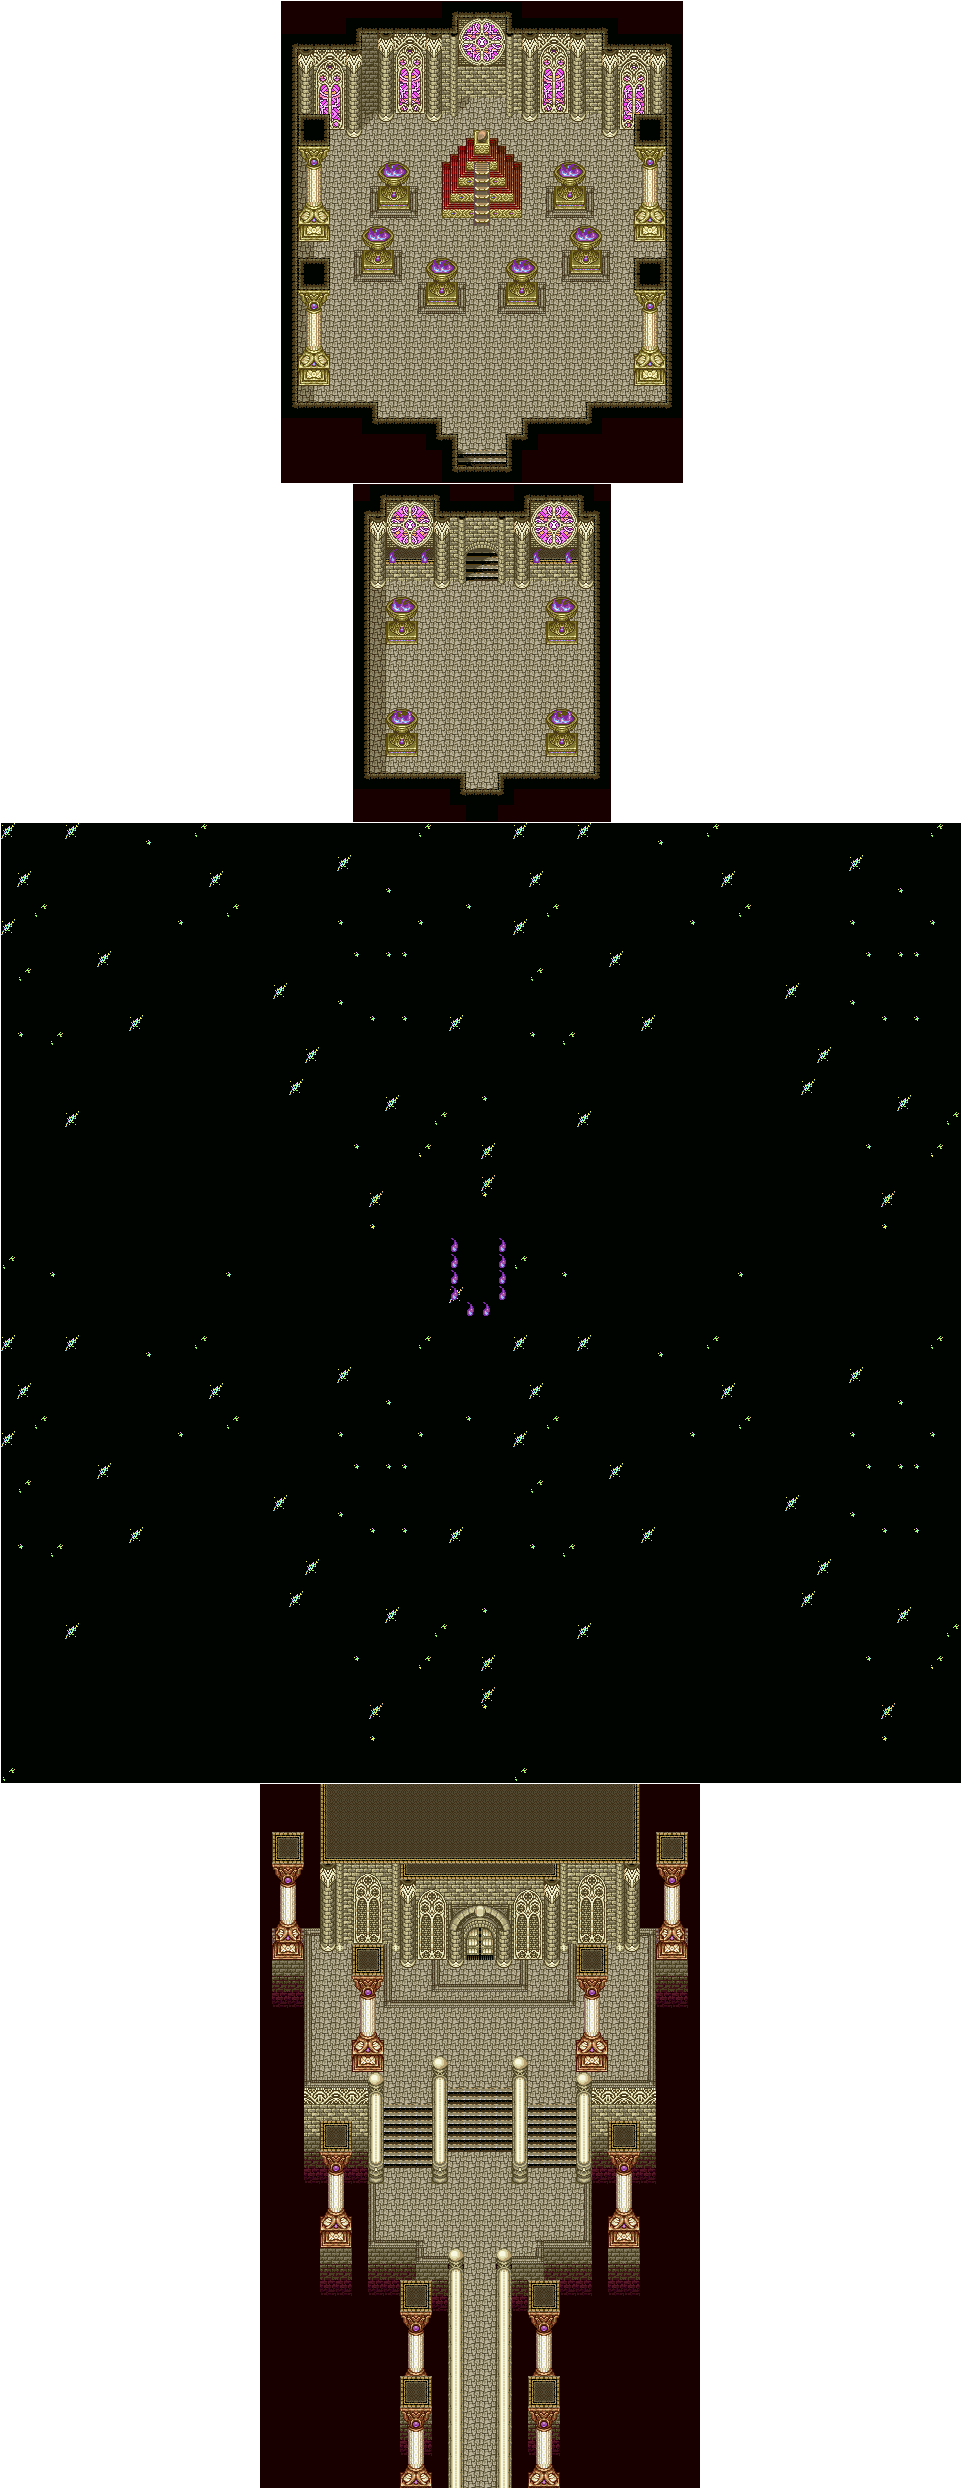
The Marmablue can cast Magic Absorb and take MP away from you, but they can't do anything else in terms of magic. You can easily smack them around
When you're in the void of space, go Southeast. There will be an orb. Cast Lucent Beam on it. You'll be in the Moon Palace. Go north and meet Luna, then you'll get her spells. From here, press B at the seed. You'll bring your Mana Power up to 7.
Purim's Luna spells are as follows:
Lunar Boost: Increases attack power, but decreases evade. (2 MP)
Moon Energy: Increases physical attack damage and your chance at a critical hit rate depending on the level. If the spell is at Level 7, the chance of your next seven successful physical attacks being a critical hit will be higher. (2 MP)
Moon Damage: Gives weapons the ability to absorb HP from enemies; the amount you get back is directly related to how much damage you do with your physical attack. Do not use this against the undead; you'll lose HP. (3 MP)
Popoie's Luna spells are as follows:
Magic Absorb: Same as Undine's Energy Absorb, but absorbs MP instead of HP and gives it to Popoie. Do not use against the undead; you'll lose MP. (1 MP)
Lunar Magic: This spell has completely random effects. You can do all sorts of status effects and ailments to either your party or the enemy, including healing and raising/lowering stats. (8 MP)
Change Form: Changes an enemy into a weaker monster. (5 MP)
You're done here, so leave the palace and go back to Karon's ferry. From here, head back to the Lofty Mountains and talk to Jehk.
This time, Jehk will tell you to head to the Kingdom of Tasnica to find Joch. This is to the west of here.
Tasnica
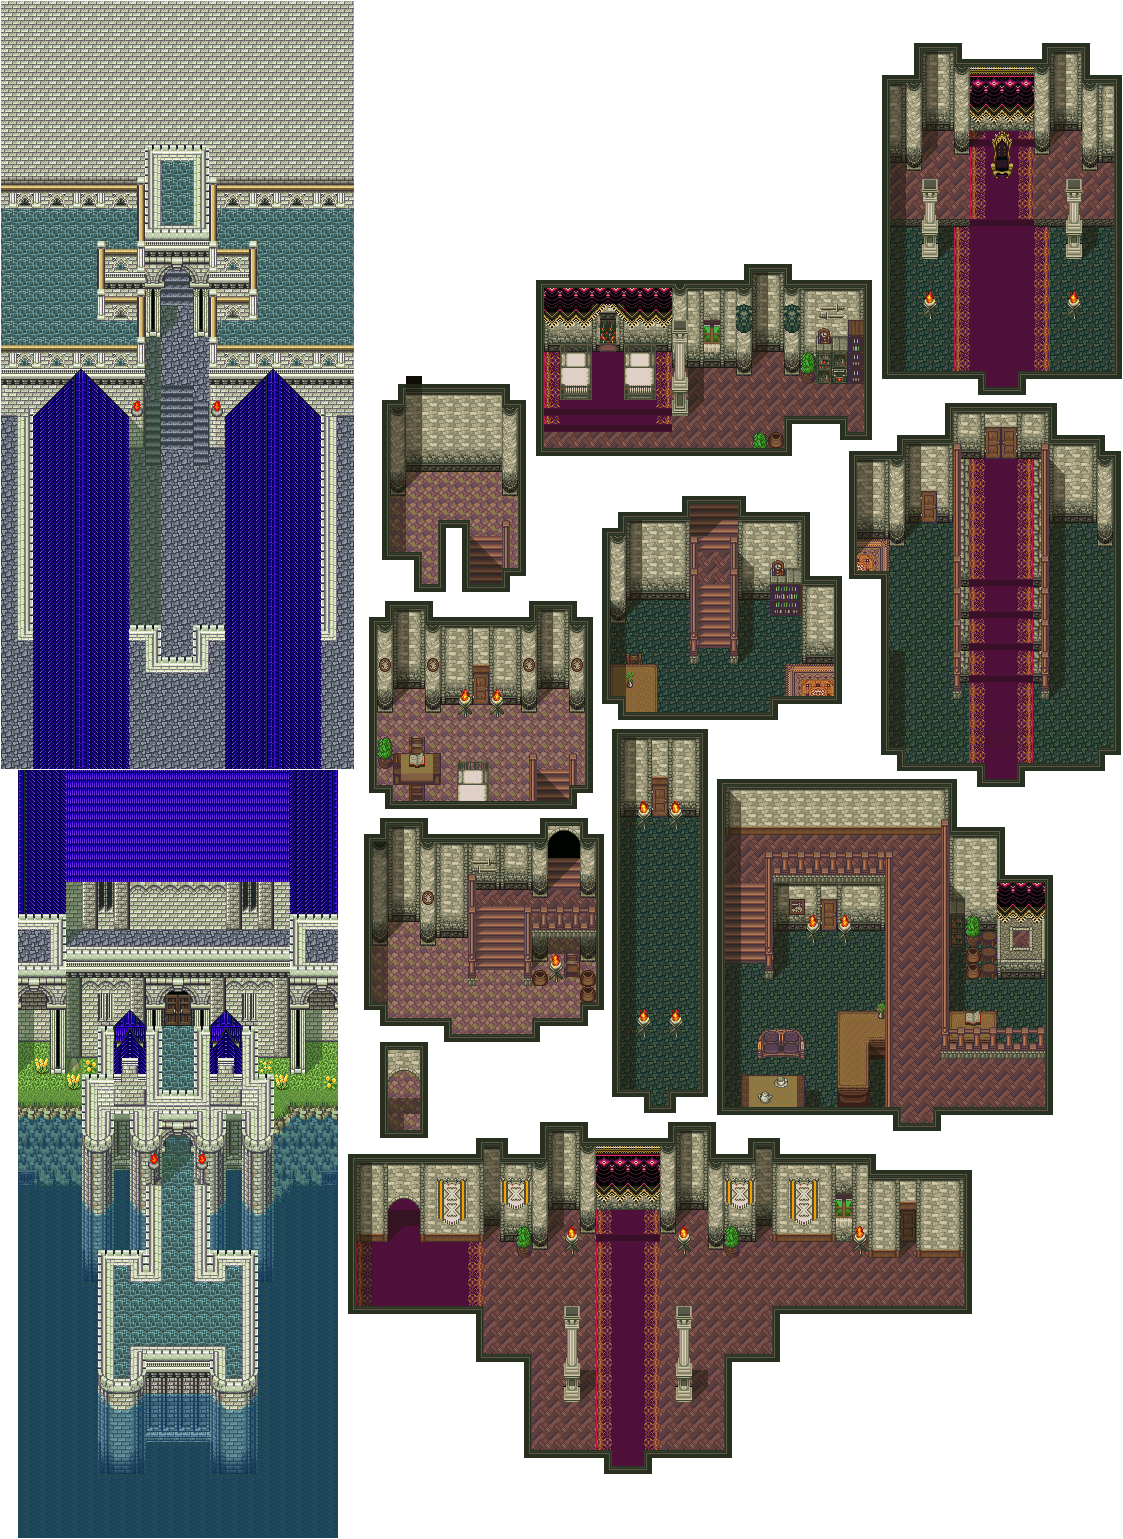
If you came here earlier in the game, there would have been guards in your way and you wouldn't have been able to enter. At this point in the game, you can pass right on through.
When you enter the castle, you'll meet Jema for the first time since the Jabberwocky battle in the Water Palace. He will tell you to be careful, as there is an Imperial spy in the castle who is coming after the King of Tasnica.
If you enter the throne room, the King of Tasnica will accuse you of being spies, but he will give himself away as the real spy to the guards in doing so. This will trigger a mini-boss battle against the Dark Stalker, a re-color of the Dark Ninja. The Dark Stalker can cast Ice Saber and can also use Dispel Magic against you if you have any saber spells on your weapons. If you've powered up Lucent Beam to Level 6 or 7, you can kill him in one blow.
After the battle, talk to the King. He will snap out of his trance. Talk to Jema, and you'll get the king's appreciation for defeating the spy as well as a Sword's Orb. The Masamune raises your critical hit percentage. Jema will then tell you that you have yet to learn the meaning of true courage, and that the Empire almost has the Mana Fortress. He will then tell you to find Sage Joch and learn true courage. It's back to the Lofty Mountains from here.
One of the guards in the throne will tell you that Jema was the commander of the King's troops and fought alongside the hero Serin. When Serin fell in battle, Jema stepped down and never fought again. Jema is still the kingdom's finest warrior, however.
When you beat the Dark Stalker, you will now see common folk walking around near the entrance. This is because people actually live in the castle.
The shop in Tasnica will sell Royal Jams cheaper than you can get them for Neko. To find it, you'll need to find a secret passage southwest of where the dancing guy is. From here, you can feel your way through the passage and end up in the shop.
HCBailly and JB play Secret of Mana - Part 29 of 41
In this entry, we get the key for the Light Palace in our quest to seal the Mana Seeds and increase our Mana Power.
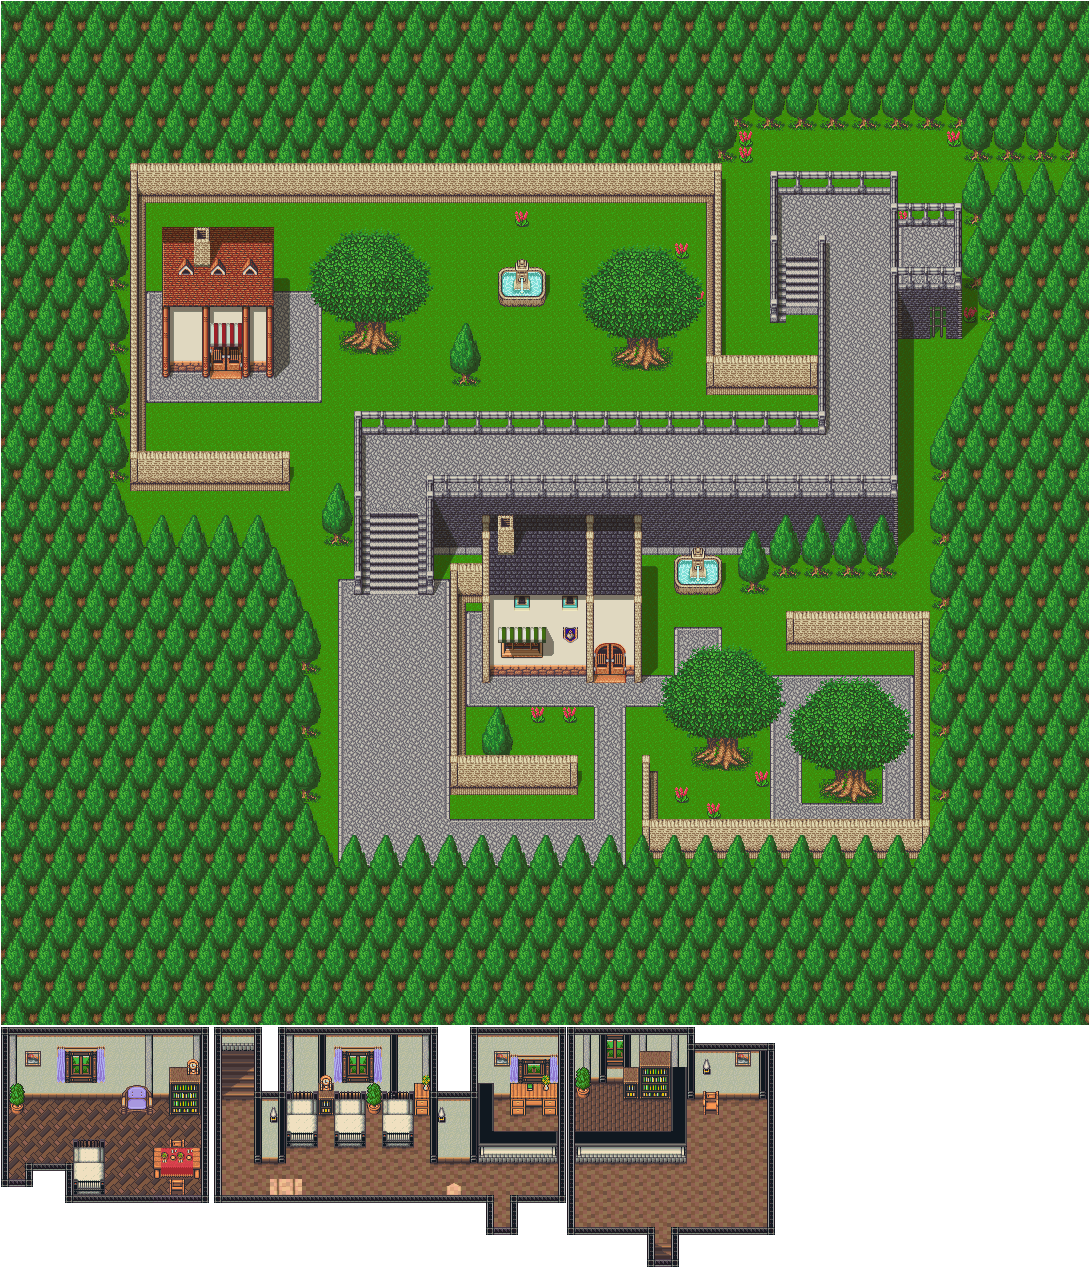
Head back to Southtown and talk to Mara. She will tell you that her husband stole the key to the Gold Tower in Gold City, and lets you have it. From here, head back to Gold City. It's west from here.
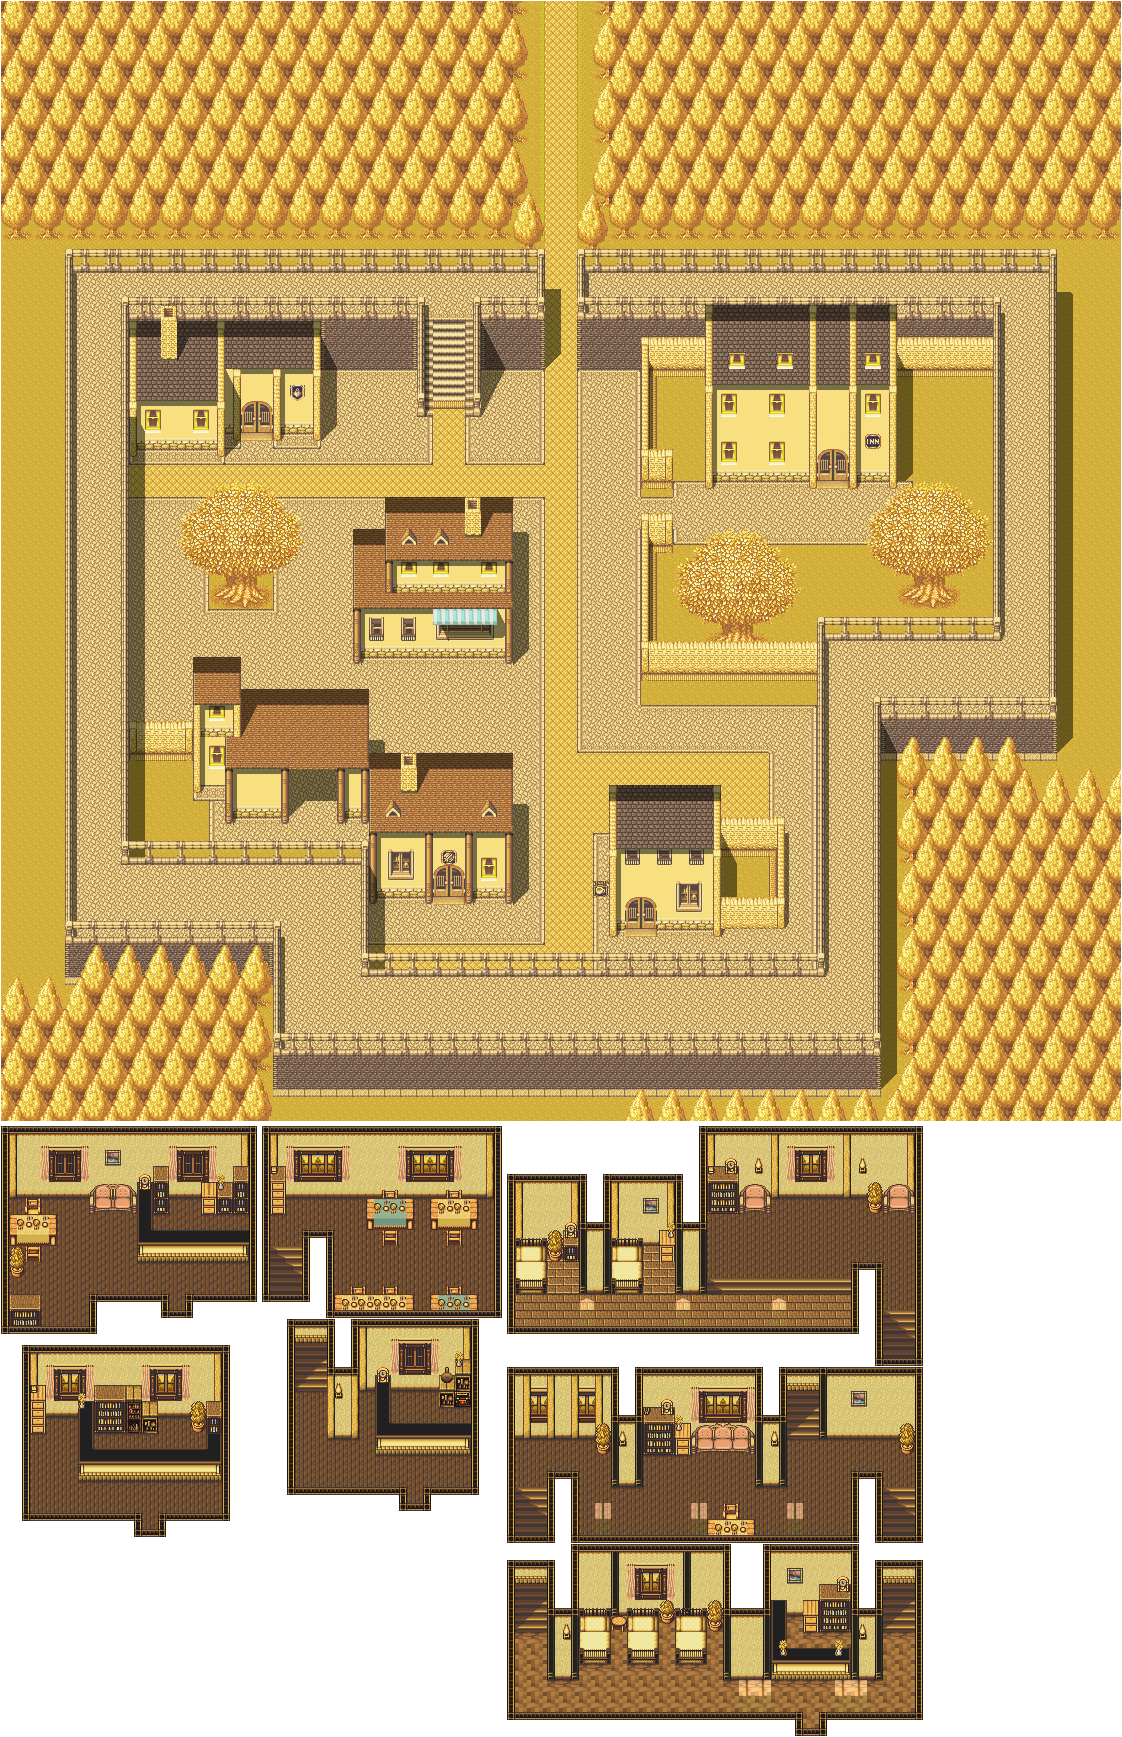
Light Palace

The Beast Zombies are red recolors of the Howlers, and they only appear here. They will cast Speed Down on your party, so watch out.
The first that you see will contain a Spear's Orb. The Oceanid Spear has a chance of putting enemies to sleep if it connects.
The second floor is a battle with the Blue Spike, a recolor of the Spiky Tiger. This time around, you have a lot of room here to maneuver, much like you did with the Spring Beak near the Wind Palace. It's still pretty dangerous, however, as it can turn you into a Moogle with Moogle Glare, hit you with Acid Bubbles, and also cast Fireball. Earth Slide is a very powerful spell to use against it. Beating it gives you the Boomerang's Orb. The Cobra Shuttle has a chance of poisoning enemies.
There is a chance that you can cut the Blue Spike's head off, but when it explodes, it will suddenly come back. Yeah, that happens.
Upstairs, you'll find an Axe's Orb in a chest. The Were-Buster is useful against animals, birds and beasts.
The next boss is the Gorgon Bull, a recolor of the Minotaur. It will cast Defender on itself and also hit you with Earth Slide, but much like the Minotaur, if you have Sylphid at the highest level for Popoie, you can destroy it with Thunderbolt. Just watch out for the Petrify Gas, and remember that he can produce claws and quickly lunge at you with them! Beating the Gorgon Bull gives you the Bow's Orb. The Elfin Bow raises intelligence and wisdom.
After this, you'll meet Lumina, who will tell you that King Manmon robbed them of their power to turn the island into gold, and that you should be using their power, not the king. Lumina will grant their powers to Purim, then you can press B at the seed to bring your Mana Power to 6.
Purim's Lumina spells are as follows:
Light Saber: Hit enemies with the power of light (5 MP)
Lucid Barrier: Protects against physical attack. (4 MP)
Lucent Beam: Hits enemies with a light beam. (8 MP)
You're done here. Head back to Jehk.
When you talk to Jehk, he will tell you to head to the Moon Palace, which floats eerily in the Sea of Wonders at the end of the Kakkara Desert.
Sunday, December 19, 2021
HCBailly and JB play Secret of Mana - Part 28 of 41
Our adventure takes us through the Palace of Darkness, then to the Gold Isle, where we can find another Mana palace.
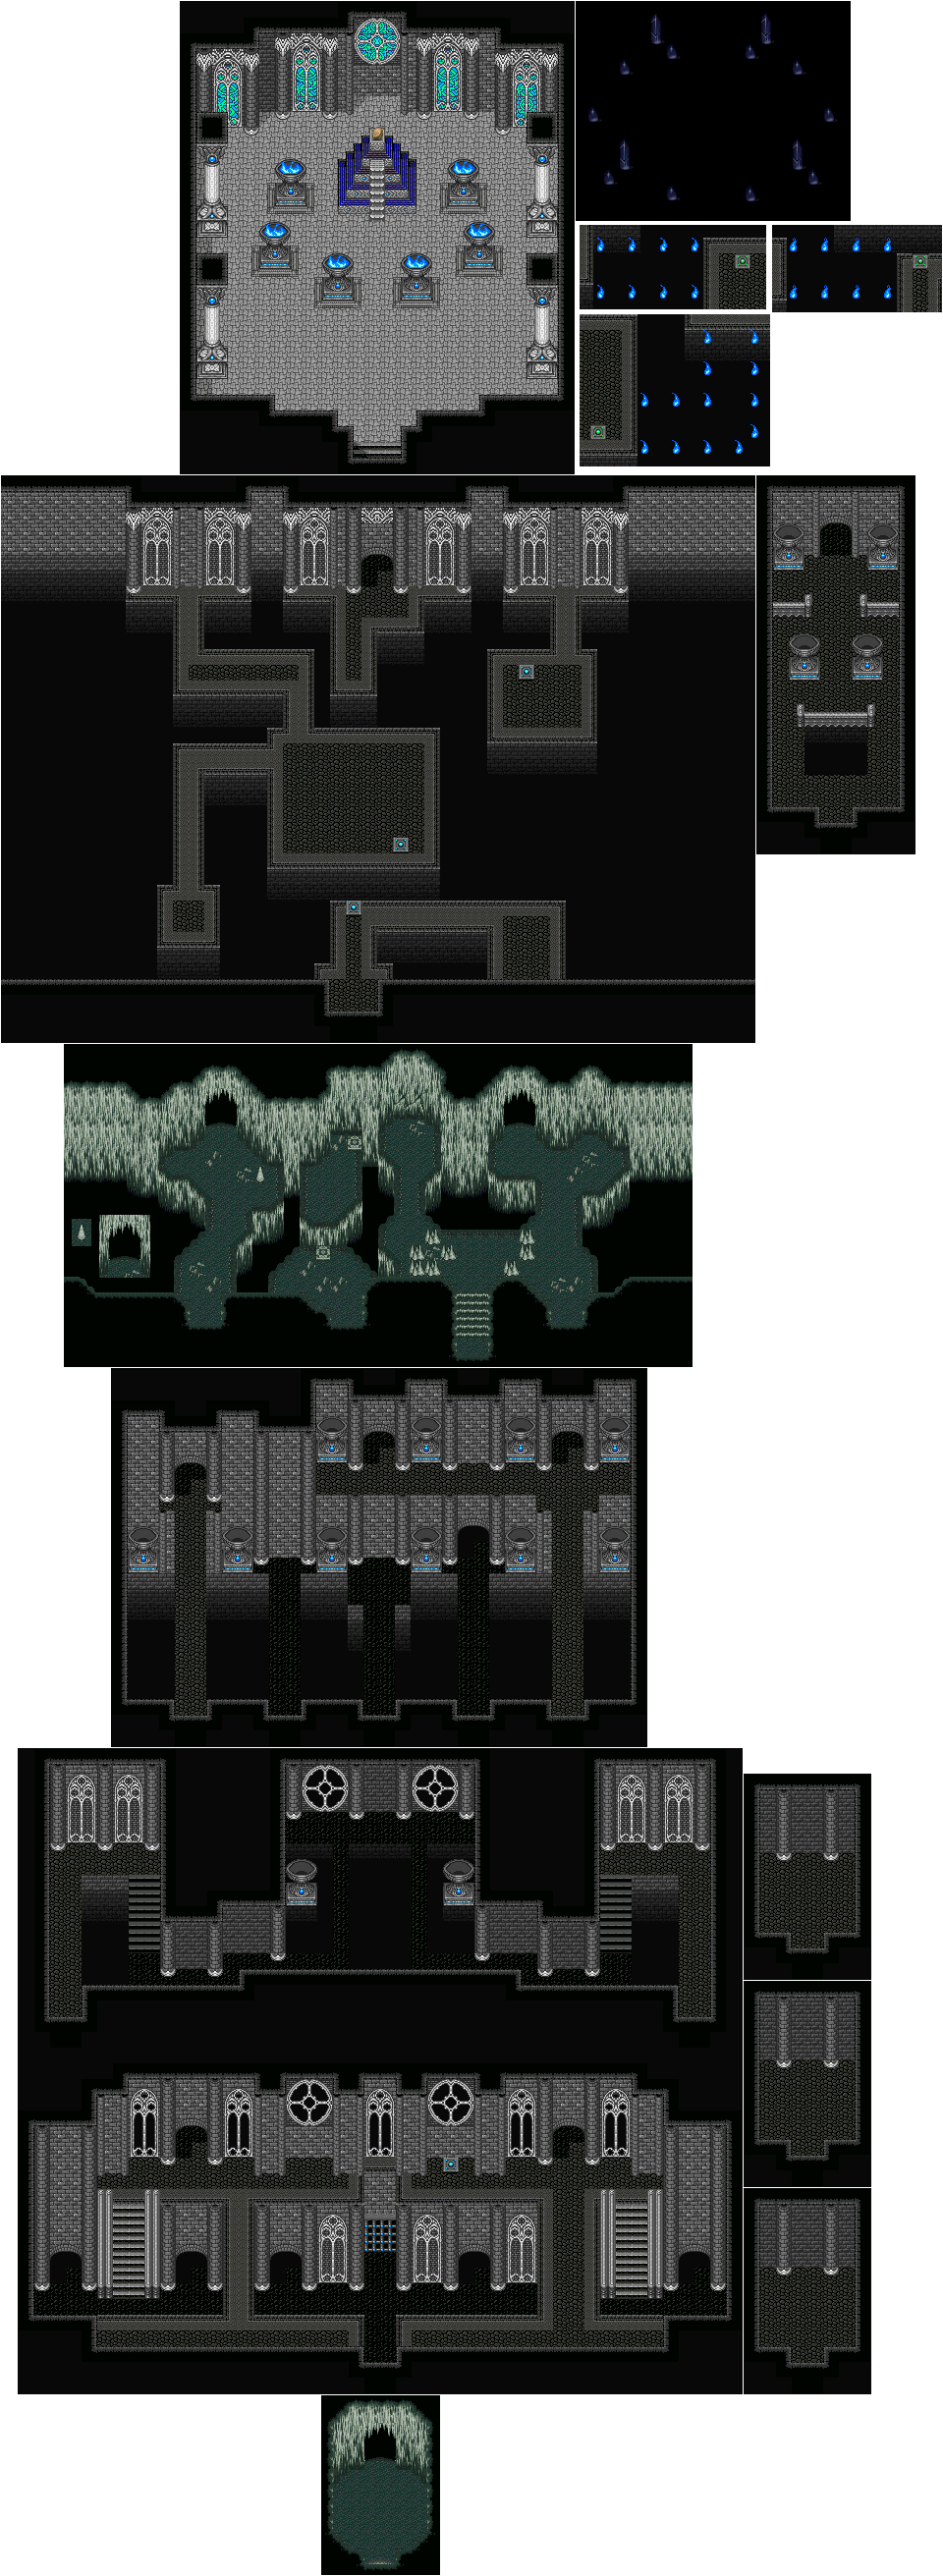
When you enter the cave part of the palace, you'll need to step on floor switches to open up new areas. If you use the Magic Rope to go back to the beginning after hitting the first one you see, you'll be able to enter the center door at the entrance, which was blocked previously. Inside is a Glove's Orb in a Chest. The Hyper Fist is effective against slimes and lizards.
At one point, you'll have to hit floor switches in one of the palace segments. By doing so, you'll create an invisible bridge lined by blue flames on the sides, and you'll have to use these bridges to get to the other side and face the Lime Slime as a test from the elemental Shade.
Lime Slime is a big slime that your characters can get stuck on, and it can cast Evil Gate and Dark Force on your party members to damage them. You'll need to hit the orbs in the center to damage it, either with your physical weapons or with magic. Lime Slime can also change colors periodically and can shoot slimes at one of your party members, and it shrinks when damaged, make it easier and easier to hit with your weapons.
When you beat Lime Slime, you'll head to the Mana Seed after the game fades to black. If you gained any levels of any kind, you'll see what they are before you are taken to the seed
Afterwards, you'll meet Shade. Shade, being a purely offensive elemental of the darkness, can only give magic to Popoie, but nevertheless, he is useful. After Shade joins your party, you can then press B at the seed to increase your Mana Level to 5.
Popoie's spells with Shade are as follows:
Dispel Magic: Debuffs the enemy in case they have a magic saber effect or something that increases stats. (4 MP)
Evil Gate: Hits the enemy with a swirling vortex. The more HP the enemy has, the more damage it does. (8 MP)
Dark Force: Hits the enemy with balls of negative energy. (2 MP)
You're done here. Head back to the top of the Lofty Mountains.
When you head back to the top of the Lofty Mountains and talk to Jehk, you'll find out that Joch is in the Gold City to the Northeast. Head there.
If you go up the stairs to the west of the entrance to the Light Palace in the north end of town and walk the whole distance, you'll meet an NPC who will tell you that the Light Palace was sealed off by King Manmon - the man who found all the gold used to create the Gold City - and that the tower key was stolen by a spy from Tasnica. The Tasnican spy was caught in Southtown, but the key was not found. The spy in question is Mara's husband.
The hotel is King Manmon's home. The first floor is the inn where you can sleep, while King Manmon lives on the top floor.
HCBailly and JB play Secret of Mana - Part 27 of 41
Now that we can fly to just about any place that we want, we head to the town of Mandala. You'll have to come here quite a few times just to figure out where to go next.
Mandala
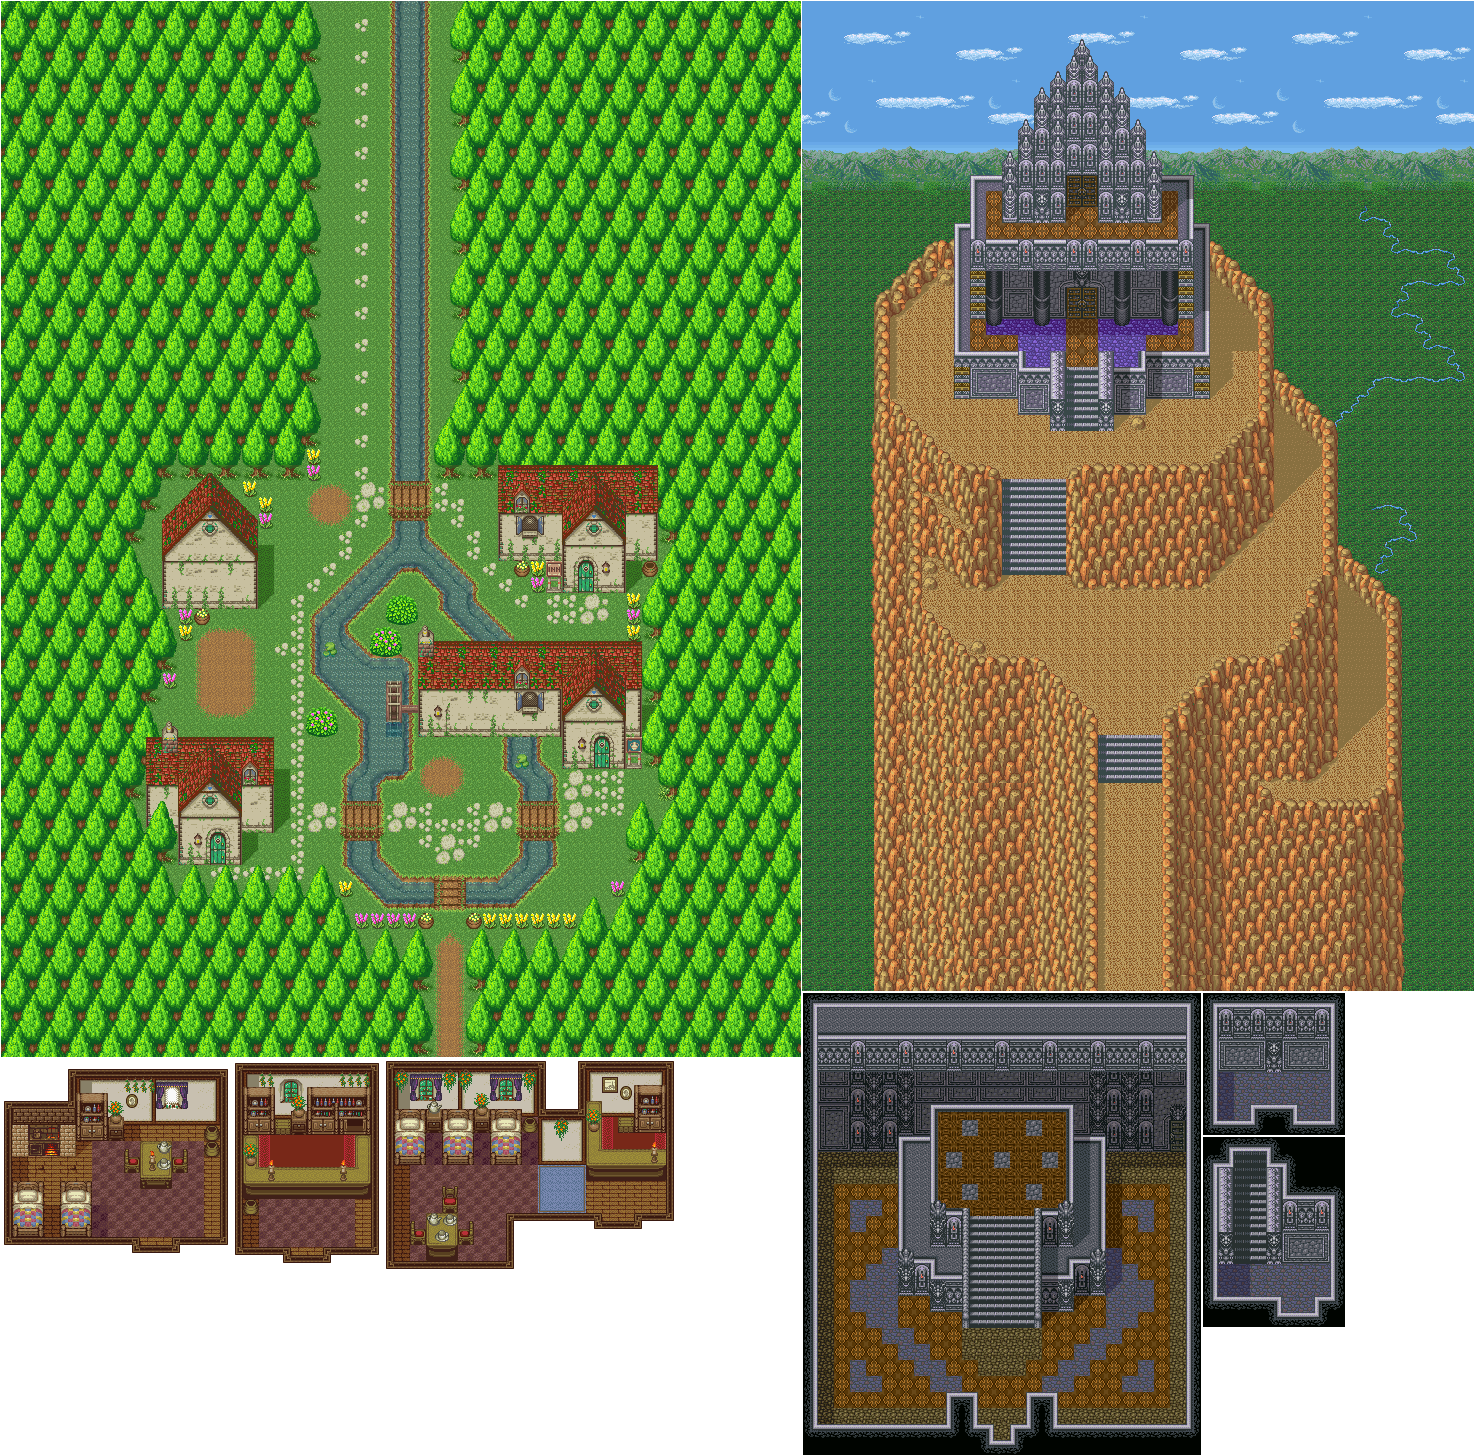
The armor here (Magical Armor, Ivy Amulet, Circlet) is pretty good, especially the Ivy Amulet, which can protect you against Sleep Flower.
By talking to the NPC's, you can learn about Sage Joch and his disciple Jehk in the Lofty Mountains. You'll be seeing them later on. The house in the southwest corner houses Watt if you need to forge weapons.
Going north takes you to an ancient temple which is mentioned by some of the NPC's. If you enter the temple, there will be some orbs, and you can interact with them to see visions of the time of the Mana Fortress war, which seems to be our present day 1993 before the Mana Fortress war destroyed civilization to the point that it had to be rebuilt. One of the orbs is a reference to Jeopardy! (which is replaced with "Who Wants To Be A Millionaire?" in the 2010s remake).
Lofty Mountains
To the south is the Lofty Mountains. The Trap Flower will cast Sleep Flower and Energy Absorb on your party, while the Bomb Bee is a more powerful version of the Buzz Bee from Gaia's Navel whose pincer shots will explode upon hitting the ground.
Shortly after the entrance is a cave. This is the entrance to the Palace of Darkness, but you won't be able to go there until later.
The Eggatrices are bird enemies that hatch out of the eggs that are here, should you touch the eggs. Thankfully, they cannot cast spells, and they have to be right next to you to do any real damage.
You can find Neko near the end, but only if there are less than three enemies currently on-screen.
At the top of the mountain, you'll meet a red, bird-like creature. If you talk to him, you'll find out that Sage John when to the Palace of Darkness, which we just went to. If you don't know where to go, talk to this guy. You'll find out where you need to get next.
Palace of Darkness
The Fierce Head will spit lasers at you and will also spawn Grave Bats.
The Dark Knights will cast Wall, which sends any magic spells used against it back at the spell caster. Thankfully, they are as easy to hit as the Armored Men from the Imperial Palace.
The Dark Ninjas from the Imperial Palace make a return appearance here, as does the Emberman.
Saturday, December 18, 2021
HCBailly and JB play Secret of Mana - Part 26 of 41
In this entry, we somehow escape the Emperor's castle, then we get a chance to fly all over the world to do all sorts of things. This is where the game really gets fun.
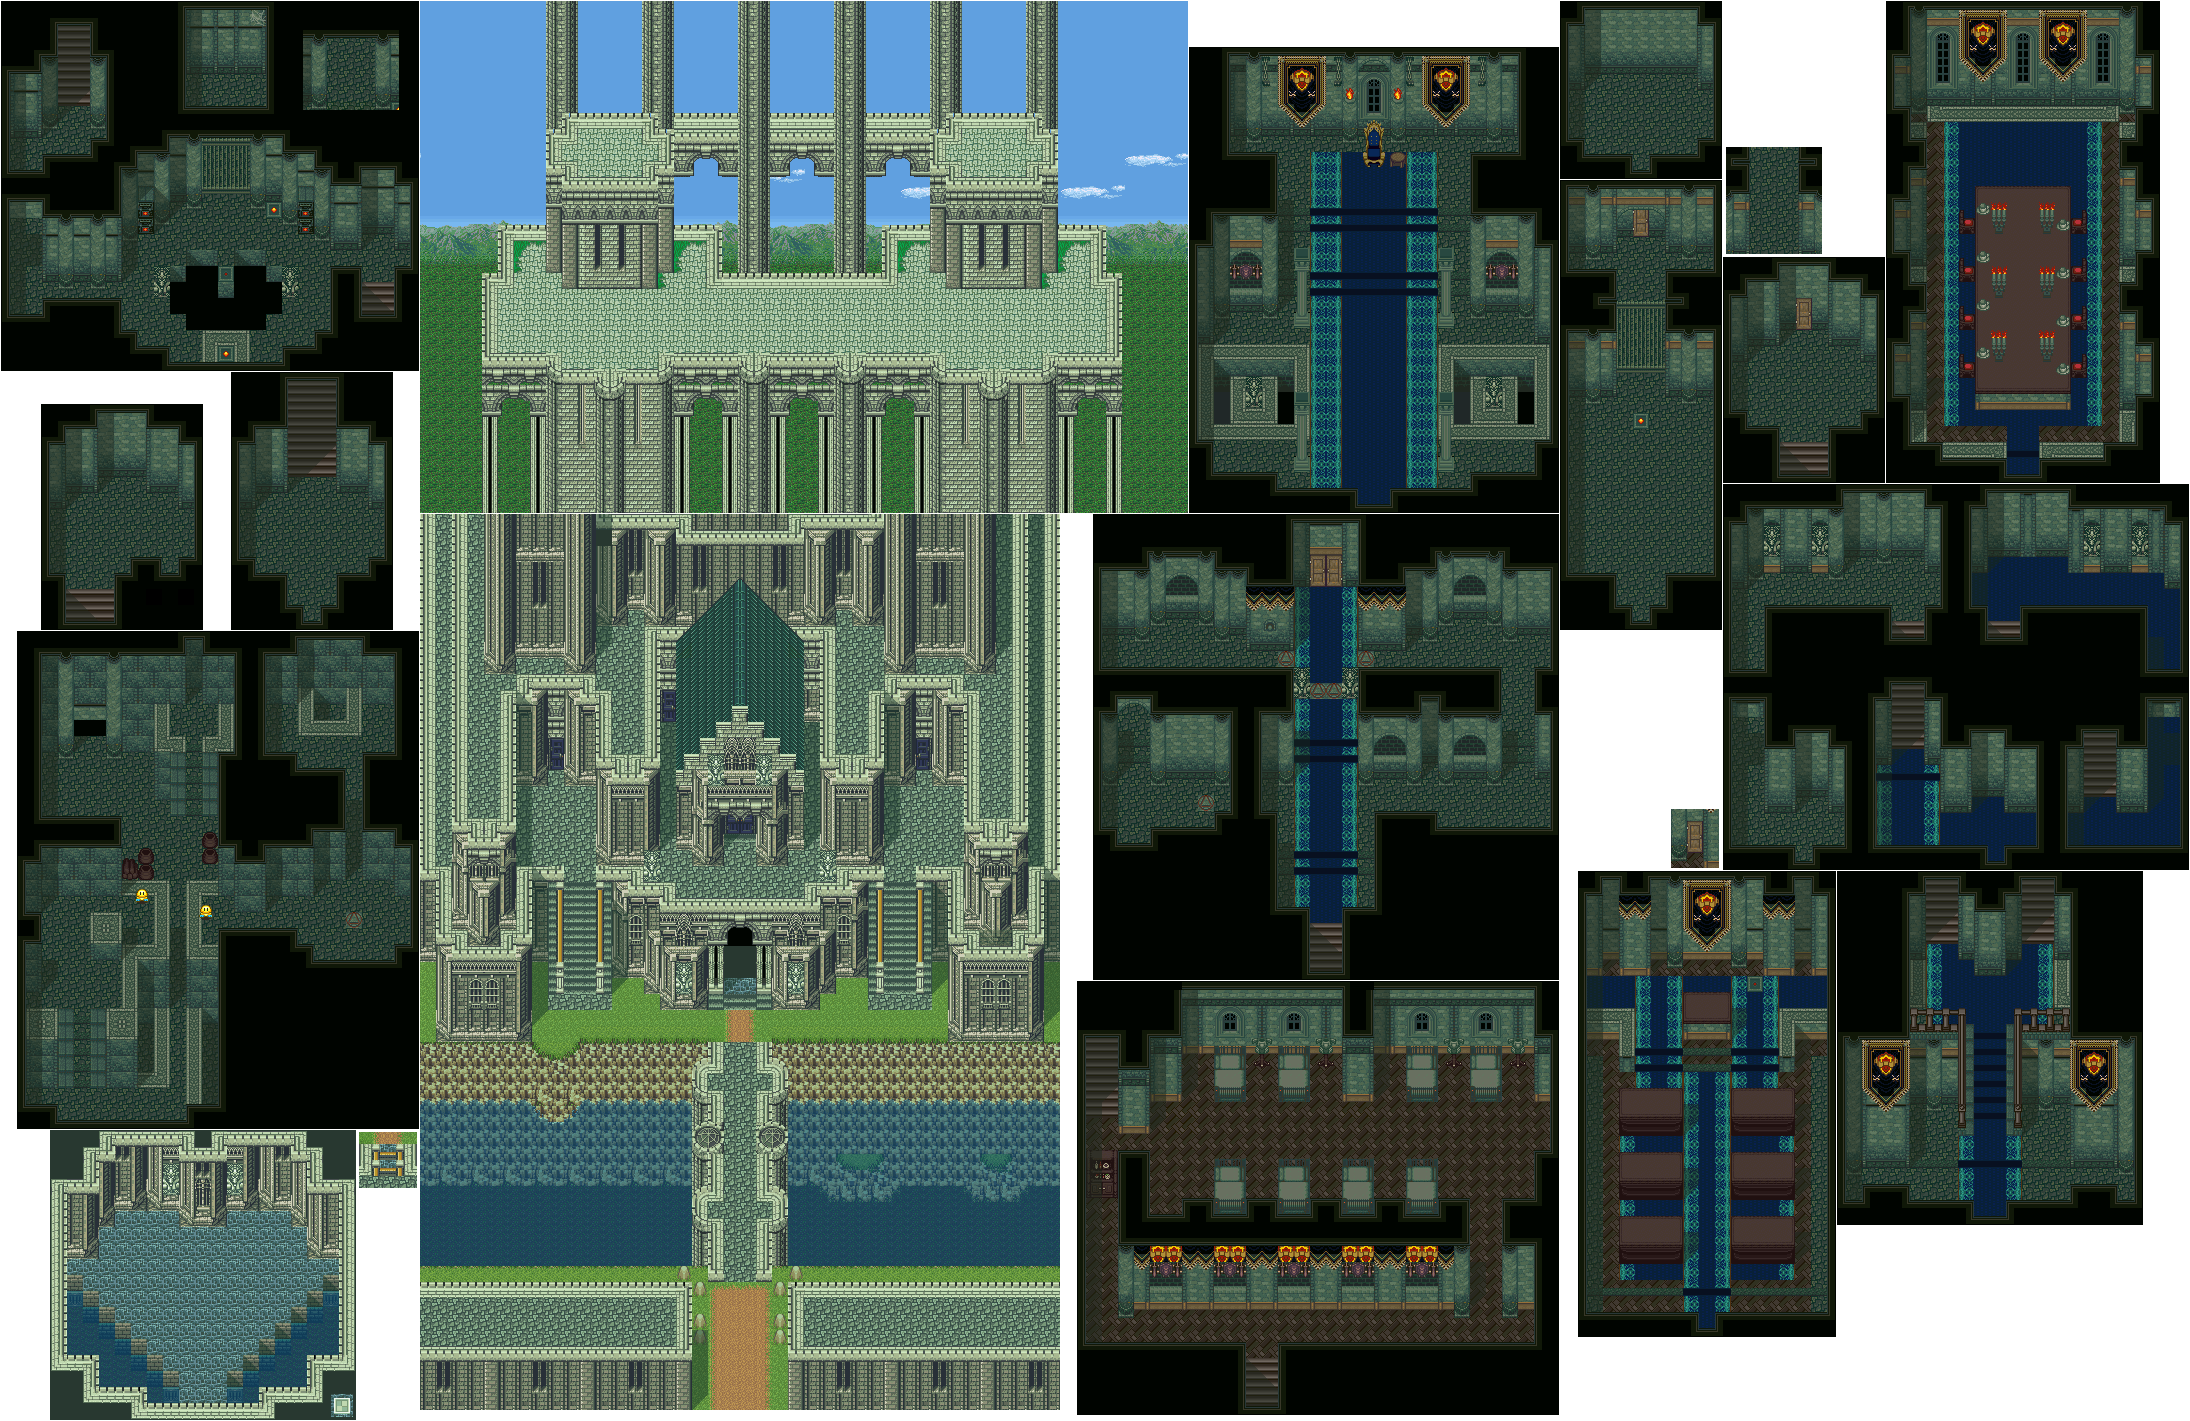
After the room with the beds, you won't be able to head north. Head east and follow the path that way. You'll teleport elsewhere in the current area. Hit the switch near the second teleporter to head to the front door.
You'll then meet Emperor Vandole and his men. Geshtar asks for one more shot at defeating your party, and is instantly granted it. You'll then face Mach Rider again, this time on the roof and with less room to maneuver. You're stronger here, however, so fight him like you did before, make sure you're not completely lined up with him and use Speed Down to make him slower. Keep in mind that Mach Rider can shoot missiles at you even when off-screen, and that Mach Rider can also hit you with Wave Cannon. When you beat Mach Rider a second time, you'll get a Javelin's Orb. The Imp's Fork can Balloon enemies.
After the battle, Geshtar will try to burn the place up in one last desperation attempt to destroy you. Suddenly, King Truffle of Matango flies in. Find him, and he will tell you that Flammie is big enough to ride on and fly around the world with. Since Flammie thinks you are his parents, he will want to be with you from now on. You'll get the Flammie Drum, which will allow you to fly anywhere in the world on Flammie.
While on Flammie, you can rotate and turn with Left and Right. Down lets you move in reverse, while Up lets move forward. B lets you descend, while A lets you ascend. You can use L and R to switch between a behind-the-back perspective and an overhead perspective. Pressing Start gives you a map. If you're near a town or place where Flammie will land when you descend close enough to it, you will land there.
The Flammie Drum can only be used outside. If you try to use it in caves, buildings or other indoor-like areas, Flammie won't be able to hear you and will not be able to summon him.
You'll use the Flammie Drum automatically after King Truffle tells you to take him back to Matango, which is to the southwest. From here, you'll be able to. Thankfully, as long as you use the compass directions at the top of the screen in the behind-the-back perspective, you can easily get him there.
HCBailly and JB head elsewhere before going to Matango, though. First, we head to the Gold City. This is west of Northtown and Southtown.
You won't be able to do much here...at least, not yet.
The whole place is made out of gold. Interestingly, if you talk to the NPC's here, they will tell you that the place is sinking under the weight of the gold.
Interestingly, Watts has his own shop.
Get the Dragon Helm for Randy, the Duck Helms for Purim and Popoie and the Battle Suit and Lazuri Ring for everyone. Of course, you're going to find a more powerful ring for your armor pretty soon, but these will do if you're desperately in need for armor.
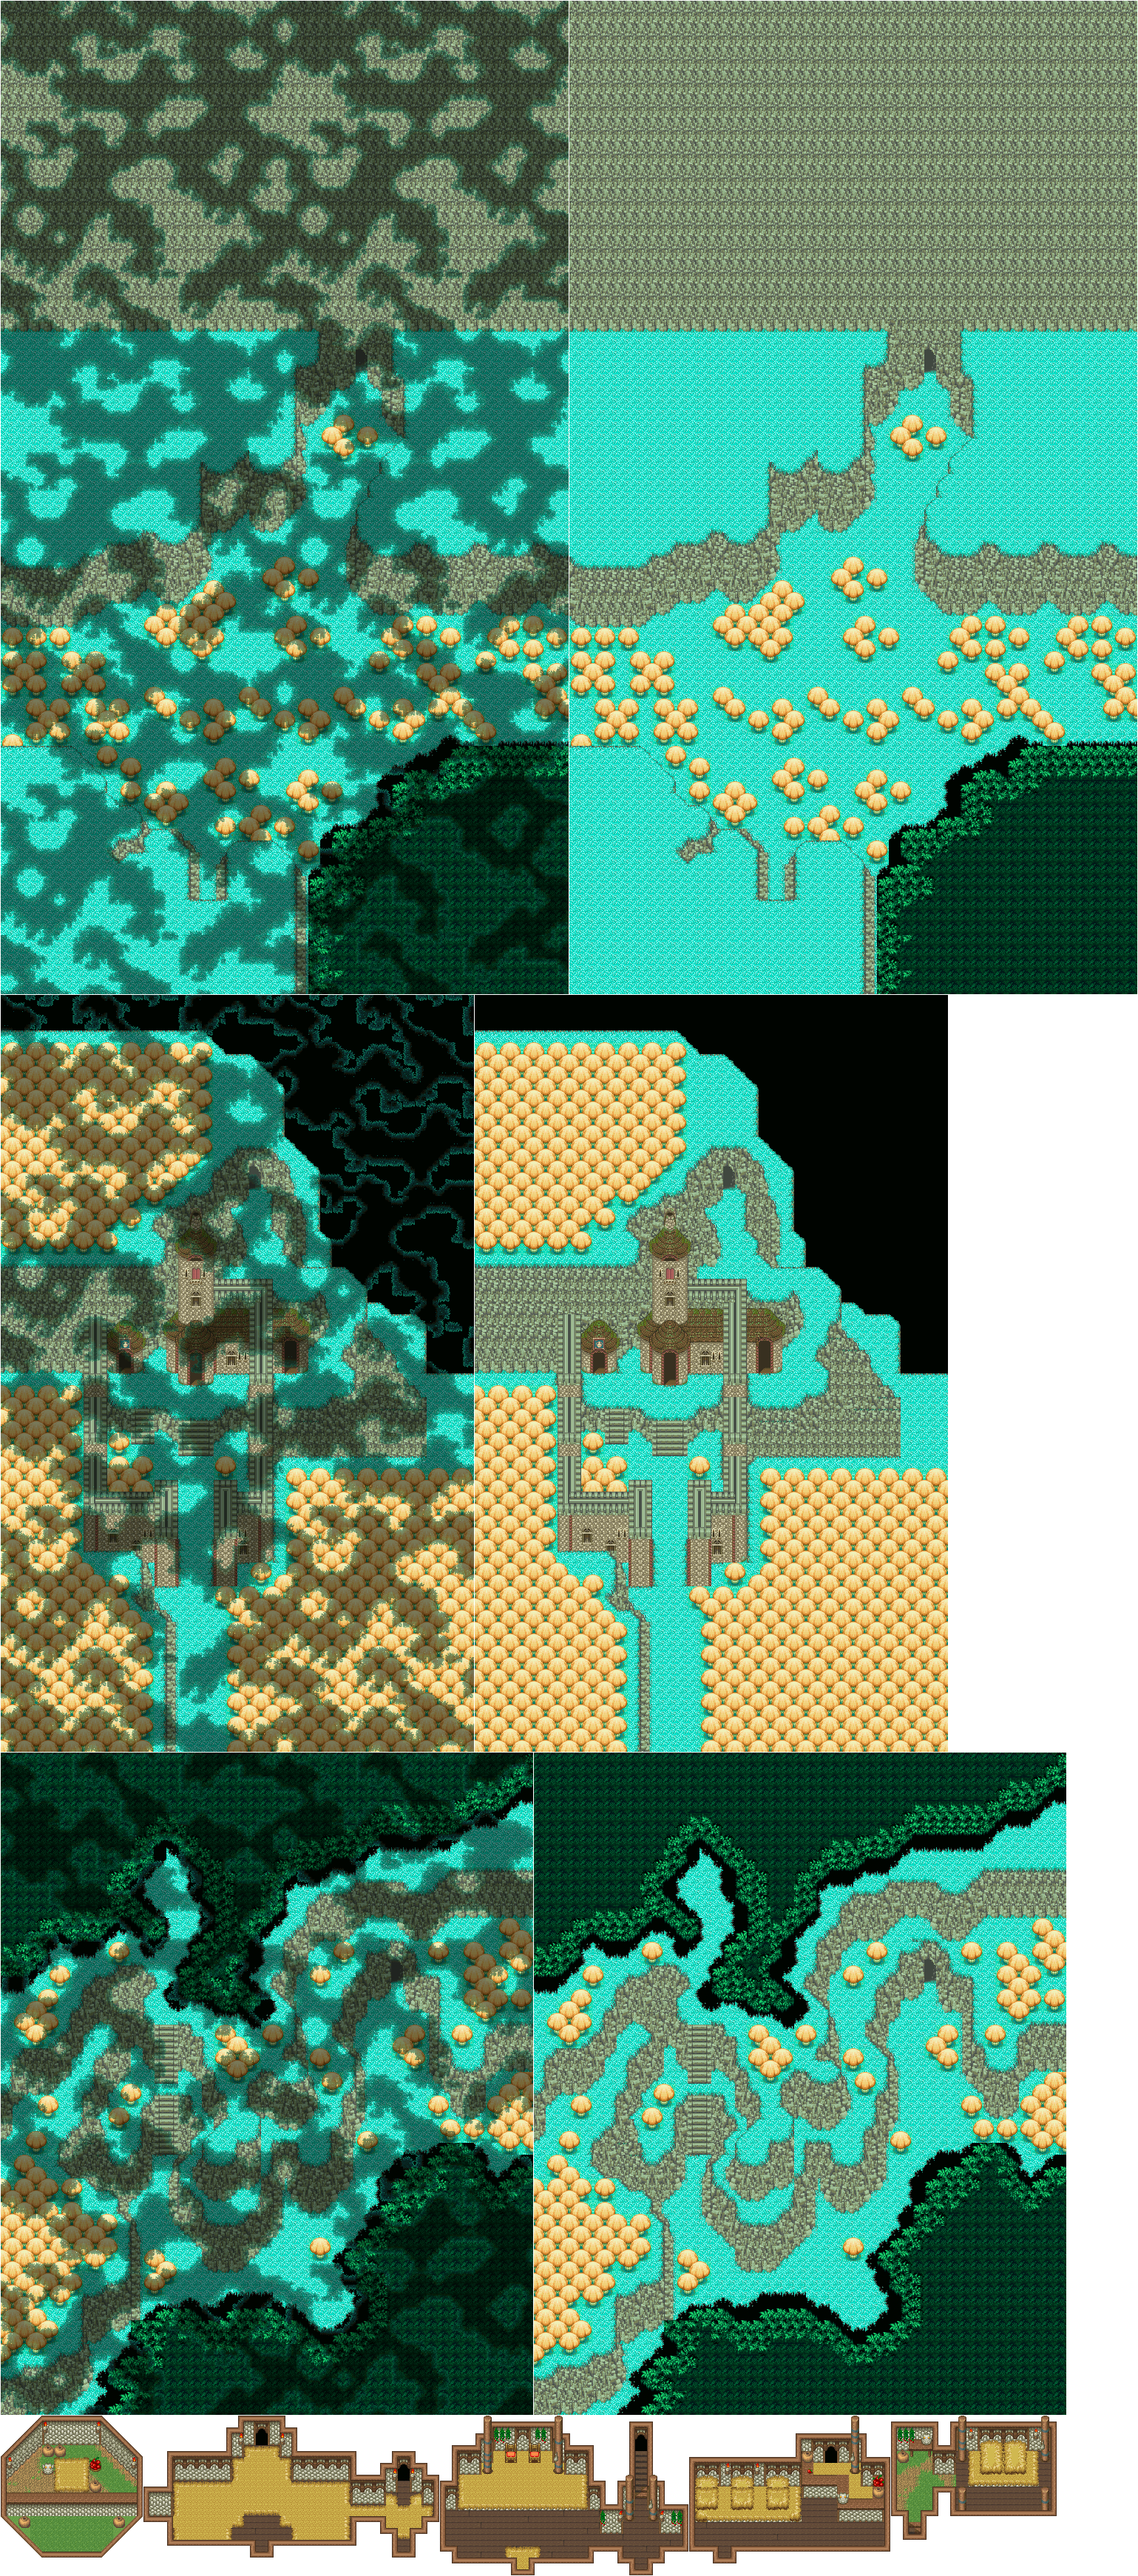
Now he head to Matango. Once you land there, King Truffle will be in the front of the castle. Talk to him and he will tell you about the map and the perspective changes before telling you to head ot the Lofty Mountains to the southwest, as what you seek will be there. He will then head back to the castle.
From here, call Flammie. It's flying time.
Before heading southwest to the Lofty Mountains, HCBailly and JB head to a hexagon-shaped island south of the Kakkara desert and land there.
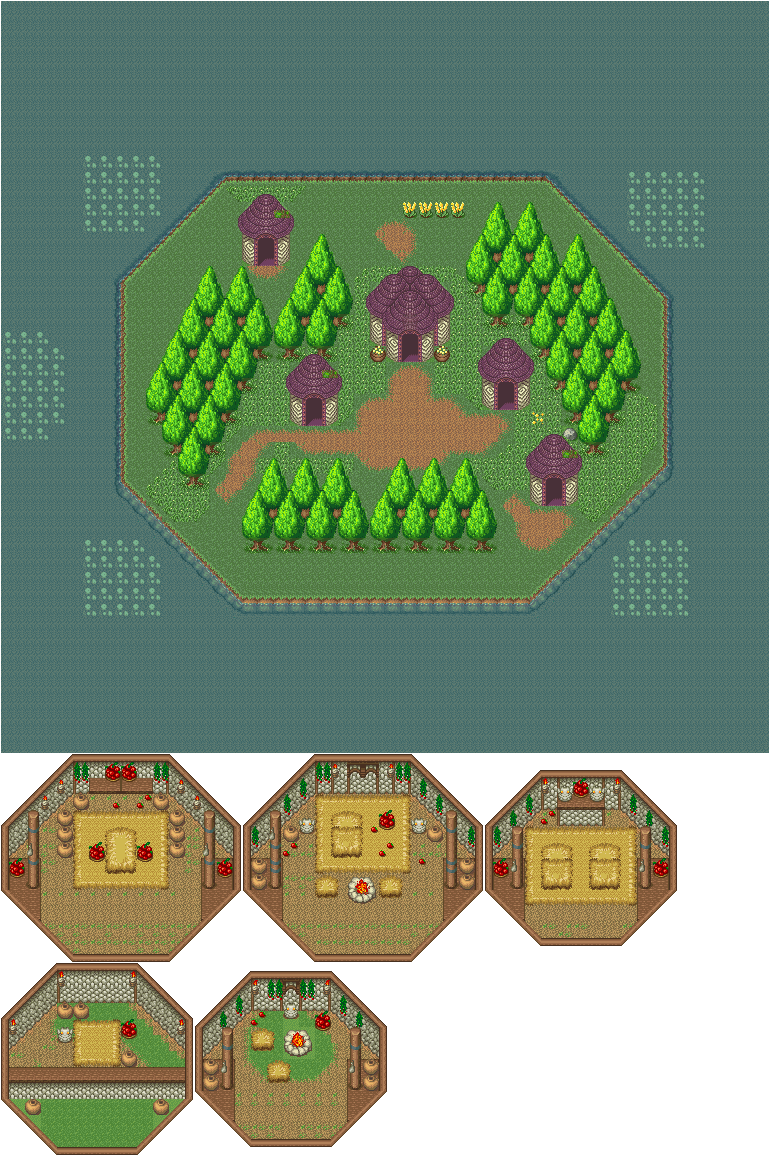
The place to go to is the big hut in the center. The shopkeeper has nothing but Sea Hare's Tails. You'll get one for free. Head north to the town of Kakkara and take it there.
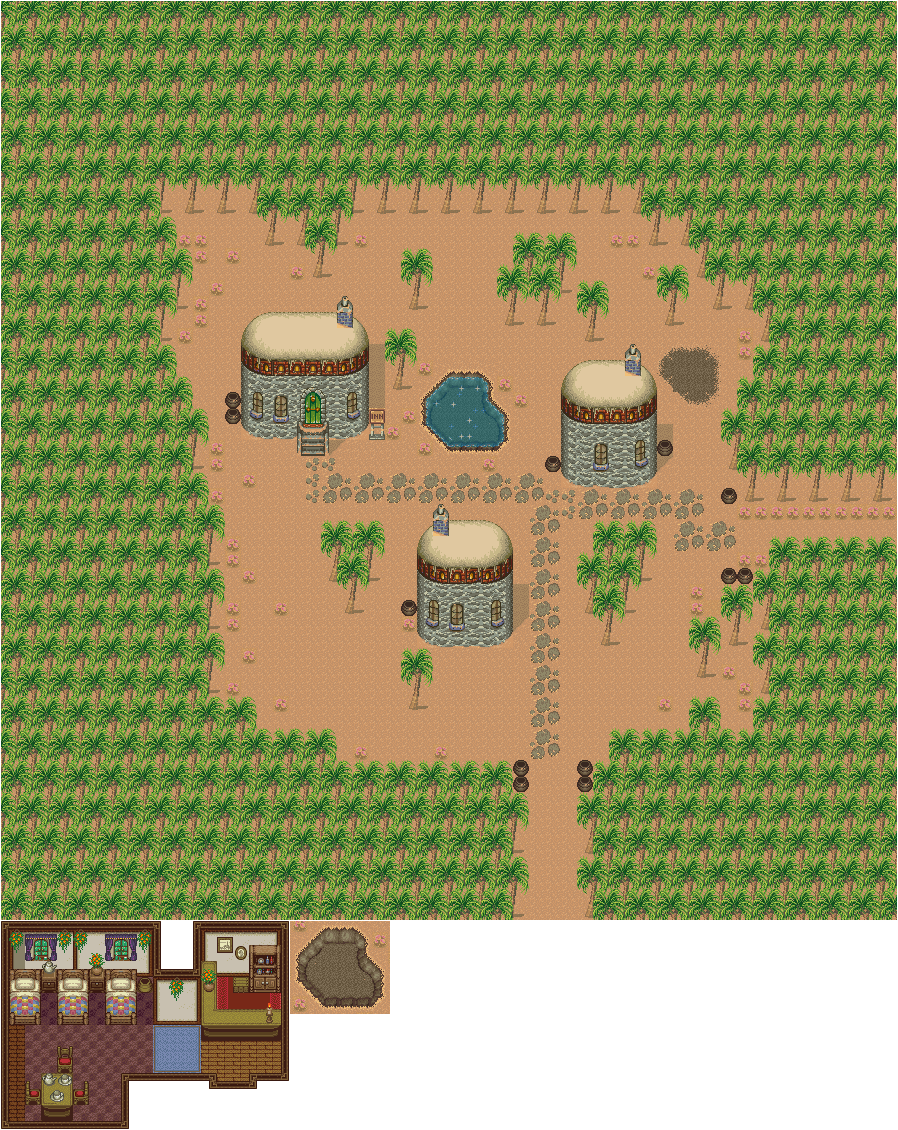
Talk to Mayor Amar (the dancing guy) with the Sea Hare's Tail in your possession. You'll fill the pond with water, and in return, you'll get the Moogle Belt, which can transform in and out of Moogle status. Yes, you can turn yourself into a Moogle in this game.
From here, we head to the Lofty Mountains. As Truffle mentioned, it is southwest of Matango and is the rather large mountain range on the map. There is a town there that you'll need to land, as you'll have to cross the mountains by foot.
HCBailly and JB play Secret of Mana - Part 25 of 41
In this entry, the Empire wants to call a truce, but when we get to it, we find out it's a trap.
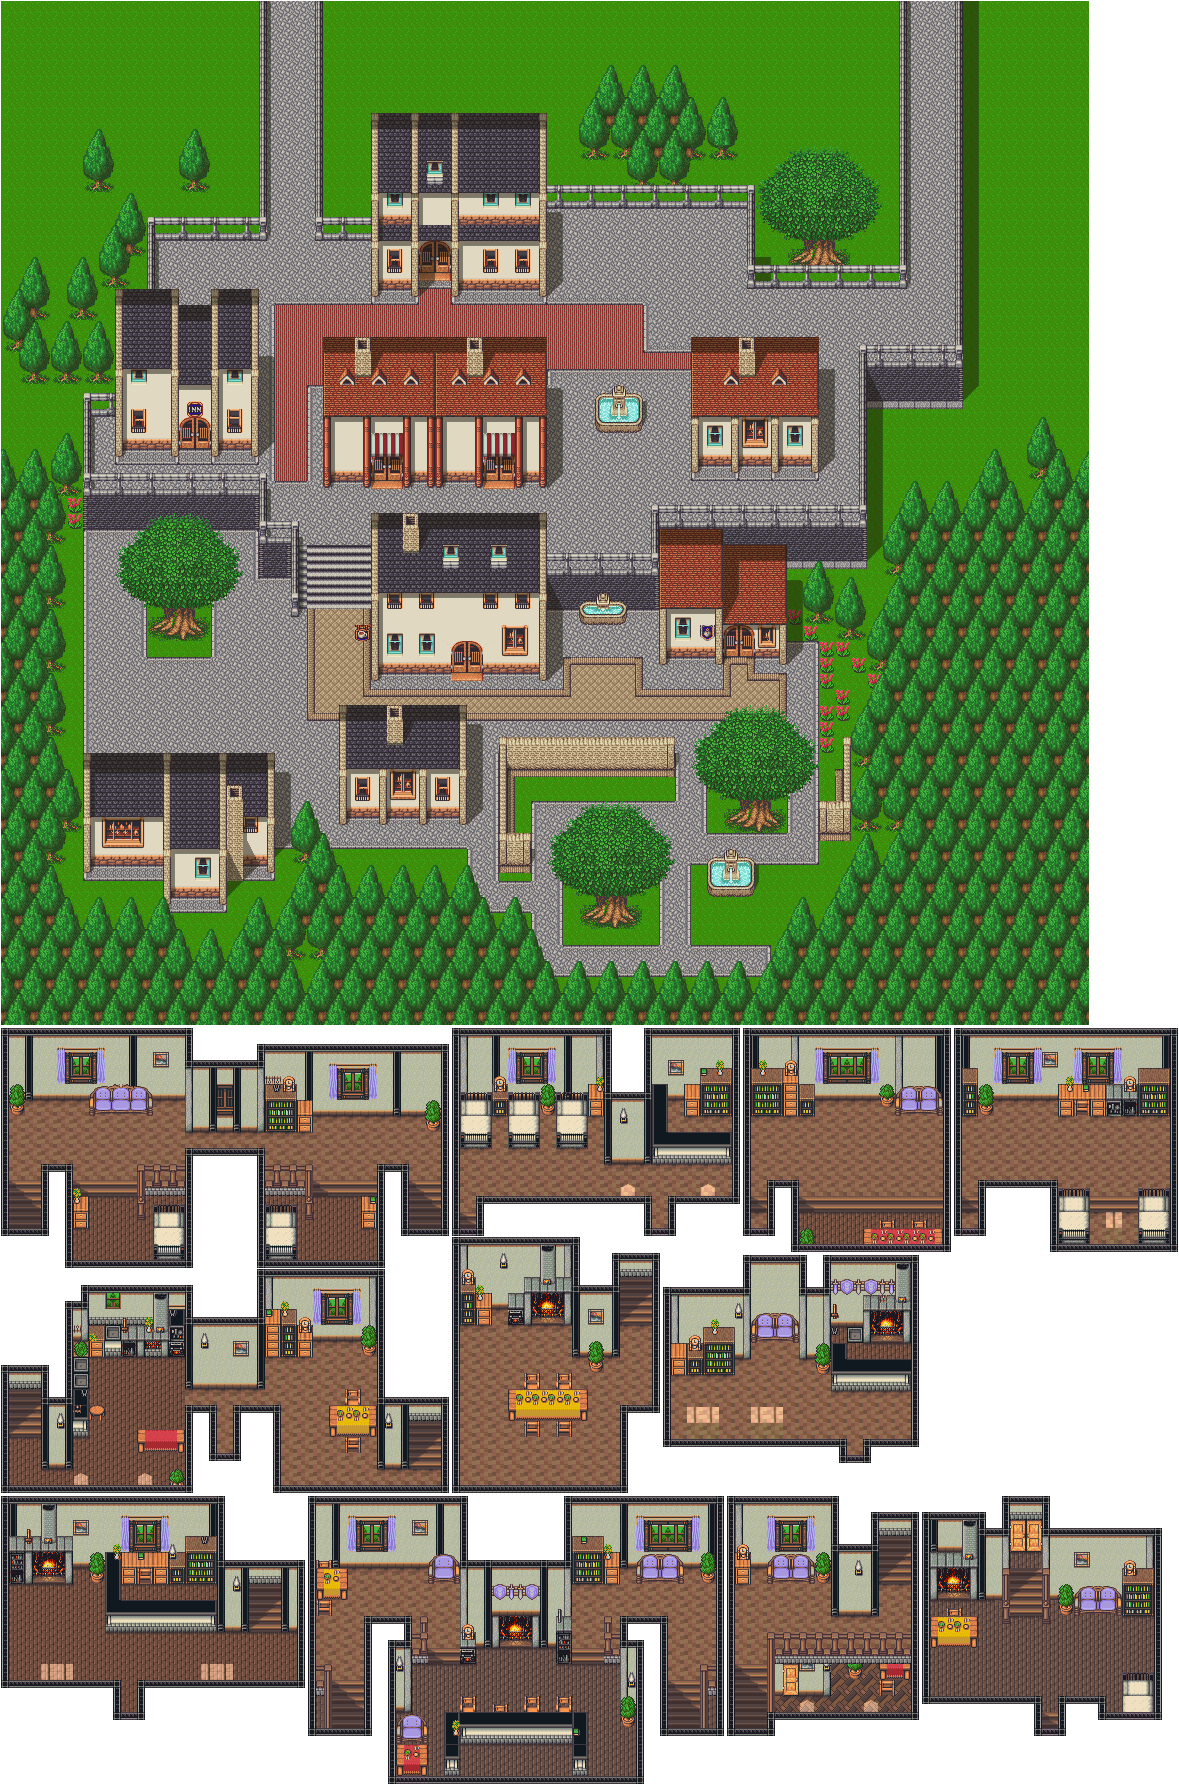
Go back to Northtown and enter the coffee shop/Resistance base. Krissie will be at the counter, and she will tell you that the Emperor wants a truce. The Resistance, ecstatic by the news, head to the castle to the north, not even thinking about the possibility that this could be a trap. This castle, of course, will be your next destination.
Imperial Castle
When you reach the castle, there will no longer be a barrier between you and the front door, so you can just go right on in.
Once you go in, the path is made straightforward thanks to the soldiers that keep you from going where you shouldn't. You'll soon meet Emperor Vandole, and when you talk to him, it will all be revealed to be a trap. You'll be thrown in a cell along with the Resistance.
Once in the cell, talk to the guard. You'll be let out, but you'll soon be pushed into a pit where you'll have to fight the Metal Mantis. The Metal Mantis is a more powerful version of the Mantis Ant that can cast Lunar Boost on itself and shoot Fire Beams at you to Engulf you, but it should be easy to fight given how easy it was to face the Mantis Ant. When you beat the Metal Mantis, you'll get the Glove's Orb. The Heavy Glove inflicts damage on insects and other similar creatures. Unfortunately, you won't be able to leave and forge your weapons...yet.
After you beat the Metal Mantis, stand on the black-and-white checkerboard tile. You'll be in another part of the castle. The yellow creature that bounce you around from the road to Pandora makes a return appearance here.
The Emberman can cast Lava Wave and can also split into three in addition to trying to clap you to death.
From here, you can hit the switch near the cell and free the Resistance. From here, you have complete control of where to go in the castle. You'll want to go outside the castle from the cell first, but keep in mind that you won't be able to leave the same way you came in.
The Armored Men will hit you with maces, and there are in statue form unless you touch them. Thankfully, they're pretty easy to defeat, even if they cast Defender.
If you go outside then go up the stairs to the right, you'll eventually find the Whip's Orb and the Axe's Orb in chests. Make sure you get these orbs, because once you leave this area, you can't come back. The Hammer Flail will slow enemies down, while the Golden Axe inflicts damage on insects and other creatures much like the Heavy Glove. Once again, you'll have to get out of here first to forge weapons. Watch out for the Armored Men who will spawn out of thin air in this room.
From here, you'll want to go through the front door again. The Dark Ninjas can cast Burst and use Flame Saber, but they give quite a bit of experience and gold for this point in the game.
Friday, December 17, 2021
HCBailly and JB play Secret of Mana - Part 24 of 41
We face another wall boss before finding Dyluck - and Thanatos!
There is a short hallway with two doors. The one on the other end will lead to a switch, which you'll need to press. By stepping on it, you'll be able to lower some spikes that block another switch. By hitting that switch, you'll be able to open up another door. However, it also lowers the spikes on the nearby upper floor, and if you enter it, you'll find a Sword's Orb. The Excalibur is effective on evil/non-living enemies, so if you want, you can leave right now, go find Watts somewhere in Northtown, get the sword forged and give yourself more of an edge here.
The door near the lowered spikes will lead to a spike maze. You'll need to hit the switch at the end to lower the spikes and enter the nearby double doors, but watch out for the Imps.
You'll soon face the Doom's Wall and the Doom's Eye. This boss is much like the Wall Face, but a more powerful. It can cast Thunderbolt on your party, while the eyes can turn your allies to stone with Leaden Glare, Silence your party with Confuse Hoops and heal with Cure Water. Once again, hit the jewel in the center opening - particularly with Earth Slide or Gem Missile - when it is exposed.
There is an attack that the Doom Wall can do when both eyes are down where one of your party members will be surrounded by rocks, moved over to the wall and buried with rocks for a good amount of damage. (I've never actually seen this attack, since I just always went straight for the kill on the center jewel of the boss.) If one of your party members is hit with this, be ready to heal them.
Beating the Doom's Wall give you the Whip's Orb. The Flail of Hope is effective on evil/non-living enemies. You'll also be able to continue north.
Immediately after the battle with Doom's Wall, you'll find Dyluck, who will immediately kill Purim and say that Thanatos needs her help. Randy strikes Dyluck to snap him out of his trance, and Dyluck will tell you to go through the door to the north and help Purim. When you do, you'll meet Thanatos, who tries to use Purim's life force and freeze Randy and Popoie only for Dyluck to use his power to revive Purim and break the spell on Randy and Popoie. You'll then fight the Vampire.
Use Gnome's offensive magic on this boss much like you did the Doom's Wall. The Vampire can put your party members to sleep with Sleep Ring as he flies around, and he can also grab a party member and gnaw on them. Vampire can also cast Freeze and Energy Absorb on your party. When he is not covered by his cape, he will jump around and become vulnerable to physical attacks.
Beating Vampire will net you a Boomerang's Orb. The Red Cleaver inflicts on insects and other creature-type enemies. Unfortunately, Dyluck will be gone again after the battle.
HCBailly and JB play Secret of Mana - Part 23 of 41
When we head to Northtown, we find out that Phanna is here and trying to brainwash a kid. Also, there are ruins, because The Empire.
In Northtown, buy the Frosty Ring and the Tiger Cap for everyone, and get the Tiger Bikini for Purim and the Tiger Suit for Randi and Popoie. Watts will be downstairs at the inn if you need to forge something.
To the northwest is the entrance to the castle. You won't be able to do anything yet, but the music here is absolutely amazing.
One of the NPCs will mention that Phanna gave her some candy and that she can will give her more if she meets her at the ruins. Keep this in mind very soon.
To the northeast is the ruins. At the entrance will be Phanna, who says that she and Dyluck are happy being together. Purim strikes Phanna in anger, knocking Phanna out, and Krissie shows up to take her to the doctor before telling the party to help Dyluck.
Northtown Ruins
The Ghouls can Poison you, and can cast Speed Up on themselves and Speed Down on your party.
The Wizard Eyes can Moogle your party and spawn Weepy Eyes, and they can also cast Level 6 Cure Water.
The Grave Bats are just more powerful versions of the Blats; they just can't cast Balloon on your party.
The Tomato Men make a return from the Pandora Ruins.
The chest on the left balcony contains a Spear's Orb. To get to it, go through the door in the northwest corner of the entry room and follow the path. The Halberd has a chance of confusing enemies with Silence upon impact.
The Imps are the nastiest enemies here. They can cast Level 5 versions of all of Salamando's Popoie spells as well as Level 5 Cure Water.
The chest on the right balcony contains a Bow's Orb. The door at the northeast past the entrance will take you to it. The Bow of Hope is effective on evil/non-living enemies, which makes it the perfect weapon to go through here.
Subscribe to:
Posts (Atom)