Part nostalgia-bomb, part note-taking and part FAQ, what started in GameTrailers as a video game blog is now on Blogger. This blog is a look back at video games, both popular and obscure, from the video game industry's infancy all the way to the previous console generation.
Bowser's Kingdom is going to take a few videos to complete, as we'll be systematically looking for Regional Coins and Power Moons in our attempt to sweep through this kingdom.
Bowser's Castle is a bunch of forts isolated from each other like a bunch of islands, and you'll have to go from island to island and fort to fort to get to the end.
The birds you'll meet at the Third Courtyard (Front) checkpoint are called Pokios. By taking control of one, you'll be able to jump with B and poke enemies in front of you with your beak with Y. The poke attack not only allows you to attack enemies, but also stick to certain walls. By sticking to certain walls, you can launch yourself upwards as well as other directions in order to get to other places you normally couldn't get to. Just remember that you need to hold the opposite direction you want to go with the left stick, and to not let go until you are sure you are going in the direction you want to go as well as when you are ready to launch yourself. If you need to switch directions while stuck to the wall, do not let go of the left stick; instead, move the stick to another direction. After some practice, you'll be launching yourself like a pro.
At the end of the Third Courtyard (Rear) area, you'll face a Stairface Ogre. Stand in front of it so it attacks, then run to the side to avoid being crushed by its wooden weapon. There is a red square that dictates where its attack will hit. Climb up the weapon by jumping up it like a bunch of steps, then jump on his head and ground pound him. You'll need to do all of this before he raises his weapon back up. Once you beat him, you'll get the first of four story-related Power Moons for this area.
Smart Bombing
For the second story-related Power Moon in the kingdom, you'll need to find five Moon Fragments in the Second Courtyard area. For some of them, you'll need to take control of a Pokio and poke firework bombs coming out of the bomb launchers so that they roll into metal boxes and blow them up, as some of the Moon Fragments are hidden in metal boxes. Other Moon Fragments will be hidden in plain sight in harder-to-find-than-usual areas that you can see if you look down from the rooftops. All of them will be in the Second Courtyard area. When you find all five Moon Fragments, you'll be able to get another Power Moon and open up more of the kingdom.
2. Smart Bombing - Find the five Moon Fragments in the Second Courtyard area (see above).
5. Behind the Big Wall - By getting on the roof near the Third Courtyard (Front) checkpoint with a Pokio, you can look around and find a hidden platform with this Power Moon.
6. Treasure Inside the Turret - There is a secret area off to the side one can find from the rooftops of the Second Courtyard. You can get yourself over to the Power Moon with a Pokio.
7. From the Side Above the Castle Gate - Near the spark pylon at the end of the Second Courtyard area, you can jump onto the roof to get with a backflip, a cap throw to the side and a dive to get an easy-to-miss Power Moon.
18. Taking Notes: Between Spinies - At the Third Courtyard (Rear) checkpoint, there is an area with two Spinies and a treble clef. Grab the treble clef, then grab all twenty notes before time runs out while avoiding the Spinies. If you need to, throw your hat to collect notes. You'll get a Power Moon.
19. Stack Up Above the Wall - At the start of the level, take control of a Goomba and jump on top of the rest of the nearby Goombas to create a stack of ten Goombas. From there, turn the corner to find a 10 Goomba Switch and step on it. This will reveal a Power Moon.
21. Poking Your Nose in the Plaster Wall - At the end of the Third Courtyard (Rear) area, there is a hidden area you can find by looking around on the rooftop. In this area is a Pokio. Take control of the Pokio, then poke the third gold hexagon in the bottom of the wall. This one has a hole in it, unlike the rest. This will reveal a Power Moon.
22. Poking the Turret Wall - In the Second Courtyard, there is a gold hexagon you can poke with a Pokio to reveal an easy-to-miss Power Moon. It will be near two firework bomb launchers inside of a metal boxes, and you'll need to destroy a metal box near it with a firework bomb to reveal the hexagon.
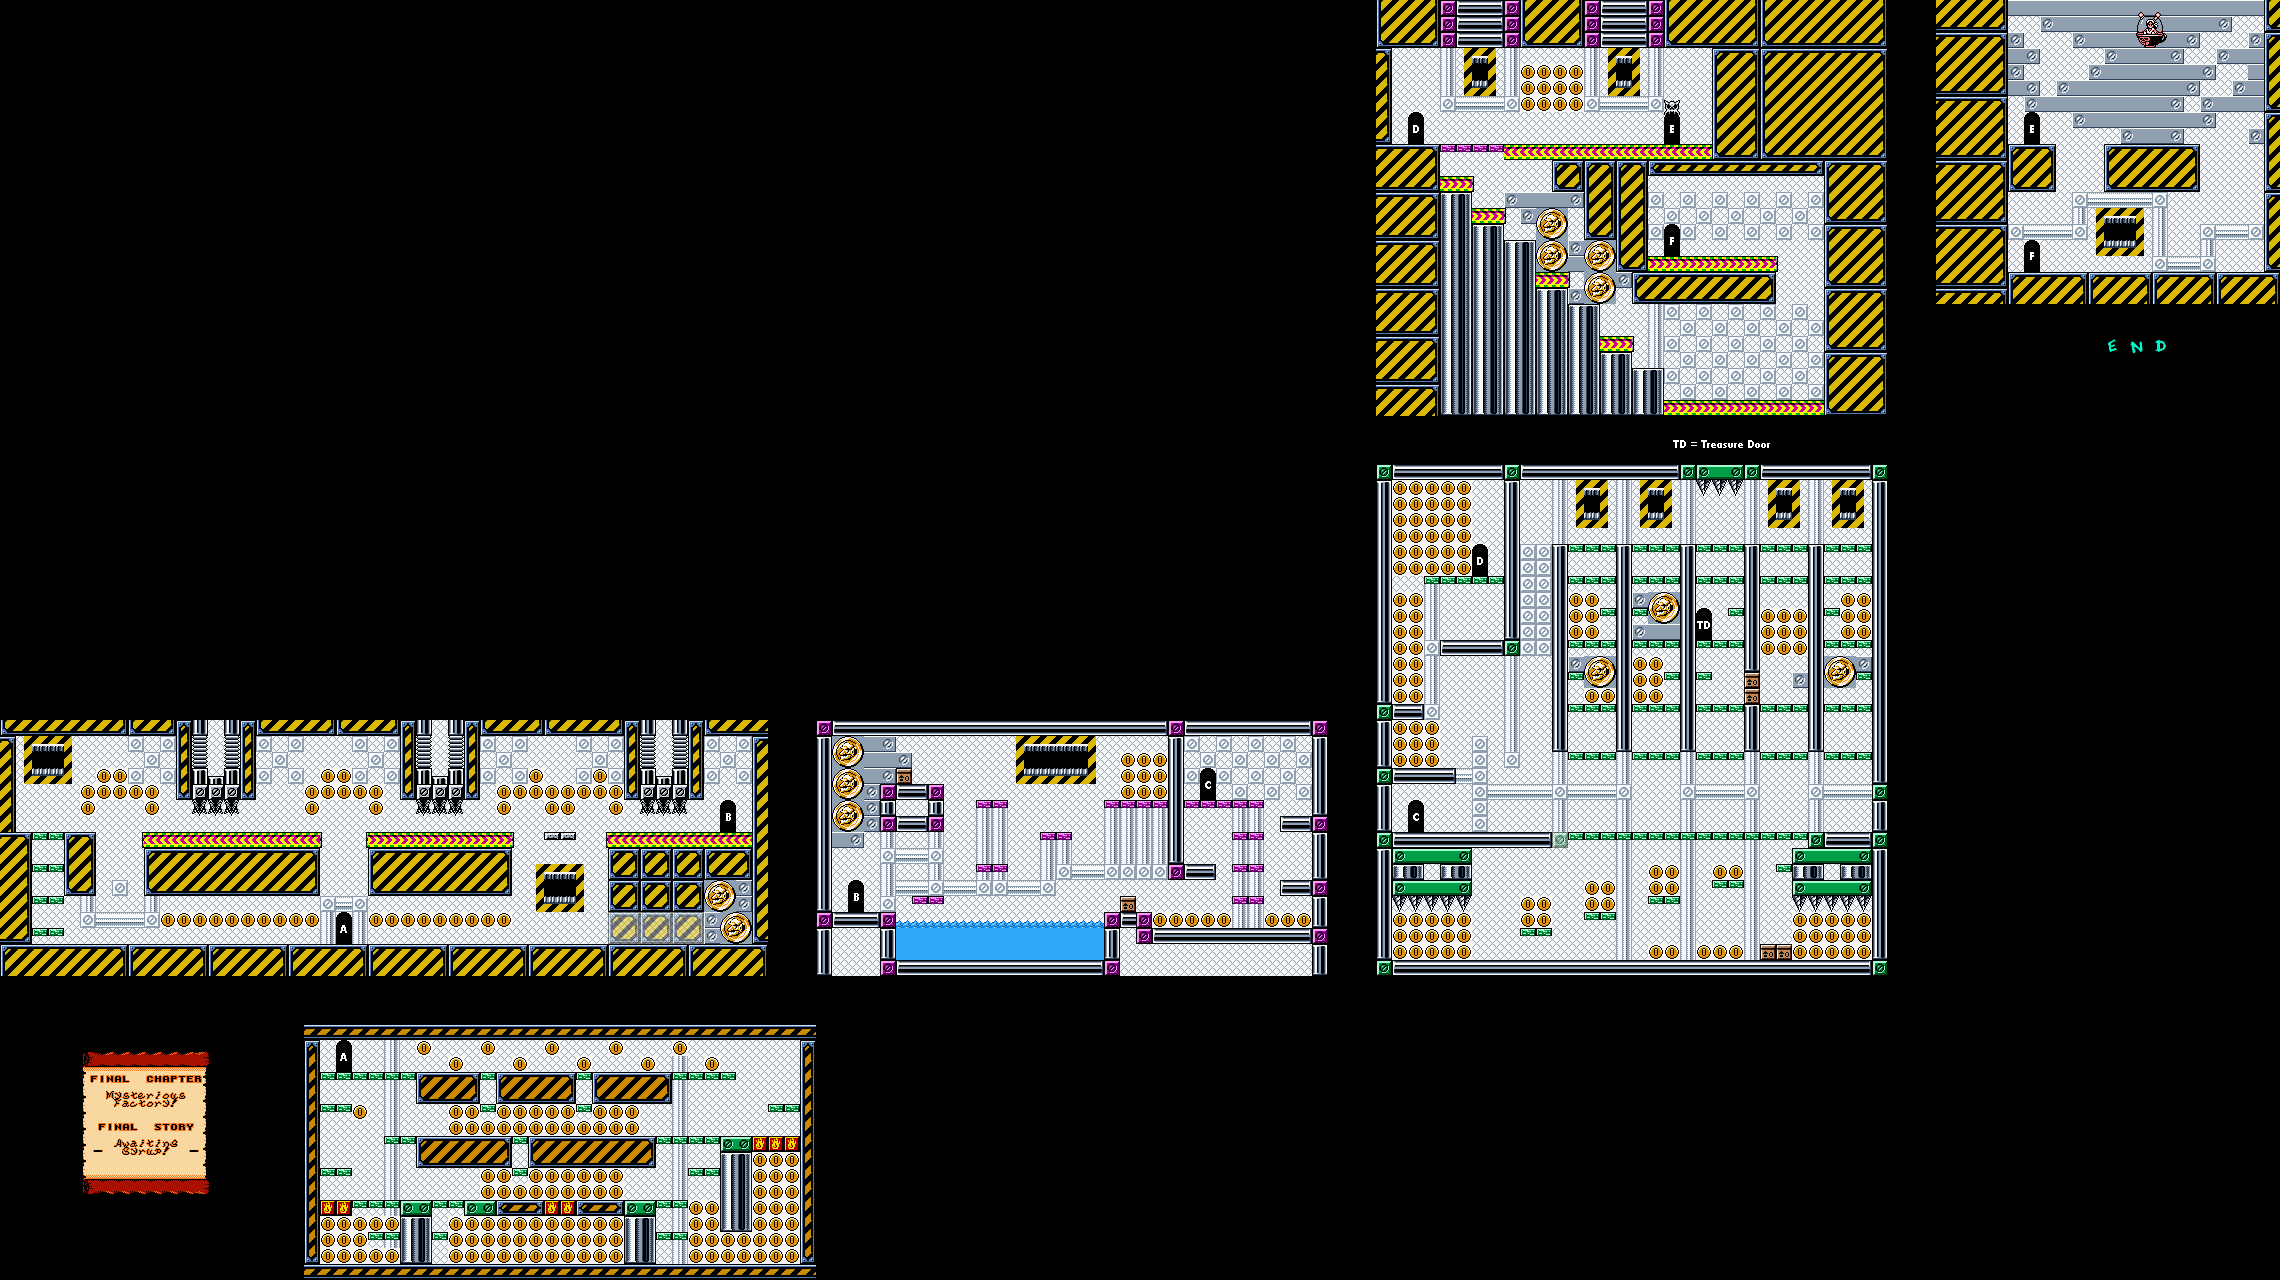
Avoid the spikes that move up and down on the upper area at the start, then go down, tackle through the right-hand wall for big coins and stay frosty as you enter the door in the center of the lower area. You'll need to set yourself on fire to get all the coins in this area and get past the blob separating the two halves of the room.
Go through the door in the upper area. Take out the penguins, then go up above the water for more coins before continuing on. Use the hammer guy to turn into Spring Wario and get all the coins. As for the five columns in this area, you'll want to go up the fourth one to get access to the treasure room. Keep in mind that you have to hold A to get back to being normal Wario, so you can get in there and win a Game Boy.
Make sure you get all the coins here, then butt stomp the block left of the bridge at the bottom to find even more coins. I forget to get these coins.
Enter the door in the upper-left to get to the boss door, then enter the door below to get some more coins. Watch out for those spikes!
Now it's time to take on Captain Syrup. Tackle here when she swoops down at you to break the glass dome, then jump on the bomb, grab the bomb, high jump and throw it at Captain Syrup. For the second bomb, some of them may go high, so watch where you're jumping. For the third bomb, you'll need to run out of the way when the bomb move towards you and drops so you can jump on it, then you'll need to throw it at Captain Syrup as normal. After three bombs, Captain Syrup is history! You'll get your treasure back and reappear in the city with it after Captain Syrup and her goons are knocked into the stratosphere! We're at 90%, and there's one more side story to go...
In this entry, we finally get the Rainbow Shell and get it to the castle at last, but back in the present, someone wants to make a move and finally ruin Marle's father.
When you go through the door in the jail cell, you'll face Rust Tyrano when you try to move past it.
Rust Tyrano fights just like Black Tyrano, but he can take you down if you're not careful. The trick to beating him is making sure your health is high while hitting him hard in the opening moments of the match. Because of this, I'm able to beat him despite having a hard time healing near the end, as the Blue Rock's Omega Flare allows me to deal more than 3000 HP per shot. If you can charm Rust Tyrano, you can get the Red Mail, which completely absorbs fire damage.
If you want to make it easier, put Marle in the party and have her cast Haste on herself before casting it on the other party members, then go at it with everything you have, including Triple Techs, while keeping health high. This video is but one example of what you can do.
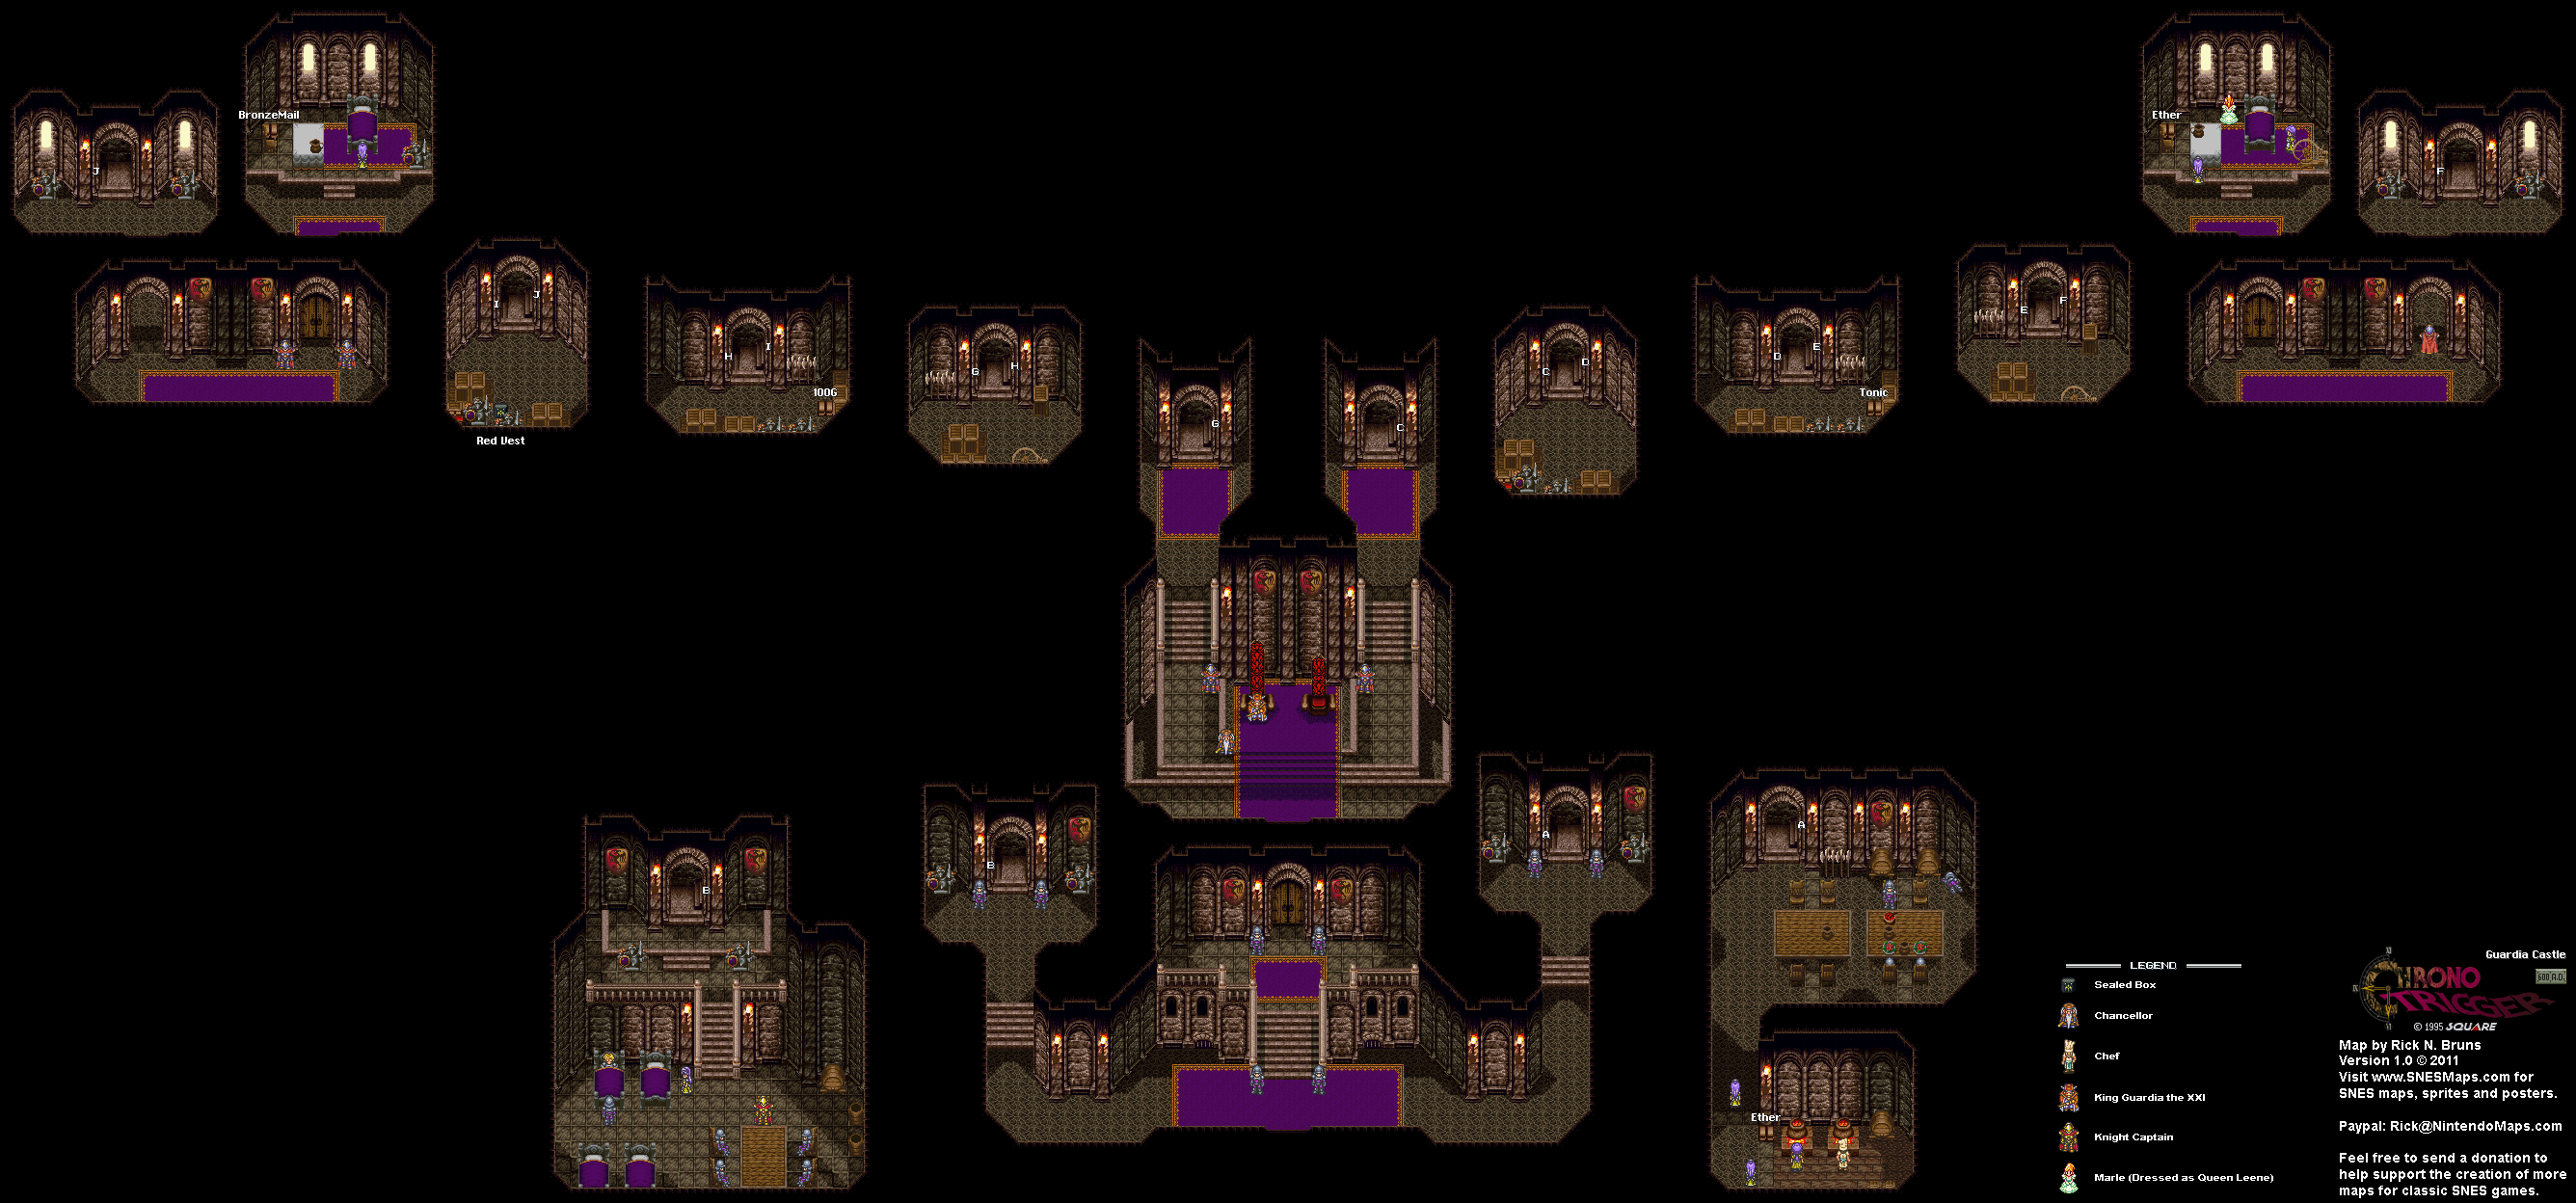
Once you beat Rust Tyrano, you can move forwards toward the Rainbow Shell. If you move into it and press A, you can pick it up, but you'll find it heavy. As you walk away, the screen fades to black and transitions to the throne room of Guardia Castle in 600 A.D. Here, the king will name the Rainbow Shell a national treasure while also commanding the soldiers to head to the Giant's Claw and pick it up. If you head back to where the Rainbow Shell was, you'll see them trying to pick it up.
If you talk to everyone in the castle, everyone will be relieved that you survived your battle with Magus earlier in the game. The King as well as Queen Leene will also think highly of Frog if you have him in your party, and the King will also knight Frog as well.
From here, head back to Guardia Castle in the present day.
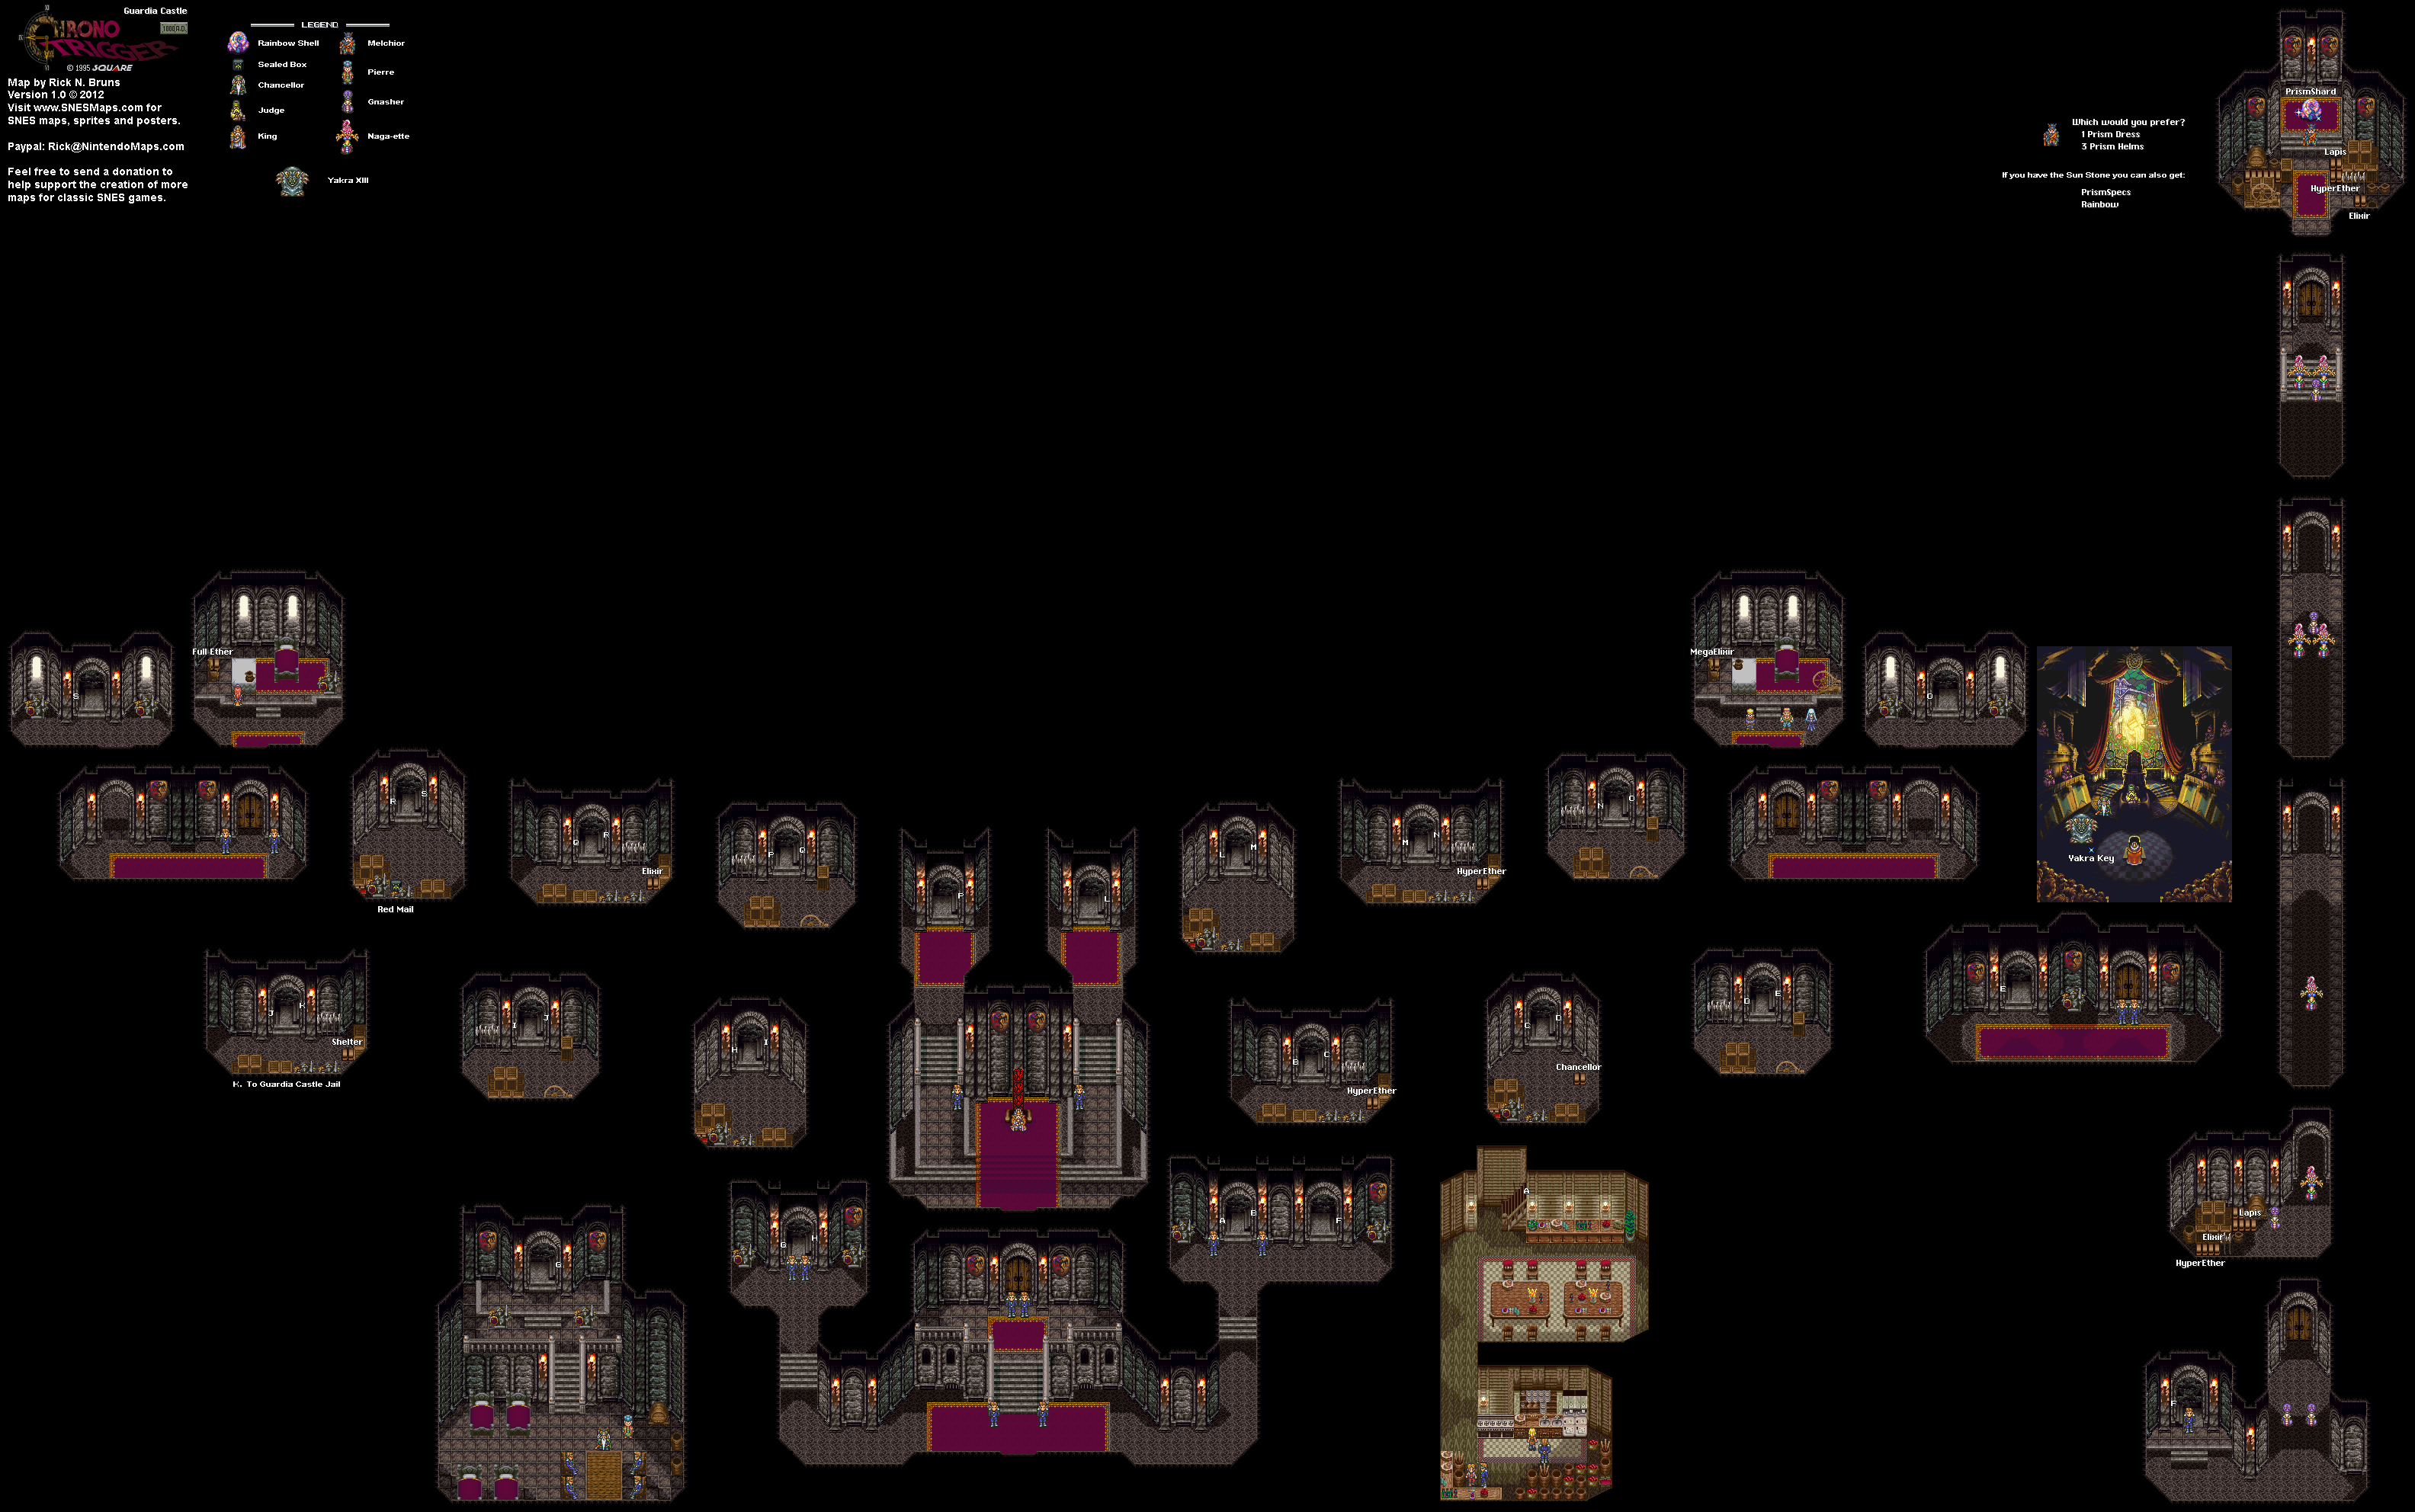
When you head back to the castle, there will now be a treasury east of the entrance where the Rainbow Shell is being kept. If you talk to everyone, however, you'll find out that the present day king, Marle's father, will be on trial for selling the Rainbow Shell. Put Marle in your party and keep her there for the rest of the side quest. Head towards the courtroom with Marle in the party and you'll be able to force your way in. You'll find out that the Chancellor is trying to frame the king, and he will tell you to confirm his innocence with proof.
When you are forced out of the courtroom, you won't be able to go back in again. From here, Marle will say there is no heirloom despite the fact that we just got the Rainbow Shell brought into the castle 400 years ago after finding it in the Giant's Claw, and the party has to remind Marle about it. She will then realize that the Rainbow Shell has to still be in the treasury, and you'll need to head down in there to get it.
At this point, you won't be able to leave the castle until you complete this part of the side quest. Also at this point, you can finally enter the treasury, which was guarded by a soldier up until now (he will be down on the ground after being bitten by a rat, or so he says). You'll have to fight some Gnashers and Naga-ettes - the same enemies from the Cathedral in 600 A.D. - to get to the Rainbow Shell, but these things are super easy to beat up.
As you get to the treasury, Marle will realize that there is a plot, and you'll see that plot try to unfold with the Chancellor bringing out a fake witness to frame the King. Eventually, you'll reach the Rainbow Shell, which is resting in the treasury, having never been sold by The King. You'll find a letter from Queen Leene where Leene somehow knows that Marle and her father are having trouble getting along but knows that they will come together. You'll also get a Prism Shard, which will be proof that the Rainbow Shell is still in the treasury.
After this, head back to the courtroom entrance. You still won't be able to get in, but Marle will know an alternate way in. The game will then go back to the courtroom, where a jury of nothing but shoulders will find The King guilty in kangaroo court. Marle will suddenly crash through the stained glass window behind the judge and show up with proof, and the rest of the party will soon join her. Marle presents the Prism Shard, and the Chancellor will be exposed. He then transforms into Yakra XIII, and it will become clear that this was all a plot to get rid of the King in revenge for the first Yakra being defeated by your party at the beginning of the game for kidnapping Queen Leene.
Yakra can hit party members with Blizzard to inflict the Chaos status ailment, and he can also shake the ground to damage the whole party. When you do enough damage to him, he can also hit you with the Needle Spin attack, which can do a lot of damage to a single party member. Keep your health high while hitting him with powerful attacks, especially when Yakra XIII tries to kill your party in desperation with a Needle Spin attack that hits the whole party after you defeat him. Unlike the single-target version, however, it doesn't do as much damage when it targets the whole party.
When you defeat Yakra XIII, he will drop something, but you won't be able to pick it up yet. You'll see Marle and the King have a conversation with Marle, where it is revealed that The King was at Queen Aliza's side as she passed on peacefully and mentions a few details of Aliza's funeral before The King and Marle finally make up. In other words, everything the fake Chancellor said never happened.
Afterwards, The King will ask you to take care of Marle. Before you can leave, however, Melchior shows up, and he will head to the treasury to forge something out of the Rainbow Shell. Head back to the courtoom - which is now unguarded - and get the sparkle on the floor. This is the Yakra Key. Explore the castle and find the locked chest, then open it with the Yakra Key to free the real Chancellor, who will get right back to work on the closing ceremonies of the Millenial Fair.
If you head to the kitchen - which is heavily upgraded from what it was in 600 A.D. - you'll be able to eat for free and refill your HP and MP, especially with the Crono Special, which is essentially sushi.
If you head back to the Treasury and talk to Melchior, you can choose between three Prism Helms or one Prism Dress. Believe it or not, you'll be able to get more Prism Dresses and Prism Helms if you know what to do and how to do it, and while the Prism Dress is the best armor for Marle, Lucca and Ayla, the Prism Helms protect the wearers from status ailments. Pick the Prism Helms.
Melchior will stay in the treasury, and if you talk to him, he will tell you that he can make something wonderful with the Rainbow Shell if he had something to make an alloy with. We'll be keeping that in mind for the next side quest that I decide to do.
2:21 - Back on Damosel, we can access a pad at the beginning that allows us to play as Giant Clank again. On the planetoid, you'll need to destroy the mothership. Use your missiles against it whenever possible, and tear through multiple enemies at once to get health. When the mothership starts spreading electricity all around the planetoid, get to the top of it and keep jumping on it to destroy it. For beating the mothership, you'll get the Mapper, which reveals secret areas in green on the map.
7:44 - The grinding section for Damosel. Be ready to jump over monorail cars, Protopets and flashing rings from Point A to Point B. Near the end, you'll have to grind on top of the monorail cars in order to get to the end. If you can get through this whole section without getting hit, you'll get a Skill Point. You'll also get the last Hypnomatic part as well as a Jak & Daxter reference.
11:06 - With all three parts and 10,000 bolts, you now have the Hypnomatic. You can use it on the nearby robot who is blocked by the vents to get the car leading to the start to come back.
13:42 - By using the Box Breaker to destroy everything breakable in Endako, you'll get another Skill Point.
Skill Points:
Midtown Insanity: Grind the train rails without taking any damage in Damosel.
Destroy All Breakables: Break things on Endako with the Box Breaker until you get this one (this is similar to the Skill Point on Oozla).
Controls:
As Ratchet:
Control Pad/Left Analog Stick: move
Right analog stick: move camera
X:
Jump and double jump (hold button after double jump to use Heli-Pack or Thruster Pack)
Wall jump (near certain walls)
Square: strike with wrench
Circle: pull out/shoot currently equipped gun
Triangle:
quick select (hold and use in conjunction with Control Pad or left stick to switch guns; menu can be customized in Quick Select on the pause menu
double tap to switch between two most recently equipped weapons/items
interrupt on-screen messages
Select: open map
Start: Pause menu
Control Pad: select option
X: confirm option choice
L1:
center camera behind Ratchet (tap button to center)
first-person view (hold button and use left stick or D-Pad to look around; let go of L1 to move camera back behind Ratchet)
Square: wrench boomerang
Circle: fire gun
R1/R2: zoom in and out (Pulse Rifle only)
L2/R2: strafe (hold while moving)
L3: see health and Bolt totals
R1/R2: crouch (hold down)
Square: wrench boomerang
X: high jump
long jump (hold crouch button and jump while running to perform)
R3: open map
In water:
Square: dive and descend
X: surface and ascend
R1: accelerate with Hydro-Pack
As Clank:
Control Pad/Left Analog Stick: move
Right analog stick: move camera
When hanging off platforms:
Control Pad/Left Analog Stick: move
Forward+X: vault up
Back+X: drop down
Square: punch
X: Jump (press and hold in the middle of a jump to glide with Heli-Pack)
Triangle: command menu (hold and use in conjunction with Control Pad or left analog stick to choose commands)
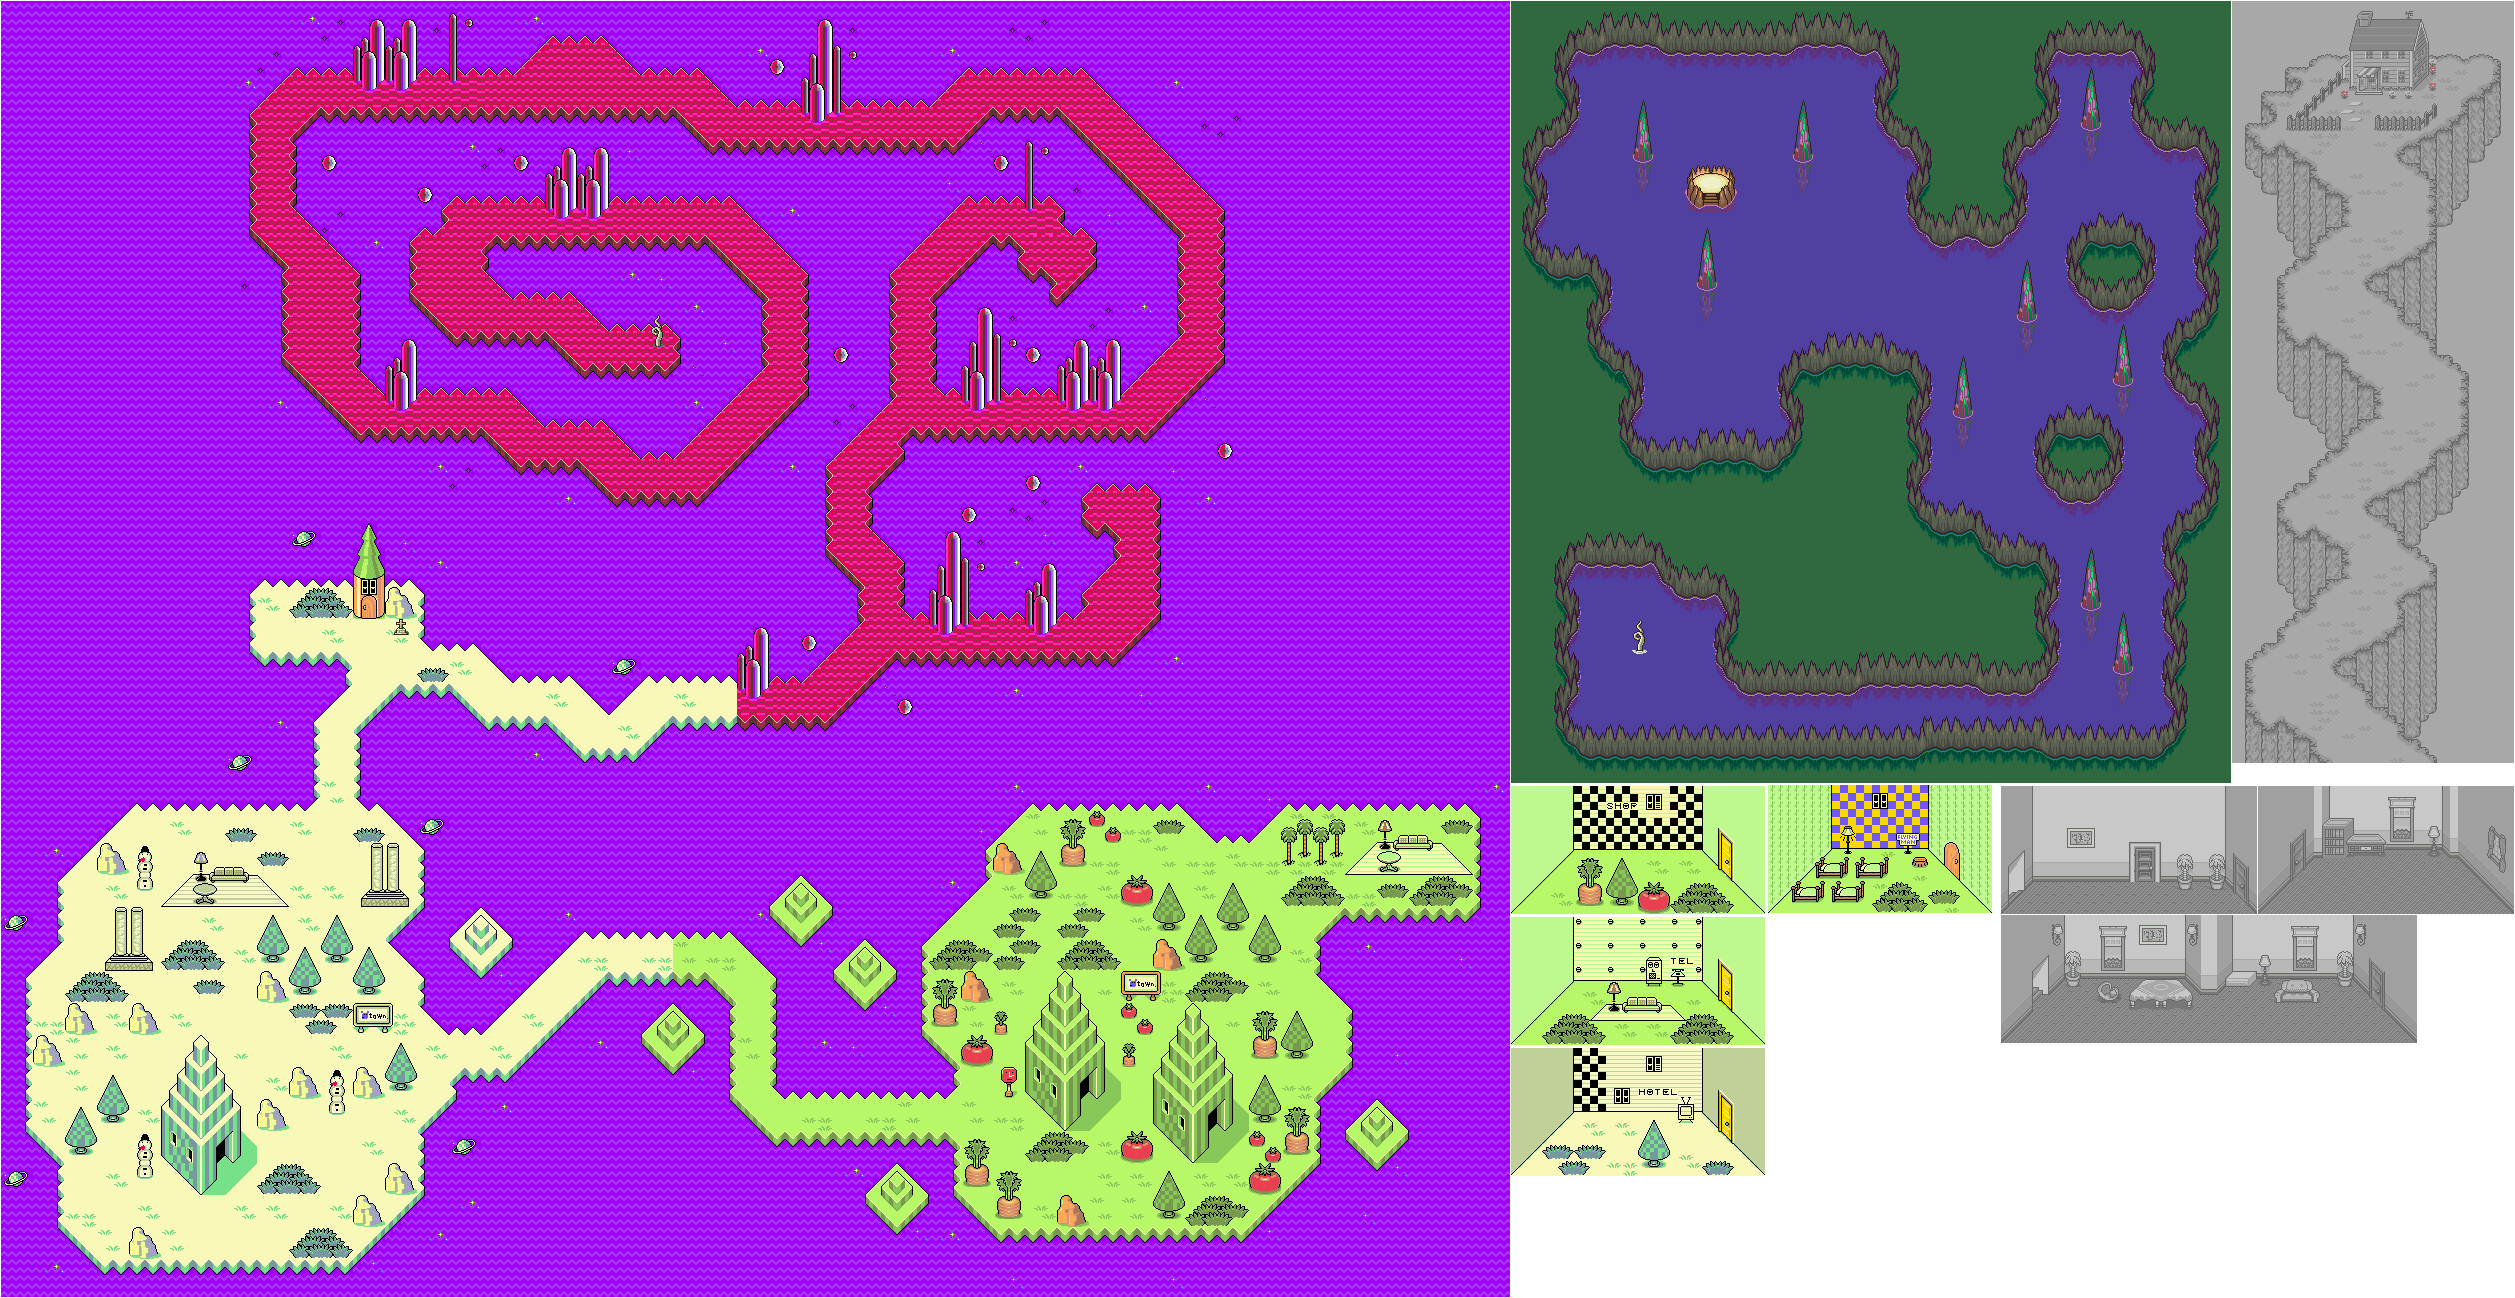
We finally take back the last "Your Sanctuary" location, but when we do, we head to a place that is familiar to those who have played the first game. If you know, you know.
There will be slowdown as you go through Fire Spring unless you're willing to take out some of the enemies.
The Cherub's Band increases defense by 70, luck by 20 and blocks sleeping, making it slightly better than the Pixie's Bracelet from the Stonehenge Base.
The Moon Beam Gun is Jeff's second-most powerful weapon in the game, second only to the Gaia Beam.
The boss of the eighth "Your Sanctuary" location is the Carbon Dog. It can bite for a little bit of damage and charge forward for even more damage. The flaming fireball does fire damage to one character. The spray of fire is the same as Fire Omega. The piercing howl does nothing. Go all out with Freeze spells and Multi-Bottle Rockets.
When you beat the Carbon Dog, its flames will go out, turning it into the Diamond Dog. Keep doing what you've been doing at the start of this battle before it casts Shield Beta on itself to reflect physical damage back on the party. Use a Neutralizer if you have to to make things things a lot easier.
Once you beat the Carbon/Diamond Dog, you'll reach the Fire Spring and you'll get the last part of the melody for the Sound Stone. You'll then hear the melody of the Sound Stone in full, then you'll see a monochrome image of Ness crossing a seemingly endless path to his house. Ness dematerializes near the door. Ness' dog is just a pup, and Ness is in his crib. As Ness' mother and father talk about Ness, they notice the start of Ness' psychic powers. Suddenly, Ness is in his pajamas, alone in a strange world of memories and dreams known as Magicant. When you talk to people, the colors will change. You'll need to head to the Sea of Eden to learn the truth about yourself and get out of here. Thankfully, you can use Tracy's Escargot Express to store things in Ness' inventory and talk to Mom to heal. One of the buildings is a store, with the other containing a telephone where you can save.
The Earth Pendant protects from Fire, Flash and Freeze, but only have as much as the Sea Pendant does. If you can't get any Star Pendants, get these before you leave Magicant, as you won't be able to get them anywhere else. The Magic Pudding restores about 40 PP.
Our attempt to fix everything just causes the video game world to spill over into the real world a tad, therefore making slaying Trogdor more difficult.
Use the key on the Trogdor Machine. Strong Sad will unlock the door on the side of the machine. From here, use the cellphone to call The Videlectrix Guys only to get the voicemail. Pick Option 4 to get past the fake voicemail (with hilarious results), and The Videlectrix Guys will drop off a new logic board at Bubs' Concession Stand to fix the Trodgor Machine.
Run to the right to unlock the car, the photo booth, the whale, The Stick, and finally, Bubs' Concession Stand. While the Concession Stand is under repairs, you can still get to the box next to it and get the logic board. Get back to the Trogdor Machine and use the logic board on it. As Strong Bad fixes the machine, The Videlectrix Guys leave a message stating that their legal department wanted to remind him not to install the logic board around anything exposed to radiation, as it could potentially cause the end of existence as we know it. Amazingly, Homestar is now glowing green as if he were exposed to radiation, and the installation of the logic board causes weird things to happen.
You'll hear a growl from Strong Bad, which is now being burninated by a real Trogdor. Homestar then shows up in an interface window, and it becomes apparent that the world has become a video game. Strong Bad has no other choice but to kill Trogdor, and in order to do that, he will have to get in the game...literally.
Head left to the concession stand. You'll get a Donkey Kong reference along with a mad Marzipan, who will start throwing crates. One of the crates will get a bush out of the way.
If you move around, you'll find The Algebros at the brick wall. If you talk to them, they'll talk to you, saying the 3D world is totally bogus and that they need to restore balance before joining your party.
Keep heading left from the brick wall to see Limozeen's space bus crash.
If you go up to the car, you'll see Snake Boxer snakes on the hubcaps. Strong Bad will take the snakes.
Go to the map to add the Trogdor Machine, then head to the Crates area. You can find Snake Boxer if you head to the left, and you'll almost trip over him. If you talk to him, he will join your party.
Now that we've gotten the mini-games unlocked, it's time to play ping-pong at the ping-pong table at all six hideouts. Just use L1 and R1 to move to the arcade machine and the ping-pong table, then select the ping-pong table.
You play as Sly against Bentley. You move around with Left and Right on the D-Pad or left stick, perform a regular hit with Square and perform a power hit that sends the ball at a harder angle at a faster speed with Triangle. Be careful with the power hit, as it can get you into trouble, both by making the ball faster and potentially putting you at a disadvantage on the next hit when the ball comes back to you by making it harder to get to the ball.
The first person to reach eleven points wins.
If you can send the ball back and forth between Sly and Bentley for twenty hits without scoring a point at the ping-pong table in all of the hideouts - in other words, if you successfully move the ball back and forth between Sly and Bentley ten times - you can get the "The Cooper Open" Trophy. Thankfully, once you do the twenty hits in a row in one hideout, you can quit the game immediately and enter the next hideout and still get credit for this.
Achievements:
The Cooper Open: Have a 20 hit rally with Bentley without scoring a point in each hideout.
The room in the upper-left corner of the last floor is the room you want to go to. Osmos drains MP from the target to you. (Interestingly, Osmose acts a little weird here compared to future games, as it damages the enemy much like an elemental spell despite being non-elemental - it calculates the damage as normal and the amount of MP you restore is equal to the damage you dealt - and the target need not have MP in order for you to absorb MP from it.) This spell can prove useful later once it's powered up a bit. You'll also find the Crystal Rod in the same room as the Osmose tome! Score!
Anyway, as you sail towards Mysidia Tower, the water will get really choppy and you'll end up...somewhere else. Layla will go missing.
The water here damages you, much like the lava in the first game.
The BoltFish are strong against Thunder despite being fish, and have no elemental weakness.
The Twist Headband not only increases your Strength by 10, it's also a light piece of armor with a low magic penalty that makes you immune to Mind-elemental spells. Ditto for the Power Armor, which makes you strong against Body-elemental such as Blind.
Brace yourself for the hardest mission in the game, all of it due to the enemies being really annoying if you meet up with them at any point, being unable to jump and really having to know your way around in order to do anything.
You'll need to play as Sly as this one, and...oh, dear lord. This is the hardest job in the game.
The engine room is locked down tight, and the only way to get in is to blow it up from the outside. You'll need to jump into a TNT barrel and walk it to the entrance to destroy it, but along the way, you'll need to pick up three magnetic charges and avoid enemies, all without jumping out of the barrel and detonating the TNT prematurely or getting spotted by enemies, as the initial payload isn't strong enough and you'll need the chargers to power it up.
As you do this, you'll have to be extremely patient with enemies, especially the ones with the flashlights, for if they get close, they will sometimes stick around and make it nearly impossible for you to get around until they pass by. Also, use L3 constantly to keep track of where the charges are. As long as you grab a charger, you won't have to worry about collecting it again in case of a job fail as long as you don't give up on the mission.
The trampolines that normally bounce you up will rise up like an accordion when you stand on them. Keep this in mind if you need to go up a level in certain locations.
Once you get all the chargers, you'll have to cross the tilting rings to get to where the Sly Cooper icon is and jump out of the TNT barrel there. The hardest mission in the game is done.
Controls
D-Pad/Left Analog Stick: move
Right Analog Stick: move camera
X: jump and double jump
Square: Horizontal Attack
horizontal attack (as Sly)
slam enemies launched into the air from behind (as Sly)
hook punches (as Murray)
Thunderflop (as Murray; in mid-air only)
crossbow swipe (as Bentley)
Triangle: Vertical Attack
vertical attack (as Sly; used to knock enemies into the air)
downward dive (as Sly; in mid-air only)
uppercut (as Murray)
drop bomb (as Bentley)
Circle: Action button (near blue/green/purple sparkles and character icons)
pickpocket (as Sly)
stomp (as Murray; use Square to throw object/enemy)
R1: hold to run
Select: Gadget Grid
Control Pad: highlight gadget
X button: confirm gadget
L1, L2, R2: assign gadget to button pressed
L1, L2, R2: use gadgets assigned to button pressed
Start: pause menu
Control Pad: select menu choice
X button: confirm choice
Start: un-pause game
L3 (press the left analog stick): locate beacons for mission objectives
R3 (press the right analog stick): Enter and exit Binocucom for first-person view
Left analog stick: look around
Right analog stick: zoom in and out (with up and down on right stick)
R1:
take pictures with spy camera (as Sly; when applicable)
Head back to Airsrock in Australia and climb up to the top, and talk to the guy you meet there. He will tell you he is watching for the end of the world from here, and asks if you would listen to him. Say "sure." He'll tell you a certain race revered this grand view and vast nature as god, but today, modern societies make a racket about preserving nature. He asks how man thought they were so powerful as to protect gods, and thinks that the beginning of the end started there. As he watched, he paid heed to a voice that spoke to him about an older boy that appears bearing a rod - which is obviously you - to whom the Starstone must be given. He'll give you the fourth Starstone.
From there, head back to Japan and go to Neotokio.
At the beginning of the game, I mention the pub quiz that you could have done earlier in the game in the Japanese version. You can't do it now due to the entire population of Neotokio being wiped out, but it exists, and I mention it in here. The Cutting Room Floor has more information on this and other things hidden deep in the game's code. Winning the quiz nets you a Magirock, but since the Western version doesn't have the quiz, it isn't mentioned here.
Head up the stairs in the northwest corner of town and enter the police station. You'll hear what sounds like a phone ringing in the desk in the corner. Go up to the desk and interact with it. You'll find the Transceiver in the desk drawer, and Ark will take it.
You'll then hear a girl cry for help from the Transceiver. Yomi shows up and tells you that the girl doesn't seem to know how to operate the unit. Yomi will also ask if you hear the sound behind the girl. It's the sound of flowing water, and there is no river in this town. The girl has to be in the sewer...but where is the sewer.
Leave the police station and enter the small building near the stairs. The first lone door with the metal grate right in front of it will now be unlocked. This is the sewers entrance.
The beginning of the sewers is linear, for the most part. You'll be fighting the Slimes again, and you'll also fight some ghosts that not only shoot fireballs at you, but also crumble for a few seconds if you don't kill them right away. There is a door near the beginning of the path, but it's locked. You'll have to find a way to unlock it in order to continue.
For now, go south from this door. Watch out for the enemies with the guns, as they will steal your money if you get too close. You'll eventually find another door at the end of the path. Go inside, and you'll hear the Transceiver noise again. The girl will cry for help again, then scream. Go into the crawl space nearby and open the chest you find to get the Sewer Key.
Head back to the locked door and use the Sewer Key on it. As you make your way to the door, the girl will say that a lion is chasing her. When you open the door, you'll finally meet the girl...and the lion. Take down the spinning guns as you get to the chest with the H. Water, then enter the doorway in the upper-right corner, and you'll enter a very linear maze area that is much like the sewer areas of Dragoon Castle. You'll find a Luck Potion in a chest near the start, as well as the Fauchard off the beaten path. You'll want to equip this, since it's a pretty good weapon at this point.
Believe it or not, the EnbuPike actually does more damage to the floating spinning enemies and the mechanical enemies here.
In the second maze, you'll know you're going the right way when you make it to the upper-left corner of the maze. Don't forget to go right and collect Magirock #86 before you leave.
In the next section, there are three places you can go. Go to the left to find a chest that contains the KingArmr. Go to the right to get Magirock #87. Watch out for the mechs that shoot at you on the paths, as they can get you from a fair distance. The middle path lets you continue on to the dead end when you'll meet the girl and the lion. Head to them, and Ark will confront the lion. Yomi will show up and tell you that the lion is Leim, who has grown up since the last time we saw him. Talk to the girl, and she'll tell you that people just suddenly vanished, and that her parents disappeared right in front of her eyes. She tells you that a strange voice from her pendant talks to her, and that it cheered her up by saying light will shine if I live on. She gives you the pendant, which is the fifth and final Starstone.
You'll hear another message from the transceiver. It's from Freedom's research team. Ark will contact them, telling them where Liam and the girl are.
From Neotokio, you'll have to head to Antarctica aka the S. Pole. There is a desert area surrounded by grass at the southern coast. Thankfully, you can move your ship there and walk into it. This is Dryvale, the edge of the world. Amongst all the tombstones are skulls. Equip the Starstones and use them on the skulls.
When you place them all, a soul appears to the north that sounds exactly like Ark. The soul commends you for coming this far and says it was possible because you are the legendary hero. The soul then changes into a shadow version of Ark and says that he represents the Lightside. He explains that you represent the Darkside. He says people are said to meet someone identical to them once in a lifetime, and that there are two Arks in the internal and external worlds. The re-emergence of Beruga has disturbed the balance, and the world has come to doomsday, which must not exist. He tells you to close your eyes and think deeply about the world, then kills you. This ends Chapter 3.
Chapter 4: Resurrection of the Hero
Inside a house, Princess Elle sits at a table. A baby that looks like Ark is asleep in a bed, and Elle tends to him. The baby looks suspiciously like Ark, and we learn that Princess Elle found the baby crying in a field in Storkolm. She has named the baby Ark due to the baby's resemblance to him. As Elle goes out to look for some food, the other Elle - Elle from Crysta - enters the house and is ordered to kill the baby as this was why she was brought from Crysta to the above world. It appears that Ark was resurrected as a baby. Elle from Crysta takes the baby from the bed before Princess Elle can return, and Princess Elle is shocked to find out that the baby is gone.
Elle from Crysta has brought the baby to an underground chamber, and is ordered to stop hesitating and kill Ark. It is then that the two Elles meet, and we find out that the voice ordering Elle from Crysta to kill Ark was none other than Yomi. Now we know why Yomi knew the password to Dr. Beruga's computer: Yomi was in on it all along, too.
Yomi orders Darkside Elle to kill Lightside Elle. As this happens, Kumari reaches Ark through telepathy and tells him to wake up, as all the living things in the world await his awakening. The great tree Ra also speaks to Ark, telling him the earth is screaming and that he should save the planet. Leim also reaches you through telepathy, and even he knows that the world has gone awry. He asks you to give courage to the world. The Kingbird also speaks to Ark, saying that the sky is crying and the tears are filthy. Kumari then tells you that plants and animals are with you even though you cannot converse with them, and tells you once again that the world awaits your awakening. Ark transforms back into an adult and returns to his normal self, and Ark's resurrection is complete.
Yomi is displeased, and says that he was to kill Ark when he has resurrected Beruga, but he bided his time as he thought he would find the hero. Now that Ark is the hero, nothing will be able to stop "us" when Ark is killed, and the earth will be reborn by the hand of not the Elder, but Dark Gaia, also known as "the Devil" by humans. We finally know who the highest power is in all of this!
Yomi orders Darkside Elle to kill Ark, but Elle refuses and leaves. Head north and talk to Darkside Elle, and she tells you she only wanted to meet you again...but not like this. She tells you she was ordered to kill someone on the surface world endangering Crysta. She had no idea that it was Ark.
Yomi shows up and tries to kill Ark himself, and Ark has no idea why Yomi would turn on him. Yomi finally explains everything: Ark was just a pawn in the Elder and Dark Gaia's scheme to recreate the world in their image. Yomi then says that the Elder's word is absolute, and finally tries to kill Ark. Yomi creates an earthquake that stuns Ark, but Elle rushes up to Yomi, tells Ark to save the surface world, and then sacrifices herself along with Yomi. After saying that she wanted to be with Ark forever, Elle dies along with Yomi as they are both sucked into a portal, killing both of them. Ark wonders if the world would have remained peaceful if he had not opened the box that day, but realizes it doesn't matter even though he wishes for things to be as it once was.
Go back to the other end of the room and talk to Princess Elle. Elle has no idea what to say, but Ark tells her not to worry. Elle says her Darkside clone may be gone, but wonders if she'll ever replace her. You then get to tell her who you really have feelings for, and if you say "Surface Elle," you'll get different dialogue.
Regardless of who you pick, Elle will tell you that the village had an old saying that the hero will visit, create a miracle and defeat the dark foe. Elle realizes that hero is you. She then shows you a box similar to the one you opened in Crysta, which contains the weapons of the Hero and says that Columbus found them on his voyages and hid them to make sure they didn't fall into the wrong hands. This is the secret that King Henri slaughtered the entire village of Storkolm - including Elle's parents - to find and Columbus ended up being tortured. She then tells you that the souls of the villagers became wolves to protect the arms, as only Ark can use them.
Approach the box from , and Yomi will show up...even though he died along with Darkside Elle. Turns out this is the Lightside Yomi, as the Yomi we knew was evil the entire time. Yomi will tell you that it's time to destroy Beruga, and you get the ultimate weapon in the game: the Hero Pike. (The only thing that compares in strength is the Enbu Pike, and that is only if your level is past 35.) You'll also get the Hero Armor, which is the strongest armor in the game.
If you talk to Elle again, she will tell you that she will await your return in this underground chamber, and asks you to come back when you're finished. Go up the steps, and you'll eventually be in the the Lightside equivalent of the Elder's house. Leave the house, and you'll run into a bird with a letter in its beak. Ark will read the letter, which happens to be from Meihou. Meihou is headed to Siberia, and he explains what has recently happened concerning Neotokio. He'll also tell you that some friends have also shown up to help stop Beruga in his new lab tower in the east of Siberia: Fyda, Royd, Perel and Meilin. He asks you to show up and assist.
From there, exit the town of Storkolm and the dark forest. Having a Bone Pin really helps with that.
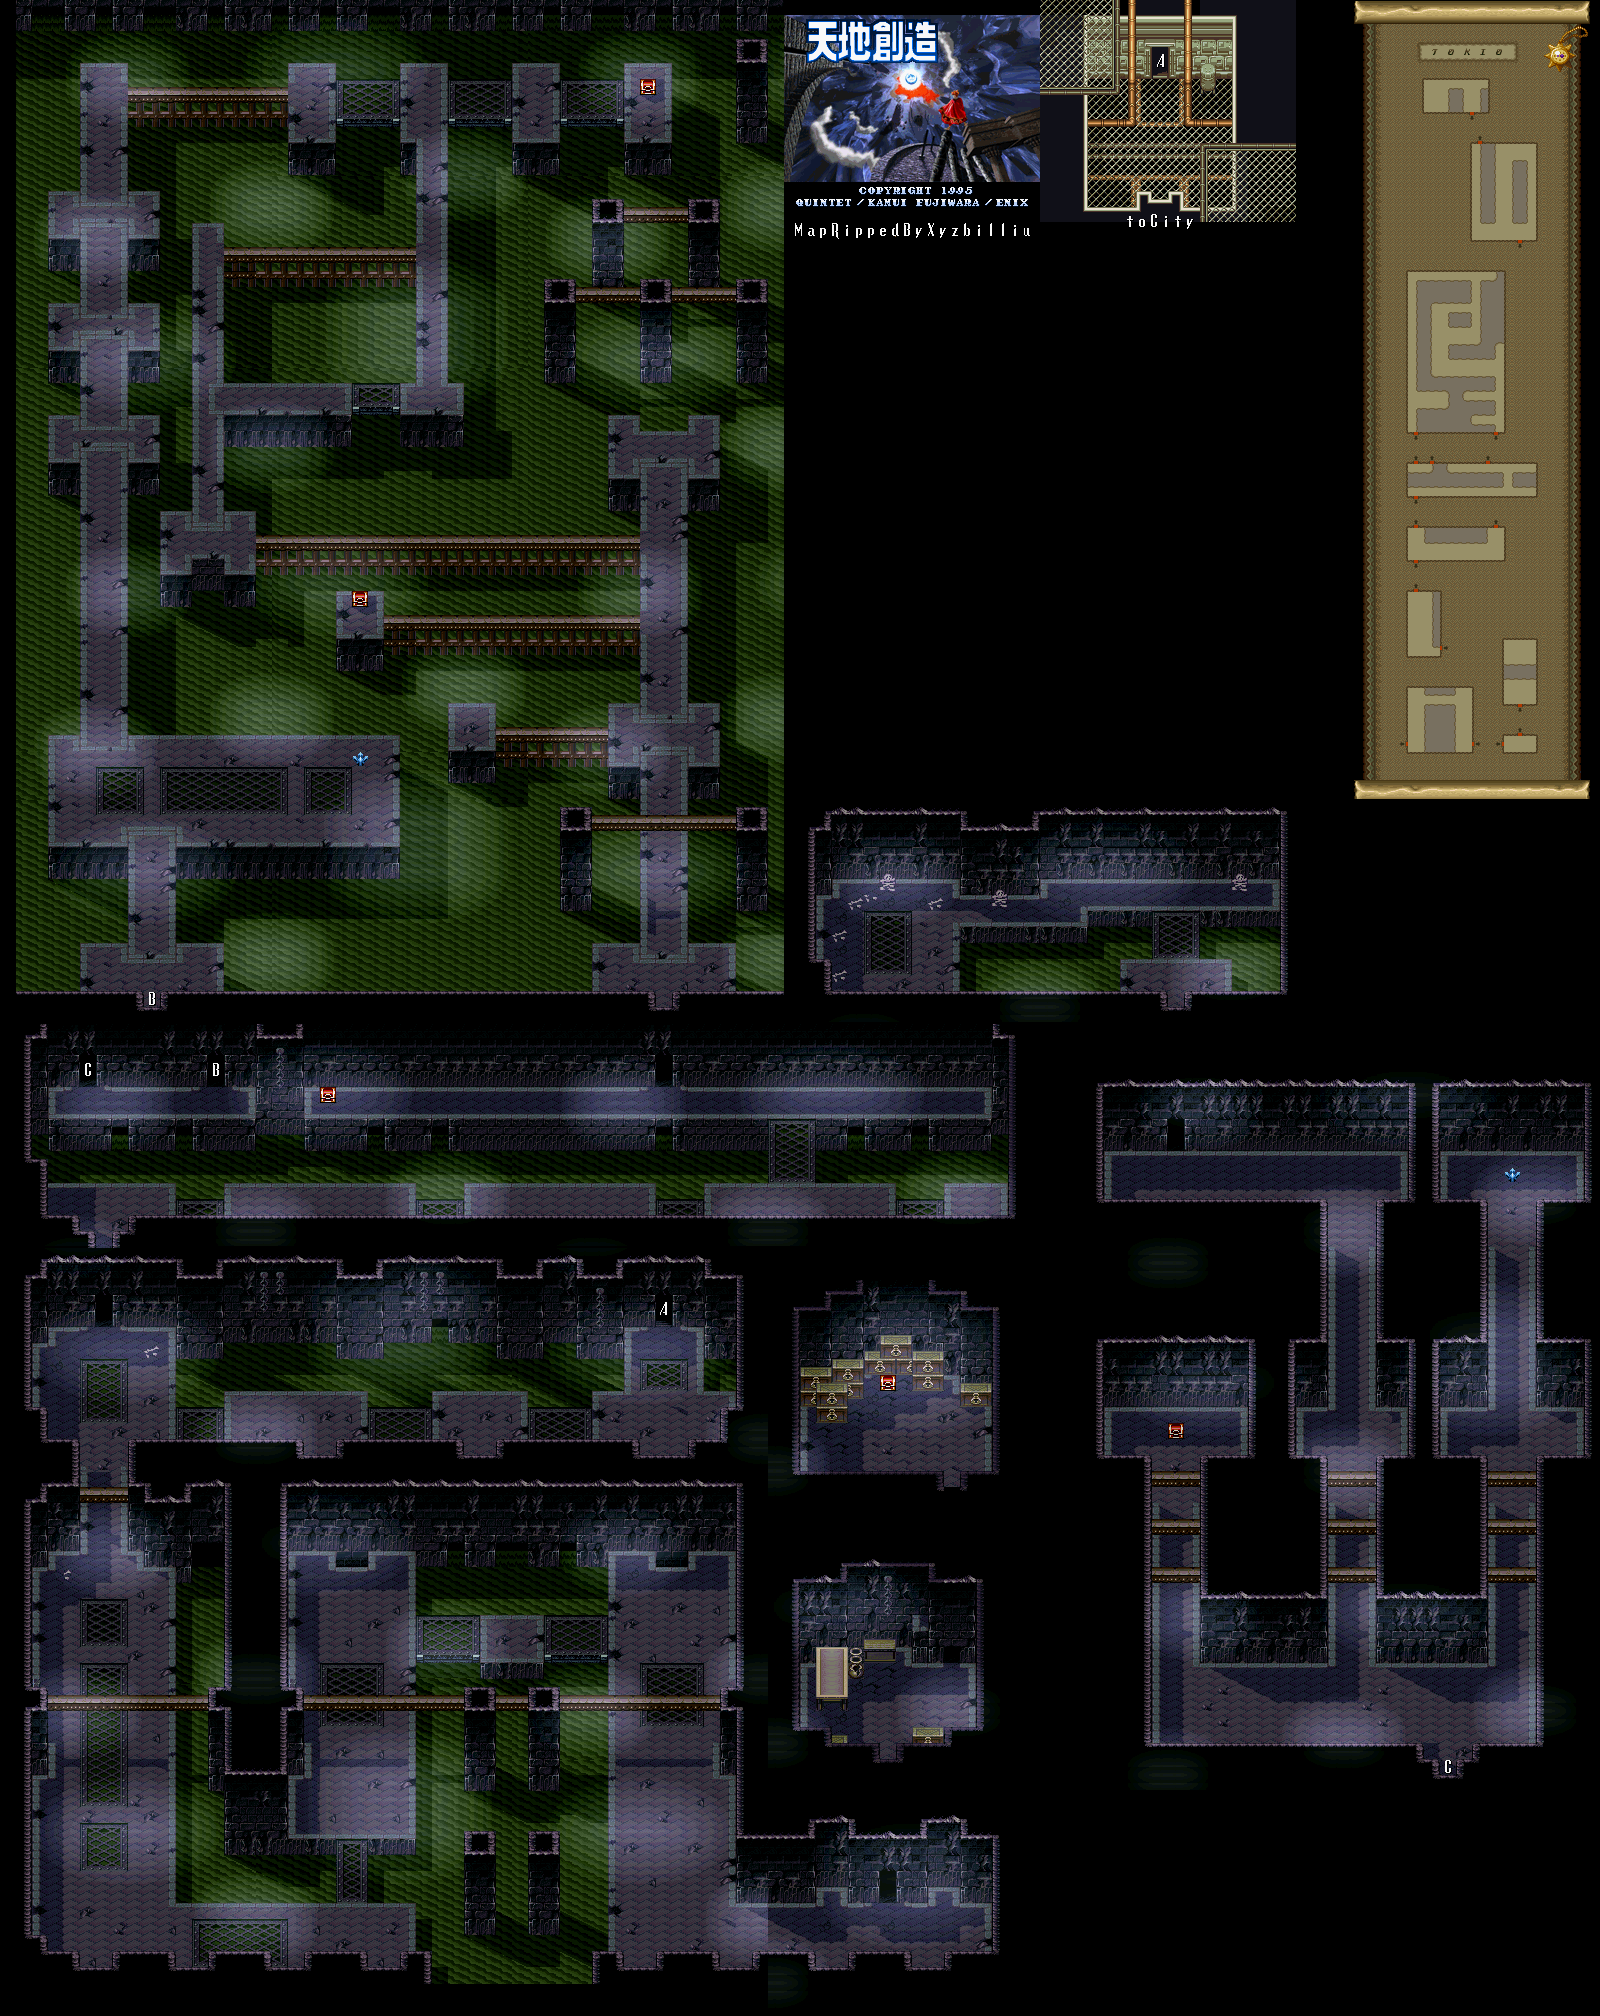
After falling down the pit, you'll be back in the lower section of the Tower of Bab-il.
The door on the next level down will have a Claw of Hell if you walk up to it (but not into it) and press A.
The Mithril Golem are not weak to Ice unlike other Golems, so have Kain used Jump and have Edge attack with the Fairy Claw. They're not too tough.
The Queen Lamia isn't too different from the regular Lamia.
You'll eventually find an enemy airship. There are qualms by the party about taking it, thinking they could be falling for a trap, but Edge says there is no reason to be alarmed. After the party calls it the Falcon, they take off, and the airship comes out of the ground. It won't be able to fly over lava on the underworld map, but you'll still be able to head back to the Dwarf military base, drink from the Pot of Life, and then head back to the castle.
Once you leave the Tower of Bab-il, you can't go back, as Golbez has bombed the bridge to the entrance.
By talking to the two red dwarfs in the first floor, you'll find out that Cid is recovering in the medical room.
Go back to the throne room. King Jiott asks his daughter Luka to bring him her necklace, as a key is hidden inside. He gives it to Cecil to unlock the Sealed Cave to the southwest. Just remember to talk to King Jiott again to get it.
One of the Dwarves in the throne room will tell you that near the sealed cave is the town of Tomera, where more Dwarves live. You'll also hear a rumor that a path to the Phantom Road is in the underworld.
At the medical room, you'll find Cecil asleep in a bed, alive and well, and all of the dwarves in the room complain about him. Cid and Edge argue, then Cecil mentions the airship they stole, saying that they need modifications. Cid suddenly gets up to get to work, then you'll be at the airship. Cid and two dwarves will put a Mithril coating on the airship, and Cid puts Edge to work. Cid will then return to bed and goes back to sleep afterwards.
Northwest of the town square is the 3 Girls' house. If you talk to them, you'll learn that they are very into fashion and want a new fashion style that excites them. If you got the Fancy Clothes from Marilly, give them to the girls. You'll get a kiss from one of the girls in return. If you head out and come back in, their dresses will be blue instead of red and that they love them.
To the left of the 3 Girls' house is Stoma's house. Stoma is the town gourmet, and he asks you to bring food that delights him for a reward. We'll be coming back here later.
To the north is three more buildings. The woman with blue hair will tell you about a craftsman in town who makes odd things, yet has a recognizable talent. The woman nearby will ask if you're a newcomer at Kidsgart. Ask her what it is, and she'll apologize and say she jumped to conclusions. You'll learn that Kidsgart is like a last resort for orphan children, and says that while the kids aren't bad, they're noisy and behind in rent.
The house in the upper-right corner of town is Bell's house. When he asks if you can lend him an ear, say yes. He'll tell you that his girlfriend Amanda lives in Nirlake, and that he's been so busy that he's been unable to correspond with her. He'll ask you to go see her and ask how she is doing and tell her he still thinks about her. Bell will repay you if you do this.
To the left of Bell's house is Eddy's house. Talk to Eddy, and you'll find out he studies electricity. Say yes when he asks you to push his machine. Just push against the machine and keep pushing, and it'll eventually explode in your face. Eddy will have an idea to use heat from motions for electricity, and will thank you for helping him.
To the left of Eddy's house is Kidsgart. You won't be able to enter right away, as the person behind the door will say that Perel will be mad if they let a strange person in. This is your cue to head back to the town square and talk to the kid on the skateboard.
Go back to the town square and talk to the kid on the skateboard, This is Perel, and when you talk to him, he'll ask why you're so glum before he shows you his moves. When he asks if you're feeling better, say you do. He'll then notice you've come here from Europe, and asks you to come to Kidsgart to tell him about the old continent. Say "Sure," and you'll be able to enter Kidsgart. Just follow him to it, and he'll eventually open the door when he gets there.
You'll be introduced to the kids of Kidsgart: Linda, Paul, and Harry. There's an older kid named Will who is supposed to be here, but he's not here right now. You'll also learn there's another kid named Anita who apparently hasn't made it back yet either, though according to Perel, she should by now, especially since she has very little money. Perel goes out and looks for her, and asks that nobody leave until he comes back. If you talk to the kids, you'll learn that Anita went to Nirlake to watch Will design a flying machine in Nirlake.
That's everything we can do here for now. You can exit through the south or through the west at the town square.
Nirlake is a small farming town. By talking around, you'll learn that the people here are very superstitious. One of the guys will tell you about a status ailment known as Deadly Poison, which can only be cured by using a Serum. Unlike ordinary Poison, Deadly Poison can and will kill you if left untreated.
The woman in the house in the lower-right corner of town will tell you that this place is plain and quiet compared to Freedom. In the room to the right, you'll see a guy working on...something.
In this entry, we battle Kojiro and rescue Princess Fillet, but we still have some business to attend to...
The key to beating Kojiro is to hit him when he's not holding his sword in front of him. Keep running around him in circles and avoid his attacks, then run up to Kojiro and hit him.
Musashi will escort Princess Fillet home to the castle. Leave the area and you'll be back at the castle. Your journey isn't over yet, though, as you still have Ed and Ben to deal with.
Go talk to to MercenA (Mercenary Potrowst), MercenB (Mercenary Stue) and MercenC (Mercenary Metloife). You'll get hints, which I'll paraphrase here:.
- Meandering Forest. Four Way Path: Gold, Knight (3x), Bishop.
- Left, Right, Right, Left, Straight Ahead
- About the knight...doesn't matter which way you're facing. Just go straight up.
Potrowst will tell you the game of Shogi has something to do with this. You'll have to learn about it from Scribe Shanky.
When you talk to Artisan Teebone, you'll get Fusion tempered, making it stronger. It will glow a bright yellow, but it'll be a lot stronger.
Go to the library and talk to Scribe Shanky. You can learn about Shogi and the Empire now, if you want.
The Gold can be moved one space in any direction, except diagonally.
The Knight can be moved two spaces up and one space right or left.
0:20 - Inside the first door you see are coins, elevators...and spikes.
0:39 - Watch out for the crushing ceilings with the spikes as you go to the door to the left.
0:52 - This is a huge room. Go to the right first.
0:59 - Be sure to hit up the upper area of this room and tackle the left wall to get all the coins...and watch out for those spiked crushers!
1:21 - We're back. Now it's time to get even more coins and make our way to the door in the upper-right corner...without getting drunk, of course. STRAIGHT EDGE FTW
1:48 - We deal with even more bottle-throwing window guys on our way to the door in the upper-right corner.
2:03 - Go all the way to the right here for the treasure room. Once you win the jewel here, let the bat crush you so you can try to get all the coins. At the bottom, you'll be able to find a bat that will revert you back to normal as well as a door that takes you to the bottom of the previous room, so you can climb back up, get back in and try again if you need to. There is also a breakable wall to the left of the door at the bottom that houses even more coins. Getting all the coins here may take several tries.
3:45 - You can go up and crawl through the narrow passage on top to reach another door to the left.
3:58 - Once again, you'll be using the owl to dodge the flying skulls as you refrain from touching the spiky walls.
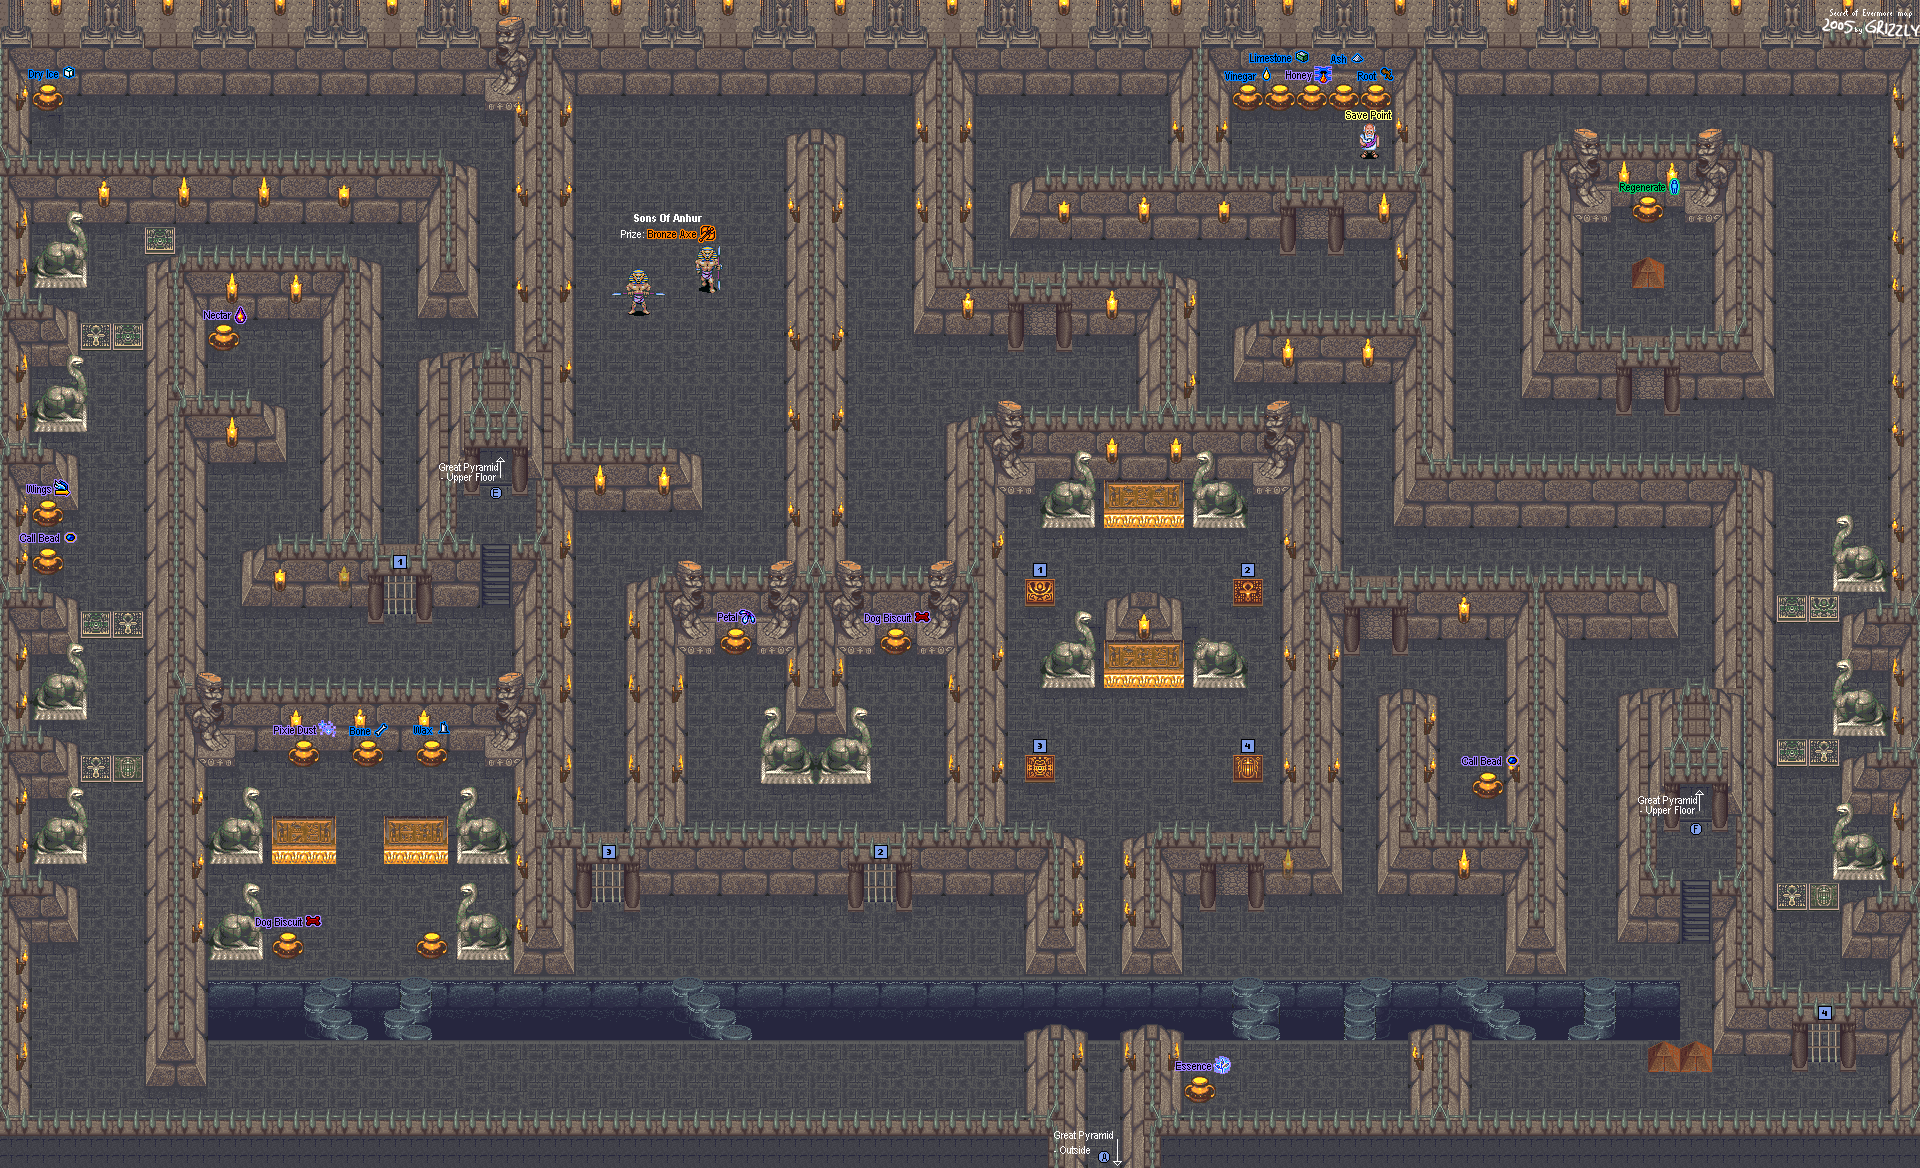
Well, you can get a Call Bead in a jar here, but since you can't break those stone walls down, you won't be able to do anything around here.
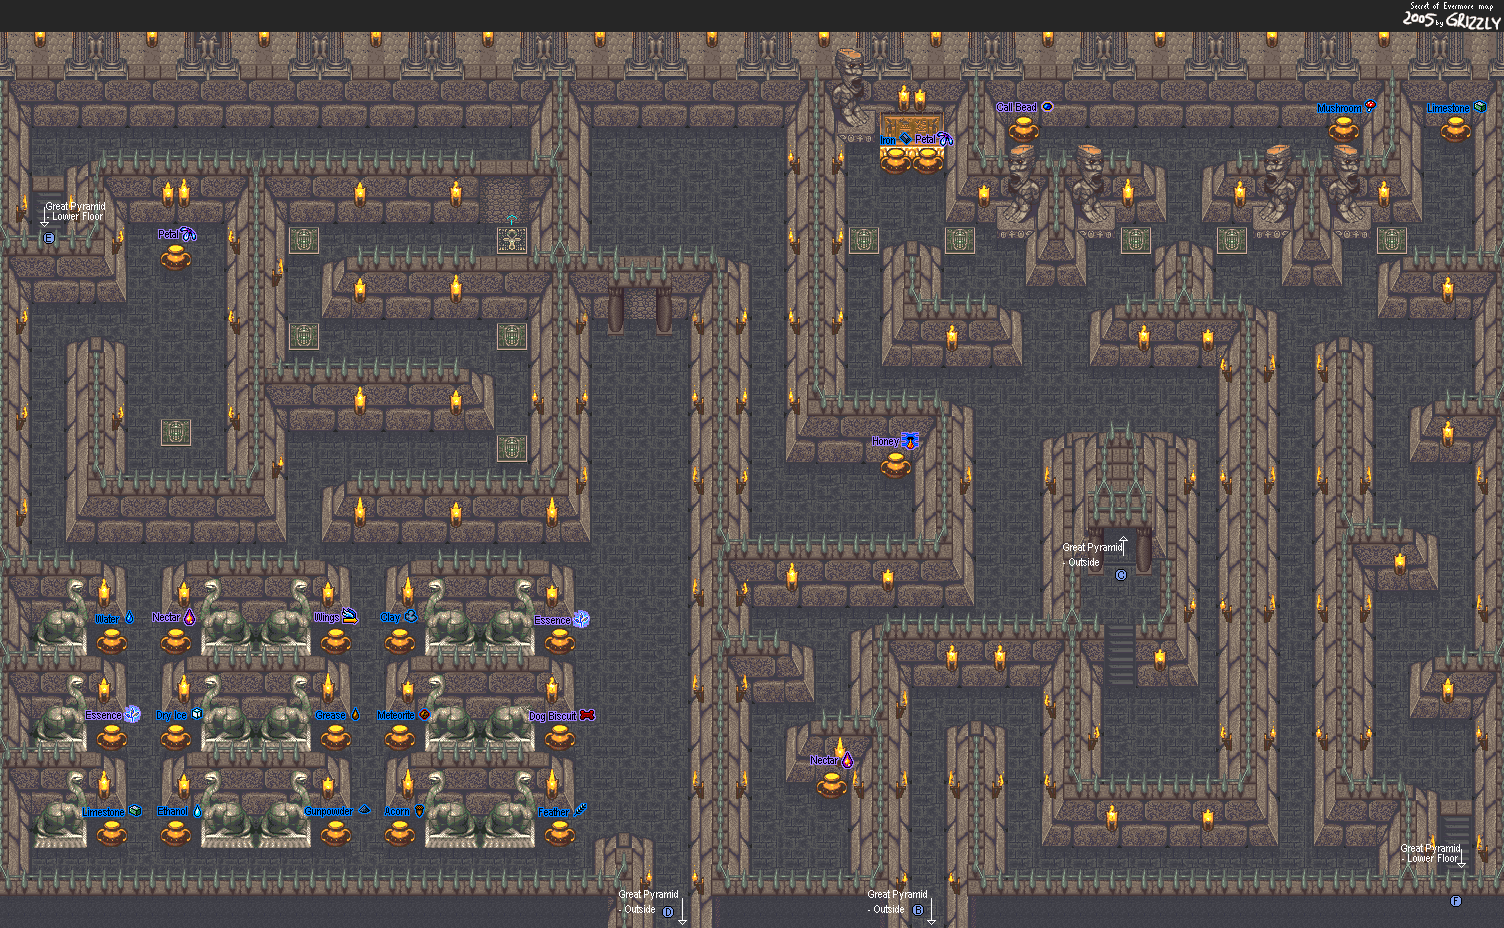
Go back upstairs to that Bone Buzzard maze, then take the left path that goes south. It'll be directly south of all those jars in that fork in the road. Take the stairs and go through the door, and you'll be on the upper level of the outside of the pyramid. Go down the stairs, and open all the jars. You'll find some interesting stuff. Aside from the Mushroom and the Iron that you'll find in the fork in the road near the pyramid exit you just walked through, you'll also find Meteorites, Feathers, an Acorn, Gunpowder, Grease, Ethanol, and Dry Ice.
If you go north, you'll find an Ankh floorplate. If you step on it, you'll cause the stone wall near it to crumble. Follow the path and take the stairs.
Switch to The Dog and have it trigger the upper-left floor plate. This will open the door that's immediately near you. Go through it, and take the path to the left. There's some more Stone Cobras here, so remember to step on the Ankh plates to keep from springing them to life. The jars after the first two have Wings and a Call Bead. When you make it to the lower-left corner and go north towards the jars, be sure to open all the jars.

.png)

.png)
-Overworld.png)
-MysidiaCave.png)
-Mysidia.png)
-Leviathan.png)

.png)

-TowerOfBab-il-LowerSection.png)
-CastleOfDwarves.png)
-CastleOfDwarves(Detailed).png)