Part nostalgia-bomb, part note-taking and part FAQ, what started in GameTrailers as a video game blog is now on Blogger. This blog is a look back at video games, both popular and obscure, from the video game industry's infancy all the way to the previous console generation.
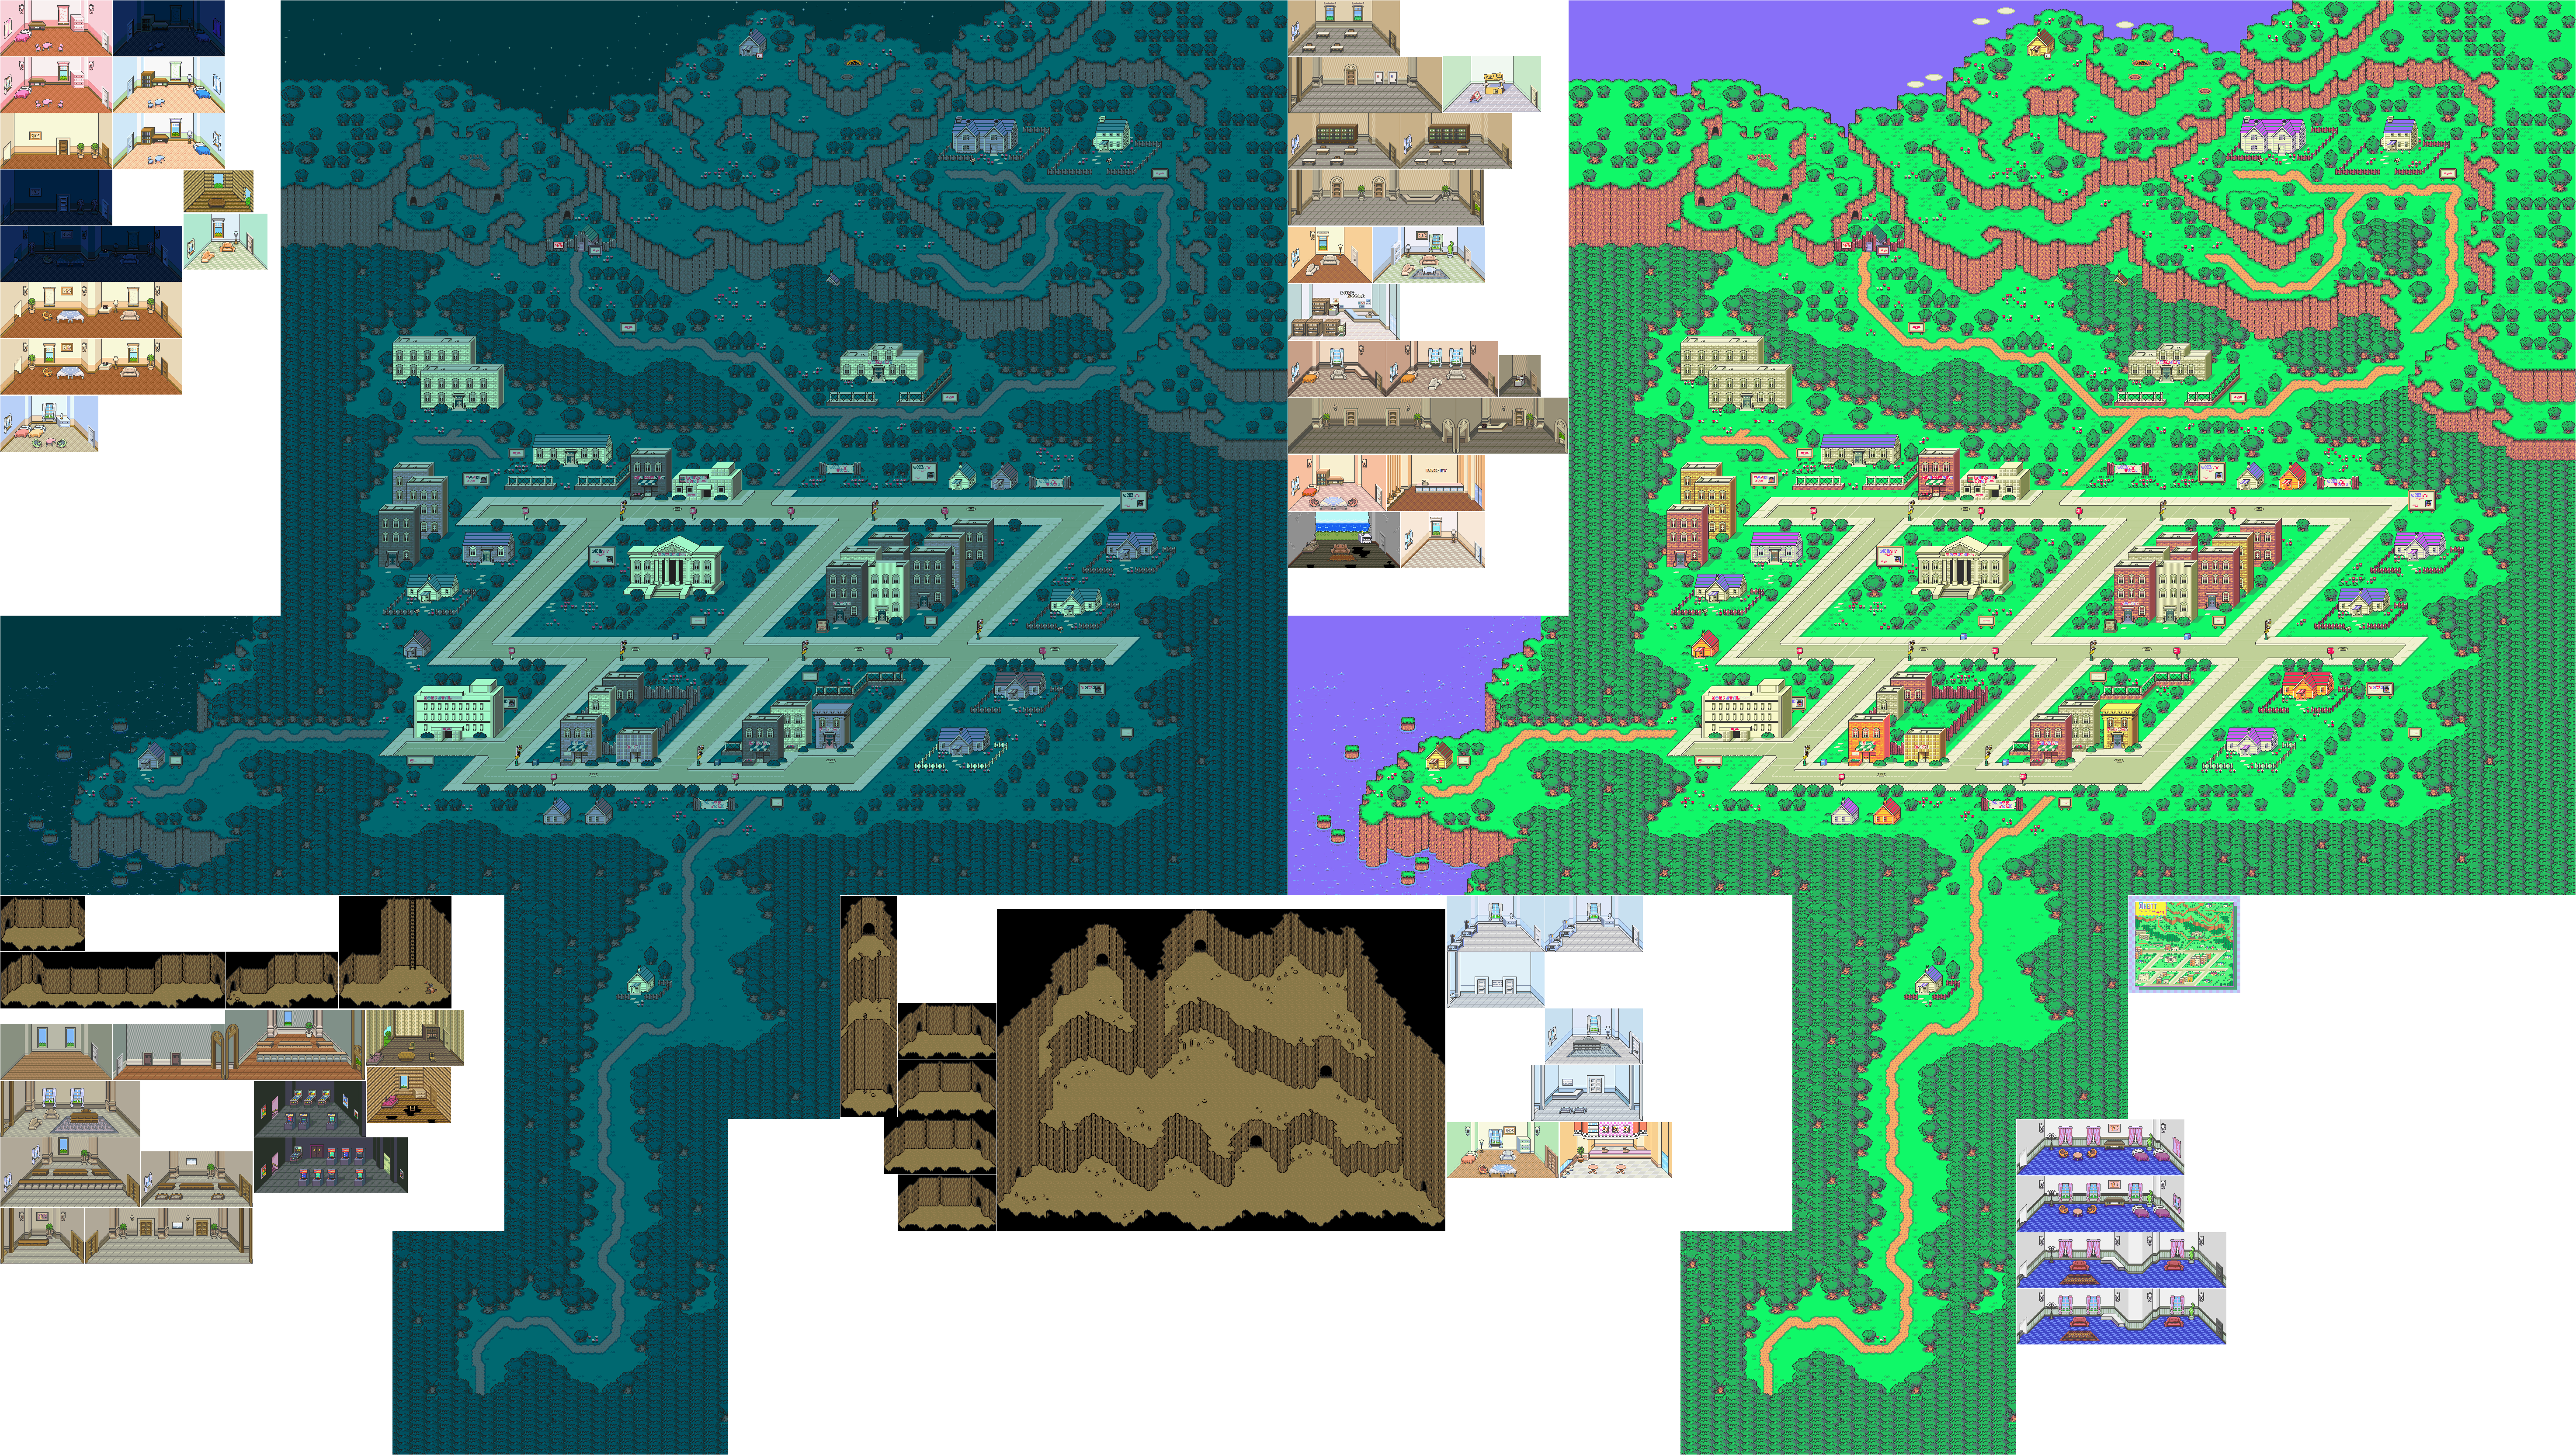
In this video, we visit Dalaam before heading to Onett.
Poo will be in the throne room in Dalaam, where he will ask you to stay for a little while.
Frank will be working in the Burger Shop in Onett if you head there.
Back at Pokey's house, Picky will have different dialogue, and Pokey and Picky's mom will have another man in Mr. Prettyman.
Liar X. Aggerate will be underground, pretending that he too has saved the world before.
The woman at the library counter will give you a kiss if you return the Shyness Book at the library.
The game ends when you talk to Ness' mom and say "Yes" when she asks if you've done everything you wanted to do. Ness walks in place like an NPC, and you'll see his family one last time before you see the cast of characters, the credits roll and you see the pictures from the photo album made possible by the photographer.
After the credits, there is another knock on the door late at night. You'll have control of Ness again. If you answer the door, Picky will show up with a letter from Pokey addressed to Ness, daring Ness to come get him. With this, the game ends. You've just beaten Earthbound!
Now that Ness is on his own, you can finally ride a bicycle from the bicycle shop again.
In this video, we visit Happy Happy Village, Threed, Fourside, Winters, Summers, Scaraba, and Deep Darkness.
If you head to the Cafe in Fourside, you'll find Pokey's dad. He will tell you that Pokey left him and disappeared, and tells you to tell Pokey to treat him better and to not tell his wife he has been here.
At the Monotoli Building, Mr. Geldegarde Monotoli will be working as an elevator man, having returned the building to Mr. Enrich Flavor, who will still be in the room where you first met Mr. Monotoli.
Back at Winters, you'll find out that Jeff is still with Dr. Andonuts and that Tony is still waiting from Jeff to return. You'll also find out that the gum-chewing monkey has been off saving the world.
The Magic Tart woman in Summers will give you a tart if you talk to her.
You will not be able to enter the Stoic Club, now known as "The Lazy Cowpoke Stop 'n Go," due to their not allowing minors.
Somehow, you can ride the bike in the Deep Darkness.
After the battle, the four souls of the party leave their robotic bodies in the past and return to the present, where they re-inhabit their bodies in Saturn Valley. Poo spins in place and teleports, then drops a few presents down after he teleports back to Dalaam. Jeff also leaves the party to see what he can learn from his father Dr. Andonuts. Paula will then ask Ness to escort her home. Say yes. When you approach the Polestar Preschool, Paula will leave the party to return home.
There are three things in the presents. The Letter From Kids is a letter from the kids at the Polestar Preschool, the Letter From Mom is a letter from Ness' mom congratulating you on beating Giygas and asking you to hurry home, and the Letter From Tony is a letter from Tony in Winters hoping to see Jeff again.
From here, you can travel the world and talk to people before you take Paula back to Polestar Preschool in Twoson and head back to Ness' house in Onett. There are no more random encounters, as all of the monsters will be gone due to Giygas no longer being around to exert control over them.
Escargot Express, Mach Pizza and Stoic Club will no longer work, due to Tracy quitting, the chefs quitting and the Stoic Club becoming "The Lazy Cowpoke Stop 'n Go," respectively.
If you talk to the talkative rock in the Lost Underground, he goes back to being a simple lock.
If you talk to the Tenda Chief, you can return the "Overcoming Shyness" book back to the library.
The Chaos Theater in Twoson will be closed if you go to it.
The Bionic Kraken is the hardest enemy to find. It can breathe fire (which is basically Fire Gamma), emit a pale green light that debuffs everyone, use a Crashing Boom Bang attack (which is basically Thunder Beta, which does a bit of damage to two party members), and hit the entire party with a tornado. There is a 1 in 128 chance that it will drop a Gutsy Bat. While it is slightly less powerful than the Legendary Bat, it brings Ness' Guts to the roof.
Once you enter the gap in the wall, you'll encounter Giygas, who produces a head similar to Ness', at the end. You'll also see Pokey, who is wants to make sure that Giygas wins, as Giygas is now the embodiment of evil, which Giygas cannot handle on his own.
You'll then face Giygas and Heavily Armed Pokey. Amazingly, both of them are susceptible to Brainshock Omega. Giygas can cast Rockin Alpha and Beta, and also has a shield that reflects all attacks and cannot be removed. Use Shield Alpha and Omega on the party; in case Giygas attacks, it will bounce off and hit him without triggering the shield (the other shields will not work). As for Heavily Armed Pokey, he can disharge a stinky gas that can lower the party's offense and defense, and he can do a lot of damage to one party by either charging forward or tearing into the target.
You'll want to take out Pokey, as this is how you advance the battle. You'll want to hit him with powerful spells as well as Multi Bottle Rockets. Pokey wll turn off the Devil's Machine and show the true form of Giygas, who cannot think rationally anymore and
For the next form of Giygas, you'll want to pelt him with powerful magical attacks, especially Starstorm Omega. Brainshock, amazingly, still works. Rockin as well as Multi-Bottle Rockets will not work, amazingly. Be sure to cast Shield Omega on everyone, as well.
Pokey will eventually return, and he will tell Ness to use telepathy to call for help in vain while he laughs at the entire party. At this point, you'll need to keep Praying with Paula, and you'll need to Pray nine times in all. As you keep praying, multiple people from the game, including the player whom you've had two chance to name, will lend their power to the party, and Giygas will keep taking damage.
During this time, you'll also want to keep the party alive, as Giygas has three incomprehensible attacks. One is more or less Thunder Beta, another is basically Flash Omega, and another is a set of powerful physical attacks that can also solidify a party member. Once again, using Shield Omega really helps here.
When the background imagery for the fight becomes even more demented, the prayers soon get absorbed by the darkness before it reaches the game player themselves. When the player starts praying, Giygas starts taking staggering amounts of damage before it is ultimately wiped out. Pokey will show up and run away to another era, and soon everything becomes static.
Use the Meteorite Piece in front of Dr. Andonuts to power up the Phase Distorter. Dr. Andonuts will tell you to get some rest, so head to the nearby inn, rest, and talk to Dr. Andonuts again. The Phase Distorter will be completed when you talk to him. Talk to him the first time, and he will tell you that the Phase Distorter is sensing some enemies from the Lost Underworld. Talk to him a second time, and you'll be ready to use the Phase Distorter. Don't forget that the Phase Distorter can fully heal you and save your progress.
When you use the Phase Distorter, you'll end up in a weird land. The man who taught Poo Starstorm will show up, teach Poo Starstorm Omega, then disappear.
To the east is a broken Phase Distorter. Search it to find a Horn of Life, then check out the cliff to the north. When you head back, Dr. Andonuts and Apple Kid in the Phase Distorter 3 and will tell you that they have found Giygas, and that he is attacking from many years in the past. Talk to Dr. Andonuts, and he will tell you that you will have to warp to the past, yet lifeforms cannot be transported, as life is demolished in the process of warping. In order to get there and survive, your brain "program" will have to be transferred into a robot body, meaning that your spirit is transferred into the robot while your actual body is left behind. There is also a chance that you may not be able to return and get back into your original body once this occurs. Not surprisingly, you will have to accept to do this in order to finish the game.
Once you accept, your party will be robots, and you'll be able to active the Phase Distorter 3 and head to Giygas' domain in the past.
The Ultimate Octobot can fire a beam and paralyze one part member, and can also steal an item. It is also pretty easy to beat up. It has a one in eight chance of dropping a PSI Caramel.
The Wild 'n Wooly Shambler can fire a beam, but it can also cast Shield Beta on one enemy and can also cast Flash Beta against you.
The Nuclear Reactor Robot can fully heal one enemy and can also fire a beam. It can also explore upon defeat. It has a one in eight chance of dropping a Super Bomb.
The Squatter Demon can bite using poisonous fangs (which poisons a party member) cast Hypnosis Alpha, can use a Shield Killer and can also bite hard, which diamondizes one party member.
The Ghost of Starman from Onett returns as an enemy here.
The Legendary Bat is the best weapon for Ness in the game.
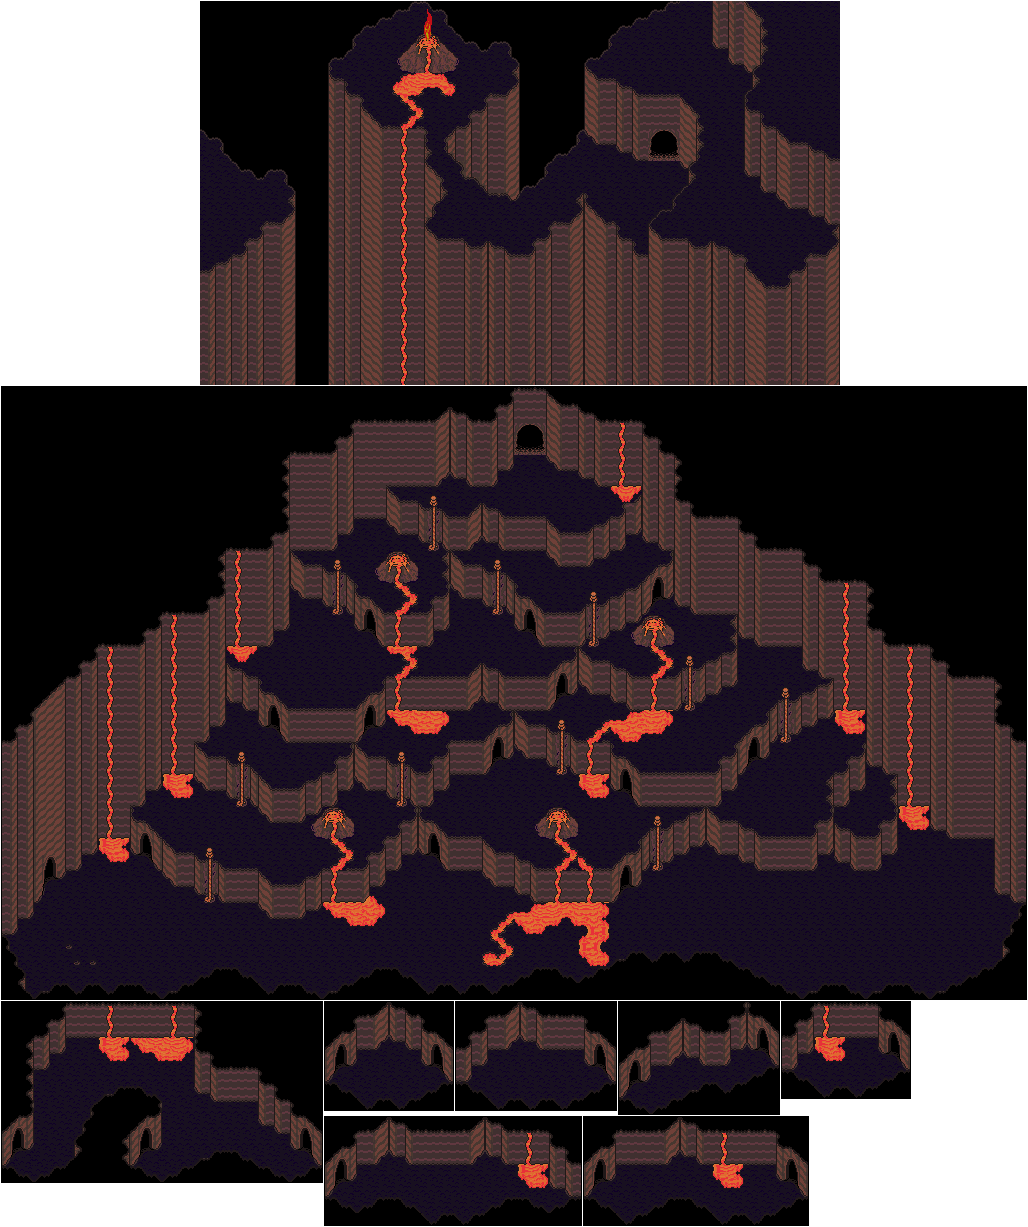
The orbs will teleport you from one part of the cave to another.
The Final Starman can cast Shield Beta, Starstorm Alpha, Starstorm Beta, Brainshock Omega and Healing Omega, making them one of the most dangerous enemies you can face. They also start with Shield Beta active, so you'll need to remove their shield first.
You'll eventually come across a gap in a wall. This leads to the final battle with Giygas.
Our return to Onett proves to be a rather nasty one. Giygas knows we are getting close, and he has made the place dangerous to keep us from getting to him.
The Evil Eye can be particular nasty. Not only can they diamondize a party member with a glare, but they can paralyze the part with Paralysis Omega and cause strangeness in the entire party with Brainshock Omega. It is very susceptible to Freeze spells.
Ness will learn Rockin Omega at Level 75. Paula will learn Fire Omega at Level 64.
If you enter your house, you'll still be able to fully heal and manage your inventory.
When you get to the meteor, interact with it. When you see something you can reach and grab, select "Yes" to get the meteorite piece.
If you need Multi-Bottle Rockets, teleport to Deep Darkness and talk to the weapons vendor near where you come in. If you need Brain Food Lunches, teleport to Dalaam and buy them there. You'll need them for the final battle. When you're ready for end game, head to Saturn Valley.
When you approach the Mani-Mani Statue, you'll find out that it represents the evil part of Ness' brain, and that Ness forced it into being. You'll then fight it.
Ness' Nightmare can cast Shield Beta and Lifeup Beta, and it can also hit you with Rockin Alpha and Rockin Omega. That last one is rather nasty; if it hits you, Lifeup immediately. Its worst attack is the glorious light, which acts like Flash Omega and has a 35% chance of causing crying, 10% chance to cause strangeness, a 15% change to cause paralysis, and a 40% chance of causing instant death. Even worse, it starts the battle with Shield Alpha cast on itself.
Your best bet is to cast Rockin Theta on the Nightmare whenever possible, and heal if you get smacked by Rockin Omega.
When you beat the Nightmare, a voice just like Ness' will tell you that Giygas' attempt to destroy the universe will fail due to Ness and his friends, and tells you to defeat Giygas. You'll also be told to head to Saturn Valley and that Magicant will now disappear. After this, Ness will receive a big power boost that will bring his status up quite a bit. You'll get 200,000 experience points and also learn Teleport Beta.
Ness will then wake up and see all of the "Your Sanctuary" locations before ending back up in Fire Spring. The Sound Stone will be gone from Ness' inventory, and you'll automatically teleport back to Saturn Valley.
When you head to Saturn Valley, Dr. Andonuts and Apple Kid will be there with the Phase Distorter. As a matter of fact, it is the second one, as you'll find out from Dr. Andonuts that Pokey stole the prototype. If you try to go into the Phase Distorter, you'll find out that you'll need a piece of a meteorite to get it to run, which means you'll need to teleport all the way back to Onett to get a piece of the meteorite from the beginning of the game. You'll also find out that the stores in Saturn Valley have new items.
The Piggy Jelly is one of these new items, and it recovers about 300 HP.
The Broken Machine that you got from Apple Kid is the Counter-PSI Unit, which prevents enemies from casting spells. This will be very useful right about now.
When you get back to Onett, you'll find out that nobody is outside, the city has been attacked, and that you won't be able to enter any of the buildings, including the hospital and the house that you bought with your money. The only place you can go is back home.
You'll also face some new enemies such as the Ghost of Starman. It will hit your whole party with Starstorm Alpha, and when allowed to countdown down from three, Starstorm Omega, which hits even harder. It has a 1 in 128 chance of dropping a Goddess Ribbon, which increases defense by 110 and is one of the best ribbons, if not the best, in the game.
The Mechanical Octobot can fire a beam and can paralyze a party member with a mysterious electric field. It can also steal an item from somebody's inventory, much like the other Octobots.
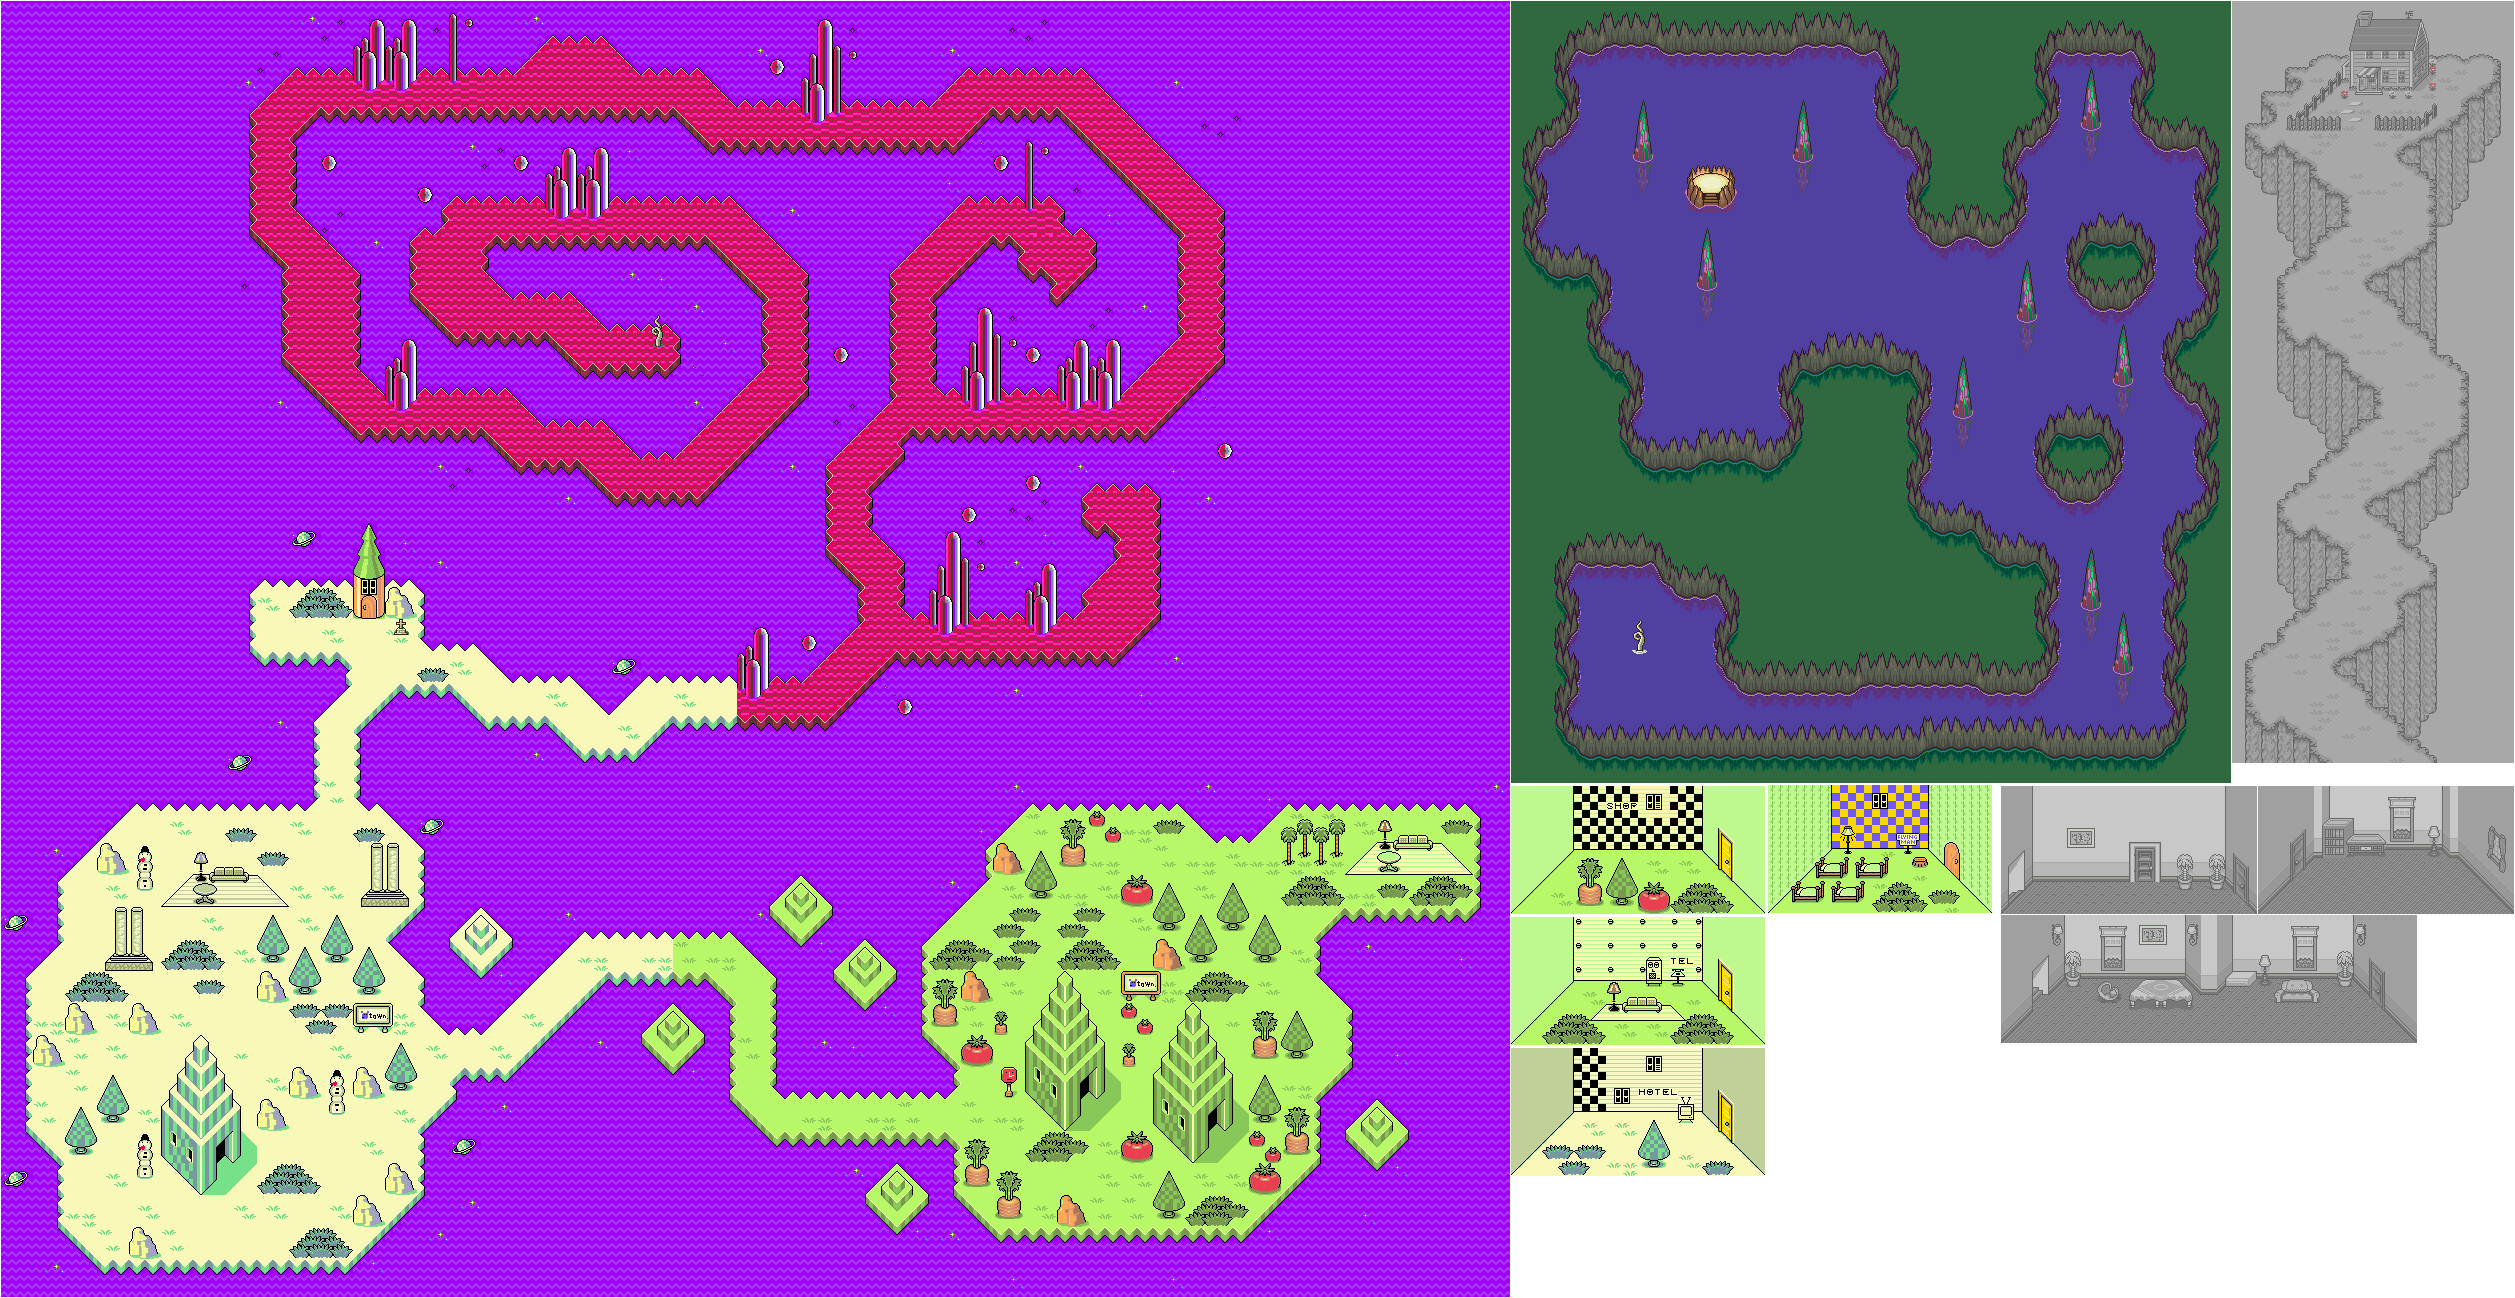
There are various things that you can talk to in Magicant, such as signs, rabbits, snowmen and ducklings. You can find Everdread, and if you talk to him, he says that he can do nothing else for you before disappearing.
There is a hotel west of where you start where you can sleep for free. The rabbit nearby will tell you that this place will disappear when you wake up.
You'll also find Pokey north of that hotel, as well as Buzz Buzz's grave and a small house full of Flying Men. If you talk to one, they will join your party as an unplayable Teddy Bear that you have no control over. He does die, and you can recruit the others, and if you do, you can get graves for all the Flying Men if they happen to kick the bucket in battle.
Once you enter the red area, you'll enter the bad part of Magicant where the enemies are indicated by presents, floating eyeballs and red question marks.
The Loaded Dice are very fast and can call for help from other enemies. They are weak to most spells, so use PSI to tear them up quickly while you can. One of them is the Care Free Bomb, which can throw Bombs and Super Bombs at you. Another is the Beautiful UFO, which could be confronted in Scaraba and can fire a beam and cast Life Up Alpha.
If you talk to the Ness who is fully dressed, he will give you a Baseball Cap.
The Goddess Band is the best bracelet in the game and increases defense by 80 and luck by 30, and also blocks Sleep.
The Electro Swoosh can charge forward and hit you with an electric shock attack, which is the same as Thunder Beta. The greeting has no effect.
Ness will learn Flash Omega at Level 67, allowing him to potentially blind all enemies. He also learns Lifeup Omega at Level 70, which restores 400 HP for the whole party at the cost of quite a few PP.
The Magicant Bat is the third strongest bat for Ness in the game.
The French Kiss of Death can Poison you with the kiss of death (which doesn't kill you, contrary to what it seems to do).
The Mr. Monocule can cast Flash Alpha, Fire Alpha, Thunder Alpha and Freeze Alpha. Flash can usually cause you to not stop crying, but it can also cause the Strangeness status ailment. However, they begin battles unable to concentrate, and are unable to use spells for a few turns because of it.
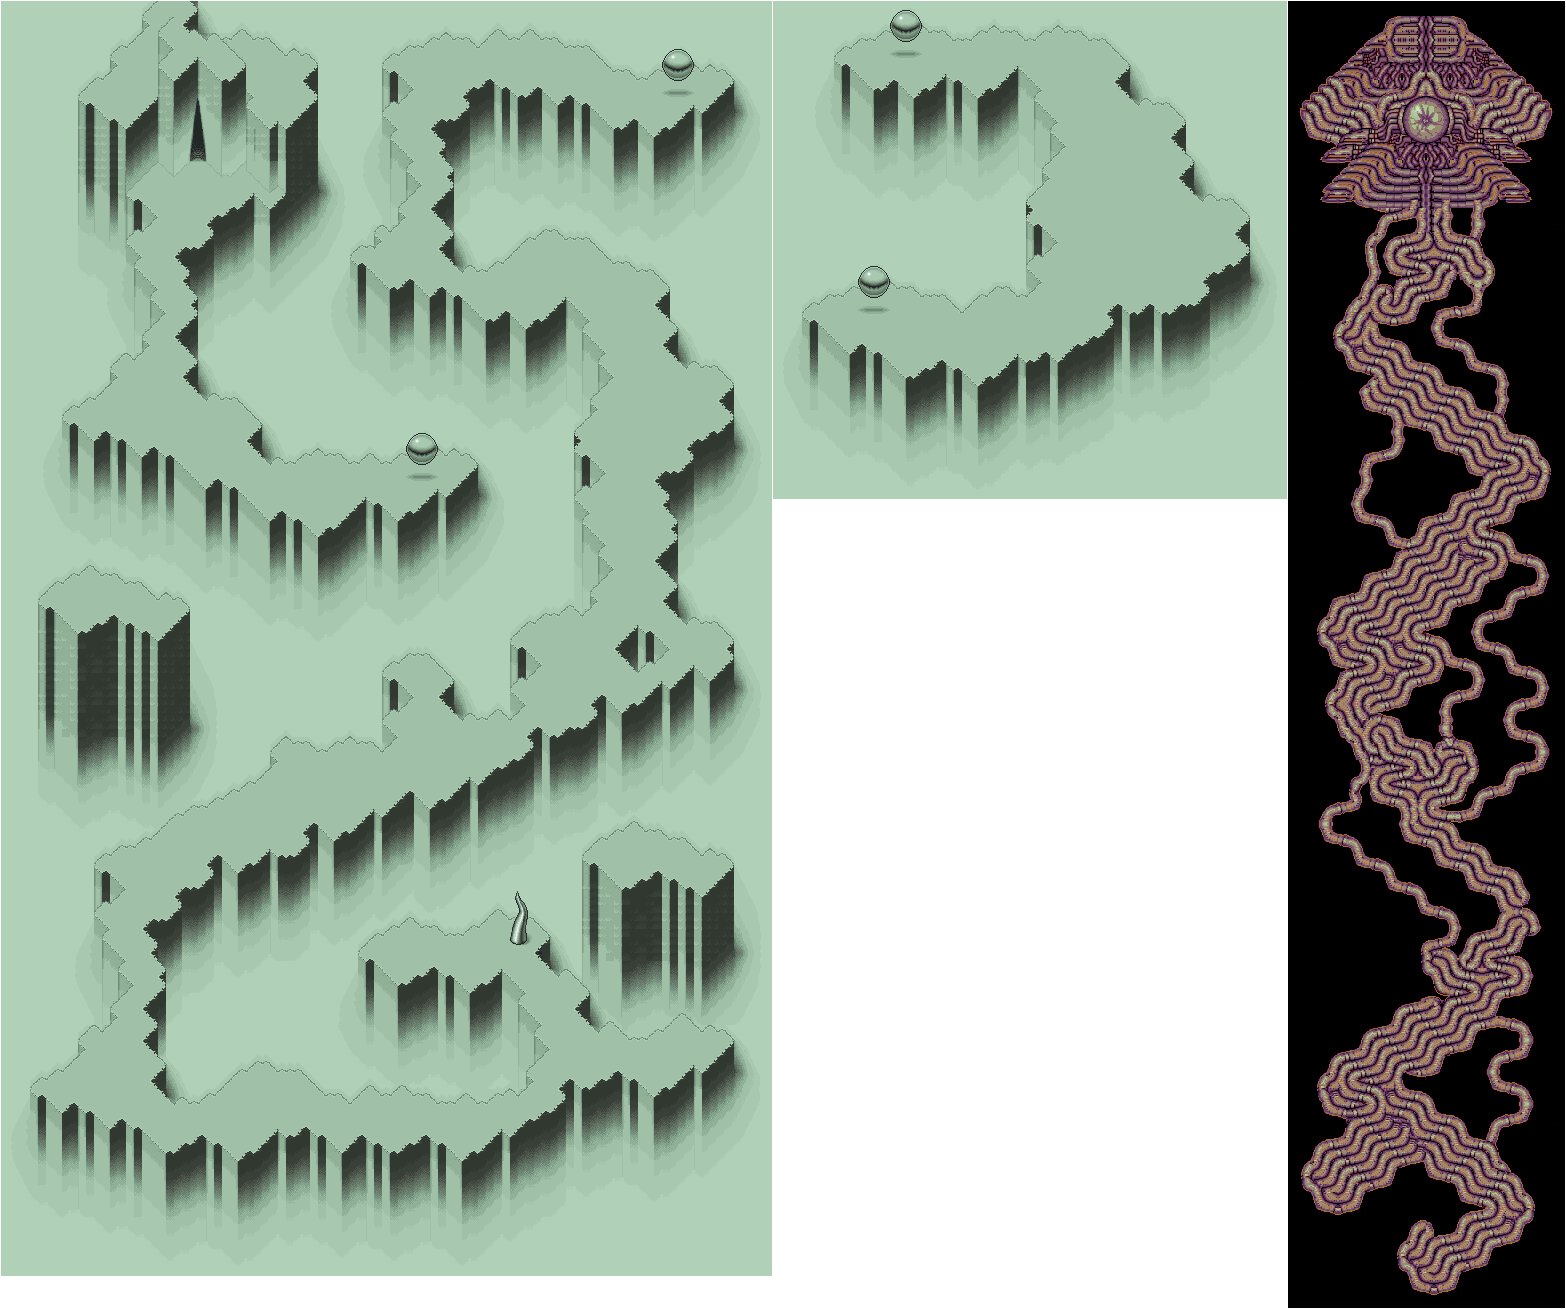
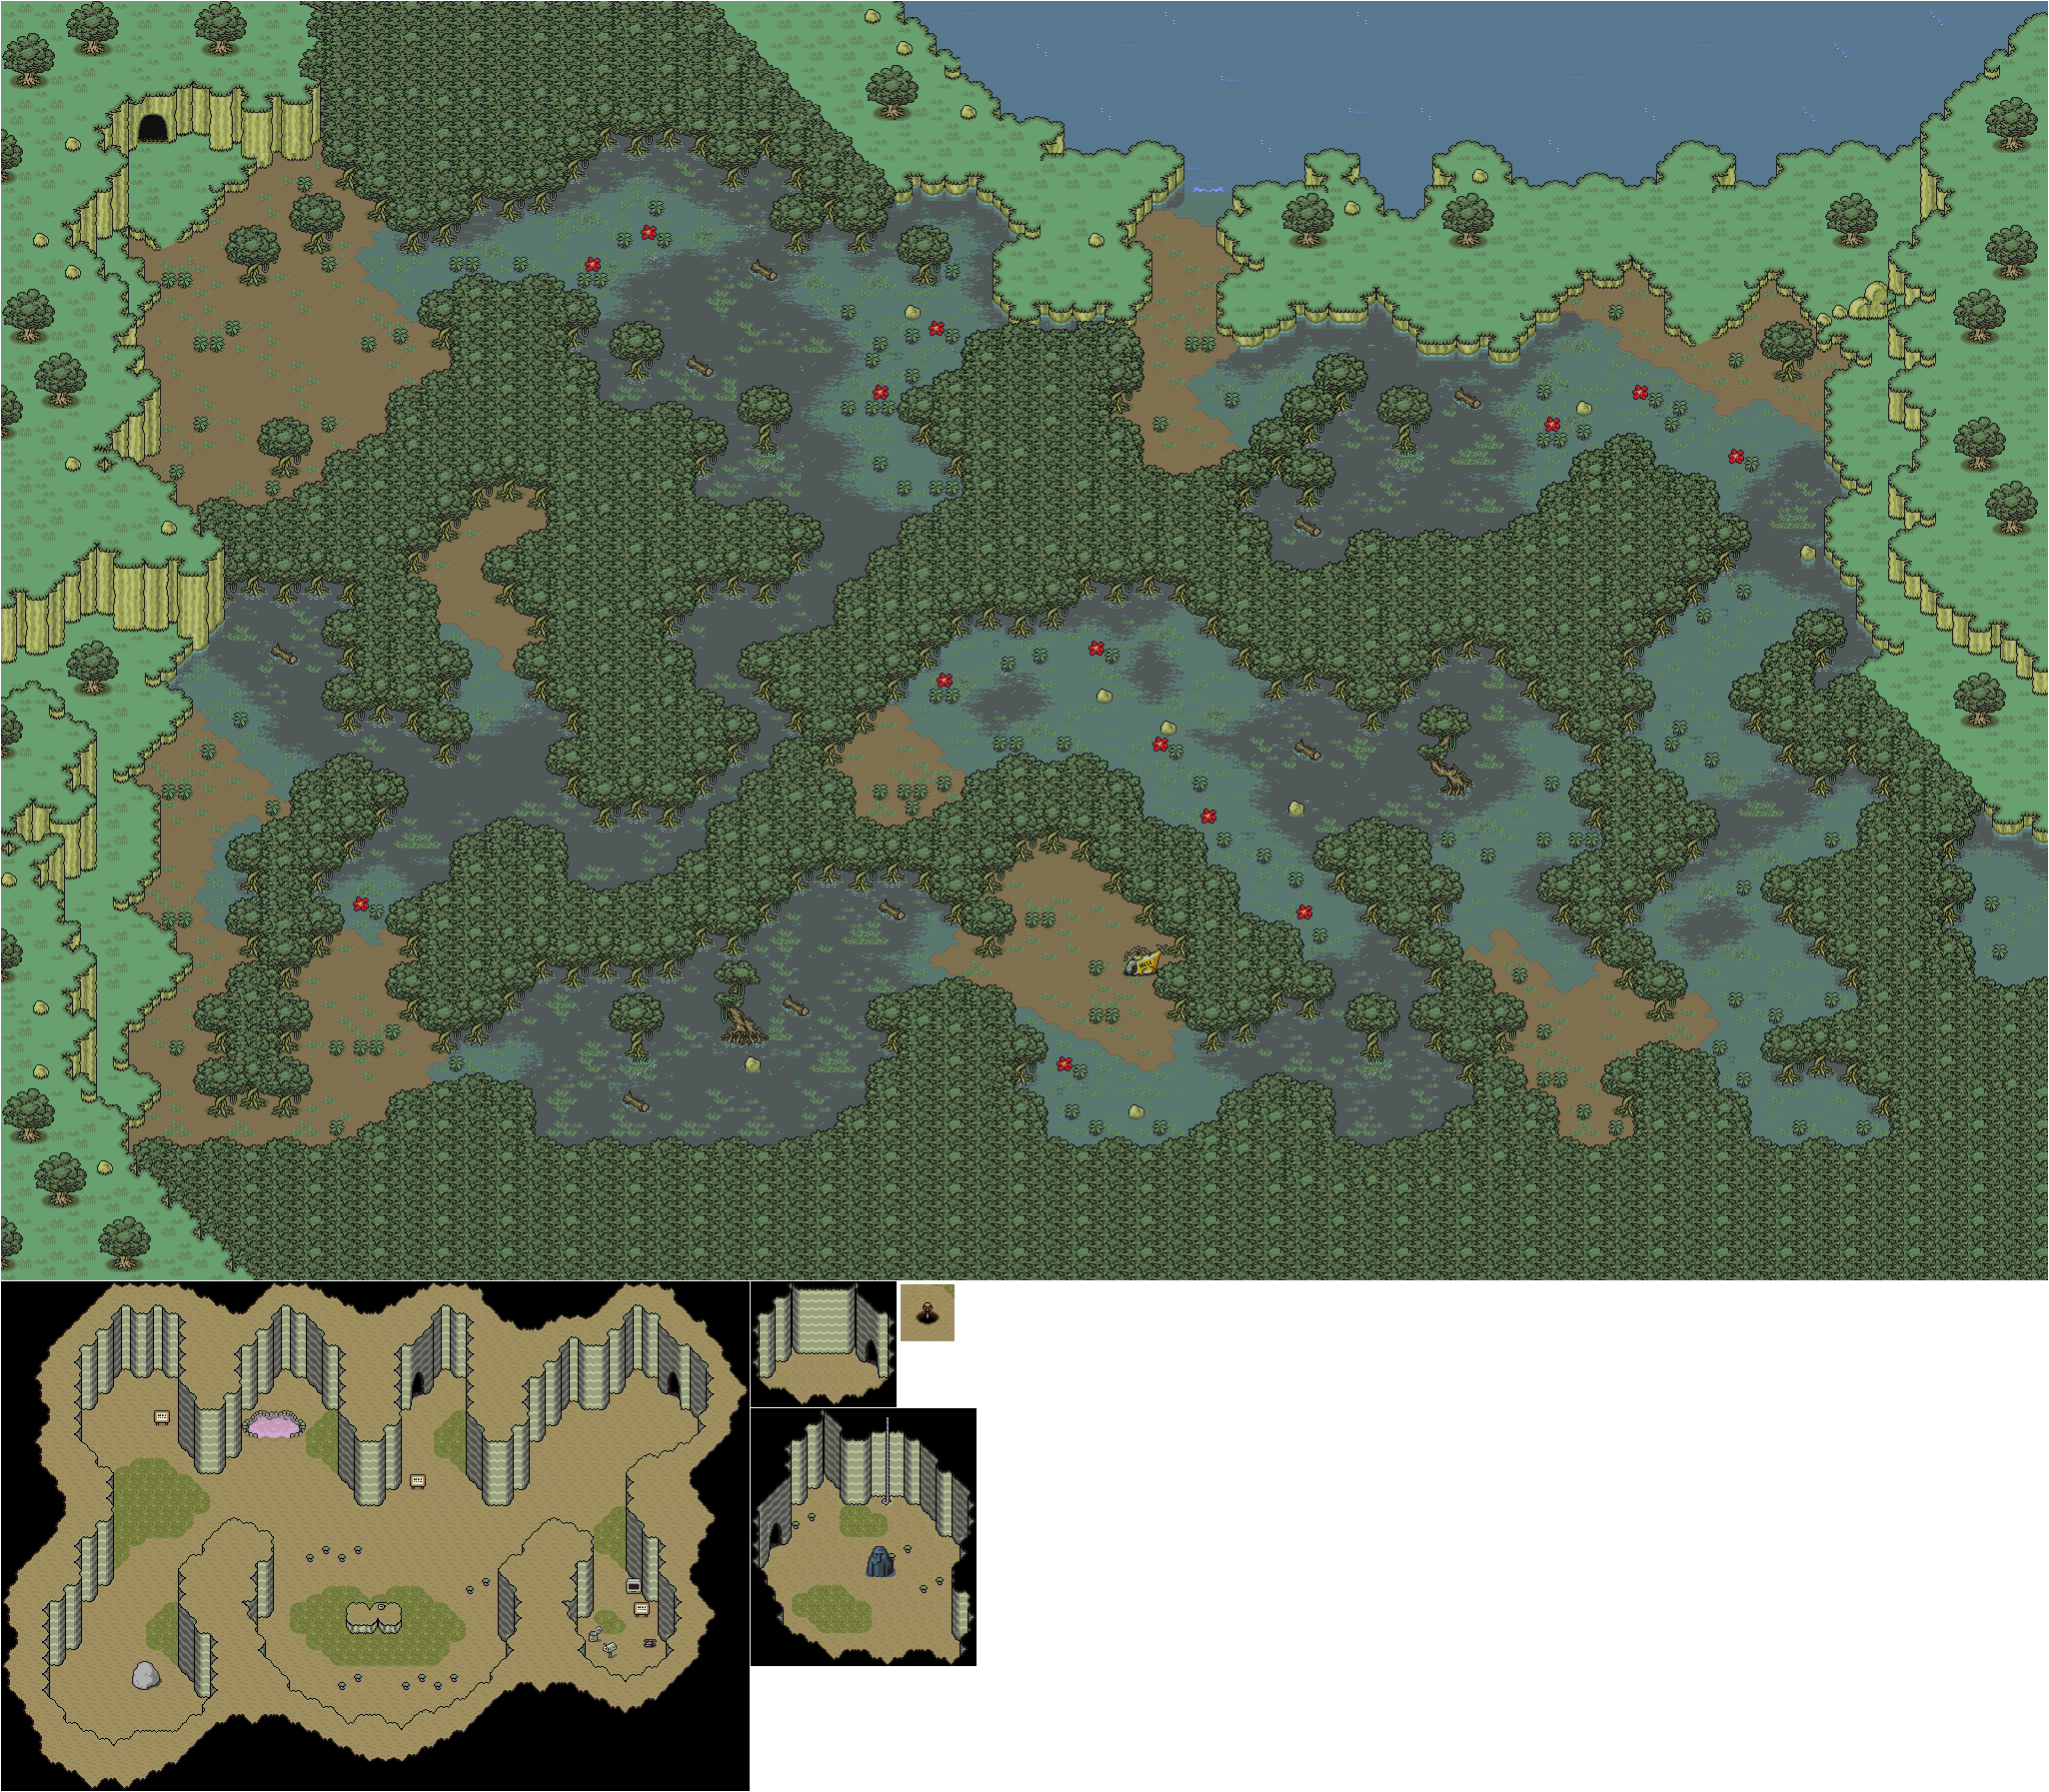
When you reach the weird branch at the end of the red path, you'll find the Sea of Eden. The Kraken will show up here as normal enemies, but they don't give you anything special like the one you fought on the way to Scaraba. At the end, you'll find the Mani-Mani Statue...
We finally take back the last "Your Sanctuary" location, but when we do, we head to a place that is familiar to those who have played the first game. If you know, you know.
There will be slowdown as you go through Fire Spring unless you're willing to take out some of the enemies.
The Cherub's Band increases defense by 70, luck by 20 and blocks sleeping, making it slightly better than the Pixie's Bracelet from the Stonehenge Base.
The Moon Beam Gun is Jeff's second-most powerful weapon in the game, second only to the Gaia Beam.
The boss of the eighth "Your Sanctuary" location is the Carbon Dog. It can bite for a little bit of damage and charge forward for even more damage. The flaming fireball does fire damage to one character. The spray of fire is the same as Fire Omega. The piercing howl does nothing. Go all out with Freeze spells and Multi-Bottle Rockets.
When you beat the Carbon Dog, its flames will go out, turning it into the Diamond Dog. Keep doing what you've been doing at the start of this battle before it casts Shield Beta on itself to reflect physical damage back on the party. Use a Neutralizer if you have to to make things things a lot easier.
Once you beat the Carbon/Diamond Dog, you'll reach the Fire Spring and you'll get the last part of the melody for the Sound Stone. You'll then hear the melody of the Sound Stone in full, then you'll see a monochrome image of Ness crossing a seemingly endless path to his house. Ness dematerializes near the door. Ness' dog is just a pup, and Ness is in his crib. As Ness' mother and father talk about Ness, they notice the start of Ness' psychic powers. Suddenly, Ness is in his pajamas, alone in a strange world of memories and dreams known as Magicant. When you talk to people, the colors will change. You'll need to head to the Sea of Eden to learn the truth about yourself and get out of here. Thankfully, you can use Tracy's Escargot Express to store things in Ness' inventory and talk to Mom to heal. One of the buildings is a store, with the other containing a telephone where you can save.
The Earth Pendant protects from Fire, Flash and Freeze, but only have as much as the Sea Pendant does. If you can't get any Star Pendants, get these before you leave Magicant, as you won't be able to get them anywhere else. The Magic Pudding restores about 40 PP.
The Sea Pendant protects from Fire, Freeze and Flash.
As you make your way further into the Lost Underworld, you'll find out that Pokey has been here. You'll also find an underground Tenda village, and the Tendakraut will allow you to go in. Once you're in, the Tendas will take the Tendakraut.
There will be a talkative mystery rock in the village that you can talk to. The rock will tell you that your destiny is also the worlds, and that you must reach all of the "Your Sanctuary" locations in order to see "Your World." He also tells you where all of the "Your Sanctuary" locations are. If you find and get to the first seven, Fire Spring will open up just southwest of this village when you talk to this rock.
There is also an inn where you can stay for free in you need to. And of course, you can call Dad as well as Mom on the free phone.
At the store, get the Ultimate Bat for Ness if you don't worry about Guts, and the Holy Fry Pan for Paula. The Shiny Coin increases defense by 70 and Luck by 30. The Mammoth Burger recovers about 200 HP.
The Tenda in the corner of the village functions as an ATM.
Northwest of the village is a cave, but you won't be able to do anything there. Close to this cave is a gift box containing the Cloak of Kings, which only Poo can equip and will increase his defense by 20 and his Speed by 40. With this, you should have all of the equipable items for Poo.
The Ego Orb will bash, tear into and lunge forward towards one party member. The bash does low damage, and the tearing into and lunge attacks do high damage. It is weak to Freeze.
There is a small fenced-off area in the Lost Underworld near the Fire Spring that only contains a Tenda as well as a phone. It's a nice place to heal up and save the game.
The Psychic Psycho (in red) can cast Fire Alpha and Fire Beta. The Major Psychic Psycho (in purple) can cast Fire Alpha and Fire Gamma, as well as Shield Omega and Paralysis Alpha. Have PSI Shields up, as the Major Psychos can do a bit of damage. The Major Psychic Psycho also has a 1 in 128 chance of dropping a Star Pendant, which increases defense by 30 and protects from Fire, Freeze, Flash and Paralysis.
The Soul Consuming Flame can spew a flaming fireball that can hit one party member, breathe fire (which is the same as Fire Gamma) and shoot out a spray of fire (which is the same as Fire Omega). The last two attacks are multi-targeting. It has a 1 in 128 chance of dropping a Meteotite. The Evil Elemental can bash, disrupt the senses of one party member and leave them unable to use PSI, and possess a party member with a mini ghost. It has a 2 in 128 chance of dropping a Luxury Jerky.
The Hyper Spinning Robo can cast Shield Beta to protect itself and other enemies from physical attacks. It can also disrupt a party member's senses and cause them to be unable to use PSI (effectively Silencing them) and can also fire a beam.
Luxury Jerky recovers the most HP out of all the Jerkys, and recovers around 300 HP.
Ness learns Flash Theta at Level 61. Paula learns Thunder Theta at Level 57. Poo learns Thunder Omega at Level 55.
The Rabbit's Foot only increases defense by three, but it increases Speed by 40 and protects from Paralysis. It is the best of the four Charm items in the game.
The seventh "Your Sanctuary" location is blocked by the Electro Specter. It begins the battle with Shield Beta cast on itself. It can use an electrical shock attack, which is basically the same as Thunder Beta and does a fair amount of damage to two random party members. It can also use a Hungry HP-sucker, a Neutralizer and a Shield Killer. Use a Neutralizer to get rid of the shield, then plug away with powerful attacks including Multi Bottle Rockets and Freeze attacks.
Once you beat the Electro Specter, you'll find Lumine Hall, the seventh "Your Sanctuary" location. The wall will write Ness' inter thoughts on it - supposedly - then you'll get another part of the melody before you can leave. The hole to the left leads to the Lost Underworld.
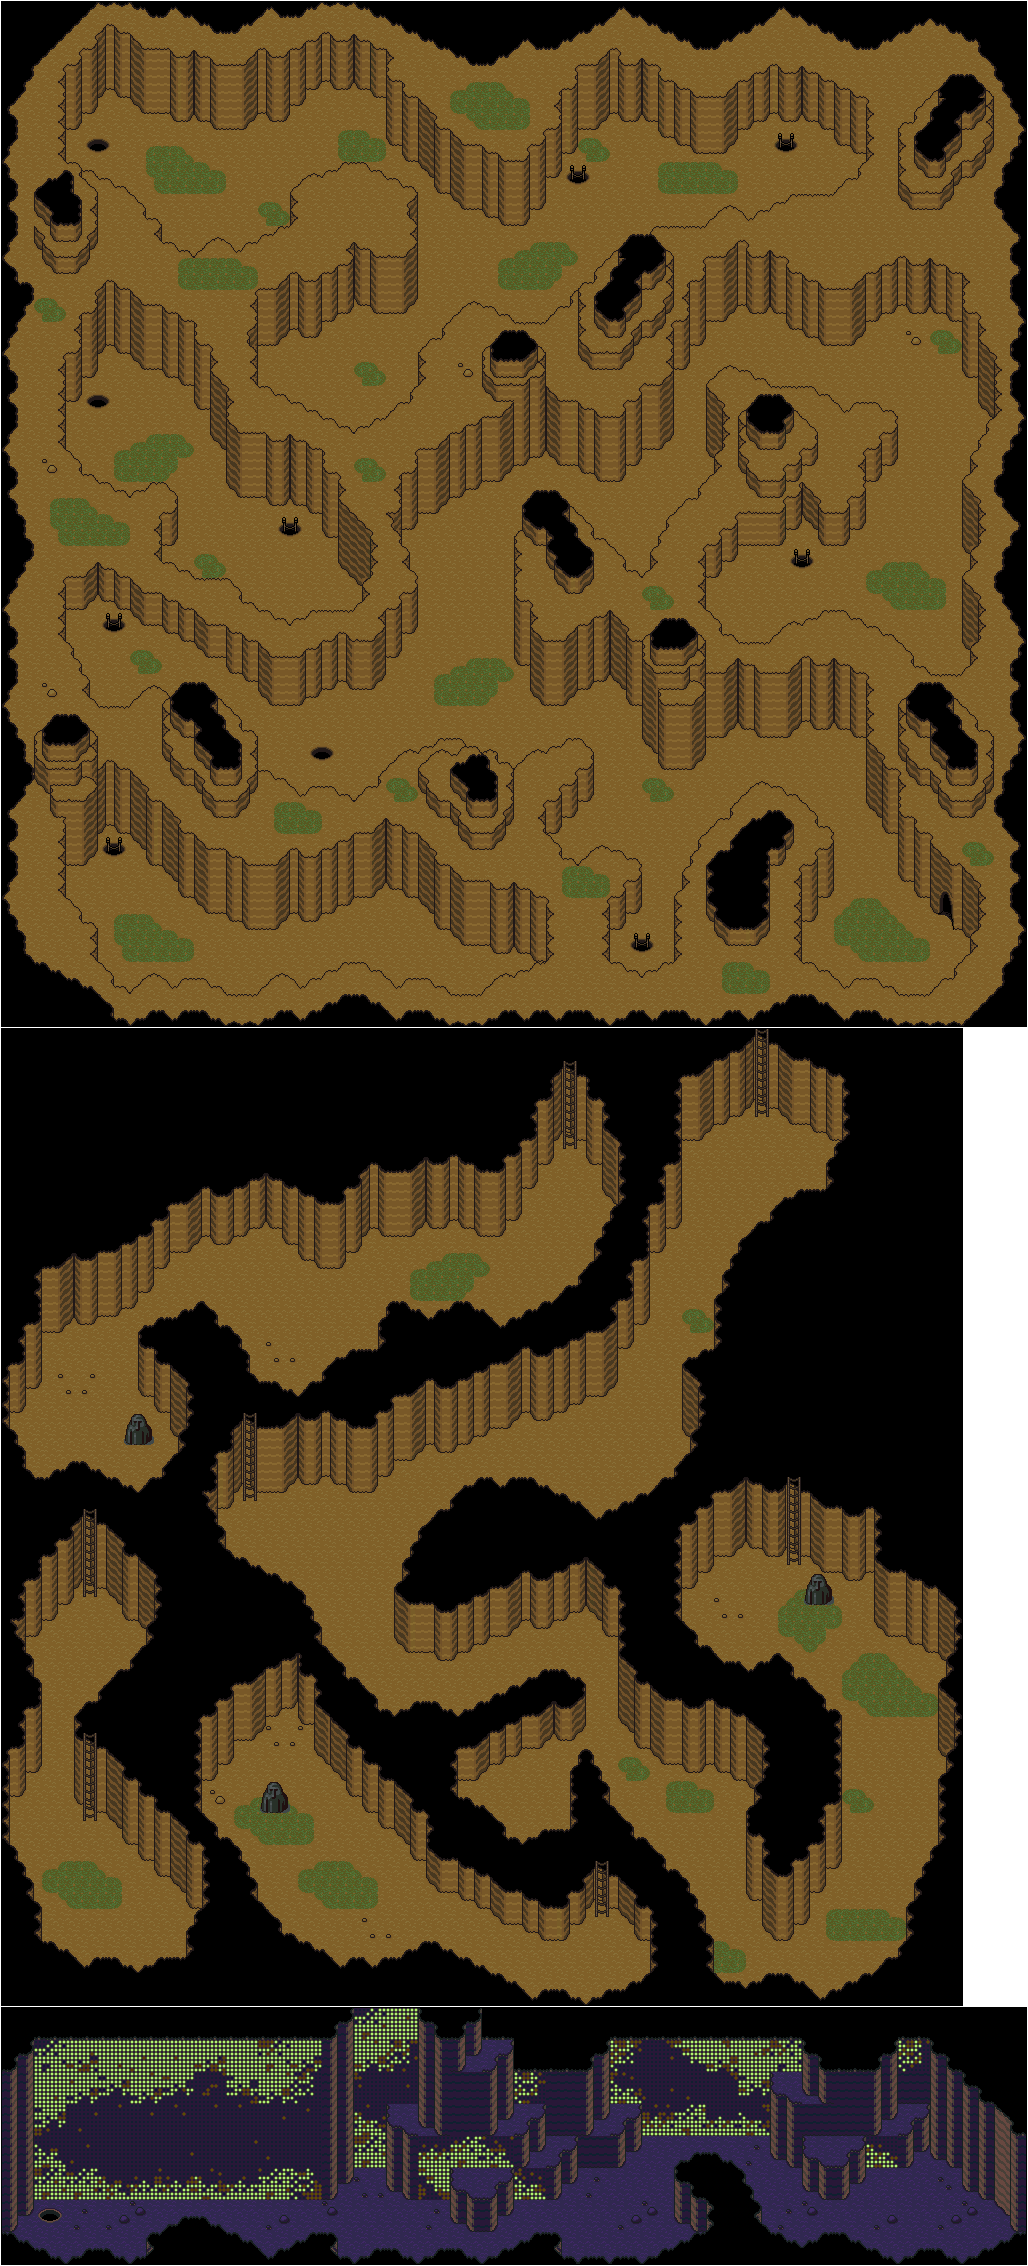
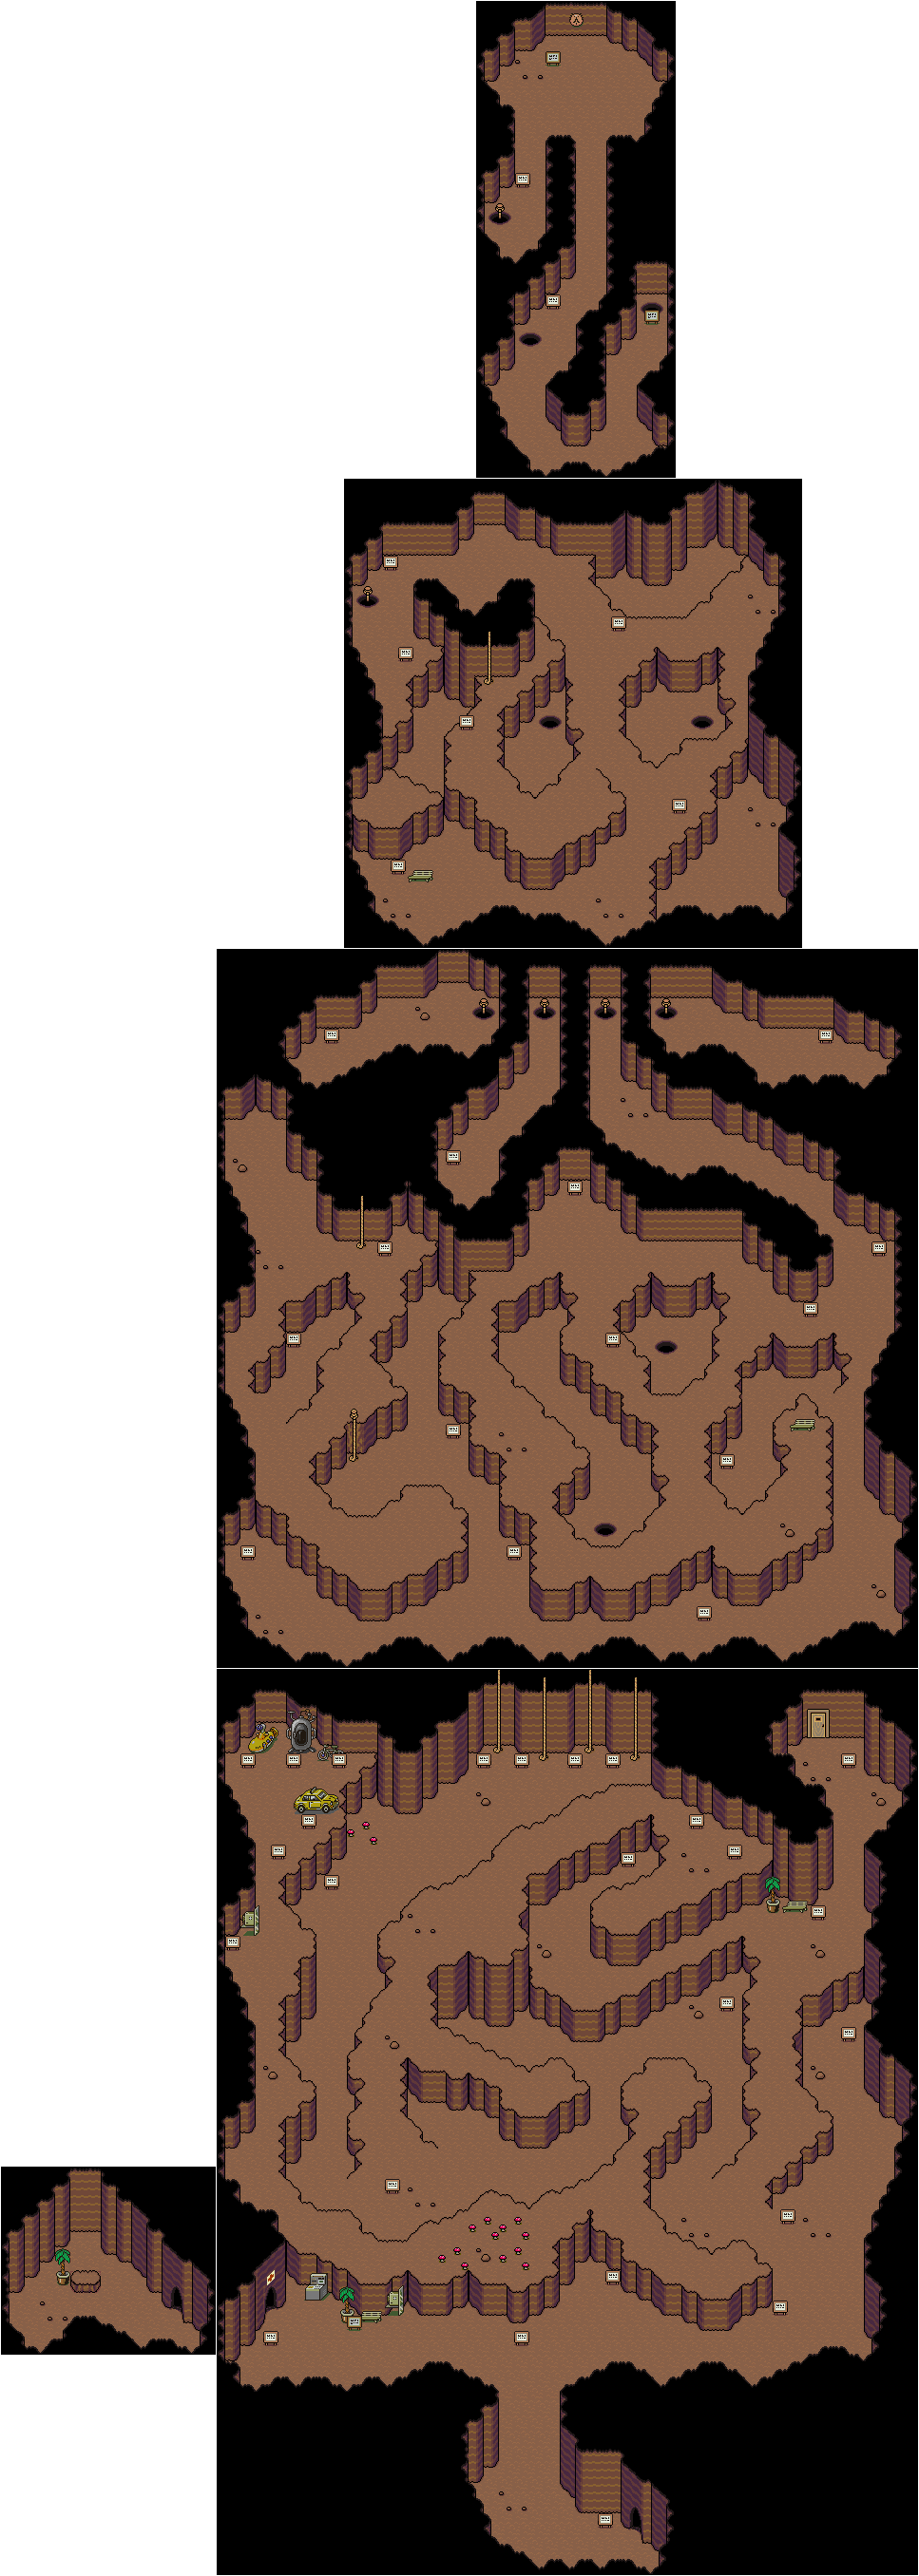
You'll land in the southeast corner of the Lost Underworld. If you stop on a geyser and then use it, you'll be able to heal yourself. The screen will shake every so often, and when it does, the geysers will eventually come out.
The Wetnosaur can stomp, swing its tail and bite to damage a party member (the stomp does low damage, while the others do high), and the loud rumble will solidify a party member. It is weak to fire.
The Chomposaur will have Shield Beta working when you fight it. It can cast Fire Alpha, Beta and Gamma, which can damage all party members with each one more devastating than the least. It can also stomp and swing its tail. It also has a chance of dropping a Magic Fry Pan, which Paula can equip. It does less damage than the French Fry Pan, and while it increases Guts by 100, allowing for some wicked critical hists, it also misses 25% of the time.
The things that look lie white cubes are presents that you can open to get treasures.
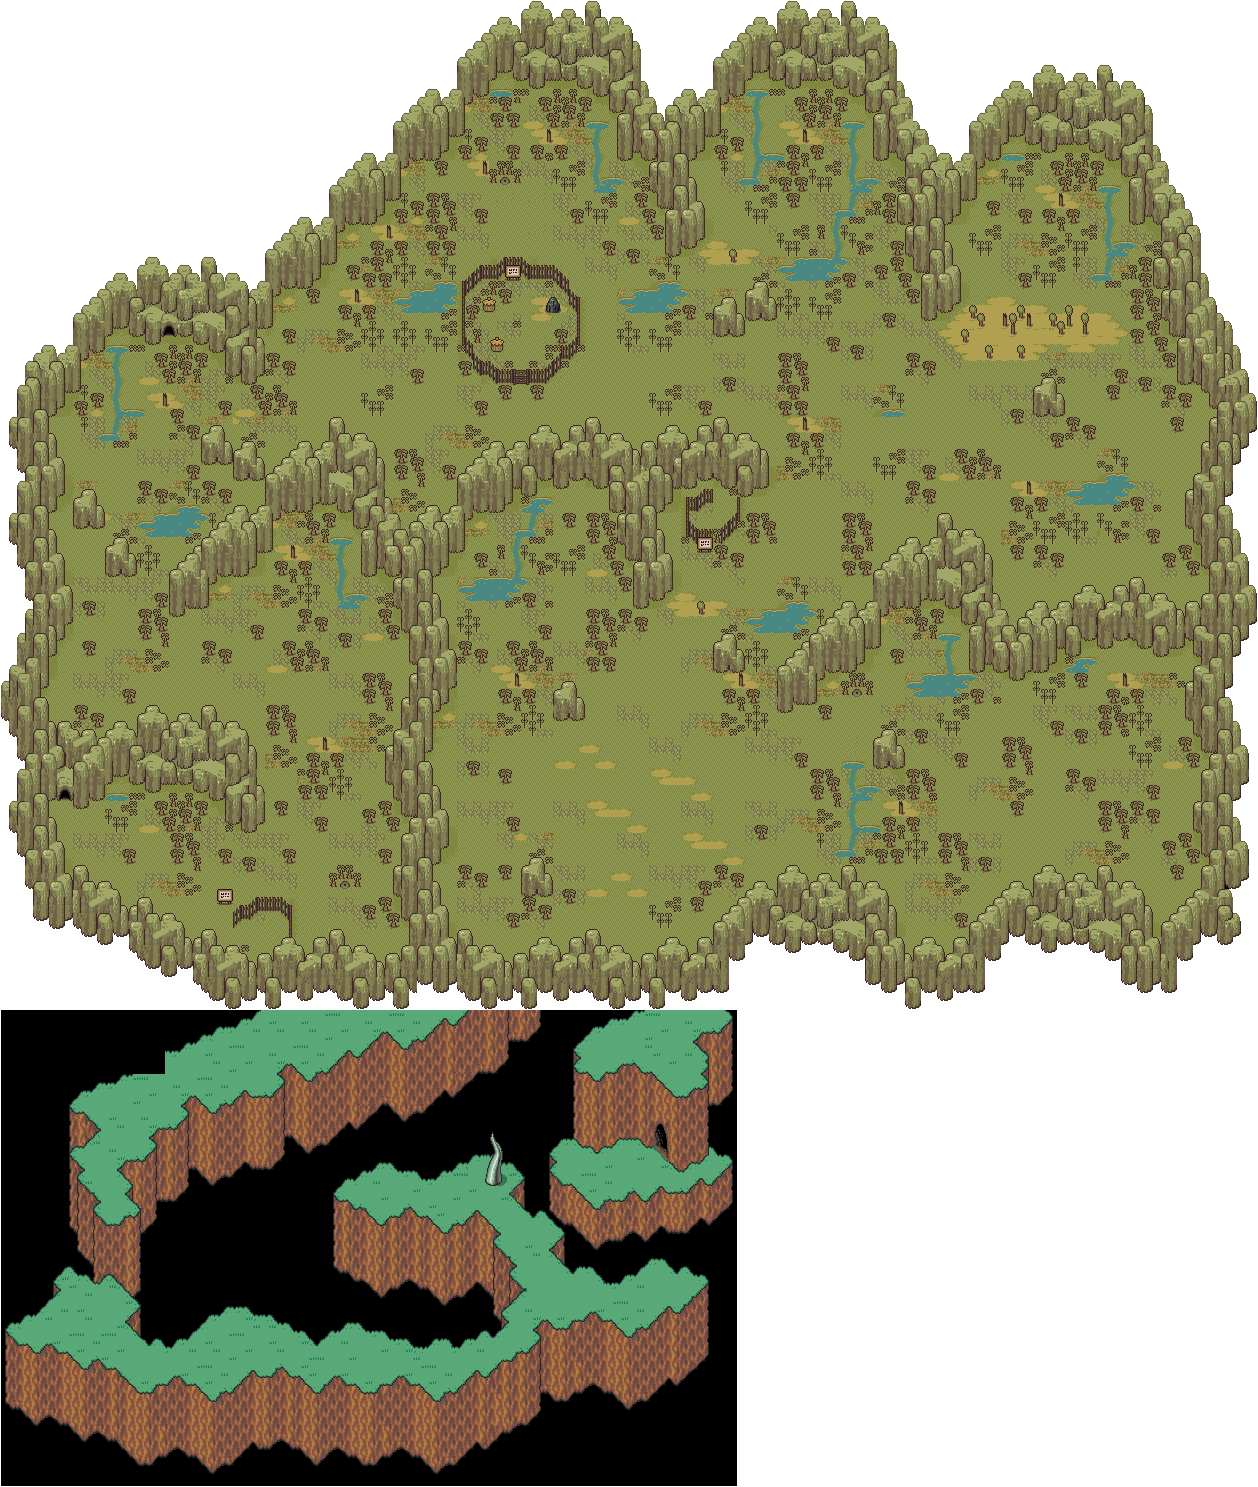
As you follow the path, you'll find a small fenced-in area. Here, you'll find two Tendas. They will tell you about the geysers. You'll also be able to save your game in this small area.
The Chief of the Tendas is the one with the horn. Use the Shyness Book on him to make the Tendas less shy. You'll get the Tendakraut in return. You'll need this item for later. The photographer will also show up to take a picture.
If you want to change the name that you registered in Summers, you'll be allowed to do so now. You won't get another chance to do it afterwards.
If you talk to the Chief again, he will give you a Bag of Dragonite.
If you talk to the Tenda near the giant rock, the rock will be launched upwards to reveal a switch. Entering this hole leads you down a rope to Lumine Hall.
The Tenda in the northwest corner of the Tenda Village will trade Horns of Life for other items. You'll need seven of them to get everything here. The plain foods will not heal for much, and the Hall of Fame Bat is only really useful if you still don't have one for Ness yet. The Talisman Coin increases defense by 60 and Luck by 25, and is good for anybody who could actually use the defense boost.
One of the Tendas will be drinking tea. If you drink tea with them, you'll get another message complete with a trippy background telling you to soldier on.
In the room before you enter Lumine Hall, there is a talking rock who will tell you that while the rest of the rocks do not talk often, there is one near the "Lost Underworld" that talks the most, and that you'll want to talk to this rock.
The Fobby is the more powerful version of the Foppy from earlier in the game. They are just as easy to beat up as the Foppys and can be easily defeated if you don't mess around. If you do, they will hit you with powerful PSI attacks, including Brainshock. They have a small chance of dropping a PSI Caramel.
The Uncontrollable Sphere can cast Fire Alpha and Beta, in addition to doing a bash attack and laughing maniacally. It is a stronger version of the Smilin' Sphere, and it has a 1 in 128 of dropping the Broken Atenna, which can be turned into the Gaia Beam - Jeff's most powerful weapon - if Jeff can fix it. Be careful: it can also explode into bits when defeated and do a lot of damage unless you're quick at going through battle messages. The Conducting Spirit can cast Flash Alpha and Beta to cause a good amount of status ailments, and can cause a good amount of damage with Thunder Beta and Gamma.
There are other Talking Rocks that you can talk to. Be sure to talk to them when you meet them. It's not very useful, but at least you talked to them.
The Diadem of Kings goes into Poo's "Other" slot and increases his defense by 20.
Past the room with all the tubes is a room with a Starman in it. Talk to the Starman, and you will have to fight it after it mentions the prophecy from the Apple of Enlightenment potentially being true.
The Starman Deluxe can cast Starstorm Alpha (which can do a lot of damage to the party) as well as Shield Beta. It can also fire a beam and call for both Starmen and Starman Supers. Keep hitting the Starman Deluxe with Multi Bottle Rockets and powerful spells, and keep in mind that if you focus on the Starman Deluxe, the rest of the enemies will disappear along with it.
Poo learns Shield Omega at Level 51.
When you beat the Starman Deluxe, the Stonehenge Base will shut down. There will be no more enemies in the base, so if you missed out on the Sword of Kings, you'll miss out on it for the rest of the game. If you go back to the room with the tubes, everyone who was kidnapped will be free. The Mr. Saturn who was kidnapped will give you the Saturn Ribbon, which increases defense by 90 and Luck by 40.
If you talk to Dr. Andonuts, he will tell you that he will start on the Phase Distorter as soon as possible.. If you talk to Apple Kid, he will tell you that he returned the "Overcoming Shyness" book back to the Onett Library.
Remember the guy west of Onett who was selling a house? You should be able to buy the house from the guy now. If you buy it, though, you'll find out that there are holes in the floor, the furniture is completely wrecked and the back wall is completely gone. If you approach the coach, the photographer will show up. If you examine the dresser, you'll find a really weird story if you read the magazine.
Back at the library, talk to the guy in the mask. He well tell you that you will find it on the bookcase. Enter the door on the right and examine the left side of the bookshelf to find the Shyness Book. From here, teleport to Saturn Valley.
The Starman Super is a golden, more powerful version of the Starman. There is a 1 in 128 chance that it will drop the Sword of Kings, which increases Poo's offense by 30 and is the only weapon Poo can equip. You'll want to get it before you are done with this place. It can summon Starmen (Starmans?) into the battle and fire a beam like a good amount of the robotic enemies here, but it can also guard against attacks to receive half damage and it can cast Shield Beta and Healing Omega, which can heal status ailments and also revive dead enemies.
The Broken Harmonica turns into the Baddest Beam when fixed. It is Jeff's second-strongest weapon, and he will be able to turn the Broken Harmonica into that when his IQ is at 55.
There is a room inside the base proper where there are Exit Mice. Feel free to take an Exit Mouse, especially if you're trying to farm for a Sword of Kings. The maze afterwards is barely lit and slowly flashes at regular intervals. That's totally not eerie at all.
The Broken Trumpet is a Defense Shower, which is the same as a Defense Spray but can be used to increase the defense of the entire party and can also be used an unlimited amount of times. Jeff will need an IQ of 40 to fix the Broken Trumpet.
In one room, there will be tubes were people such as Apple Kid, a Mr. Saturn, Dr. Andonuts and other people who have gone missing will be trapped in. You'll need to enter the room to the right and fight the next boss to free them.
Paula will learn Defense Down Omega at Level 54.
The Military Octobot can fire a beam, immobilize a party member by coining around it, and can also steal something from a party member much like the crow enemies from the beginning of the game.
The Meteotite can be sold for $2000 if you can get one.
If you talk to the chewing gum monkey where you rode on Tessie, you'll be able to ride Tessie again.
On your return to Winters, the enemies will be more powerful. The Wooly Shambler can cast Flash Alpha and Shield Alpha, and can fire a beam that do a good amount of damage to one party member. The Whirling Robo can also do the same beam and Shield Alpha spell as the Wooly Shambler, but can also use a Neutralizer to cancel all PSI effects and shoot a beam that causes night-time stuffiness that causes one party member to catch a cold. You'll also meet the Lesser Mook here.
If you have the Pencil Eraser, you can skip Brick Road's dungeon from earlier in the game entirely.
The Arachnid! can be met in the cave leading to the next Your Sanctuary location, which you've been in before. It's weaker than the Arachnid!!!.
Ness learns Healing Theta at Level 53. This can resurrect a downed party member.
At the center of Stonehenge is a patch of dirt. If you approach it, you'll find a dungeon. However, a very large iron eraser will block your path. You'll need to head back to Dr. Andonuts' Lab, talk to the mouse there, and get the Eraser Eraser. Then, you'll have to go back to the iron eraser and get rid of it with the Eraser Eraser.
The Mighty Bear Seven is a more powerful version of the Mighty Bear and does not have any new attacks.
The Mook Senior can cast Freeze Beta, Fire Alpha and Lifeup Alpha. It is very vulnerable to PSI attacks. It can also Diamondize a party member with a glare from its eerie eyes.
Poo learns Brainshock Omega at Level 44, which lets him paralyze all enemies. Poo will also learn Lifeup Theta at Level 46.
The Starman teleports around the dungeon instead of moving around normally, and can appear in the middle of your party. If you know what you're doing, however, you can sneak up on it and get the upper hand. It can cast Magnet Alpha and Shield Alpha, use a Sudden Guts Pill to double its Guts, guard to reduce the amount of damage you do to it, and fire a beam at one party member.
Spicy Jerk heals about 250 HP.
The Atomic Power Robot can fully recover a single enemy's HP (much like Lifeup Gamma), and can fire a beam. It can also fire a beam at one party member.
At one point, you'll find the plane that Pokey get away with in Fourside crashed in the middle of the Deep Darkness. For some reason, the engine has been removed, making repair of the helicopter impossible.
The Souvenir Coin is the best equippable coin in the game, with 80 Defense and 35 luck added to whoever equips it.
Manly Fish just jabs people with a spear and does not do much damage.
Hard Crocodile just has physical attacks, all of which only target one party member. The bite and tail swing hurt more than the bash. It is weak to fire.
The red Mr. Belch enemy is Master Barf. Fly Honey does not work on him this time, so keep this in mind. During the battle, Poo will show up and hit Master Puke with Starstorm, killing him. That's right. Poo is back with Starstorm Alpha, and it can do quite a bit of damage. He's also back for good. When Master Barf dies, you'll also get the Casey Bat, which is the most powerful weapon for Ness but misses 75% of the time. Regardless of this, it is one of the most interest items in the game, and other players have done some interesting things with it.
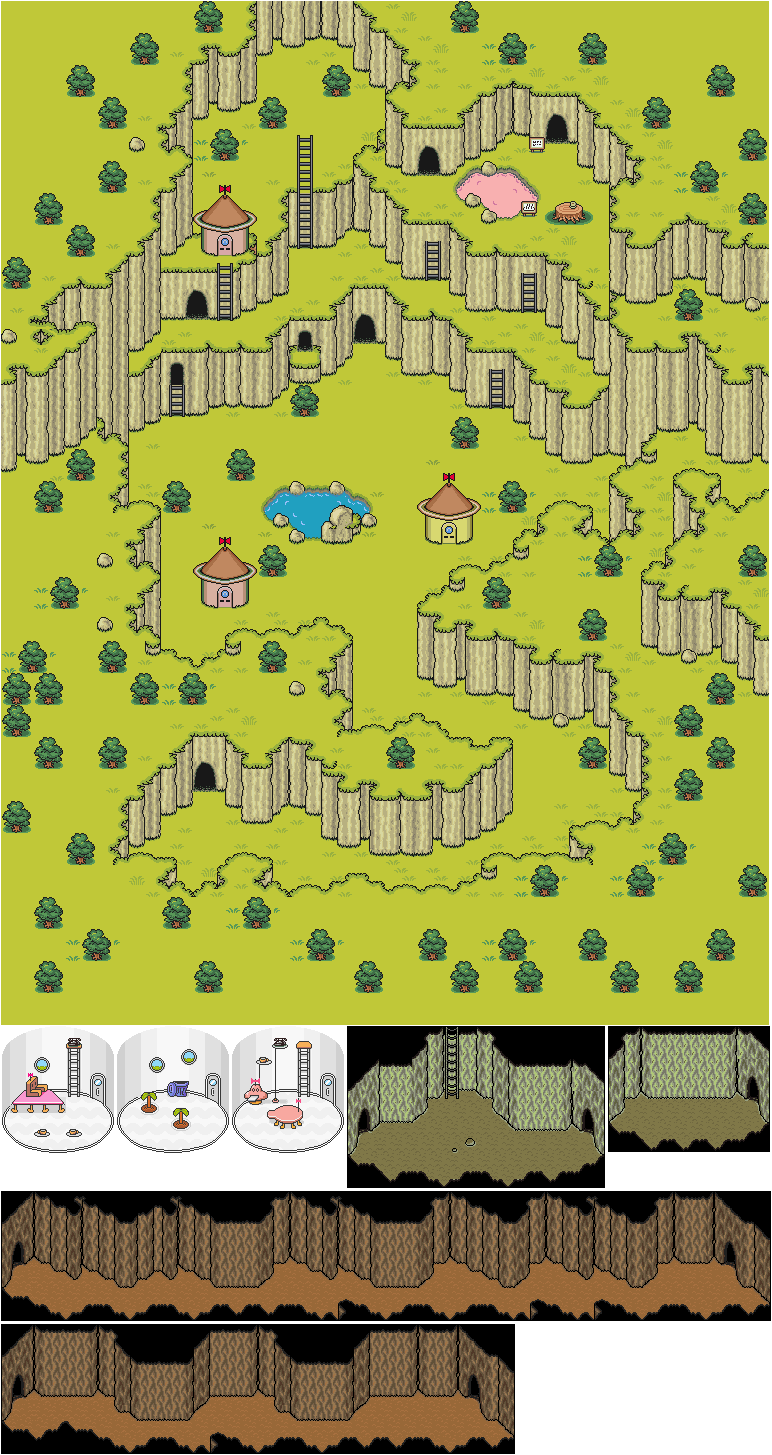
Eventually, you'll find a cave. This leads to the Tenda Village, where the Tenda, the occupants of the village, are all shy.
South of the entrance is a garbage can with a Death Ray. The Death Ray is Jeff's most powerful weapon; equip it when you get it. There is also a phone you can use here.
One of the Tendas will tell you there is a book that teaches how to overcome shyness. If you can use it here, the Tendas will stop being shy.
The inn here is free, so use it if you need to heal or fix things with Jeff. There is also a hot spring much like the one in Saturn Valley here, as well.
One of the Tendas is not shy, and they will tell you that they buried a hole that leads underground because they found some dinosaurs. They also mention finding a talking stone there.
If you leave the Tenda Village from where you came in, you'll get a call from Apple Kid, who is at Dr. Andonuts' lab at Winters. As he calls you, he will be abducted. You'll then get a call from Orange Kid, who mentions that Apple Kid is missing and that he is the one who has the "Overcoming Shyness" book.
When you return to Winters, you'll find out the female monkey is there, as well as one of Jeff's friends. He will mention that Tony has gone missing. When you head towards where the Tessie watchers are, you'll find out that Sebastian, one of their own, has been kidnapped.
When you leave Dungeon Man, Dungeon Man will keep following you. Be sure to buy Multi Bottle Rockets at the store as you head south.
When you reach the palm trees, Dungeon Man will be unable to follow you, and he will have to say goodbye. From here, he will block your path back to the north, and there is only one thing left to do: soldier on.
The man at the other end will tell you that the Deep Darkness is on the other side of the river and that the monsters there are very powerful. If he asks you if you still want to cross the river, say "Yes." He will tell you that the swamp is bottomless and that you will need a submarine.
Go back to Dungeon Man and talk to him. He will tell you that he has a submarine, but to get to it, you'll have to go through the whole maze over again. When you talk to Brick Road, you'll be able to take the Goodbye Exit, which was blocked earlier. It will take you to the submarine. Just keep going down the holes as you see them, one by one, and you'll end up at the path leading to the submarine. There will be a pay phone and a Revitalizing Chamber nearby.
The Talisman Ribbon increases Luck by 25.
When you interact with the submarine, you'll traverse the ocean, and you'll soon end up in a swamp.
The Myna Bird with the phone on its head is a phone. The nearby monkey runs an inn that you can stay in for free.
With the Piggy Nose, you can look for truffles. Just use it, and you'll see which direction you need to go. It will also tell you if it's right where you're standing, in which case you can check the spot for a Magic Truffle, which restores 80 PP. Save these things up, because you'll need them. You don't need the Piggy Nose to pick up the Magic Truffles if you know where they are, but it really helps.
The deep water will sap your health, so be careful and watch your HP.
The guy you'll meet a little bit in will sell Multi Bottle Rockets if you forgot to buy them or still need them.
Super Bombs instantly defeat all normal enemies, but not bosses.
You'll need to use the Hawk Eye to see the dark areas.
The straw in the water is an ATM, but he charges a handling fee that is the same as your withdrawal. It's not worth it.
The monkey near the tree who wants to teleport will ask you to teach him to teleport. He'll eventually figure it out, then he will give you the Monkey's Love. When used in bottle, it causes a monkey to appear and pin down the enemy, solidifying it for one turn. It can miss, however.
The man in the business suit is the representative of the nearby doctor, who can heal you. He also sells items, but these are items you can find elsewhere.
The nearby monkeys to the west will tell you about how the swamp can sap your health and how you can use the Piggy Nose to find Magic Truffles.
The Pit Bull Slug can put a single party member to sleep with Hypnosis Alpha, and can also lower a party member's offense and defense with a vacuum attack. The Demonic Petunia can immobilize a party member with pollen, and can also dispense an extinguishing blast that does a lot of damage; it is basically Fire Gamma.
The enemy that looks like Master Belch is the Big Pile of Puke. It can make the whole party cry with its stinky breath, make one party member nauseous with the nauseating breath, and solidify one party member with its mucus.
The photographer will show up when you approach the yellow bird. If you talk to the bird, it tells you that nobody comes to the Tenda's Village because it's far away.
All of the enemies here will be enemies that you have met before. The only difference between then and now is that you are much more powerful, and it's possible to get the green swirl from time to time..
The signs are written by Dungeon Man themselves, and provide rather witty banter. West of the entrance is an ATM, a pay phone and a bench, and the nearby cave leads to a hospital. The bench is used as a free inn.
Despite what DeceasedCrab says, if Poo has the Hawk Eye in his inventory when he leaves the party to learn Starstorm, Escargo Express will call and tell you that somebody put the Hawk Eye in your inventory. Just call them to get the item, as you'll need it here.
DeceasedCrab finally gets the Heavy Bazooka. That's a good thing, as it's a very powerful weapon.
The Super Plush Bear takes more damage and abuse than the Teddy Bear. You can buy it in Summers if you can afford it.
The wooden door is a restroom that you cannot access. Also, there is a bench near it that you can use to heal.
Some of the treasures are useful, while others are not. One of them contains five dollars. Yes. Five dollars. A drop in the bucket compared to what's probably in your in-game bank account at this point.
Of the four ropes, you'll want to climb the third one (second from right). This takes you to the second floor while the others lead to dead ends. There is also a bench on the second floor to recover your health and PP at.
The Spectrum Beam is a little more powerful than the Heavy Bazooka, but it's worth getting.
The Lesser Mook can be encountered in Winters, but it can be encountered here. It can do a lot of damage with Freeze Alpha and Freeze Beta, and can put a party member to sleep in addition to being able to Diamondizing them, which is the game's version of petrification. You'll need to use a healer to cure the Diamond status if you don't have a Cup of Lifenoodles or a Secret Herb.
At the third floor, the Gruff Goats, Mad Ducks and Slimy Little Piles are for display only and cannot be interacted with. There is also a bench to rest on in the southwest corner.
At the top floor, you'll find Brick Road's head in a wall. He will tell you that Dr. Andonuts made him Dungeon Man, and he will follow you for a while. He will tell you to head to the Return Hole, which is to the south of Brick Road's head. The other hole will be blocked...for now. Once you go through the Return Hole, go through each hole as you see them. Don't forget to get the IQ Capsule for Jeff before you return to the entry level, and don't forget to get money out of the ATM before you leave, as you'll be back at the store south of where you came in before you know it!
The Arachnid!!! can immobilize and poison a single target. Believe it or not, there was an enemy called "Arachnid!" near the Rainy Circle, but we never saw it.
The Pharoah's Curse has a chance of poisoning the enemy it is used against.
The Guardian General can do quite a bit of damage to one party member, and thankfully not to the whole party. It can lower one party member's offense and defense with a war cry, much like the Petrified Royal Guard, and it can drain someone's PP by making something spin around (which works much like Magnet Alpha). Once again, you'll want to hit it with Big Bottle Rockets whenever you can.
Ness will learn Meteor Theta at Level 49. Poo learns Thunder Theta at Level 41. Paula will learn Freeze Omega, which is the most powerful Freeze spell and will hit all targets at the cost of a lot of PP, at Level 46.
When Jeff's IQ is at 45, he can repair the Broken Bazooka to get the Heavy Bazooka.
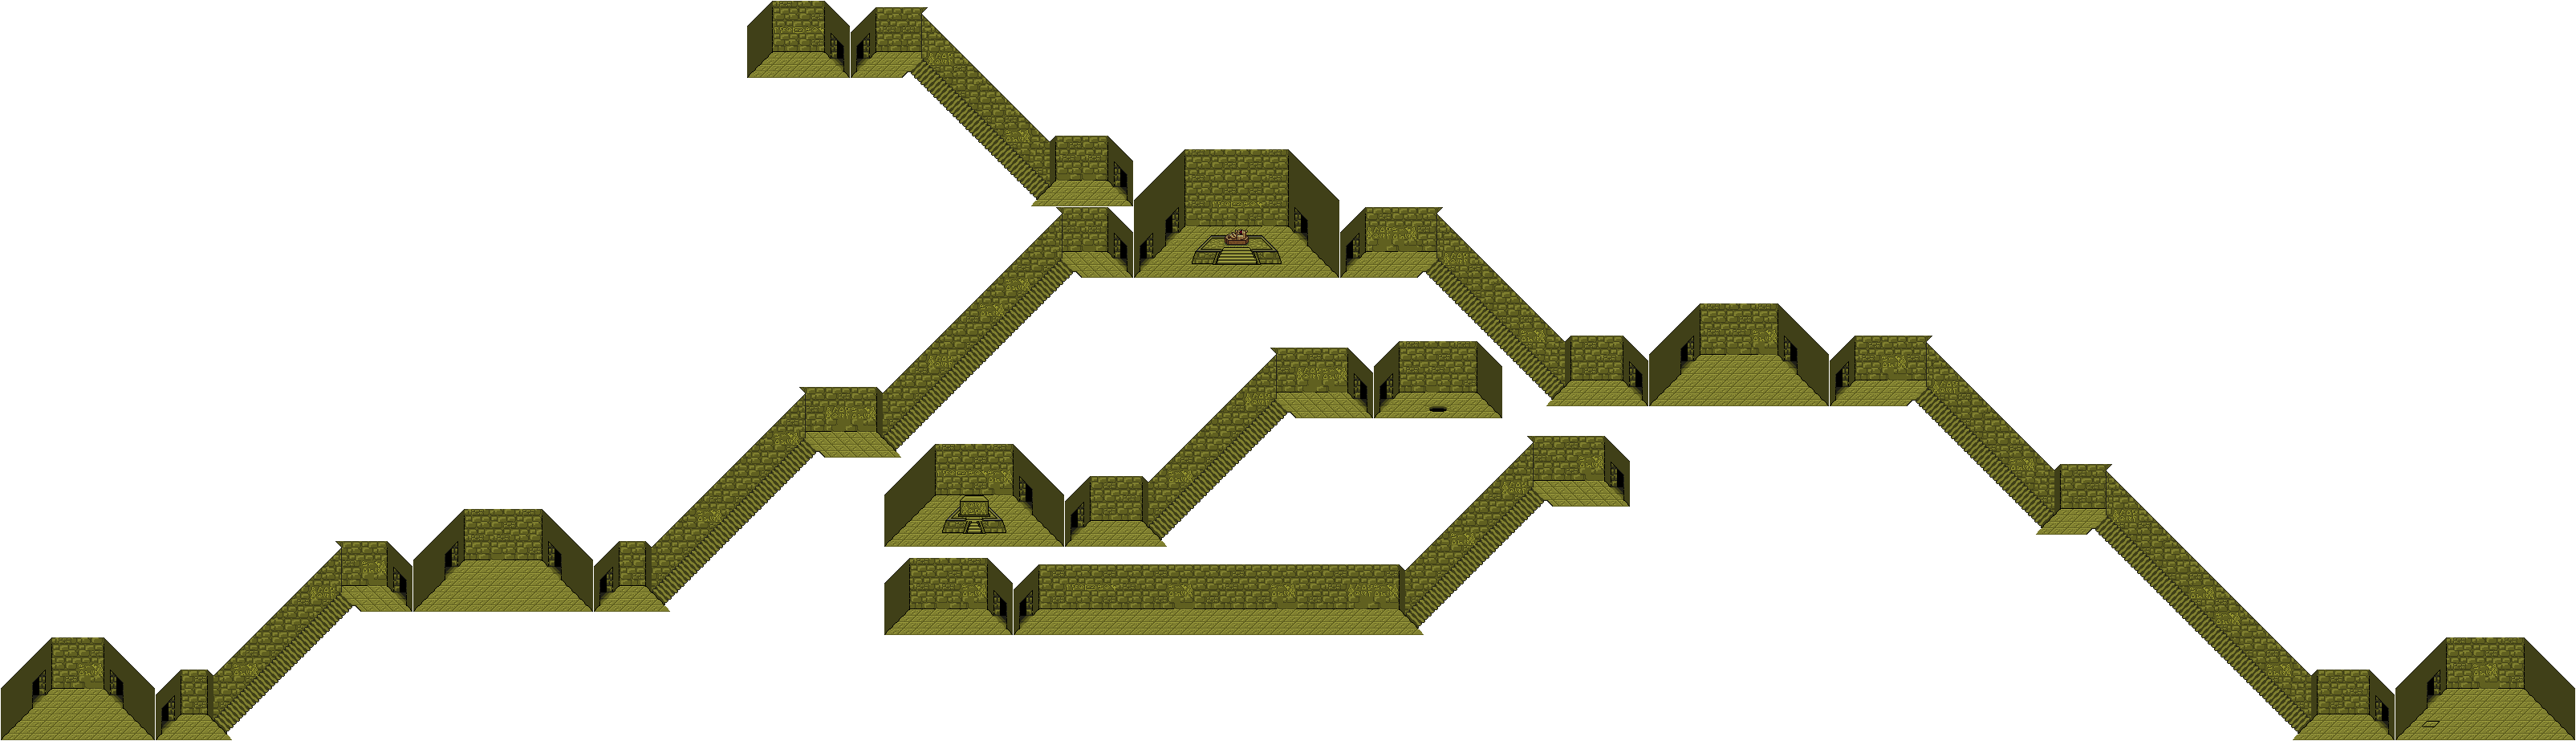
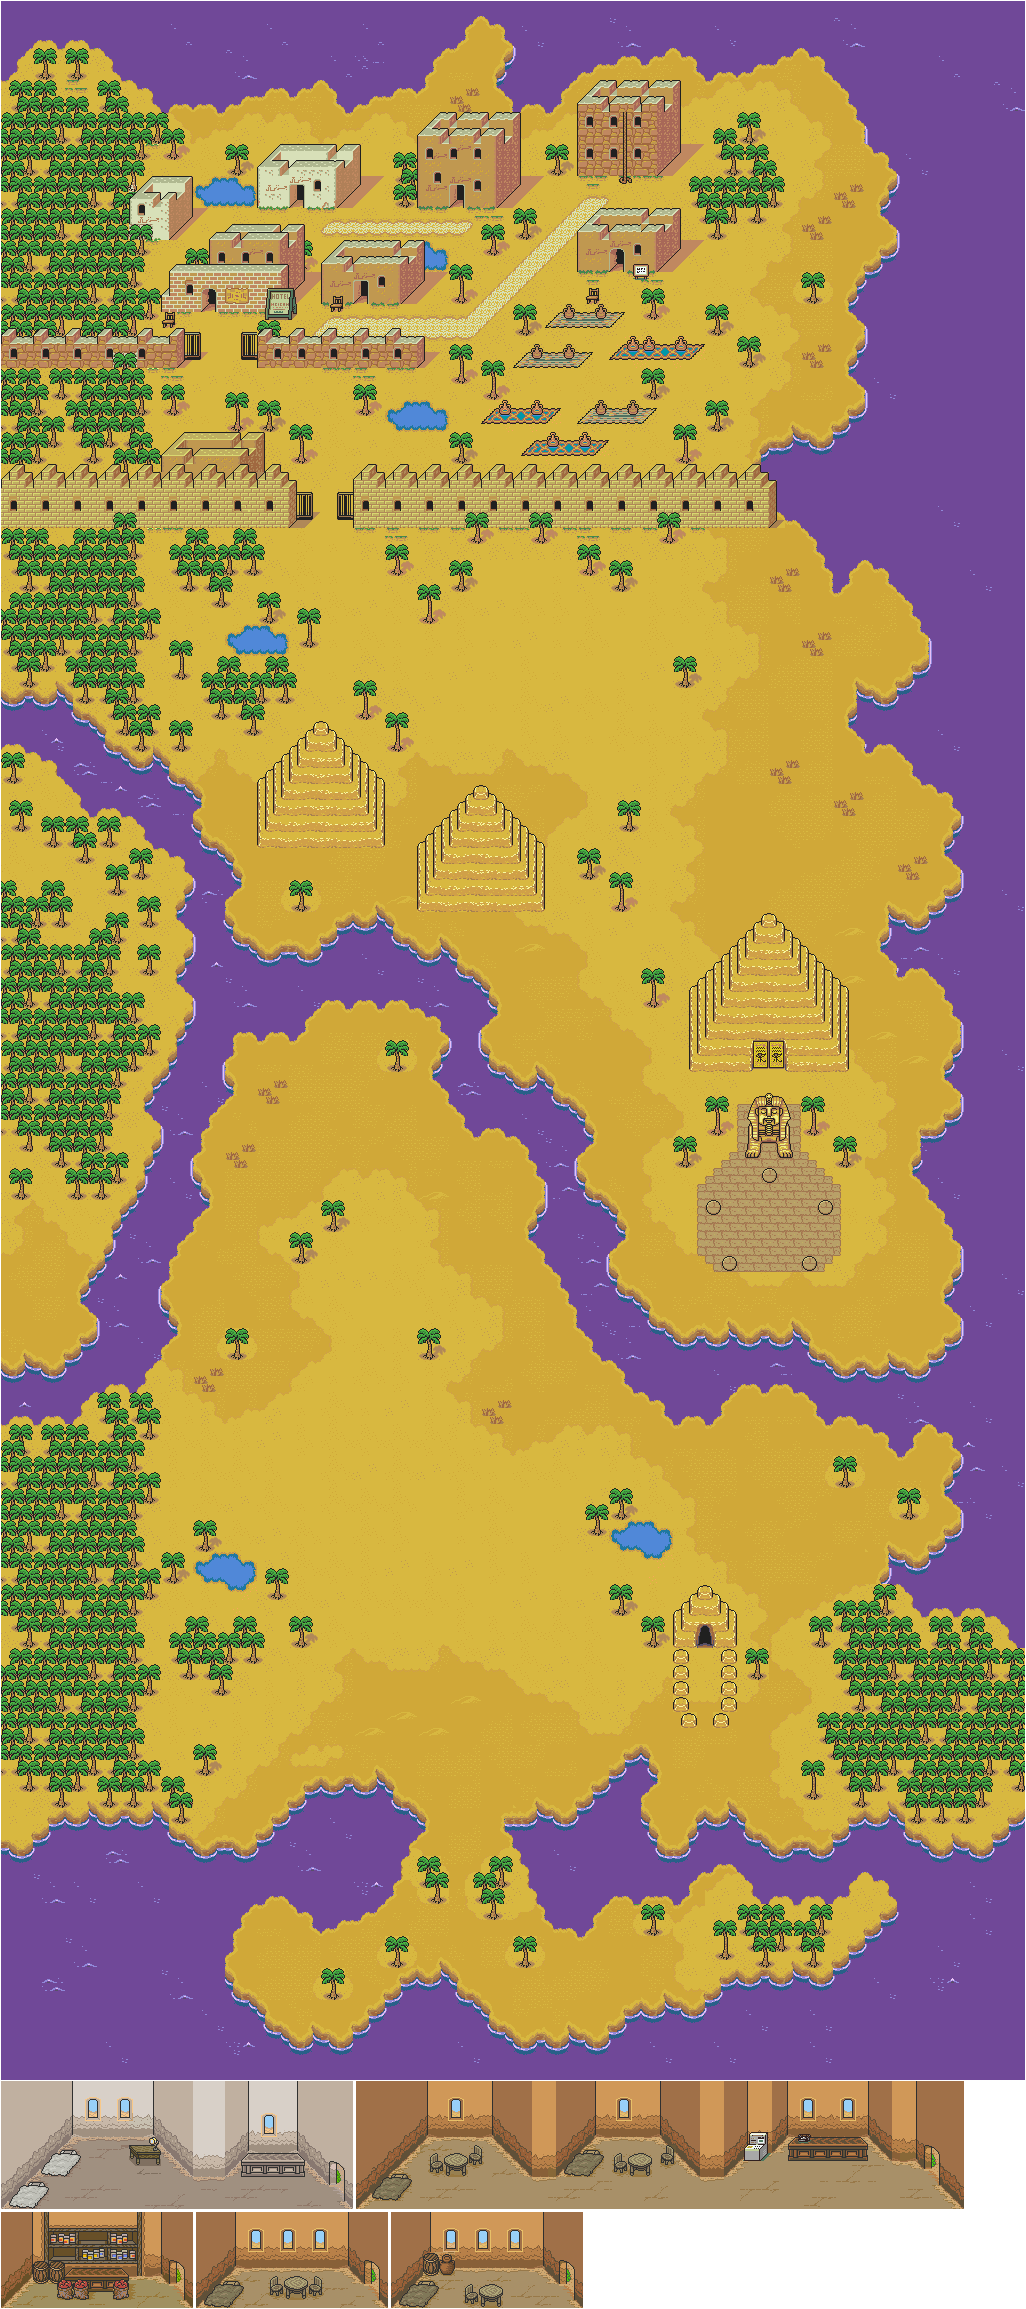
Past the Guardian General is a switch on the floor. You'll want to step on it. This will shift a sarcophagus with red eyes that you probably saw earlier. (Had you had a battle near it, the sarcophagus would disappear and reveal a hole, spoiling that you have to do something with it.) Return to that sarcophagus and go into the hole that you see. You'll be able to get the Hawk Eye. Walk up to it and get it. This removes the enemies from the pyramid and also allows you to see in the dark if you have it in your Inventory.
The Rain Pendant protects from Freeze.
After you get the Hawk Eye, keep heading east. There will be a Diamond Band in the coffin near the next hole, so get it before dropping down the hole. Once you drop down that hole, keep heading east to get out.
Once you're outside, head south. You'll soon meet the old man that Poo met during his training. He will heal you, then leave with Poo to teach him the way of the Starstorm. Poo will meet you again when he learns it, which will be later in the game. You're back to being a trio again.
The man northwest of the pyramid exit will give you a key to Dungeon Man, who is to the northwest. The man with the camel nearby will sell some weapons and healing items, including the Multi Bottle Rocket, which does more damage than the Big Bottle Rocket. You'll also want to get the French Fry Pan and the Crusher Beam for Paula and Jeff, respectively.
The High-Class UFO can cause loss of concentration in a single party member, and can also cast Shield Alpha on itself or an enemy to protect it from magic. Its beam can pack a punch. It is susceptible to Rust Promoter DX.
The weird looking stone creature northwest of the pyramid exit is Dungeon Man.


.png)
.png)

.png)