Part nostalgia-bomb, part note-taking and part FAQ, what started in GameTrailers as a video game blog is now on Blogger. This blog is a look back at video games, both popular and obscure, from the video game industry's infancy all the way to the previous console generation.
When you enter the Odyssey, you'll be able to head to Bowser's Kingdom, but you'll also see Bowser's airship on the world map. That can't be good. We'll deal with that in the next video.
If you grab a Power Moon, Mario's hand will be in one of three positions: the peace sign with two fingers up, a closed fist or an open hand. These are references to Super Mario 64, Super Mario Sunshine and Super Mario Galaxy respectively.
You can look around with the right stick when flying around in the Odyssey. It has no effect on gameplay.
Power Moons
10. Atop a Column in a Row - On top of the columns in the Peronza Plaza, there is a glowing spot. Use the food-shaped rocks to get up top, then get to the column near all of the lava and ground pound the top for a Power Moon.
12. Island of Salt Floating in the Lava - There is a small island with a glowing spot atop the salt hill near the Salt-Pile Isle checkpoint. Ground pound that spot for a Power Moon.
13. Overlooking a Bunch of Ingredients - This Power Moon can be grabbed near Peronza Plaza if you can perform a cap jump to the top of the slot machine building and backflip, wall jump and dive jump your way up to the top.
20. Luncheon Kingdom Timer Challenge 3 - Behind the Stark of the Peak Climb checkpoint, there is an island with a scarecrow. Throwing your hat at it will reveal two tilting platforms and a key. Tilt the platform so you can get the key with an overhead jump, then long jump your way to the Power Moon before time runs out.
34. The Treasure Chest in the Veggies - Near the Path to the Meat Plateau checkpoint, there is an easy to miss door near the lava. Inside is a chest you can open with your cap for a Power Moon.
36. Taking Notes: Big Pot Swim - Return to the pot where you fought the Cookatiel after beating the Cookatiel. Clear out the stew chunks by running into them, then run into the treble clef to start collecting notes. Hold down Y the whole time as you jump and control where you are in the air at will as you collect the notes and you'll soon have another Power Moon.
Make your way up at the start and get the coins, then tackle through the wall past the door, butt bounce your way down, then tackle your way to the left to loop around with more money in your pocket. Get the coins, then get in the water and go down to go back to the start. You'll need to then head back and break the enemy blocks with a Spear Goon and hit the switch to turn the water off and kill the current.
Make your way down and get past the fish to get through the next door. Watch your speed to avoid the flying spiked skulls to get to the next door, and tackle the middle of the wall to the right for more coins before you continue.
Get in the water, then get back to dry land after heading to the right and enter the door to the far right. Get the coins in the water, then hit the switch to bring the water up in the previous room and enter the door that you could not access before. Avoid getting hammered to get all the coins, then get in the door near the top.
Heading to the left takes you to more coins, but you can't do much there yet. Head to the right, get in the water and swim left to get more coins and enter the door. Use the fire fox to open up the area with the coins as well as the path to the exit. You still have the treasure room, however, so don't exit yet. Instead, hit the switch and head back to the previous room. You'll be able to get the coins that you couldn't get to the left before, then head right to where you initially entered the water from to enter the treasure room. Win the treasure room game to get an hourglass. Now you can exit.
This whole part is completely optional, but there is one thing in this entire video that you'll have to deal with regardless of whether you do anything else here.
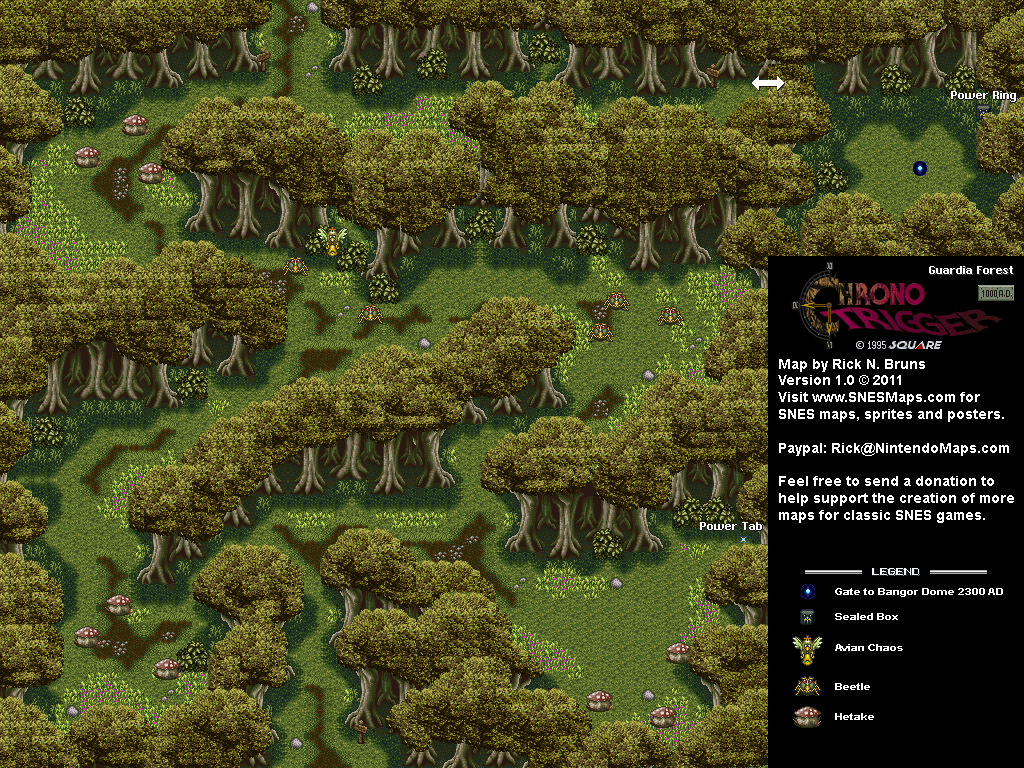
If you try to go back to the portal that took you to Bangor Dome in 2300 A.D. from Guardia Forest in 1000 A.D., a log will block your path. Despite what I say here in the video, it's actually impossible to miss out on getting that portal, as you can still fly Epoch to Bangor Dome in 2300 A.D. and re-activate it that way. You'll just have to go back to get Epoch and then everything will be fine.
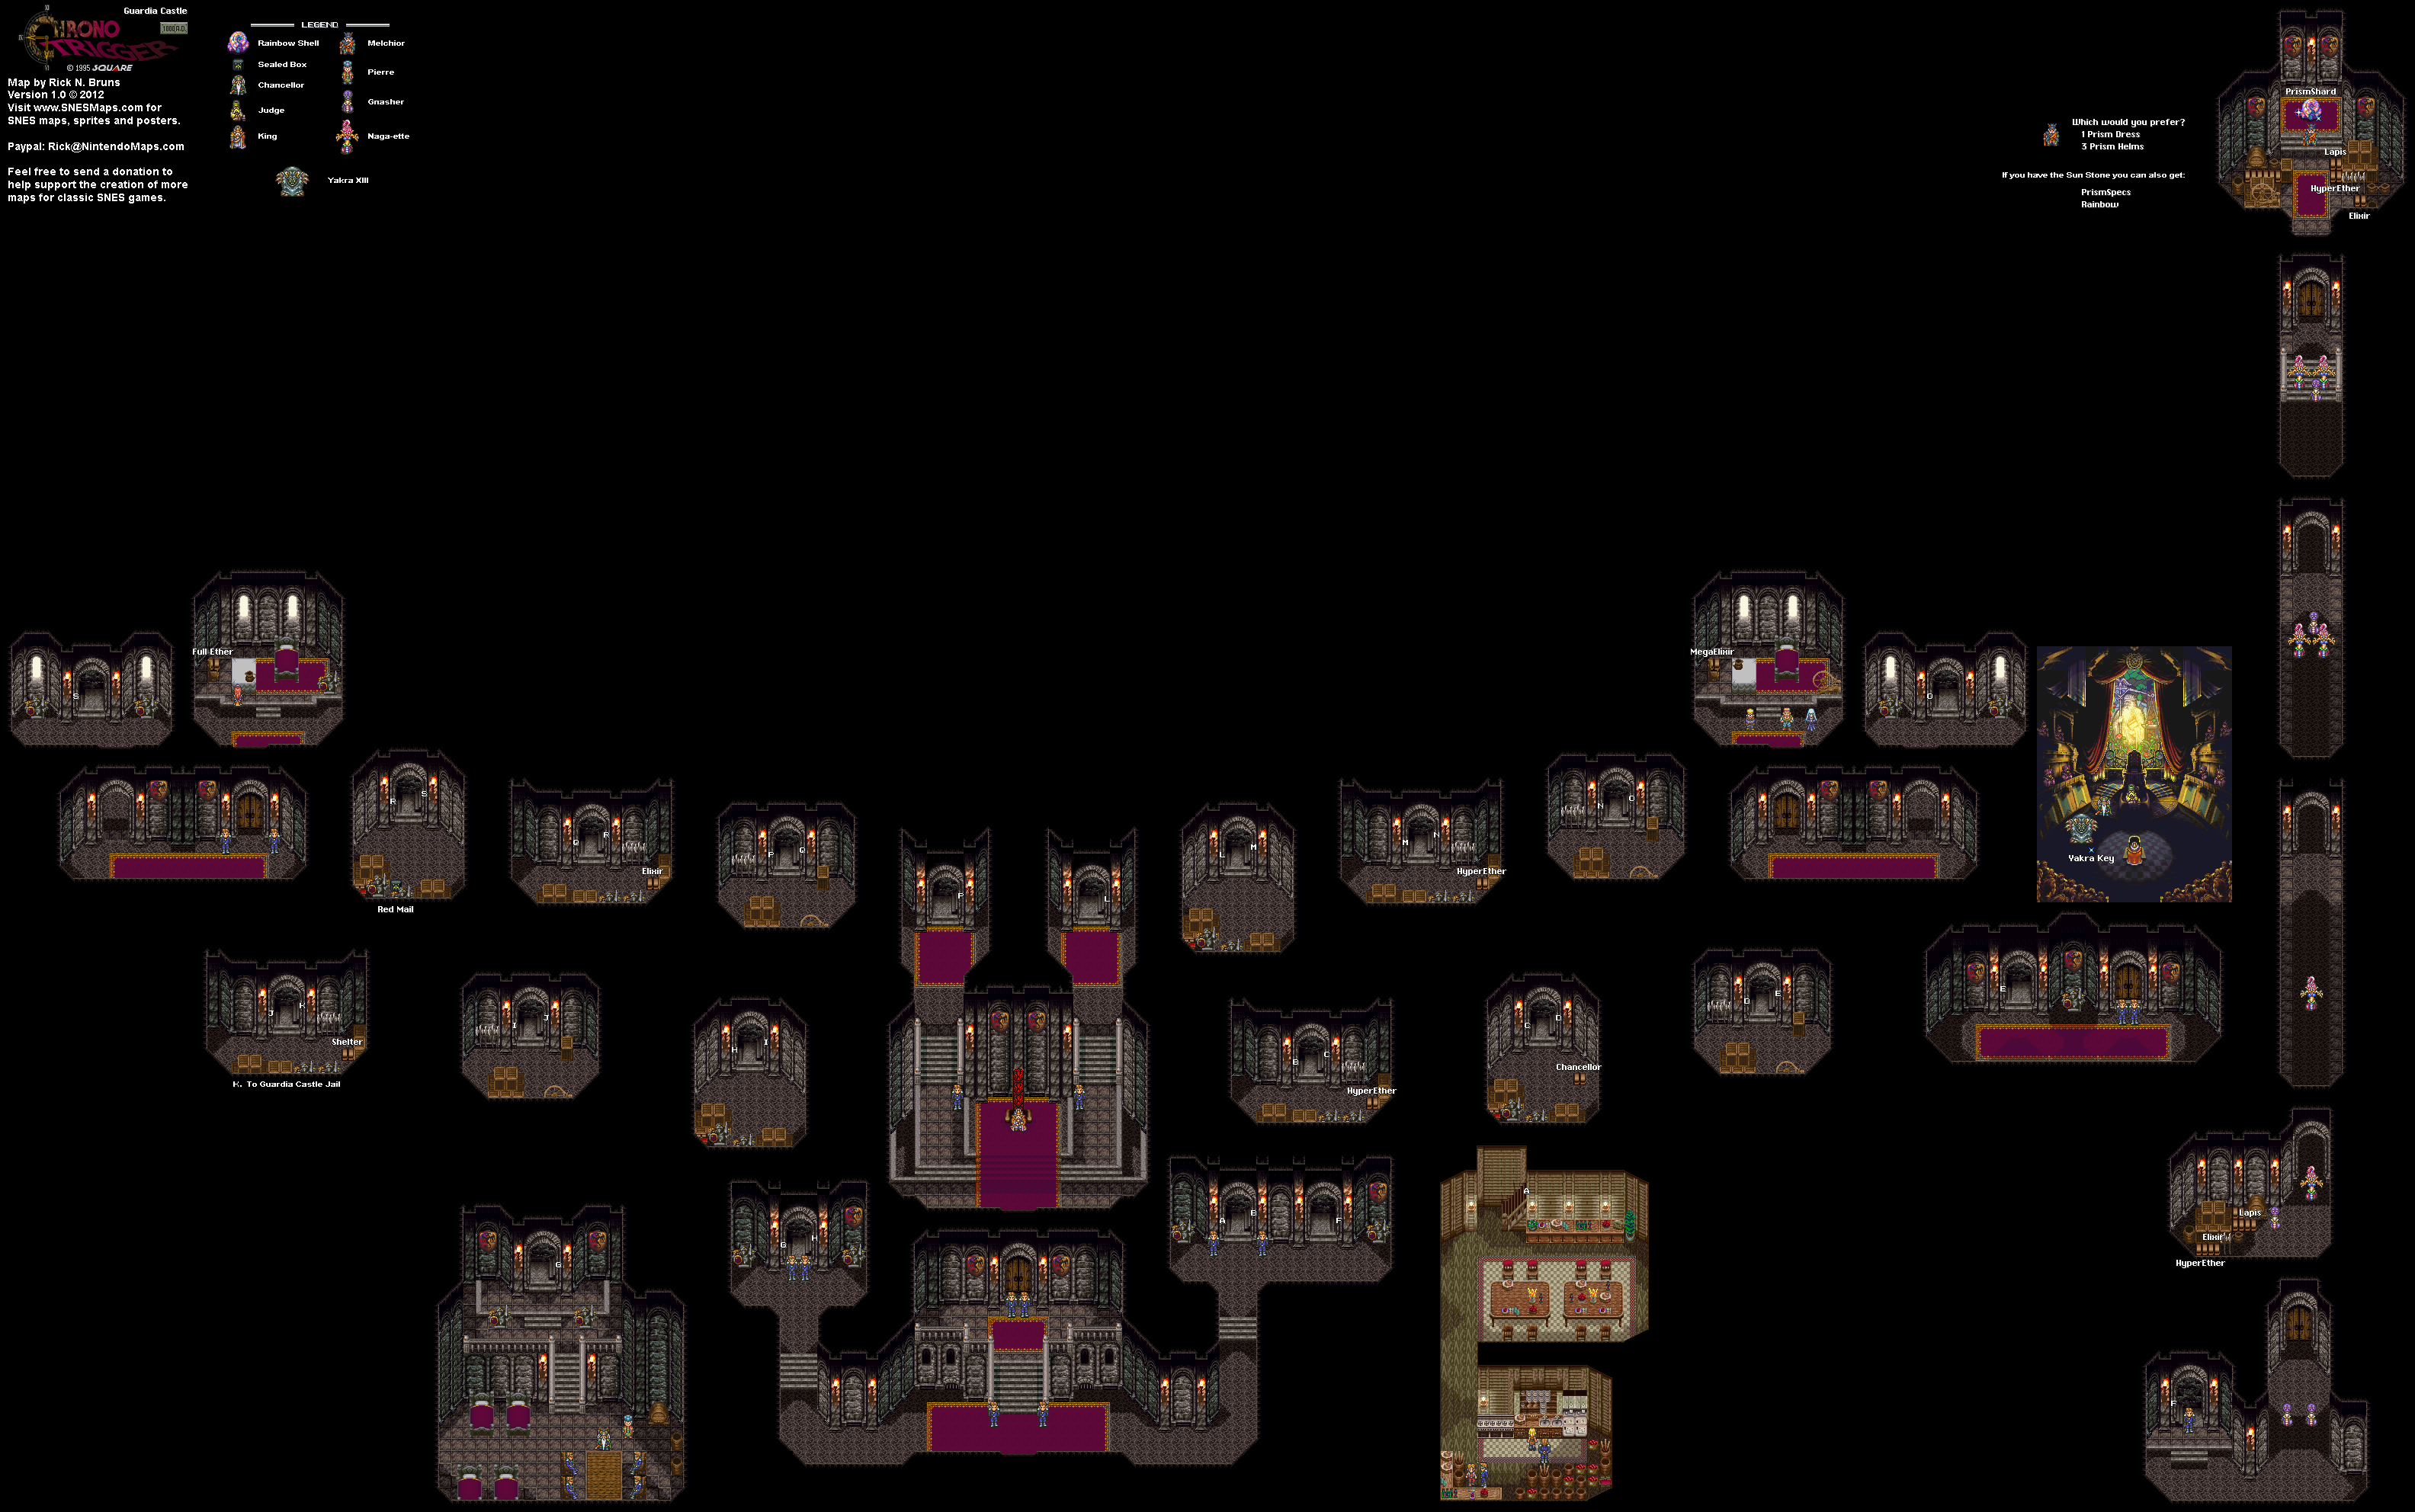
When you head back to Guardia Castle with Marle in your party after everything that happens in the Ocean Palace, the Chancellor will welcome you back with open arms before casually mentioning that Marle's mother, Queen Aliza, died alone because her father only cared about work and could not find the time to see her. If you head to the throne room and talk to the King, this will start a whole row between King Guardia XXXIII and Marle, and the king will head to his bedroom, which is the same as the king's in 600 A.D. As this goes on, the Chancellor has the twinkling eye similar to when someone causes trouble in an anime, making it painfully obvious that this is a plot for the Chancellor to drive a wedge between the king and Marle...but why?
From here, you can explore the rest of the castle. The kitchen is much improved and renovated over what is in 600 A.D., but you won't be able to have a meal...at least, not yet. Also, you cannot go back to the prison area, as the road leading to it is forever broken due to the Dragon Tank battle in the early goings of the game. You'll also find a locked chest, which you can open...eventually. Talking to the guards will reveal that the only reason you're not in trouble anymore is because the king has decided on probation for Crono instead of straight up executing him...for now.
If you talk to the king at this point, you'll find out that he has nothing to say to you. If you go back to the Chancellor, he will tell you that you can cheer the king up with his favorite meal: Jerky. The one place where you can get it is in the Snail Shop in Porre, so head over there and pay the 9900G (which you should have) to get it, then bring it back to the king. If you talk to the king with the Jerky in your inventory, the King will actually get mad and bring up his high cholesterol before taking this as a last straw of sorts. You'll then be kicked back to the world map, and while you can re-enter the castle, you won't be able to talk to the king or even enter his bedroom again, and the guards near his door will tell you that he is now bedridden from the stress. Interestingly enough, you won't be able to see his sprite anymore, and you won't even be able to see the bed!
And that's pretty much it for this part! As mentioned before, this is all optional, so you can go through the whole game without having to do any of this. If you do all of this, you'll get some background story for one of the side quests...
The Hyper Spinning Robo can cast Shield Beta to protect itself and other enemies from physical attacks. It can also disrupt a party member's senses and cause them to be unable to use PSI (effectively Silencing them) and can also fire a beam.
Luxury Jerky recovers the most HP out of all the Jerkys, and recovers around 300 HP.
Ness learns Flash Theta at Level 61. Paula learns Thunder Theta at Level 57. Poo learns Thunder Omega at Level 55.
The Rabbit's Foot only increases defense by three, but it increases Speed by 40 and protects from Paralysis. It is the best of the four Charm items in the game.
The seventh "Your Sanctuary" location is blocked by the Electro Specter. It begins the battle with Shield Beta cast on itself. It can use an electrical shock attack, which is basically the same as Thunder Beta and does a fair amount of damage to two random party members. It can also use a Hungry HP-sucker, a Neutralizer and a Shield Killer. Use a Neutralizer to get rid of the shield, then plug away with powerful attacks including Multi Bottle Rockets and Freeze attacks.
Once you beat the Electro Specter, you'll find Lumine Hall, the seventh "Your Sanctuary" location. The wall will write Ness' inter thoughts on it - supposedly - then you'll get another part of the melody before you can leave. The hole to the left leads to the Lost Underworld.
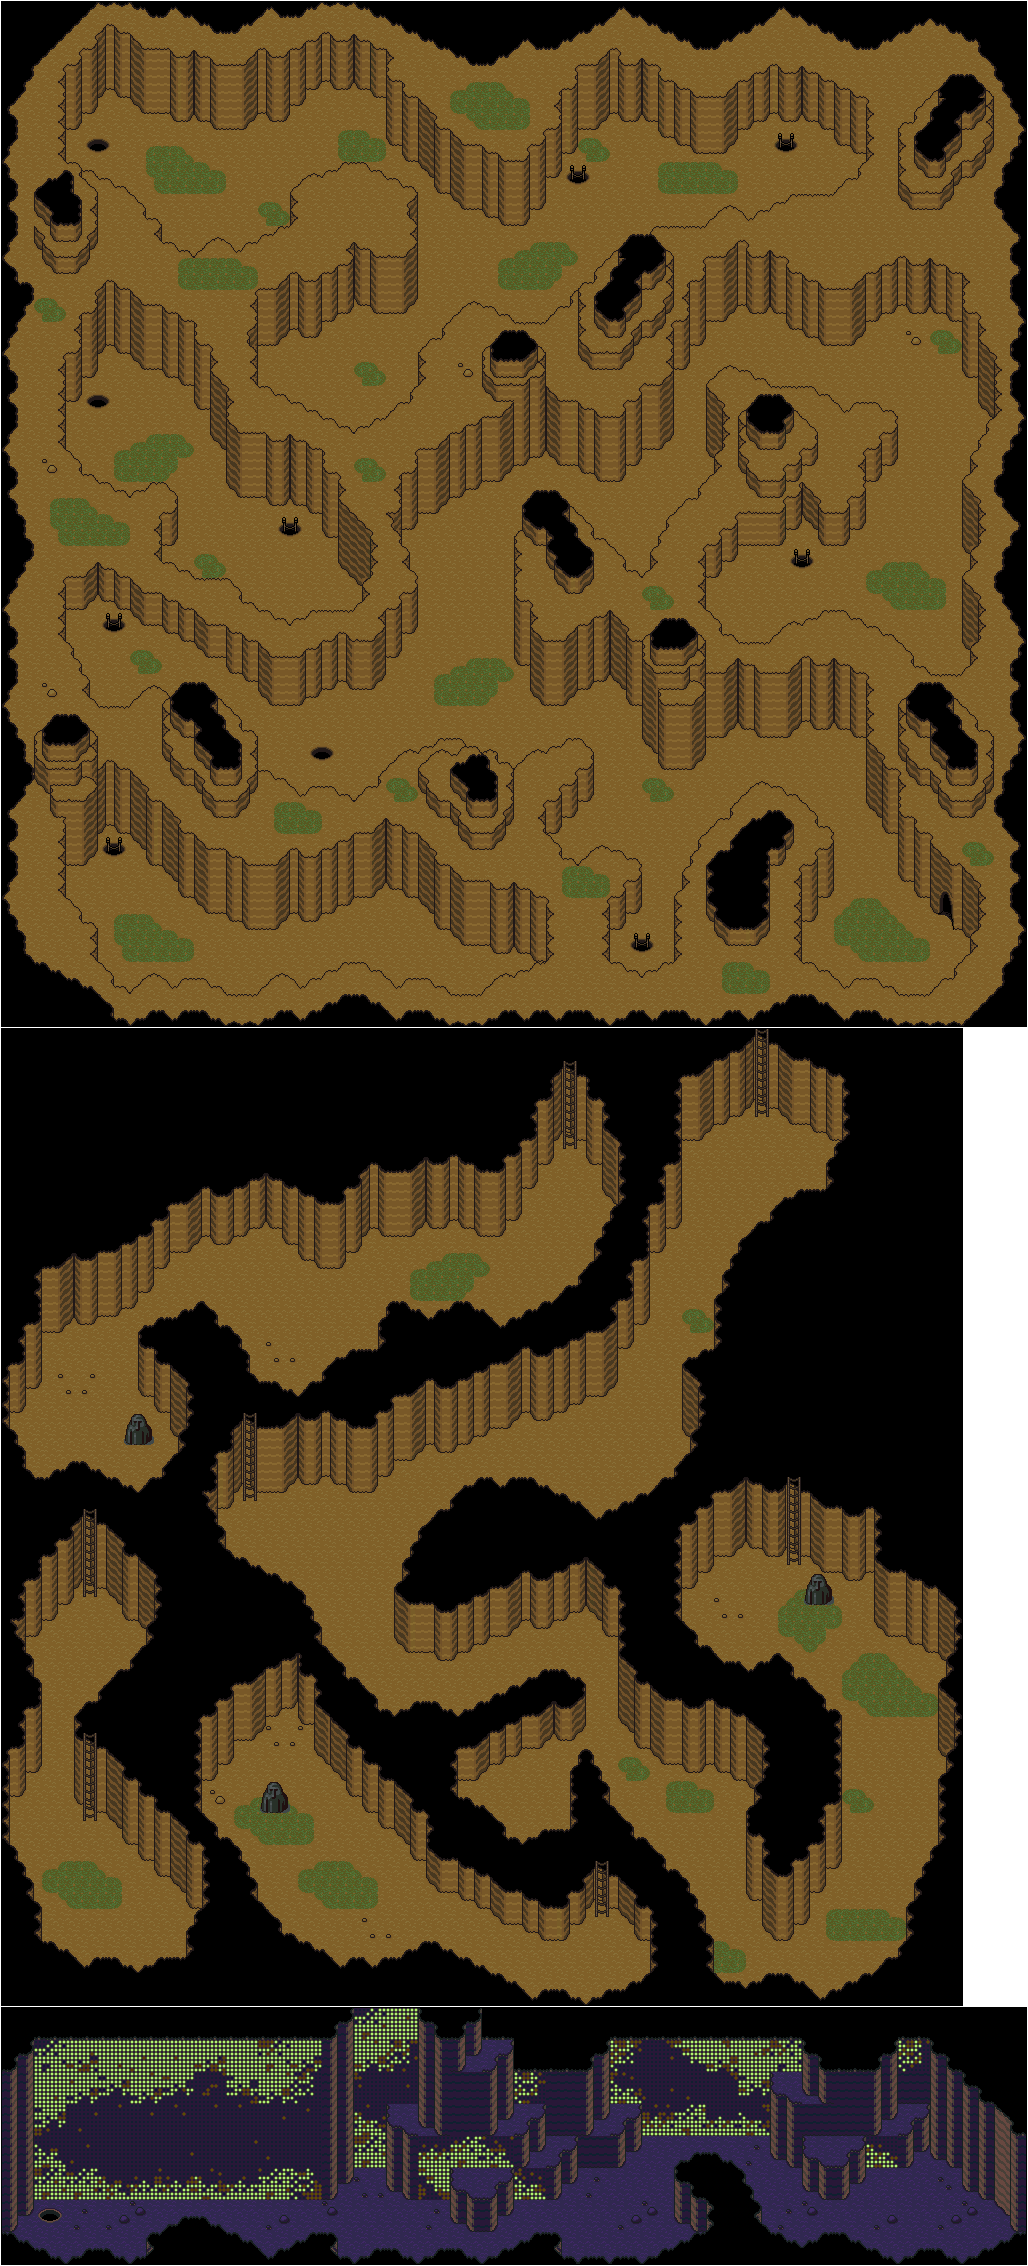
You'll land in the southeast corner of the Lost Underworld. If you stop on a geyser and then use it, you'll be able to heal yourself. The screen will shake every so often, and when it does, the geysers will eventually come out.
The Wetnosaur can stomp, swing its tail and bite to damage a party member (the stomp does low damage, while the others do high), and the loud rumble will solidify a party member. It is weak to fire.
The Chomposaur will have Shield Beta working when you fight it. It can cast Fire Alpha, Beta and Gamma, which can damage all party members with each one more devastating than the least. It can also stomp and swing its tail. It also has a chance of dropping a Magic Fry Pan, which Paula can equip. It does less damage than the French Fry Pan, and while it increases Guts by 100, allowing for some wicked critical hists, it also misses 25% of the time.
The things that look lie white cubes are presents that you can open to get treasures.
As you follow the path, you'll find a small fenced-in area. Here, you'll find two Tendas. They will tell you about the geysers. You'll also be able to save your game in this small area.
In the Extended Play portion, you'll be in the "DVD extras portion" of the movie. Some of the locations will no longer be available, but you can go to places and do things.
Head to Venice and talk to the informant. This will allow you to pull the mustache off Strong Sad's face.
Head to the Office. Click on the chair, and you'll enter a dream sequence where the office is rendered in 3D. Click on the phone to take it off the hook, then click on the door leading out of the office to end up back in the real office. From here, click on the painting of Strong Bad to get the Tux Shirt.
If you click on the white painting, you'll get a blooper where Strong Bad speaks like Homestar. Do it a second time for some slightly different dialogue, and do it a third time for more dialogue.
Head to Brainblow City and head in one direction until you find the cool car. Click on the cool car for a Billy Dee Williams reference.
Head to the Space Station. If you click on Uzi Bazooka's dead body, you'll get an outtake where Homestar sounds like Strong Bad. Also, click on Renaldo to free him and get another outtake.
If you go left and click on Craig, you'll get another outtake.
Head to the Secret Lab. If you click on the rocket, you'll get an outtake. If you click on Dr. Experimento, you'll get another outtake. Talk to him again for a second outtake, and a third time for a third outtake.
When you do everything in Episode Four, you'll get the vertical blind shades. See you in Episode Five!
CELEBRITY NAME DROPS:
- Sam and Max: Use the phone in Dangeresque's office.
- The Lorax: Look at the Stickanee Tree before taking the flower.
- Tri-Lambda: Use the Evil option while talking to Baron Darin Diamonocle.
- Burt Bacharach: Talk to Perducci at the Old Club.
- The Mandrell Sisters: Give the Ruby to Professor Experimento.
NEW! Billy Dee Williams: Look at Dangecaresque in Extended Play.
CHARACTERS NUNCHUCKED:
- Renaldo: Do this in Dangeresque's office after you answer the door at the beginning.
- Dangeresque, Too?: Do this in Dangeresque's office after you answer the door at the beginning.
- Cutesy Buttons: Do this in Dangeresque's office after letting her in.
- Professor Experimento: Do this in Professor Experimento's lab when you first head here.
- Baron Darin Diamonocle: Do this when you unlock Brainblow Prison and go there for the first time.
- Killingyouguy: Do this when you enter the Old Club for the first time.
- Perducci: Do this when you enter the Old Club for the first time.
- Dadgeresque: Do this when you enter Venice for the first time.
- Monster: Do this when you solve the tile puzzle at the start of the Catacombs.
- Kidnapping Victim: Do this after you defeat the monster in the Catacombs.
- Informant: Do this when you get to Venice after finding out Perducci has the launch codes disk.
- Sultry Buttons: Do this when you place the Stickanee flower on the podium in Paris, leave and come back.
- Uzi Bazooka: Do this when you have to fight the robot Uzi Bazooka.
- Craig: Do this after defeating Uzi Bazooka.
SPACE CIRCUS MANUAL PAGES:
- Performers Page: Click on one of the flaps on the ruby powered rocket at the lab.
- Cover: Check the center hole after extracting the full heart in the Catacombs.
- Secret Weapon Page: Use the Dangeresque and Sultry Buttons photo on the computer at the lab.
- Space Map Page: Use the large knife on the bushes at Strongborneo.
DANGERESQUE 3 MERCHANDISE:
- Renaldo Sheets: Use the Nunchuck Gun on the rightmost Brainblow limits sign.
- Renald-O's: Use the Formula on the Stickanee tree.
- Dangeresque Figurine: Use the rock on the bottles in the Old Club.
- Killingyouguy Lunch Box: Use the Branch on the river at Stone Bridge.
OUT & SPIT TAKES:
- Use the safety scissors on Cutesy buttons before distracting her.
- At Cutesy Button's place, walk towards her until she calls you "Strong Bad."
- Check the pedestal and ask Informant about the pedestal in Ireland.
NEW! Examine the left Painting in the Office once in Extended Play.
NEW! Examine the left Painting in the Office twice in Extended Play.
NEW! Examine the left Painting in the Office three times in Extended Play.
NEW! Examine Uzi Bazooka's dead body in Extended Play.
NEW! Talk to Renaldo in Space in Extended Play.
NEW! Talk to Craig in Extended Play.
NEW! Examine the rocket at the Lab in Extended Play.
NEW! Talk to Professor Experimento once in Extended Play.
NEW! Talk to Professor Experimento twice in Extended Play.
NEW! Talk to Professor Experimento three times in Extended Play.
OUTFITS:
- Monocle: In the tuft of grass next to Brainblow State Prison.
- Fedora: Hanging on the wall of the Old Club.
- Top Hat: Use the rock, then the nunchuck gun, on the Whale.
- Boots: In one of the fallen boxes in the Catacombs.
- Briefs: Use the nunchuck gun on the hanging tube above the dryer in the space station.
NEW! Mustache: Pull it off Strong Sad's face in Venice in Extended Play.
NEW! Tux Shirt: Use the chair in the Office, then use the Phone, then go out the door and check the painting in Extended Play.
In this and the next video, I go for all of the maps in the game for the "Navigate Like Drake" Trophy. To get this trophy, you have to take a look at every single map in the game. You need not look around on the map with the analog sticks; you merely have to press Select to pull up the map in the first place. That's it.
I mention the Bar Dynamite map in Episode 2 here despite inadvertently skipping over it; I get it at the end of the next video.
I also get the "Hassan Would Be Proud" Trophy in this video; it appears all I needed was the Swiss Cheese from the rat guards. I also get "Sparrow Approves," which you can get from pressing L3 to activate the compass 500 times during jobs, whether the jobs are completed or not.
If you need a list for all the maps, you can find one here. You can also find all of the pickpocketing treasures here.
Prologue
Area: Museum Rooftops
Job: I Smell A Rat
Note: This is the Sly Cooper section of the job.
Area: Sewers
Job: I Smell A Rat
Note: This is the Bentley section of the job.
Area: Streets
Job: I Smell A Rat
Note: This is the Murray section of the job, as well as a swell place to get the treasures from the rat guards.
Episode 1
Area: Hideout
Job: any
Note: This one is universal for all the episodes, but I'll add it for each episode, anyway.
Area: Hub Area
Job: any
Note: This one is universal for all the episodes, but I'll add it for each episode, anyway.
Area: Imperial Prison
Job: Breakout!
Area: Sashimi Caverns
Job: Something's Fishy
Area: Madame Geisha House
Job: Pretty in Pinker
Area: Emperor's Palace
Job: Altitude Sickness
Note: This is the area you have to explore before you get to El Jefe.
Area: Face To Face
Job: Altitude Sickness
Note: This is the boss area where you fight El Jefe.
Episode 2
Area: Hideout
Job: any
Note: This one is universal for all the episodes, but I'll add it for each episode, anyway.
Area: Hub Area
Job: any
Note: This one is universal for all the episodes, but I'll add it for each episode, anyway.
Area: Saddle Sore Correctional Facility
Job: Jailhouse Blues
Note: This is the area where you control Sly in the Jailbird Costume.
Area: Budd Stag Caverns
Job: Cooper For Hire
Area: Bay Dynamite
Job: Saloon Bug
Note: I missed this one accidentally. It gets covered at the end of the next video.
Area: Cackling Jackalope Canyon
Job: Blind Date
Area: Golddigger Express
Job: Operation: Gold Digger
Episode 3
Area: Hideout
Job: any
Note: This one is universal for all the episodes, but I'll add it for each episode, anyway.
Area: Hub Area
Job: any
Note: This one is universal for all the episodes, but I'll add it for each episode, anyway.
Area: Lair of the Bear
Job: Unexpected Ties
Area: The Murray Games
Job: Getting Stronger
Area: Frostbite Peak
Job: Going Up
Area: Purple Paw Paint Factory
Job: Operation: Jurassic Thievery
Area: Purple Paw Paint Factory
Job: Operation: Jurassic Theivery
Note: This is a separate map for the boss fight against The Grizz.
Achievements:
Hassan Would Be Proud: Get all eighteen pocket treasures in the game. There are three in each episode, and there are an additional three held by Cyril de Paradox's rat guards who are scattered throughout the game. Here are all the treasures:
Rat Guards (scattered throughout the game): Swiss Cheese, Gas Grenade, Tomato Juice
Black Flan (BlckFlan) are Magic Beast-type enemies and are weak to Fire. They are strong against Ice and Thunder, and they can absorb Poison. They can also Envenom you with their physical attacks.
Malboros are Rank 5, are weak to Thunder and are considered a Water-type enemy. They can Paralyze you, but that's the worst they can do, unlike in other games.
You'll meet up with the Bombs on the way to the Mysidia Cave. They explode and damage you if you don't kill them as quickly as possible. Much like every variety of the Mine enemy, they are considered Magic Beast-type and are weak to Fire and Thunder.
You'll also meet the Cocatrices (Coctrice) on the way there, too. They are Rank 5 Magic Beast-type enemies with no elemental weaknesses. Yes, they can Petrify you with their physical attacks. Thankfully, they're not as bad, as you can evade their attacks if they try to Stone you.
The Black Garb (BlckGarb) increases your Agility by 10 points and has no equipment weight, and it protects you against Matter-elemental spells like Break and various Petrify spells.
In the middle of the maze, you'll meet a clone of yourself. Talk to it and use the Black Mask on it to make it disappear. Make sure you've put the White Mask on the statue, or you won't be able to get past him or put the Black Mask on him.
The Power Staff is a really powerful staff. You can buy one in Mysidia, but you can get one for free here if you need to.
There's a fake wall that makes it possible to get the Flame Spear.
The battery has been by Arpeggio. As a boy, Arpeggio was an exceptional student, but could not keep up with the other boys physically, and he could not fly. He focused on finding a cure through the works of the Renaissance masters, and this led to the Klaww Gang hiring him as chief inventor. Now Arpeggio has all the Clockwerk Parts in another effort to become able to fly, and all he has to do is put them together...
The enemies seem to be a little smarter than in the other episodes and can seemingly see you from a good distance away, though maybe it's just me. The jetpacks on the enemies can be dangerous; if they're in the air, don't touch the flames that come from the jetpacks, as they will burn you.
The level design here is pretty symmetrical, and I ended up not having much of a problem remembering where the clue bottles were. I managed to luck out on where Bottle 29 was as it was the hardest to remember.
The Feral Pounce is a super jump for Sly Cooper, which lets him jump over vast distances when the assigned button is pressed. I use this to get Bottle 9.
Beruga's lair is to the south, but we're not heading there just yet. Instead, we're heading to a cave to the northeast in the snow. In the cave will be the BlockRod, which changes strength into defense.
From the cave, head back to Mosque and go south to Dr. Beruga's lab.
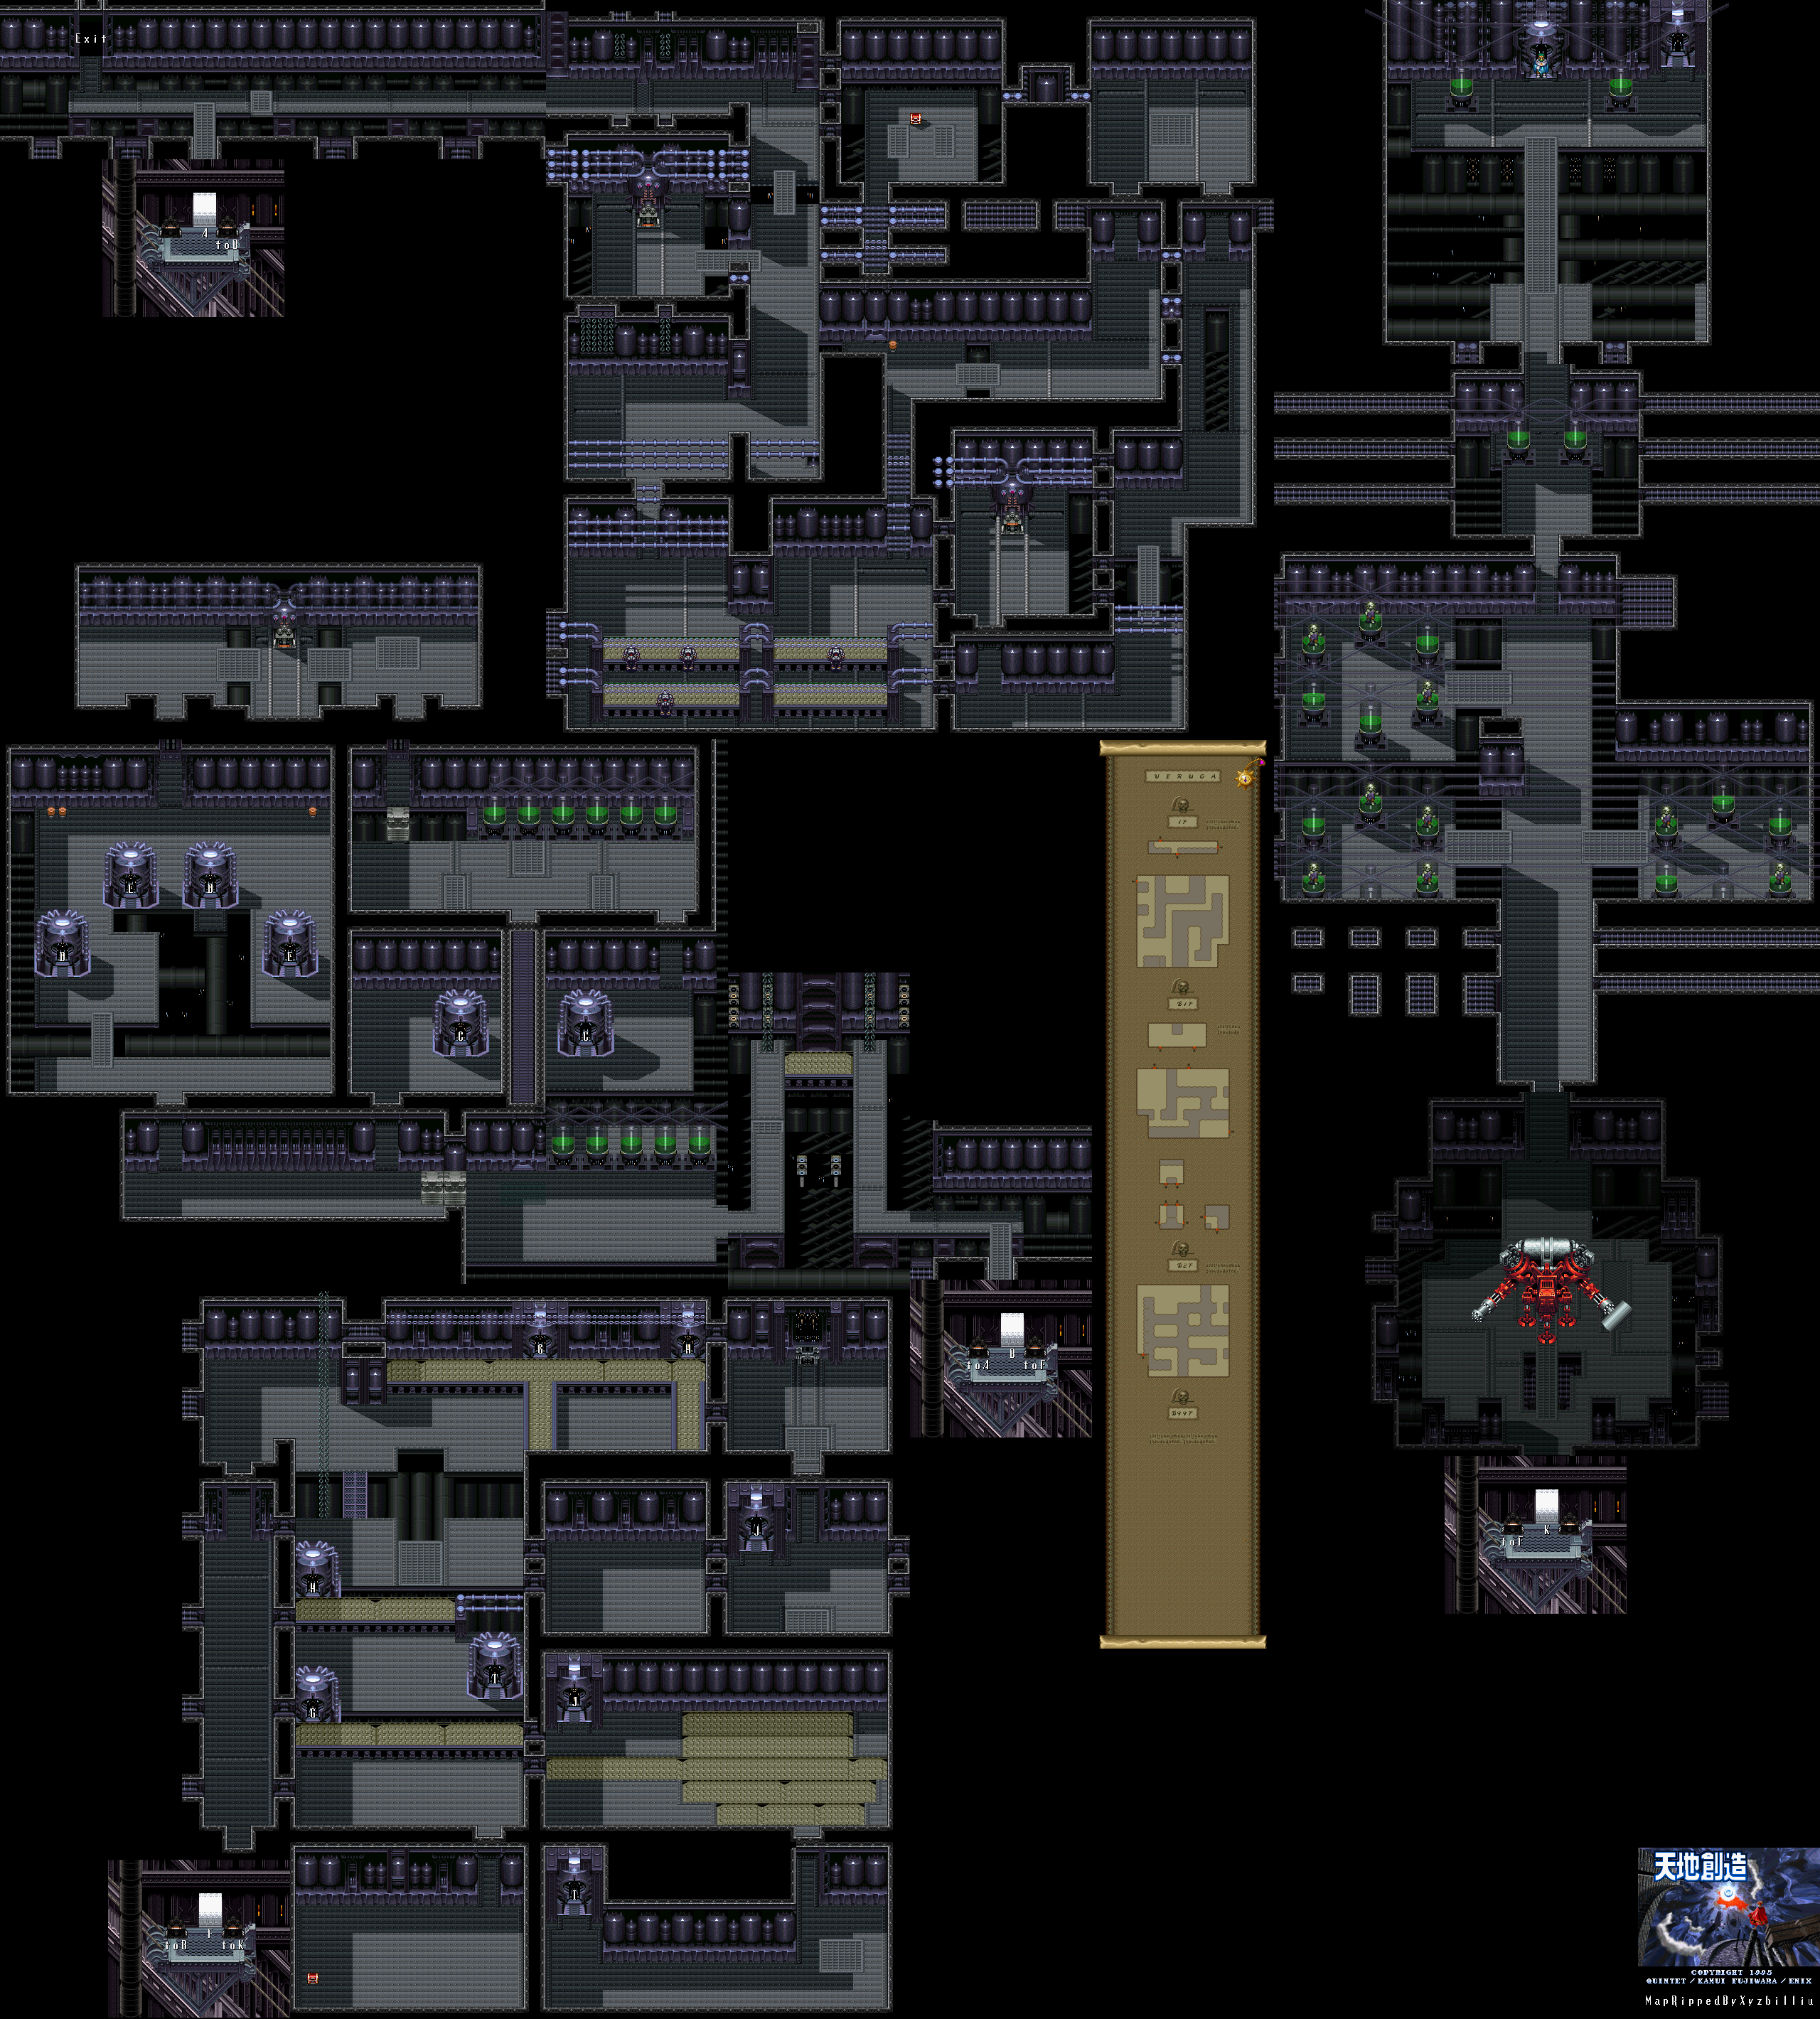
From the start, head to the east. On the next screen, keep going east until you can't anymore, then go south until you see a path to the west. Go there, and flip the switch to turn the lights on. From there, go back to the east and follow the path that you see. Climb underneath the pipes leading north from the machines, then pick up the brown cork-like thing, toss it away, and go into the crawl space it was blocking. This leads to a chest containing the SoulArmr, which you will definitely want to equip as it increases your maximum HP by 40.
Go back through the crawlspace and head east. You'll eventually fight some robots, but if you have the 3 Part Rod equipped, you can take them all out with a dashing attack...just be sure not to let them do one of their own. They will stand there stunned and eventually explode before they die. If you have the Geostaff equipped, you can do a little bit damage to the robots than you can can with the 3 Part Rod.
At the end of the path is another switch. Press it, then head back to the machines. You'll see some chains moving as you make your way back. If you go back to the conveyor belts, you'll see robots working on them.
Go all the way back to the start. Enter the path to the south nearest the entrance. This leads to an elevator. Press the switch to the right and you'll make your way down to the next level.
The next few screens are pretty self-explanatory. You'll eventually come across some tubes with some sort of green liquid in them. To the west of all of them is a crawl space. Go through it, and you'll find another switch. Use your dashing attack to take down the jetpack guys (don't let them shoot you, it hurts), then go to the east, take the doorway to the south and enter the teleporter.
At the other end, go south. Take out the jetpack guys. The blocks here can be pushed out of the way so you won't have to use the teleporter again, if necessary. From there, head west, then north. There are some teleporters. Don't take them, they all lead to dead ends.
Destroy the jetpack guys and head north. There are more jetpack guys. Destroy them all, then press the switch and enter the door at the other end. Push the block out of the way, then destroy the jetpack guys. You're now where you were before you used that first teleporter. Go back through the crawlspace that led you here, then head back to the elevator. You can now go down another level.
At the next level, you'll see giant cubes moving back and forth. The dashing attack does the most damage.
When you enter the bottom level, jump onto the conveyor belt and take the left teleporter. To the south is a treasure chest that contains a DEF Potion. Go back to the teleporter and take the other one. There is one just southeast of the one you came out of; take it.
Follow the path and you'll come across multiple conveyor belts, and take the teleporter at the end. Go north and you'll come across a computer. You won't be able to do anything on it, and Yomi will show up to tell you that the password is in place to shield the data, and will tell you to input "BLOODY MARY." Use the computer again, and Ark will put the password in. This will disengage the elevators and cold sleep device, which basically wakes up Dr. Beruga. After putting in the password, however, Ark will wonder why Yomi would know the password in the first place.
You'll connect to the database, and you have access to two section: Past History and Lab. In Past History, you can learn about the dawn of humankind, cold sleep and Earth's last day. The last one is pretty important, as you'll learn how the world pretty much died: a deadly airborne virus known as Asmodeus struck and decimated the human race. Some were saved by Dr. Beruga's work, but the survivors starved to death.
In the Lab section, you can learn about the lab's objective, vaccines and the facilities. You'll learn that the lab is around for research and development of groundbreaking technology, and robots are exclusively used due to the work being highly hazardous. You'll learn that a vaccine for Asmodeus was created in the lab to stop the plague, and was mostly successful. However, it was only available to a select few.
As for the facilities, you'll learn that the first floor is the robot assembly plant and the basement floors are the bio-lab. There are other basement floors, but they are under construction.
From the computer, jump back into the teleporter to enter it, then head back to the elevator. Take it down, and you'll go all the way to the 99th basement floor. You'll then take on a giant security mech with a chaingun and a hammer.
Take out the boss's three feet first. When the boss jumps into the air, keep running. When it lands, you'll be able to avoid the missiles. From there, you want to stay in front of the center of the robot, and use your dashing attack to destroy all three of the robot's feet. Staying to the left will subject you to a whiplash attack, and staying on the right will subject you to shock waves that travel diagonally. You'll be dealing with these attacks every so often, so stay close to the center of the robot and be ready to make your move when you can.
When you beat the boss, you'll finally enter the 99th basement floor. If you look around before you go north, you'll find some tubes with green liquids containing people who look much like the zombies in Louran. Something sinister is afoot.
When you go north to the final room, you'll see Dr. Beruga come out of cold storage. Beruga thanks you for waking him up, and said he went into cold sleep when the world died and waited until then asks you to follow him. You'll see the tubes with the zombies in them, and Beruga will tell you he created them.
This is what he means by ending death. He's literally creating a zombie world.
Walk toward the zombie Beruga is looking at. Ark will notice that the zombie is sad, and asks if this is really a good idea as the world would fill up immediately if people didn't die. Beruga will say he's taken this into account and declares that only the unnecessary shall die only the necessary shall live.
Approach Beurga. Beruga will summon some orbs and fry Ark. Beruga mentions the Three Laws of Robotics, but says the robots here have one more law governing them: anyone deemed a threat to Beruga must be immediately terminated.
Beruga then says his liege shall soon re-emerge from the underworld, as his liege is the world and knows all its truths. He then decides to witness the world on the verge of "great progress."
In Neotokio, a yellow fog encompasses the city. Everyone flashes weird colors, then disappears. This is Asmodeus wiping out everyone in the town.
You then go to a black screen with Ark. The Elder tells Ark that he has done well to groom the world, and that Beruga will make the world fantastic. He tells Ark his duty is finished and that he shall rest eternally. The liege is the Elder of Crysta. We've been played the fool all along. Ark wonders what he fought for all this time, and wonders if he was really shaping a world like Beruga wanted, and doesn't want to die without knowing.
A voice comes from out of nowhere and says that Ark will not die here, and explains that Ark exists outside the loop of fate, allowing him to change destiny. The voice teleports Ark to its source.
You'll wake up in Lhasa. Meihou will be nearby, and tell you he arrived just as Lord Kumari brought you back. He tells you the star of darkness hsa re-emerged and erased a city from the world without effort. He tells you to ask Lord Kumari to show you the way before the "dark star" consumes the rest of the world.
Head to Lord Kumari's chamber. He'll tell you what Beruga has done, says that Beruga has disrupted the loop of fate by ending death, tells you an old saying: "Starstones laid at the grave at time's end calls the golden child." Meihou journeyed around the world trying to figure out what this meant, but only got fleeting glimpses of the truth: human fate is a fixed loop, and what one seeks is not always found. Kumari then tells Ark is different as he exists outside the loop of fate. He tells you to seek out the Starstones and place them at the grave at time's end in order to realign the disrupted loop of fate.
Equip Edge with the Rune Ring, as it will be better than the Power Wrist defense-wise and boost his Wisdom and Will, which will positively affect his ninjitsu as it protects against Silence. You can also equip Yang's claws on Edge to boost his attack as well as give his physical attacks elemental properties.
There is a secret passage to the west of where you find Edge that will take you to a chest with a Dry Ether.
The path north of where you found Edge takes you to the upper section of the Tower of Bab-il.
Edge will be able to pass through the wall to the west when you go as far north as you can at the beginning. This will allow you to access the rest of the path.
The Remedy Bombs can drop the Bomb summon. They will explode and deal a lot of damage if you do not kill them as quickly as possible.
The Ice Warrior will counter with Bio if you use a physical attack and Reflect if you use a magical attack. If you cast Piggy on them, however, they won't be able to cast either spell The Sorcerer will summon enemies such as Mad Ogres and Yellow Dragons if you don't kill him fast enough, so kill him first. The Sorcerers are also high in experience for this point in the game, and you can use Rosa's Mini spell to make their attacks less effective.
The chest in the center of the second floor contains four Mad Ogres. Take out the one in the front row, then cast Mini on the rest. Winning this battle gives you the Ogre Killer, an ax that is slightly more powerful and will deal more damage to Ogre-type enemies. Equip it on Cecil.
The Lilith's Kiss charms an enemy with a Confuse spell.
The Ashura Blade is for Edge, and is stronger than the Kunai that he currently has.
Be sure to level Edge - and the rest of your party - up a bit before the end of this area, as you'll want to make Edge more powerful and get Rydia to learn Ice 3.
Head back to Loire Castle. The speed eating contest is now being held in the old throne room where King Henri and Princess Elle used to be. Talk to the guy blocking the Magirock, and you'll be told that you have 60 seconds to eat as much as you can. Some dishes are poisoned (or as the game says, they contain bad medicine), so watch out.
Eat the apples in the upper-right corner of the throne room for three easy points. Everything on the tables is worth one point. You have to eat 20 points worth of things in order to win Magirock #54. If Ark goes to sleep, then the food contains "bad medicine" and you'll be stopped for a second or two. You may also get burned as if you ate a fireball or something. Nevertheless, if you eat the apples in the upper-right corner, you'll have an easier time getting the Magirock.
Head to Litz's port. Now that he's taught all the sailors to navigate, they'll be able to head to the new continent tomorrow. Talk to the guy on the ship, and say yes when he asks if you want to go. He'll tell you that this is a test voyage, so civilians can't go, and there's no knowing when the next voyage will happen.
Head to the town of Litz. From there, go to the inn and stay there for the night. If you haven't saved yet, be sure to save your game.
As you sleep, you'll be approached by Fyda, who wakes you up. She'll tell you that Princess Elle is in danger and that someone is out to get her, and she must be taken far away from Europe. Ell will also need an escort as Fyda pursues whoever is going after her. When Fyda asks if you can escort the princess, say "Leave it to me." She'll then ask you to join her in Litz tomorrow morning. After a brief conversation with Yomi, Ark goes back to bed.
When the morning comes, head back to the port. If you talk to the soldiers here, they'll tell you that it's forbidden to use magic and other dangerous items on board. Head to the boat and talk to the man there, then talk to Fyda. From there, get on the boat.
As you head to the new continent, you'll see the World Map for the first time, which looks a lot like the world. You'll then go back to the boat, where Ark talks to Princess Elle. Talk to everyone, then enter the door on the side of the staircase on the right and sleep in the blue bed on the left. If you need an L.Bulb, there's one in a chest in the room to the right of the bed.
You'll be woken up by a scream. You'll then approach a sea spirit that is trying to attack Princess Elle, much like the ones one of the sailors on the ship mentioned. We'll be fighting them next time.
When you return the real Gondola Gizmo, Musashi will automatically rest at the castle. He accidentally oversleeps.
Return to the village, and you'll find out from Mrs. Govern that the village has been set on fire. Equip the Water Scroll and use it to find the eight flames. Thankfully, you don't have a time limit, so take your time in finding all the flames and extinguish them with the Water Scroll until they're completely gone.
When you get rid of all eight flames, you'll talk to Mrs. Govern, and you'll find out Ben and Ed - the same guys who tried to steal the church bell - set the village on fire.
When you catch up with the Vizier, he'll sic Shamir on you again. Jollo will show up and give you the genie's lamp. Use it on Shamir to free him from al-Hazred's control. You'll drop the lamp down the stairs when Abdul draws his sword. Grab the ceremonial sword on the wall and you'll start fighting with Abdul. Since you gave Cassima the dagger, she'll stab him with it. Click on the Vizier with the sword icon and you'll knock him out.
Alexander finally pops the question, and Cassima and Alexander kiss until they're interrupted by the guards. A week later, the wedding occurs. Since you freed the genie from Vizier Abdul al-Hazred's control, he's able to fix the ferry that goes between the islands and bring King Graham, Queen Valanice and Princess Rosella of Daventry to the castle! Also, because you looked at all four stolen treasures, the people of the four other islands will show up. Since you befriended Jollo, he'll be happy rather than concerned when the marriage is official. King Caliphim and Queen Alloria give Cassima away, and Alexander's family recognizes the marriage.
King Caliphim and Queen Alloria placed trust in Abdul al-Hazred as they desperately wanted a son and someone for Cassima to marry, but realized in the end that they were wrong. Even though they are alive once more, they feel they cannot reign again and want Alexander and Cassima to take their place. King Graham, Queen Valanice and Princess Rosella give their blessing, and thanks to Shamir Shamazel's powers, he'll be able to visit Daventry often. You'll also find out your crew from the voyage here at the beginning of the game is alive, too!
Alexander and Cassima are finally married, and a new era begins in the Land of the Green Isles! You've won!
In the beginning was the Void. Then, Light and Dark were made. Everything was born then...Stars, Moon, Water, Fire and Life...
But, Life gave birth to something more. Dividing the Light and Dark, an energy called Hope...
When Light and Dark overlap and all would return to Void, four to divide them shall appear. Never forget that their power is the Hope of the people...
Time washes away all Dreams, Despair, Love. But d not be swept away. Look instead to that place...
To the Light which shines after all else is gone...Hope...
The friends you made on your journey congratulate you, and everyone goes home. As everyone celebrates, the nearby Wind Crystal returns to its rightful place.
Time to watch another ending, then head to another exit...
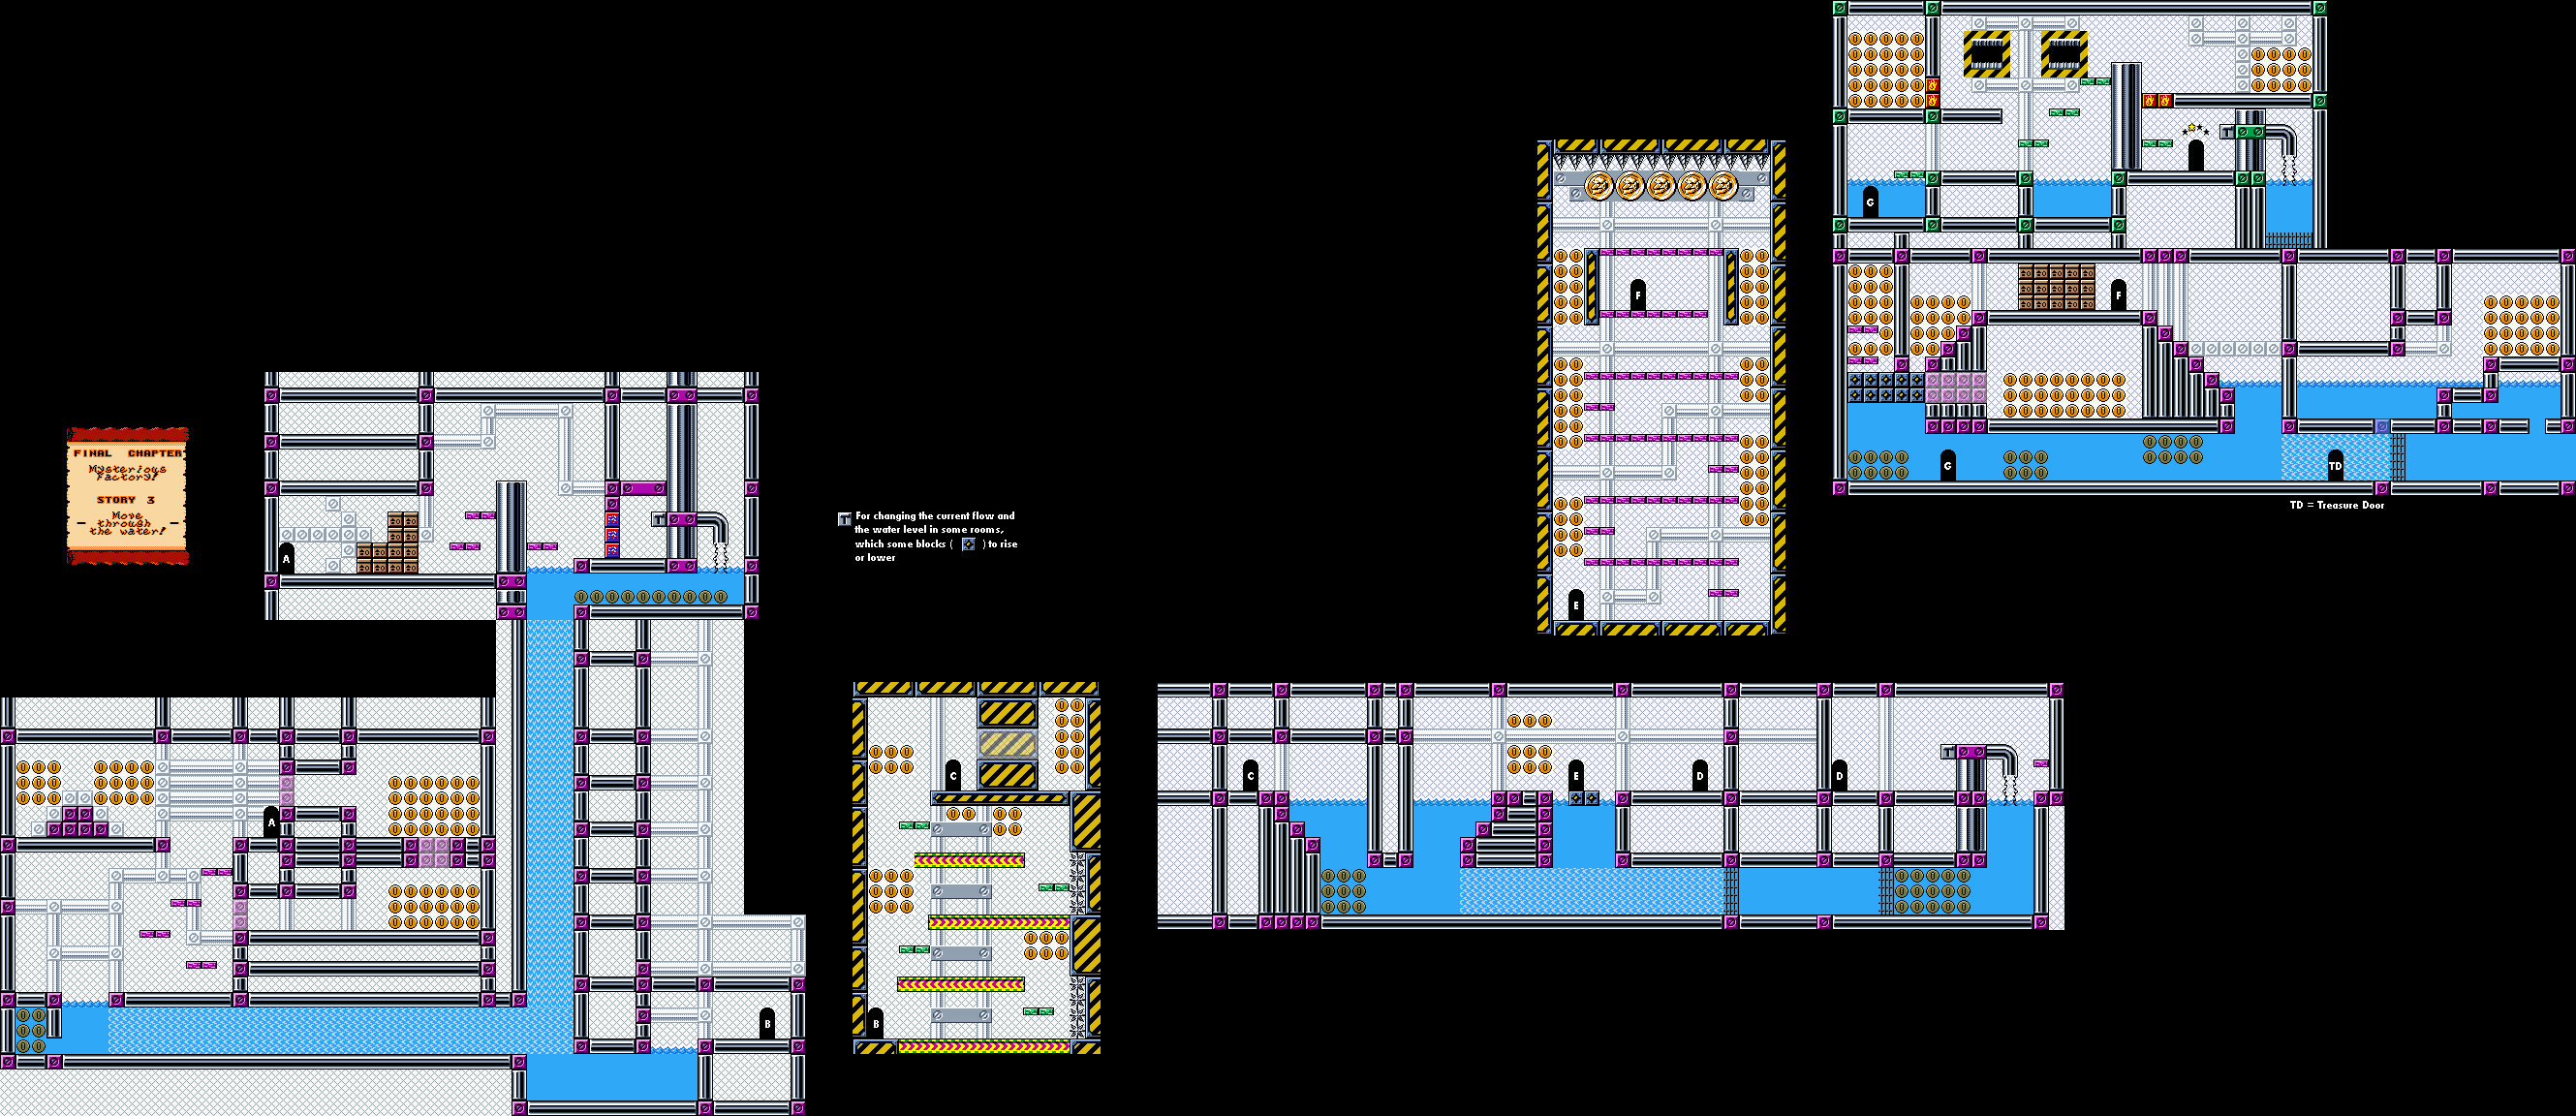
Chapter 4: In Town
Story 4: Escape from the factory!
5:20 - Hit up the first door you see and enter the door in the middle of the next room to flip the switch and reverse the conveyor belts.
6:11 - Once you hit the switch, get out of there and keep heading to the right until you reach the exit door (and hear the exit music). Enter the door next to it, which takes you here. Drop down to where all the destructible boxes and open up the passage underneath the floor with the ground pound. Go left and enter the door there.
7:33 - From there, just get flattened and you can make your way to the alternate exit.
The chest containing the Ribbon also contains an Asteroth. He's not that much harder than any of the other mini-bosses that you've faced here.
You'll eventually find yourself on a floor that goes forever. Just go south until you reach a wall, then keep going left and you'll find the teleporter. That's all there is to it.
In the next room, just go north and you'll meet the Emperor again. Prepare for the final battle!
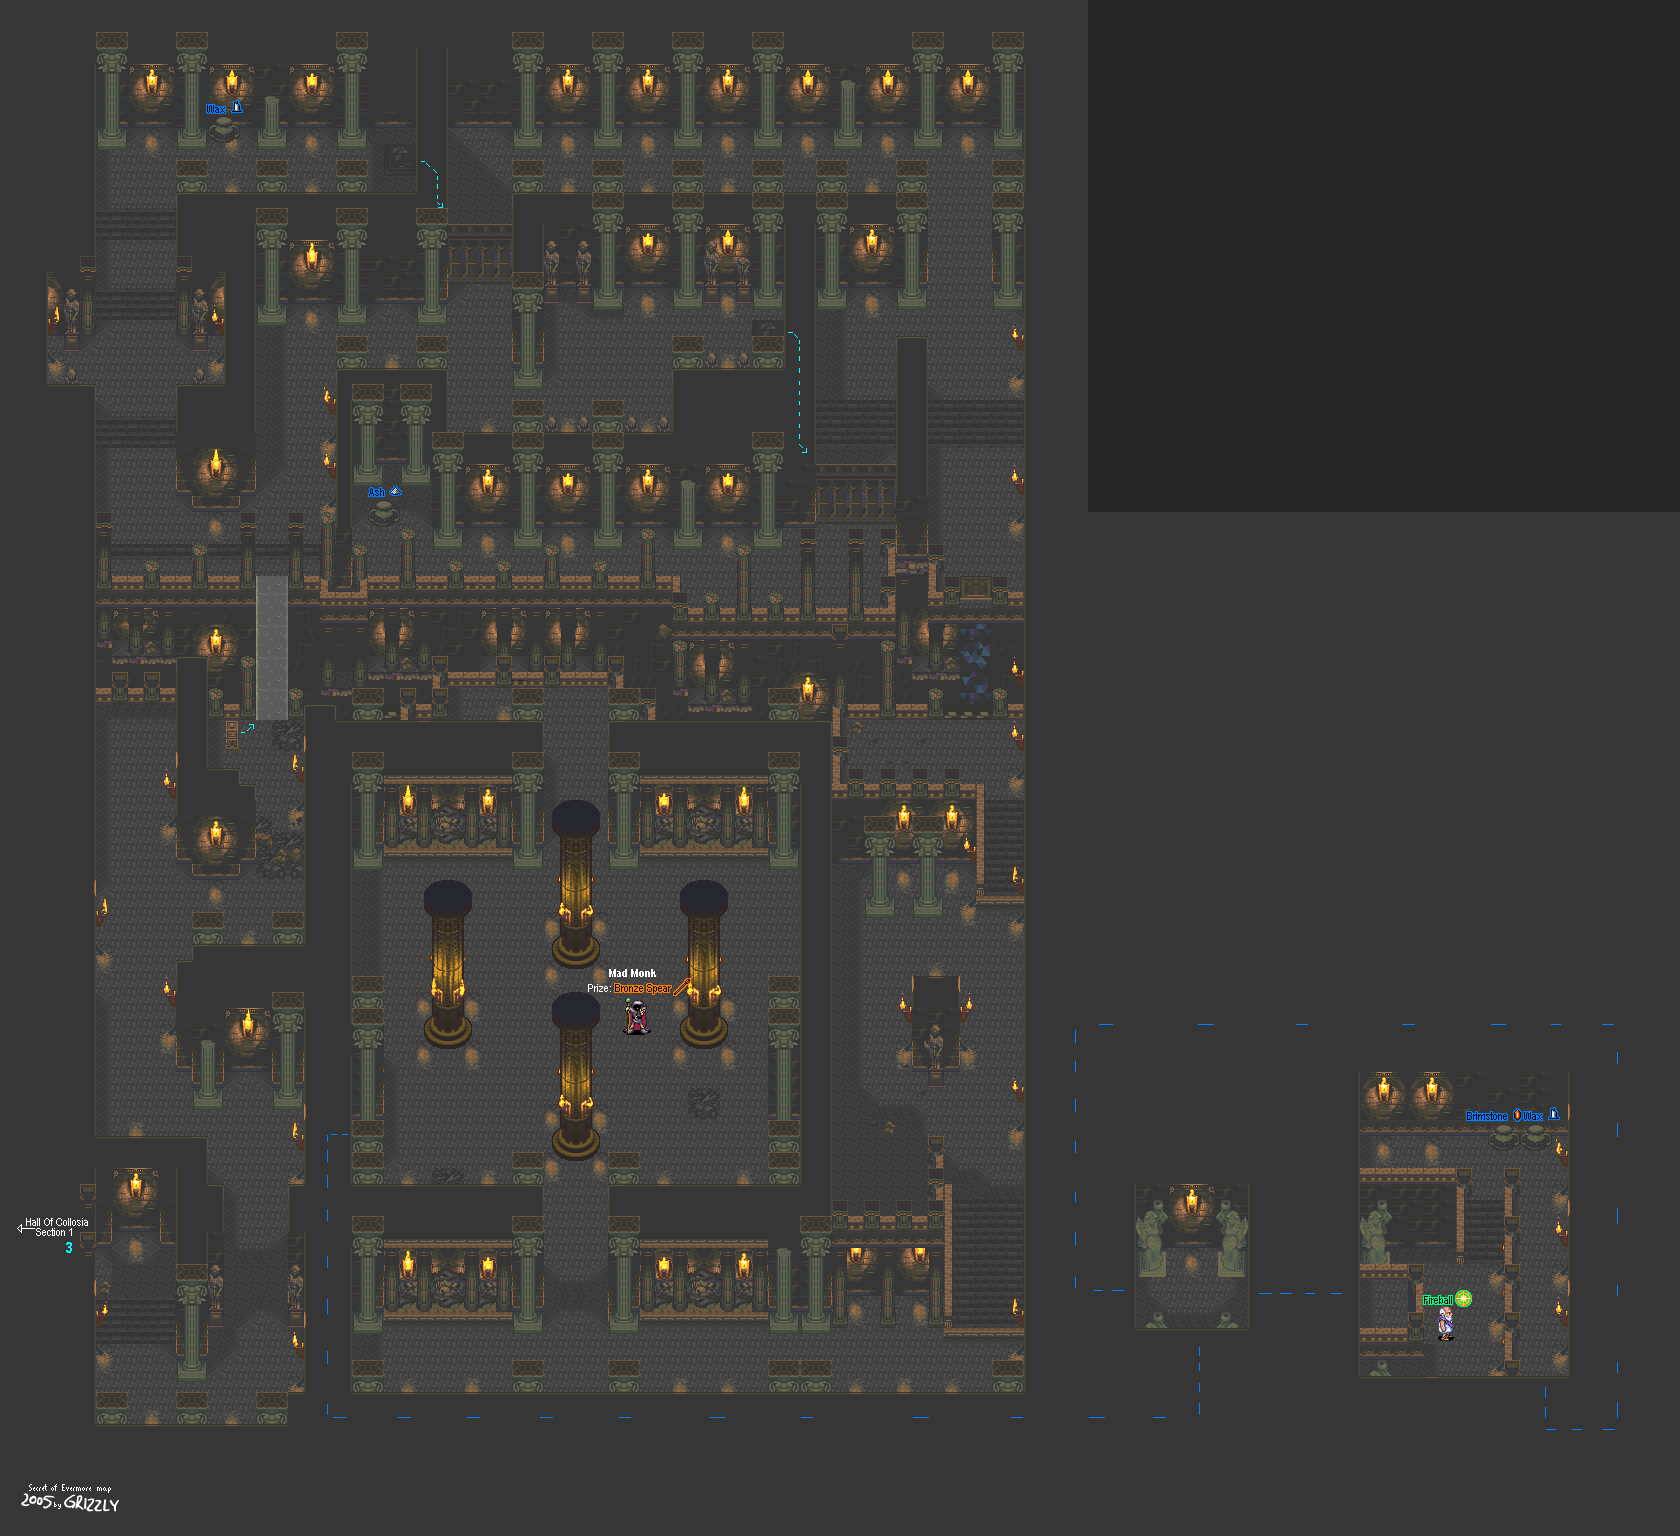
Go back to the Mad Monk room where you found the Bronze Spear and search the lower left walls. From there, feel your way around and you'll eventually find your way to Madronius's brother. He'll commend you for finding him and he'll give you the Fireball spell.
Fireball
1 Brimstone, 2 Ash
Be sure to check the jars there as well. You'll find 4 Brimstone and 5 Wax. Also, he'll let you save your game. Go ahead and do it, now that you have a new spell.
Right Bank Forest
There's really no reason to level up Revealer other than the fact that you can. As a matter of fact, there are some spells where the level is completely irrelevant.
If you need to get to Horace's camp quickly, jump into a pit. Saves you time and alchemy ingredients! Of course, you've probably found this out already if you weren't using this walkthrough.
Horace's Camp
Horace will commend you for finding one of the Diamond Eyes. Now it's on to the Pyramid, where you'll find the other Diamond Eye as well as some more awesome stuff.
Now that you have one of the Diamond Eyes, talk to Madronius again and he'll give you the Escape forumla. This is basically an alchemy version of the Wings.
*watches again and smiles, then goes back and makes the song Intermission 4*
0:37 - Alright, fun time's over. Time to grab the Razor Wind. It comes back to you like a boomerang when you throw it, and it cuts through enemies pretty well.
1:46 - Eexecute gets us hooked on the brothers. Again.


.png)
-Overworld.png)
-MysidiaCave.png)

-PassToBab-il.png)
-TowerOfBab-il-UpperSection.png)
-Pandemonium.png)