We finally go deep into the Swamp Palace!
.png)
.png)
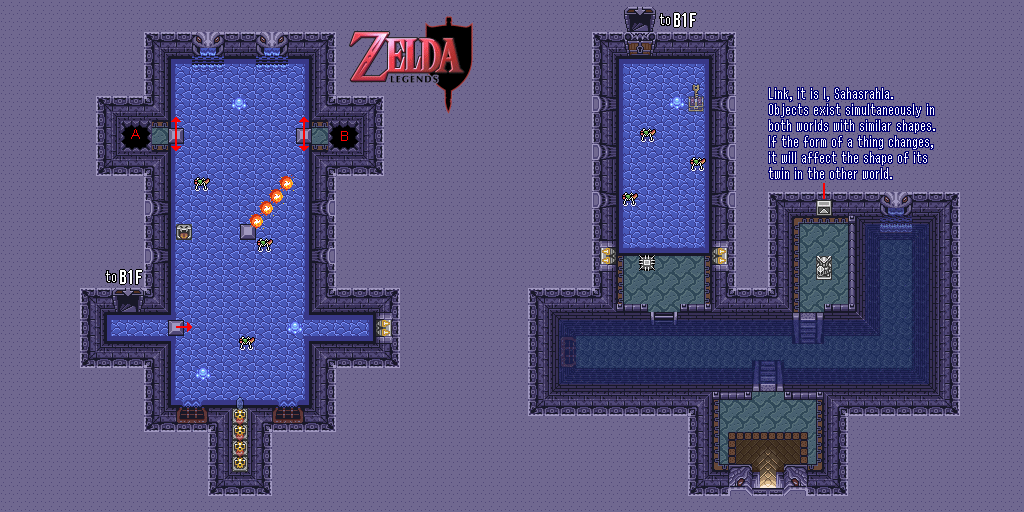
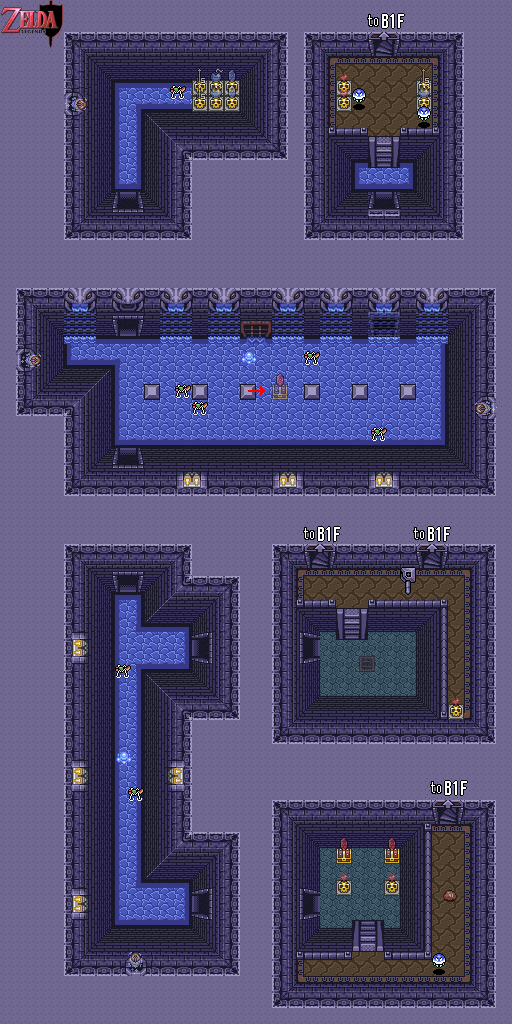
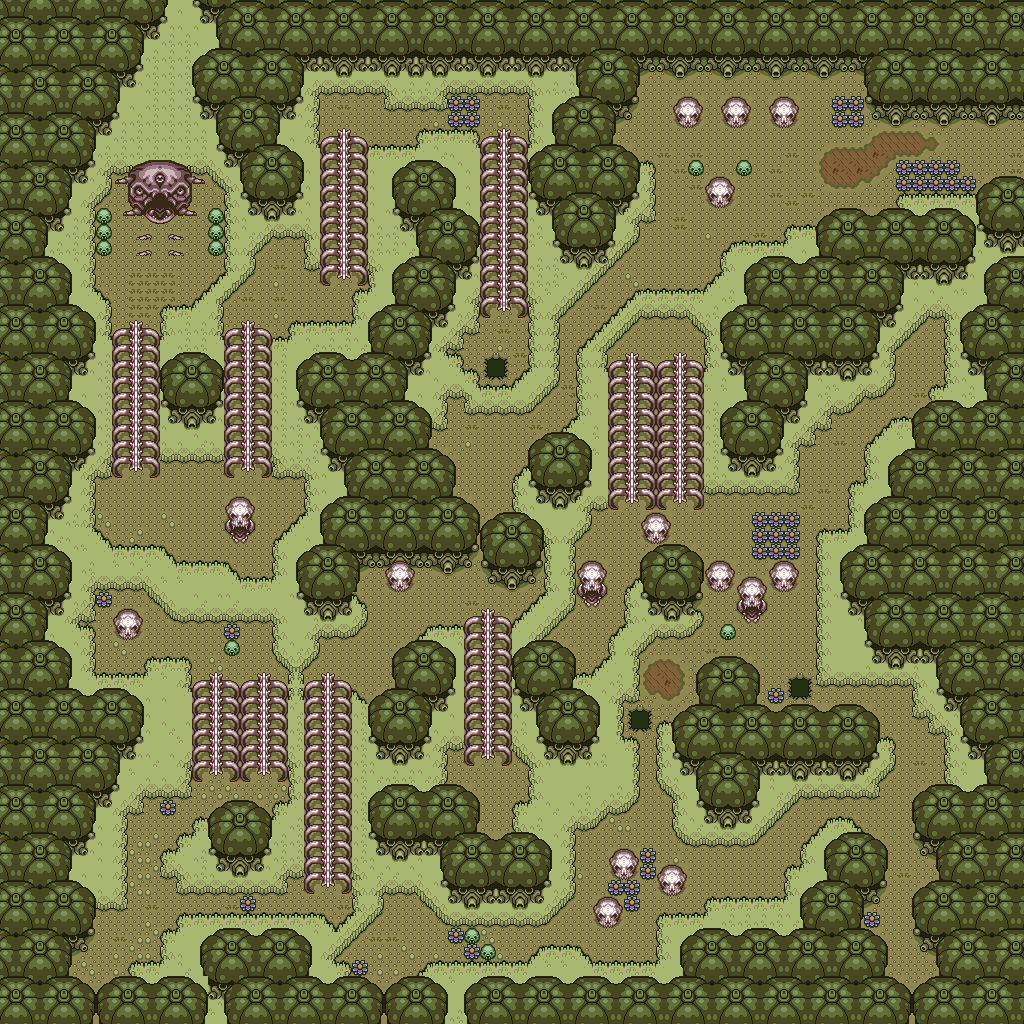
All Swamp Palace maps by Iron Knuckle.
You'll have to swing through the wall in order to hit the color switch behind the locked door and activate the nearby floodgate. Once you trigger the switch, raise the blue blocks up again. You'll need this for one of the pits on the first floor...and real soon, too, otherwise you'll have to go all the way back and do what you should have done before you left the room.
If you have the orange blocks down, then congratulations! You can get the Big Key!
The Big Chest contains the Hookshot, which makes its series debut in this game and has appeared in many Zelda games since. Use it to grapple onto pots, skulls and other things that can acts as hooks from a long distance and scale pits and gaps in a hurry!
One of the rooms has a couple of waterfalls. The waterfall second to the right is a door to another room, but unless you looked at your map, you wouldn't know this.
The boss of this dungeon is a bunch of clouds. Use the Hookshot to drag one of the clouds to you, and destroy it with your sword. When you destroy all the clouds, the flying one-eyed monster that the clouds were hiding will leap up and land on the ground before bouncing off the walls at 45-degree angles. If you have the Level 3 sword, you can defeat the boss with two whirlwind slashes and get the Heart Container and Crystal easily.
The Skull Woods
Well, you're done here, so head back for the woods at the upper-left corner of the World. If you want to get there faster, just use the Magic Mirror and head there with the Ocarina. Go north from Kakariko Village to the woods and use the teleportation tile behind the dark-colored rock. You'll now be near the Skull Woods.
There are multiple entrances to the dungeon here...but which one should we use? Stay tuned!
No comments:
Post a Comment