We take on the Tower of Hera and get the blade of evil's bane!
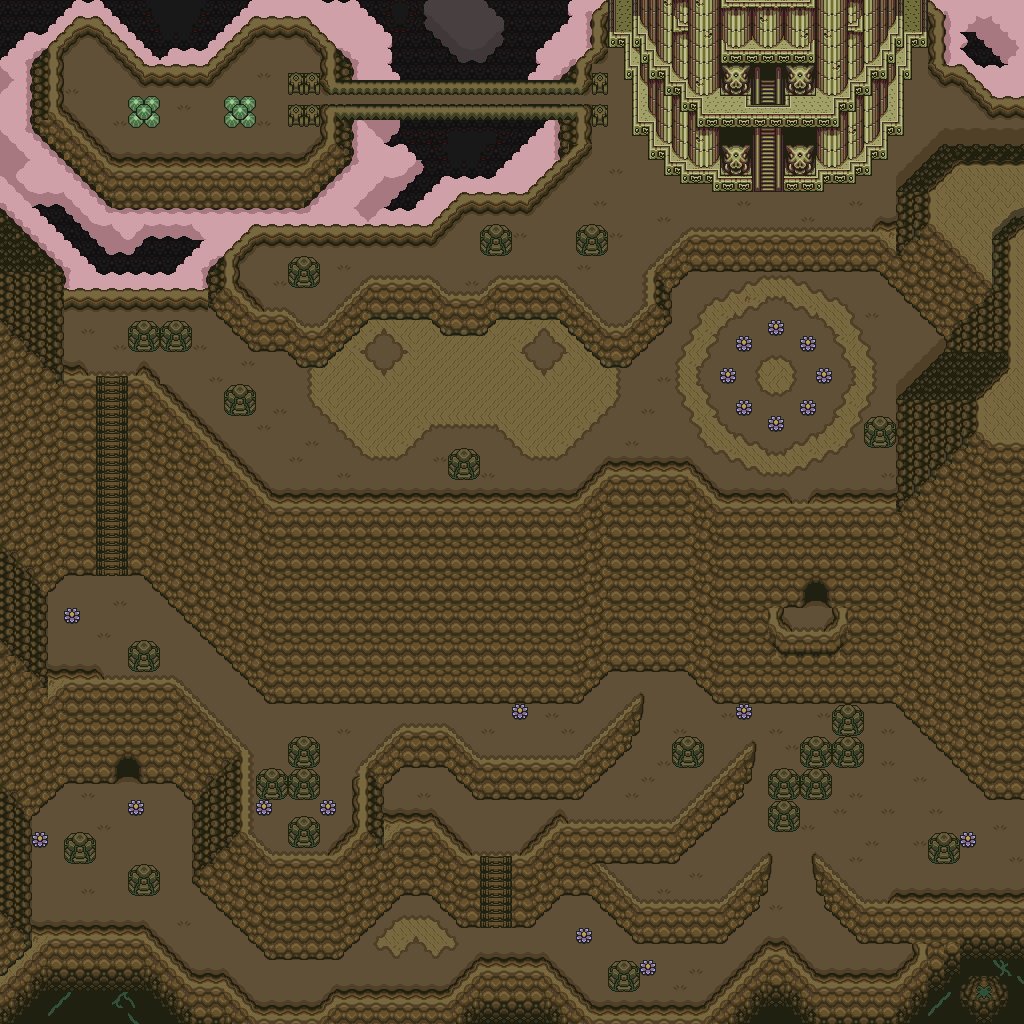
Death Mountain? maps by Alex Foster.
Alright, here's how to get out of here.
Remember where that Heart Piece we couldn't reach was? Well, look at that area again. Notice that the wall is located farther to the north than it was in Hyrule. Apparently, there are differences between Hyrule and well...wherever we are. Walk up to the wall, get the Magic Mirror out of your inventory, and use it.
That whole "screen turning white" thing as well as that awesome sound effect will happen again, and you'll be back in Hyrule...and be yourself again!
Back To Hyrule
.png)
.png)
Death Mountain maps by JonLeung.
You'll now be on top of that rock with the Heart Piece, so go and get it! This is the eleventh Heart Piece. Sheesh, that many already? This early in the game?
Anyway, the sparkle that appears where you stood when you use the Magic Mirror? Walking up to it will take you back to that twisted version of Hyrule, and you don't want to do that right now, obviously. You can also see it on your world map if you ever look at it, giving us the strange feeling that this might prove useful later in the game. It'll be there until you save and quit or turn the game off. Go north, and you'll be in some new area you haven't explored before.
If you use the Magic Powder on the moles, you can change them into some weird-looking vegetable thing and kill it with one regular sword strike.
There's the Tower of Here, but there's also a bridge leading west. Go there first, and you'll see some sort of stone tablet. It's in the ancient language, so use the Book of Mudora on it. It will tell you to hold up the Master Sword to receive the Medal of Ether. We don't have this yet, obviously, but we'll definitely need to remember this for later on.
The Tower Of Hera
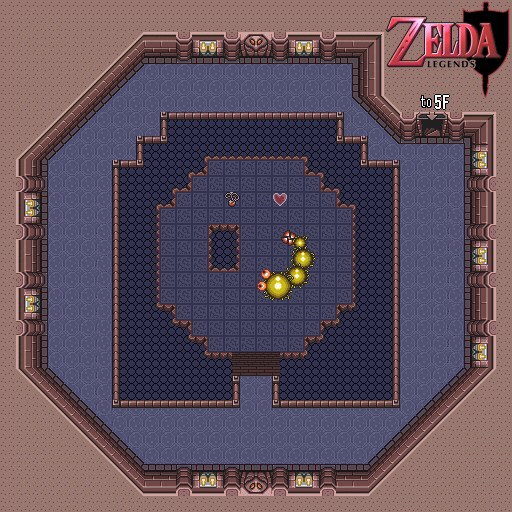
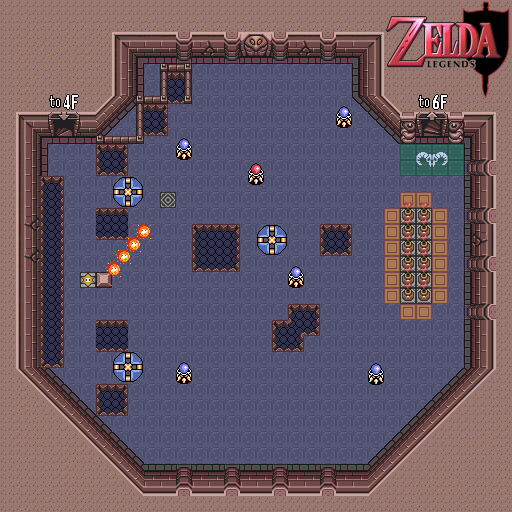
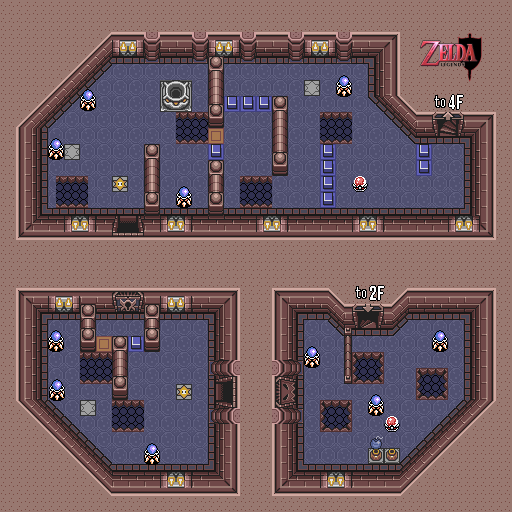
Mountain Tower/Tower of Hera maps by Iron Knuckle.
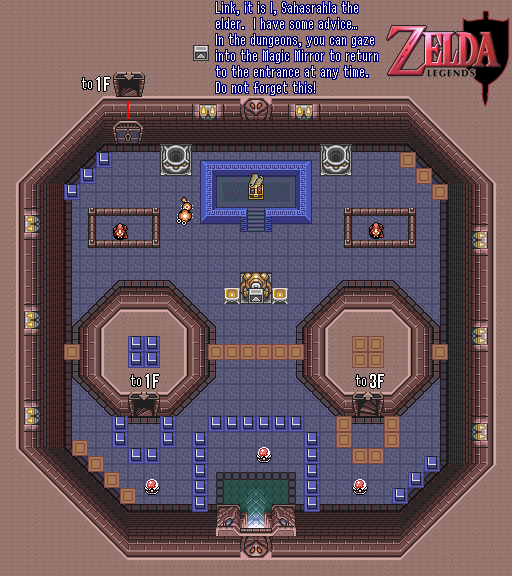
The first thing you'll notice when you enter are crystal balls with an orange circle in them. When you hit them with your sword, the circle will turn blue and the orange blocks will lower as the blue blocks are raised. When you hit one when it has the blue circle, the opposite happens. You'll have to activate these and have certain color blocks up to solve some of these puzzles.
If you're standing on a block when it raises, you will take damage. (This is unlike Link's Awakening, where this puzzle mechanic would return. In that game, you could actually stand on top of the blocks thanks to the programming for the Roc Feather, which made for some pretty innovative use of this.)
The telepathic message block will tell you about using the Magic Mirror to return to the dungeon entrance at any time. That's nice.
The tiny red dinosaurs shoot fireballs, which seem to block the chest on the first floor. They will damage you even if you face them with the red shield.
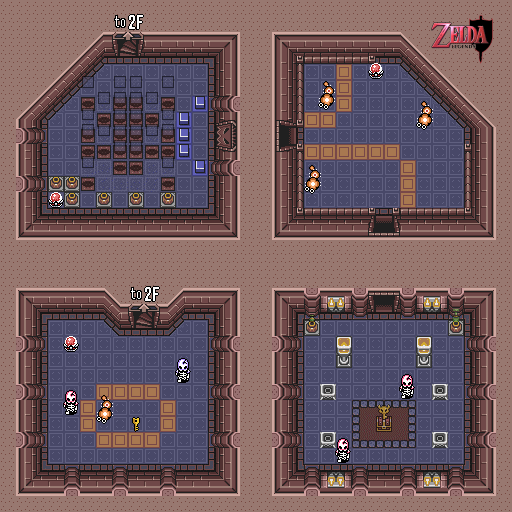
The left door that takes you up to the second floor has the tiles. This time, you're going to have to wait it out and avoid them as they all run into the wall. (If you waited both times at the Desert Palace, the removed tiles would have made the picture of a skull. This one isn't any different, but it's a bit smaller because of the room size.) The best way to do this is to stay in the doorway when you enter the room. This helps out a lot, since they're usually the only enemy in a room that contains them.
The red skeletons make their debut here, and they act just like the blue ones from the Eastern Palace. When they jump back after a sword slash, however, they'll throw a bone at you as soon as they land on the ground unscathed. A whirlwind slash will put a stop to that.
The monsters with the blue shells that move towards you can be finished off with two whirlwind slashes (or by pushing them into a pit), but be careful, for they will push you back if you hit them with your sword.
It should now be mentioned that if you see a floor at the bottom of a pit (which is basically a background layer), you'll have someplace to land if you fall down. Otherwise, you're going to take damage and be taken back to where you leaped in from. Keep that in mind for later dungeons.
The tiles with the gold six-point stars will change the locations of where the pits are if you step on them. You'll need these to get to the Big Chest.
The telepathic message block on the fourth floor will tell you about the Moon Pearl. You will need it when you enter the other world, known as the Dark World, so you won't change into a bunny when you switch directions.
The round blue thing that you'll first see on the fifth floor is a bumper. If you walk into it, it'll bump you back in the direction opposite of where you approached it from. Step on the star tile near it. There will be a pit close to the top center of the room, directly across from the wall panel that looks like a snake. Drop down and you'll be able to get the Big Chest, which contains the Moon Pearl.
If you drop down the upper-left most pit in that same room, you'll find a hidden room with two Faeries.
There are cracks in the wall, but they don't open up any passages if you bomb them. Stop teasing me, game.
The boss here is Moldorm, a giant worm with some red pinwheel on his tail. This is his weak spot, and you'll have to strike it several times without being pushed down the pit to the fifth floor below if you want to beat it. If you do fall into the pit, you'll have to start the whole battle over. As you strike Moldorm, he'll get faster, and keeping from being knocked into the pit becomes harder and harder.
When you finally beat Moldorm, you'll get another Heart Container as well as the Pendant of Wisdom.
The Dark World
Dark World maps by Alex Foster. Light World maps by JonLeung.
Since HCBailly heads back after beating the Tower of Hera, why not?
Now that you have the Moon Pearl, you can explore this place as Link. The music will be the complete opposite of the cheerful music you'll hear when you're a bunny. As a matter of fact, it will be far more sinister and foreboding now.
Chasing The Grail...er...Sword
You know that cave we passed when climbing that long ladder up to the Tower of Hera. It doesn't exist in the Dark World, so use the Magic Mirror and head back to it. The sign near it says that it will take you back to Kakariko Village, so enter and just follow the path. You'll end up back at the area with the Lumberjack's house and just east of the Lost Woods. That's all there is to it, really. Just watch out for all those bats, as they can push you into the pits if they touch you.
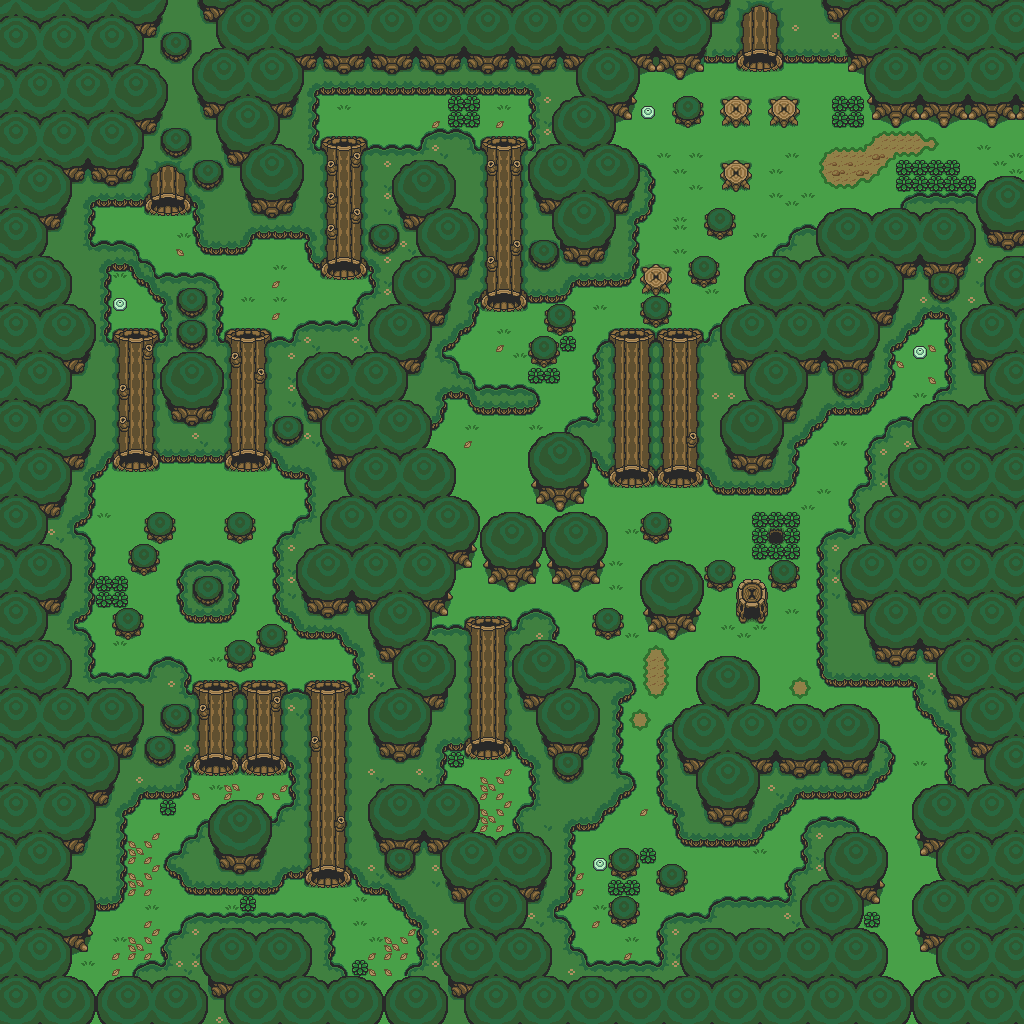
Well, now that we get a chance to further explore the Lost Woods, here's some good tidbits.
All those swords lying around? Those aren't the Master Sword, sadly. You can, however, pick them up and chuck them at enemies.
The humans that run around can't be defeated and knock stuff from your inventory when they bump into you, which they will then try to pick up off the floor before you can.
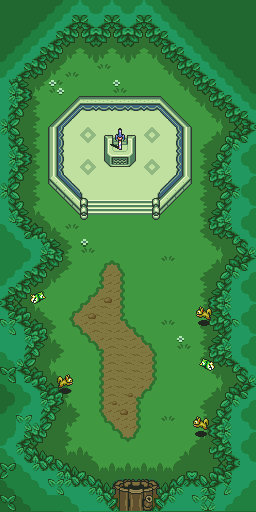
The Master Sword is in the northwest corner of the woods. If you come here without the Pendants, you can't do anything. Since you do have them, you can do something. Use the Book of Mudora to read the inscription under the sword. You've got the three symbols of virtue, so get the sword. You'll be able to grab the sword and clear the fog surrounding the forest. Sahasrahla will telepathically congratulate you on your earning the right to wield the Master Sword.
When you head out of the area where the Master Sword was and move around, you'll notice that there are soldiers in the forest. You'll also hear the pastor of the Sanctuary call for your help, as soldiers have showed up there...but it might be too late...
...
Also, how did he hear him from that far away?
...
Also, how did he hear him from that far away?
No comments:
Post a Comment