That's two dungeons down...and now that we have the Titan's Mitt, there's a bunch of stuff that's ripe for the taking!
Romancing The Sword (Again)
You could use the Titan's Mitt to get the Magic Cape as intended, but since it's easier to do the Magic Mirror thing to get it, it's a moot point now.
You may have noticed the ghosts with the lanterns floating around in earlier videos. They're just the Dark World's version of the ghosts from the cemetery.
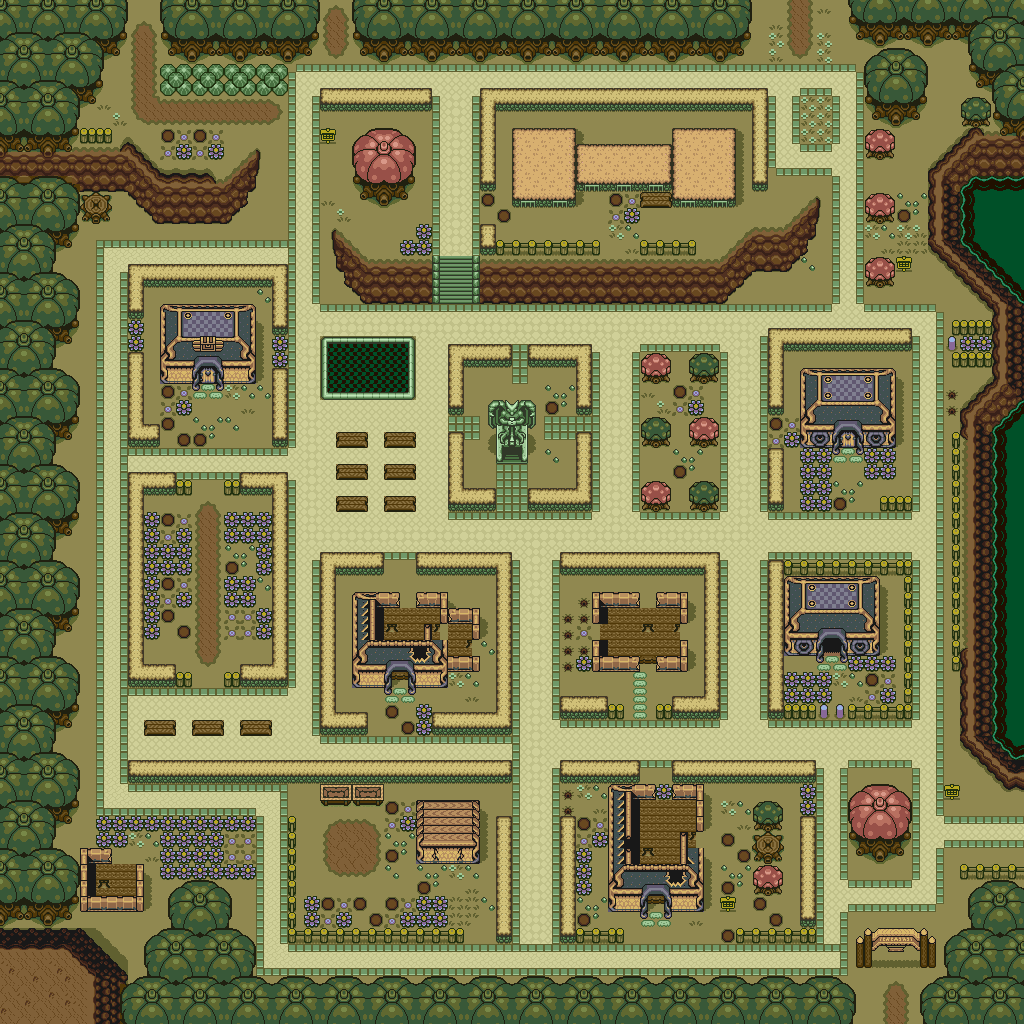
One of the houses in the Village of Outcasts has 300 Rupees. Nice.
You can now go east of the village. If you pound all of the posts with the Magic Hammer, the tree stump to the south of them all will turn into an underground passage. Go inside and you'll find a Heart Container.
If you go south of the village and go to the east near the south village entrance, you'll find a frog in a blue tunic hopping around. Now that you have the Titan's Mitt, you can rescue the guy and talk to him. He is from Kakariko Village, and he wonders how his partner is doing without him. He'll then want you to take him to his partner.
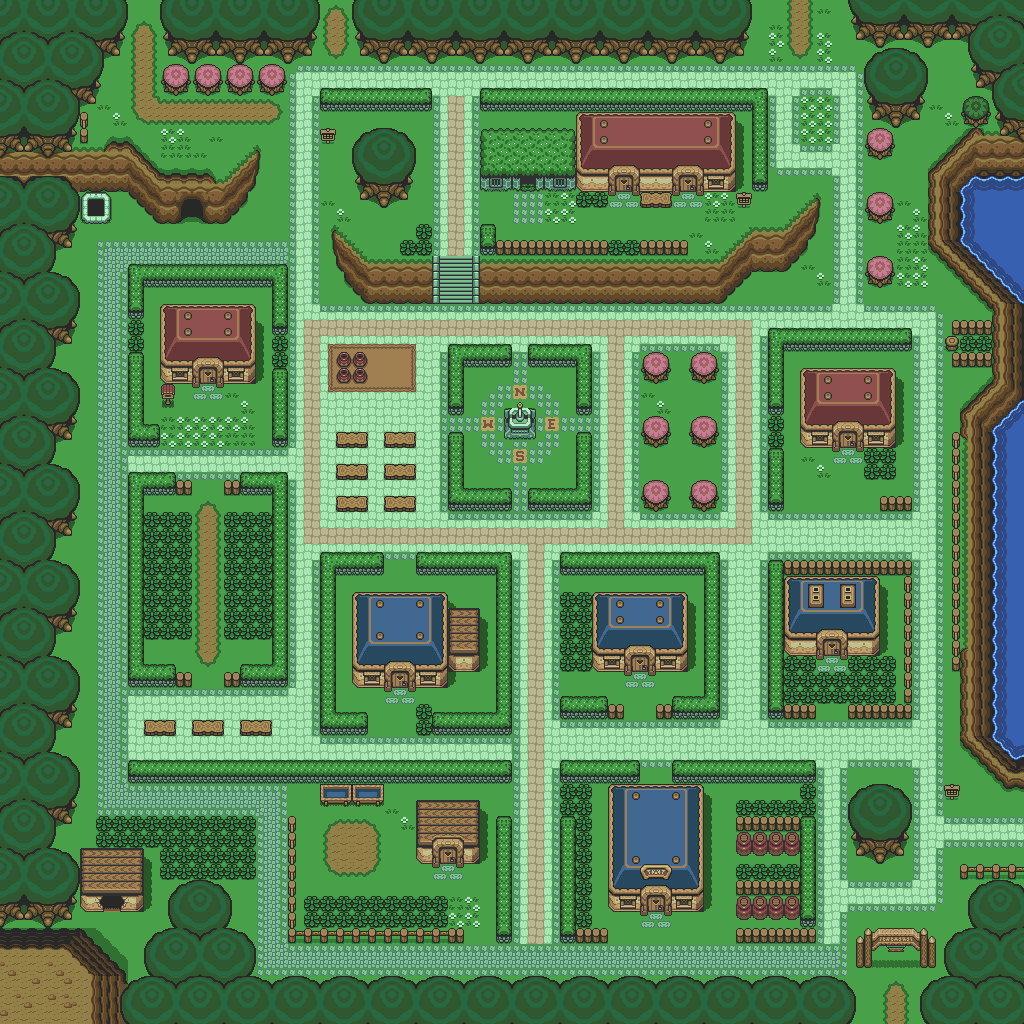
From here, use the Magic Mirror to go to the Light World and head back to the Smithy's house. When you return to the Light World, the frog will change shape and will turn into an old man that looks exactly like the Smithy. Now that the Smithy's partner is back, walk out and walk back in. They'll offer to temper the Master Sword for a huge discount of just 10 Rupees. Take it. You're going to need the extra strength.
Also, if you use the Magic Hammer on whatever the Smithies are working on, they'll politely ask you not to do that.
Since your sword is being tempered, you're going to be running around without a sword as you leave; offscreen the smithee's house and come back. If you want, you can walk outside and roam around for a few minutes. If you have to attack any enemies, use your Magic Hammer as a weapon. (Yes, you can do that with just about every normal enemy in the game.) Pressing B will allow you to swing your hand around as if you have a sword, and you can even perform the whirlwind slash minus the sword. Strange.
Anyway, go back to the Smithees and the Master Sword will have a red blade. This is the Level 3 sword, and it's pretty powerful.
Now that you've got the Level 3 sword, head back to the Dark World and return to where the Smithies's house was. Now that you've got the Level 3 sword, you can find a chest in this abandoned house. If you touch it, you'll find out that since the key is locked inside the chest, you can't open it.
*record scratch*
Okay, first of all, how do you know this? Does Link just look at the chest, peek inside and find the key? I can picture that being the most logical scenario. But then the chest follows you as if by magic. What, is there some invisible chain between Link and the chest? Or stranger still, did the chest tell Link "Hey, my key is inside me!" with the same magic that just lets it follow Link wherever, especially when you use the Ocarina to warp wherever you want in the Light World?
Anyway, you have to take this chest to the old man near the desert entrance. You'll have to teleport all the way to the Light World and then give it to the man sitting near the sign. While you're doing this, you'll stop moving the chest around when you press the A button. If you do that, just move over the chest and it'll follow you again. The old man at the desert will ask you to keep the fact that he used to be a thief a secret, and if you do, he'll open the chest. Inside will be the fourth and last Magic Bottle!
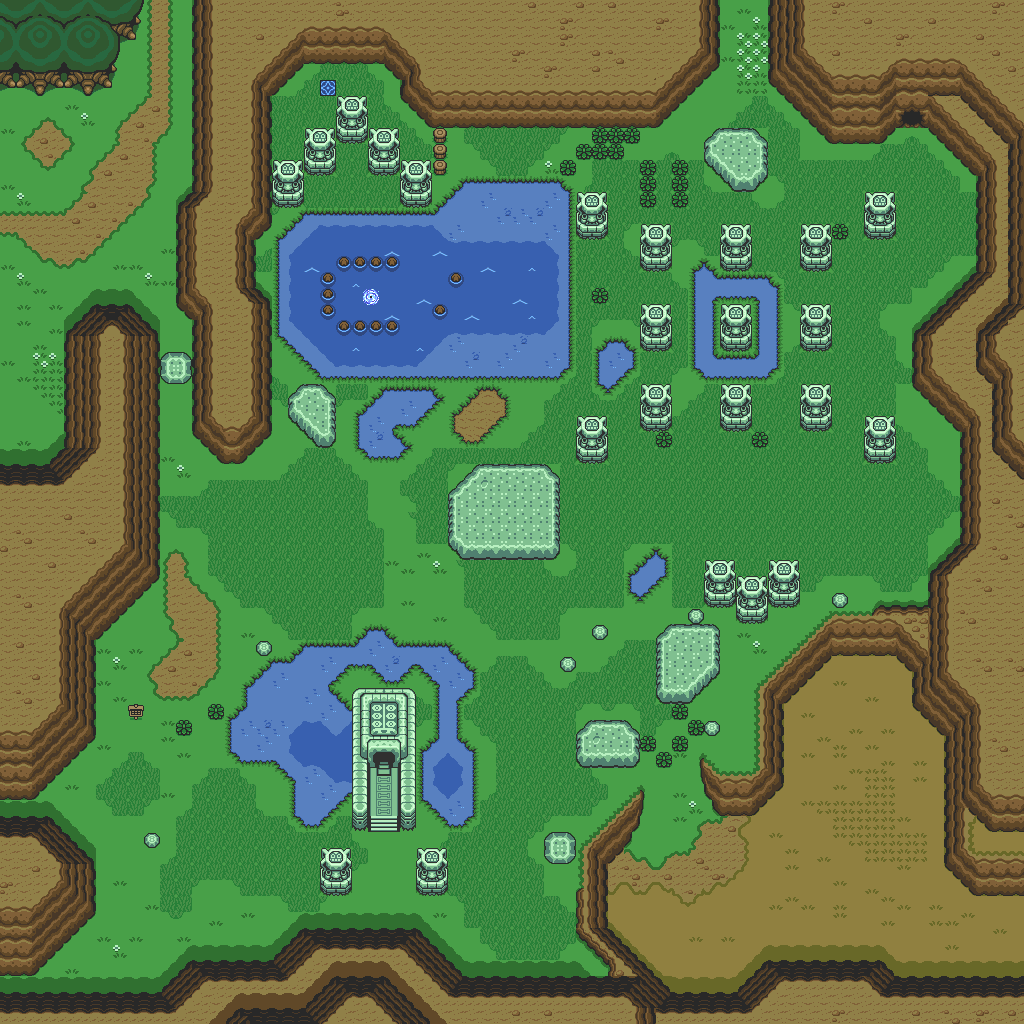
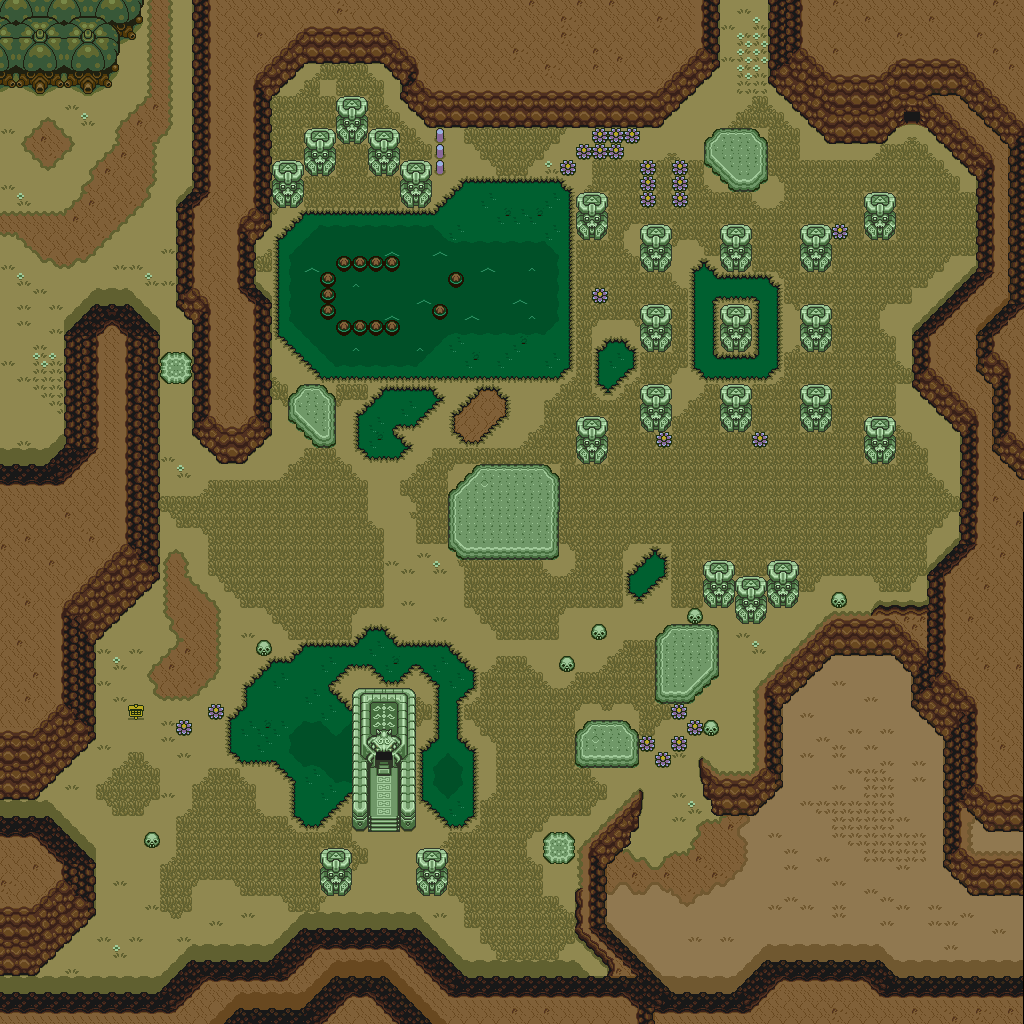
The Magic Hammer will allow to grab the rock behind the posts at the Swamp, and you'll find a teleporter underneath it. This will allow you to warp to the Dark World's version of the Swamp, which is the same area where the second Dark World dungeon will be.
Swamp Palace
.png)
.png)
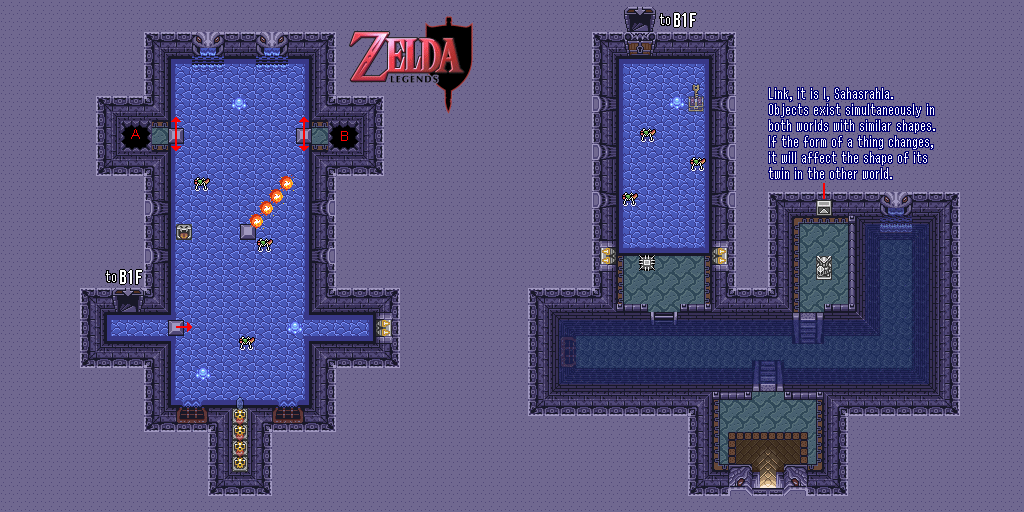
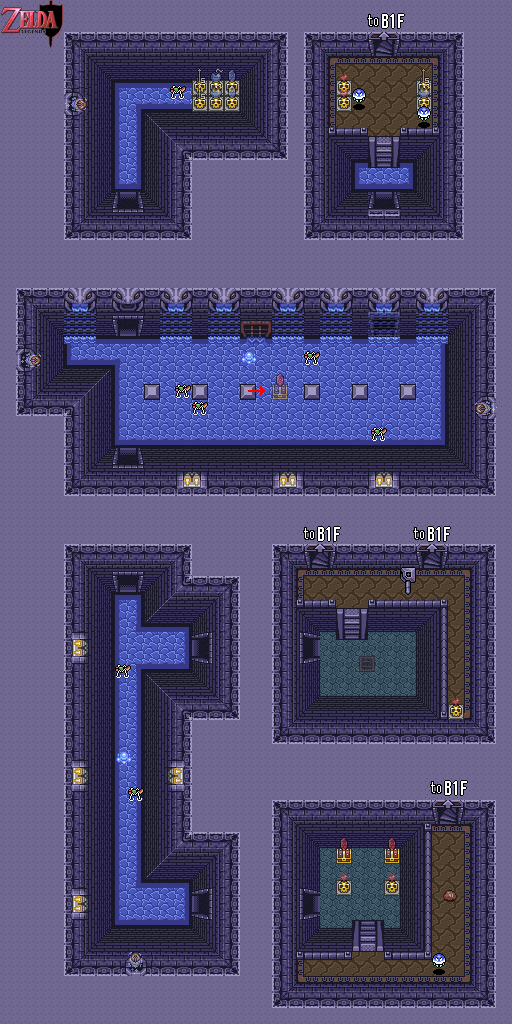
All maps by Iron Knuckle.
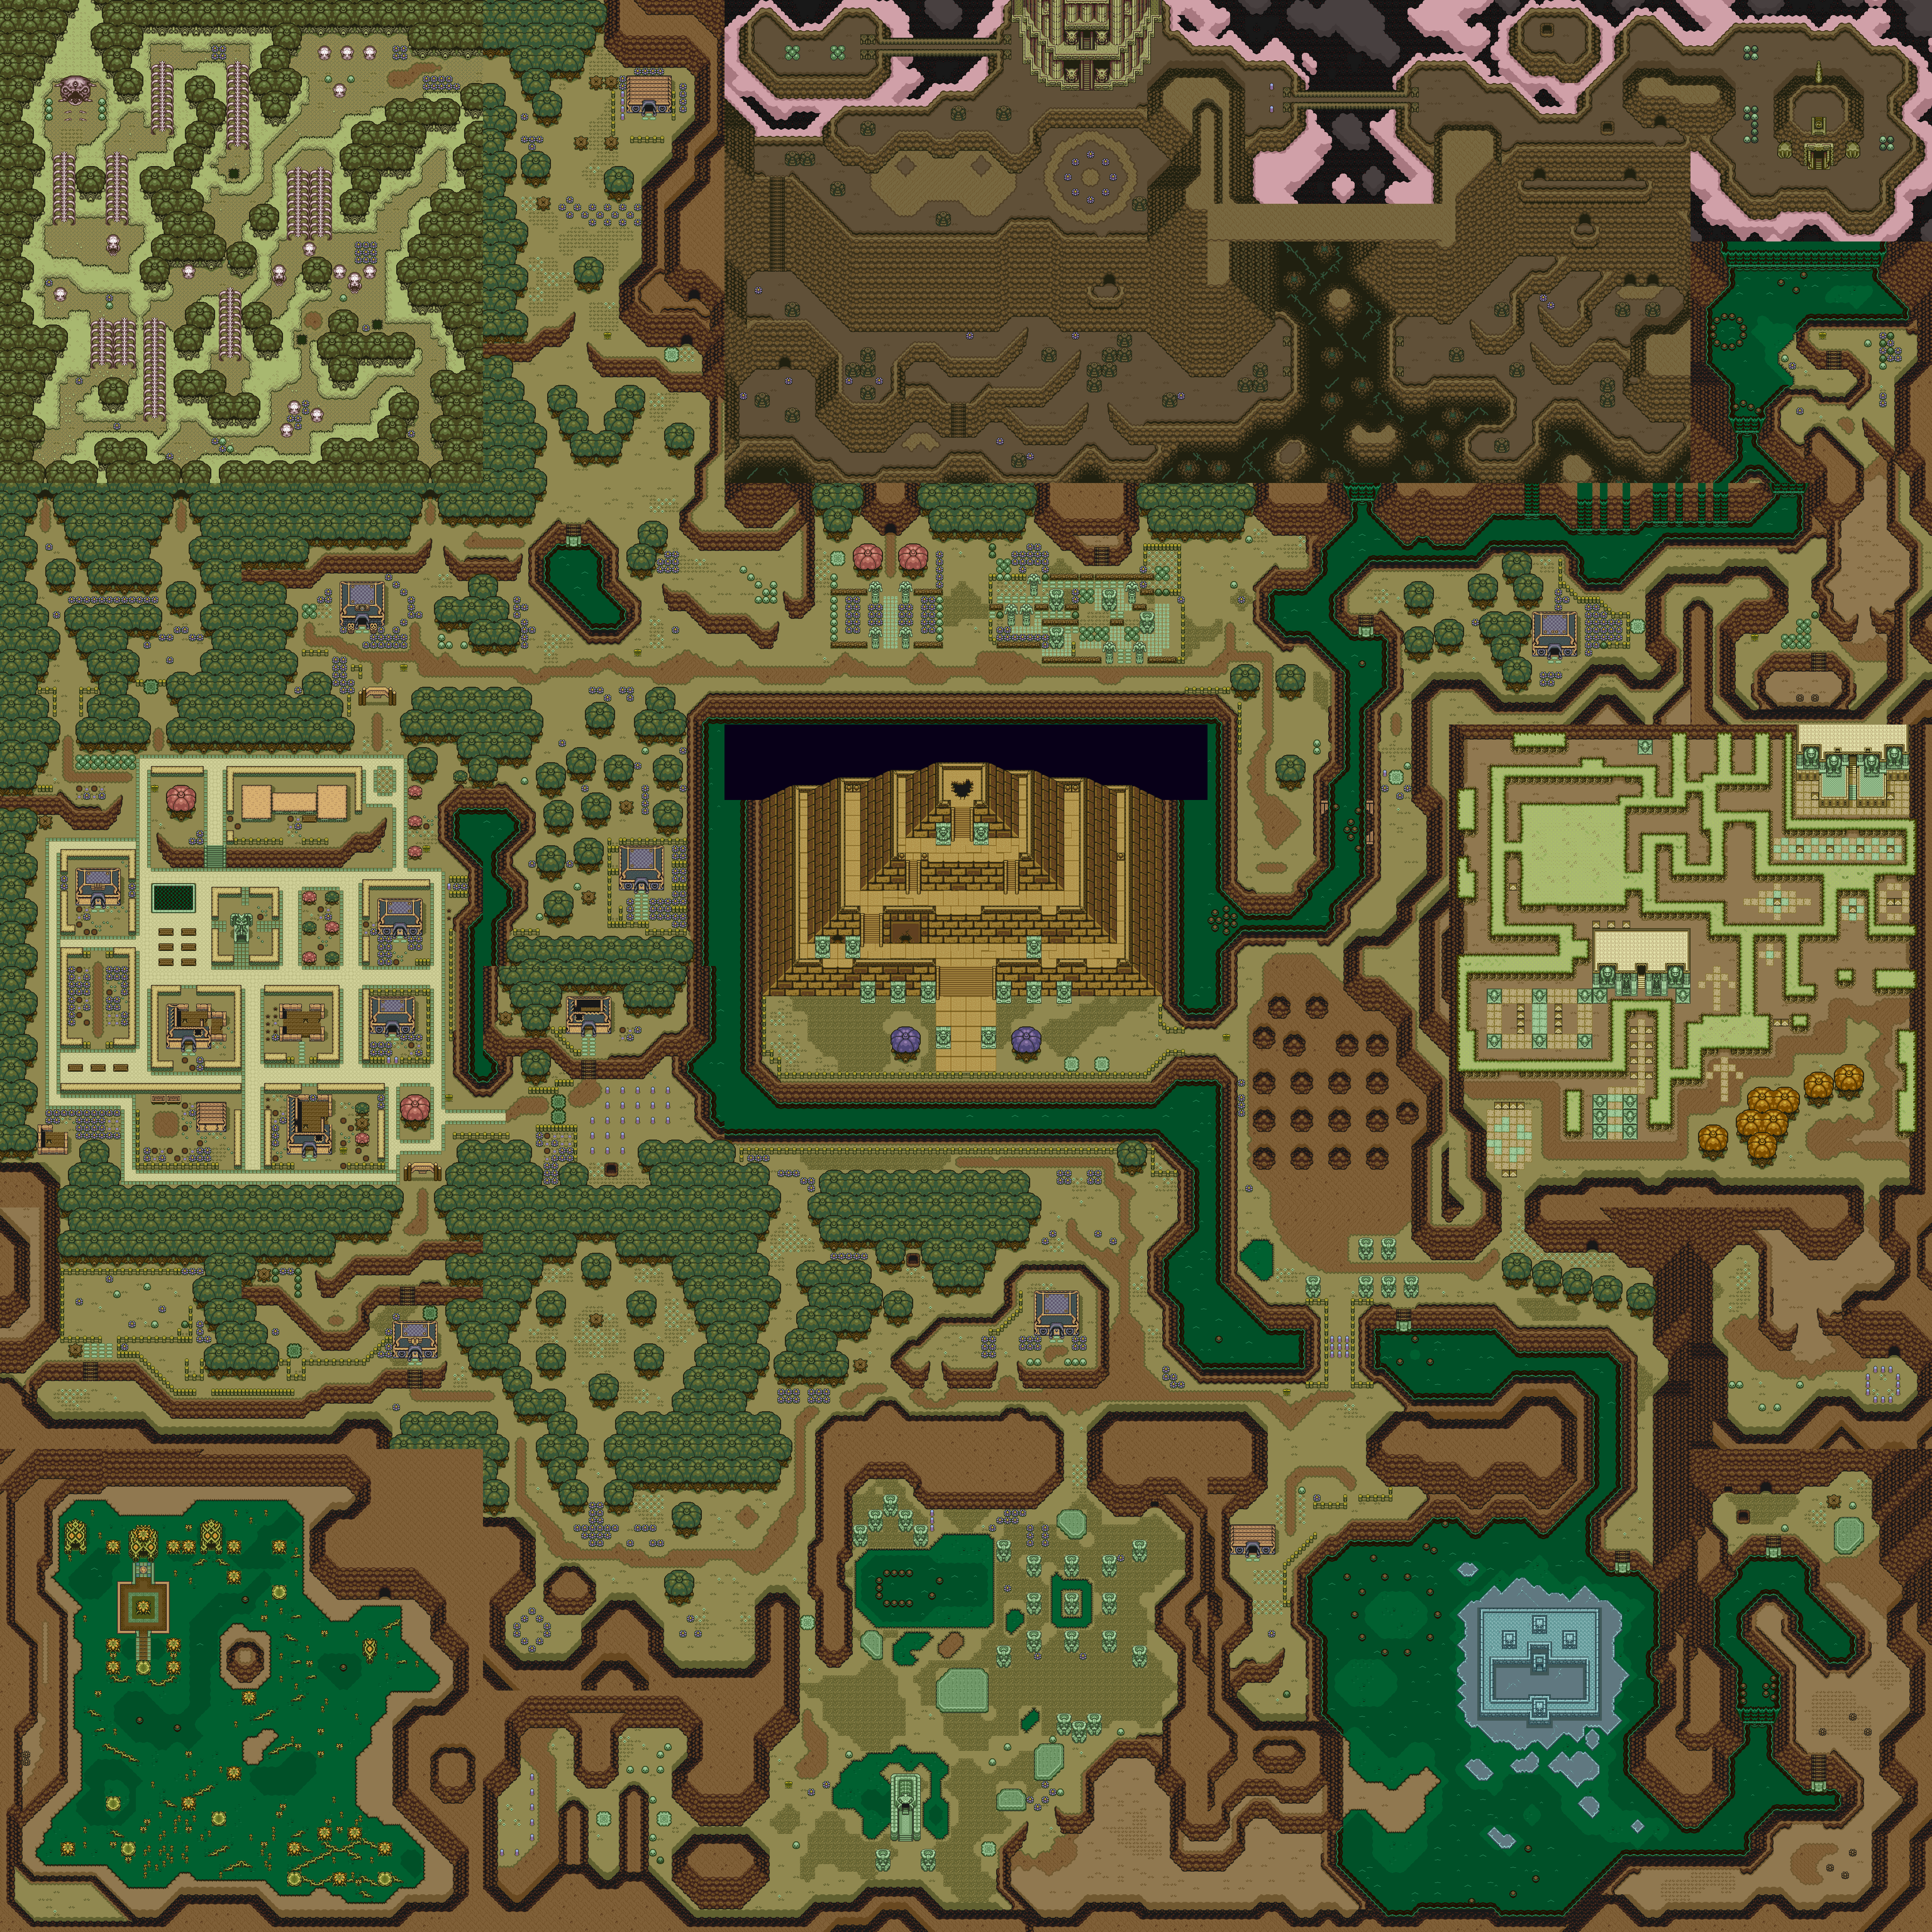
When you enter the dungeon, you'll find out that you won't be able to get anywhere in this dungeon. The only thing you can reach is a telepathic message tile. It's a message from Sahasrahla, telling you that objects exist in both world with similar shapes, and if you change something in one world, it'll change the same thing in the other.
Go back to the Light World with the Magic Mirror near the Swamp Palace, and enter the Swamp Palace there. Drain the water, and head back out. Go through the portal back to the Dark World that the Magic Mirror left, and the water will be drained in the Dark World as well. Go back into the Swamp Palace there and the chasm near the entrance will be filled with water, allowing you to swim to the ladder and explore the dungeon.
The ring-shaped monsters that look like they have green noses are easily destroyable, but the blue monsters that almost blend in with the shallow water on the floor are something else. They're pretty fast and both travel and bounce off the walls at 45-degree angles. You'll be spending more of your time avoiding them than anything else. You can destroy them, but they just disappear when your sword hits them, and they keep respawning no matter what.
The brown square-like object with holes on each side shoot fireballs similar to what the Zoras spit at you whenever you swing your sword. The fireballs track you, but these brown things can't fire at you diagonally, so they're not much of a problem.
Those grey things that look like turnstiles are really the switches for the floodgate. Walk up to the right side and keep walking into the stick-like part of these switches to push them and activate the switch to release the floodgates.
The dark holes in the walls contain orange fish-like monsters that come out of the holes and swim around the room. Like the ring monsters, they're easily destroyable.
No comments:
Post a Comment