Welp, we're finally here. Let's do this.
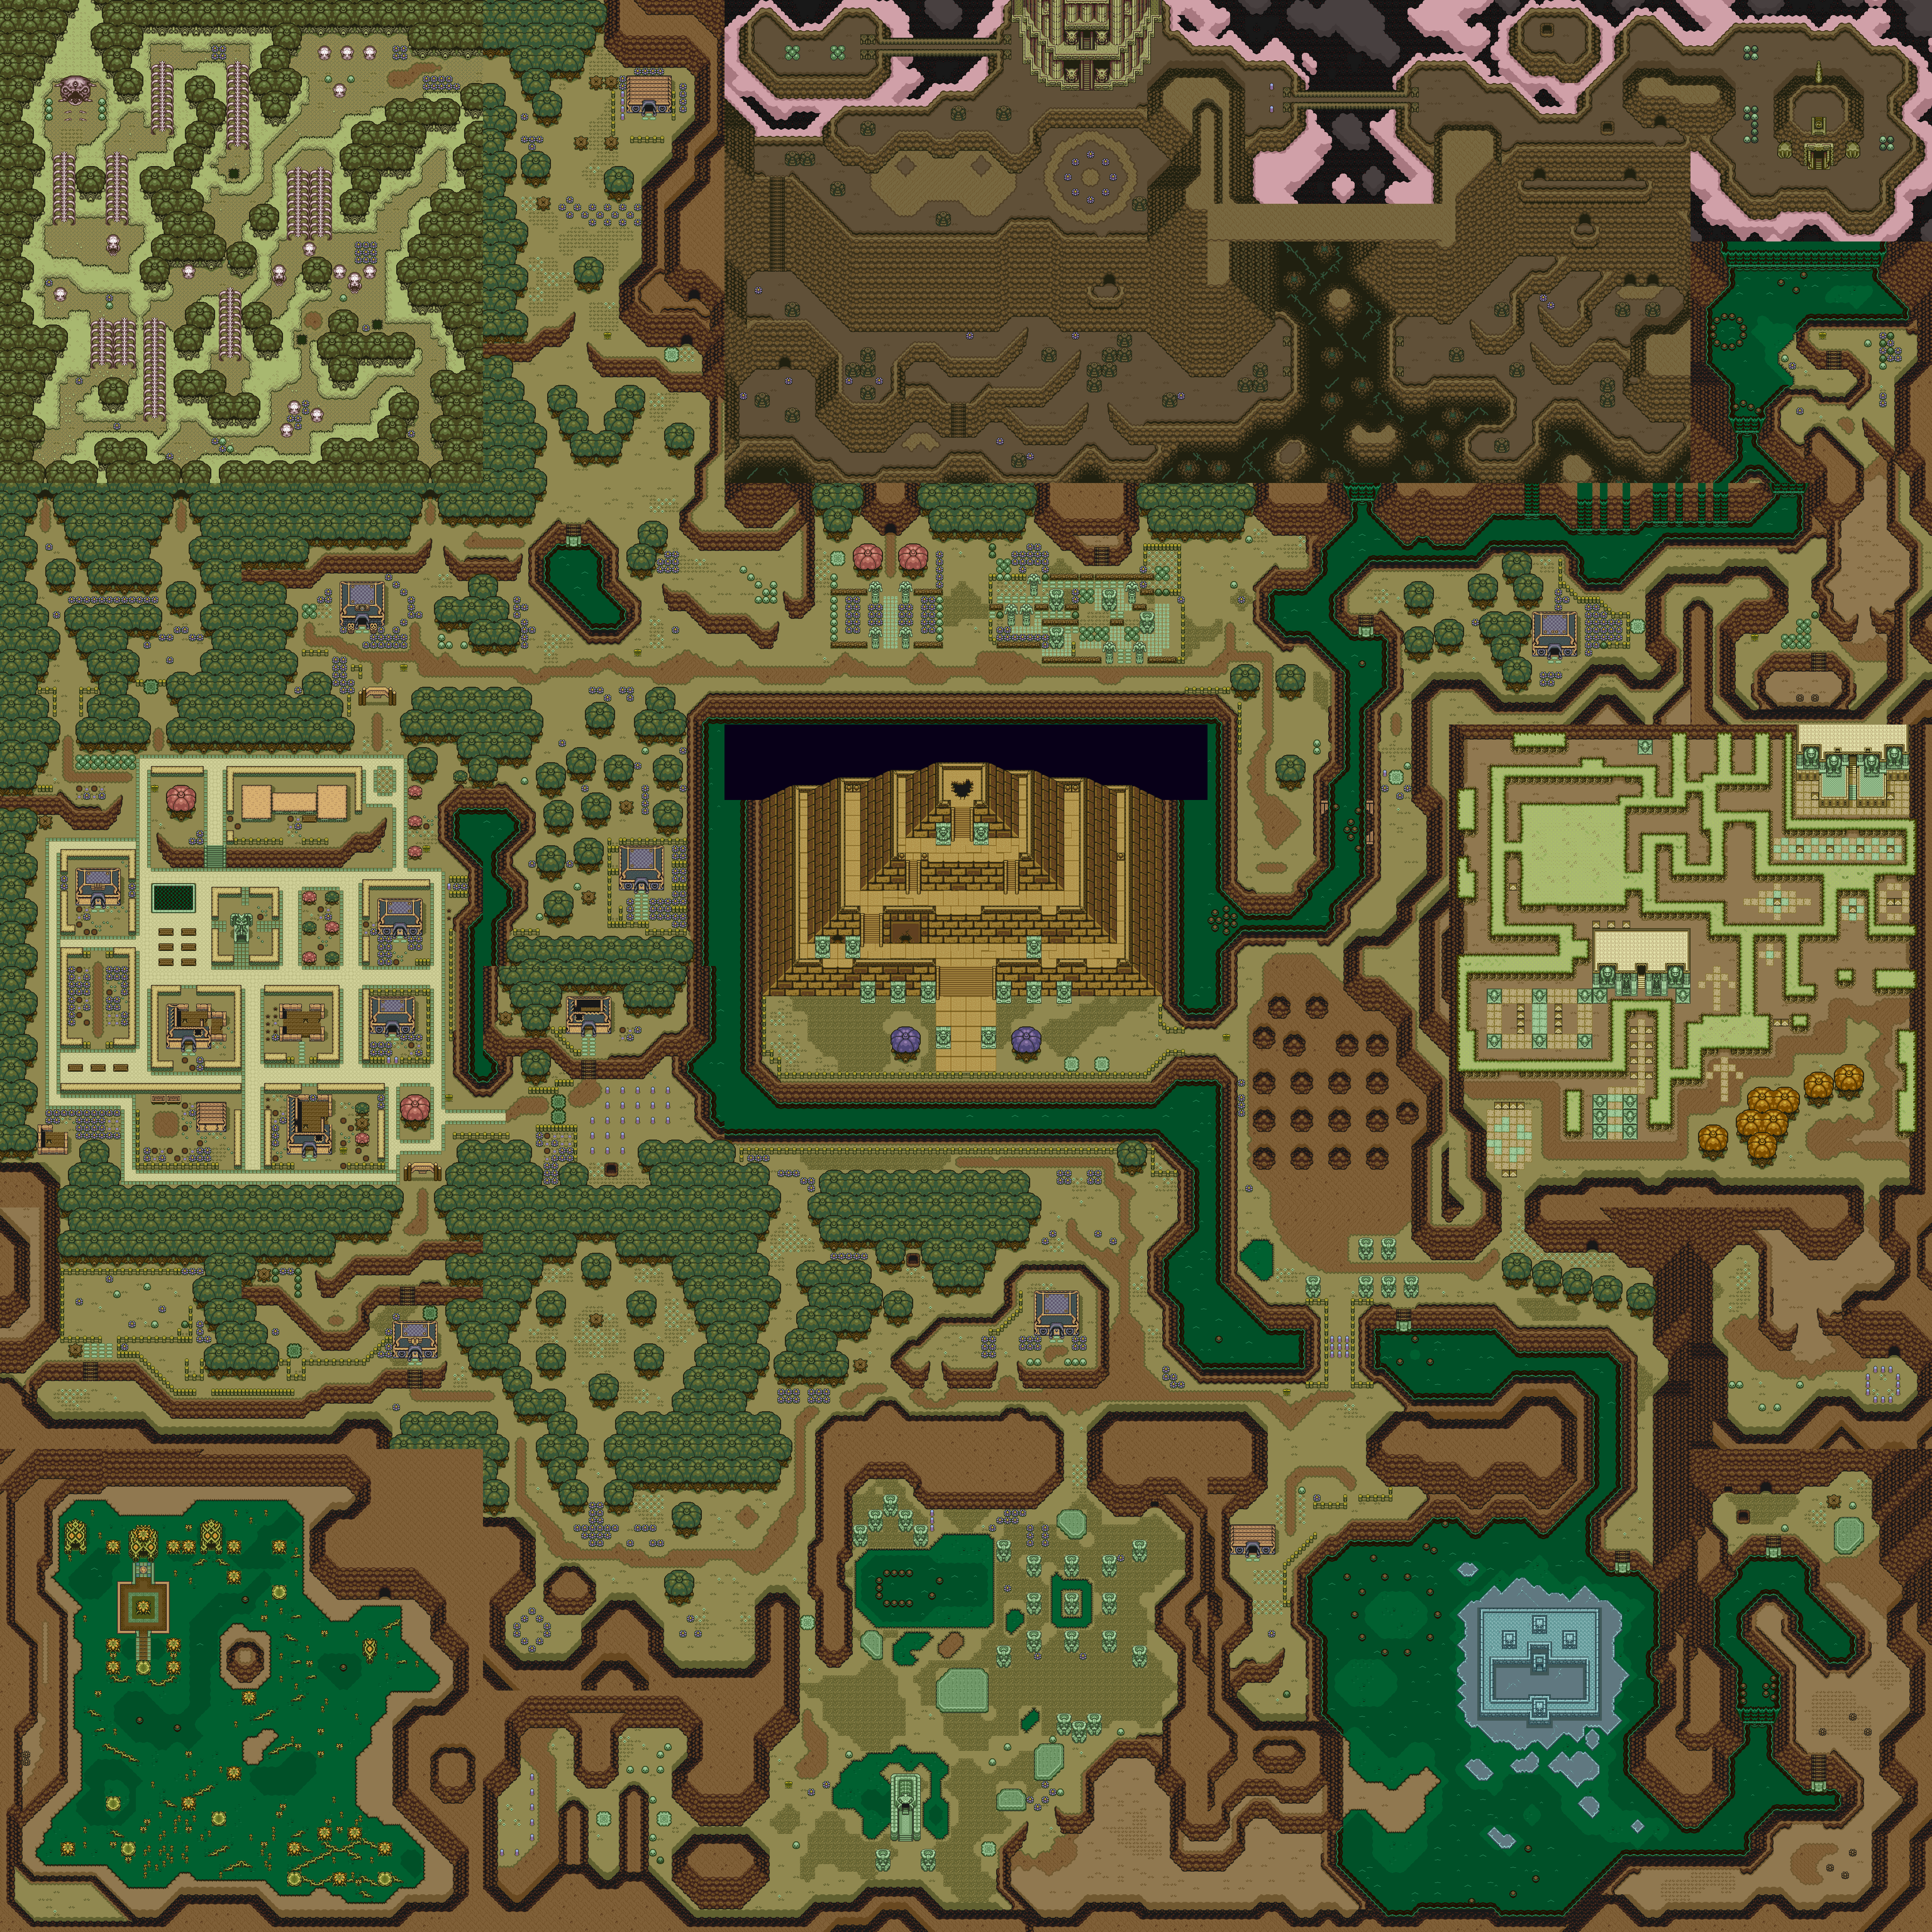
As you explore the Dark World, you'll notice that there are a lot of differences between the Light World and the Dark. For instance, enemies are now some sort of humanoid beasts that take more hits to kill (as is usually true in alternate dimensions), and some things are either difference or absent. The bridge that leads to what should be the Witch's House exists in the Light World but is gone in the Dark World.
Some of the rocks are actually enemies. If you walk up to one and it starts flashing, get away and smack it with your sword when it comes by!
When you go towards the Lake of Ill Omens, which is located where the Waterfall of Wishing is in the Light World, you'll see a sign saying "Curses to anyone who throws something into my circle of stones." Throw something into it despite the warning. A giant catfish will show up and give you the Quake Medallion. This destroys everything onscreen with a deadly earthquake, but just like the Ether Medallion, this costs a good amount of magic.
After looking in the comments to that video and finding one asking why the Japanese associate catfish with earthquakes, as there are other games besides this one that do the same. I looked this up and it turns out that the catfish is really a Namazu, a giant catfish in Japanese mythology that supposedly caused earthquakes.
Apparently, you can block fireballs with the Red Shield when you're in water. Just face them like you normally would.
The cyclops monsters that run around on land throw bombs. These guys are quite possibly the most lunkheaded enemies you'll meet (in spirit, anyway). They'll throw Bombs at you, and their biggest weakness is...you guessed it...a Bomb.
The green flying enemies, on the other hand, are even worse. They follow you around no matter what, even when you're in water. They drop bombs that can damage you every couple of seconds, and the only way to kill it is by using the Medallions or the Master Sword beam.
Might as well mention this, in case something happens while you play the game and read this at the same time. If you use the Magic Mirror and you happen to be inside a wall, stationary object or someplace where Link cannot stand, you'll be instantly transported back to the Dark World as soon as the teleportation is complete. I guess this is the game's way of keeping you from accidentally glitching yourself into a wall and being able to move wherever.
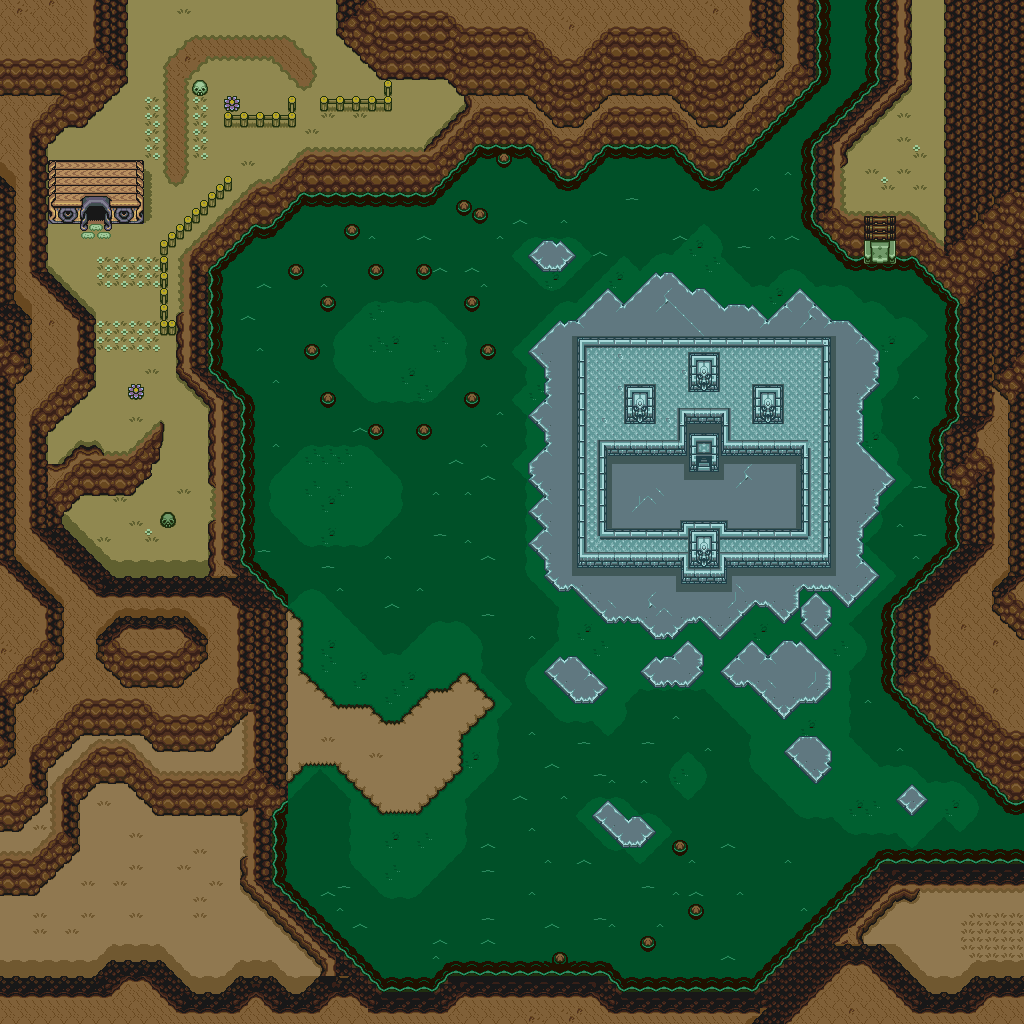
The orange monsters near the palace in the Lake of Ill Omens will use its tongue to grab your stuff...and it will grab your shield, if you're not careful. You'll have to fight to get it back, and if it eats another one of your items before you can do that, you'll have to spend some time getting another shield. One of the shops contains the original shield while another contains the Red Shield.
In the Lake of Ill Omens, you'll find a large circle of rocks. Use the Magic Mirror to teleport anywhere in the center of it to return to Lake Hylia in the Light World and get another Heart Piece.
You'll also see Ice Island, which contains another palace that we won't enter until later.
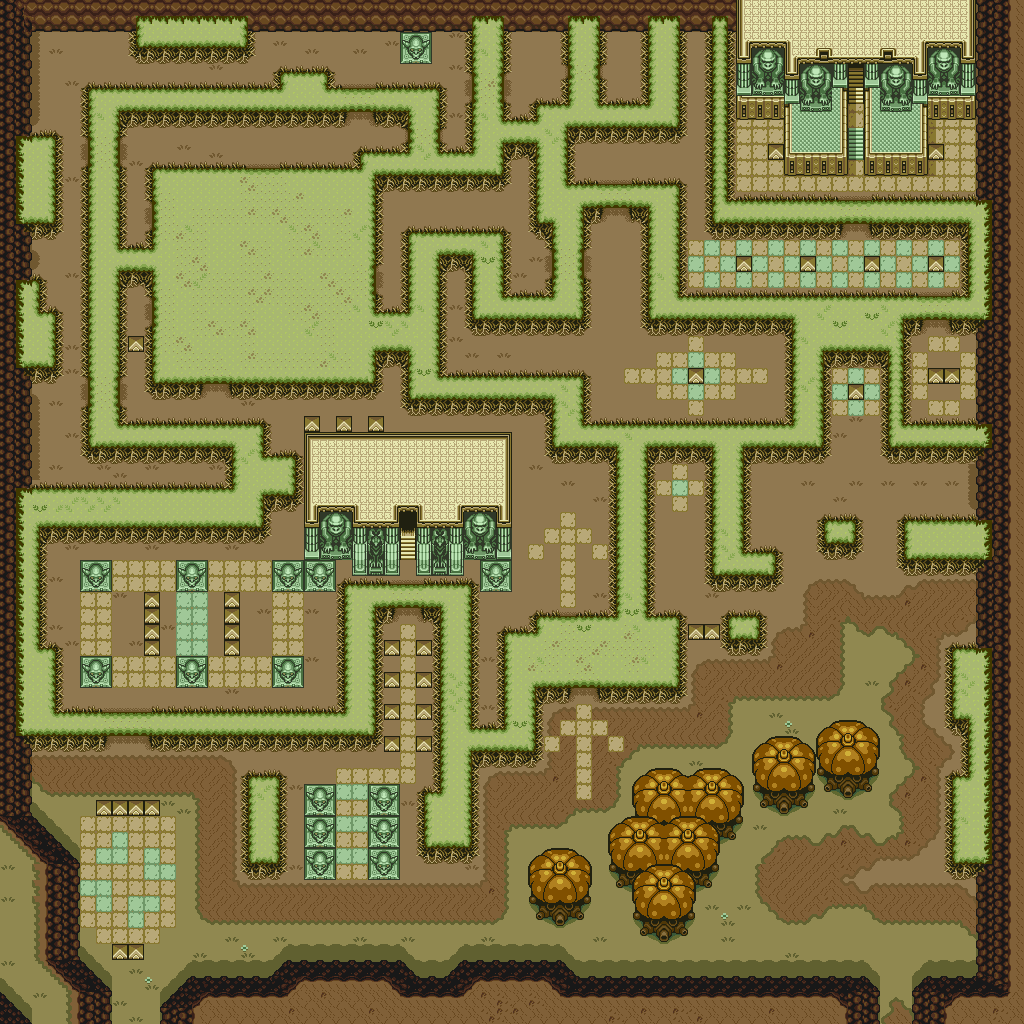
To the north of the Lake of Ill Omens is the maze to the Palace of Darkness. There is a building near the start you can enter, and the tree-like creature will tell you that the Golden Power only obeys the first person that touches it. The last person to do so turned the Golden Land into this, and this creature, who happens to be a human just like the two creatures you saw on Death Mountain, came for the Golden Power only to be turned into what you see now. Until you beat whoever got the Golden Power, the world - and this guy - in stuck in this state.
You can bash the crack in the north wall here to find some skulls, which act as pots throughout the Dark World. The four skulls here contain Hearts.
Watch out for the red birds with the spiked lizard heads. If they touch you, they can do a lot of damage.
As you go through the translucent maze within this area, a blue monkey will follow you around. This is Kiki the Monkey, and he loves Rupees more than anything. When it asks you to spare 10 Rupees, give them to him. Make your way to the palace. If you take a hit on the way, you'll have to enter the translucent maze and find Kiki again, and he will ask for 10 more Rupees. I'd carry at least 150 Rupees for this just in case.
When you reach the palace door, he'll ask for 100 Rupees before he opens the entrance for you. Do it.
The Palace Of Darkness
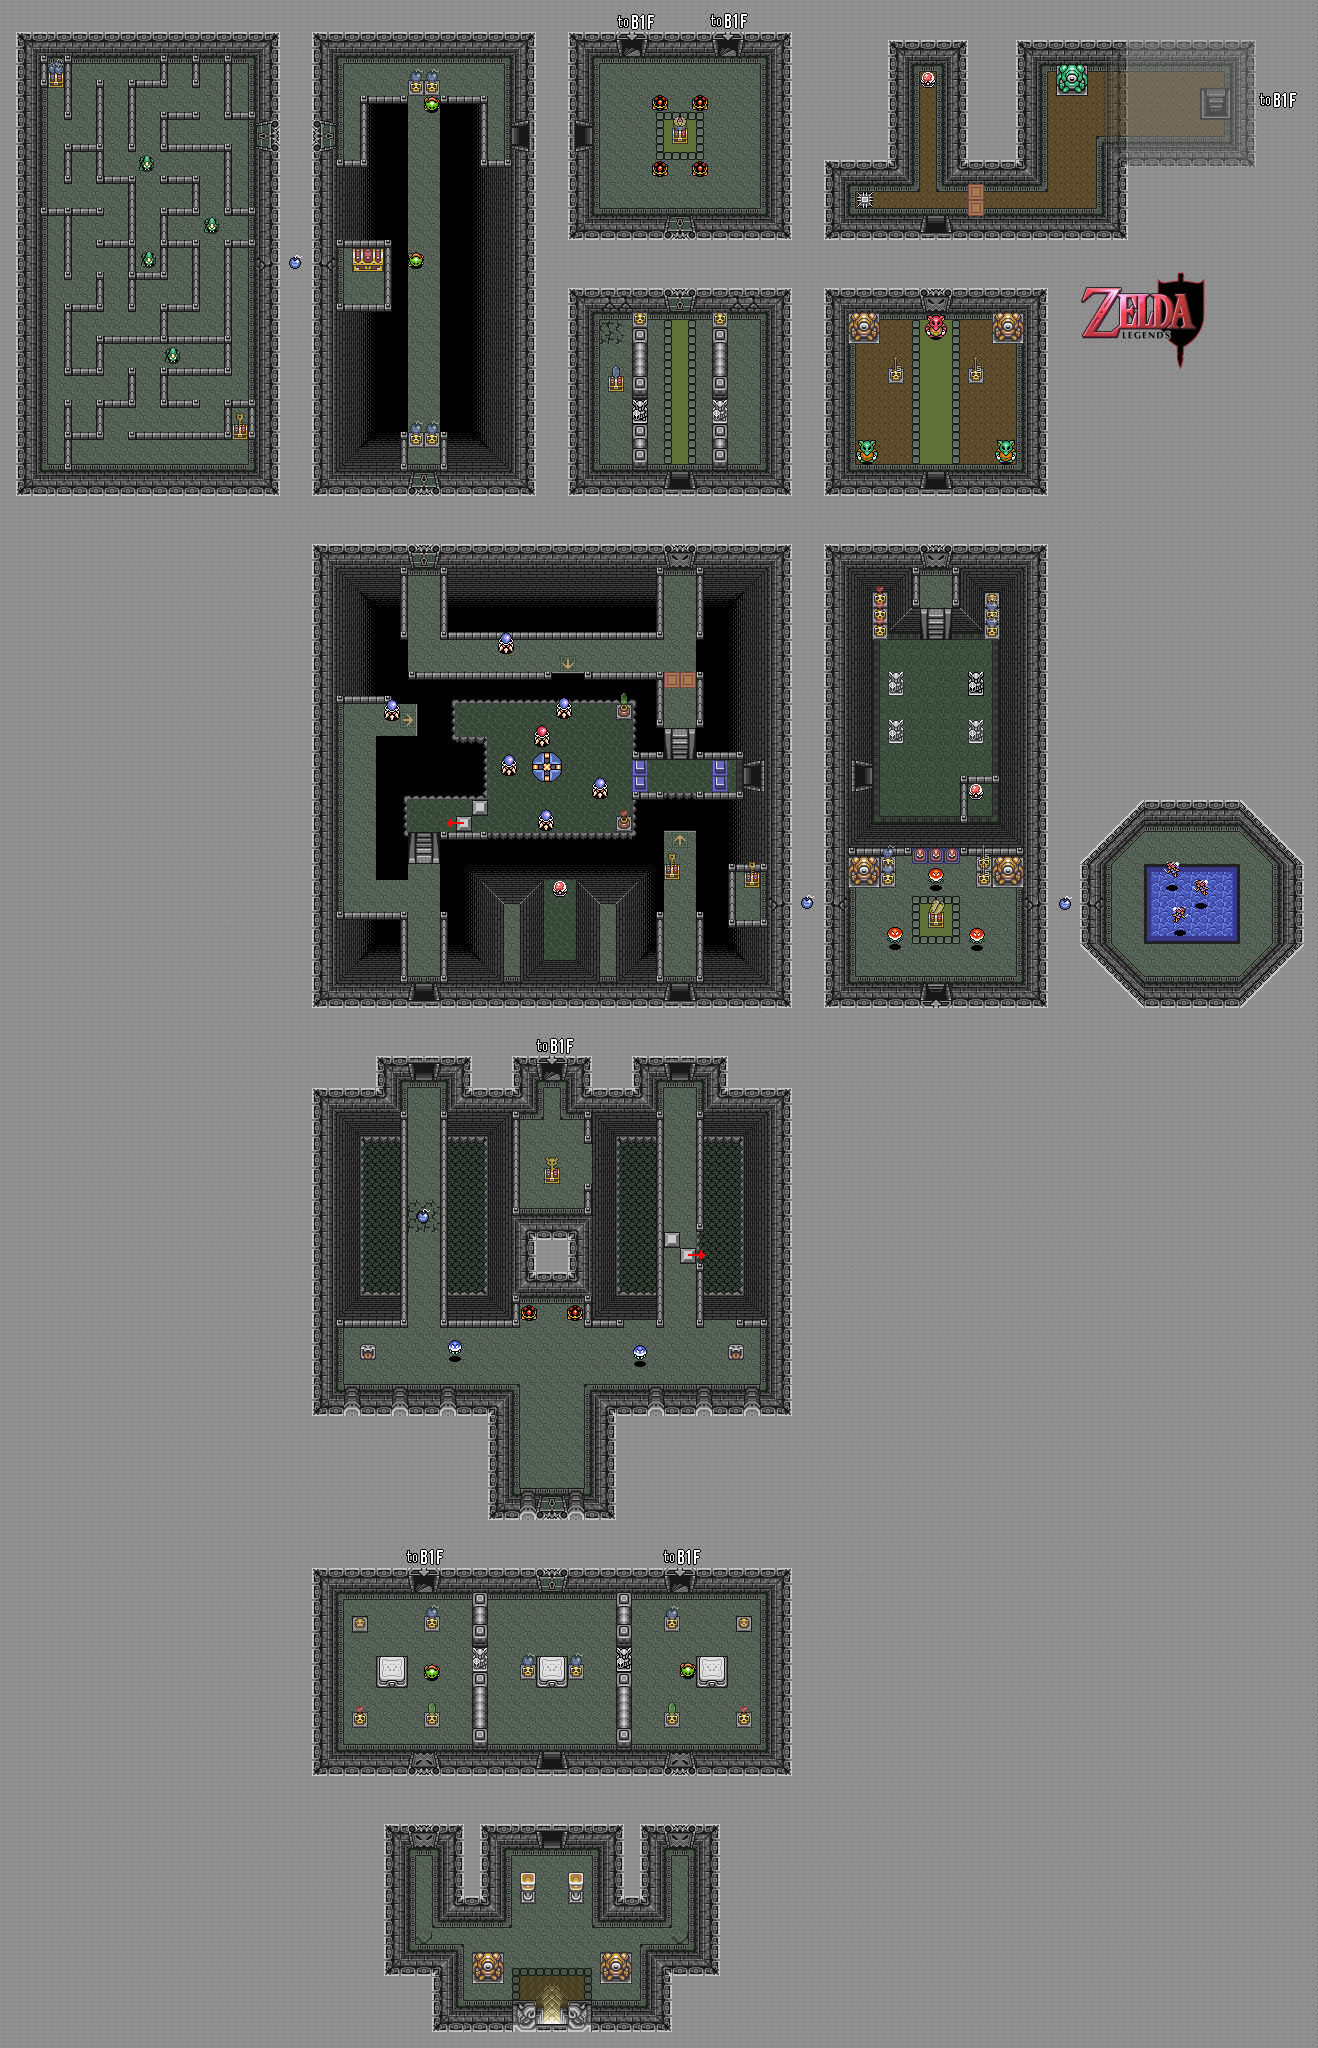
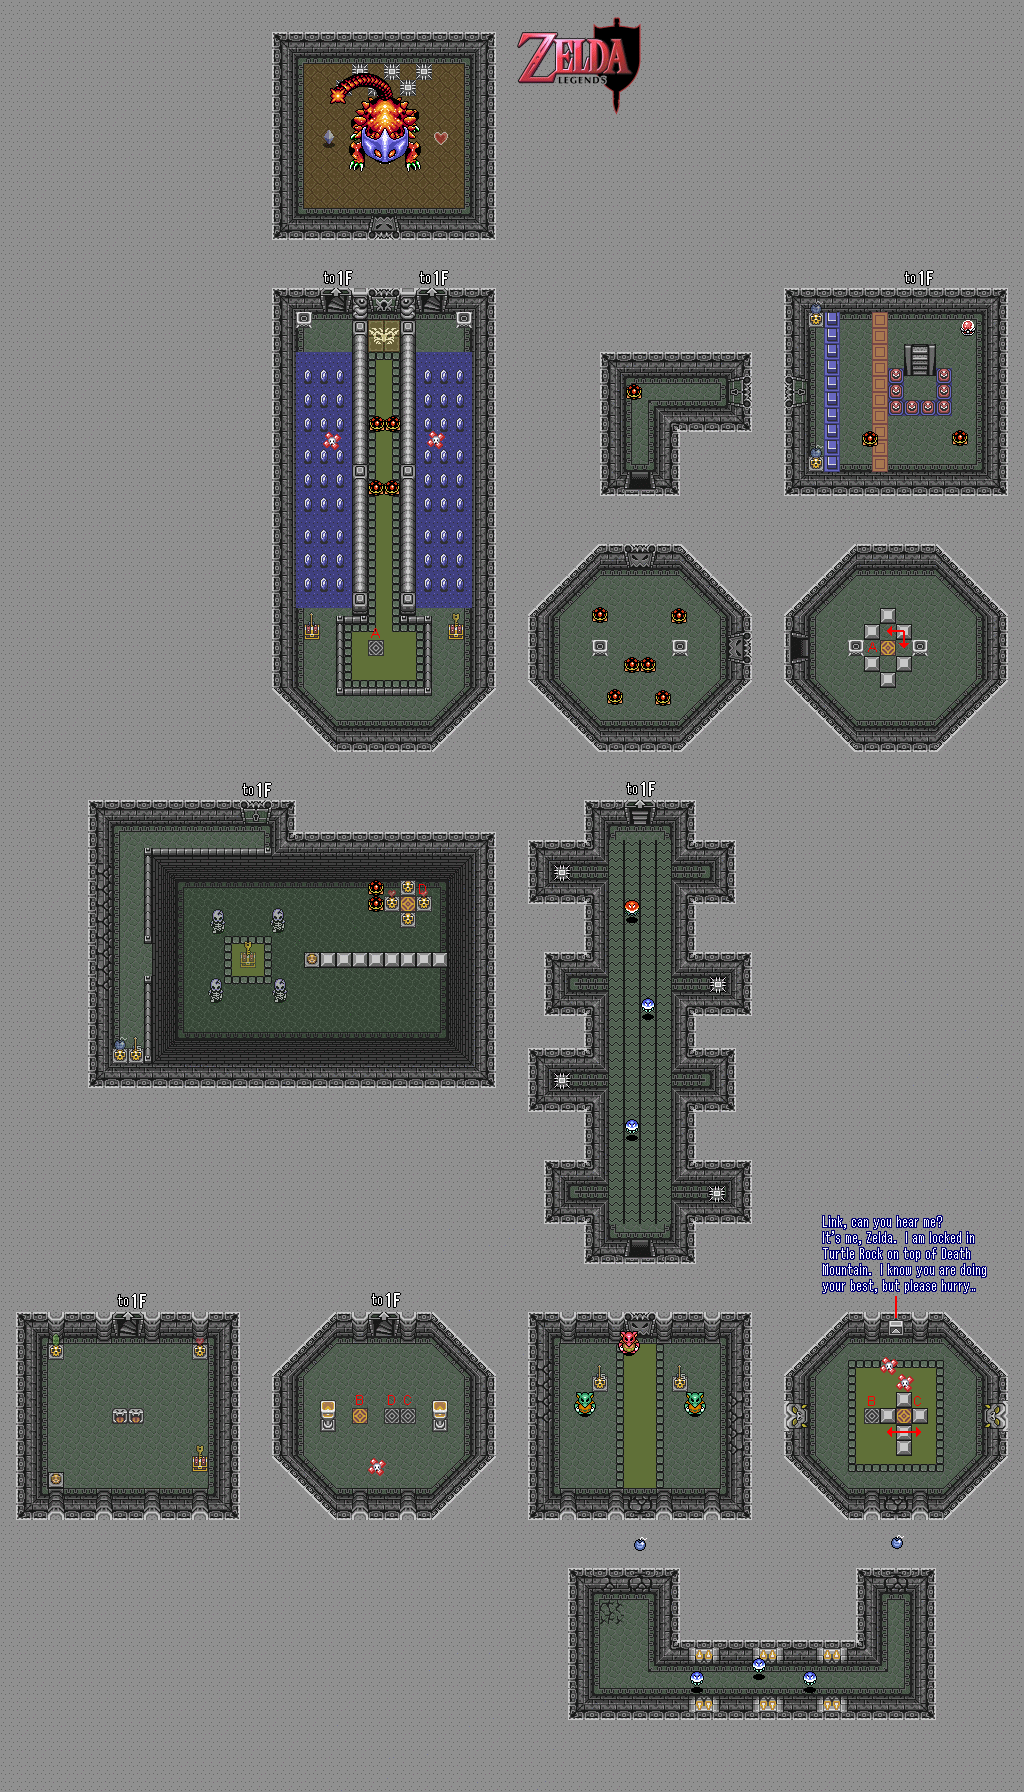
Palace of Darkness/Dark Palace maps by Iron Knuckle.
The brown lizards with the green masks are Helmasaurs. You won't be able to hit them with your sword at all, so throw a pot at them.
The grey things with the tongue sticking out that are littered throughout the dungeon throw fireballs at you, similar to how the Zoras in this game do it. You can't do anything about them, so avoid and deflect the fireballs as you progress. You'll see these things in the Dark World dungeons a lot.
The telepathic message blocks in the Dark World are from Zelda, as Sahasrahla was only able to reach you in the Dark World, and he won't be able to reach you here. (At least it makes sense, as Zelda telepathically spoke to you at the beginning of the game.) She just tells you to hurry, and that's she being held on Turtle Rock.
The flying blue creatures you see will hit you with an electrical shock when they're flashing. Wait for them to stop sparking with electricity (during which they just float in place) before hitting them. If you've got full health, go ahead and finish them off with the Master Sword beams.
Don't bomb the cracks in the walls! You'll turn them into full-fledged pits if you do!
The creatures with the mouse-like faces move when you do. The green ones will move in the same direction as you, while the red ones will move in the opposite direction. Watch out with the red ones, though, as they will fire a fireball at you when it gazes at you, and you can't block it. Destroy these rat humanoids with your Bow and Arrow.
Remember those squares with the spikes on all four sides that you saw in the dungeons in the first Zelda game? Well, they're back, and some of them move on their own accord. They make their in-game debut in this dungeon, and - oh, yes - some of them still do the "Hey, let's double team and try to impale Link when he nears the door" thing, just like you'd expect them to. Hey, this is a [i]Zelda[/i] game...
The blue flying creatures also have a red pallette swap, and when you hit them, they split into two miniature clones that attack in the exact same way. Once again, wait for them to stop going electric and hit them with the Master Sword beams if you can. If you have a lot of the small ones onscreen at one time, use the Ether Medallion to get rid of them all.
The wall cracks near the map can be bombed. Hit up the left crack for a Key, and the right for three Faeries.
When you enter the middle area at the entrance, you can use the bombs to blow the cracks in the floor up and turn them into pits. Unlike that first one we saw, these are safe and will allow to drop to the basement floor. From here, you can go upstairs and get the Big Key.
No comments:
Post a Comment