Showing posts with label Drill Dozer. Show all posts

Saturday, May 18, 2024

PrinceWatercress plays Drill Dozer - Part 28 of 28


Did you know that there is a password room in the Red Dozer's Training Course? If you find it, you can unlock a few neat things, including a sound test and a hard mode. Read on!


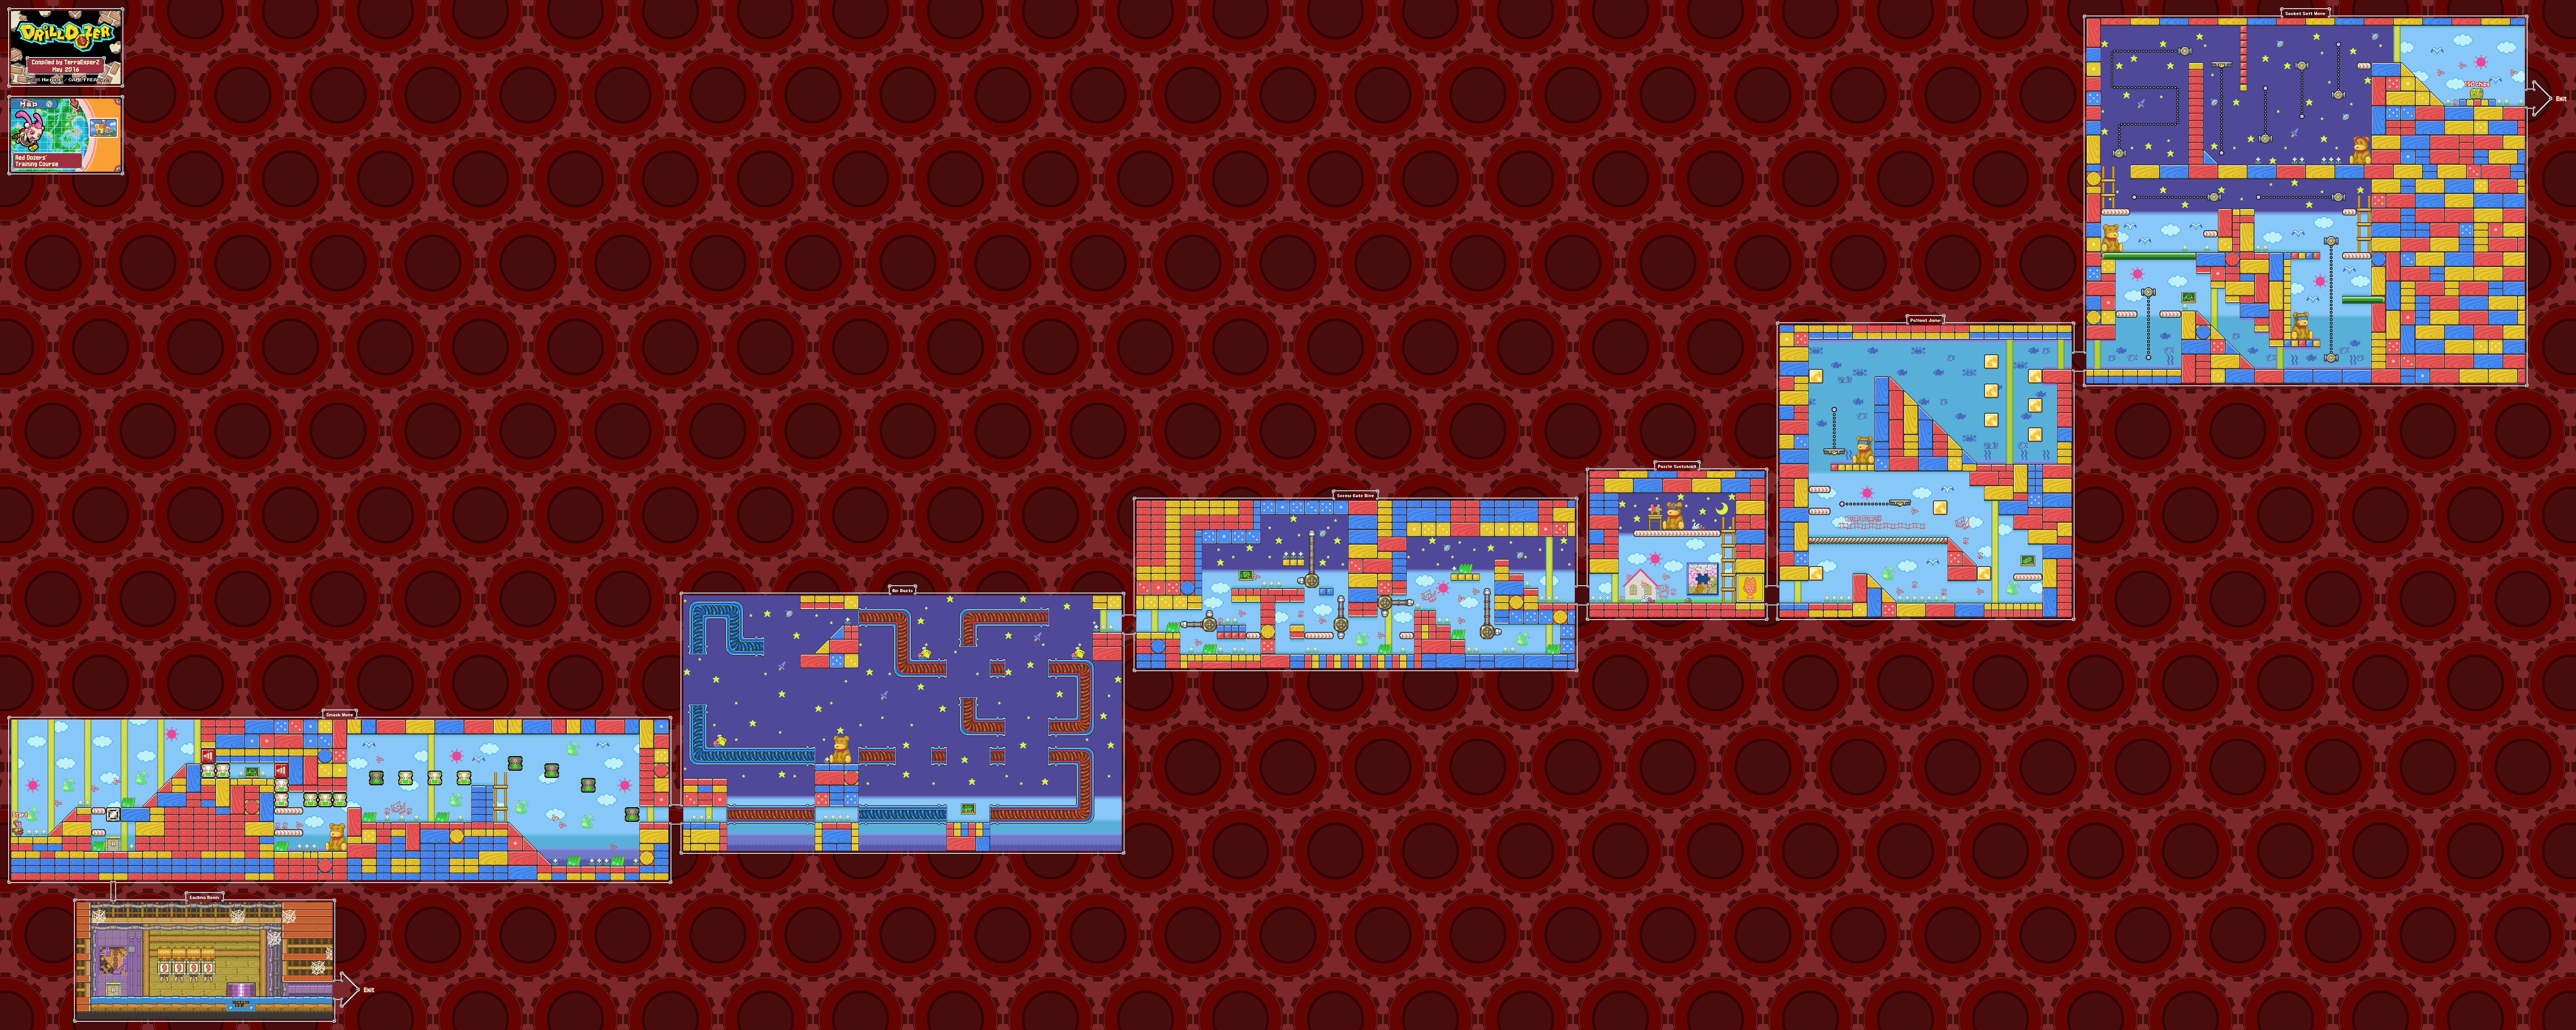
Red Dozers' Training Course


There's one more place to go in the entire game. It's blocked by a metal block, and it's at the beginning of the Red Dozer's Training Course. When you go in, you can put in passwords with the clamps using the drill on the Drill Dozer.

Before you can put in passwords, you'll need the access codes. The access codes in three levels, and certain levels will unlock surprises from other passwords.

Some of these surprises are wallpapers that change the borders of the message boxes, some give you alternate uniforms for Jill in the game's menu only (which you can switch between with L and R once you unlock them), and a few others unlock some pretty neat things. I'll mention what's in that last group of passwords a little later. As for the wallpapers, you can input them multiple times until you get the wallpaper that you want.

Unlike all the other passwords, which can be put in from left to right or in any order, you have to enter the numbers for the code in a specific order. These orders are as follows:

Level 1: 2413 (Input 1 in the third digit, input 2 in the first digit, input 3 in the fourth digit, and input 4 in the second digit, in that order.)

Level 2: 6385 (Input 8 in the third digit, input 6 in the first digit, input 5 in the fourth digit, and input 3 in the second digit, in that order.)

Level 3: 3852 (Input 8 in the second digit, input 2 in the fourth digit, input 3 in the first digit, and input 5 in the third digit, in that order.)

If you mess up at any point, press Start to reset the password to 9999 and try again.

Inputting a higher level access code will also unlock the lower access levels, so while there are three access codes, you can just put in the one for Level 3 if you want to unlock everything right out of the gate.

Once you input the password for a certain level of access, you'll be able to use a certain set of passwords. If you input a password correctly, a big treasure box will show up, and if you move into it, you'll get your reward. These passwords are as follows:

Level 1

2403 - Default Wallpaper (must have another wallpaper unlocked to use)
5746 - Frog Pajamas
4089 - Samurai Wallpaper
1814 - Rockstar Wallpaper
2094 - Cute Clothes
9025 - Drill Dozer Coveralls
9434 - Soundstone

Level 2

2059 - UFO Wallpaper
4181 - Thief Threads
2458 - Inspector Uniform
8785 - Control Center Wallpaper
7867 - Full Gearbox

Level 3

5854 - Blue Overalls
2438 - Nurse Uniform
5074 - Happy Wallpaper
2828 - Stylish Skirt
1419 - Futuristic Clothes
5716 - School Clothes
7073 - Master Seal

The Soundstone password unlocks the Sound Test. You must have the Sound Stone treasure from Area 1-2 collected to use this.

The Full Gearbox password only works when you have all 31 treasures collected, and allows you to enter a stage with all three gears right out of the gate.

The Master Seal password only works when you have all 31 treasures collected, and allows you to play a hard mode of the game. Hold L, R and Select and then press Start on a new save file to unlock Hard Mode on that file. In Hard Mode, you can only take one hit, all healing items are replaced with chips, energy tanks at the store are locked out and it costs 10 chips instead of the usual 50 to continue because you'll be dying a lot.

If you head right from the password area, you'll leave the level and go back to the game menu.

And that's it for Drill Dozer!

Friday, May 17, 2024

PrinceWatercress plays Drill Dozer - Part 27 of 28


With one more trip to Clink Prison, we have all of the treasures in the game.

But we still have one more thing to do...


Area 5-1: Clink Prison


7:02 - Once you get Jill back in the Drill Dozer, you'll need to head back to the start and break the metal block to the left of where the enemy gauntlet was. From here, you'll need to time your jumps so you can jump from block to block as they disappear and re-appear to get the Frigid Claw.

With all of the treasure collected, you'll reach the highest rank in the game: Big Boss.

We're not done yet, though. There's still one more metal block to break and one more thing to check out. Stay tuned!

Thursday, May 16, 2024

PrinceWatercress plays Drill Dozer - Part 26 of 28


Yet another one I could have gotten during the play through the story! Thankfully, that's the second and last.


Area 4-1: Metal City


2:21 - Breaking this metal blocks will open a path leading to the Rough Coin.

11:14 - After this set of timed blocks, drop down. You'll find the Drill Fossil, which can be picked up without the need of special drill bits and therefore could have been picked up during my play through the main game.

Area 4-2: Metal City Flight


18:10 - On the fifth screen, there are some metal blocks to the right at the start. Break through them and head right. Be ready to fight another one of those laser shooters, this time with propellor controls. (Yes, I forgot how to strafe. To be fair, you only have these controls for one stage.) Once you beat the laser shooter, you can head further to the right, drop down and get the Old Juice.

Wednesday, May 15, 2024

PrinceWatercress plays Drill Dozer - Part 25 of 28


Now that we're fully upgraded, getting everything else here will be much easier.


Area 3-1: Kuru Ruins


4:00 - Now that you can break metal blocks, you can go through here and brave the spear traps to get the Jellyfish Bone.

8:59 - More metal blocks block a path leading to the Footdust.

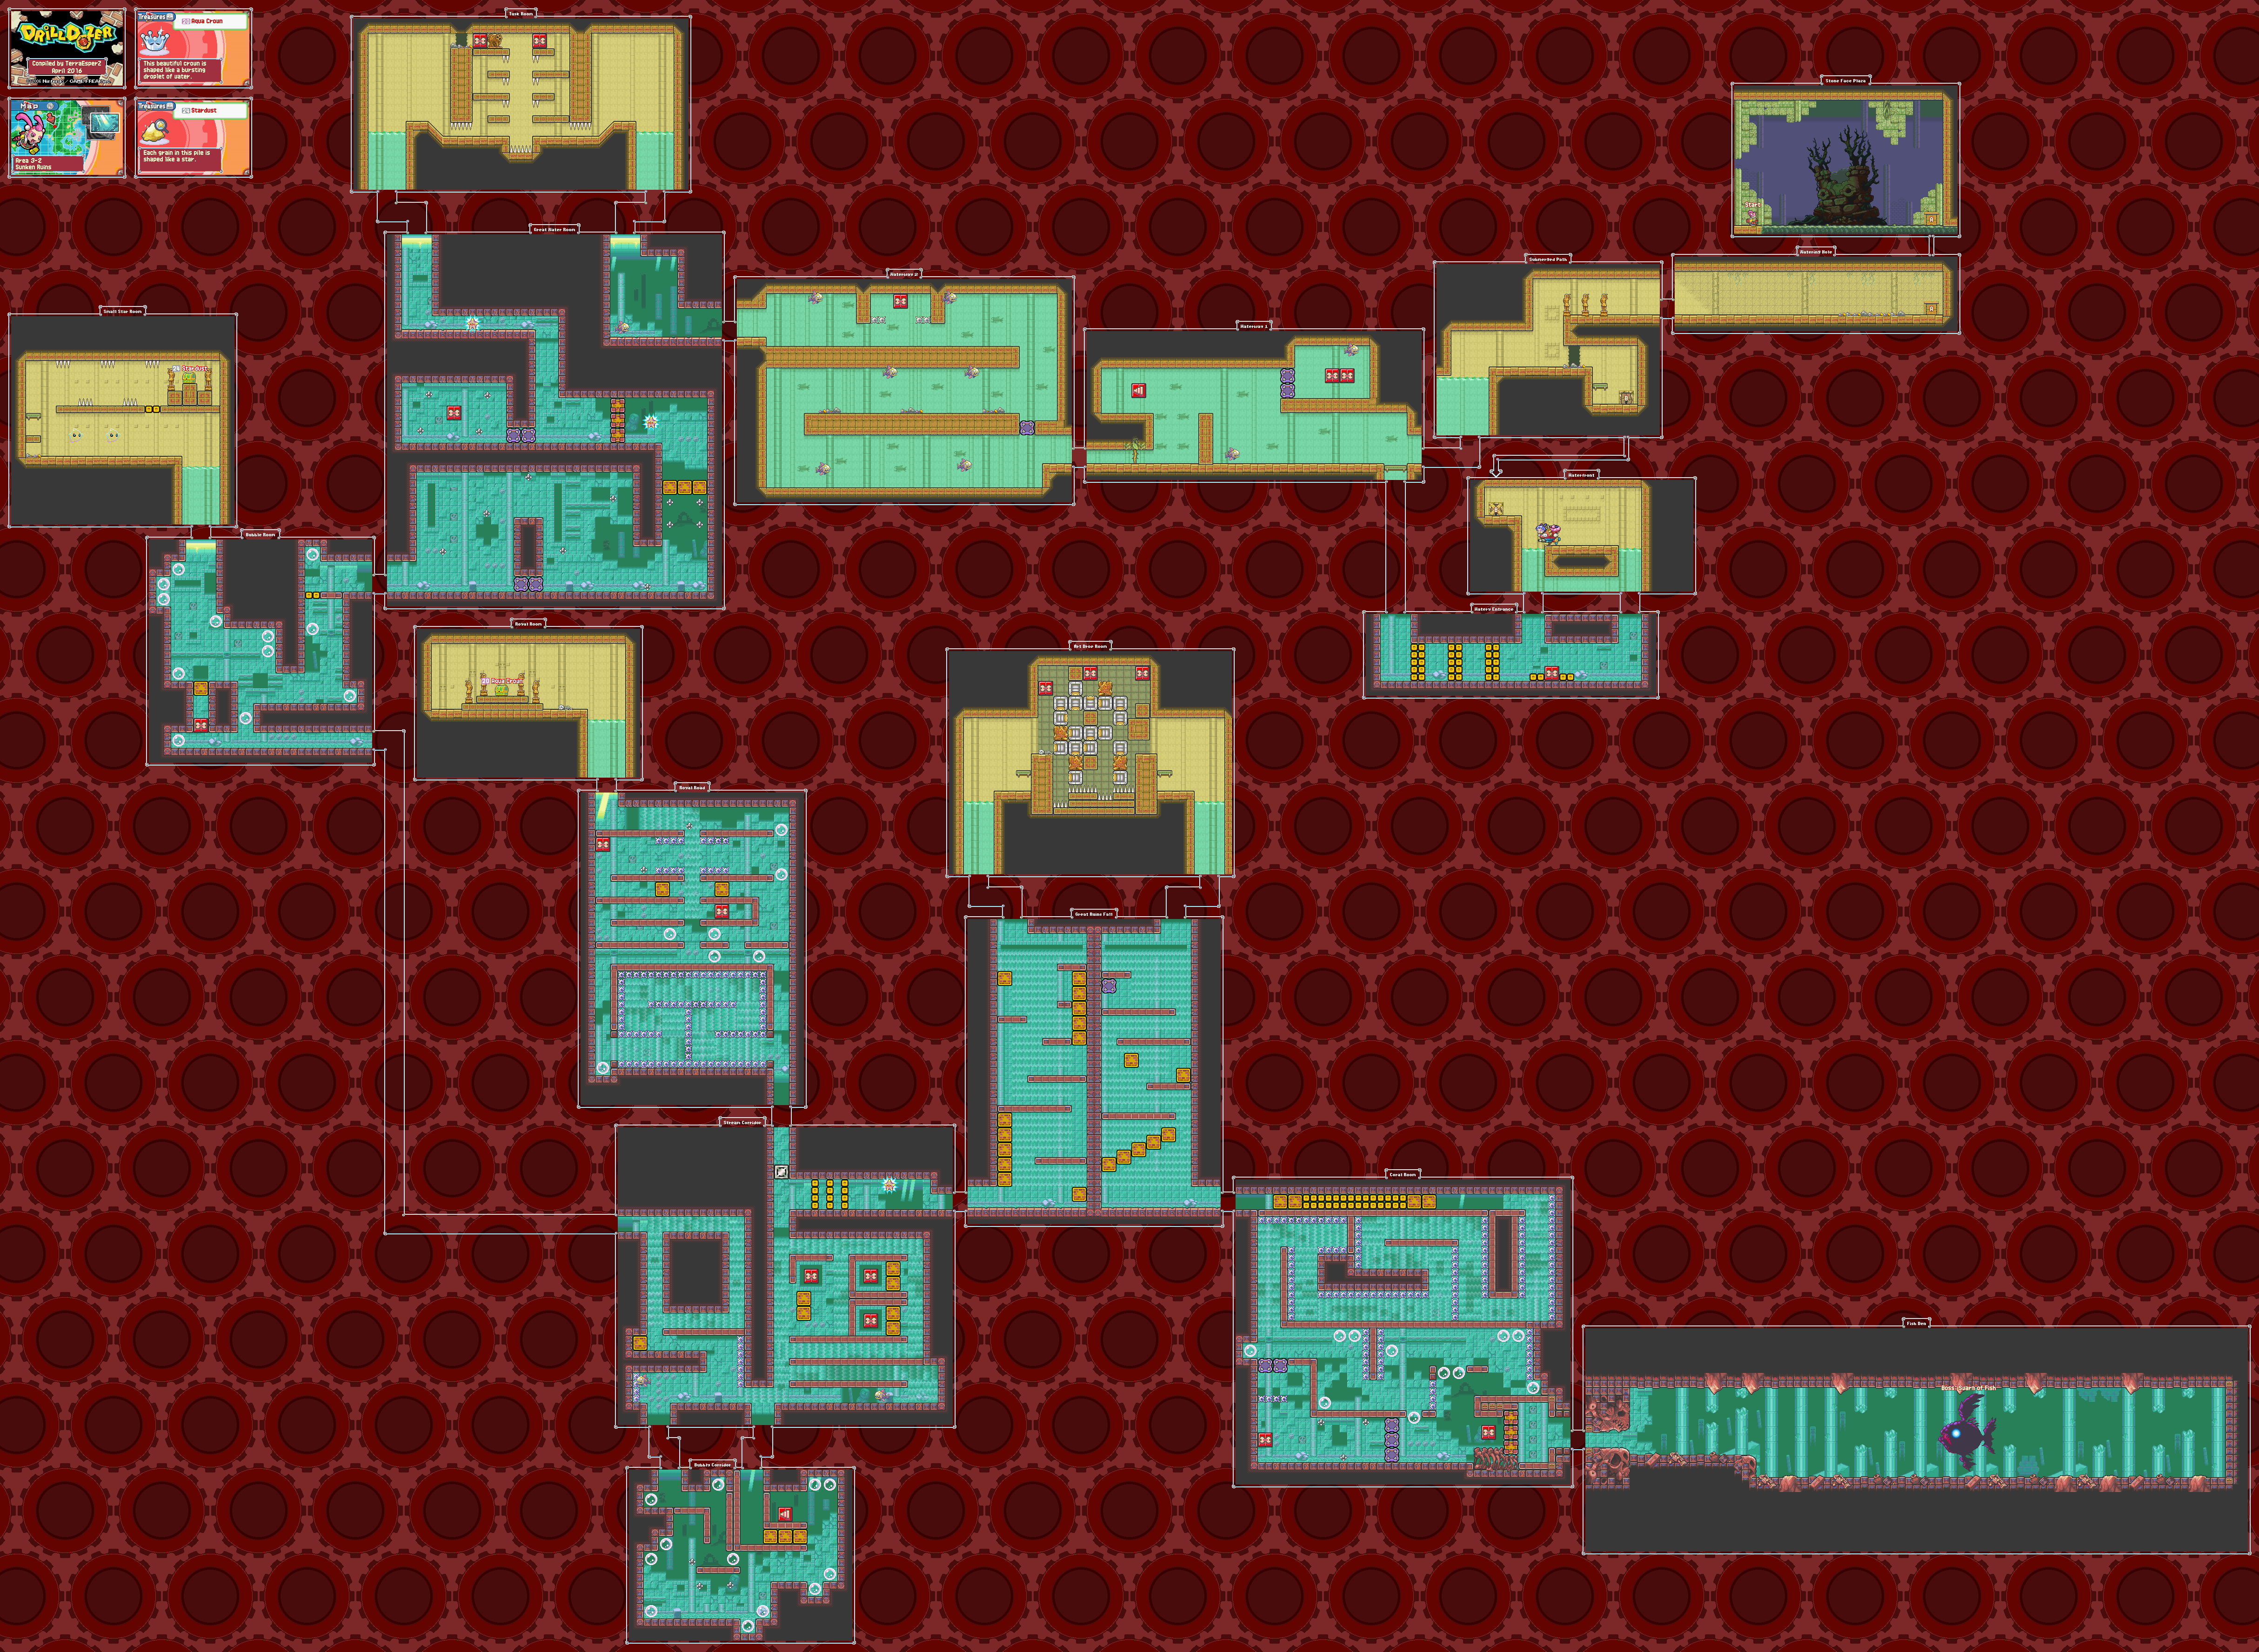
Area 3-2: Sunken Ruins


19:05 - By breaking this metal box, you'll be fighting the currents and launching yourself across the room with the bubbles to get to the surface. Once you do, however, you'll be able to get the Aqua Crown.

Tuesday, May 14, 2024

PrinceWatercress plays Drill Dozer - Part 24 of 28


It's now time to get the rest of the treasures in Area 2. I can't believe I originally missed that last one.


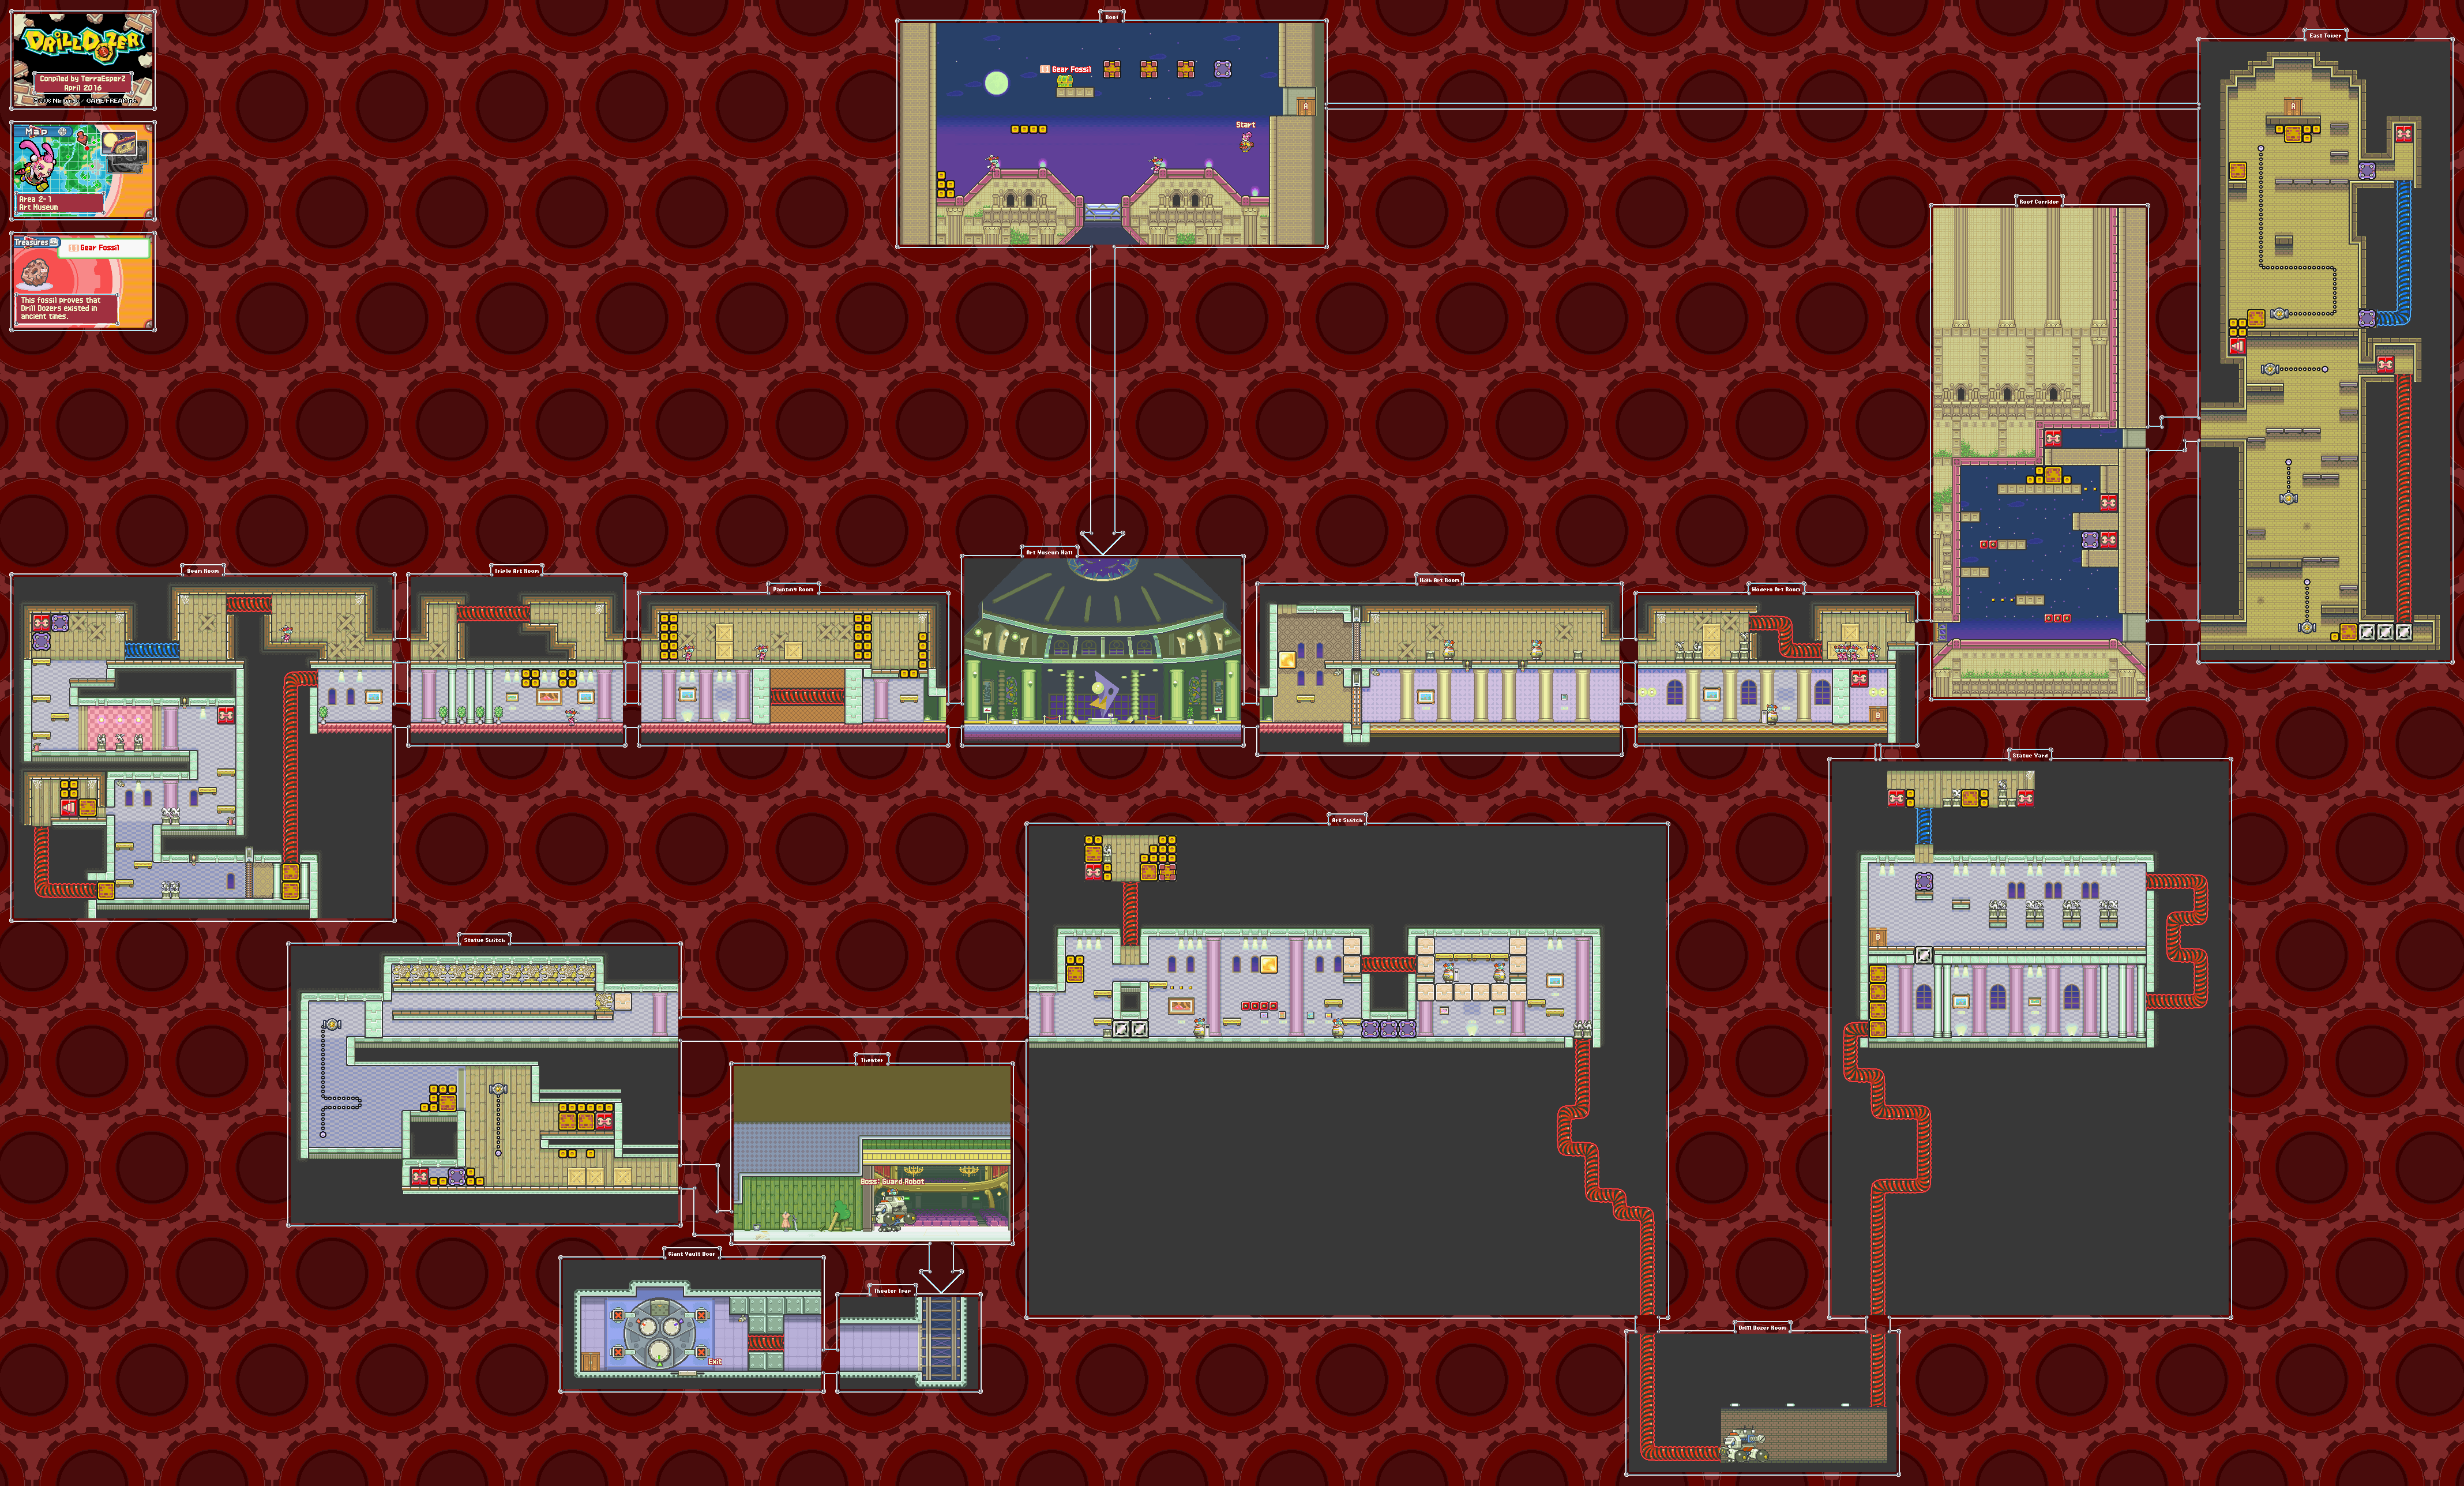
Area 2-1: Art Museum


5:41 - With the Drill Dozer fully upgraded, we can take this mid-air path and get the Gear Fossil.

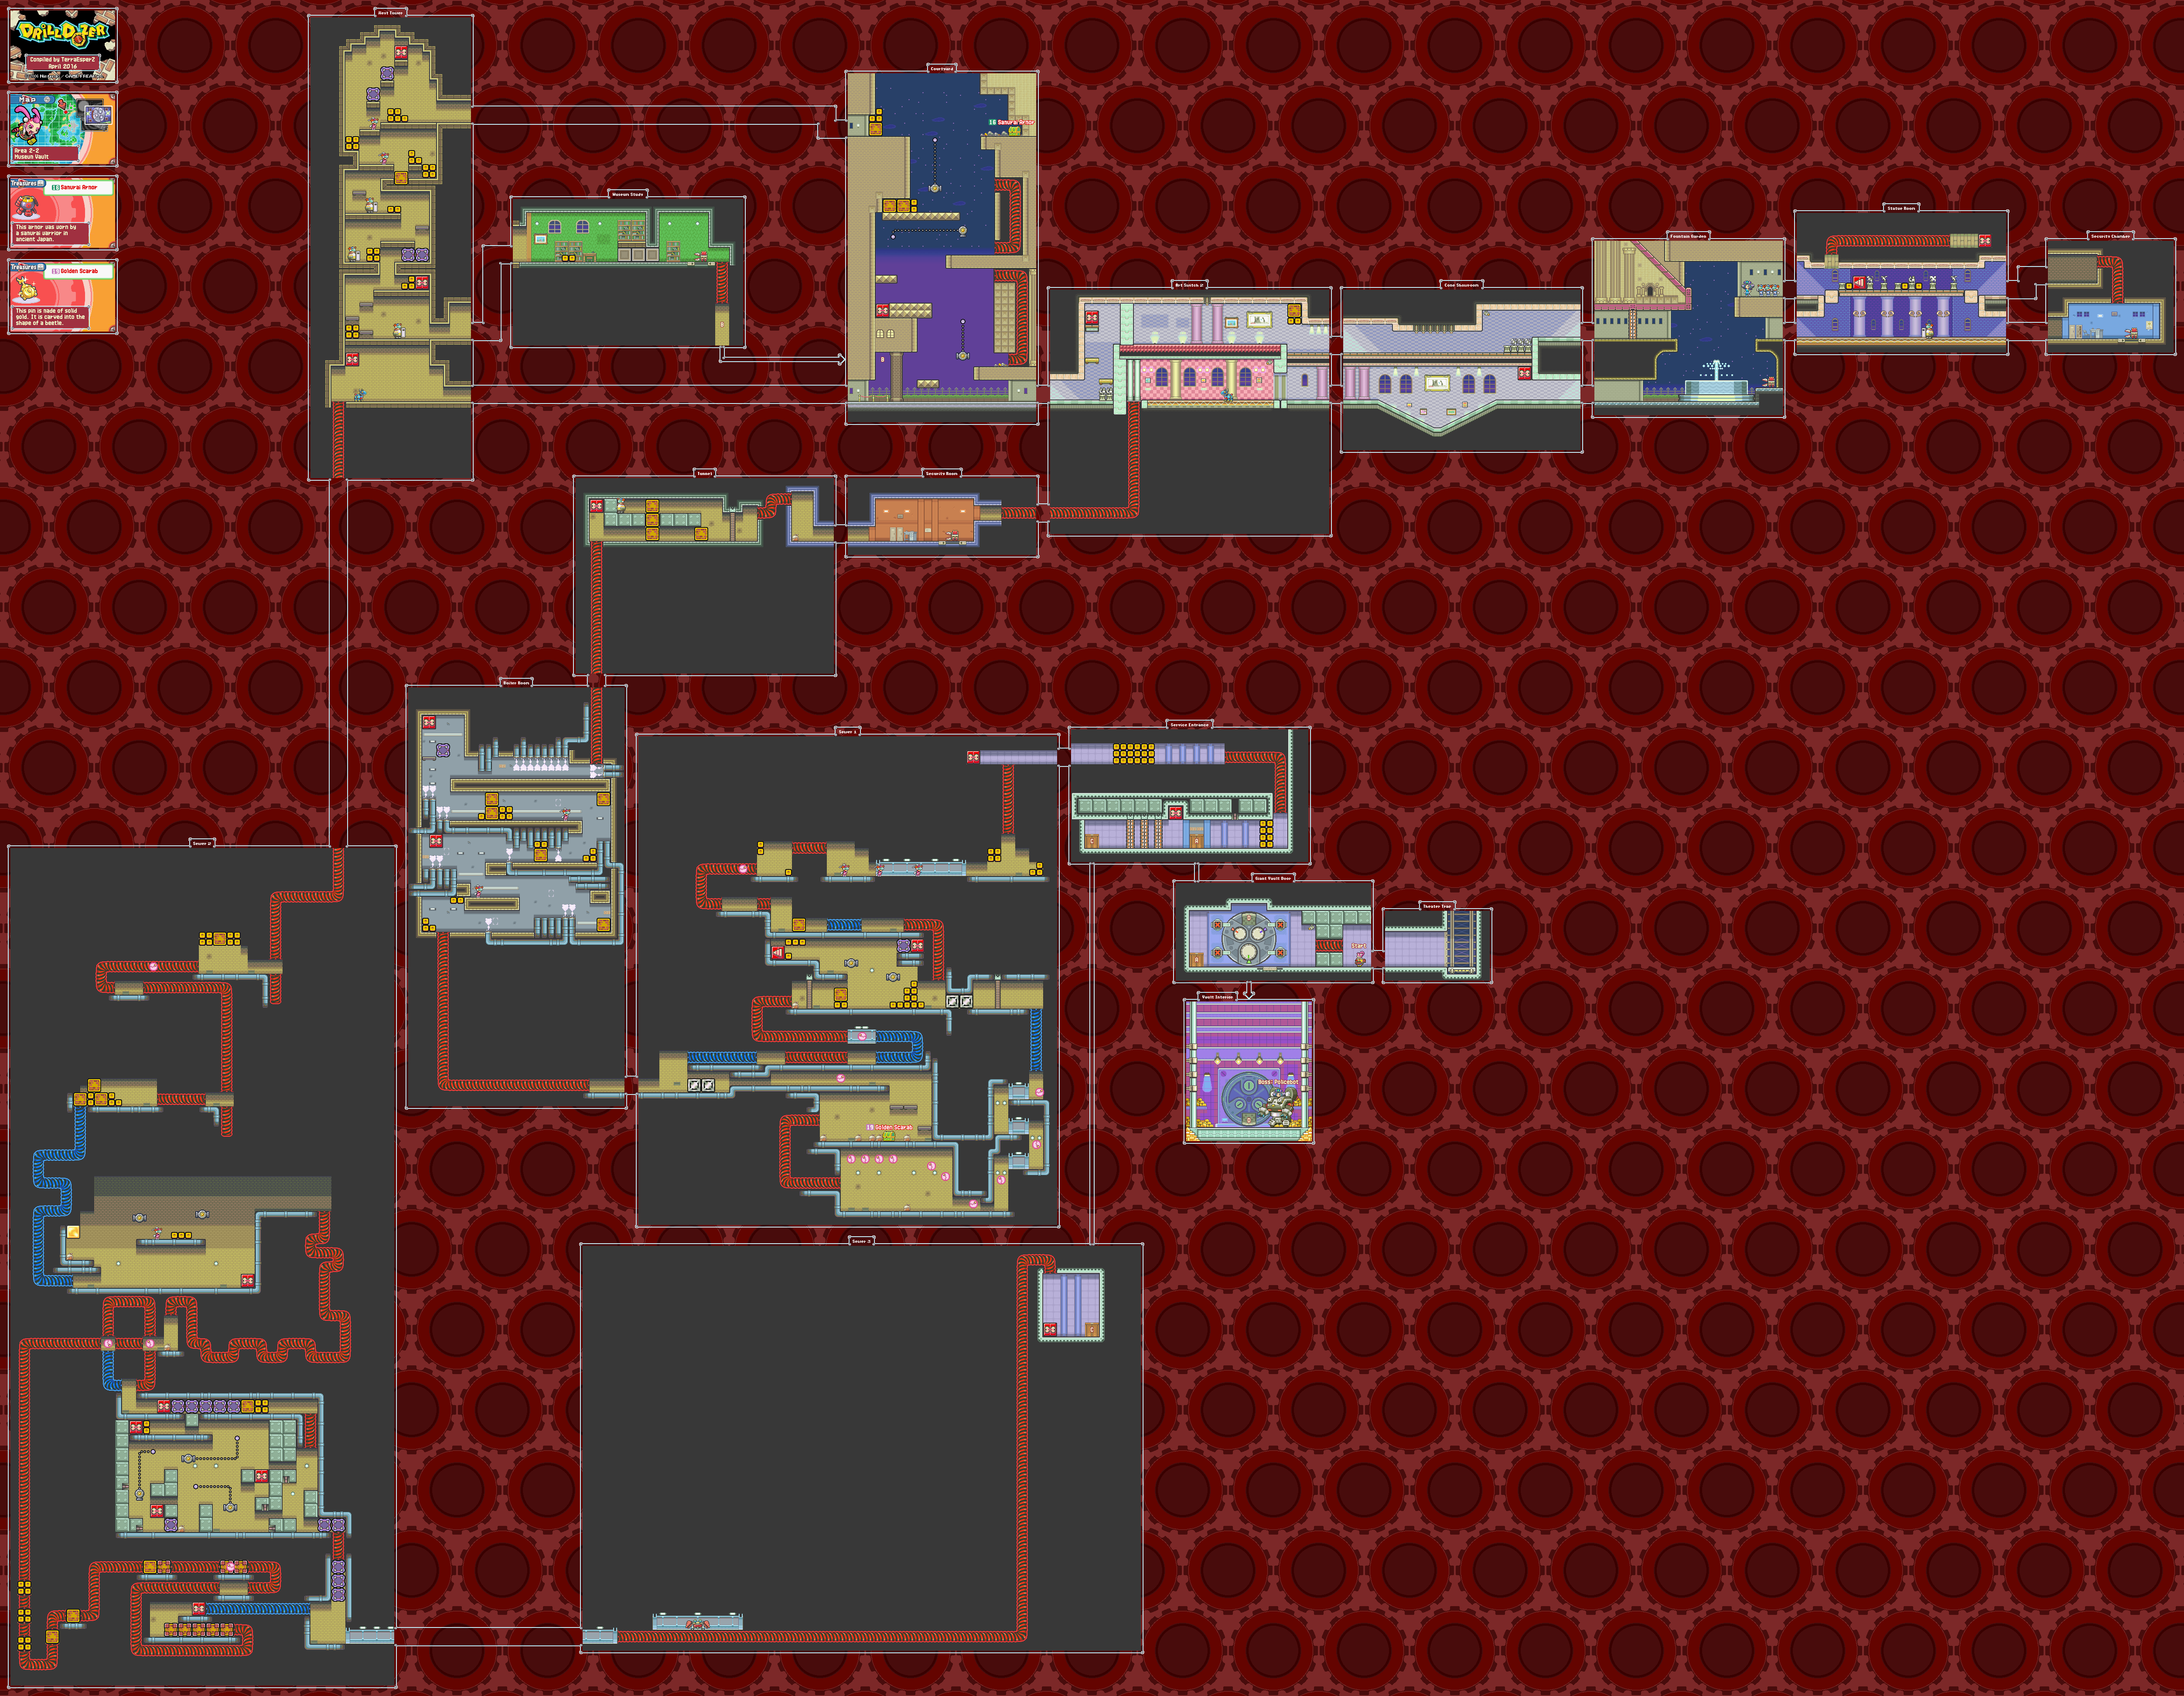
Area 2-2: Museum Vault


7:38 - Get second gear before taking the metal box path. From here, get ready to avoid those pink Pac-Man enemies to reach the Golden Scarab.

17:10 - I mentioned this cracked wall earlier in the Let's Play, but this time, I know it exists and I finally break it. Inside the wall is the Samurai Armor.

Monday, May 13, 2024

PrinceWatercress plays Drill Dozer - Part 23 of 28


Now that we have the main game as well as the secret areas completed, it's time to mop up what's left and finish this game once and for all.


Now that we're done with the main game as well as all of the secret areas, we're now going back to the main levels to pick up the treasures that we missed. Compared to the main game and the secret levels, this was perhaps the easiest part of the Let's Play by far.

Area 1-1: Skullker Hideout


3:17 - Now that we can break through the metal boxes, we can access this path. Break through the broken wall to get third gear, then enter the door you see afterwards and break the wall behind the sole brick block with the padded corners. You'll find the Smooth Coin on the other side.

Also, you can exit a level through the pause menu and still get credit for the treasure.

Area 1-2: Skullker Factory


9:31 - Hey, remember this route? Now that you can break metal blocks, you can take it all the way to the end! You'll find the Soundstone past the metal block.

Sunday, May 12, 2024

PrinceWatercress plays Drill Dozer - Part 22 of 28


Amazing how the secret areas got easier and easier (sort of) until the very last one.


Area 6 Secret Area: Hidden Compartment


Compared to the other secret areas, this one has just one route and isn't long.

In the first part of the level, you'll be launching yourself from rubber block to rubber block. Before you can do that, however, you'll need to get to second gear and avoid a ton of sparks.

In the second part, you'll be avoiding even more sparks as you jump from platform to platform while avoiding even more sparks, and after that, you have small platforms to work with in addition to more rubber blocks. You'll find the Skull Badge at the end.

In the third part, get third gear, as you won't be able to get to the end without it. When you break the bricks, you'll uncover bombs. You'll need to wait for the bombs to get clear out of the way, and you may have to break certain blocks in order to clear a path and get to the end as quickly as possible. For getting to the end, you'll get the Bone Bell. After that, you'll exit the sixth and final secret area.

Saturday, May 11, 2024

PrinceWatercress plays Drill Dozer - Part 21 of 28


And now it's time for the other route through Stage 5's secret area. Once we're done here, the hardest part of getting 100% is over.


Area 5 Secret Area: Escape Tunnel


This time around, we take the lower route at the start.

On the lower route, you'll start by getting the enemies with the fists to help you across the pits. Goad the enemies towards you, then be ready to drill into the fist as it rockets forward. The hardest part of the first section is latching onto the socket lifts at the end, but if you can do that, you can just launch yourself backwards to the right and continue on.

In the second section, you just need to avoid the sparks and the enemies with the socket lifts. Don't forget about the cannon clamps.

You'll be seeing more cannon clamps in the third section, but this section is easier to get through if you come in with maximum health. 

For the last section, you'll need to destroy the flying laser shooter again. To make matters worse, the three turrets at the top shoot slime, and you may have to get rid of them just to get rid of the laser shooter. Once the laser shooter is destroyed, you'll get the Chip Fossil.

Friday, May 10, 2024

PrinceWatercress plays Drill Dozer - Part 20 of 28


Of course I play the harder route first. Why wouldn't I?

Area 5 Secret Area: Escape Tunnel


There are two routes. One is on the top and is the harder path. The other one is on the bottom and is the easier path. Guess what? We take the harder path first.

When you go in, you'll have to deal with the lasers...and if they touch you, the blocks below you disappear and you have to start the current section over.

For the first section, you not only have to avoid the lasers, but you have to fight enemies on top of that. If an enemy hits you, you cannot trip the lasers while you have the temporary invincibility from getting hit by an enemy. Use this to your advantage, and be sure to come here with the maximum amount of energy tanks, because you're going to be trying and failing a lot. You'll get second gear after the enemy gauntlet. Afterwards, you'll need to get rid of the slime turrets during the second enemy gauntlet. At least you'll get third gear after this, which will let you get past the charge clamp.

In the second section, you have to do the bomb defusing part from Area 5-1 again. There's just one big difference: there are slime turrets above you. The trick to getting through this part is to defuse the bombs with your drill while also not being directly underneath the turrets, which triggers them to shoot at you. If you can make the most of the reach your drill has, you can make that happen and you can get through this part relatively unscathed. The wall at the other end can be broken for a little bit of a health refill, but it's not going to be much.

In the third section, you'll need to get to the door on the other side with the socket lifts while also avoiding the turrets and the bullets that they shoot. This is probably the easiest part of this route, but that's not saying much. I made this part look easier than it actually is.

Then there's the fourth section. You'll need to avoid the lasers as you make your way to the right, and if even one laser touches you, you're starting this part all over. There are only two safe spots you can stand at, and it's near the end and they're both near the ceiling. You can drill above you on the first one for a giant chip that's worth a lot.

You then have the fifth and final section, which is more of the same from the fourth except it's a little more complex. At the first set of lasers, you'll need to be hit by one just before you launch yourself to the right with the socket lifts. If you can time it right, you can get to the other end before the blocks come back, or else you're hitting the sparks below and doing this again. This part does not play around.

After that, you'll then have to position yourself carefully to avoid all the lasers, and once you get to the end, you'll need to get away from the lasers as quickly as possible to get to solid and finally get the treasure, which is the Clay Shades. This is easier said than done, since the first laser in the second part moves frantically, and also, do you really want to screw up this close to the end and do this last section all over again? I even kept sliding past the second wall in order to get to solid ground more quickly. But at least this is over, and we can take the easier route in the next video.

Thursday, May 9, 2024

PrinceWatercress plays Drill Dozer - Part 19 of 28


This route was easier. It was also a whole lot of fun.


Area 4 Secret Area: Metal City Highrise


This time around, we take the top path. This time, you'll be drilling into those clamps, and using the other button to launch yourself upwards. You'll need second gear to get past the first section, and in all of the sections, you'll need to avoid the spiked black balls that move back and forth. Third gear will be on the second section. In the third section, there will be some turrets; be sure to take them out.

Despite how the level is, I had more fun with this one than I thought. This ended up being the easier path i the secret area by far.

You'll get the Glass Mask at the end of this route.

Wednesday, May 8, 2024

PrinceWatercress plays Drill Dozer - Part 18 of 28


This route was fun, believe it or not.


Area 4 Secret Area: Metal City Highrise


There are two paths we'll be taking in Area 4's secret area: the top path and the bottom path. We'll be taking the bottom path.

The bottom path has a ton of screw gates. Before you can get to them, you'll need to watch where you're going on some moving platforms. 

To get to the treasure chest that contains the Stinky 'Shroom, you'll need to launch yourself backwards as you latch onto the screw gate, then latch onto the rubber blocks and launch yourself backwards off the block at second gear.

For the rubber block before the big gap with the moving platform, you'll need to get to third gear, then launch yourself off just before the moving platform appears, then be ready to duck to avoid the block on the other side.

For the screw gate before the set of rubber blocks, you'll need to drill the bottom screw first, then launch yourself towards the blocks at second gear.

Near the end, you'll need to bring the screw gate further to the left, then drill the other screw in the opposite direction and launch yourself off to the right as soon as you hit third gear. It works better if you get the left screw all the way to the left, as you'll have more time on the other side.

At the end of this route, you'll get the Eternal Top.

Tuesday, May 7, 2024

PrinceWatercress plays Drill Dozer - Part 17 of 28


Now to get the other two treasures in the Forgotten Ruins...


Area 3 Secret Area: Forgotten Ruins


It takes 5,250 Chips to buy everything in the game.

For this video, we take the other two routes through the Forgotten Ruins.

The second route is in the upper-left corner when we enter the ruins. Be ready to avoid the spears when they shoot out of the walls, and be ready to jump on the disappearing and re-appearing platforms as they show up. Use the first gear to latch onto the last two rubber blocks and launch yourself to the door; use the second gear for all the others. You'll get the Ancient Tablet before being deposited at the exit again.

The third route is in the upper-right corner when we enter the ruins. Get to the upper-left corner, but use the rubber blocks to launch yourself to the other side of the room while staying high. In the next room, avoid the boulders as you launch yourself up with the rubber blocks and break the blocks. For this part, second gear will be your friend with both the rubber blocks and the blocks you need to break to avoid the boulders. You'll get the cowdust at the end.

Monday, May 6, 2024

PrinceWatercress plays Drill Dozer - Part 16 of 28


It's time to play the rest of the secret areas, but before I do...let's check out how to get chips!


When you beat the main game, you can see how many treasures you've collected in all the levels. When you collect all the treasures, you'll have fully completed the game.

The Mega Bit and the rest of the maps will be available in the shop once you beat the game. The Mega Bit will let you break through the steel gray blocks that have been blocking you from getting cool stuff throughout the game.

As for how I got a ton of bolts, I kept playing through Area 6-1, as that is a great place to get some bolts before you reach the engine for the drill missile. I do a playthrough of this level, and this time, I play it better.

Area 3 Secret Area: Forgotten Ruins


When you enter the level, you'll be able to get third gear right out of the gate, which will make things easier.

There are three routes, and we'll take all of them. For this video, we will be entering the first door we see as soon as we enter the ruins.

For the first part, you're racing against the spikes again, and you'll need to carefully make a path so that you can get to the top and enter the door there. If it's in your way, you'll need to destroy it. There are a few blocks that you won't need to destroy, either because said blocks make it easier to get somewhere or because it's not in your way as you get to the top.

When you enter the door at the top, you'll be able to get the Barnacle Coin.

Sunday, May 5, 2024

PrinceWatercress plays Drill Dozer - Part 15 of 28


It's time for the final battle with Croog! Compared to the rest of the second half of the game, this is mercifully easier.


Area 6-2: Croom's Doom Dozer


Compared to the last few main levels, this one is a breath of fresh air due to not being as frustrating as the last two areas we've been to. 

The level begins with Grutch and Gearmo launching Jill onto the Doom Dozer - Croog's tank of doom - before their truck crashes. Meanwhile, Detective Carrie tries to figure out how to get on the ship.

Aside from the enemies you'll have to deal with from previous stages, you'll also need to avoid the missiles that shoot out of the missile launchers. Also, see what walls you can go through, as the secret path can get you to second and third gear as soon as the level begins. Compared to the last few levels, this one is pretty straightforward.

Also, there are a lot of slime shooting and bullet shooting turrets here. 

You'll need to slide form the edge of one platform to another to face the missile tank, which we haven't seen since Area 1.

For the totems, wait for the lasers to disappear before drilling the totems in the face. The only difficult thing about destroying them is the missiles dropping from the air that interrupt your attack.

You'll eventually be able to get into the Doom Dozer itself. Start drilling the wall, shift up to third gear and keep going right. You'll eventually get the screen to turn white, topple the tower of the Doom Dozer and destroy the dozer outright.

You'll get back in the Drill Dozer, but you'll lose all three gears and the ability to use the drill. Croog mentions that as long as he has the Black Diamond, he can keep coming back. The only way to defeat him is with one well-timed punch, and when you do that, Croog loses his mask and he runs away after being revealed as some kid or something.

You'll have to avoid his attacks first. Jump over the lasers, and punch him when he gets close enough. You may have to avoid him once or twice, then hold the B button down to charge the punch up and let go when he rushes at you again. When you hit him once, you'll knock him off of his flying chair and he will retreat. The Black Diamond will break, then Croog loses his mask and runs away.

Afterwards, Grutch will mention that the Black Diamond amplified Croog's brattiness, and Gearmo will mention that the Black Diamond's power was amplified so much that is shattered into a million pieces. The Red Dozers get the Red Diamond back, the Yellow Diamond is returned to the museum vault, and the Blue and Green Diamond are taken by The Magnet Sisters, who suddenly show up and take them before Detective

A few days later, Doug is better again as the HQ is being rebuilt. Grutch considers using the Red Diamond to bring back the HQ, but Doug refuses, saying that doing it by hand is half the fun and they can always build a new one themselves. As for the trailer, the Red Dozers now have a new one. Doug declares Jill the new Big Boss of the Red Dozers, and we see the spirit of Jill's mother waving goodbye as The Red Dozers go off in search of new treasures. From there, the credits roll. Afterwards, you'll get a rank based on how many treasures you've collected, which increases when you go back through the game and get more treasures.

We're not done yet, though...we still have the secret areas and the rest of the treasures to deal with! Stay tuned!

Saturday, May 4, 2024

PrinceWatercress plays Drill Dozer - Part 14 of 28


Now to take the other path. Guess what? It's the worser path.


Area 2 Bonus: Employee Area


This time around, we'll be entering the door that briefly looked at in the last video. Guess what? This leads to the other path. 

You'll be dealing with laser turrets and plenty of platforms, socket lifts and rubber blocks are you make your way around. At one point, you'll have to stay underneath a moving platform while fighting enemies so as not to get zapped by the lasers above.

Your timing needs to be dead on and staggered as much as possible to get to the door above the slow socket lifts. For best results, you'll need to stay on the slow socket lift for as long as possible.

Once you get third gear, you'll have to get rid of one statue. Carefully tap a shoulder button so you destroy the bottom statue, or else you'll accidentally destroy more than one and you'll have to leave the room and re-enter to try again. After some laser shooters, you'll have to deal with three more socket lifts to get to the end of the level...and it is the worst three socket lifts that I have ever played around with and the worst experience that I have in this game due to the timing of when the socket lifts show up and trying to make sure I hit the right button combinations while also trying to stay in third gear so I can make it. For some reason, this takes six minutes, which is five minutes longer than it should have, landing in the spikes and attempting to jump over them horribly every time I mess up, resulting in the loss of quite a bit of health. You can tell that I don't like this. At all.

When you somehow make it to the end, you'll be able to get the Samurai Sword and get out of here.

Friday, May 3, 2024

PrinceWatercress plays Drill Dozer - Part 13 of 28


Before we beat the game, let's get some extra stuff done, shall we?


Area 2 Bonus: Employee Area


When you go in, the green floors will blend in with the green walls, but if you pay attention to the floor, you'll be able to tell where you can go. In an even funnier twist, some things that can be destroyed will blend in with these floors.

There is a door we can slide to, but we don't enter that one yet. Instead, we go further to the right down a drill duct and take another path. This path is, thankfully, the easier path. Throughout this path, you'll be dealing with steam blasts as well as the pink Pac-Man enemies that will chase you down the ducts.

Once you hit third gear, you'll be having some fun with going in and out of the the smaller ducts to get back on the main path and revving the drill up ahead of time to ensure you can get through a series of ducts. You'll also have to face the crab boss again - twice! - but you fight the crab boss the same way. The eye that flashes indicates which claw it will attack with, and you'll need to attack that claw to damage the boss (or avoid that claw if you're not in position to). If it's the left eye, it will be the left claw; if it's the right eye, it will be the right claw. When the crab lowers its eyes into the duct after you successfully avoid its attack, you'll want to attack the eyes with the drill. 

After a really fun part where you go through the drill ducts at top speed, you'll get the Pyramid Stone in a chest. You can then rocket through a few more ducts and get out of here.

But what about that set of doors that led to someplace completely different? We're going there next time!

Thursday, May 2, 2024

PrinceWatercress plays Drill Dozer - Part 12 of 28


Croog knows you're getting close, and he's pulling out all the stops to ensure you do not stop his plans.


Area 6-1: Drill Missile


After you beat Area 5-1, you're forced to play Area 6-1 whether you're ready for it - or want to do it - or not.

I don't like it when a game does this. At all. The game is virtually grabbing you by the hair and virtually chucking you into playing a stage and not giving you a choice. This is no different from what MediEvil II did with the boxing match, when I wanted to save after going through the Kew Gardens and the game wouldn't let me until I completed the whole of the next part that it wanted me to go through. 

When you're forced into this stage like sardines into a tin, Croog unleashes his Drill Missile on the Red Dozers' home. As soon as it lands, it starts burrowing into the secret command dozer where Doug is laid up. You'll have to sneak inside the exhaust vent, get to the engine room and stop the missile before it gets there!

As soon as you get into the missile, you'll find out that the engine is designed to explode the missile when destroyed, and that you'll have to get to the spinning bit controlling the missile and destroy it.

Thankfully, you're not under a time limit through most of the stage. Watch out for the sparks. The pink ones travel faster than the blue ones. Also, get second gear as soon as you see it, so that you can destroy the self-repairing barrier.

The moving purple platforms will flip back and forth every so often. Get on the platforms when the electrified side is not exposed.

Once you get past the drill duct segment, you'll then have a three minute time limit in the lower-right corner. At this point, you'll need to drill through the blocks and avoid any mines that you run into. The explosions will knock you back and do a little bit of damage. Also, don't waste a lot of time here, as you'll still need as much time as possible to destroy the spinning bit at the bottom. Thankfully, destroying it isn't hard. Just drill into it and shift all to third gear every time while avoiding the sparks. Once the bit is backwards, you'll need to hold Up and press L to move the Drill Missile backwards.

Unfortunately, this trips another fail-safe: the missile's self-destruct sequence. You'll have to flip a switch in the engine room to get the engine to run in reverse. In the following drill duct section, go through all the ducts in third gear and maintain third gear throughout so that you don't get blown up.

When you get to the engine room, flip the level. Unfortunately, you're still not done, as this causes the engine to overload. You'll need to take the blue chip that is on the coolant tower to the right and move it to where the bar on the screen moves to balance the coolant levels before the bar gets too close to the side and causes the entire Drill Missile to explode with you still in it. When the display blinks and the screen shakes, the bar may switch directions. Be ready to stand in the middle and place the blue chip accordingly. For best results, place the blue chip when the bar is about to reach the last big bar on either side of the coolant levels. As you go, the yellow lights at the top of the towers will slowly light up, and when all five lights on both sides light up, you'll finally stop the Drill Missile before sending it back at Croog and blowing up his fortress. Croog responds by revealing his secret dozer.

Wednesday, May 1, 2024

PrinceWatercress plays Drill Dozer - Part 11 of 28


Wanna see and hear me get frustrated? Here you go. Just keep in mind that it's not the worst case of me doing just that.


Area 5-1: Clink Prison


The stage starts with Grutch and Gearmo showing up at a cliffside near Clink Prison, where the commissioner looks through Jill's rap sheet. When Detective Carrie questions the reasoning behind Jill's arrest and throwing her in jail without a trial, the commissioner tells her to keep her mouth shut before mentioning that the Red Diamond is still missing. After seeing Jill in jail, we then see the Drill Dozer activate on its own, much to the surprise of Grutch and Gearmo.

Without Jill, the Drill Dozer's jumping ability will be cut in half, and you'll be forced down further into the prison by your bad jumping. You also won't be able to reach the switch on the wall. Pressing B will allow you to hide in the shadows.

When you are fighting the enemies near the blocks, aim upwards to take them out from below with the drill.

To avoid the lasers, you'll need to use the B buttons. Be sure to watch the movement patters of the lasers. If the lasers hit you, you'll activate an alarm and the red blocks will disappear, and if you hit any spark pits, you'll lose some health and get sent back to earlier in the stage. Keep in mind that solid objects can block the lasers, giving you a potential safe spot.

The security guard in the yellow suit has a fist that you can drill, and once you destroy the first, you can destroy the suit outright. Be careful, because the fist can push you back. 

Pay attention to walls and ceilings for cracks you can break through for extra chips for continues as well as the ship.

You'll need to jump up with the socket lift in order to go up with them as you get closer to Jill.

Some turrets will shoot slime. If you rotate your thumb all over the Control Pad, you'll break free faster. While slimed, you cannot use your drill, so you'll want to shake all that slime off as quickly as possible.

You'll eventually reach Jill's cell. Once you break through the bars with the drill, you'll find out that the Red Diamond contains the spirit of Jill's mother, which controlled the Drill Dozer up to this point. From here, Jill gets in the dozer, and you have total control of the drill again. You'll be able to break through the wall on the right and go to second gear, and you'll be able go back to earlier points and turn off the lasers that gave you trouble earlier, and you can backtrack to wrench blocks for more chips.

You'll eventually have to head back to the start and hit the switch to take a lift to more of the level. The officers in the electrical suits will speed towards you when you are at their levels, and you'll need to drill down into them from above to remove the screw in the suit and weaken them. From there, 

There will be green tubes in the drill ducts with a number on them. These are called cannon clamps. The number indicates the gear you need to beat at to pass through them, or else you will be sent back. This will make getting through some of the drill ducts a little tougher, as you'll need to time up the revving of your drill just to get past certain points.

The first set of blue drill ducts will lead to the Magic Spice, which is a treasure you can get early in the game. 

The officer on the jetpack will carry a gun and follow you around. When he stops moving briefly, he will shoot multiple bullets at you, and if you get hit, you'll be sent back to the beginning of the area. You may have to walk backwards while drilling to block the bullets and get away from him. When you're near the door, wait for him to stop shooting, then get in there.

You'll soon reach the office where you saw the commissioner and Detective Carrie earlier. If you press B at the desk, you'll find a note with instructions to tell lies about the Red Dozers and give them a bad rap, giving the Skullkers free reign of the city while keeping the police off their backs and the commissioner bribed. The note is signed by Croog, who we have not seen since the beginning of the game. So not only have the police been corrupted, but we still have to deal with the Skullkers. If you look at the control panel, you'll find out that the green light at the guard tower is on, and that you'll need to head there nex.t Also, if you go through the jail bars to the right you'll find some treasure painted on the wall as well as some real treasure: the Samurai Helmet.

The lower door leading to the guard tower, you'll be trapped in a room where bombs drop down. To disarm them, you'll need to remove the screws on the bombs with your drill. If the lights around the bomb are red, use R. If they are blue, use L. Always stay in the center of the room, and always shift up to third gear. Thankfully, the bomb explosions don't kill you, which is good, because a few may blow up on you before this part ends.

You'll eventually find a big door. You'll also run into Detective Carrie, who helps you gain access to the door despite not condoning what we are about to do. Outside, you'll run into the commissioner, who uses the Green Diamond to control the Sentry Tower. Avoid the laser and missiles by staying on the move and using the steel block platforms to your advantage. When the sentry tower robot strikes with its claw arm, aim up and run the drill to hit the claw. The claw will fall off and you'll be able to go in.

You'll then go into the sentry robot to enter one part of it to take out a part of the inner workings. There will be a timer, and if you don't destroy the engine for the current part of the robot you are in, you'll get kicked out and you'll have to do that part of the sentry tower fight again. Hope you brought a lot of energy tanks! Any cables you cut while inside the sentry tower robot will add five seconds to your time. That may not be much, but you'll need all the extra time you can get, as your skills with going through the cannon clamps in the drill ducts will be put to the test. The neon signs will tell you if you are doing okay with the gear shifting. Arrows will tell you if you need to shift up or down, and "OK!" tells you that you are the correct gear.

On repeat visits to the inside of the sentry tower, you'll need to take an alternate route. Thankfully, all three routes are short; they're just difficult.

On the third phase, be careful with the robot arm, as sometimes the sentry tower robot will fake you out and pull the law away at the last second. Just pay attention and you'll eventually get in to destroy the third engine. Afterwards, you'll get the Green Diamond. Detective Carrie will then tell you that Croog was seen with a fifth diamond while with the commissioner, but that she does not remember what color it was.

Once you beat Area 5, you'll get the Art Museum map, which unlocks Area 2's secret area.

Tuesday, April 30, 2024

PrinceWatercress plays Drill Dozer - Part 10 of 28


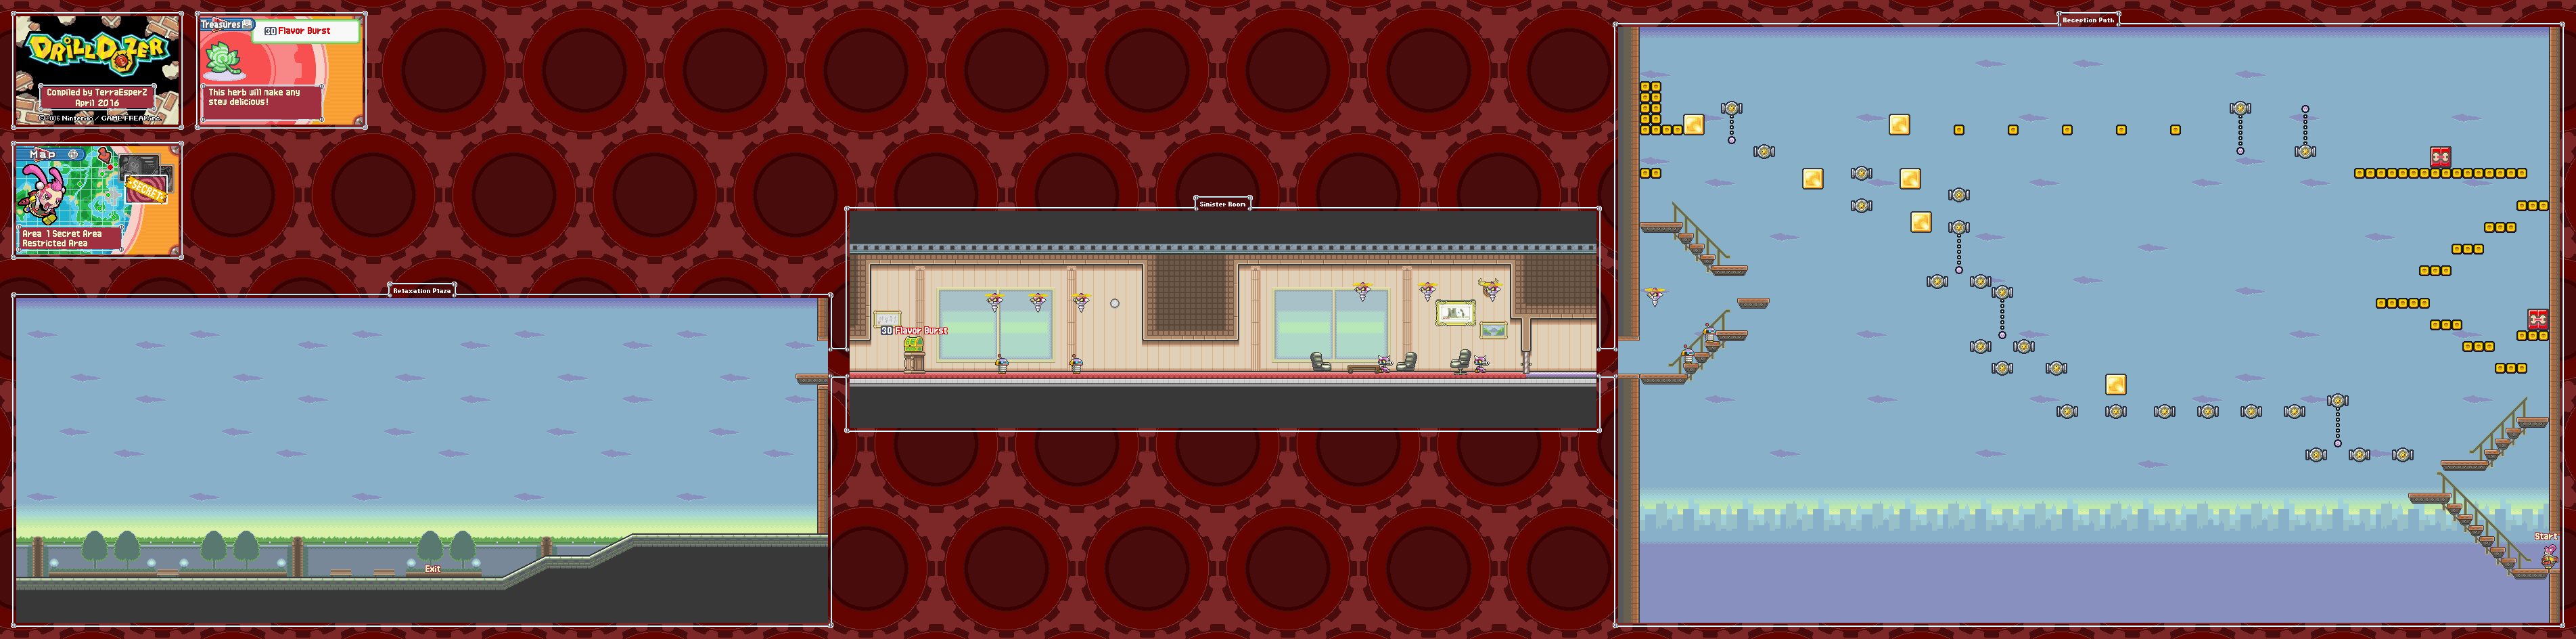
Let's play a secret level before going to jail!


Area 1 Secret Area: Restricted Area


In order to access this level, you'll need to buy the Hideout Map from the shop for 300 chips. The map is unlocked when you reach Area 5.

Unlike the other levels, this one is super-short. You'll be at first gear the whole time, and you'll need to use the socket lifts to get from one end of the area to the other. This will probably be your toughest test with the socket lifts yet, as there is a big bottomless pit below, and you'll need to buckle down and really pay attention to what you're pressing so you can reach the other side.

The wrench boxes above the start will contain a lot of chips if you can get to them, as do the blocks in the upper-left corner above the exit.

When you reach the other side, you can enter the building. After fighting some Skullkers as well as some other robotic enemies you've met before, you'll get the Flavor Burst. Heading further left takes you to the exit. You're done here.

Monday, April 29, 2024

PrinceWatercress plays Drill Dozer - Part 9 of 28


It's time to head to the air for the first (and only) time. But just when we think we're done...


Area 4-2: Metal City Flight


In this level, you'll have to find a way up to the roof...but how.

The green turrets will shoot bullets. Be ready to drill to block the bullets before drilling into the turrets themselves.

After you get the second gear, you'll be fighting cops as well as Skullkers before facing The Magnet Sisters one more time. This time around, they will drop bombs from a magnet. Avoid the bombs, then drill into the magnet. After doing enough damage, The Magnet Sisters will bounce around the room until they collapse on the ground, in which case you'll have to drill into them again. If you get hit as they bounce around off the walls, floor and ceiling, you'll have to start the current phase over. There are three phases to the battle, and while they all go the same way, The Magnet Sisters will drop more bombs which each phase and the walls will close in, giving you less room to not only move around in, but to avoid The Magnet Sisters themselves. For the third and final phase, you'll want to find a safe corner, stay near the wall and duck.

After you beat The Magnet Sisters, you'll get the propeller, which allows you to fly in the air. Just like with the underwater level, you'll be doing this for one stage only. You'll need to activate the drill with the shoulder buttons in order to fly into the air, and shifting up will allow you to fly for longer. Also, holding one button, then pressing and holding the other allows you to hover, which lets you move from side to side without ascending or descending until you let go of both buttons. It gets even better when you reach third gear, as you'll be able to fly indefinitely. Much like with the underwater controls, however, this can also be pretty cumbersome and can take a second to get used to.

As you fly, you can break stuff to get through the sections to get chips for the shop. There are also enemies, such as the orange robots with the drills on their heads that fly back and forth. You'll also have to avoid the spiked balls as well as some stationary spikes, and your hovering skills will be put to the test as you move between the spikes.

In the fifth section of the stage (the one with the red walls), there are some metal blocks to the right. You won't be able to break those...yet.

When you reach the top, you'll have to get past more of those blue laser shooters before you can face the Skullker professor again. This time around, he will control the Drizzler, which controls the weather in Metal City. Unfortunately, the professor has taken control of it with the Red Diamond, and you'll have to do some damage to the Drizzler in order to wrestle control away from him.

There are three phases to the battle, and each one is an obstacle course. You'll need to get to the Drizzler without running into the damaging spiked walls, and each obstacle course is harder than the last. Using the hover ability will definitely help, as well as paying attention, as the machines on the walls produce clouds that obscure where you are as you fly around. When you get to the Drizzler, fly into it from below and shift up to third gear to do maximum damage.

For the second phase, the machines on the walls, will push you back in the direction they are facing, and for the third phase, the machines on the walls will shoot lasers. Stop and hover to avoid the lasers.

As you go through this battle, you'll want to keep your health high. When you beat the Drizzler, it's not over yet, as the Red Diamond gets taken away from you by the Drizzler, which is now out of control. Avoid getting hit by the rocks, and sta0y as far away as possible to avoid the laser. When the core is flashing, you'll want to drill into it from underneath. When the Drizzler is at half health, it will shoot out more rocks and it will fire the laser twice before you can hit it again.

After you defeat the Drizzler, you'll get the Red Diamond back. You'll then get a call from Grutch, even though his face is unseen and is only static. You'll then get picked up by the wrong trailer, which is manned by the police chief and is ultimately a trap. Jill gets arrested, and Grutch and Gearmo have to figure out what to do next.

After completing Area 4, you'll get the Hideout Map. This gives you access to a secret level in Area 1, and we'll be going there next time.