Barbos is the hardest battle so far. Once you clear Razor Ridge, get ready for the home stretch.
All maps by Tropicon.
.gif)
.gif)
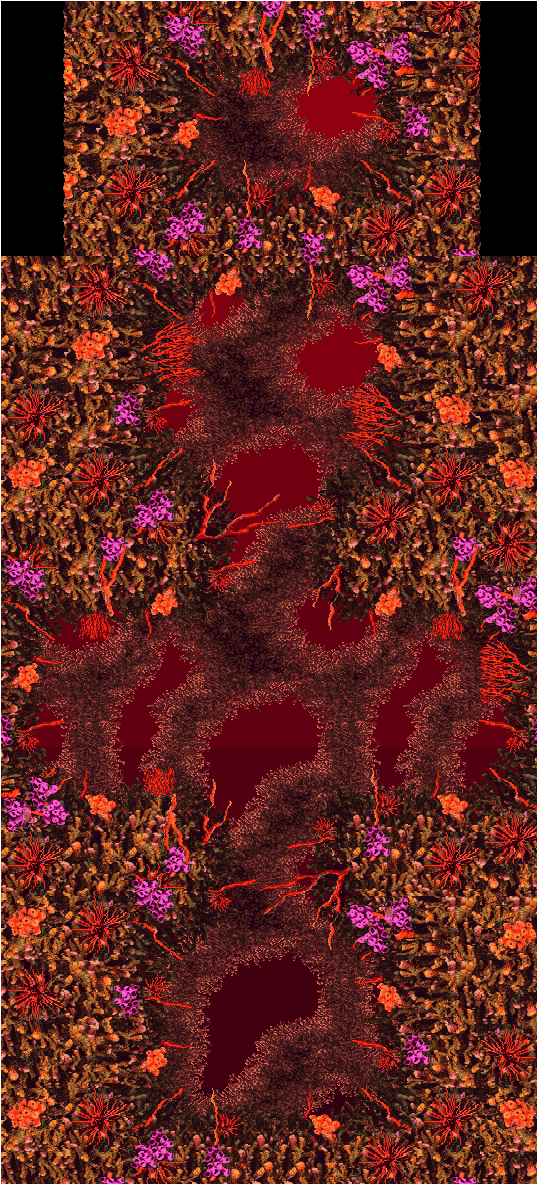
Pot Hole Panic
Bonus areas: Two (2)
It's a submerged cave! This time, you'll be going in and out of the water to get from point A to point B! It's the best and worst of both worlds!
You'll start out riding on Squawks. It won't be long before you meet a new enemy: Kuchucka. Kuchucka is a purple barrel Kremling who can't be destroyed and usually stays in one spot to throw bombs at you. You'll want to watch where the explosions are, since those are the main things that will damage you.
Squawks will drop you off when you reach the water where the O is.
You'll be riding four animal buddies as you go through this stage, in this order: Squawks, Enguarde, Ellie and Squitter. You'll definitely want to be careful as you go through the stage with each and every one of them. It should be noted that this is the only stage where you take a ride on Squawks rather than transform into him.
You won't see the first bonus area until just before the Barrel Cannon that takes you to the Squitter crate. Go to the left to get the N, then jump up below the Bonus Barrel and press X to dismount from Ellie at the top of your jump. This will allow you to enter the first bonus area. You'll be using this same exact technique to get all the stars here and get the first Bonus Coin.
The second bonus area is near the end. There is a wide open space upwards before the "No Squitter" sign. Make some platform webs to get up there, and try not to move towards the sign or get hit by the bomb explosions from the nearby Kuchucka. Here, you'll be dodging the explosions created by Kuchucka's bombs in the center of the room. Use the far left and far right sides of the room as you grab fifteen bananas to get the second Bonus Coin.
Koin is past the "No Squitter" sign. Tag throw Dixie all the way up to get the steel keg, then jump towards Koin so you land on top of him. Jump up and throw the steel keg left to get the DK Coin.
Ropey Rumpus
Bonus areas: Two (2)
The Klasps may be gone, but there are a bunch of Buzzes to contend with. They'll be moving up and down and all around in this stage, and you'll have to avoid them all if you want to survive this stage.
The first bonus area is all the way to the right after the Start. Past the two wooden platforms where the stage starts wanting you to go up, there is a Bonus Barrel to the right. Go all the way up, grab the TNT barrel, then jump to the right and hug the right wall so that the TNT barrel blows up the wall up when you make your way back down. You'll be climbing from point A to point B to get the first Bonus Coin. Be sure to use the bananas to figure out where the safe spots are.
Just past the Star Barrel, there is an area during a horizontal rope where three green Buzzes are close to one another with a pair of bananas between each. If you drop down, you'll find Koin. Just grab the steel keg and throw it at the wall behind Koin to get the DK Coin.
Near the end of the stage, you will find Parry the Parallel Bird. If you can somehow get Parry all the way to the end of the stage, you'll be able to get the Bonus Barrel leading to the second bonus area. You actually have to do this to get there, and this won't be the last time, either. Thankfully, there is a shortcut where a lone banana is, and if you grab that banana, you'll find a hidden Barrel Cannon that will take you to a secret part of the level with a ton of bananas, an extra life and a few collectibles. When you see the banana pointing downwards, Helicopter Spin to the right with Dixie to avoid all the Buzzes. In the second bonus area, you'll be collecting 15 green bananas while two Buzzes fly around in a circle. Whatever you do, stay in the "middle" of the circle to figure out how to best react, and never, ever hold Down on the Control Pad. If you fail, you'll have to get Parry to the end of the stage all over again. If you can pull it off, you'll get the second Bonus Coin.
Barbos's Barrier
When you enter this stage, you'll be able to transform into Enguarde. Do that, and you'll automatically go down and meet Barbos. You wan to attack the Lurchins when they are open so that they bounce off the wall and bounce into the two closed Lurchins protecting Barbos. Once Barbos is exposed, stay to the side of Barbos and superdash into the center of his face so you hit him. Barbos will then sink back down.
You'll be homed on in by mollusk missiles. Stay away from them, and stand near the closed purple Lurchins so that when the mollusk shells turn yellow, they run right into the Lurchin and destroy it. Destroy the two purple Lurchins and get another shot on Barbos.
Barbos will then sink back down, and when you follow him, he will go up. From here, you want to stay at the bottom of the room and avoid the barbs that Barbos shoots downwards. If you know where to stand, you can avoid all the barbs without having to move around. After a few salvos, you can go back up and hit him. Three more hits and you will beat Barbos and open up the way to Kaos Kore.
Before we go over there, head bac to Bramble's Bungalow and go up the path near it. This time, there will be a flower. Go to Bramble and give the flower to Bramble for a Banana Bird.
After you talk to Barter Bear, Funky Kong will confirm that he is making something, but you will need all the DK Coins to get it. If you leave and return to Funky's Rentals after this point, you'll find out how many you have left before you can get it.
No comments:
Post a Comment