We finally rescue Donkey and Diddy Kong, but it's not over yet...
All maps by Tropicon.
.gif)
.gif)
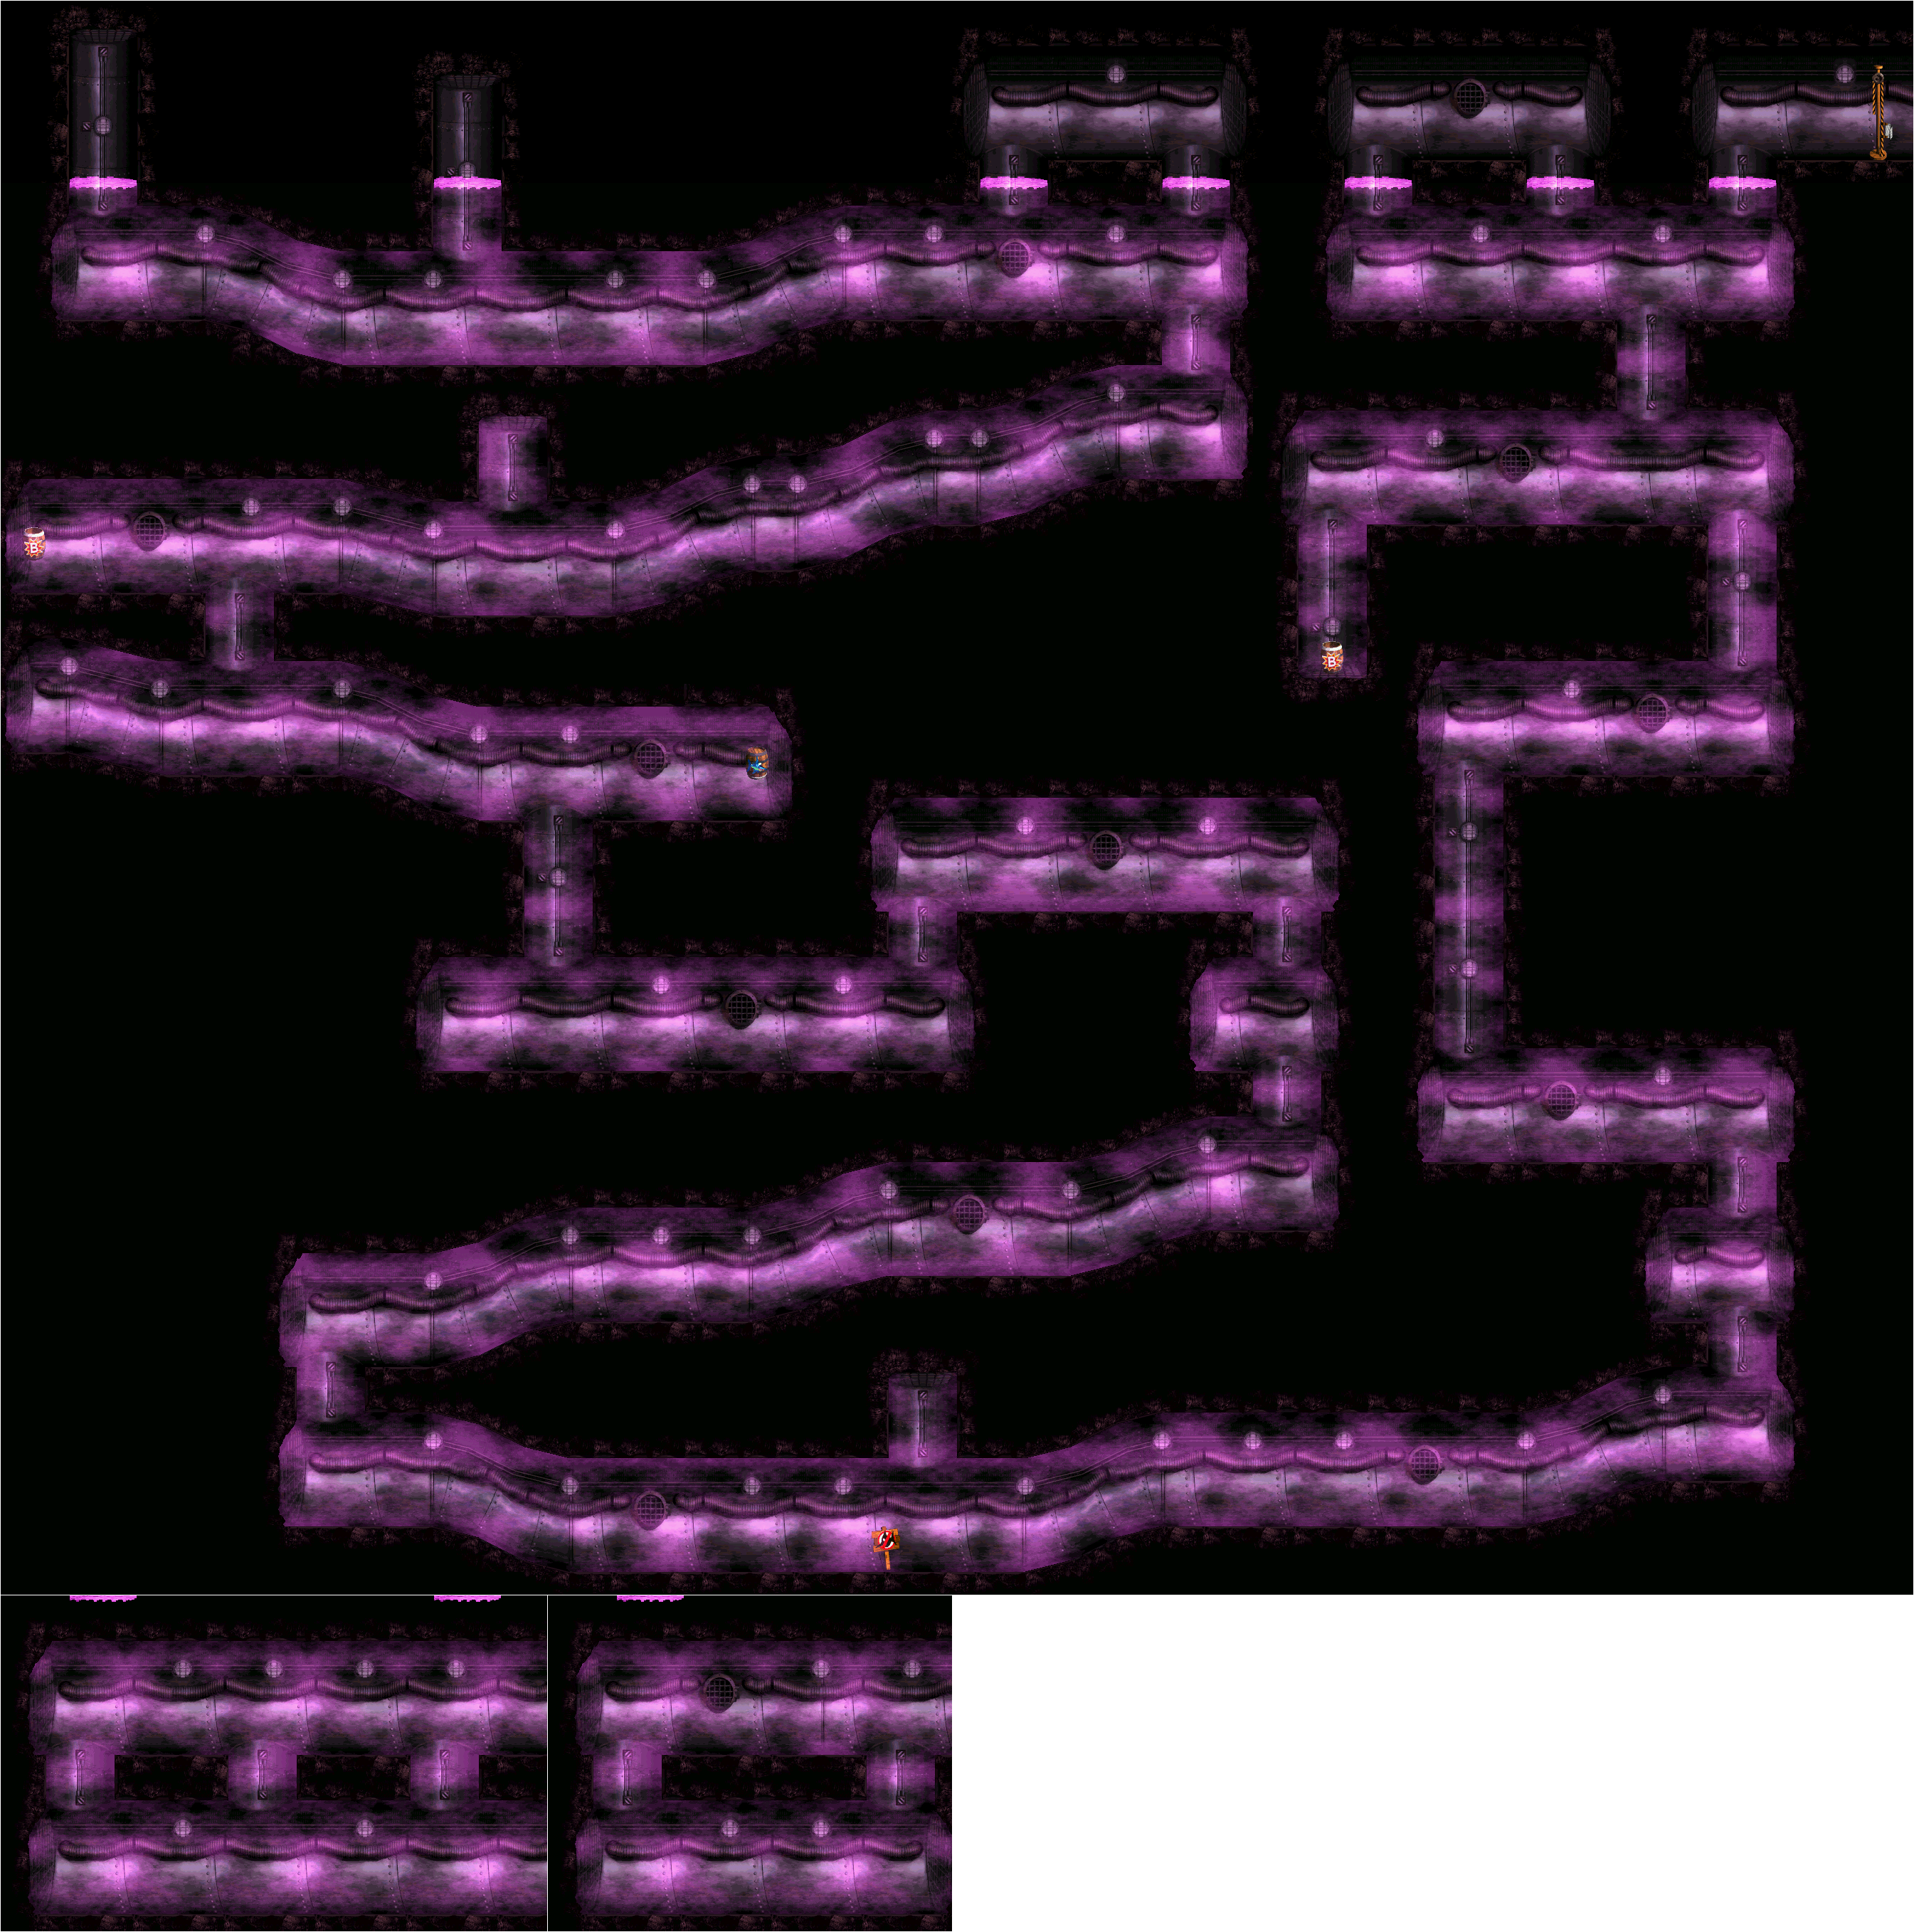
Koindozer Klamber
Bonus areas: Two (2)
Here's an interesting new gimmick and enemy: the Koindozer! Unlike the Koins you've been seeing in every stage up until now, these purple guys can move! They will bounce you backwards and follow you around, and they can send you into a pit if you're not careful. You'll also be using their shields as makeshift platforms to get virtually anywhere, so make sure they are holding their shields up before you make it to them.
You'll also meet Bazuka again, and you'll need his barrels to get across a huge pit some time after the O. When you reach him, get on the rope to the right, then jump off the left end to reach the first bonus area. You're collecting stars again. Be ready to check the trees for stars like in Konveyor Rope Klash.
The second bonus area is right after the N. Jump to the left off the top of the Rekoil past the Koindozer immediately after the N and tag throw Dixie up and to the right. You'll reach the second bonus area. You'll have to land on the two Koindozers to get all 15 bananas and get the second Bonus Coin.
Koin, the big kahuna himself, is shortly after the second bonus area. There is another Bazuka after him, and you will have to go over to him, hit the Barrel Switch in the trees off the left edge of the nearby rope to change the wooden barrels into steel kegs, then backtrack to Koin and have Bazuka's ammunition do the work for you.
Poisonous Pipeline
Bonus areas: Two (2)
You'll fall straight into the water as soon as you start this stage. Once you're in the drink, your Left and Right commands on the Control Pad will be reversed. Not surprisingly, there will be Lurchins at floor and ceiling level throughout the pipeline.
There will be parts where you can get out of the water, which immediately return your controls to normal as soon as you jump out. This can make getting onto dry land a little more difficult. Leap out first, then move where you need to.
The first bonus area is shortly after the beginning of the level, just past the two Lurchins that quickly swim up and down and before the Enguarde Level. Before you go down to that barrel, go left and get past the two Lurchins to enter the first bonus area, where you will morph into Enguarde. Use the attack button to attack all the fish as you go, and remember that your controls are still reversed when you're in the bonus areas.
The second bonus area is just before the goal. Before you go up to where the G is, go left. You'll find the second Bonus Barrel below you. You'll be collecting 30 stars, but this one is easy since you can go slow and get them all in one pass easily.
Koin is right where the G is; the steel keg will be to the left and Koin to the right. Grab the steel keg and throw it over Koin's head to the right to get the DK Coin. If you're using Dixie for this, leap up a little bit before throwing.
Kastle Kaos
You'll start out fighting Kaos, whose face is still exposed. Avoid the fire from the thruster as you get to the other side, then toss the wooden barrel you find at his head. You'll get a periscope/rocket launcher head to come out. Stay on the right side of the room to avoid the bomb, then run and roll under Kaos when his thruster isn't shooting out fire. Get to the left while avoiding more bombs, then throw the barrel you find at Kaos' head.
Kaos will fall down, and you'll find out that someone is behind the curtain, Wizard of Oz-style: Baron K. Roolenstein! K. Rool is back, and now you'll have to fight him.
Duck under K. Rool while on the floor (not on the sides, he does fly upwards there), and grab the higher handle of the two that hang down from the ceiling to produce a barrel. Throw the barrel into K. Roolenstein's back, then stay away from him as he bounces up and down across the screen.
After two hits, K. Roolenstein will press a button, and four hooks will be on the ceiling. Also, the dynamos at the far left and far right sides of the screen.
Make your way to the right and get on the wooden platform. Jump to the handle on the far left, then make your way back to the right - all while avoiding K. Roolenstein and throw the barrel into K. Roolenstein's back. This will send K. Roolenstein into the electricity. Do this again.
After two hits here, stay on the wooden platform. It will go to the left. Get on the moving platform and hit the switch hanging from the ceiling on the other end. If K. Rool comes after you on the way there, duck. Get back on the moving wooden platform and duck under K. Rool if you need to, then grab the barrel on the left side, jump up and hit K. Roolenstein in the back. Do this twice.
After the sixth hit, stay on the platform. Grab the higher lever that is hanging off the ceiling, then quickly grab the barrel before the electrity destroys it, get on the wooden platform and throw the barrel into K. Roolenstein's back. From here, you'll have to rush to the other side, get on the wooden platform there, grab the barrel after it hits the floor so the electricity doesn't fry it, then get on the nearby wooden platform and aim for the back again. K. Roolenstein will get shocked again. Go for one more barrel. After the ninth hit, K. Rool is beaten!
Kaos will show back up, and this time, Donkey Kong and Diddy Kong will come out. You will learn that they were hypnotized and forced to control Kaos. Cranky Kong shows up to be rude, then Dixie and Kiddy beat him up. You'll then get a roll call of all the enemies, but you're not done yet. We still have the Lost World, and that will be in the next video.
Back at the overworld map, go to the ring of rocks near Mekanos and circle around them while holding Y on the Turbo Ski. This will cause a mountain to pop up, and if you go in, you'll enter Krematoa, the Lost World of Donkey Kong Country 3.
Krematoa
(Animated).gif)
Here it is: Krematoa, the hardest world in the game...
Boomer's Bomb Shelter
Boomer has been exiled over in the Lost World due to his explosive toys, and for 15 Bonus Coins, you can unlock one level. If you've gotten all the Bonus Coins so far, you can unlock the first four levels.
No comments:
Post a Comment