We've got the X-Hunters against the wall. Now it's time to get that last part...
Crystal Snail
The cave cycles through the color spectrum here, which shows just how much of the 16-bit technology Capcom played around with at the time.
Grab the Robot Ride armor, then go to the left and drop down the pit. Do a double jump on the Robot Ride armor, then ditch it at the top of your jump and keep going left. You're supposed to use the Strike Chain to grab onto the wall, but if you can get enough height on the double jump, you won't need it. From there, you can take a platform back.
Grab the Robot Ride again, and keep going right. Watch the icy slopes, as they speed you up dramatically even if you're not dashing. You'll land in a pit of spikes. Punch the blocks to the right, then move to the right as jump out of the Robot Ride. Jump over the pit, then hide in the hole in the ground as the huge icy wall comes apart and slides downward to the left. This will break a third block the Robot Ride can't reach. If you want, you can now get the Robot Ride out of that spike pit and take it with you through the level again.
Above this is the path to the X-Hunter room. You'll need the Robot Ride in order to break the blocks. The columns from the Bubble Crab stage are here, and since they are, I can finally mention what they do. Guess what? They're just platforms that float up and down. Use them to get to the X-Hunter area and fight...whomever, depending on how your game is going. In our case, it'll be Serges.
Serges rides back and forth on a platform. Sometimes he'll somersault and shoot all over the room. You can dash under him while jumping over the platform when he's in the air if you need to. The platform will also drop mines. If there are too many on the ground, take them out with the Spin Wheel if you have it. Take him out with fully-charged X-Buster shots whenever the shield at the top of the platform is down. This causes him to fall on his back and respond with the somersault energy blasts, but if you have at least one Sub-Tank, this shouldn't be a tough battle at all.
Beating Serges will give you Zero Part No. 01.
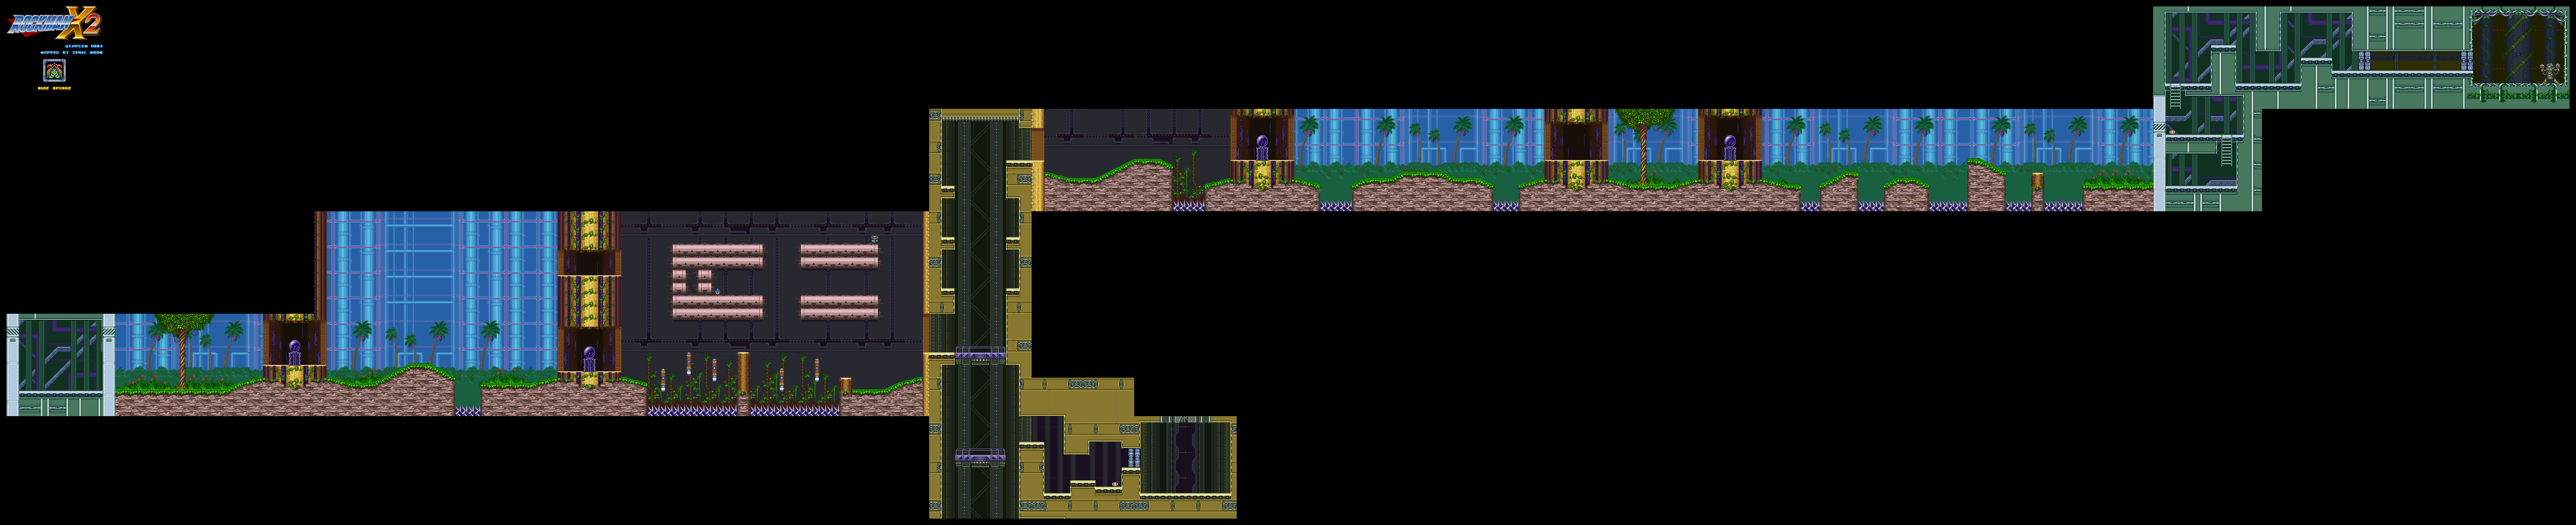
Wire Sponge
Well, NCS was on his last life, so it's Wire Sponge's stage this time. (Serges teleported there, anyway.)
You won't believe where the Heart Tank is. As a matter of fact, it's probably the easiest thing in the game to miss. Wall jump up the left wall at the beginning and you'll find it. That's all. Really.
You can change the weather here with the weather control orbs if you hit them with specific weapons.
Remember the rain from the Toad Man stage in Mega Man 4? If it rains here, prepare to be blown back while in the air...again.
At the second orb, go up and take the top path. Go right to find some cool stuff, such as an extra life and one of the four Sub-Tanks! Now you have a portable energy tank! At last! To fill it up, fill your health all the way up, then collect health-pickups. They'll instantly go into your Sub-Tank.
Slide down the wall when you get to where the lifts are, and you'll find the X-Hunters area to the right. (This and the Overdrive Ostrich X-Hunter rooms require something to be accessed, the rest can be found by just exploring and don't require anything. Again, consult the maps.)
We're done with Serges here, so let's go ahead and continue by getting back on the lifts and continuing with the level as normal.
The frog enemies just leap forward slowly and shoot at you. The green robots that fly around here drop bombs that turn into path-blockig cacti you have to shoot out of existence when they hit the ground and also try to fly into you.
Wire Sponge will try to jump and swing around the room, but if you have the Sonic Slicer, you can put an end to any of his attacks immediately. The best thing about the Sonic Slicer is that it can bounce off walls, so if you miss, it can keep going up to the ceiling as it bounces off the walls. You can tag Wire Sponge from behind with it!
Wire Sponge can shoot seeds that turn into plants that can block your path. He can also launch himself into the wall at you with his Strike Chains, and he can power up and shoot bolts of lightning around him. Keep away from him and keep hitting him with the Sonic Slicer as necessary and you should be fine.
If you finish off Wire Sponge with the Sonic Slicer, he gets sliced in half as he explodes.
Beating Wire Sponge gives you the Strike Chain. It lets you grab onto walls much like Wire Sponge's version can.
Since we now have all of the Zero Parts, Dr. Cain will still need time to rebuild Zero, so you won't get him immediately. Still, you have all the parts, so saving Zero's body is now out of the way.
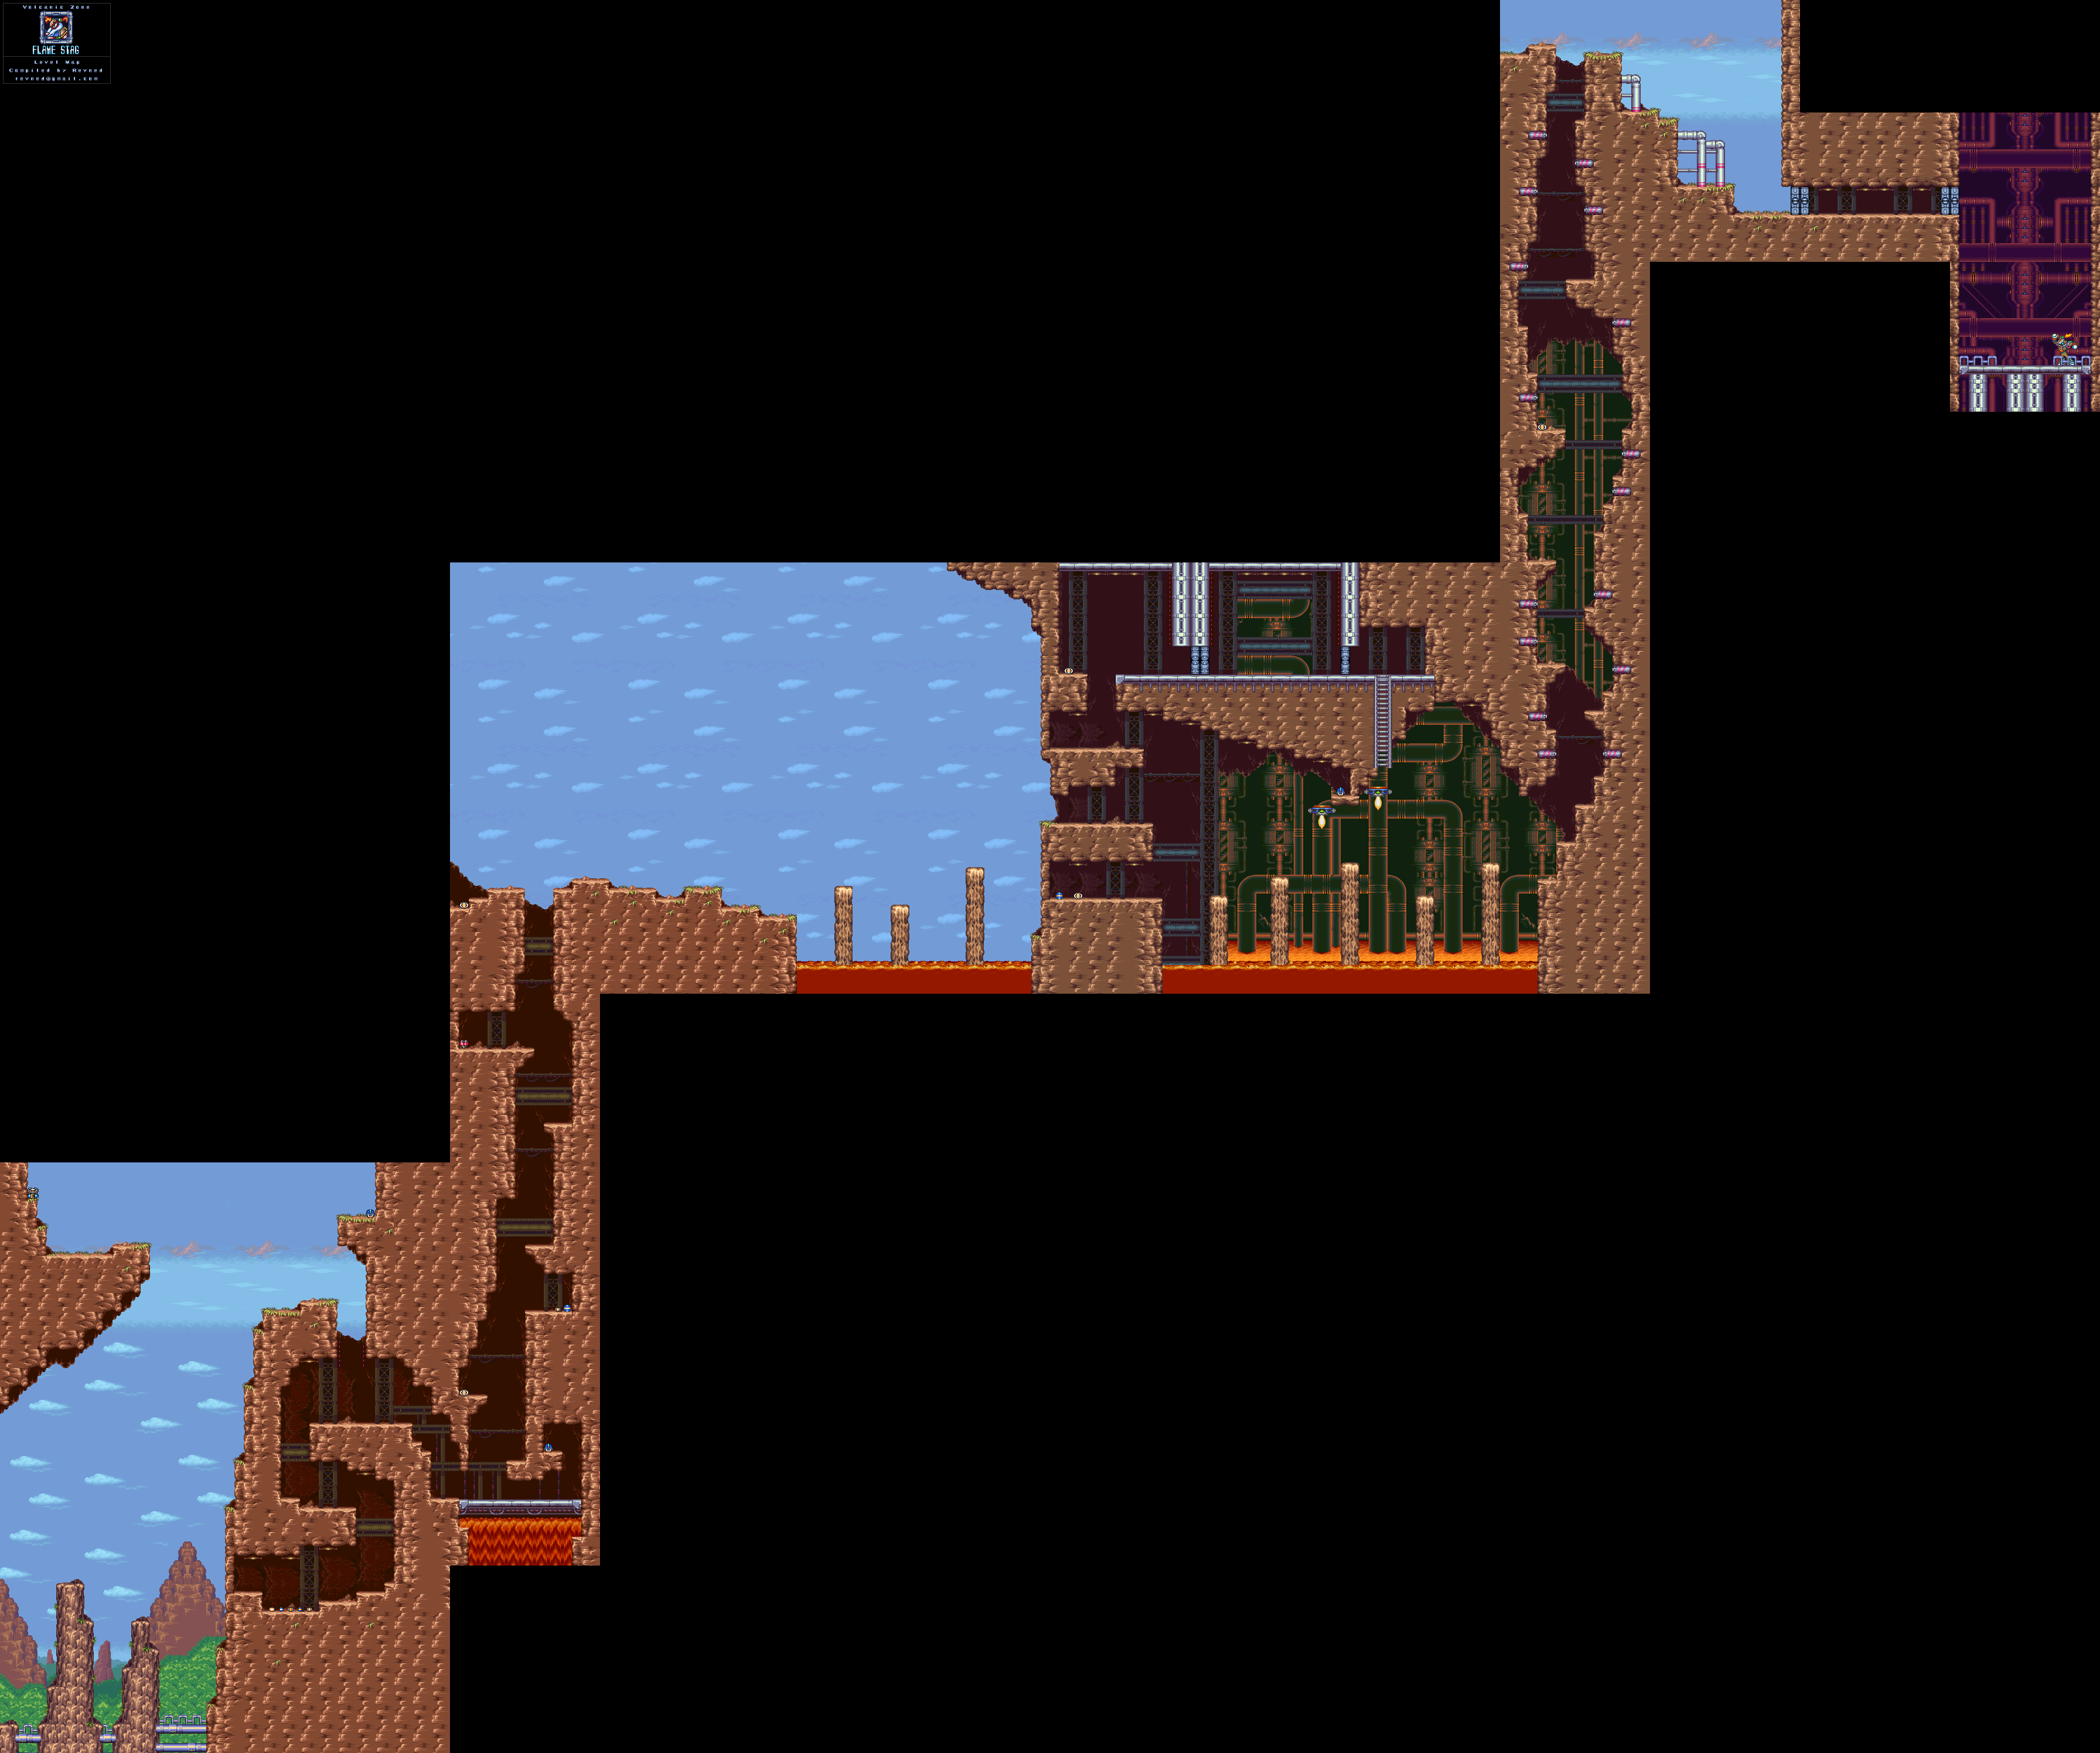
Flame Stag
To take care of that stag beetle robot, just have it plow into the wall where you're supposed to go. This wall will block the path to the rest of the level. If you can lure it upwards, though, you'll be able to access a 1-Up as well as a Sub-Tank. To do that, lure the stag beetle robot to the right, then stand on the flat part of its head. It will take you up to some platforms that you couldn't normally access. There you go.
The robots that stand on the walls shoot a three-way shot. They're easy to take out.
You'll then be in a race against the lava in an upward climb. If you're quick, you can get rid of the wall robot that blocks your path and get the Heart Tank behind it.
No comments:
Post a Comment