...and now, the whole game in one sitting, minus commentary! Enjoy!
One day, Taz's dad was telling him about a place called the Lost Valley, a valley where numerous rare animals still live. The rarest of these animals is the giant seabird. The seabird eggs are enormous, supposedly the largest in the world. A mere legend...wouldn't you agree...?
And there he goes - off and spinning! He's rushing to find the long-lost nest of the giant Tasmanian seabirds. Its legendary egg will make one Taz-sized omelet!
Stage 1: Plains
Section 1
Taz leaves home in search of the legendary valley of the giant seabird eggs, even though he hasn't got a clue as to where it is. Will Taz be able to find it?
At the start of the game, your lives will be in the lower-left corner, while the upper-left corner will show your current health (L) and the current power of your spin attack (P). When the L bar goes all the way down, you'll lose a life. Left and Right lets you move left and right, Down lets you duck, Button 1 lets you jump, and Button 2 lets you perform the spin attack. The spin attack lets you take down enemies. You can also use them to get rid of the bombs that are in your way, but don't forget that you can accidentally get rid of the good power-ups that way, too! The P meter will quickly drain when you attack, but it will quickly refill. When it's full again, you can attack again.
Turkeys give you more health, and 1-Up icons with Taz's face will give you extra lives. Red stars give you temporary invincibility. There's a few 1-Ups here, and if you look high and low, you'll be able to easily find them.
The springs are much like the games in the Sonic games and let you reach higher areas.
Enemies include bushrats with spears that move back and forth and plants that can spit projectiles. While you can attack the plants, you cannot attack the projectiles.
The pedestal with the egg and the arrow on it is the exit. Move past it to get to the next section. The time bonus gets bigger the less time it takes to clear a section, while the life bonus is dependent on how much life you have when you beat the section.
Section 2
If you press the Start button while the game is giving you bonus points at the end of a section, the game will do you a solid and pause when you enter the next one.
The slopes will slowly push you downwards, so watch where you're going.
In case you can't make a jump, spin attack forwards. You'll get that boost that will let you get to where you need to go.
You'll get an extra life at 20,000 points.
Section 3
After two sections, you'll face a boss. The first boss is a bull that charges at you. Jump over the bull when it charges at you, then jump over it when it returns. When it hits the wall, use the spin attack. After five hits, the bull goes down.
Stage 2: Jungle
Taz enters the jungle. Could the giant egg be located somewhere here in the jungle? Giant egg, where are you?
Section 1
Enemies here include snakes and Venus flytraps, both of which move back and forth. You'll see the latter more often.
There are more platforms here than in the first world of the game, and there are also spikes. The spikes don't kill you instantly, but you still don't want to land on them.
The brown stuff is quicksand. Keep jumping to get through it.
Section 2
Now you have even smaller platforms in the form of the tree platforms. The trees do not have a lot of room to maneuver, so you'll want to watch where you're jumping from and landing to.
The plants that spit projectiles from the first world make a return here.
Section 3
The boss here is Francis X. Bushlad. Avoid the arrows that he shoots, then hit him as he hops to the other side. You can stand in the corner behind him and keep pressing the attack button, but you'll go down before he does, so go ahead and just do it in the way you're meant to do it.
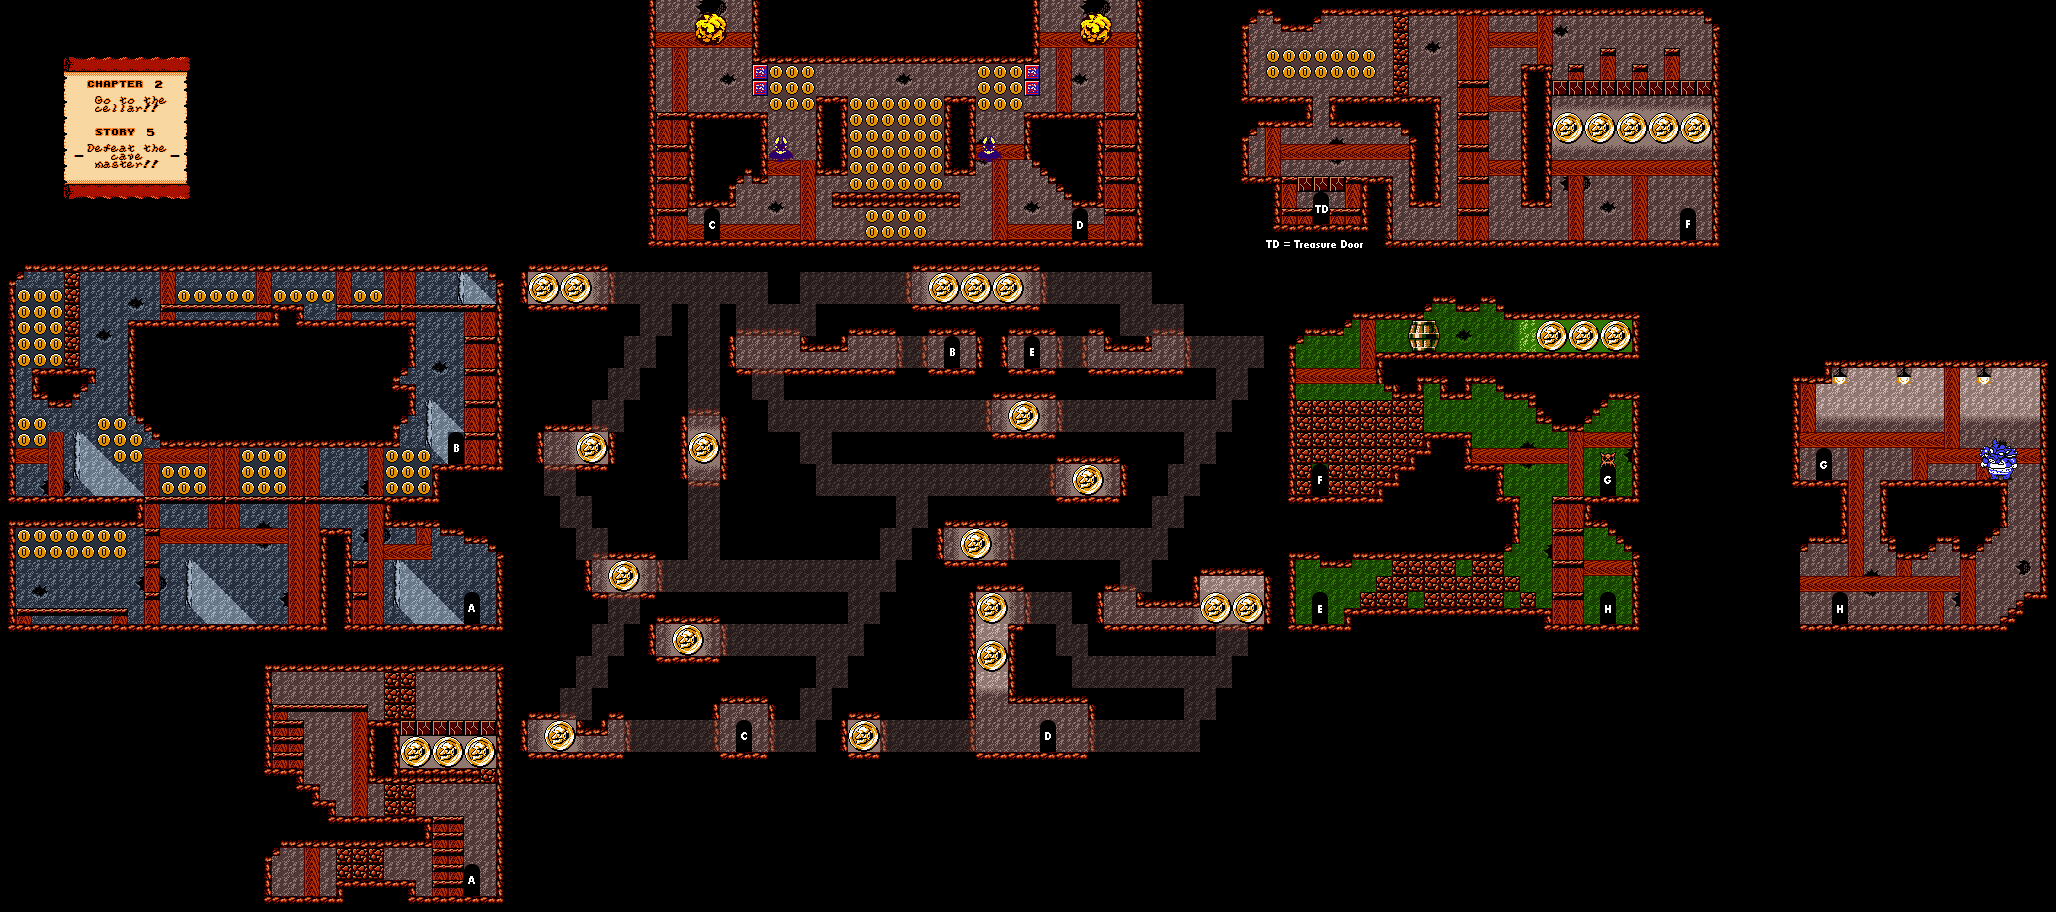
Stage 3: Cavern
In the depths of the forest, Taz finds an enormous cavern. Inside the cavern, it is dark...eerily quiet. The egg can't possibly be here, can it?
Section 1
The lava is the biggest threat here. If you touch it, it's instant death. If you die, there are no checkpoints, and while the sections are short, not having checkpoints can make the harder parts of the game a bummer.
There is a 1-Up right above the start.
The bats have plenty of different flight patterns, but diving back and forth is their most common one.
Watch out for fireballs leaping in and out of the lava.
Section 2
This section is bigger than previous, and the inability to look up or down with the D-Pad really stinks here.
In case you die, any 1-Ups you pick up will respawn.
The skeletons just move back and forth. That's all they do.
Be careful near the exit. Stay on the left platform and spin to take care of the bat, then jump your way to the right to get to the end.
Section 3
The boss here is Bull and Axl...or rather, Bull. He throws one boomerang upwards and one boomerang downwards as he jumps around. Watch the boomerangs and hit Bull with spin attacks. For best results, hit him with spin attacks when he is in the middle, as you can get two hits in that way. When he goes down, Axl shows up and carries Bull to safety.
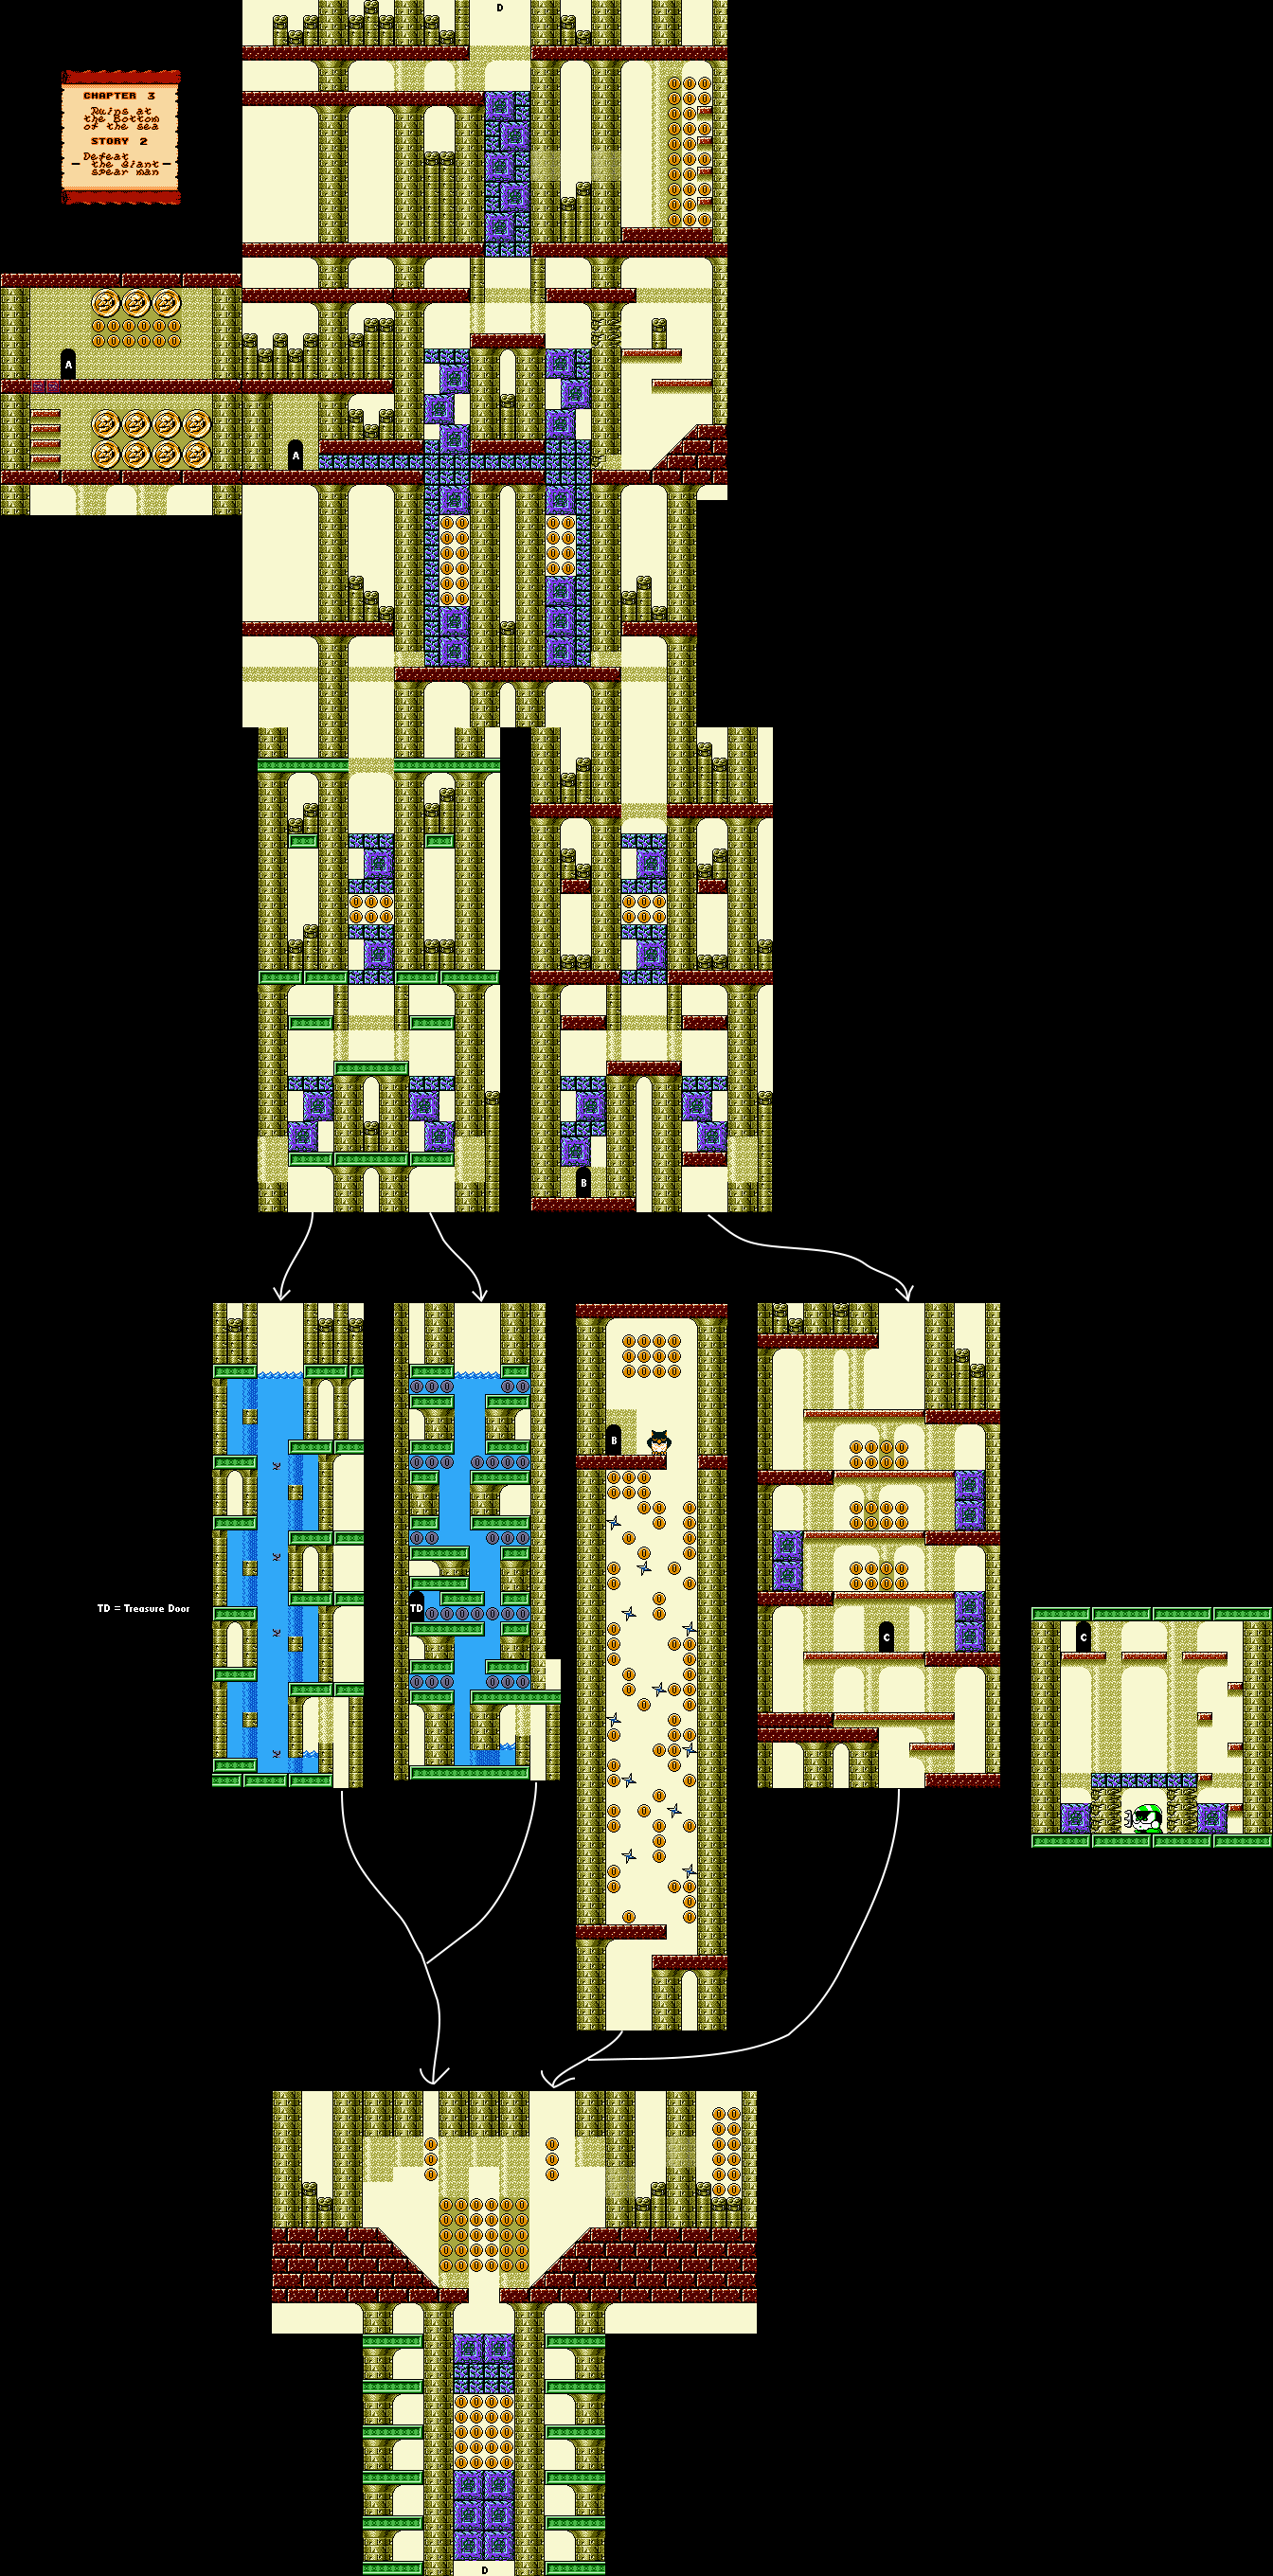
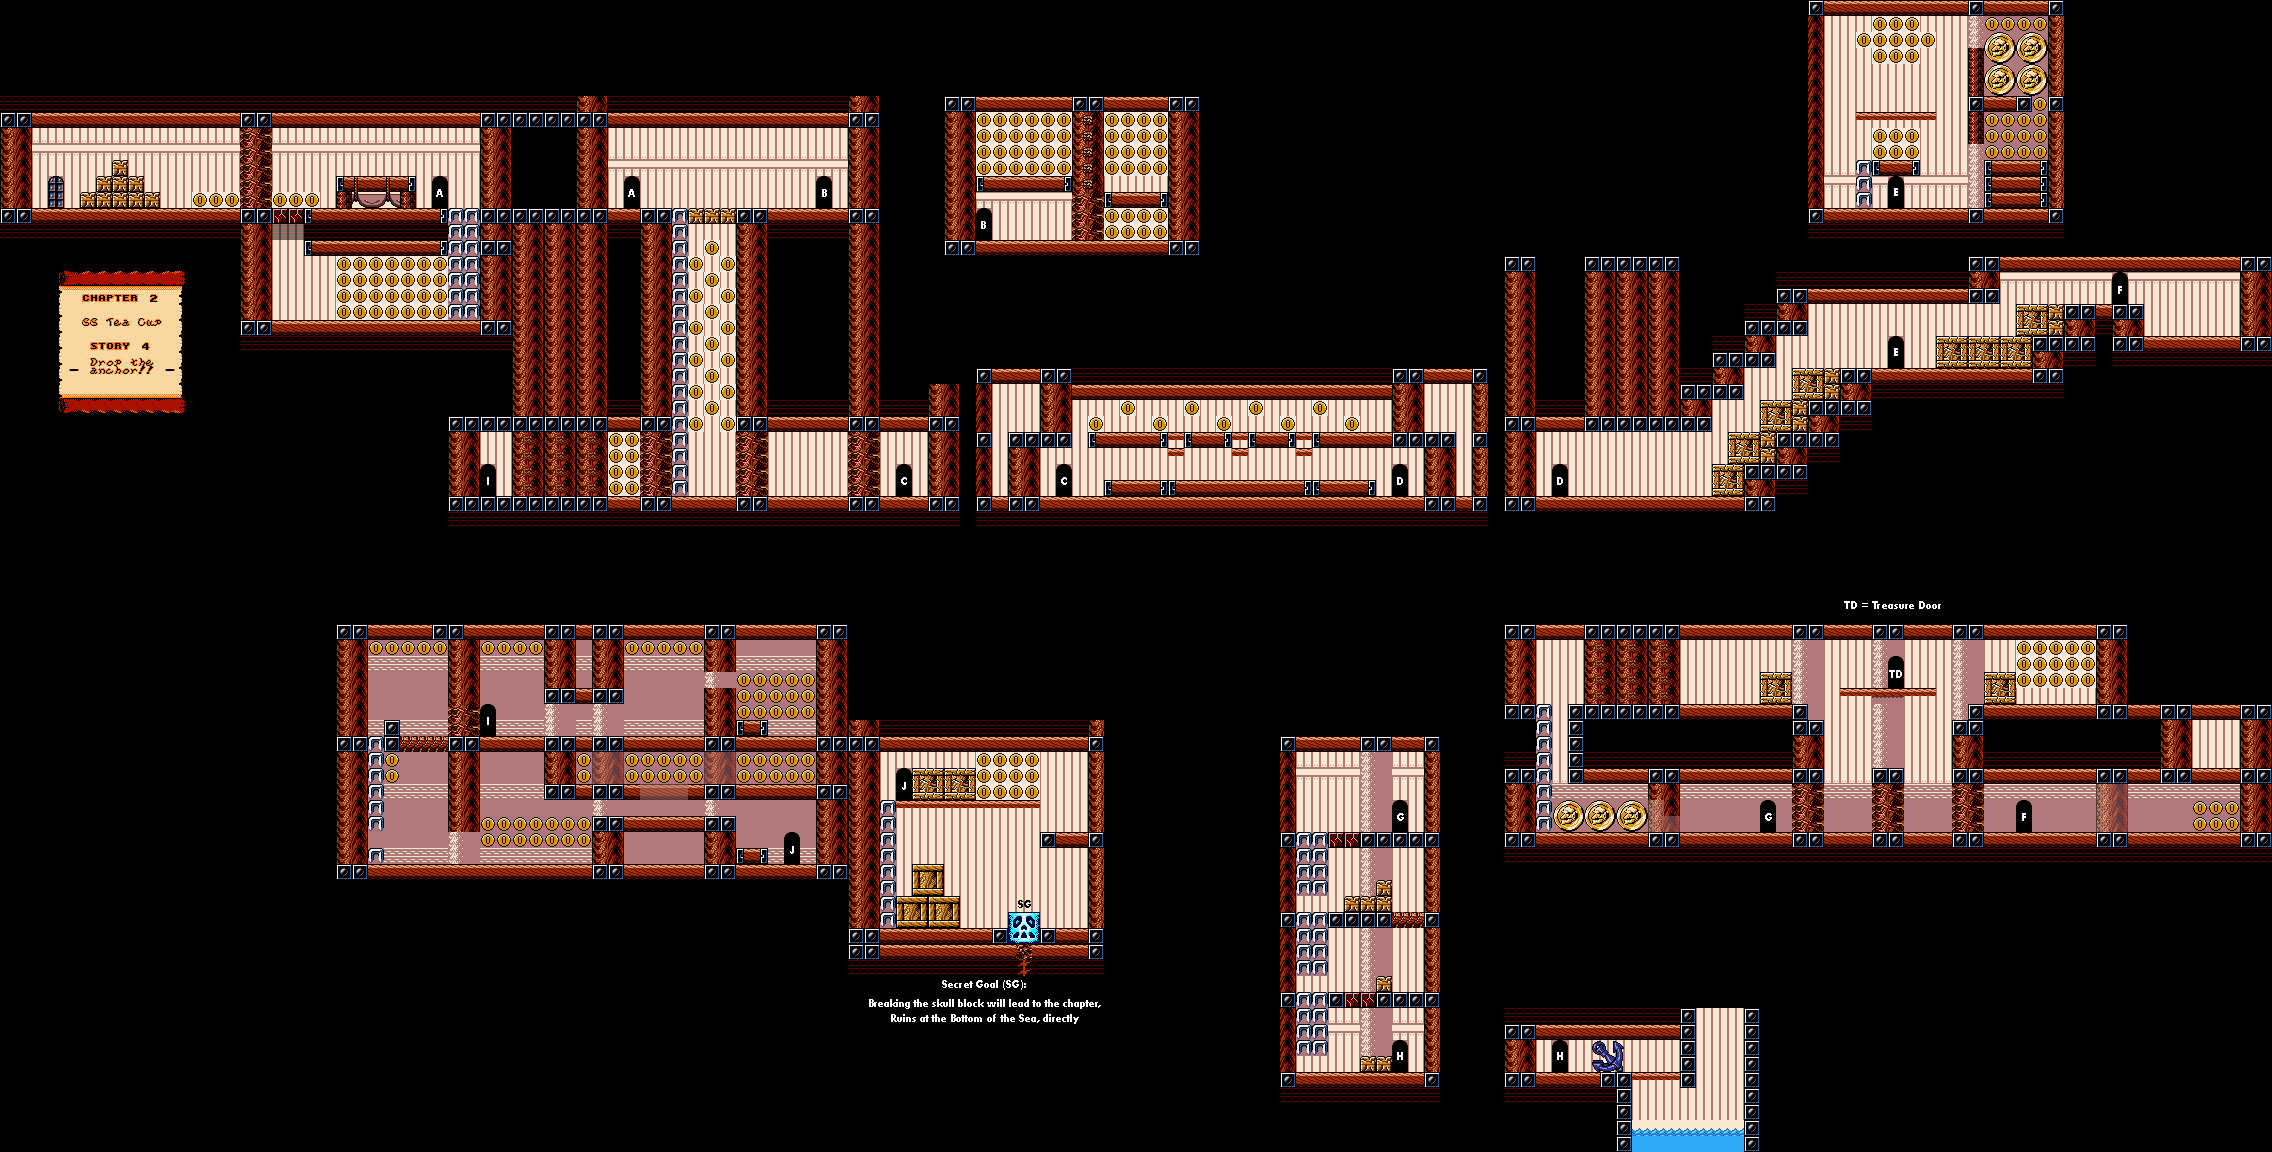
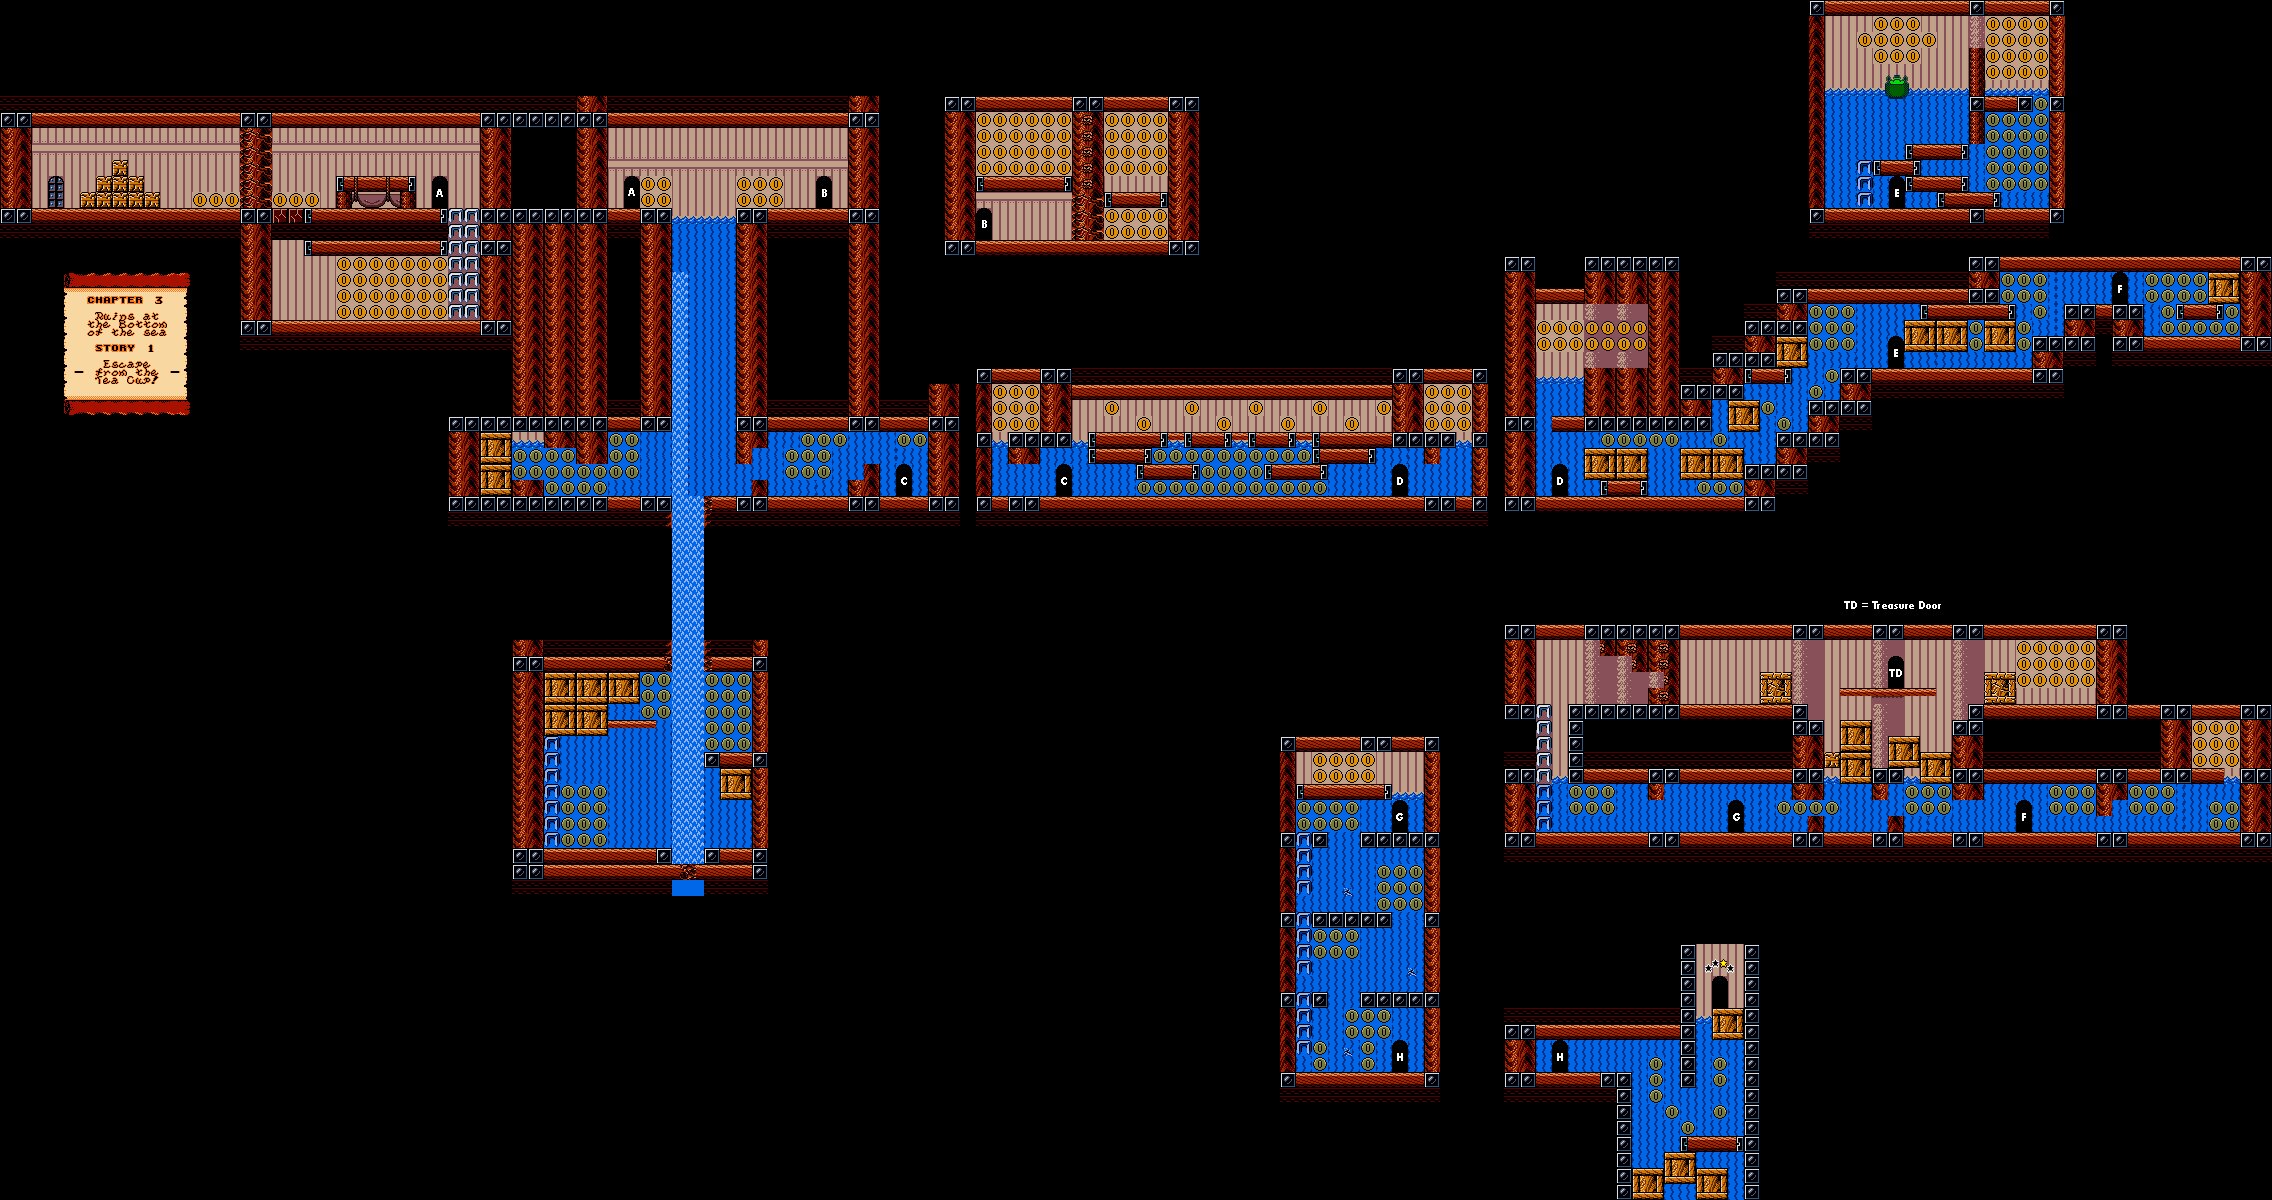
Stage 4: Ruins
Taz escapes the cavern only to find himself in the ruins of a macabre looking building...
Don't be afraid! Remember, the giant seabird egg awaits you...!
Section 1
The mummies just move back and forth, as do the ghosts.
If you know where all the dead-ends are, you can find a few 1-Ups. This is true of not only section, but also the next. Also, you may have to do some wrap-around jumps just to get to where you need to go.
The cracked blocks can be broken with the spin attack.
Take small hops and then use the spin attack to get past the narrow pathways with the spikes on the floors and ceilings unharmed.
If a pit has black at the bottom, it's a bottomless pit. That means you're at the bottom of the level and you're also almost at the exit, too.
Section 2
The snakes from Stage 2 make a return here.
At the end of the stage, spin attack the center block to avoid the spikes, then spin attack the block on the right to get to the exit (the rest lead to death).
Section 3
The boss here is a pair of witches. Take a short hop to avoid the projectiles, then move towards the witch on the lower level and spin attack. You'll be alternating between the witches as you do this, but you'll be damaging them, and after one goes down, the other will go down not long after that.
Stage 5: Valley
A giant seabird soars above Taz. At last! The Lost Valley!!
Section 1
Scorpions and rock monsters move back and forth in this mountainous area. You'll be going up and down as you make your way to the right, so watch where you jump, as the pools of water are instant death. I stay away from all of the slopes and stay only on flat ground because of it.
Some of the rock monsters don't move at all, and will just stand there and jump.
The music here is very monotonous.
Section 2
The spider-like enemies jump up and down more quickly than the rock monsters.
When you reach the blocks that you have to spin attack to break, don't attack the two that are side by side. That will send you into instant death water if you do.
Sometimes it's better to take a hit if you know you're going to hit the ground while jumping. Don't forget that your health refills upon entering a new area.
Section 3
It's time for the final boss: the giant seabird.
Keep jumping up and hitting it while it is in the area. If it comes down to dive at you, avoid it; don't hit it. If it flies around in a zig-zag pattern, you can actually hit the seabird while it does that and get some free hits in. When the seabird falls straight down, you've defeated it.
You'll get that seabird egg, but it will hatch and the baby will think that Taz is its mother, much like in all of the other Sega console versions (Genesis/Mega Drive and Game Gear). The credits then roll. You just beat Taz-Mania!


