We finally enter the Face Shrine and do some massive damage.
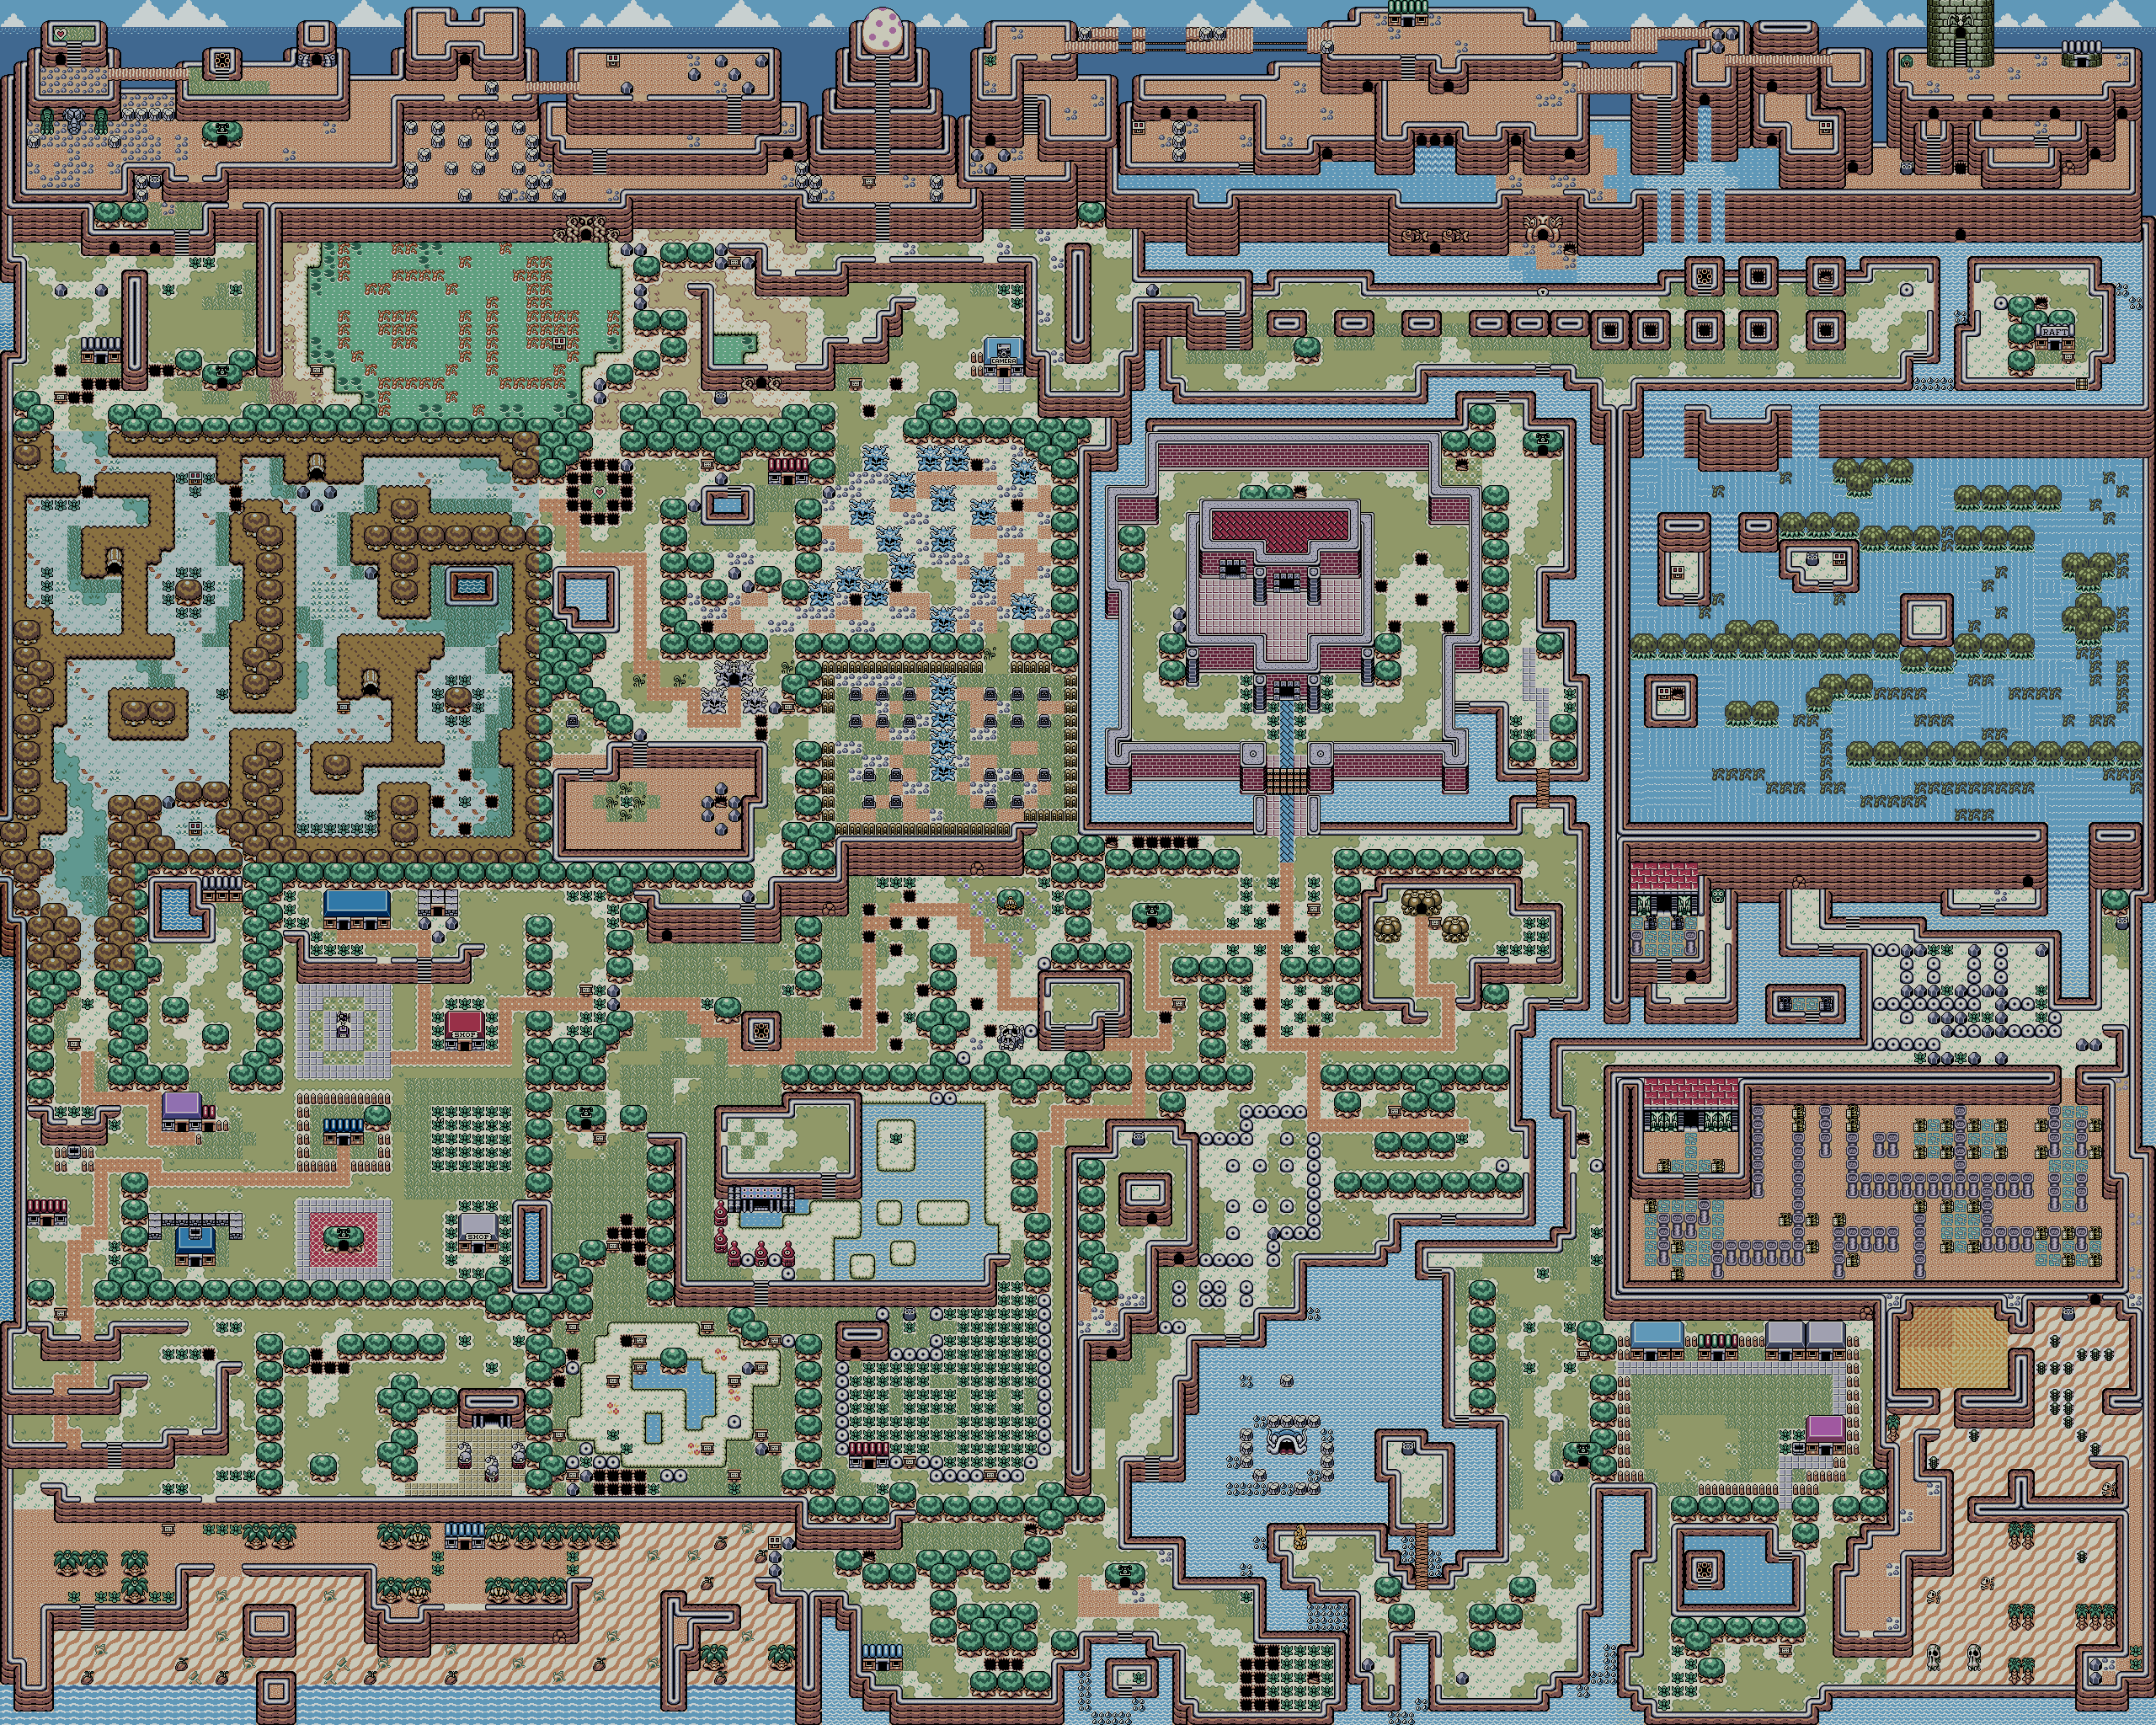
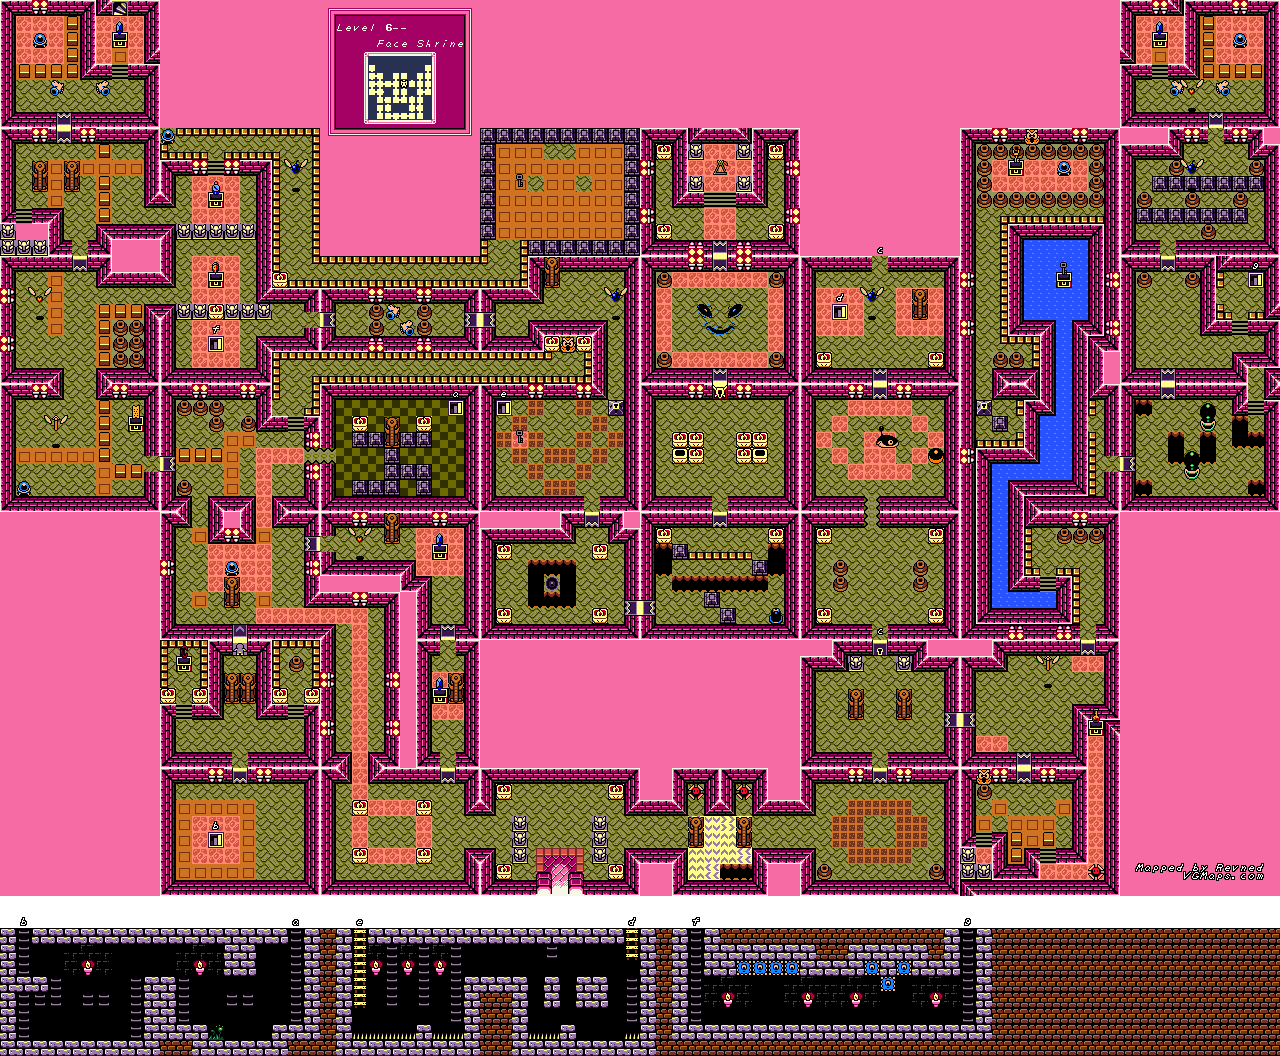
Overworld maps by Osrevad. Dungeon maps by Revned.
.png)
When you enter the North shrine, you'll come across a giant Armos Knight. Shoot it down with the arrows as quickly as possible to keep it at bay. At this point, it shouldn't be much of a pain if it does that stomp attack to stun you for a few seconds, since it won't be able to reach you. You'll break its shield first before breaking its helmet, exposing its face. By that point, you'll be able to destroy it in just a few more hits. You'll get the Face Key for defeating him, and you'll need it to enter the next dungeon.
Go further north, light the lamps, and read the picture on the wall. You'll find out that Koholint Island is nothing more than an illusion.
Now that this bombshell is out of the way, head back out and you'll meet the Owl again. Once you're done talking to him, head back to that island with the two Armos Knight statues. Destroy the one on the left to find an underground passageway, and go through it to reach the Face Shrine.
Face Shrine
The first thing of importance that you'll see is the Wizzrobes. Their hats pop up, then you'll see them entirely, shooting beams of magic at you. You need Bombs to kill them. There is an interesting thing you can do, though. Put the bow and arrow on one button and the Bombs on the other. You'll drop the bomb and shoot the arrow at the same time, and the Bomb will move with the arrow, creating an exploding bomb. Not sure if this is intentional or an actual glitch, but this is the only game where you can do this, and it's really wonderful. An exploding arrow will take care of a group of Wizzrobes when they're close together.
You can also use the Boomerang or the Magic Powder to stun a Wizzrobe, then manually lay a bomb right next to it. But who has time for that?
The spark creatures that move along the walls can be destroyed with the Boomerang. I did not know this until now.
The Shy Guy acts kinda weird. It moves in the opposite direction that you do. Take advantage of this by turning your back so it turns its back on you, then hit it with the Whirlwind Slash.
Believe it or not, the "eyes" on the map are actually rooms. To reach the left "eye" place a bomb between the two torches on the wall on the screen west of it. Defeat the enemies inside, get through the side-scrolling section without being hit by those large blinking spheres, take out the worm and those Wizzrobes, then go north and get the Level 2 Power Bracelet. This lets you pick up the large elephant statues in this dungeon, along with other things. You can also find a Fairy in this room if you need it.
Go north, and you'll be back in the Shy Guy room. Pick up the elephant statue and throw it at the door to the east to get the 100 Rupees. You can open the door to the south the same way you got in here.
No comments:
Post a Comment