And now...a legendary Capcom game for NES!
You've probably heard the story before but here it is: in the 1980s, the military found the Badds' top secret "Albatross" plans. They were seen by Generalissimo Killt, who decided to execute them. The military responds by bringing in Super Joe, but they have lost contact and have no word on his condition or whereabouts.
When you start the game, you'll talk with one of the soldiers, then you'll be on the map screen. You can move to wherever you want and descend on any area to beat the boss and get an item out of the ordeal. If you run into any of the enemy trucks while flying around on the map screen, you'll have to make your way past it on foot before you can go back to the map screen.
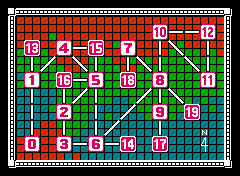
All maps are from The Bionic Commando Database, except for the neutral zone map by Thundard and the world map by Optimega.
Here is the world map where you select the areas you'll enter. Brown is high land (or cliffs), green is low lands and blue is water. This will give you a slight idea of what the area you enter will be like.
White areas are normal areas, while the red ones are neutal zones. More on those later.
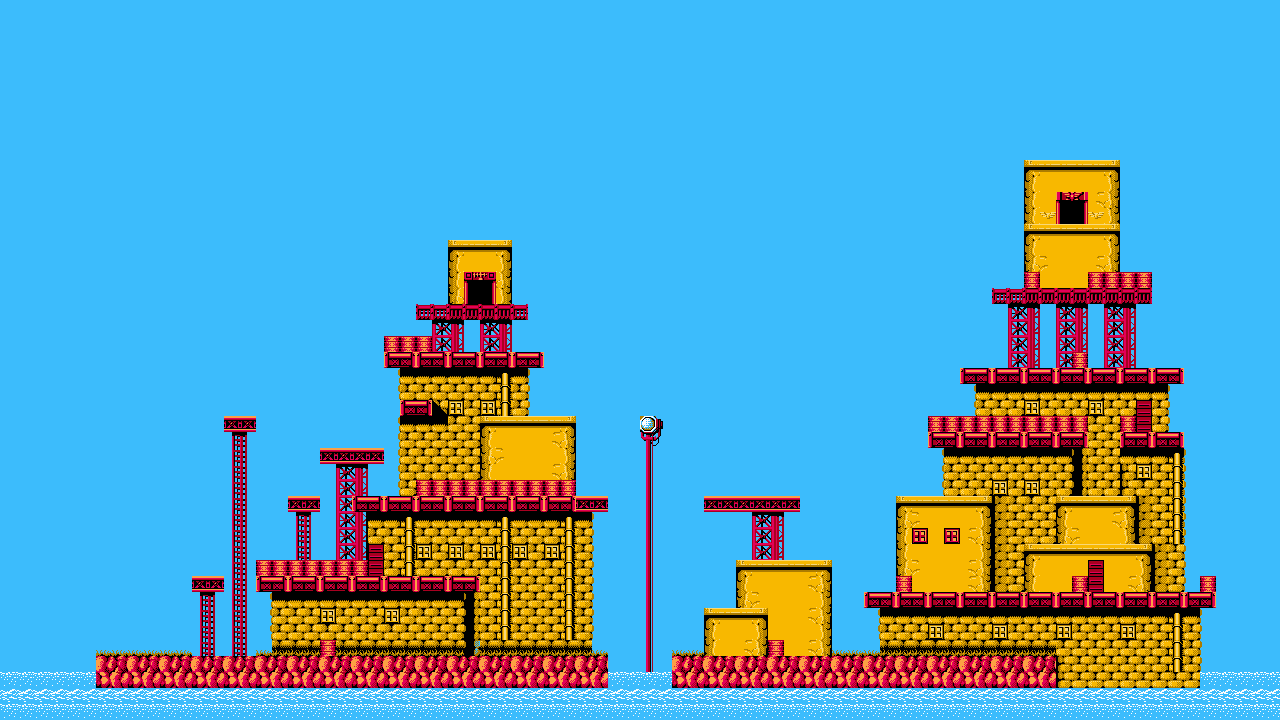
Area 1
Unlike other games of the time, you can't jump. Instead, you have to hang off of ceilings and other things with your bionic arm and swing to places you couldn't normally reach. You can aim it upwards and climb up the ceiling to another area, but swinging diagonally works a little differently. Press the D-Pad in the direction you're facing when you're hooked on something to swing from side to side, then press the opposite direction or Down to latch off and go in the direction you're swing. Pressing A lets you ascend to the highest point. The more space between you and the ceiling when you connect to it diagonally with the bionic arm, the bigger your swings will be.
Sometimes you'll find computers that you can use to communicate with your fellow troops. You can also wire-tap and find out what traps the enemy has ready to spring on you. Be careful with wire-tapping, as you can set off an alarm and send enemy units to come and attack you.
The items that look like bullets with green tips will give you extra health. If you collect ten of these pellets, you'll earn one extra hit point.
When you enter the door on the right island, you'll enter a fortress. As you deal with troops that parachute to your level and force fields that you'll have to shoot down, you'll find a computer at the right side of the area as well as the main reactor room to the right.
There are three kinds of doors, as signified by the archway above the door. If there are left and right arrows on the archway, the door will take you to other sections of the area. The archway that has what looks like a radio antenna is a communications room, where you can communicate with your agents and, if you're daring enough, wire-tap the enemy at the risk of being spotted and surrounded by enemies. The archway with what looks like a falcon on it leads to the reactor room, where you'll have to destroy the reactor to complete the area.
The reactor room battle here is pretty easy. Take out any enemy soldiers that are in your way as you shoot at the reactor core. The soldiers do more running than shooting, so you should be okay here.
For beating Area 1, you'll get 10 energy pellets and the Energy Recovery Pills. Equip them and press Start to refill your health.
Area 13
Unlike the white areas, the red areas are neutral zones. You can talk to both friends and enemies, but if you shoot at anyone, peacekeepers dressed in white will show up and shoot at you.
The first open door contains an energy pellet, and the second contains a flare. You'll need it for the next section.
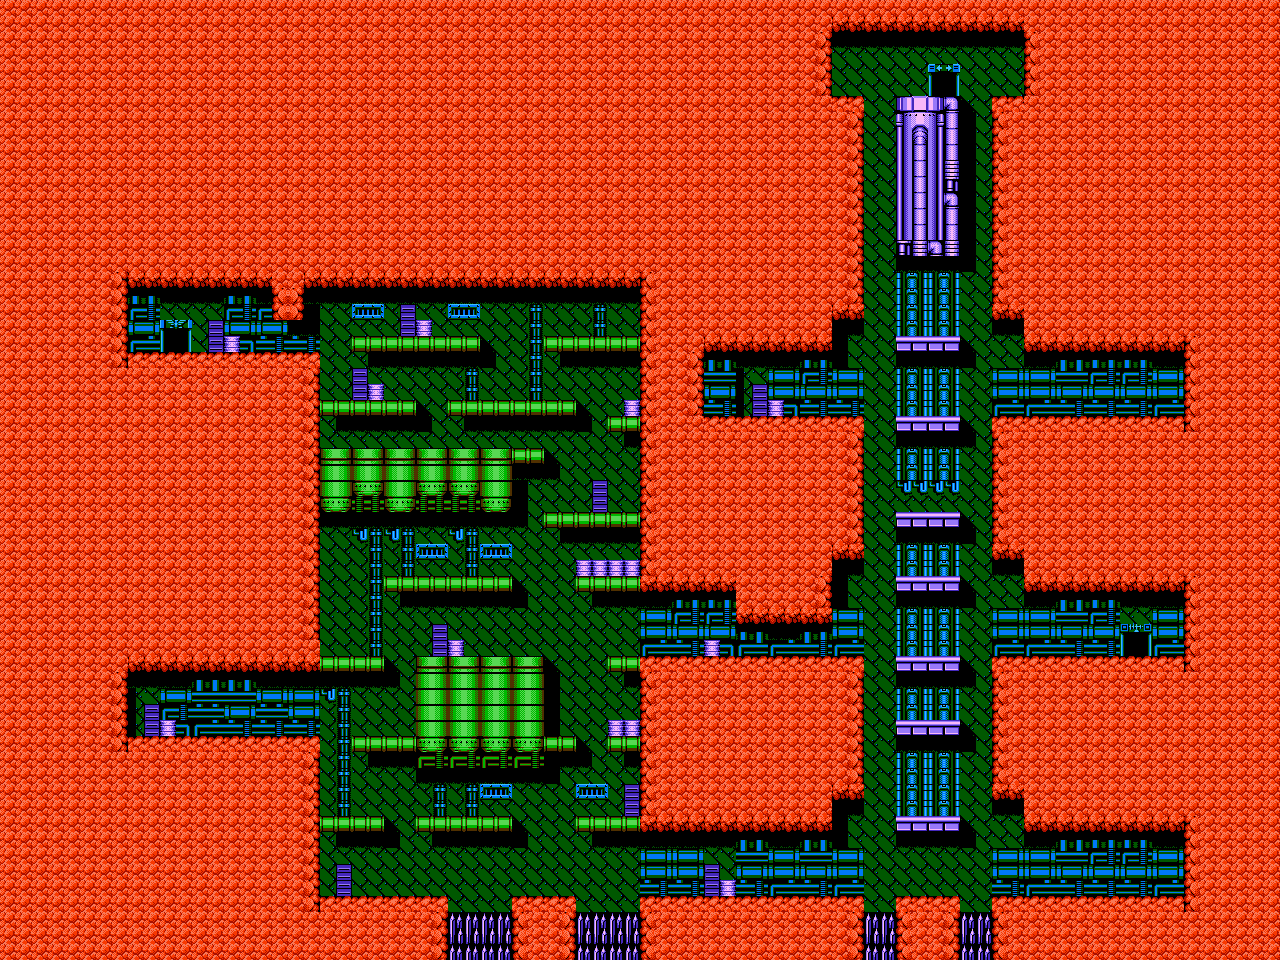
Area 4
Since you have the flare, equip it before you go here. When you enter the dark cave, press Start and the flare will light the way.
You'll find the computer mid-way through, and you'll reach the reactor upon swinging over the huge pit after you climb further up.
The soldier in the reactor room will stay on the ground level. You do not want to be precisely above him as he will try to hit you with the grappling hook on his back. Use your own hook to swing over him and shoot down the main reactor before he catches up to you. As long as you're not on the ground, you won't have to deal with his running bayonet attack.
For beating Area 4, you'll get 10 energy pellets and the Wide Cannon. The Wide Cannon provides a three-way shot when equipped.
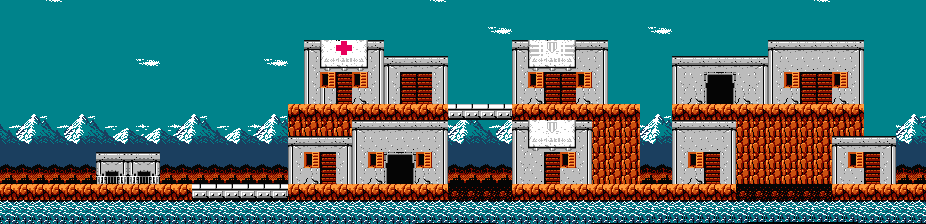
Area 15
The first door contains an extra life, and the second contains the yellow (Gamma) communicator.
No comments:
Post a Comment