Showing posts with label King's Quest VII. Show all posts

Thursday, December 10, 2020

PrinceWatercress plays King's Quest VII: The Princeless Bride - Part 18 of 18


The game reaches its epic conclusion...and this game is finally connected to the rest of the series, albeit barely. Man, this game pales in comparison to the sixth one (and most of the series).


Now you must get the crystal with sunlight. There is only one place to get one: Malicia's house near the gate to Ooga Booga. Take the lower-left rainbow bridge back at the beginning to get there.

Head to the back of Malicia's house, and make sure that the dog is not barking. If you don't hear the dog, go through the hole. (You may have to enter and leave the Woods of the Werefolk in order to get the dog to stop barking.)

When you reach the other side, Valanice will hear Malicia brag about blowing up Etheria and taking the realm of Eldritch with it. After Malicia stops talking, move the cursor towards Valanice so it turns into a arrow pointing downwards, then click to hide. From there, move the cursor to the peep hole so that it turns into an up arrow, then click so that you can hear Malicia talk to her dog again before she and the dog leave. You can now move freely about the house. Click on the crystals on the lamp in the lower-right corner to take a crystal shaft, then go down through the floorboard with the hole in it, leave the back area of the house and use the fife.

If you click on the mirror in Malicia's house, Valanice will wisecrack that nobody has seen Malicia's real face in years.

Back in Etheria, take the lower-right rainbow or the upper-left one to head to the maiden statues or Colin Farwalker's remains, respectively. However you do it, head back to the temple where you got the piece of turquoise. Use the crystal shaft on the sunlight to absorb the sunlight. Congratulations...you can now free Lady Mab.

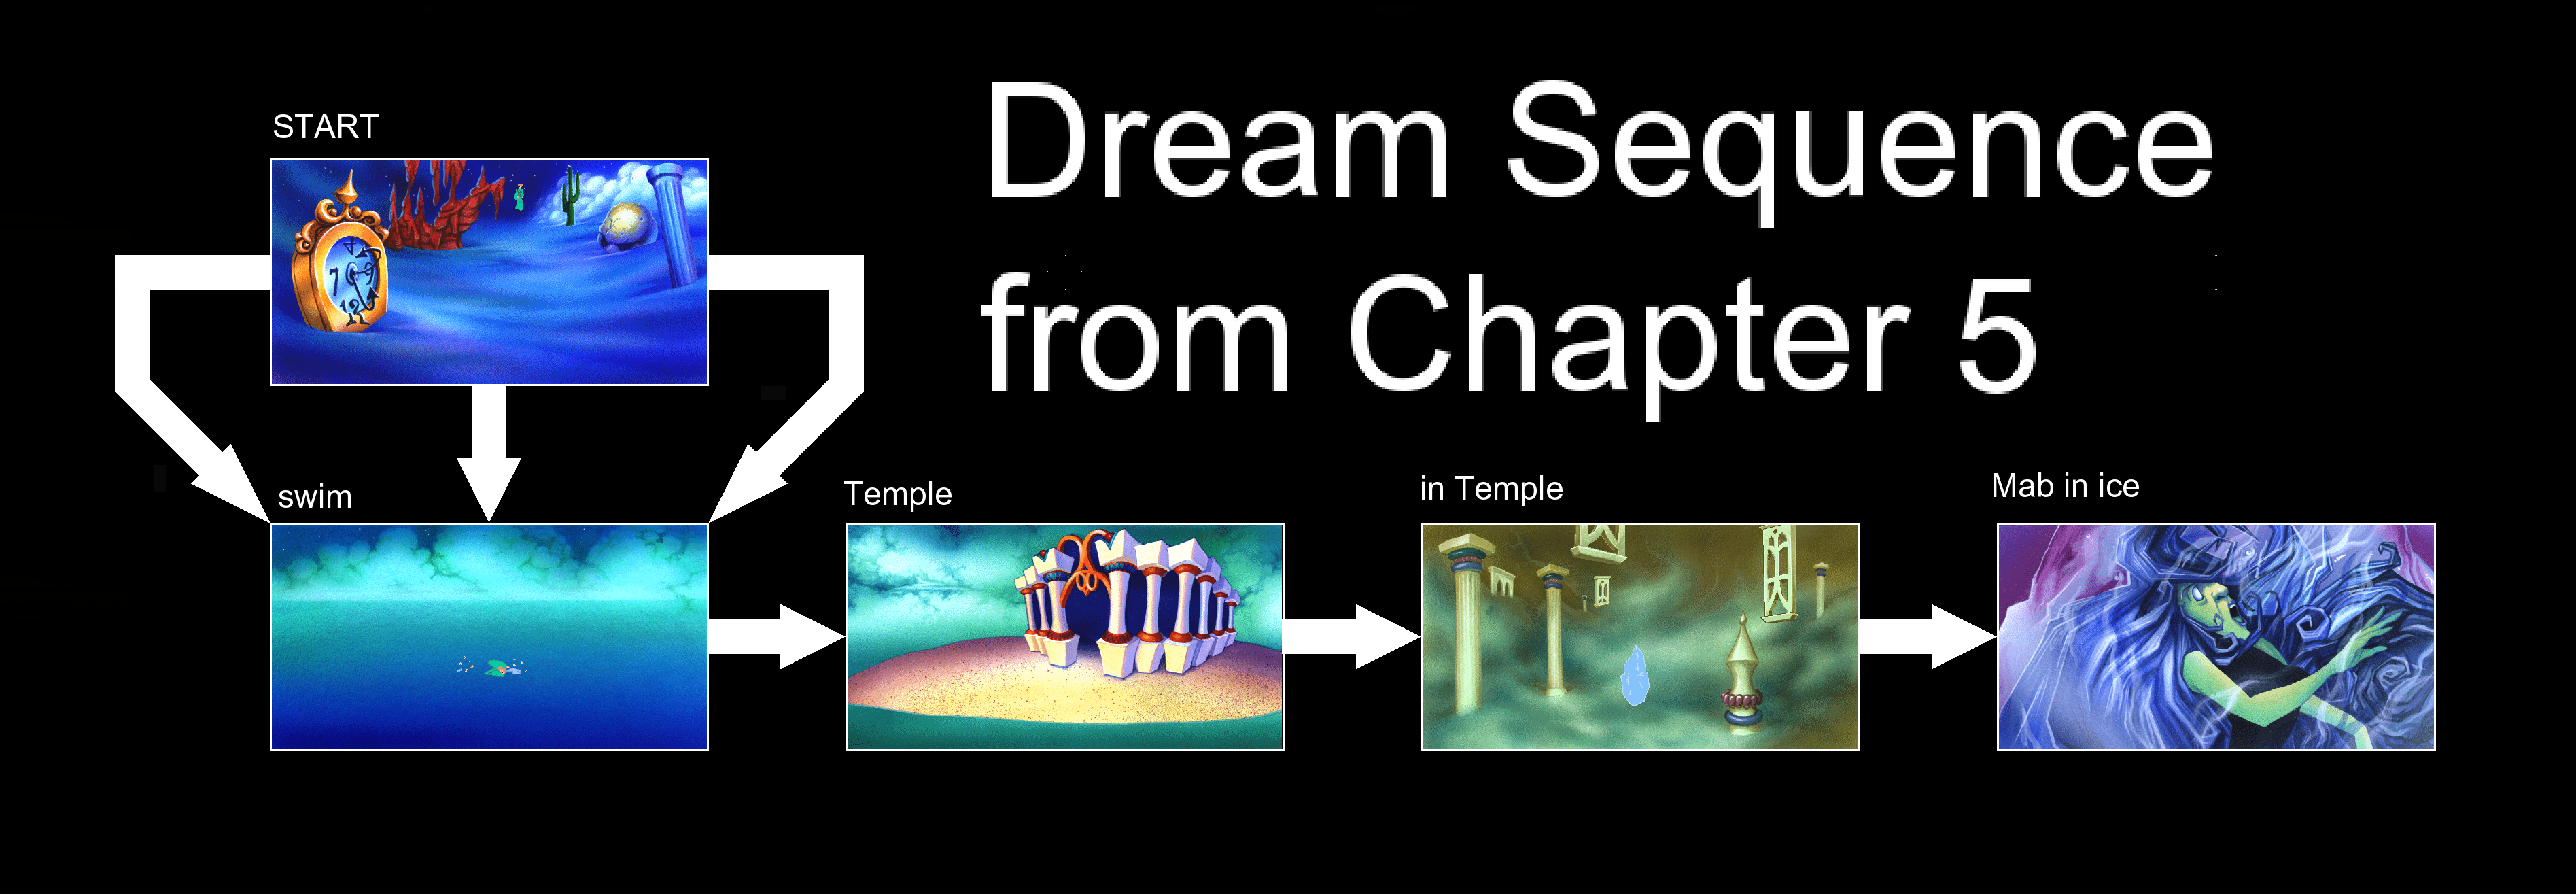
Use the Tapestry of Dreams on Valanice to head to the land of dreams. Grab the dreamcatcher from the inventory and use it on the nightmare to sic the nightmare you captured on it. Head to the south to head to ocean that Valanice swam through the first time around. Valanice will automatically swim to the temple where she found Lady Mab. Go in and use the crystal shaft with sunlight on the ice crystal to free Lady Mab.

Valanice will tell Lady Mab about what has happened, and Lady Mab will explain that Malicia trapped her in ice so she could destroy the entire realm. She will then tell you to send the winds to find the Oberon and Titania. When Valanice asks how she is supposed to do this, Lady Mab tells her that she must harness the wind Sirocco and ride to the top of the Mountain of Winds, where Lord Levanter will be able to help her. She will hand you a magic bridle, then leave to try to hold back the volcanic explosion. After thanking you from freeing her from her icy prison, she says that she will send Valanice only sweet dreams for the rest of her life.

You will then be back on the path to the Dreamweaver's cave. Head to where the cave is, then click on the back of the path when the wand-shaped cursor glows. You'll know you've done it right when Valanice walks closer to where the ambrosia is and says "Hmmm..." Grab the magic bridle from the inventory and use it on the horse-like wind that shows up as soon as it is on-screen. This is Scirocco. Valanice will put the bridle on Scirocco, who strangely stops for her, then ride to the top of the Mountain of Winds.

Interestingly, the same place where you hide to get the bridle on Sirocco will also protect you from that big, bad dark wind spirit who will try to eat you. He won't be able to see you, strangely.

At the top of the Mountain of Winds, that evil wind spirit will show up and knock Valanice off of Sirocco. A female wind spirit - who addresses this guy by the name Borasco - scolds him for trying to eat Valanice (and eating people in general). Borasco says he was just playing around, but the woman, who happens to be his mother, knows better. (Her name is Gharbi, but the game never mentions it.) Another male wind spirit shows up. This is Lord Levanter, King of the Winds. Valanice will explain what is going on, and Lord Levanter will summon the winds. Two winds will show up, one of them Sirocco, and he will tell them to look for Oberon and Titania and bring them back to Etheria. After a while, Oberon and Titania will show up on a white swan chariot. Oberon will notice the volcano, and Titania says it is time to undo what has been done...assuming they can. They take off without Valanice, who does not get the chance to ask about her daughter.

Chapter Six: "Ready, set...BOOM!"


When we last left Rosella, we made your way to the volcano, where the real King Otar met the fake one. When this happened, the two of them got into a fight.

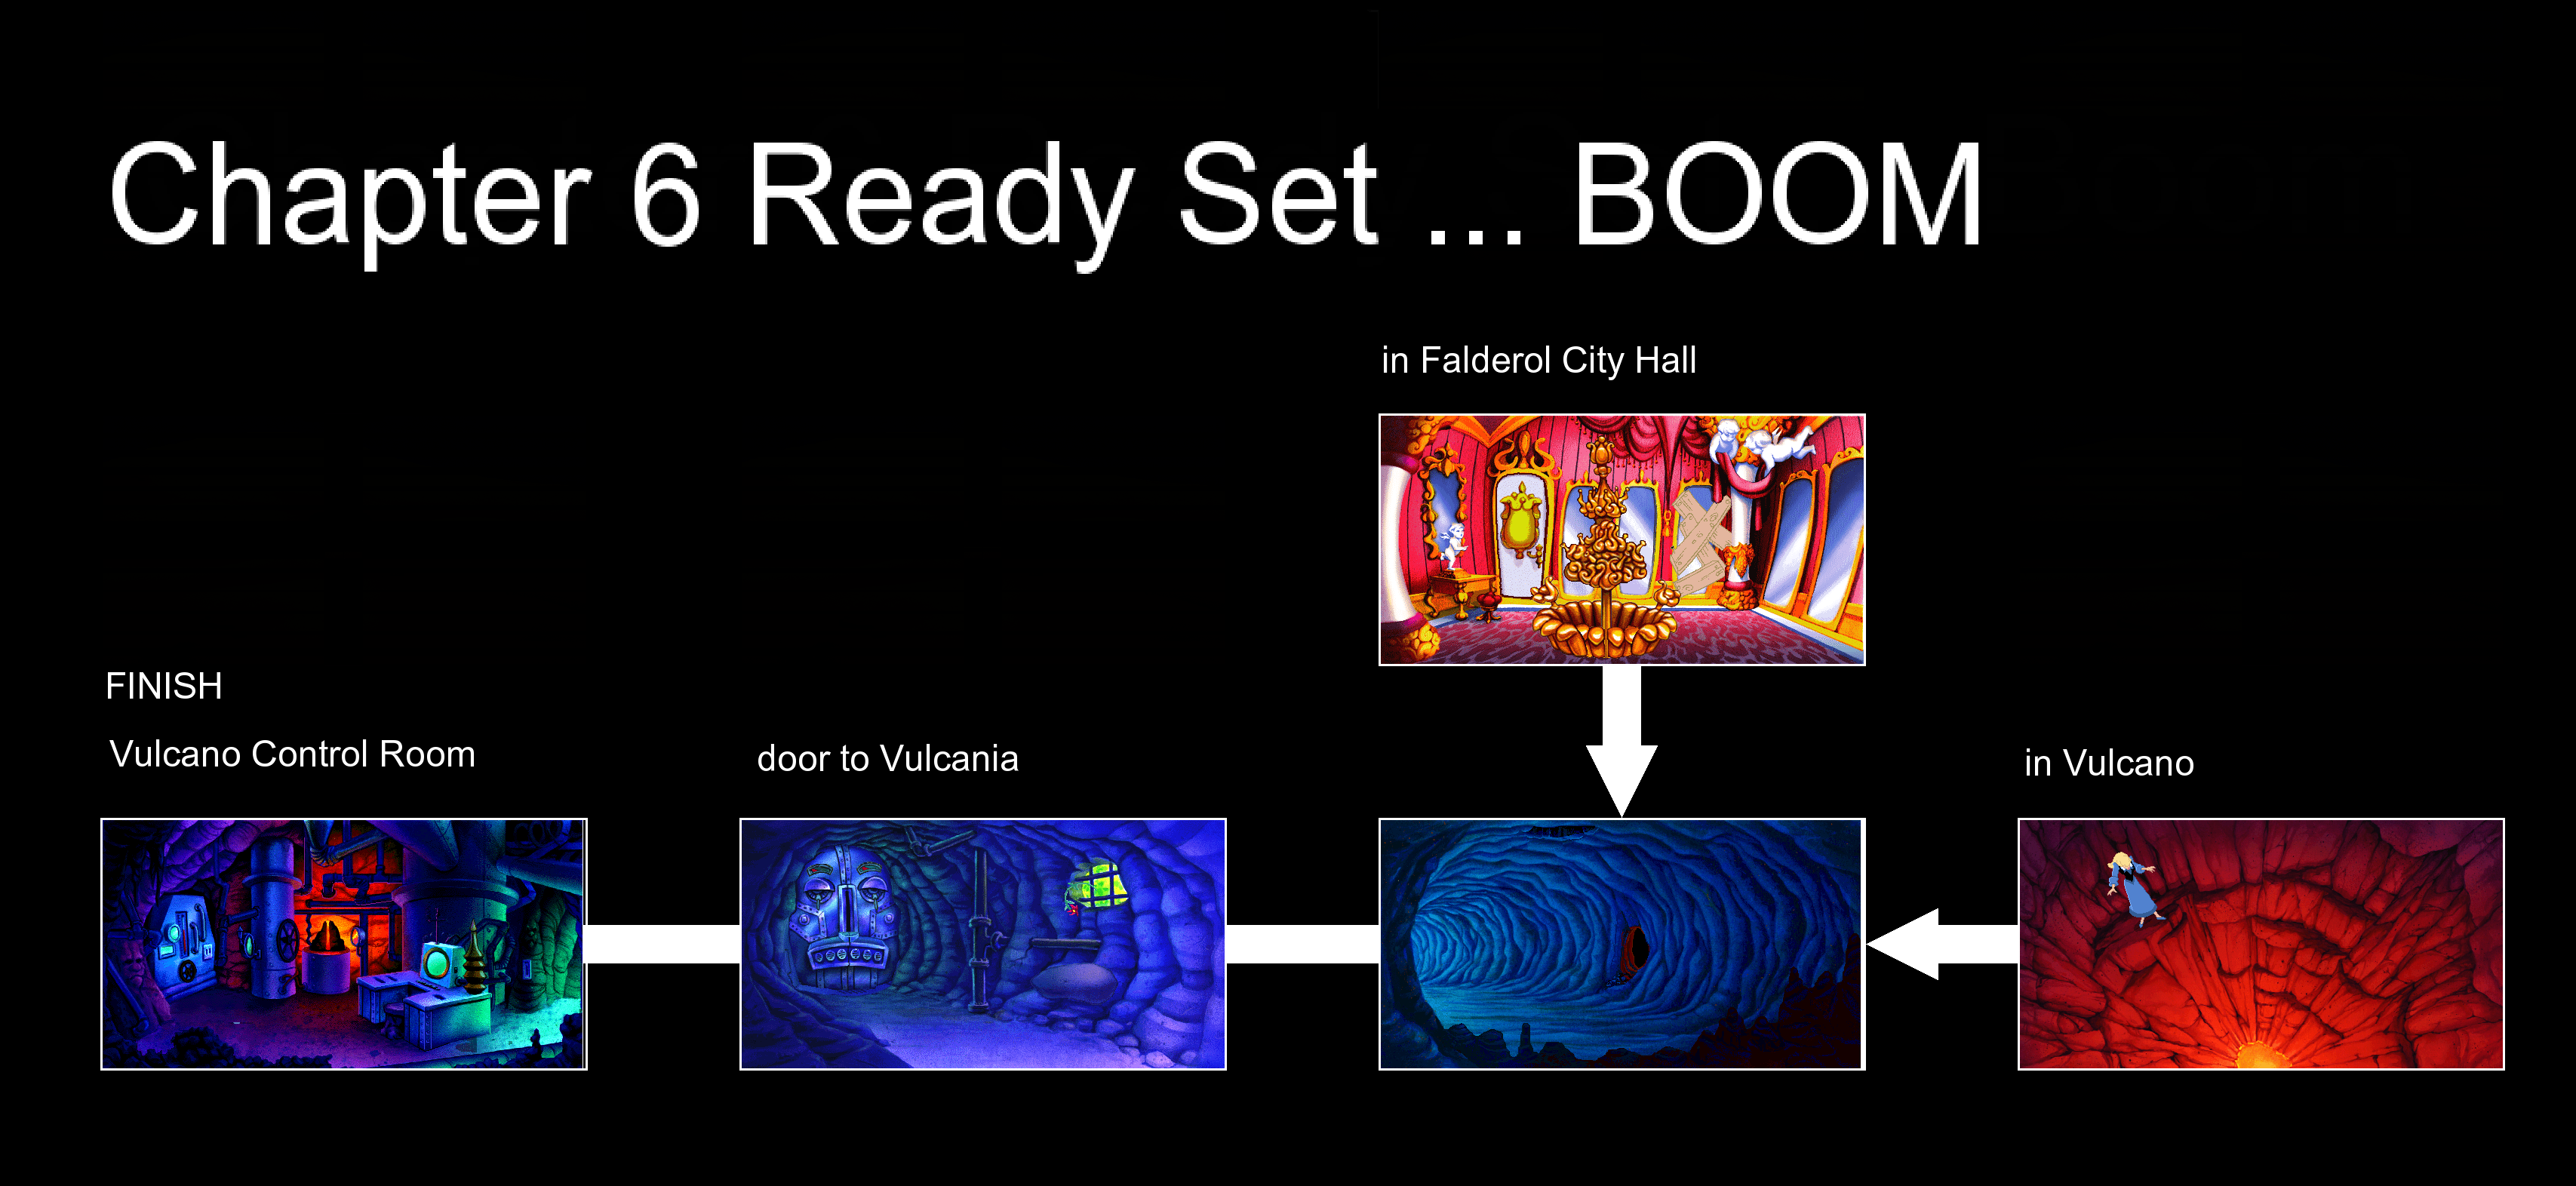
At the start of the chapter, the real King Otar will tell you to change the fake one back to his rightful form. Take the staff from the inventory, look at it with the eye, and click on the button at the bottom so that the "T" on the jewel of the scepter changes to a "F." Then, use the scepter on the fake King Otar, who is the one who gets thrown into the wall. This will change him into his true form, and it is none other than...Edgar from King's Quest IV? What?!?

By the way, if you use the scepter on the true King Otar, he will be changed back into a scarab. From there, Malicia will show up and zap Rosella. YOU WILL DIE.

After Rosella's strange reunion with Edgar, Malicia tries to zap Rosella, but King Otar blocks it with his body and whisks  out of the room. After saying that she hopes Rosella likes hot weather, she teleports Rosella out of the room with her magic, and Rosella is teleported near the bottom of the volcano. Meanwhile, someone will be riding on Necromancer to where Valanice is, telling her to get one as they must hurry. Strangely, he is dressed just like Edgar, except with a black hood. They fly to the volcano. Meanwhile, the lava is rising inside of the volcano. Meanwhile, Oberon, Titania and Lady Mab create a spider web to block the lava should the volcano explode..

If you click on the lava below, Rosella will sway back and forth, and if you click on it again, YOU WILL DIE. Also, if you take too much time completing the chapter or stand around for too long, the volcano explodes and YOU WILL DIE. (This is removed in Version 2.0.)

Click on the wall. Rosella will make a small hole somewhere. Use the shovel on that part of the wall of the volcano to get out of here. Just grab the shovel from the inventory and place it to the right of Rosella where the shovel cursor turns white. Rosella will dig her way out, and she will end up on the path leading to the volcano control room again.

Meanwhile, at Ooga Booga, the mystery rider, Necromancer and Valanice will return to the exit from the Vulcanix Underground, and the mystery rider will blast it back open.

Head to the left when you return to the path leading to the control room. Before you head to the door, there will be a flower hanging off the wall, assuming you did not get the one underneath the man-eating Venus flytraps outside of Ooga Booga. Dislodge the rock on the wall underneath the window with the shovel, then click on the rock to get the flower. (If you got the other flower underneath the plants, this one will not be here.) Take this fragrant flower before you go into the control room; you WILL need it.

To open the control room, click on the left eye, the right eye and the nose to hit the switches in order. The door will then open. King Otar will still be unconscious, and you will need the fragrant flower to awaken him. Before you do that, however, there is something you need to do, and you must do it or else YOU WILL DIE LATER. Take the Mysterious Device from the inventory and place it into what looks like an electrical socket above King Otar. The Mysterious Device will charge up energy, which you will want it to do. When the ball of energy around it stops growing, you can take the Mysterious Device out of the socket, but you can still wake up King Otar before pulling it out. Don't do that; the Mysterious Device must fully charge before you can use it.

Use the Fragrant Flower on King Otar. He will wake up, then head to the control panel and stop the eruption. The lava will get blocked by the spider web created by Oberon, Titania and Lady Mab, and King Otar and Rosella will erupt in a fit of laughter. Suddenly, Valanice will show up with the mystery rider, who is, of course, Edgar. (Of course it was him; you could tell by his clothes. Whaddya mean, "suspension of disbelief?")

The mother and child reunion does not last, however, as Malicia shows up again. Malicia gets irritated at Edgar, who tries to protect Rosella. After a brief fight in which Malicia and Edgar zap each other with magic, Malicia manages to fatally wound him before preparing to zap Rosella. 

If you do not have the Mysterious Device charged up fully (or at all), YOU WILL DIE. SHOULD YOU DIE, YOU WILL BE BROUGHT BACK TO BEFORE YOU WOKE KING OTAR UP. If you have the Mysterious Device charged back up but not back in your inventory, click on it first, then click on Malicia. If you have it charged up and in your inventory, pull it out of the inventory and use it on Malicia. The energy from the Mysterious Device will change Malicia into a baby. Malicia will trouble Eldritch and Etheria no longer! Malicia's dog Cuddles will then show up, and you can zap Cuddles with the Mysterious Device to turn Cuddles into a puppy, who then runs away.

After that, everything will be right as rain...almost. Edgar is still laying there lifeless. Use the Extra Life you got from the black cat in Ooga Booga to revive him. You just completed the game!

After Edgar is revived, Oberon and Titania show up, happy to be reunited with Edgar. Oberon thanks Valanice for reuniting him and Titania with Edgar, who happens to be their son. Edgar explains that he was stolen as a baby by an evil fairy named Lolotte, who was the main antagonist of King's Quest IV, and how his body and mind were twisted by her magic. He also talks about Rosella saved him from Lolotte, but after he returned home to Etheria, he disappeared again on the night his parents threw a ball to celebrate his safe return. Oberon and Titania looked for Edgar immediately, and did not know until now that it was all part of Malicia's evil plot. We also learn that Malicia - before being turned into a baby - was Titania's sister, and that something went wrong with Malicia.

Edgar tells Rosella it was him who lured her into Eldritch and basically kidnapped her while he was not in his right mind, but Rosella shrugs it off and asks him to show her the sights of Etheria, as she came here with the castle in mind. We then see a video cutscene with Oberon and Titania's white swan chariot heading back to Etheria. Edgar and Rosella share a moment alone on a balcony, and Edgar tells Rosella that he had her in his heart since they first met. He asks for the honor of courting her, and Rosella says yes. As they kiss, fireworks go off all over Etheria as Edgar and Rosella ride the white swan chariot into the horizon while Oberon and Titania watch.

What happens if you don't give Edgar the Extra Life? Well, he dies, obviously. While things will still be explained to tie up some loose ends like in the good ending, the ending will be a lot sadder. Titania almost kills Malicia, but Oberon reminds her that Malicia has been changed into an innocent child and whatever she once was, she is no longer. Also, the video cutscene will show a black swan chariot taking Valanice and Rosella home to Daventry. This bad ending is the only time in the first seven games where there is a bad ending as opposed to a good one. (The sixth game had two endings, but both of them were good even if one of them was less than the best.)

Wednesday, December 9, 2020

PrinceWatercress plays King's Quest VII: The Princeless Bride - Part 17 of 18


In this entry, we meet a weaver of dreams and help save the forest once and for all.


From there, play the harp like you did earlier and touch the orb to talk to the Fates. The Fates will tell you to meet with the lady of the spring, saying she will know what must be done. You'll then be waved away back to Etheria. It looks like you will have to save Lady Ceres, who is still a tree, and you've got some work to do to make that possible.

Take the lower-right rainbow to land back near the maiden statues from earlier.

If, for some reason, you take the upper-left one and head back to the jackalope holes and Eduardo's house, Eduardo will have closed shop due to the volcano and the jackalope will be crying. It appears word about the volcano has spread far and wide.

At the maiden statues, place the ambrosia into the horn of plenty held by the other statue. You will grow sacred fruit out of the horn, and if you click on the fruit, Valanice will take a pomegranate. Take the pomegranate back to Lord Attus. This time, Lord Attus will be playing his flute. If you click on him, Valanice will tell him about Lady Mab. Attus says it is possible that Lady Ceres can help thaw her out if she could only speak, and it is also evident that Attus has given up on reviving Lady Ceres. There is still hope, however: using the pomegranate on the flowing blood will turn the tree back into a woman. It's Lady Ceres!

Attus will embrace Ceres, then tell her that he must do what he must do to stop the volcano, while Ceres says she must do some work of her own to restore the forest. Attus disappears, then Lady Ceres thanks Valanice. Click on her, and she will go straight to work on restoring the forest. Click on her again, and Valanice will tell her about Lady Mab. Lady Ceres will tell you to find a crystal and fill it with pure sunlight to thaw Lady Mab out. Also, you will not be able to take physical objects with you if you go to the dream world while asleep, which means you will have to find a way to go there while awake. Sadly, she does not know how to get there while awake, and asks you to talk to the Fates again.

If you click on Lady Ceres, she will not be able to help you anymore as she will be busy restoring and defending the forest. Funny how Lady Ceres sounds like Valanice.

Before you head to Etheria, head to the maiden statues and take another pomegranate from the horn of plenty. Also, if you click on the River on Life, Valanice will dip her toe in. Clicking on it again will cause Valanice to try to swim in it in vain. YOU WILL DIE.

If you go back to where Lady Ceres was, she will no longer be there.

Head back to Etheria by playing the fife, then play the harp again and meet with the Fates. They will tell Valanice that she must cheat the fabric of reality and ride on the wings of a dream, and there is only one who can do such a thing: their nephew, the Dreamweaver. They will have you a dreamcatcher, and they will tell you that it sometimes pleases their nephew to surround himself with the darkest terrors of night.

From here, it's time to head up the path and return to where we found the ambrosia. Take the dreamcatcher from the inventory and use it on the cave entrance. Valanice will approach the cave with the dreamcatcher and trap the nightmare. You can now go into the cave.

Here, you can talk to the Dreamweaver. Click on him twice, and Valanice will ask for his help. He says he helps no one, for he is just the weaver of dreams. If you click on him a third time, he tells you to leave before he weave Valanice a nightmare that will turn her hair white. Use the dreamcatcher on the Dreamweaver, however, and he will speak to you. He tells you that he should have had a second nightmare on standby, but nightmares are solitary creatures who will destroy each other on sight. When Valanice tells him about what has happened to Lady Mab, however, the Dreamweaver changes his tune and gives you a Tapestry of Dreams that allows you to travel through the land of dreams while awake; however, Valanice will be vulnerable while she does. You can now leave. If you come back, another nightmare will come out and kill Valanice, so your business is done here.

If you click on the fabric the Dreamweaver sits on, you will be zapped by some sort of energy, although it will not harm you in any way.

Tuesday, December 8, 2020

PrinceWatercress plays King's Quest VII: The Princeless Bride - Part 16 of 18


First I had to fix some audiovisual desync, then I had to do some post-commentary during editing because my headset wasn't plugged in all the way. Murphy's Law, folks.


Head back to the kids' house. The kids will be chasing the black cat with a string of firecrackers, and one of the firecrackers will fall off. Grab the firecracker; you'll be needing it soon. Take it to the mausoleum where Lord Tsepish is interred, and use it on the door to blow the door open. If you are playing any version before 2.0 and you keep this object on you for too long, THE FIRECRACKER WILL EXPLODE AND YOU WILL DIE. Thankfully, you will still have the lit firecracker, and you can start back where you left off.

Head into the mausoleum. Click on the lid with the dog on it to open the stone casket, then click on the open space to pull out Lord Tsepish's head. From here, leave the mausoleum, take the head out of the inventory and click on Lord Tsepish when you see him on his way in. WARNING: IF YOU ARE TOO CLOSE TO HIM AND YOU WAIT TOO LONG, HE WILL RUN YOU OVER AND YOU WILL DIE.

When you give Lord Tsepish his head back, Tsepish will be himself again, albeit dead. Lord Tsepish will thank you for bringing his head back to him and lifting the curse. The dog, whose name is Black Valiant, will show up. Lady Tsepish will also show up, and she will be normal again, even though she is also dead from her grief for him. (She also comes out from the mausoleum, which is technically impossible since she wasn't in there.) Lord Tsepish will ask Valanice what he can do for her in return, and Valanice asks for passage to Etheria. Lord Tsepish gives her a fife to call his horse Necromancer, and you will be able to fly to Etheria. Once in Etheria, you cannot summon Necromancer as he will not be able to hear you.

You can call Necromancer for a ride to Etheria anywhere in the surface world, but if you do it in the woods of the were-folk, VALANICE WILL DIE as she will go to the other side in order to use the fife and run into the were-beast as a result. You've been warned.

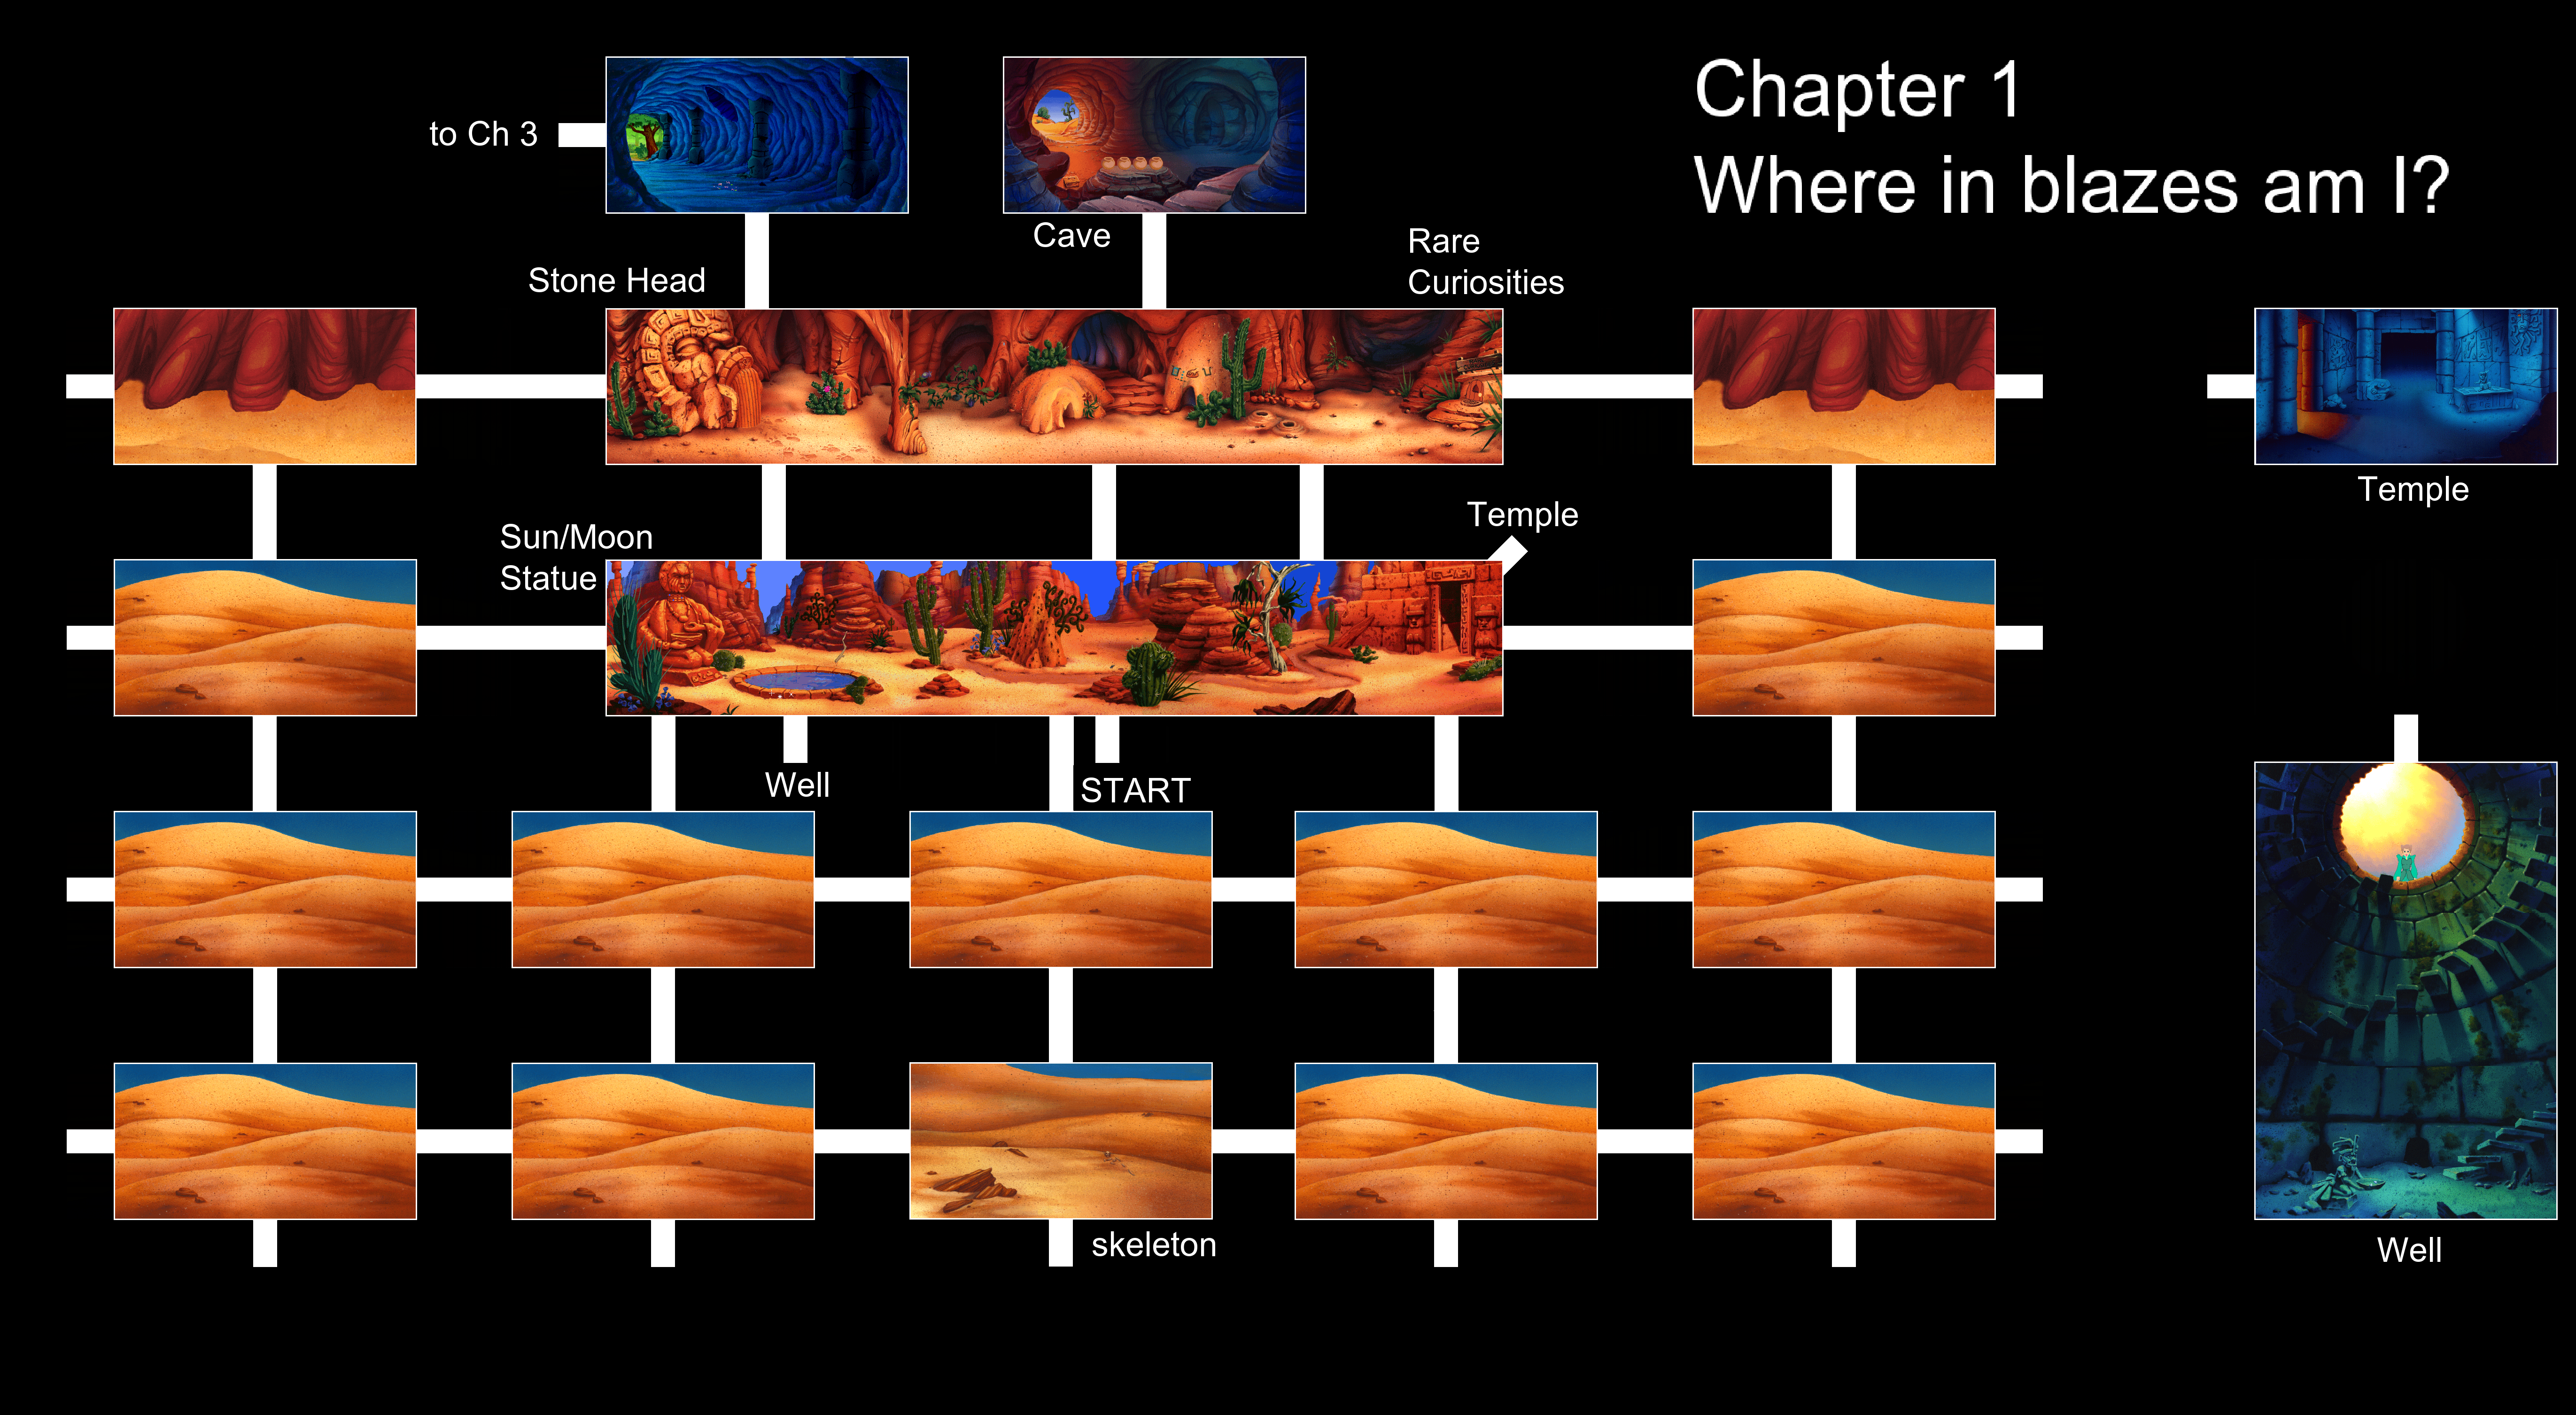
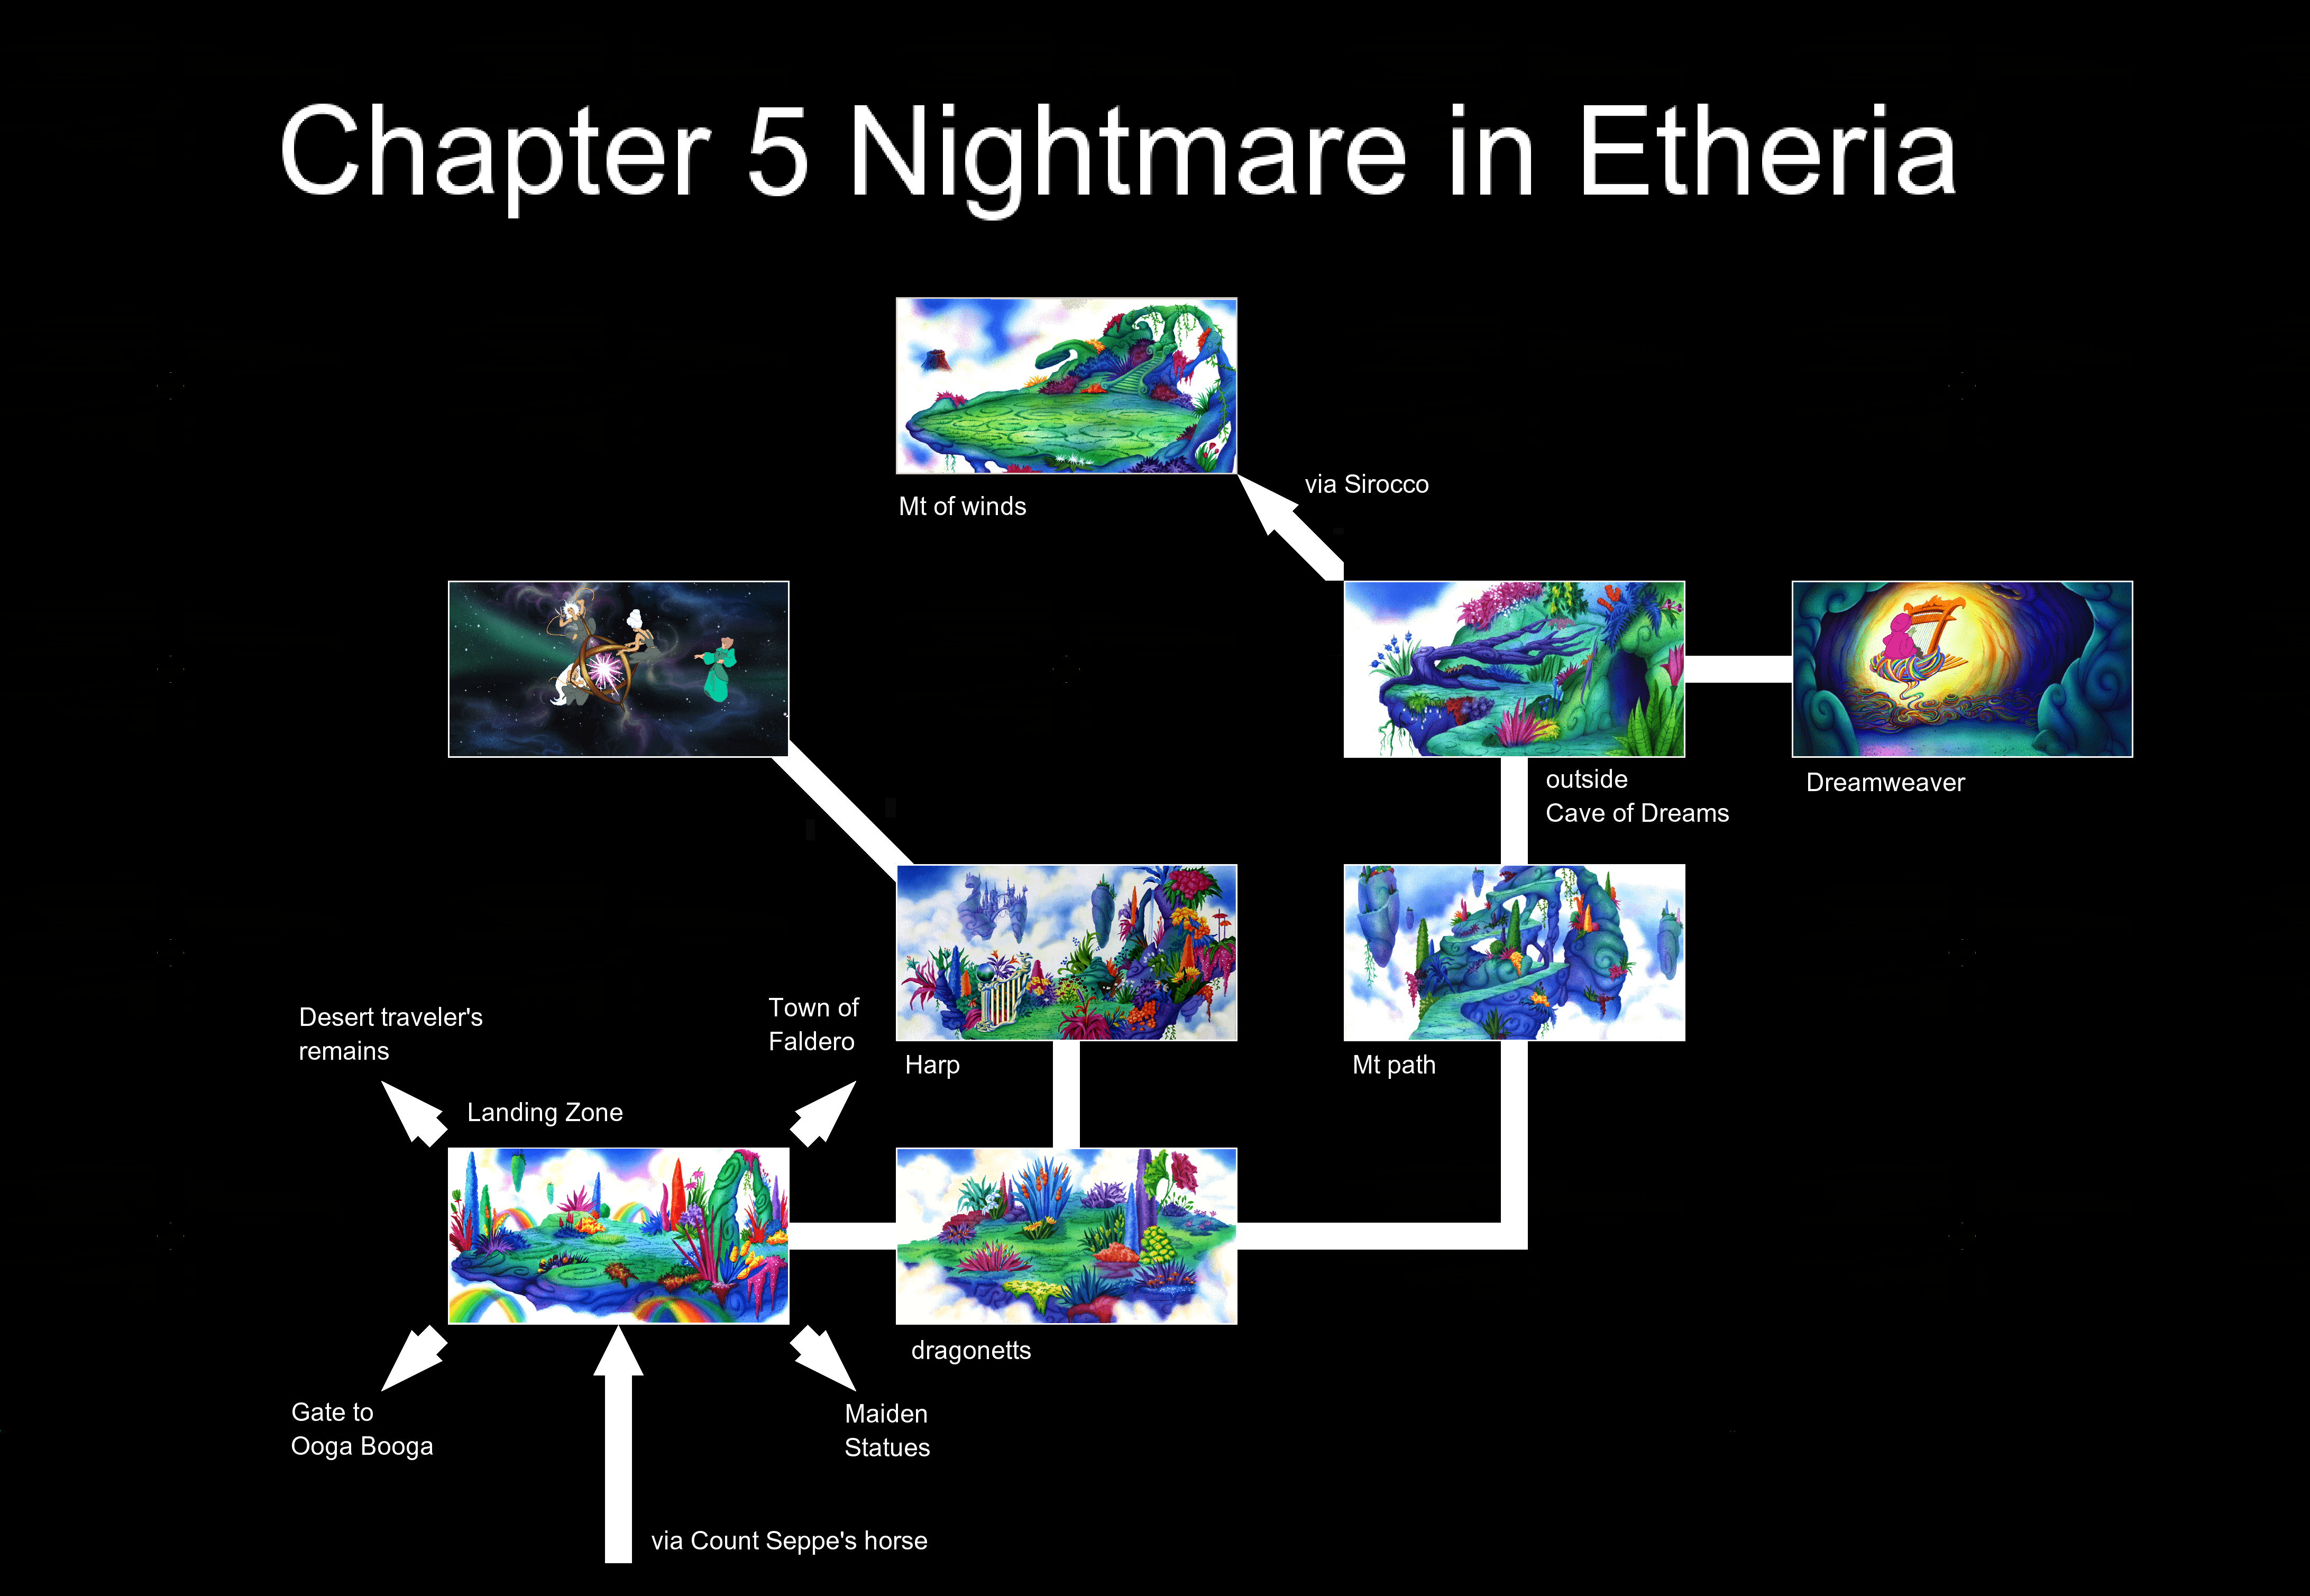
The four rainbows on the first screen of Etheria will take you to certain locations. The upper-left rainbow takes you to Colin Farwalker's remains in the Desert of Death; the upper-right rainbow takes you to Falderal; the lower-left rainbow takes you to the gate to Ooga Booga and the lower-right rainbow takes you to the maiden statues in the forest.

To the east is a set of group of fairies. When you enter the screen, they will surround you, and you will hear four notes. This happens every time you enter the screen. Remember those four notes; you'll need them for later. (The fairies also happen to reset your speed.)

Further to the east is a spiraling path leading to the top of a mountain. As you fly around, you'll see a wind horse flying around, as well as a black wind spirit who will devour you in one gulp if you run into him. WHICH MEANS YOU WILL DIE, so be careful. He can also show up at the top of the path, and if he shows up, it's automatically game over. The wind horse can also knock you off the path, but he does not exactly kill you.

Click on the path to make your way up, and be careful. At the top, there is a cave. If you try to enter, you will be encounter a dangerous creature who will eat you on sight. YOU WILL DIE. ALSO, HE WILL LOOK DEAD AT THE PLAYER WITH HIS HANDS UP, AS IF HE JUST WON A MADDEN OR FIFA TOURNAMENT. I DON'T CARE, MR. GHOST. THAT DOESN'T GIVE YOU THE RIGHT TO EAT ME. There is also a huge tree that leads to some ambrosia, but if you click on the ambrosia, you won't be able to reach it. Instead, click on the tree itself, then get the ambrosia. You're done here...for now. Click your way to the bottom.

If you give the faeries the ambrosia, you will hear even more of their song. Click the skip button that shows up above the inventory to get out of it. From the faeries, you can go north to a harp. In the distance, you can see the castle.

There are six strings on the harp, and from left to right is the lowest note to the highest. If you press the first, the fifth, the sixth and the fourth, you will play the melody of the fairies. The harp will then play the rest of the melody, and the orb on the top of the harp will glow. Normally, if you touch the orb, nothing happens, but if you touch it now, Valanice gets sucked in.

Valanice will then be floating in the cosmos with three women are cutting a string near what looks like a purple electric spark in a space-age cage. They are the Fates: Clotho, who spins the fates of women and men; Lachesis, who measures the fates; and Atropos, who severs the fates. Clicking on them will cause Valanice to talk to them, and they in turn will introduce themselves. Clicking on them again will have Valanice tell them about her search for Rosella as well as search for an audience with Oberon and Titania, the king and queen of Etheria. Sadly, Valanice will not be able to see them immediately as the king and queen have gone on a journey seeking their own lost child. Valanice is then told to take her case to Lady Mab, the lady of dreams. Lady Mab lives beyond the waking world, and one has to dream in order to meet her in a island of dreams and nightmares. Valanice will then be waved away, and she will return to Etheria. If you meet with the Fates again, they basically spell it out for you that you have to go to sleep.

It should be noted that the Fates are from Greek mythology, and that Oberon and Titania are named after characters from William Shakespeare's A Midsummer Night's Dream who were constantly at odds with each other.

In order to get to the land of dreams, we must first go to sleep. There is only one place to sleep at that we know of, assuming that we have been talking a lot to all the other characters: the coffin couch in Dr. Mort Cadaver's office in Ooga Booga. Go back to the rainbows and take the lower-left one. You'll land near the gate to Ooga Booga, and if you pass by the man-eating venus flytraps, they will try to sweet-talk you again. If you click on them, they will say they are nihilistic when Valanice asks them if they are worried about the volcano erupting. Clicking on them two more times will see Valanice say she knows she wants to eat.

When you approach the kids' house, the two neighborhood kids will be banging on pots and pans while celebrating the eventual eruption of the volcano. They then climb back up to the house and make their noise from there.

Head back to Dr. Mort Cadaver's office. This time, the sign saying he is out is gone. Knock on the door, and click on Dr. Mort Cadaver. Valanice will tell him about her attempt to meet Lady Mab, and Dr. Cadaver will tell you that the coffin in his office is comfortable and safe enough to sleep in. Clicking on Dr. Cadaver two more times will have Valanice have her misgivings about the whole thing, but the good doctor promises not to close the lid on her...or bury her, either.

There is a box of spare parts, but all Valanice does is ask about it in case you ever click on it before going to the dream world.

Apparently, Lady Mab is from Shakespeare's Romeo and Juliet and is briefly mentioned by Mercutio in that play. No wonder I don't remember her.

From here, click on the coffin. Valanice will lie down, and Dr. Mort Cadaver will place a pink veil over her. The game will then cycle through the color spectrum faster than you can say "Windows Movie Maker," then you will be in the dream world. Nightmares will chase Valanice until she suddenly falls into the ocean. Valanice will then swim to an island (at least you don't have to tell her to do it) and enter some sort of building that looks like a Greek temple. An ice crystal will then roll towards Valanice, and Lady Mab will be seen frozen inside of the crystal. Valanice will then wake up and mention what she has seen to Dr. Mort Cadaver, then leave. After this, the sign will be over Dr. Cadaver's door again, so you won't be able to get back in.

From here, play the fife to return to Etheria.

Monday, December 7, 2020

PrinceWatercress plays King's Quest VII: The Princeless Bride - Part 15 of 18


We now explore the land of Ooga Booga as Valanice...and we'll have to do it in order to get further into the game.


You can talk to Attus again in this chapter if you need to be reminded of Feldspar.

Go back to the forest entrance, then take the pot of nectar from the inventory and click on the maiden's pitcher (the statue holding the pot with the hole in it) to fill it up and get the River of Life flowing again. You'll also activate the rainbow bridge that was once broken. Lord Attus then shows up and drinks from the River of Life, turning into a human again. Attus then heads to Lady Ceres. Valanice will follow, and while Attus is able to remove the stake in Lady Ceres' tree form, the nectar turns into what looks like blood. Valanice then wishes that she could help and mentions that if Rosella is in Ooga Booga, then Valanice will have to go through the swamp where a terrible beast dwells. He wants to help Valanice, but he must help Lady Ceres first. (The game does not allow you to do this before Chapter 5.)

There is nothing else you can do, so it's time to head to the Woods of the Werefolk. At the screen before the woods, use the jackalope fur on the were-beast salve. From there, use the combined fur and salve on Valanice. Valanice will turn into a jackalope and run through the were-beast, forcing all of the were-beast's fur off of its body in the process.

Valanice will then stop in front of Malicia's house. The plant monster will show up, but Lord Attus will teleport in and zap the plant monster out of existence before teleporting back out.

AS WITH ROSELLA, DO NOT SKYLARK AROUND MALICIA'S HOUSE UNLESS YOU HAVE A DEATH WISH.

You can click on the window at the front of Malicia's house to get Valanice to talk about the light. Strangely, you could not do that with Rosella.

Going further to the right introduces Valanice to the Venus flytraps. Just like with Rosella, you can click on the Venus flytraps to talk with them, learn about Malicia, get hit on and nearly get lured into being eaten. ALSO JUST LIKE WITH ROSELLA, IF YOU GO FOR THE FLOWER - SHOULD IT BE THERE - YOU WILL GET EATEN AND YOU WILL DIE. If you use the Golden Comb on the Venus flytraps, they will just use it as an excuse to be slightly creepy.

Going through the nearby gate will take you to Ooga Booga, where Valanice will be welcomed by the neighborhood kids, who throw rotten eggs at her. Thankfully, they miss. To the west is Dr. Mort Cadaver's office, and if you knock on the door, he will mention Rosella and they will talk in his office. Click on Dr. Cadaver, and he will tell Valanice about Rosella's time in Ooga Booga. Clicking on him again has Dr. Cadaver telling Valanice that Rosella was getting along well. A third click has Valanice ask about the people of Ooga Booga. A fourth click then ends the conversation, and Dr. Cadaver tells Valanice that he will let her know if he hears anything of Rosella. You won't be able to get back in, as Dr. Cadaver will be making a house call. He places a sign saying he is out, so you won't be able to go back in.

Just like with Rosella, Valanice can read the headstones.

If you head to the deadfall, the black cat will notice you and ask if you are Valanice of Daventry, then mention that Rosella has left for the volcano, which will soon erupt and destroy everything. The cat will tell you to seek help from Etheria and break the enchantment. Unfortunately, Etheria is in the cloud, and Lord Tsepish cannot take you there due to having lost his head. If you can help Lord Tsepish, he will help you. The black cat then leaves.

If the elevator at the kids' house is down, you can go inside. If you look at the mummy, you will notice that it now has a wig as well as a bone sticking out of it. If you click on the bone, you can pry it out and put it in the inventory. It is a femur, and it will be useful.

It should be obvious, but if you can die a certain way as Rosella, you can die that way as Valanice as well.

Head back to the burned down house. When you approach where the dog shadow was as Valanice, the dog will come out of the house and take a corporeal form. Use the femur on the dog, and the dog will be surprised at the bone. If you click on the dog, the dog will talk to you. He says that you are the first human to be kind to him since he lost his master and mistress. He will tell you how his master was beheaded by Malicia's and cursed to ride the skies in search of his head, while his mistress died of grief shortly thereafter. Meanwhile, he tried to defend his home from the Boogeyman, but failed when the Boogeyman set it on fire. He goes on to say that he was happy to fight at his master's side. It appears the master and mistress are none other than Lord and Lady Tsepish. Valanice asks if it possible to break the curse by finding Lord Teppish's head. The dog says it is possible, and allows Valanice to take his master's medal from around his neck before licking her in a sign of affection.

Head back to the mausoleum. This time, the woman will be standing up instead of kneeling. Talking to her will still kill you, but if you hand her the medallion, she will walk away and vanish. You will now have access to the mausoleum door, but it will be locked. You'll need a key.

Sunday, December 6, 2020

PrinceWatercress plays King's Quest VII: The Princeless Bride - Part 14 of 18


Now that we are in Falderal as Rosella, we need to find that shortcut to the volcano. Once we're playing as Valanice again, we need to get the moon back into the sky.


Sadly, you won't be able to go into the faux shop.

If you enter the china shop, you can talk to Ferdinand. He does not know where the entrance to the Vulcanix Underground is, but he does say that the town hall conceals many secrets. If you click on him again, he will tell you about Valanice, he will tell you that she was looking for Rosella and that while she was well, she was desperate to find her. He will also tell you that the realm of Eldritch draws in mortals like bees to honey when Rosella apologizes for hurting her mother, and that her mother will understand. If you click on Ferdinand a third time, King Otar will tell you to stop wasting time. You'll also get some dialogue if you click on Treasure or the china plates below Treasure.

Head into the town hall. The birthday party will be over. Go through the tapestry hiding the door and make your way to the door that is right-side up. Once again, the pink smoke will get to Rosella, but if you click on the door a second time, you'll be able to go in.

The mirror that takes you to the other room is boarded up, and not even the hammer and chisel will be able to break through. You can still look into the other mirrors. however.

You can click on the Cupid statue to look at the plaque. You may not have the silver pellet anymore, but you still have the woolen stocking. Use it to clean the dirt off the plaque, so you can read it. Rosella will read the plaque, which reads "I'm a hungry little tot, / But I don't want porridge, cold or hot. / I don't want bread, I don't want meat, / My taste runs more to fruit so sweet! / If you give me what I need, / You'll see me perform such a deed! / the ground will shake, the waters part, / And you can plunge into the heart / Of Darkness deep and pulsing fire. / Feed me! Get what you desire!"

Exit the screen with the plaque, then go up to the golden grapes on the column to the right. You won't be able to pull them off with your bare hands, but if you use the hammer and chisel, you can get a golden grape. Use the golden grape on the Cupid statue, and Rosella will place it in the mouth. The statue will spit the grape out into the basin, which will rise up. However, it will not go up all the way. You can use the shovel, but you will not be strong enough. Use the Magic Wand (make sure it is set to "T") and use it on King Otar to get him to open the pathway in the basin. He will then jump in. Follow him.

From here, follow King Otar. He will open the doorway. Remember how he does it: pulling the lever on the left eye, pulling the lever on the right eye and pulling the lever that is the nose. You'll need it for later.

King Otar will confront the fake King Otar as the volcano is about to explode. This ends Chapter 4.

Chapter Five: "Nightmare in Etheria."


When we last left Valanice, she had used the shepherd's crook to grab the moon from the pool of water after travelling to Falderal. Now she is under arrest...

In the town hall, Valanice is found guilty of moon theft, impersonating a Falderalian, party crashing, sneaking, spying and appearing in public without fur, feather or scales. She is sentenced to spending the rest of her life in the jelly bean mines of Walla-Walla-Boing-Boing. Valanice calls out the Archduke for making that place up, and the Archduke asks for alternative sentencing for Valanice. The Falderalians come up with equally preposterous and silly alternatives, but Chicken Little suggests making Valanice put the moon back into the sky. The Archduke will demand Valanice put the moon back into the sky before sunset, or she will be feed to a 300-pound hamster in the morning. He then adjourns the kangaroo court and proposes moving the party to the sub-sub-basement before having Valanice escorted out of town hall.

From here, you won't be able to leave Falderal until you get the moon back into the sky. Thankfully, all the things you need to get it back up there are in the town, and if you haven't gotten them yet, you can still do that.

If you use the moon on Valanice, Valanice will take a bit and say she never liked green cheese much.

If you use the comb on the statuette, Valanice will learn that Rosella is in the volcano and that her future has become darkness. Valanice will weep for Rosella. This is optional, but it is a nice touch. (If you did this in Chapter 3, the statuette will tell Valanice that Rosella is in Ooga Booga.)

If you click on the branch on the left side of the tree where the mockingbird, Valanice will study it for a second.

If you click on the sky after taking the moon from the inventory, the moon will eventually come back down.

Take the chicken from the inventory, and place it on the left branch of the mockingbird's tree. From there, take the moon and click it on the chicken, leaving a feather where it once was. You will launch the moon into the sky, and the rubber chicken will run away. Archduke Fifi le Yip Yap will show up and grant Valanice a full pardon and allow her to leave Falderal. He then hides in the basement due to the volcano smoking, then the guard follows him.

If you haven't removed the feather from the rubber chicken at this point, a feather will have fallen out; otherwise, it won't. Click on the feather to grab it and put it in the inventory. (You can also take the feather by looking at the rubber chicken with the eye and taking it out of the rubber chicken by clicking on it.)

If you haven't already, use the golden comb on the salesman. Valanice will ask him about Rosella. He will tell you about Rosella's arranged wedding to King Otar, and tells you that the only way you can get through the woods of the were-folk to the Vulcanix Underground is with his special salve. Believe it or not, this is an item that you will actually want, unlike everything else he has tried to sell you. In order to buy the salve, however, you will have to pay him a magic statuette of a nymph gazing into a pond. To get it, however, you will have to go into the Archduke's room and get it, and that the magic statuette is really a relic of the realm that once belonged to Titania, queen of the faeries, when she was just a child. Valanice is reluctant to take the statuette until this slippery salesman tells her this information, and even then, it may not be true.

Give him the magic statuette. As promised, he will give you the werebeast salve. He then tells you how it works: mix it with the hair of animal wants to transform into, then place it on your body. From here, he ducks back into his booth, never to be seen again.

Saturday, December 5, 2020

PrinceWatercress plays King's Quest VII: The Princeless Bride - Part 13 of 18


In this entry, we need to get out of Ooga Booga and look for the secret entrance to the volcano.


Head back to Dr. Cadaver's office. The good doctor will tell you to leave Ooga Booga as fast as you can.

Talk to Dr. Cadaver. He will tell you to leave through the main gate, and that he has something to take care of the swamp monster that you will encounter. He will hand you a perfume bottle that contains a defoliant that will get rid of the swamp monster. If you talk to him again, he will tell you that the new spine you gave him is working out great. If you talk to him a third time, you'll talk about the plant monster again. A fourth time will reveal that the black cat that you saved is very independent, but that Dr. Cadaver and the black cat are good friends who look out for each other. A fifth time will have Rosella thanking Dr. Cadaver for everything.

If you go to the kids' house in the cloak, you can walk up to the kids and scare them. After all they've done to you and everyone else, they deserve it. They also pull the elevator back up when they run back into the house.

Head back to the main gate, which is south of the kids' house, and use the defoliant on the plant monster to defeat it.

The Venus flytraps with the teeth and the goofy grins will still be there. If you talk to them, they will be a Little Shop of Horrors Audrey II reference. If you click on them once, they will try to hit on Rosella; clicking on them again causes Rosella to converse with them. You can click on them a third time and a fourth time to converse some more; with the third time causing the plants to try to lure Rosella into getting a little closer and the fourth time having the plants talk about Ooga Booga being on one side and the woods of the were-folk on the other. A fifth time has Rosella ask about how to get through the were-folk, which leads to one of the Venus flytraps telling you that you need to have something silver in your inventory to get past before another one telling you to get closer so they can whisper it to you. A sixth time will have the plants explaining that the were-folk hate silver, with one of the plants wanting you to get closer. A seventh time has all three plants trying to act innocent as they tell you to get closer again. After that, they just do the seventh thing over and over again. 

If you try to grab the flower underneath the Venus flytraps by clicking on it, THEY WILL GRAB YOU AND YOU WILL BE EATEN. YOU WILL DIE. ALSO, A CROWN WILL APPEAR ABOVE ONE OF THEIR HEADS, AS IF THEY KNOW ROSELLA IS A PRINCESS. Instead, use the foot-in-a-bag on the Venus flytraps, then click on the flower as they are eating it, or else you won't be able to get it. There is another way to get the flower, but you will not be able to see it until a little bit later.

If you use the defoliant on them, it won't get to it, but they do not take too kindly to it, either. Thankfully, they do not kill you in response.

Going further east from the Venus flytraps is Malicia's house. King Otar will stop you to tell you to be cautious, or else you will never reach the Vulcanix Underground. He will tell you of a secret entrance in the town of Falderal, although he is not sure exactly where it is. He then tells you that Malicia has stolen a device that could possibly destroy her and save the land, and that you will have to go into her house to recover it.

You obviously won't be able to get in from the front door, obviously; if you knock on the front door, YOU WILL DIE AT THE HANDS OF THE GARGOYLE. Also, if you spend too much time in front of the front door, the gargoyle will notice your presence, call for Malicia and basically kill you. YOU WILL DIE.

Instead, go towards the back of the house. If you hear a dog barking, go back and forth between this area and the previous one until you don't. From there, click on the back of the house. Rosella will find a hidden passage underneath the house. If you click on the passage, however, you will find out that you will need to enlarge it. This is where the shovel comes in. Once you do that and click on the passage, Rosella will take off the cloak before going down.

Also, I've never personally seen the Boogeyman show up here. But he won't kill you as long as you are wearing the cloak.

Inside Malicia's house, Rosella will peek through the floor boards to hear Malicia and her dog coming back home. Move the cursor close to Rosella so a "down" arrow appears, then click to hide back inside. Malicia's dog will try to sniff you out from above the hole in the floor. If you click on the dog, Malicia will zap you. YOU WILL DIE. Instead, use the defoliant. Malicia will tend to her dog instead, then she will leave the house with the dog - whose name is Cuddles and is a boy dog despite wearing a pink bow on his head - to find someone to bite.

From here, put the defoliant back in the inventory. Move the cursor to the hole in the floor, then click on the floor to explore the house. King Otar will tell you that the device they are looking for is made of brass and contains many lenses, and that it could be anywhere...

When in Malicia's house, time is of the essence. Malicia is sure to return, and if she does, YOU WILL DIE. Also, if you leave through the front door, it is pretty obvious YOU WILL DIE THAT WAY, TOO.

If you click on anything in the lower-right corner, King Otar will tell you that when Malicia took the device away from him, he reluctantly told her that the device was able to turn lead into gold when she asked what it was.

If you click on anything at the mirror in the upper-left, Rosella will make fun of Malicia's make-up and ask where she keeps the trowel.

If you click on the dresser drawers, Rosella will rummage through them. The third one from the bottom will contain lingerie, and if you keep clicking there, you will find the device that King Otar is talking about. He will tell you that the device must be plugged into a socket in the volcano control in the underground so it may regain its power, and that is useless until then. When fully charged, it can stop any living threat to Etheria, but he is not sure exactly how it works and will not know unless we somehow survive long enough to make it there.

Be sure to put the clothing that Rosella threw down on the floor while searching for the device. Rosella will put everything back in the drawer, but a woolen stocking will fall out as she does. Click on the stocking, and Rosella will take it, thinking it will be as useful as it is ugly.

That is all, so go back to the floorboard with the hole in it and click when you see the "down" arrow. When you return to the back of the house, click on the cloak to put it back on. From here, go east to the wood of the were-folk. 

From here, grab the silver pellet from the inventory and combine it with the woolen stocking to turn it into a sling. IF YOU USE THE SILVER PELLET ON ITS OWN, YOU WILL DIE. From there, go forward and grab the sling from the inventory as you move. When the were-beast shows up, use the sling and you will be able to scare the were-beast away. Rosella will then run to the right to the forest, and as that is going on, one of the were-folk snatches her cloak away. Thankfully, you won't be needing the cloak anymore.


Now you are in territory that you've covered as Valanice. Sadly, you won't be able to talk to Lord Attus (he won't be anywhere), and if you try to walk into the mud of the dried-up river, Rosella won't do it, so you won't be able to die that way.

You can head to the desert and get more dialogue by trading with Rodrigo, but you won't be able to trade anything with him.

Head to Falderal. The guard won't let you in unless you bring the Levitating Albino Warthog of Rigatonia. Rosella simply laughs the guard off. You can then go through the red door on the right, much to the guard's warning that there is a pit of snakes inside. When you go inside, Rosella will meet Archduke Fifi le Yip Yap, who is currently chasing his own tail. He will tell you that Valanice was here and was arrested, but the people of Falderal like her just fine now. After telling Rosella to take the faux shop with a grain of salt, the Archduke catches his own tail and bites it before heading back into the town hall. (Apparently, Chapter 4 seems to take place after the events of Chapter 5.)

Friday, December 4, 2020

PrinceWatercress plays King's Quest VII: The Princeless Bride - Part 12 of 18


It's time to save King Otar, but once we do that, we have to get out of Ooga Booga.


Leave Dr. Cadaver's office and head to the kids' house. They will be singing a rhyme: "Whene'er the branch shaped like a snake / is pointed up, for goodness sake / run away! Go and hide! / The Boogeyman will be inside! / Whene'er the branch is pointing down / The Boogeyman has gone to town." This explains that if the branch near The Boogeyman's house is up, The Boogeyman will be inside. (This is how the game expects you to learn about this.) As they repeat it, they will be tossing a rat back and forth. Click on them, and Rosella will talk to them. She will mention the rat, but the kids will not part with the rat. Take the weird pet out of the inventory and click on the kids again, and Rosella will mention the weird pet. The pet will stick its green, pointy-nosed head out of the box once, and the kids will love what they see. They will lower the elevator and tell you to come up with it, laughing to themselves as they do. Put the box on the elevator. IF YOU STEP ON THE ELEVATOR YOURSELF, YOU WILL DIE. As they play with the pet, they will ditch the rat, whom Rosella will take and kiss. It's Iggy!

From here, head back to the grave digger and give him the rat. Thankfully, he will be north of where the kids live. The grave digger will give you a horn, and if you blow it, the grave digger will dig a grave with the grave digging machine that he and Iggy will fire up. If you leave and go back to where you met the gravedigger, the gravedigger will be gone and there will be a shovel near the grave he was digging. Grab it; you'll need it.

Head back to the kids' house. They will be holding a funeral for a pet in a box. Unfortunately, it is a mock funeral, as the cat is still alive and meowing. The kids will then run away and look for a shovel. Click on the box to free the cat only to find out that the kids sealed it up. This is where the hammer and chisel comes in handy. Use it on the box, and the cat will leap out. It's the black cat that we've seen a few times! The cat will tell you that King Otar is buried in The Boogeyman's home beneath the deadfall, and give you an extra life in return for saving them.

Head to the Boogeyman's house. Check the branch of the tree. If it's down, use the horn by clicking on it in the inventory and then clicking on Rosella. IF YOU USE THE HORN WHILE THE BRANCH IS UP, YOU WILL AWAKEN THE BOOGEYMAN AND YOU WILL DIE. The grave digger will show up in the machine and dig out the deadfall after Rosella hands the horn back, then leave after advising you not to go into the pit that you have just uncovered.

Go down the pit, and you will find a coffin locked with a combination lock and chains. Click on the lock to get a closer look. Click on the skull, the bat and the spider, in that order. This will open the lock, and Rosella will free the real King Otar. Suddenly, Malicia will show up and lock Rosella in the coffin with King Otar. The deadfall will also pull itself back together as well.

King Otar will light up the inside of the coffin as Rosella explains herself. Suddenly, there will be a knocking on the coffin, meaning that you don't have much time to get out of here...

First of all, if you take too long to escape the coffin where King Otar is being held, THE UNDEAD WILL FIND YOU AND YOU WILL DIE.

Pull the Dragon Toad out of the inventory and hand it to King Otar. The Dragon Toad will be able to dig the both of you out, but the jewel needed to bring the Dragon Toad to live is set in his armband. Take the hammer and chisel out of the inventory and use it on King Otar, and King Otar will bring the Dragon Toad to life. Both of you will now be able to get out of the coffin.

You will both be back in the cemetery. King Otar tells the Dragon Toad to head back to Matilda and tell her to stall Malicia for as long as possible if she shows up in the Vulcanix Underground. He then says that he and Rosella must disguise themselves, or else the consequences will be dire. He then gives Rosella a wand and tells her to point it at him. The wand then zaps King Otar into what looks like a bug that allows him to travel safely with Rosella. That helps King Otar hide, but what about Rosella?

Malicia is then heard screaming nearby, and a cloak shows up on a headstone. Put the hammer and chisel back in the inventory, then click on the cloak. Use it on Rosella to disguise her as Lady Tsepish. If you do not do this fast enough, MALICIA WILL FIND YOU AND YOU WILL DIE.

If the Boogeyman pops up, he will ask if you've decided to leave Lord Tsepish behind and run away with him, as he thinks you are Lady Tsepish. Rosella refuses him as she pretends to be Lady Tsepish, then Boogeyman jumps up and leaves.

If you look at the magic wand with the eye, you can find a "T" on the top of it if you rotate it. If you move the cursor around, you will find a button at the bottom. If you click on it, the "T" will turn into an "F." You can press the button to change the "F" back as a "T." Also, the scarab is King Otar in a more portable form.

Thursday, December 3, 2020

PrinceWatercress plays King's Quest VII: The Princeless Bride - Part 11 of 18


In this episode, we begin our adventures in Ooga Booga land. 


To the west of the graveyard is a burned down house. On the side of the house is the same set of pictures painted on. If you pass by, a dog will pop up like a shadow, and if you walk away, the dog will disappear.

South from here is a mausoleum. You can also read some headstones here. If you wait long enough, a horseman will fly by. If you talk to the mourning woman, she will scare Rosella to death when she reveals her face. YES, YOU WILL DIE.

If you wait too long on just about any screen, a large green guy wearing purple will pop up from underground. If this happens, leave the area or else YOU ARE DEAD.

To the east of the mausoleum, there is a house. A boy will be spray painting the house, and the man inside will come out and tell him to go away. The boy will scare him (along with a nearby cat) back indoors, then run off.

If you look at the mailbox near the house, you'll find out that the house is inhabited by one Dr. Mort Cadaver. You can also open and close the gate if you want.

If you click on the door to Dr. Mort Cadaver's house, Dr. Cadaver will let Rosella in to ask a few questions. He will admit he has not heard much about the real King Otar's disappearance, but he is certain that Malicia is behind it. He says that ever since Count Tsepish passed away, The Boogeyman acts like he owns Ooga Booga while the neighborhood kids have been out terrorizing everybody to the point that Dr. Cadaver is afraid to go outside anymore. He says that he was able to hold his own until last week, when he gave his own spine away to a woman who fell off a cliff. Since then, he has no backbone and cannot stand up to anyone.

He then fills out some death certificates at his desk, but you can still talk to him. Dr. Cadaver will say that he would do anything for another spine, and that a broomstick and dried spaghetti just isn't the same. He will also tell you about the neighborhood kids, who will never grow up due to having been dead for over 130 years, run wild now that Count Tsepish, the person who usually kept them in check, has passed on. He also tells you to stay away from The Boogeyman - the monster who always pops out of the ground - as he has become absolutely vicious as of late, and to run whenever you see him.

After clicking on the good doctor enough times, you won't be able to get any more information from him. From here, you can click on other things, such as the shelf near Dr. Cadaver (which causes Rosella to mention MSG's), the rat under glass (who is obviously a reference to Hannibal Lecter), and the coffin bed (which the patients use to nap while waiting and Dr. Cadaver also uses when business is slow).

To the south is a boneyard of sorts, but you can't do anything here. DO NOT CLICK ON THE BONE PILE TWICE, OR ELSE YOU WILL DIE. If you go back and forth between this screen and another one, you will notice that that a branch on a tree near the bone will sometimes be up; other times it will be down. If it is up, that means the creepy green guy is hiding underneath the bones. Thankfully, you'll have more than enough time to get away or else YOU WILL DIE.

To the east is the cemetery, When you enter this area for the first time, a black cat will head towards the west. You can read some more headstones here, but if you fall into the open one, YOU WILL DIE AND THE HEADSTONE WILL MAGICALLY HAVE YOUR NAME ON IT. Also, if you walk on the front-most grave (the grave of Benjamin Crabby), you will be grabbed and YOU WILL DIE.

To the east of Dr. Cadaver's office is a jack-'o-lantern house with a web ladder. This is where the neighborhood kids live. Do not dare climb up the web ladder, otherwise A SPIDER WILL SHOW UP AND YOU WILL DIE. You won't be able to get in there yet.

To the south is a swamp area. If you go in here, a plant monster will show up. If you click on it, YOU WILL DIE WHILE THE NEARBY VENUS FLYTRAP PLANTS CHEER.

If you leave and come back to the neighborhood kids' house, you will eventually see an elevator behind the spider web. This is how you are supposed to get in the jack-'o-lantern house. Click on the elevator itself and you can get in.

Be careful when inside. If you take too long in the house, THE KIDS WILL SHOW UP AND YOU WILL DIE. If you click on the jack-in-the-box, YOU WILL DIE OF FRIGHT.

There are two things to get here. The first is the foot-in-a-bag inside the toy coffin. The second is the spine on the floor near it, which the game calls a "back bone." Once you get these two things, get out. If you click on the mouth of the jack-'o-lantern, you will be trapped, especially if you hear the laughter of the kids - which means the kids are nearby. You can also jump out of the window or use the elevator again if you hear them coming, but you're better off jumping out of the window if you hear them laugh..

You can click on the mummy, but all it does is laugh at you. 

When you return to Dr. Cadaver's office, one of the kids will be egging the place. Knock on the door, then watch as Dr. Cadaver's fixes Mr. Bugbear's broken heart. After that, hand the spine over to Dr. Cadaver. He will put it in his mouth and grow two feet. (I don't think this is how this works.) In return, Dr. Cadaver will give you a box that is on the shelf with a pet that Dr. Cadaver has made himself. What pet is exactly inside, however, is never revealed.

Wednesday, December 2, 2020

PrinceWatercress plays King's Quest VII: The Princeless Bride - Part 10 of 18


In this episode, we steal the moon, wake up a stone spirit and grab a gravedigger's shovel.


If you use the Golden Comb on the Magic Statuette, Valanice will find out that Rosella is in Ooga Booga. Apparently Rosella and Valanice's chapters take place concurrently with each other.

If you talk to the hummingbird after saving it from the spider, you can get some nectar. Just click on the jar, then click the jar on the hummingbird to collect some nectar. You'll need it later.

If you look at the rubber chicken with the eye, you can pluck the feather off of it by clicking it. West of where the tunnel to Falderal is is Feldspar. Use the feather on him. He will sneeze, making the feather disappear. Valanice will ask Feldspar about what has happened to Lord Attus and Lady Ceres, and Feldspar says that the situation would not have happened if the River of Life still flowed and the cornucopia was filled, as they are the heart and lifeblood of the woods and it will die without it. Feldspar will tell you to pour nature's sacred drink into the maiden's pitcher, and by placing sacred food in the cornucopia maiden's horn of plenty. (You won't be able to do this until Chapter 5.)

Back at the desert, talk to Rodrigo to trade some items. You can trade the empty book for a shepherd's crook, but you won't be able to trade anything else. Head back to Falderal and use it to get the green cheese/moon, dropping the crook in the fountain in the process. When Valanice takes it, she will be stopped by Archduke Fifi le Yip Yap and his guard. Valanice is then placed under arrest for stealing the moon as well as being a human. This ends Chapter 3.

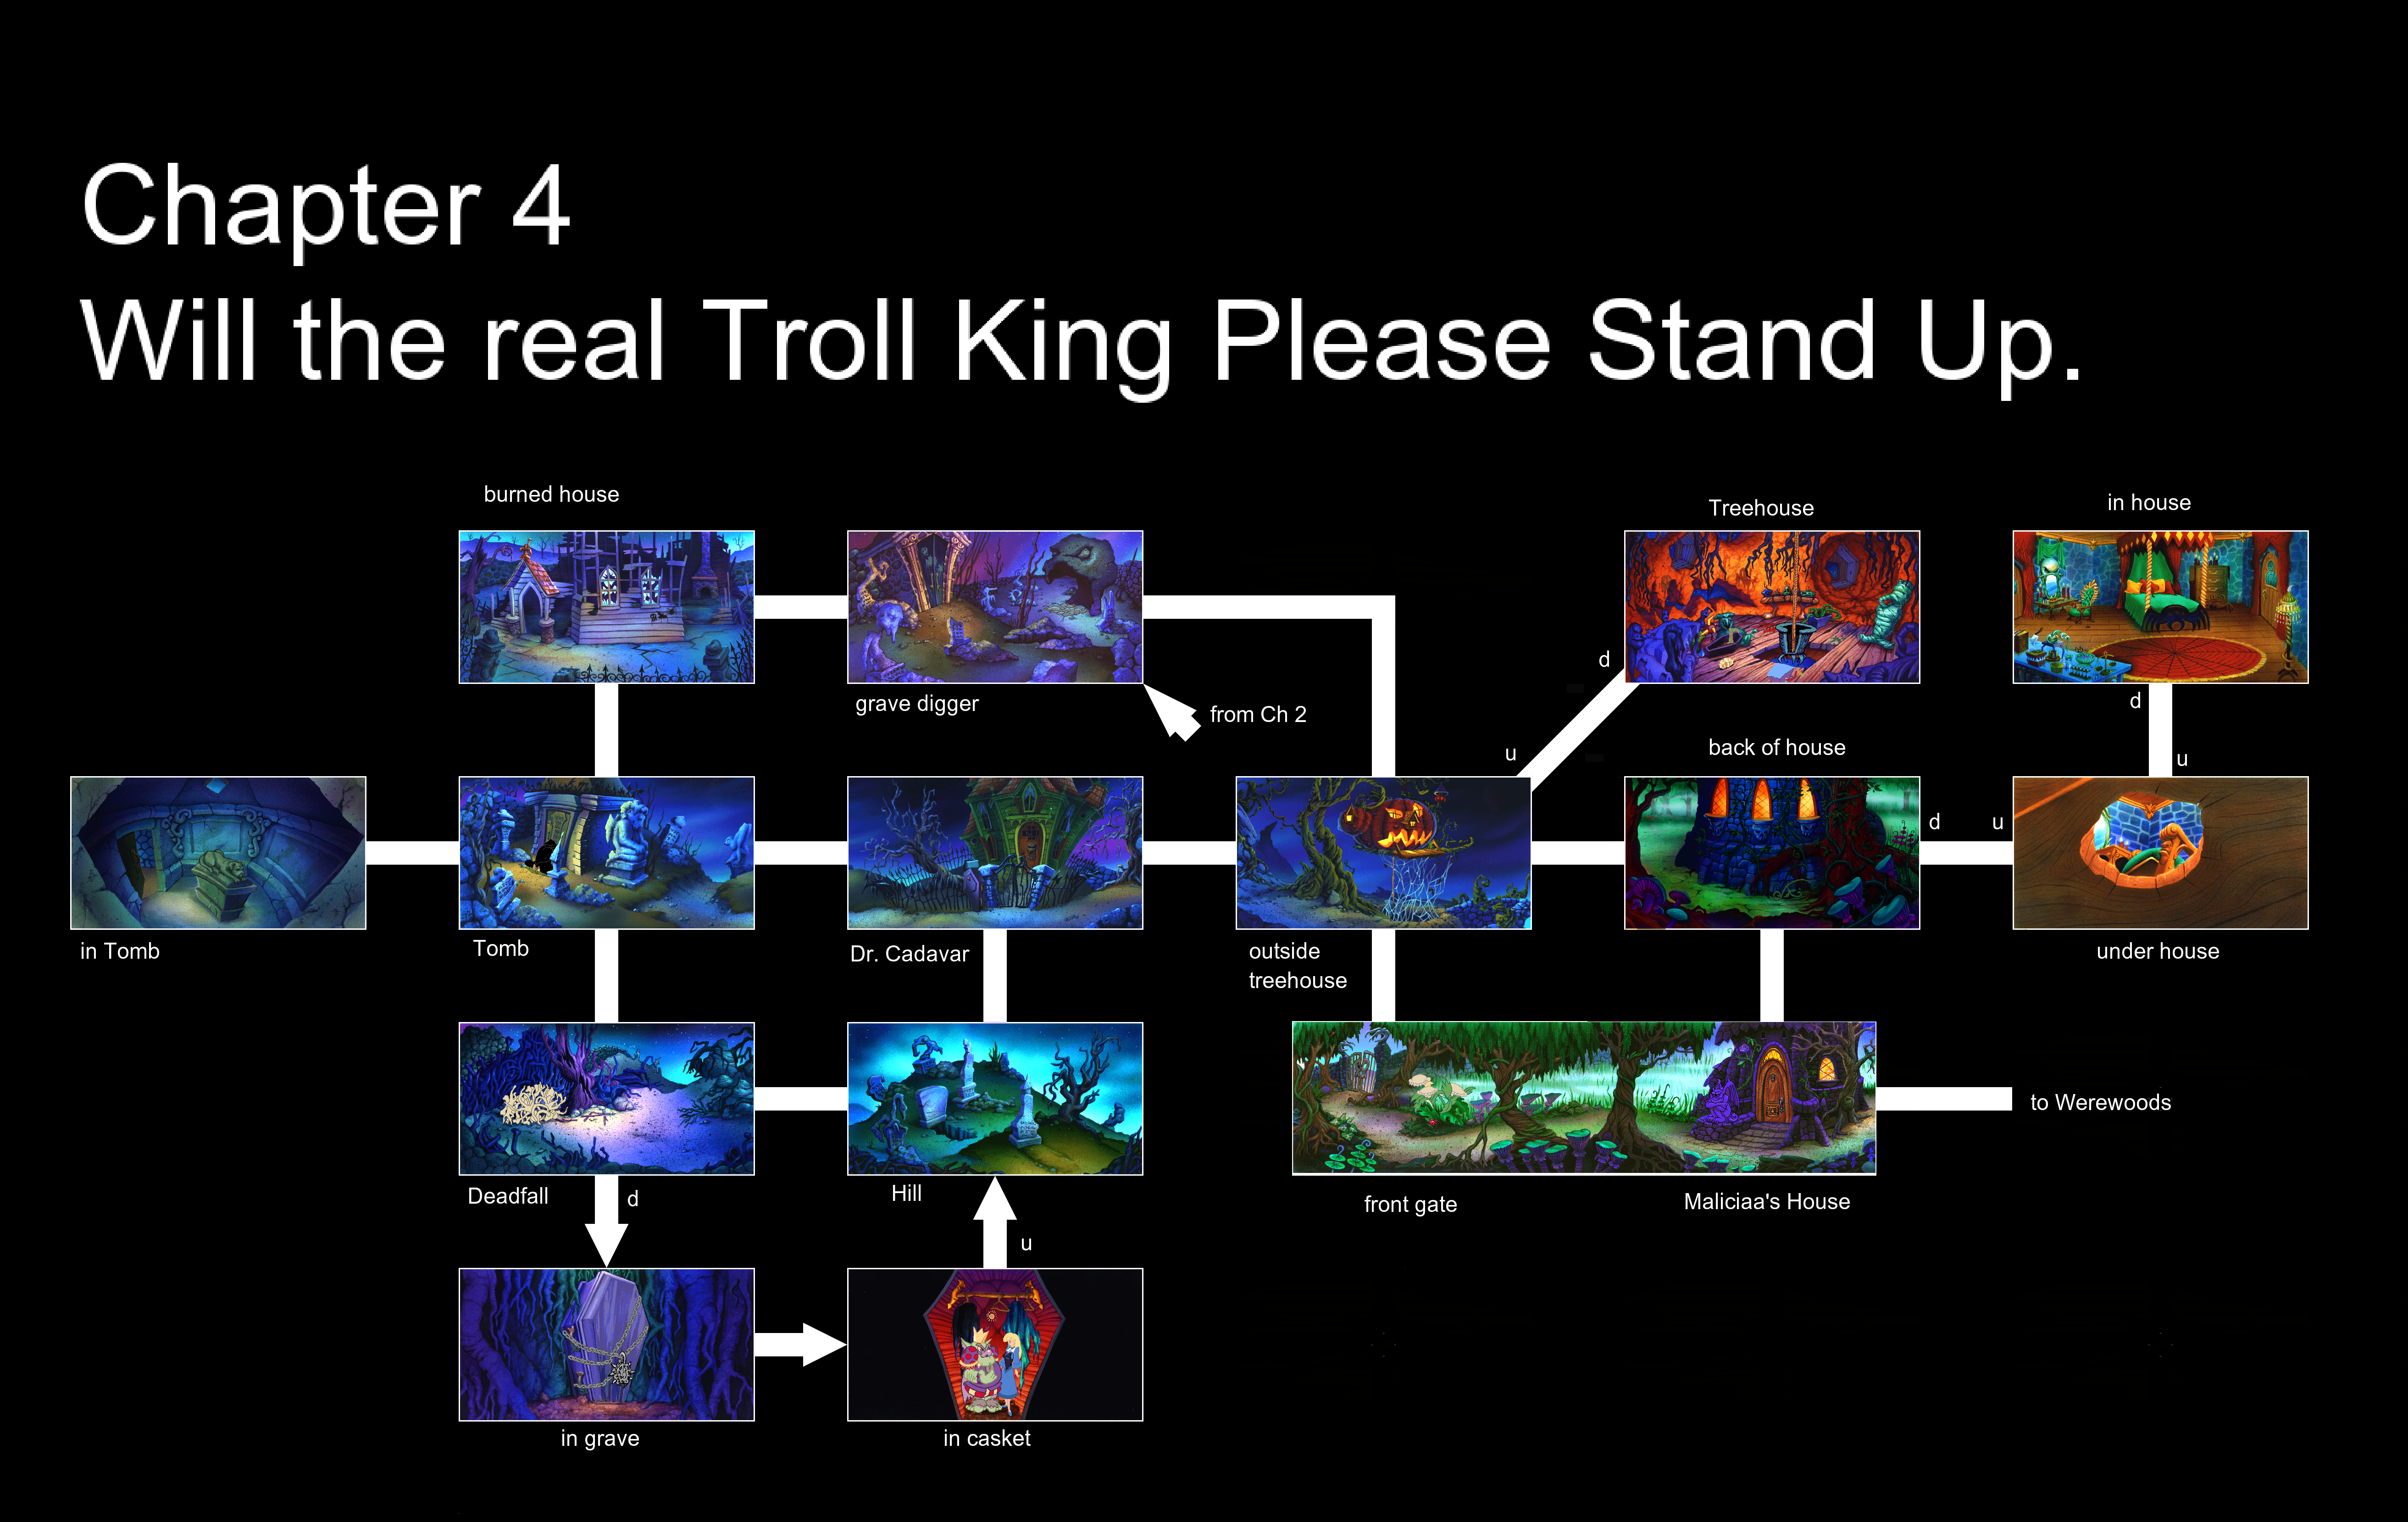
Chapter Four: Will the real troll king please stand up."


Last time we met Rosella, she had been transported into the Vulcanix Underground and transformed into a troll in the process. She regained her human form and made her way to the surface of the land in a quest to stop Malicia, but the lift has proven unstable...

Rosella will grab onto the edge of the opening in the land, and a man with a shovel extends his tool. Click on the shovel, and he will pull Rosella up. IF YOU WAIT TOO LONG, YOU WILL DIE. From there, the opening to the Vulcanix Underground will cave in and suddenly be filled with dirt as Rosella thanks the man. It becomes obvious that Rosella is in a graveyard, and the man then says that his work will take forever due to his small shovel.

By talking to the grave digger once. the man will get Rosella's measurements. By talking to him again, Rosella will find out that she is in Ooga Booga, and she also asks about the shovel. The grave digger reveals an automatic, rat-powered grave digging machine in the nearby shed, but unfortunately, some kids broke in and stole the rat. Rosella will ask why he couldn't just get another rat, but there is no other rat as smart or as strong as Iggy.

From here, you can read the gravestones on this screen, and they all just happen to be limericks.

If you click on the shed door, you'll get a closer look. From left to right, a skull, a bat and a spider are painted on. Remember this for later.

Tuesday, December 1, 2020

PrinceWatercress plays King's Quest VII: The Princeless Bride - Part 9 of 18


It's time to do some things in Falderal, which also include watching the moon fall and stealing a statuette from the Archduke during his party.


Put the mask on by clicking on it and then clicking on Valanice, then click on the door. You'll now be able to go in. (If you click anywhere else, you'll take the mask off.)

You can interact with Archduke Fifi le Yip Yap if you want by clicking on him, and you can also taste the cake if you click on it. You won't be able to talk to anyone else. If you click on the tapestry on the back wall, Valanice will go behind it and take the mask off.

You will soon be surrounded by winding stairs that go in all directions like some sort of M.C. Escher painting. By taking the path to the left and going down at the fork, you will enter the upside down room. There is a drawer on the desk in front of the door, and if you open it, you will find the magic statuette! However, it will fall to the ceiling, because you and everything else except the statuette are upside down. 

You can click on the painting to get Valanice to make a funny comment about the Archduke, and if you click on the mirror, Valanice will laugh.

Leave the room, then go back up (down?) the stairs. From here, go to the left at the fork this time. This will take you back to the beginning, because why the heck not, this makes total sense, right? Go down the stairs to the right, then follow the path. You will make it to the door that is right-side up. Clicking on the door once will cause some sort of pink powder to come out and make Valanice cough. Click on the door again, and you will enter.

You will enter another extravagant room. You can click on the basin to get Valanice to say something, and clicking on the nearby Cupid statue does the same thing. You can click on the plaque underneath the Cupid statue, but there is soot on it that will keep you from reading the whole thing. No, you cannot clean it with the petticoat.

There are also mirrors in this room that make Valanice look funny if you click on them. The one in the middle will cause Valanice's upside-down mirror image to take Valanice to the upside-down room...except the room will be right-side up! This is how you're supposed to go into the room if you know what to do, and the magic statuette will fall back down into the desk drawer. Go ahead and take the magic statuette, then follow the path and go left at the fork to get back to the party room. Valanice will put the mask back on before entering. Leave the town hall. Nobody will suspect a thing.

Back at the town, head back to the salesman. Chicken Little will show up and scream that the sky is following, then a large yellow object will fall into the fountain, scaring away the mockingbird. Chicken Little will sit at the edge of the fountain and cry as what looks like a cheese wheel floats in the fountain. Click on Chicken Little, and not only will Valanice call the object "green cheese," Chicken Little will get angry with you and it will become very obvious that Chicken Little's voice actor is the same at Mathilda's as she tells you that the "green cheese" is really the moon before running away again. If you click on the green cheese/moon, you won't be able to reach it.

At the salesman's booth, there is a sign stating "Taking advantage of suckers, back soon." I'm guessing that by his snake-like appearance, he was a snake oil salesman.

At the mockingbird's nest, there is an object inside. If you click on it, you will find a wooden nickel with Archduke Fifi le Yip Yap's face on one side and the supposed value on the other.

There is no sign on the faux shop now, but if you go in, you will get nowhere. Take the faux shop with a grain of salt by eating the salt crystals, then go in again. You will suddenly (and inexplicably) be in the faux shop. Is this supposed to make fun of the moon logic puzzles from past games (especially the fifth)?

Inside the faux shop, you will see interesting useless tat of varying functions. By talking to the proprietor, Ersatz DeFoe, Valanice and the proprietor talk about the shop. If you click on the cat clock, you'll get a dog joke. The spectacles give you a taxman joke if you click on them (and also seem to be a reference to Scott Murphy and Mark Crowe, aka "Two Guys from Andromeda"). The wooden owl in the upper-right corner, the false feet below the spectacles, the snake under glass near those and the entire glass case to the left also give some interesting dialogue, as well. 

There will be a wall of masks on the wall with no masks on it. If you click on it, you will learn Ersatz sold all the masks. (Strangely, you can't get in here until after you are able to get into town hall.)

You can click on one of the rubber chickens to get Valanice to ask about it. Ersatz says he will needs something very special in exchange for it.

The plant on the far left is a false plants. If you click on it, you'll get some hilarous banter involving the Archduke's gardener.

The books are copies of "The Wisdom of Falderal," and a copy costs one wooden nickel. Thankfully, we have one at this point, so hand it over to Erzats and you'll get the book. If you look at it with the eye and click on the front cover, you'll find out the pages are blank.

If you give Ersatz the mask, you'll trade it in for the rubber chicken.

Leave the Faux Shop. There is nothing else you can do in this area, and to continue with the game, you'll have to go all the way back to the desert.

Monday, November 30, 2020

PrinceWatercress plays King's Quest VII: The Princeless Bride - Part 8 of 18


In this entry, we do a little exploring in the weird and wacky town of Falderal.


If you go into the china shop, you will meet a bull in a china shop, who is the proprietor. If you talk to him, you will find out his name is Fernando and that his treasure - a china bird named Treasure - has just suddenly disappeared. If you talk to him again, he says that anybody in town could have taken Treasure. If you talk to him a third time, he says Treasure was taken a few days ago and that Treasure is afraid of anyone but him.

If you click on anything in the display cases, Valanice will note how fragile everything under display. If you click on Treasure's cage, Fernando will tell you that Treasure was taken right under his nose.

There is also a mask here, but you won't be able to get it yet. There is nothing else you can do here.

When you leave the China Shop, Chicken Little will show up again and make a big deal about the sky falling before giving Valanice a hard time. If you talk to Chicken Little, she will start running around again.

If you click on the note on the door of Town Hall, you will learn that it is closed and that the Archduke's birthday party and masquerade ball will be taking place there later on.

The black bird sitting in the nest in the nearby tree is a mockingbird. If you talk to the mockingbird, he will mock you. Amazingly, the mockingbird has a lot of lines if you keep clicking on him.

If you talk to this salesman, he will try to sell you the most useless things imaginable, such as a gullibility potion that will make you believe anything. Valanice won't buy anything what he is selling.

Near the salesman is the faux shop. If you click on the sign, you will find out that it is indeed a shop that is filled with synthetic, false and unnatural treasures. If you click on the note, you will learn the proprietor is busy uncrating a pack of lies and will ask you to come back soon.

Near the salesman is a caged bird. It's Treasure! If you have not talked to Fernando yet, Treasure will not trust you, but if you have, she will, and you'll be able to carry her in your inventory. From there, head back to the china shop and give Treasure (called the China Bird in the inventory) back to Fernando. Fernando will thank you and give you the mask for your efforts, then leave. 

When you leave the china shop, you will see a guard allow two masked guests into the town hall. Now is the time to go in, now that you have the mask. If you don't have the mask on when you click on the door, the guard will turn you away.

Sunday, November 29, 2020

PrinceWatercress plays King's Quest VII: The Princeless Bride - Part 7 of 18


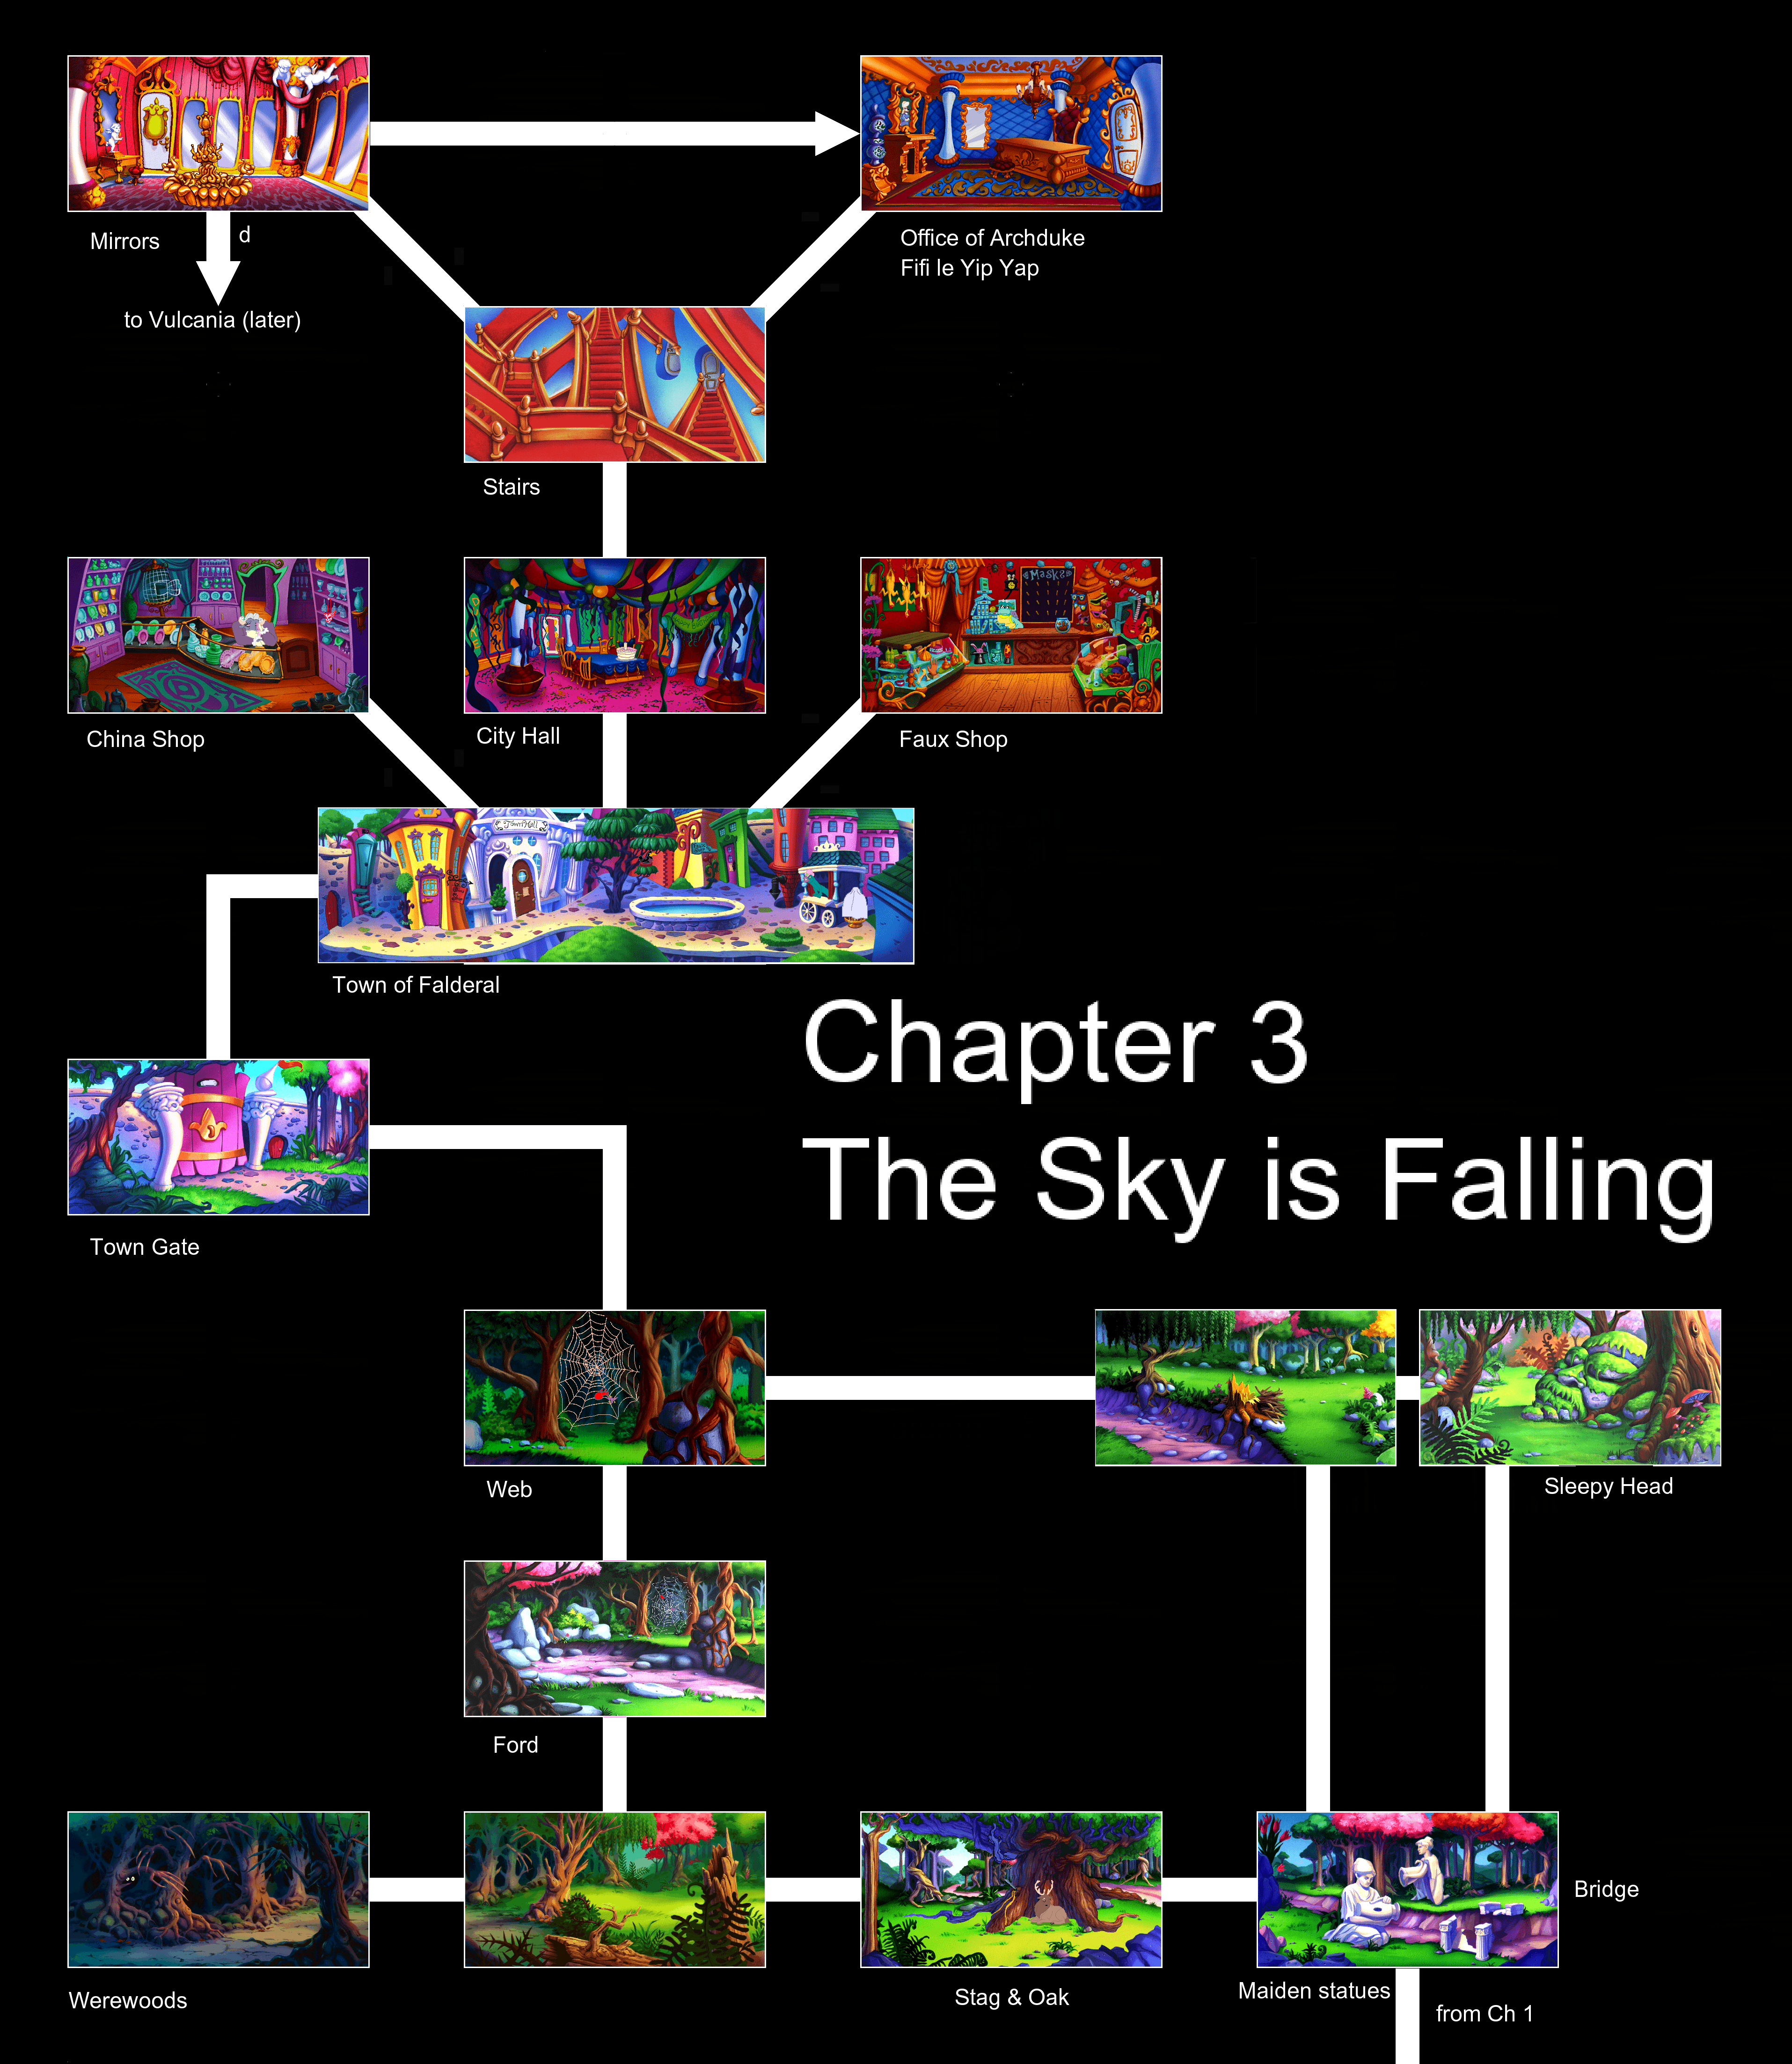
Chapter 3 begins with a journey through the forest and into the wackiest place we've seen in the entire King's Quest series.


From here, continue towards the forest. You'll be in a brand new area. When you arrive, there bridge will be broken and the river will be completely dry. If you click on the flowers on the upper-right corner, Valanice will notice they smell heavenly. You can also interact with the statue nearby to get Valanice to look at it, and you can also do the same with the bridge.

You can try to cross the river, but if you do, you will learn it is very deep mud and Valanice will sink. YOU WILL DIE IF YOU DO THIS.

Heading west from here will take you to a big tree where a stag sleeps. The stag will get up and tell you to turn back, as the woods have now been cursed and nobody is safe. By talking to the stag, Valanice will start a conversation with it. You will learn that the stag's name is Attus, Lord of the Hunt, and that the tree he is sleeping in front of is his wife Ceres, who has been turned into a tree much like he has been turned into a stag. He says only a noble from the high court of Etheria could be able to do it, but it is unthinkable. Before Valanice leaves, he tells her about the woods of the unfriendly, hungry were-folk to the west, and advises her not to go there.

If you click on Attus again, he tells you that there may be something to break the spell, and that Feldspar the rock spirit would be able to help you if he were only awake. He also tells you that he becomes more and more like a stag with each passing day and that he is losing his humanity.

If you look at the tree, you will notice that there is a stake jammed into it, causing some sort of sap to stream out. Attus will tell you that the same entity who turned Ceres into a tree also may have done this, and fears that Ceres may die of that wound. If you click on it again, Valanice will try to remove the stake, but fail. Attus will tell you that the stake is the darkest of evil magic, and that he is not sure if anyone can remove it. He also feels that the woods will die if Ceres dies.

To the west is a fork in the road. If you go further west, you will be in the woods of the were-folk, and if you encounter the beast there by trying to go further west, YOU WILL DIE. Go north instead.

There will be a spiderweb with a trapped hummingbird into the distance. To get there, you will have to click on the rocks in the river to get over the mud. There, you will meet a giant red spider who plans on eating the hummingbird and also sounds like Peter Lorre (or Ziggy from Laura Bow: The Dagger of Amon Ra, if you prefer). If you click on the hummingbird, it will tell you the spider's venomous poison is deadly. If you click on the hummingbird again, THE SPIDER WILL BITE YOU AND YOU WILL DIE.

Instead, use the basket on the spider. This will knock the spider off his web, and Valanice will toss the basket in the bushes. Click on the hummingbird, and the hummingbird will be free while the spider web disappears. After offering you help in the future, the hummingbird will leave.

If you go east from here, you will be on the other side of the river. Going east will take you to Feldspar, while going south takes you to the other side of the bridge.

The snoring rock face is Feldspar. Sadly, you won't be able to wake him up yet. Going to the south from Feldspar will also take you to the other end of the river.

Head back to where the spider web was and go north. You will come across the giant wall with an even bigger door. When you approach, the peephole on the giant purple door is opened, and asks for Valanice's identity. The guard tells Valanice that he will only let her enter if she brings him the Holy One-Ton Tomato of Antioch. Valanice says there is no such thing, and the guard makes it pretty obvious that it doesn't.

Now, you could try to do that - or knock on the big purple door - and go absolutely nowhere, or you could go through the tiny red door next to where the big purple one is. The guard will see you do this and tell you there is a giant rabid chicken on the other side, but Valanice tells him he will take her chances. Valanice will enter, anyway, and the guard says the Archduke will hear of this.

When you enter Falderal, you will meet a poodle in a pink suit. This is Archdude Fifi le Yip Yap, and he tells you that you have no business in Falderal. If you talk to Falderal, he will refuse to listen to you. Use the Golden Comb on the Archduke, and Valanice will cry her eyes out before telling him about Rosella. The Archduke will start crying his eyes out before telling you to "take the faux shop with a grain of salt." He then hopes Valanice finds Rosella, then heads back to Town Hall as Chicken Little shows up screaming that the sky is falling. Fifi tells Valanice to pay Chicken Little no mind.

If you head east, you'll see Chicken Little screaming about the sky falling in front of a booth, and someone will try to sell her some glue. Chicken Little asks why nobody listens to her, and the vendor says that she is not getting their attention before trying to sell a shillelagh to hit other people with. Chicken Little runs away after this.

Saturday, November 28, 2020

PrinceWatercress plays King's Quest VII: The Princeless Bride - Part 6 of 18


We turn back into a human again, but now we need to get out of here and get away from Malicia before we can get out of the Vulcanix Underground.


From here, head back to the crystal dragon. You can click on the dragon a few times, but Rosella will not be able to grab a scale with her bare hands or wake her up. Use the hammer and chisel on her tail to get the crystal dragon scale. This time around, she will be sleeping instead of snoring. You now have all the ingredients necessary to change back into a human! Go see Mathilda in the center of the Vulcanix Underground!

In earlier versions of the game, you had to wait for the tail to stop moving around before getting the crystal scale, or else you would get crushed, killing Rosella. This was removed in Version 2.0.

Take one of the ingredients from the inventory and click on Mathilda with it to get the handing off of the ingredients started, then give her the rest. Rosella's head will turn invisible, but then Mathilda remembers that a troll hair is needed. She plucks one of her own hairs out and places it in the concoction, then Rosella transforms again, this time into a human. Upon becoming a human again, Rosella notices that the silver spoon has melted, and she will keep it as a momento. It will be in the inventory as the Silver Pellet.

All of a sudden, King Otar will suddenly teleport into the room and will be stunned not only by her intelligence, but also her beauty, courage and joi de vivre. Suddenly, Malicia teleports into the area and finally notices Rosella, getting angry at her for supposedly distracting King Otar. Rosella confronts her, but Malicia teleports behind her and teleports her back into the bedroom, much to the protest of King Otar. Upon being returned to the bedroom, the door is heard locking. It looks like Rosella won't be leaving that way. Malicia then tells Rosella that she will be back to take care of her before she knows it, then her evil laughter echoes across the room.

The eyes in the picture of King Otar on the wall now have smoke coming out of them. There could be a way out of here from there, but how do we get there?

If you look at the mirror, Rosella will admire her human form. If you click on the door, you will find out it is indeed locked.

If you look at the portrait of King Otar on the wall, you'll notice smoking coming out, and so will Rosella. This will be your way out.

First things first: if you take too long to get out of the bedroom, YOU WILL DIE. So don't do that. Instead, you will need to use the assorted footstools. Click on the big stool first and place it underneath the portrait, then take the green stool and place it on the big wooden. Finally, place the pillow on the floor on top of the green stool. Click on the makeshift ladder, and you'll be able to move the portrait and get into a crawlspace that Rosella can amazingly fit through. Turns out, it's a ventilation duct.

If you set the pile of footstools up any other way, they will tumble over when Rosella gets on them.

When Rosella climbs into the seemingly convenient ventilation duct, she will overhear a discussion between Malicia and King Otar in another nearby room. Malicia will tell Otar that he will dispose of him if he keeps getting involved with Rosella, then asks him if he was learned to work the volcano mechanism yet. Otar asks if what they are doing is necessary and says it could harm the land of Eldritch, but Malicia obviously does not care and is doing it solely to destroy Etheria. She then leaves, and a confused Otar doesn't know exactly what to do about whatever situation he appears to be in. He also says that he does not know what is right or what is real, and wishes that he could remember something.

Rosella, knowing what Malicia is planning to do to the land, crawls through the shaft and ends up in the central area of the Vulcanix Underground in front of the throne. When she lands on the ground, something green pops up out of the floor. Go grab it. If you look at it, you will learn it is a dragon toad: a toad with dragon-like features.

Head back to the bedroom. You will overhear Mathilda confronting Malicia over King Otar. Malicia tells Mathilda that what she has in store for Otar is none of her business, that her old nerves couldn't take it and that it is much nicer that what she has in store for Mathilda. Mathilda comes out of the bedroom, then heads back to the chair and table after telling Mathilda she is not scared of her (and getting zapped afterwards). She also wraps herself in a blanket.

If you talk to Mathilda afterwards, she will tell you that she will do anything to find out what Malicia has done to King Otar. She also tells you it is hopeless to deal with Malicia, as she is far too powerful. From here, give her the Dragon Toad. She will tell you that the Dragon Toad was Otar's magical guardian who watched over him and would have the power to run home in case something happened to him. She says that it has been dormant for years, and after using some magcical powder on it, the Dragon Toad will tell you that Otar has been imprisoned far away in the land of Ooga-Booga, and Mathilda comes to the conclusion that the Otar we have seen is an imposter.

Rosella then tells Mathilda and the fake Otar's plan to make a volcano erupt. Mathilda will mention that the Vulcanix Underground is one big volcano, and that the trolls have been its keepers for 100 generations. If Malicia were to make the volcano erupt, Eldritch would blow up. She tells you to find the real King Otar, as he is the one with the knowledge to shut the volcano down, then hands you the magic rope to use with the elevator to get to Ooga Booga above ground.

After that, Malicia will re-appear and begin looking for Rosella. As this happens, a bat will fly around and mess with Malicia, who admits her hatred for vermin as well as her desire to get rid of every bat, rat and snake in the world by making them all explode at once.

From this point, head towards the lift. Malicia will appear before you can escape. Before she can find you, use the toy rat on Malicia. This will cause her to freak out and disappear. From here, you can now head to the lift and use the magic rope on it. As Rosella makes her way up, the lift suddenly becomes unstable. This ends Chapter 2.

Chapter 3: "The sky is falling!"


When we last left off, Valanice had made her way out of the seemingly endless desert that she ended up in while attempting to follow Rosella. All of a sudden, she came face-to-face with a giant lizard!

At the start of the chapter, take the prickly pair from the inventory and click on the lizard. This will cause the lizard to eat the prickly pair from your hand and go back into the hole in the wall. It won't be bothering you again. Thankfully, you can go back into the desert and get it if you haven't gotten it yet.