Friday, December 24, 2021

PrinceWatercress plays Kid Klown in Night Mayor World - Part 5 of 6


Candy Land may be the hardest stage in the game thus far, but we're not done yet...

Stage 5

Welcome to Candy Land! Watch out for giant letter A's and small letter B's that chase after you (What is this? Castle of Illusion?), snails that shoot lollipops when you hit them, ice cream cones that toss their heads and run away, and bouncing letter O's.

If you see two light blue vertical bars made out of gelatin on the floor, press Down while standing on them. They're actually doors, believe it or not.

The squirrels will roll balls at you if they see you, which can make them a little difficult to deal with at times.

Gelatin floors will slow you down and suppress your jumps tremendously. Lay a balloon on the ground, jump up and hold B to float with a balloon to get past them with minimal effort.

To take out the gumball machine on the tank treads, drop balloons on it from above. From there, you can stand on the tank treads and use Left and Right on the D-Pad to move them. Be ready to duck under low ceilings!

There is a cookie floor that collapses when you walk on it, so be ready to run there.

The boss here is a caterpillar. Watch out for the bouncy mushrooms it throws and stay away from its backside that pops in and out of the ground while throwing balloons at the head. You may have to get close to the body and aim for the head from there to defeat this thing quickly. 

After this, Kid Klown will see his family, but they will be teleported away, and Kid Klown will have to head to Night Mayor's castle to get them back.

Thursday, December 23, 2021

HCBailly and JB play Secret of Mana - Part 35 of 41


The Emperor is dead. From here, you'll have to revive the Mana Sword.


When you go back to the Mana Seed, you'll meet Emperor Vandole. Unfortunately, he is dead. There will be an exit to the north. Go there, and you'll meet Fanha, who admits to killing him so that Thanatos can take over the Mana Fortress. Thanatos says that he will use Dyluck for his new body, then he and Fanha go to the Mana Fortress. You'll then have to face Hexas.

Use Lucid Barrier on your party, and use Moon Energy on one of your party members. Hexas will use Dispel Magic and will also pygmize you with Pygmus Glare, so have that Midge Mallet ready! Hit Hexas from a distance, and use powerful attack spells.

Beating Hexas will give you a Whip's Orb. The Nimbus Chain inflicts damage on insects and other animal-type enemies.

Head further north and step on the switch in the northern end of the room. You'll see Geshtar in his Mach Rider form one last time, even though he is dead. As it turns out, Thanatos revived him. This time around, Mach Rider is riding on a gold bike and can cast Wall on himself. Hit him with powerful physical attack and cast Lucid Barrier on your party. Beat Mach Rider will get you the Spear's Orb. The Dragon Lance is effective against Dragons.

From here, the Mana Fortress will rise into the sky. Your party will automatically leave the palace as the continent sinks back into the ocean.

Land back at the Tree Palace and talk to Jema near the front doors. He will tell you that the Mana Beast will appear and crash against the Fortress at any minute. You'll also find out about the Mana Tree and the Pure Land at the world's end that is usually hidden under a dense cloud barrier. Unfortunately, the Mana Fortress is consuming the last of the world's Mana, weakening the barrier. The seeds of the palaces are a small part of the Mana Tree, and if you can find the Mana Tree itself, you can instantly revive the Mana Sword. You'll have no choice but to go there.

The Resistance will also be on the continent. If you talk to Krissie, you'll be able to restore your HP, but not your MP. You can also see Neko here, and you can get the Gauntlet, Vestguard and Unicorn Helm for all three members of your party. Do that; you'll need the armor, as even though is better armor on the Mana Fortress, they are all rare enemy drops. You can also see Watts here, too.

HCBailly and JB play Secret of Mana - Part 34 of 41


We're not done yet. There's more of the palace to get into. Also, I like the orb puzzle.


At the bottom of the Tree Palace is the Grand Palace. 

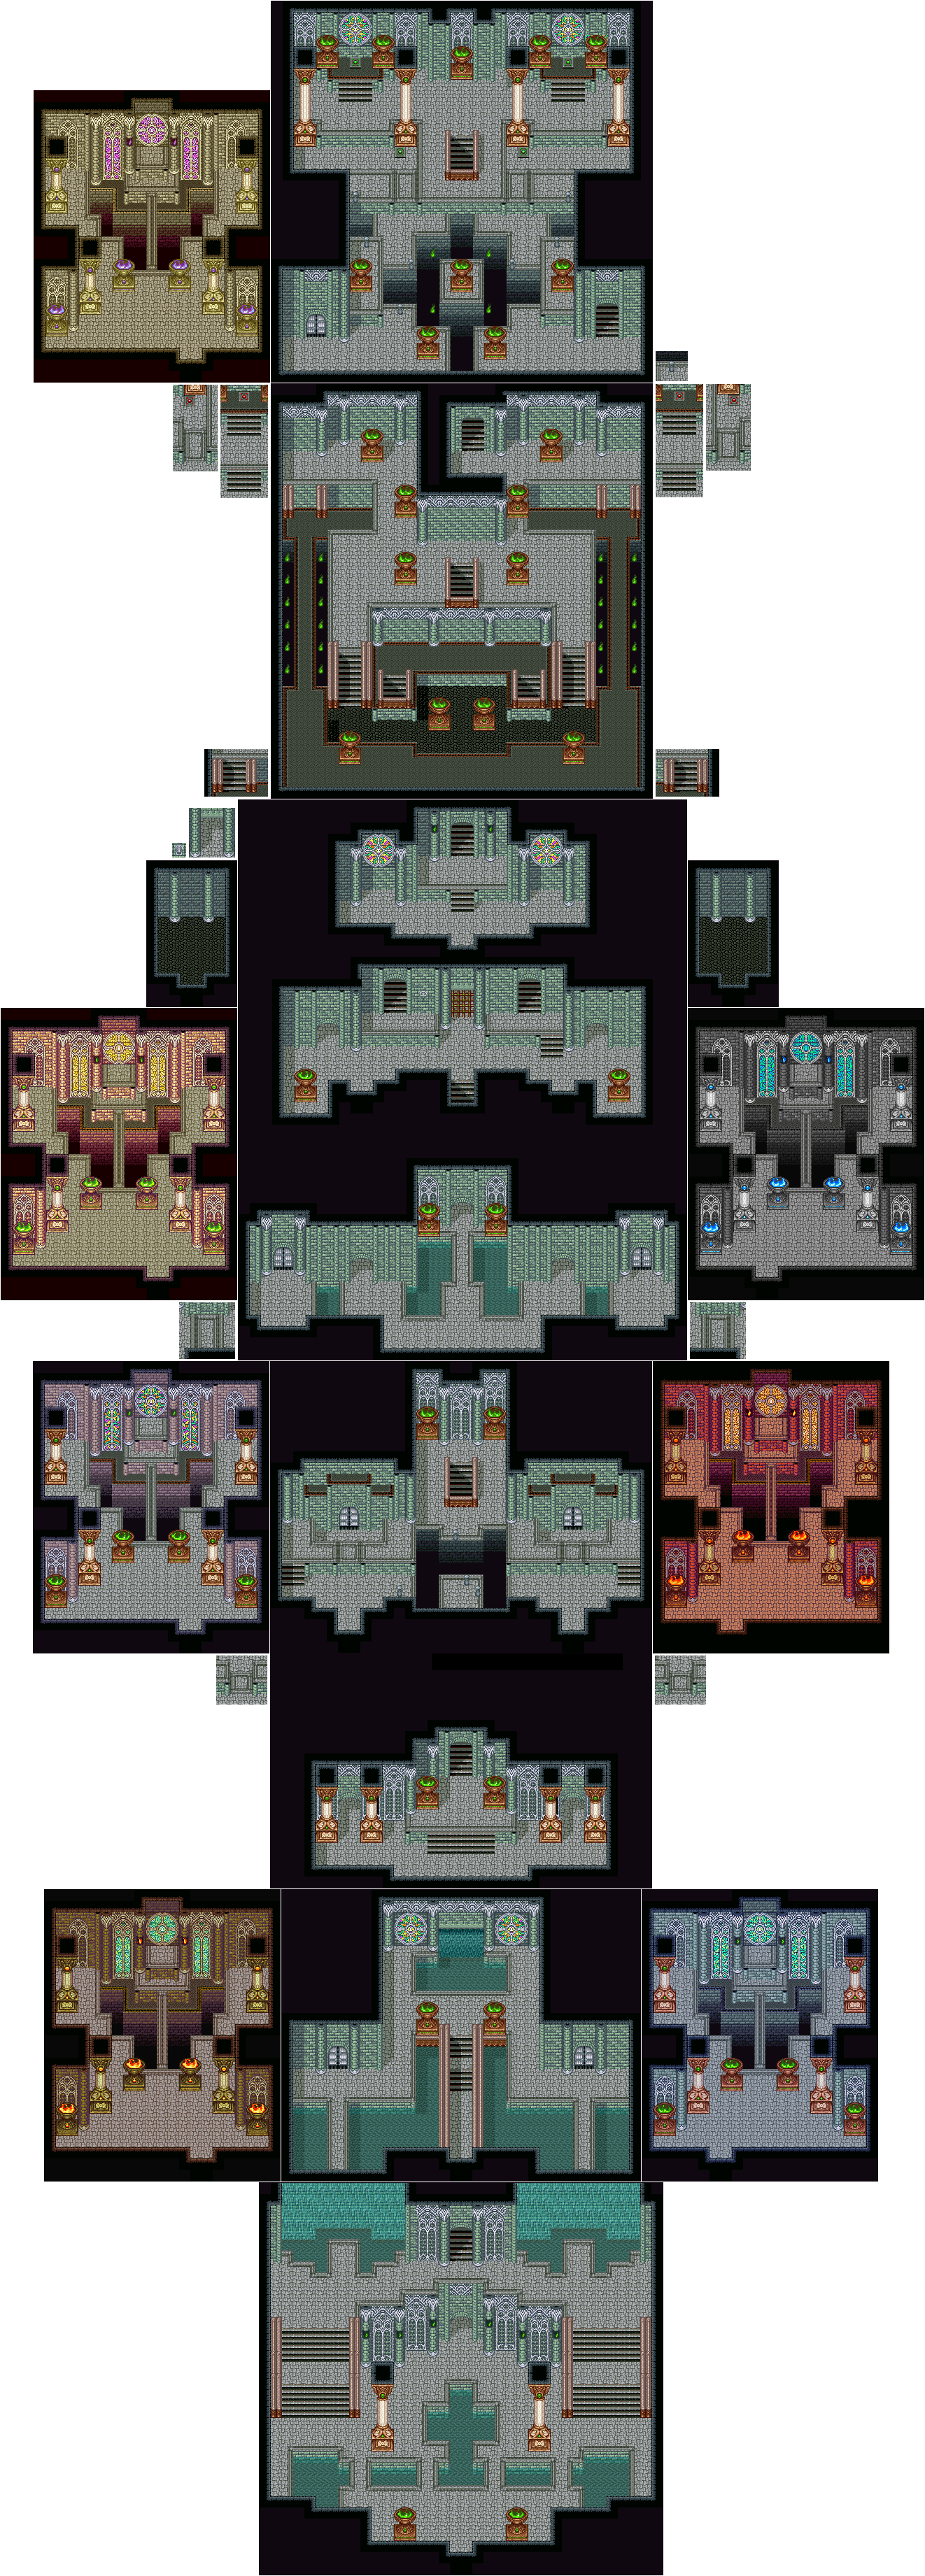
There are seven rooms in the Grand Palace that look like the other Palaces throughout the game. Using Analyze on the orbs will tell you which elemental works, but if you know the color palettes for the palaces, you can tell which palace is which immediately. By casting the proper spell on these orbs, you'll be able to open a path to the end. Here are the spells to use on each elemental orb:

Gnome: Gem Missile
Lumina: Lucent Beam
Luna: Lunar Magic
Salamando: Fireball
Shade: Dark Force
Sylphid: Air Blast
Undine: Freeze

When you get rid of an Orb, a National Scar will spawn. The National Scar is a palette swap of the Mystic Book, and it can cast Wall on itself and Evil Gate on your party. Also, the Doom Swords are palette swaps of the Evil Sword and can cast Stone Saber.

The Gremlins are palette swaps of the Imp, and they can turn you into a snowman and Freeze you with Frosties. The Heck Hounds can cast Blaze Wall on your party and can spawn Howlers, and they are also surrounded by Beast Zombies. The Turtlances are palette swaps of the Shellblast and can cast Light Saber.

There is a chest in the Great Palace that contains a Sword's Orb, so don't forget to find it before you leave. The Gigas Sword increases Strength by two points.

At one point, you'll need to go up a staircase to hit a switch with your weapon. You'll need to do this to open a gate. You'll also need to trigger some floor switches to move push platforms down to enter two of the orb rooms.

At the end, you'll face the Snap Dragon, which fights just like the Biting Lizard. Beating the Snap Dragon gives you the Javelin's Orb. The Elf's Harpoon raises Intelligence and Wisdom. From here, you have an shortcut back out of the Great Palace if you need it, but you'll want to head back to the Mana Seed.

PrinceWatercress plays Kid Klown in Night Mayor World - Part 4 of 6


Welcome to the ice world! This stage has its fun parts, believe it or not.

Stage 4

There are ice physics here, so you'll need to be careful.

While the penguins and jumping snowmen are easy enough, you'll have to drop balloons into the paths of the ice skating witches to get rid of them.

Once you start dropping down, do not hold a balloon. It will make it easier to avoid the Quick Man-style beams that shoot out of the walls. Believe it or not, Kid's head is not part of his hitbox, and as long as the beams don't touch his body, you're fine.

Afterwards, watch your head so you don't hit the retracting spikes, and watch out for rocks falling out of the holes in the background walls. The yetis will throw snowballs at you, but if you can hit them from a distance, you'll be solid. As for the platforms, hold a balloon with B so you can land on them more easily.

To defeat the big snowman, throw balloons at him from distance, and watch the sky so that the snowflakes he creates don't hit you. This can be a little easier said than done, but it is doable. Afterwards, you can find a hidden doorway by throwing balloons at right side of the platform that the big snowman was on and entering the hole you make. This takes you to a couple of hidden power-ups before entering the next section.

In the next section, Get the invincibility power-up, then hold Right on the D-Pad and be ready to run. This will save you from the collapsing ground and allow you to run across the gaps in the ice platforms.

The section after this takes place in the clouds. If you land on the ground without a balloon in your hand, you'll get trapped in the clouds for a few seconds and you'll need to button mash to get out. The frogs in the clouds will be annoying and will make high jumps back and forth, and the dangerous snowflake platforms from earlier will return just before you make it to the exit door.

The boss here is a sea creature. You'll need to face the front of it and throw balloons at it. The sea creature will try to balance a balloon on its nose for a few seconds before sending it back at you. As this goes on, you'll want to pelt the sea creature with balloons. Five hits will do it in. To avoid the boss, make sure you hold a balloon as you jump around so you aren't the victim of the ice physics or falling into the water at the sides.

Wednesday, December 22, 2021

HCBailly and JB play Secret of Mana - Part 33 of 41


After having made our way into the Grand Palace, we make our way even deeper into something more fortress-like and even take a...subway train?


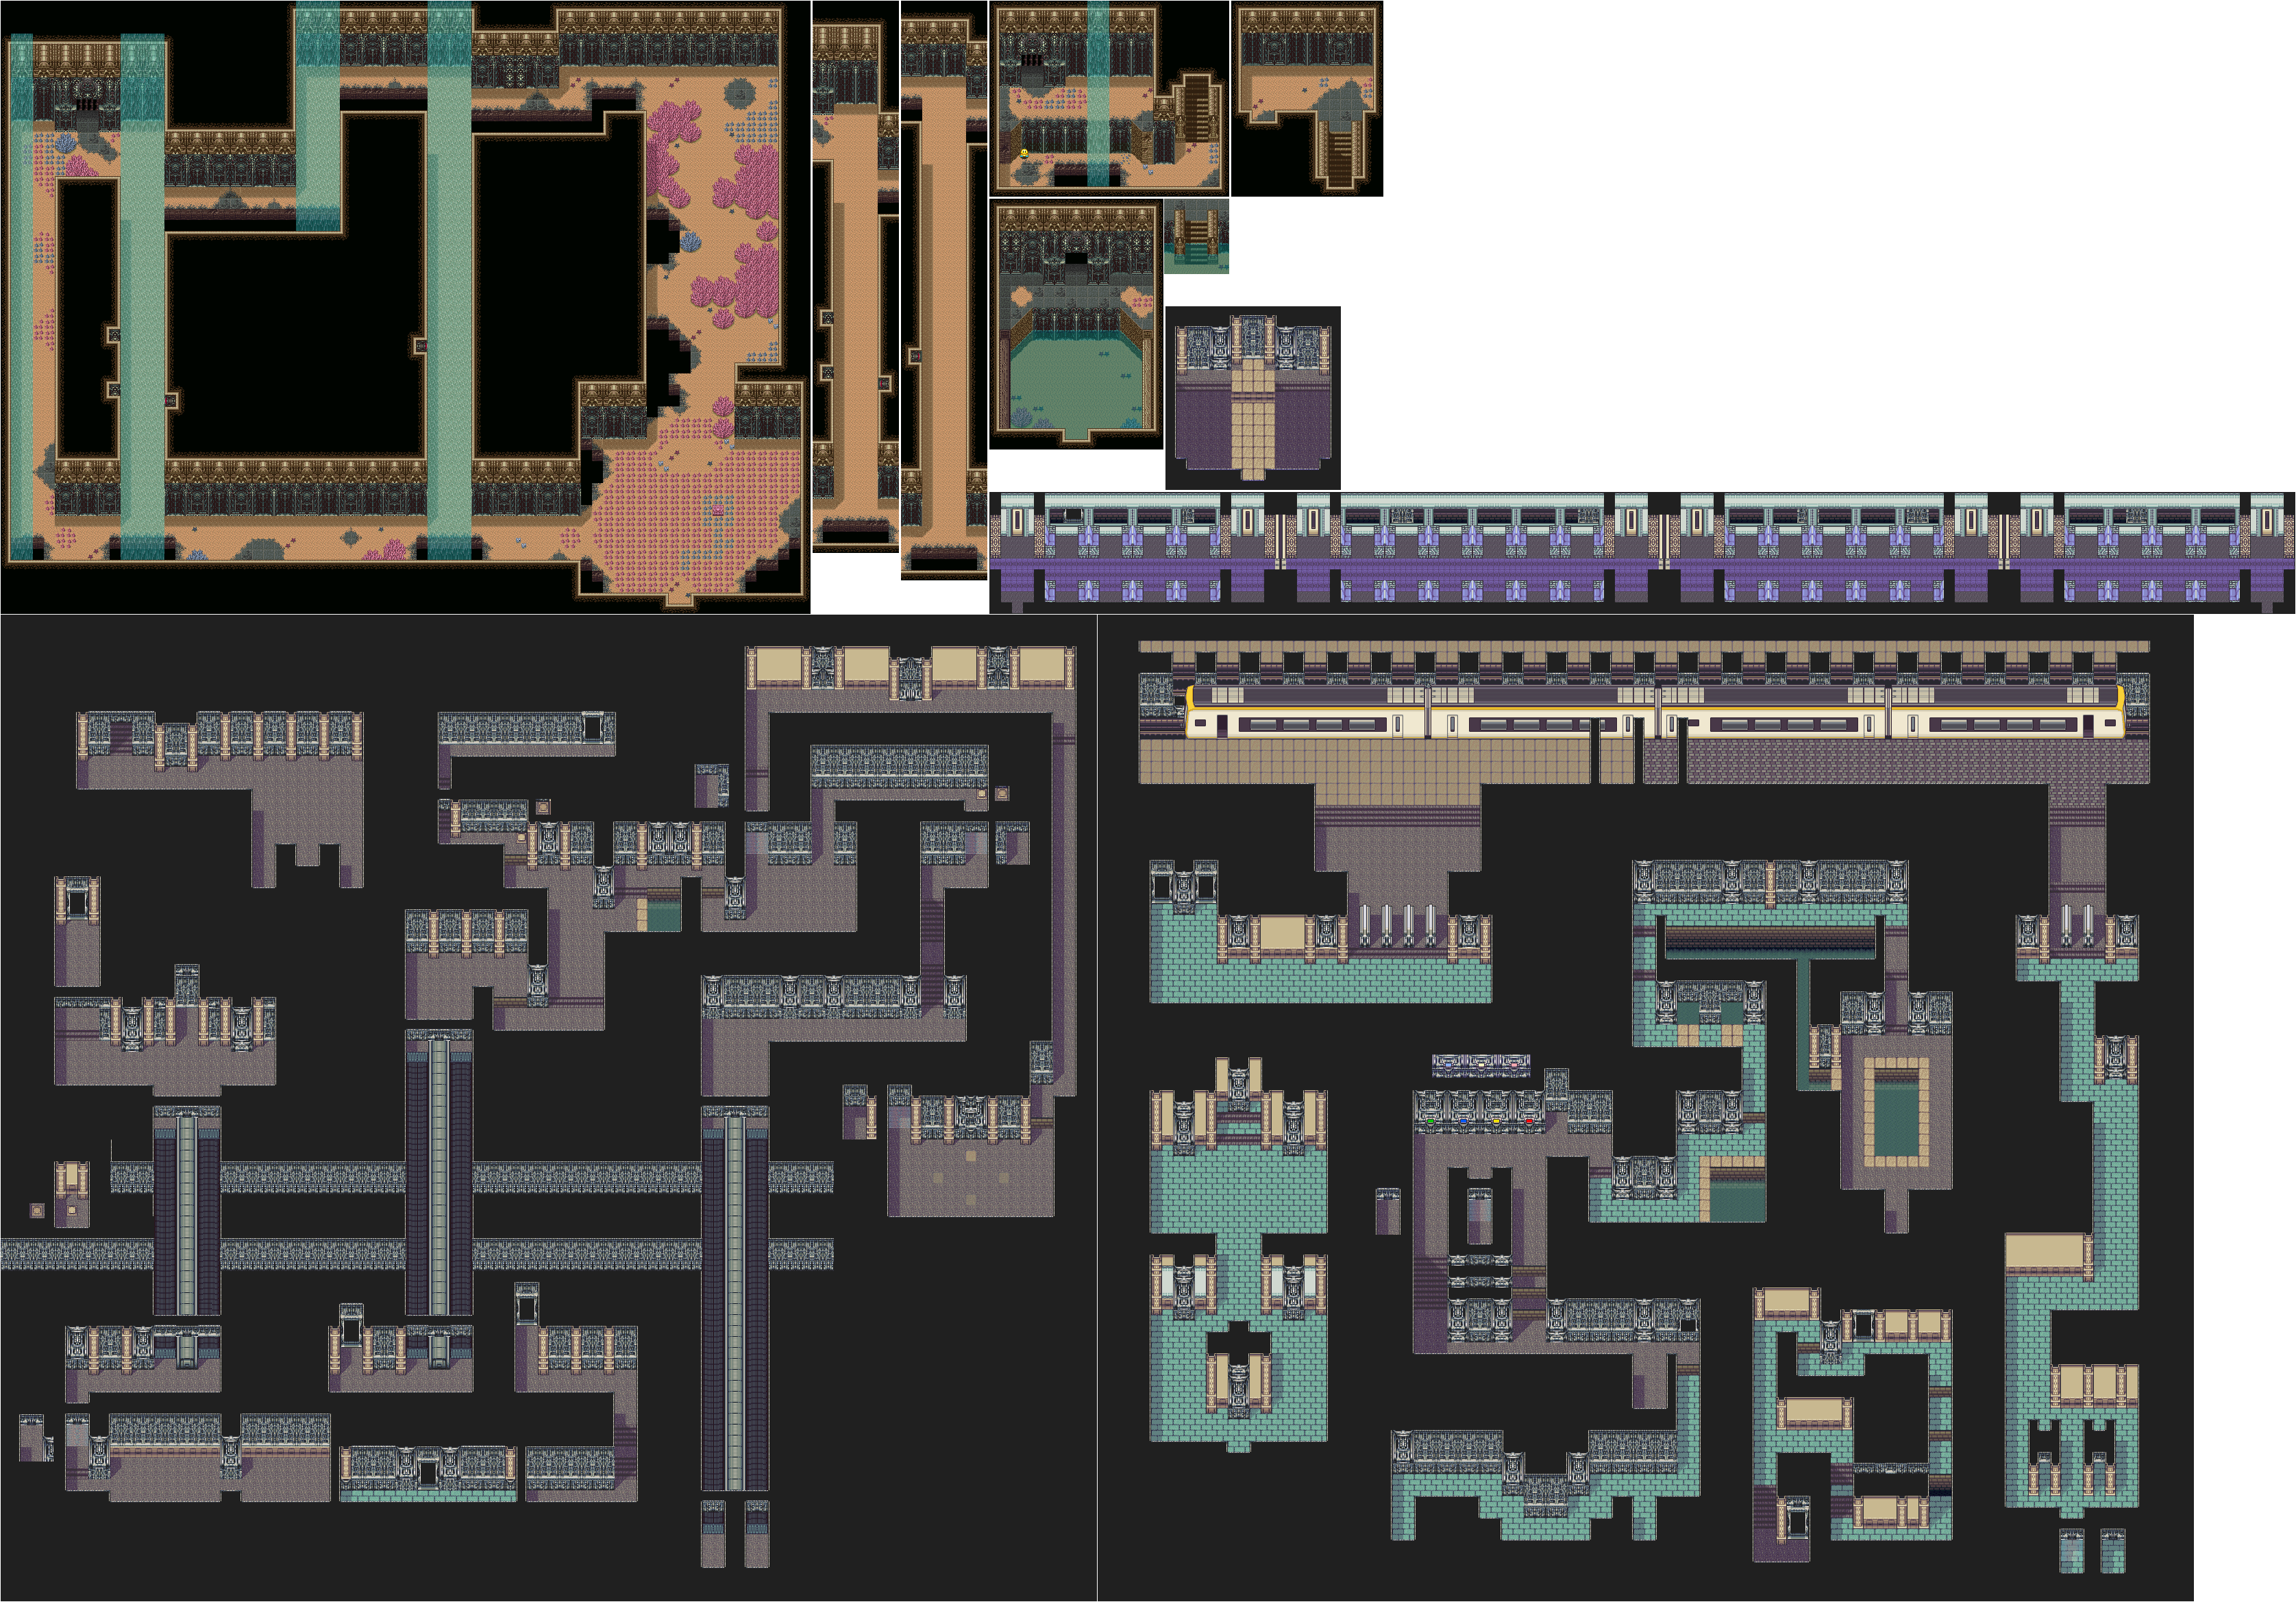
When you head north from where you fought Hydra, you'll be in a more fortress-looking area. You'll find conveyor belts, and the first one you see has a hidden wall to the west that you can walk through to find a switch. In one room, you'll find Watts as well as the Resistance. Krissie can heal you, while Watts can forge your weapons as always.

There is another room in this area, and if you enter it, you'll find a solder who mentions "Red-blue-yellow-green" before asking what it means. Remember that for later.

If you see another brick patterns, those are drop-off points. When you walk past them, you won't be able to return.

You'll eventually have to hit another switch to open up some barriers blocking certain archways, which will allow you to continue in this area. For the area with the four brown tiles, stand between all four of them. You'll open a door.

When you see the four colored rights, hit red, blue, yellow then green with the B button. You'll open up another barrier. Go down the stairs and step on the switch along the path to open up another door to the west, which is near a switch you stepped on earlier.

This will allow you to head towards a subway. Yes, there is a subway here. Go through the open door and get to the end of the subway, but watch out for all the Ghouls. When you get off, you'll be in another area. Head south. There is a hidden switch near the end; just walk between the pair of walls on the right to step on it and open up the nearby barrier.

You'll then meet the Scorpion Army for the first time since much earlier in the game. They will send another robot named Kettle Kin to take the Mana Sword from you so they can sell it for money. Keep hitting it with spells, as Kettle Kin will use Lucid Barrier to protect itself from physical attacks, and don't stay close to it so you don't get smashed by its spinning hammer attack. Beating Kettle Kin will net you the Bow's Orb. The Wing Bow confuses enemies. Afterwards, the Scorpion Army leaves, and you'll be back outside. Head west to get to the door of the Grand Palace. It's not over yet...

HCBailly and JB play Secret of Mana - Part 32 of 41


We try to stop the Emperor in this entry, but unfortunately, the Emperor gets his wish.


Tree Palace

If you tried to enter this palace before this point in the game, a magic barrier would have pushed you back, but you can now enter at this point.

When you do, you'll meet Emperor Vandole and his two henchmen The Emperor has broken all the seals, then says you won't be around for the last seal to be broken. Sheex will volunteer to defeat you, then turn into another boss: the Aegagropilon. You'll also find out that Sheex was the Dark Stalker to tried to attack Tasnica earlier, and that the Empire has signed a contract with the underworld to take over this one with the Mana Fortess.

To beat the Aegagropilon - who can cast Burst and Sleep Flower on your party and Wall on itself, use Popoie's Earth Slide, and cast Lucid Barrier on your party. Don't forget to cast Moon Energy for big hits.

When the Aegagropilon jump sinto the air and lands, watch the shadow and smack it with physical attacks before it bounces around.

When you beat the Aegagropilon, you'll get the Spear's Orb. The Gigasa Lance increases Strength by two points. You'll also beat Sheex for good. From here you can go to the left and take the stairs to the Mana Seed.

When you do, you'll find out that the seal has been broken, and that your Mana Power has been reduced to zero. Dryad, the tree spirit, will show up and tell you to get out before the hidden continent rises. Popoie and Purim convince Dryad to help, and Dryad will join your party as the last element, even though their Mana Magic is sealed, leaving you with two spells for each characters.

Purim's Dryad spells are as follows:

Revivifier: Revives a character much like the Cup of Wishes. You'll definitely want to get Dryad's levels up for this one, if not for Wall. (10 MP)

Wall: Like Lucid Barrier, but is green and reflects magic attacks back on the enemy. (6 MP)

Popoie's Dryad spells are as follows:

Sleep Flower: Puts the enemy to sleep. (2 MP)

Burst: Hits the enemy with a powerful explosion. (4 MP)

After Dryad joins, you'll be on Flammie, helpless to watch as the sunken continent rises. The music for when you fly around also changes. Land on the continent and start fighting.


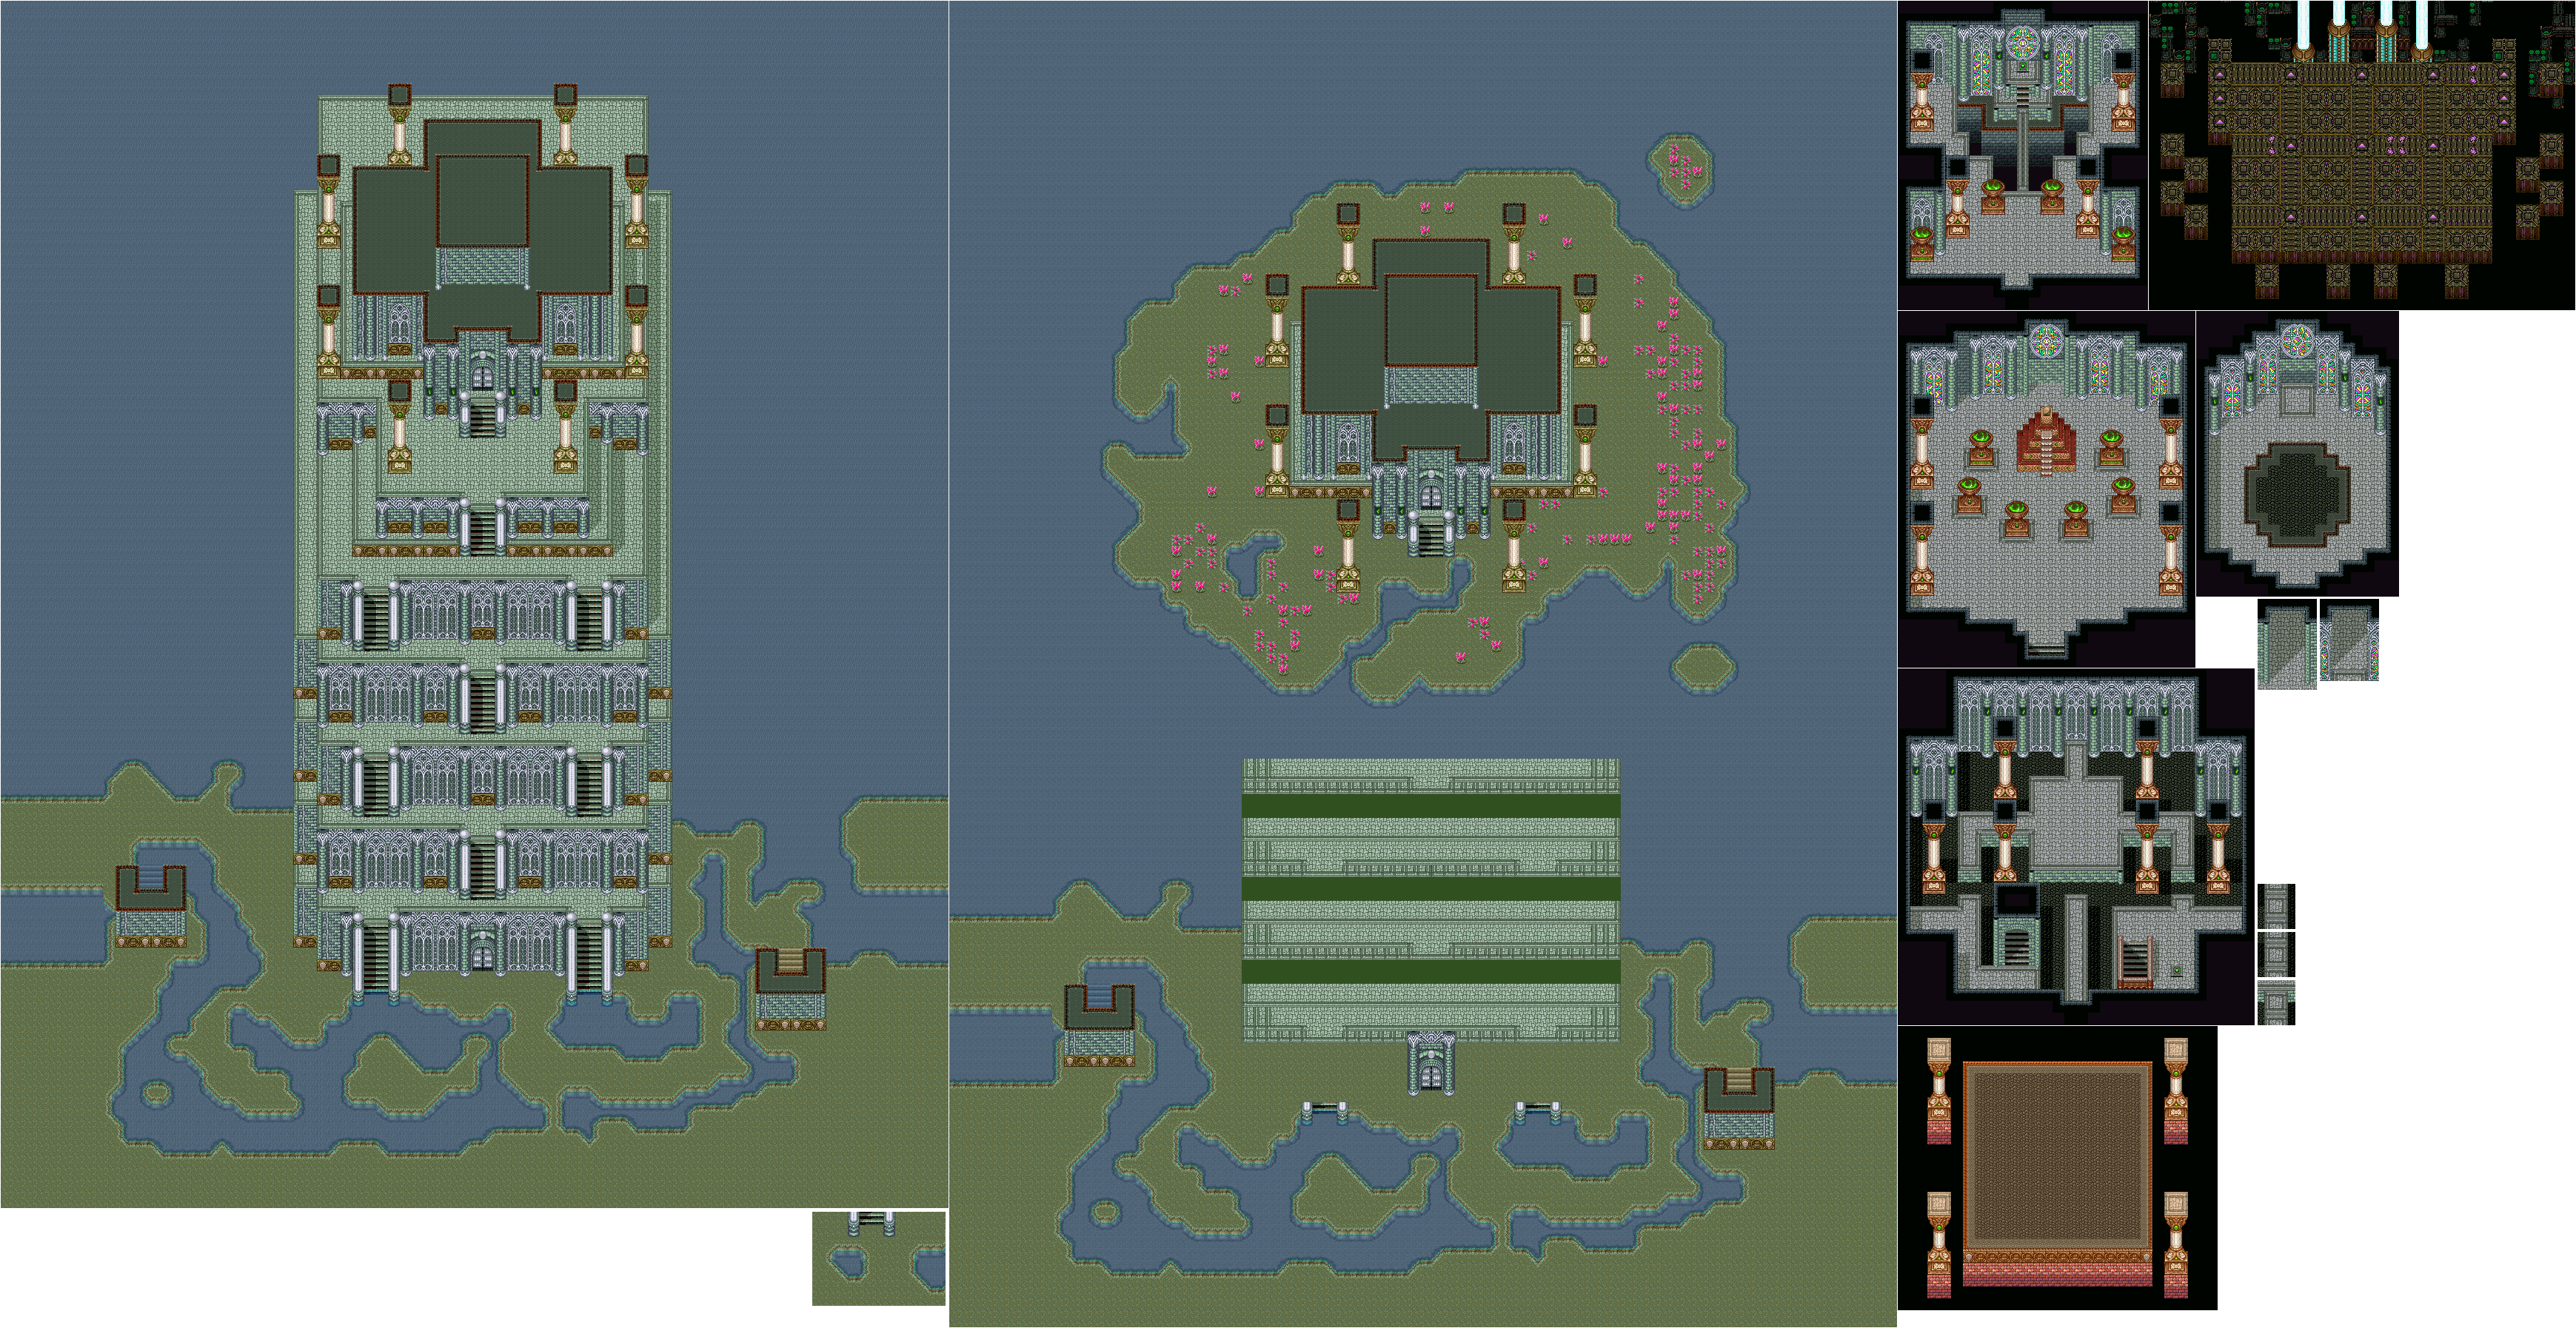
When you land, you'll be at the top of the now-risen Tree Palace, where you can talk to Jema. He will tell you to get into the ancient city underneath the palace. Make your way downstairs into the watery area, then find some stairs to the left and go down them.

The Metal Crawlers can cast Wall on themselves, and they can Poison and Engulf you, making them very dangerous to deal with.


The Steelpions can cast Defender on themselves much like the Sand Stingers, but they can also use Gem Missile against you and they can Poison you. 

The tiny spikes can be broken with the axe, and the waterfalls will push you back if you stand on them. At the beginning of this area is a chest with the Boomerang's Orb. The Frizbar is effective against slimes and lizards.

Don't touch the floor switch in the second room. It resets all the spikes.

The Kimono Wizard spawns Metal Crawlers, and can cast Freeze and Energy Absorb on your party.

The Basilisks can Petrify your party if they get too close, and they can also spawn Eggatrices. They can cast Defender, but it's really weak.

At the waterfall in the second room, go all the way to the west, keep moving north and strike the switch to the west with a weapon when you see it. This will remove the waterfall. For the waterfall near the end, stay near the east wall and strike the switch.

You'll soon face the Hydra, a re-color of the Jabberwocky. It attacks much like that boss did, too, but it can also hit you with the Current attack. Use Moon Energy and Lucid Barrier to make fighting this thing up close easier. 

Beating the Hydra will give you the Whip's Orb. The Hammer Flail will slow enemies it hits down.

After beating the Hydra, you'll meet Emperor Vandole, Fanha and a soldier, but they leave after Emperor Vandole tells Fanha to let the Mana Fortress deal with your party and Fanha blinds everyone in the room with a bright light.

PrinceWatercress plays Kid Klown in Night Mayor World - Part 3 of 6


As interesting as this stage is, the difficulty picks up a tad here, especially since you're constantly jumping up the beanstalks to make progress . But the best is yet to come...

Stage 3

This stage has you going up a couple of beanstalks. Praying mantises will shoot sickle-shaped projectiles at you, ducks will divebomb you and drop eggs that produce smaller chicks who will hit you, peapods will shoot out projectile sand clouds will fly around and drop water and thunder bolts downwards hoping to hit you. The rockets are the worst, as they pop up from the sides of the screen, slowly move forward then go fast the rest of the way. Even worse, they keep coming even as you destroy them, forcing you to fight them while simultaneously making progress.

The green cracked blocks are your worst enemy here; try to stand on them as little as possible. Also, there are plenty of spikes; be sure not to land on them.

The red spotted lizard is only vulnerable from behind, and it can also leap at you if you're a certain distance away from it. 

The white lines travelling upwards are air currents that will carry you upwards if you're carrying a balloon.

The boss is a one-eyed giant with a mace. As you throw balloons at his head, you'll have to avoid a ball that rolls around on the floor as well as two crushers on the left side of the screen that will come down every so often to squash you. The giant can also hold his mace up, protecting his head briefly. Staying near the giant without getting hit and also staying from the ball at the same time can be tough, but it can be doable if you can aim your balloons well.