Friday, February 7, 2025

PrinceWatercress plays Wario Land II - Part 10 of 51


While you could just beat the boss and end the level there, take the time to explore this level, as you can get quite a bit of coins for doing so.


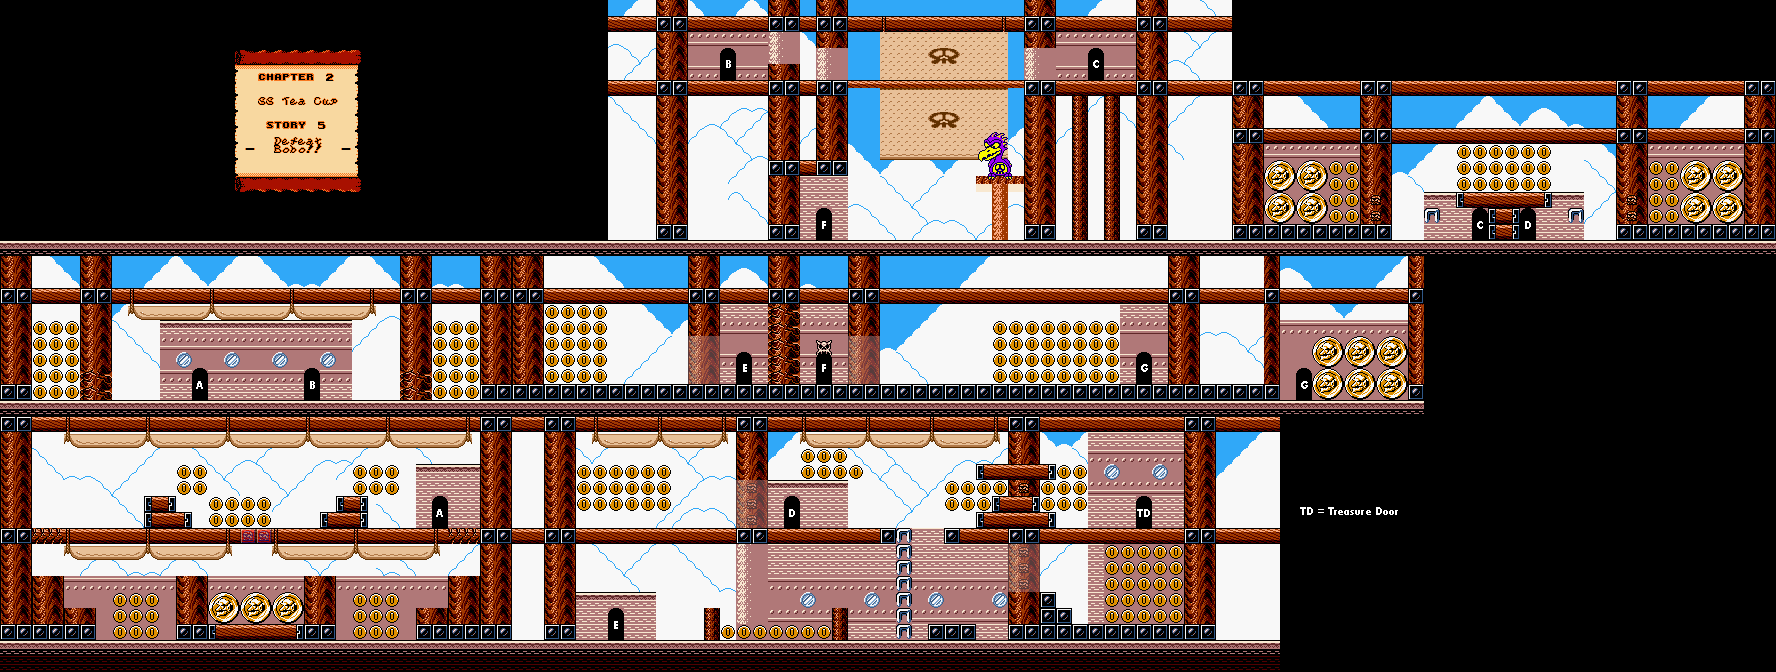
Chapter 2: S.S. Tea Cup

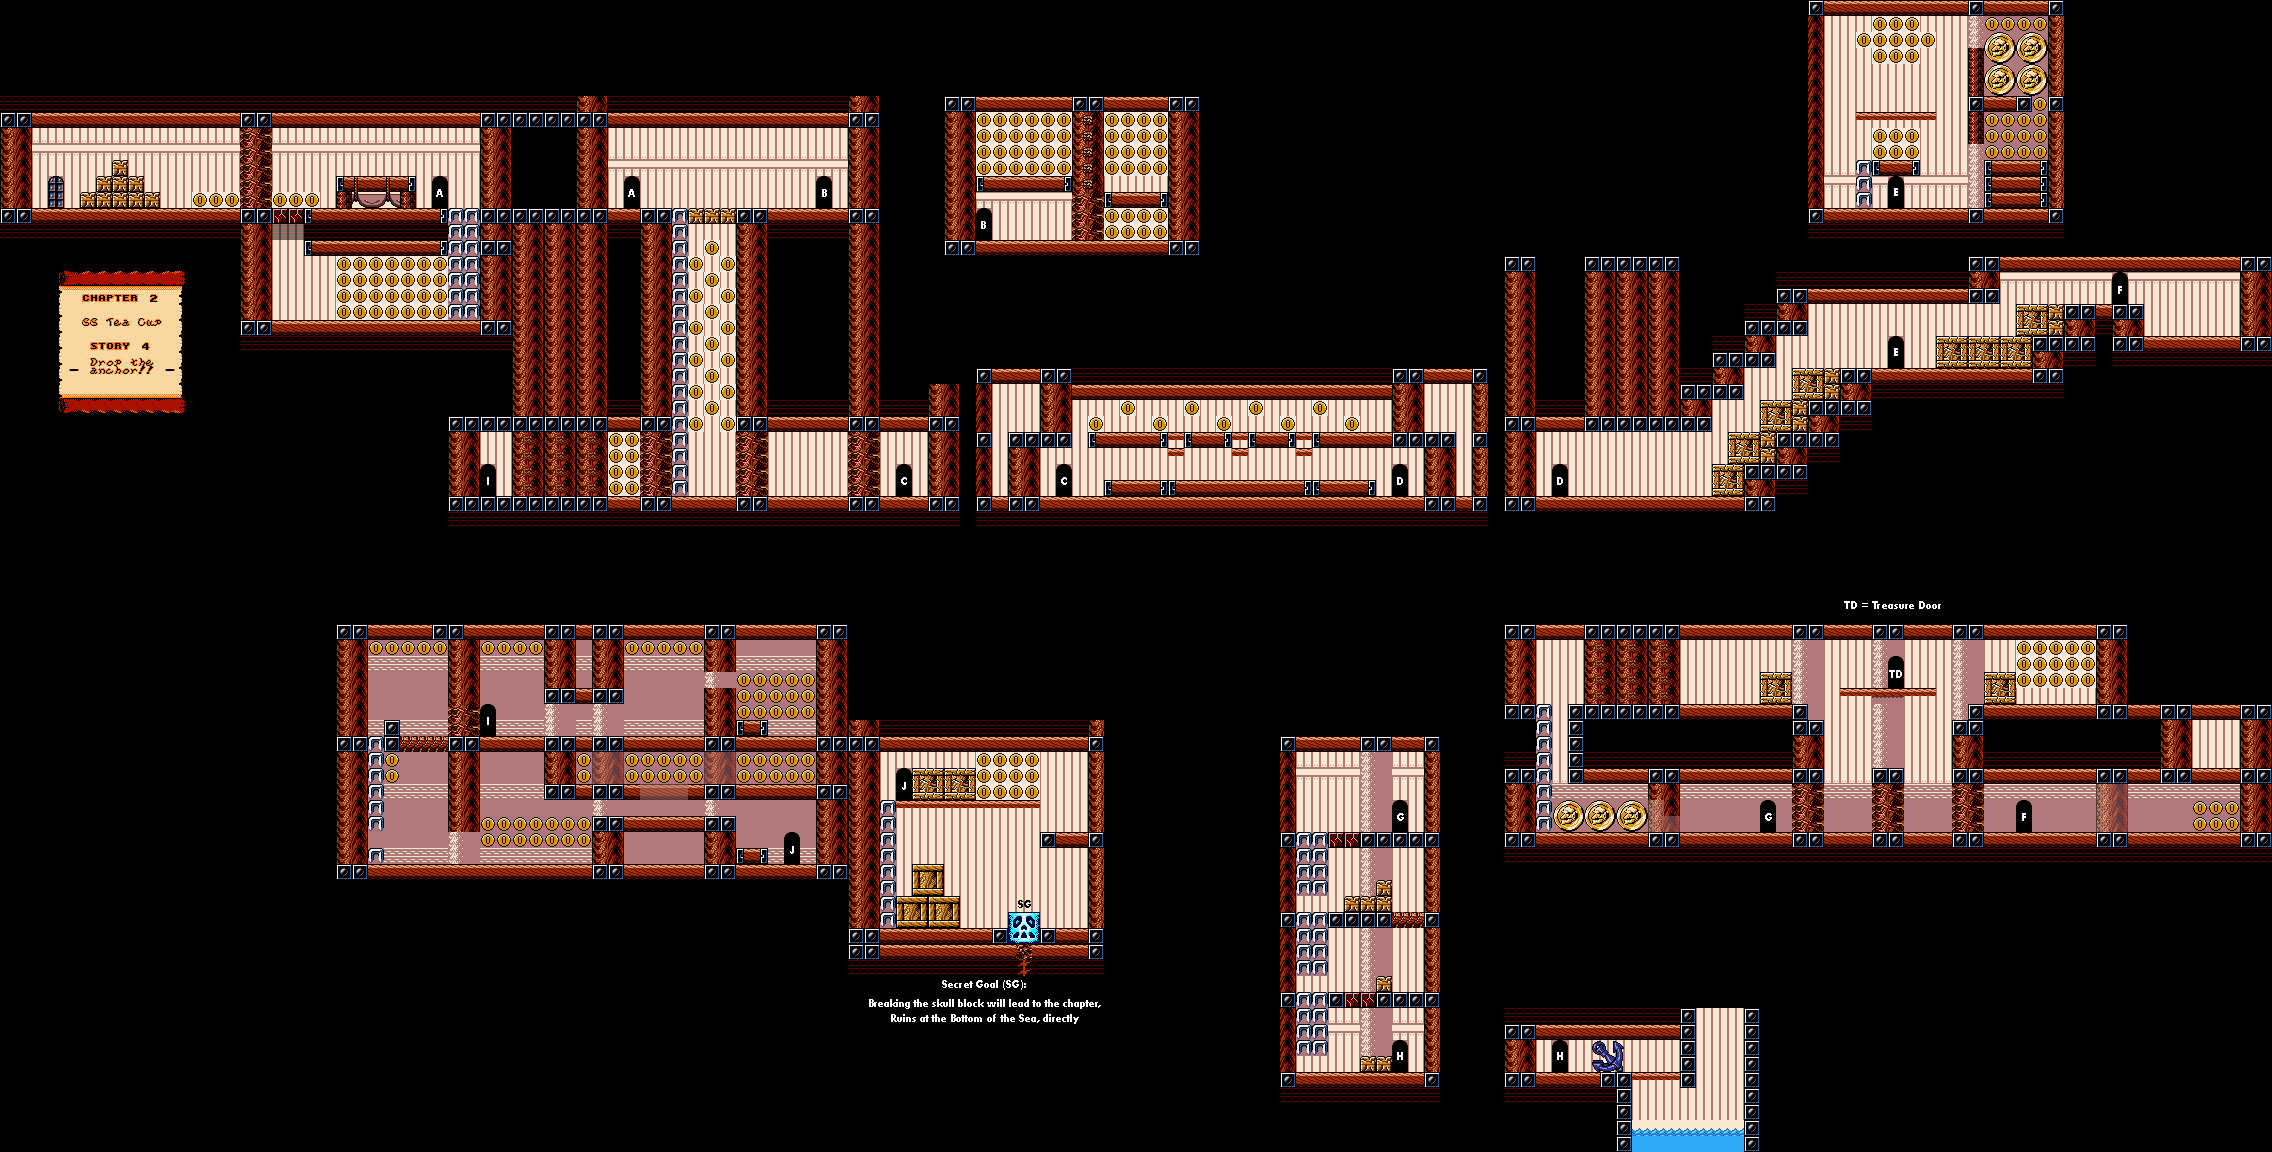
Story 5: Defeat Bobo!


While beating the boss is easy, getting everything here can be a bit of a challenge. Holding B will all you to throw an enemy at the narrow wall that requires throwing an enemy at it to break it. You'll need to do this to get to the treasure room, where you can win a scroll.

To beat Bobo, stay all the way to the left, then hold Up when he dives down so you can jump on his head when he dives down. When he comes back, go back to the left and duck down to avoid being blown upwards, which will force you to the top of the room and force you to go back to the boss room to start the battle over. The more hits you land, the longer the updraft will last, so keep ducking until you're on the ground. For the third and fourth hits, you'll want to wait for Bobo to make a second dive so that you can more easily hit him. After four hits, Bobo goes down again.

Afterwards, Captain Syrup and her goons escape on a balloon, and they land on Maze Woods, where the chase continues.

Thursday, February 6, 2025

PrinceWatercress plays Wario Land II - Part 9 of 51


Now that we're in the S.S. Tea Cup, let's drop anchor and collect a ton of treasure. Hey, who's that guy with the cake?


Chapter 2: S.S. Tea Cup

Story 4: Drop the Anchor!


The chef walks back and forth with a cake on a fork. If the cake touches you when he throws it, you'll become Fat Wario. This will allow you to break the black cracked blocks from underneath, but you'll move slowly and you won't be able to jump as high. You can still do a high jump, even though it won't be as high, and it can still get you somewhere. You can also move into enemies and bump into them to defeat them. In order to turn back into regular Wario, you'll need to move around in order to work the pounds off; you won't be able to turn back to normal by just standing there. 

If you hold Up and press B, you can throw an enemy upwards when you are holding one. If you press Down while holding an enemy, you can drop them in the direction you are facing.

There are a lot of coins to be found in this level, so be ready to look high and low and also tackle some walls. Some walls require throwing an enemy at them in order to break through them and see what i s

If you duck with Down while tackling, you can slide into a narrow corridor.

The treasure here is a wing.

To drop the anchor, tackle it until it falls into the water. This ends the level.

Wednesday, February 5, 2025

PrinceWatercress plays Wario Land II - Part 8 of 51


Compared to other levels, this one is really easy to get through as far as getting everywhere and finding everything goes.


Chapter 2: S.S. Tea Cup

Story 3: Get in the Tea Cup


Unlike other levels that we've played so far, this one is pretty linear and doesn't have a lot of deviating paths. Sure, there are a few things here and there, but this one definitely goes from one section to the next in a more linear fashion.

The seagulls act as platforms, but they will fly away soon after you land on them. They return in case you need them again, thankfully.

The monsters with the big teeth can be taken out with a tackle, but if any others are nearby, they will move back and forth and go on the attack briefly. Wait for them to stop before moving on and, when necessary, taking out the next one. If you have to miss collecting a coin to get past them all, so be it.

For the fourth section, take the upper path for a ton of coins.

The eels will try to grab you and drag you down if you get close enough. You won't be able to collect all of them, and you'll actually want the final eel to grab you and drag you down to the treasure room, which contains . This is the only way to reach the treasure room, so you're going to have to sacrifice a few coins in order to get down there.

When you reach the door as the S.S. Tea Cup and enter it, you'll clear the level.

Tuesday, February 4, 2025

PrinceWatercress plays Wario Land II - Part 7 of 51


We get introduced to a new type of Wario as we explore more of the forest.


Chapter 2: S.S. Tea Cup

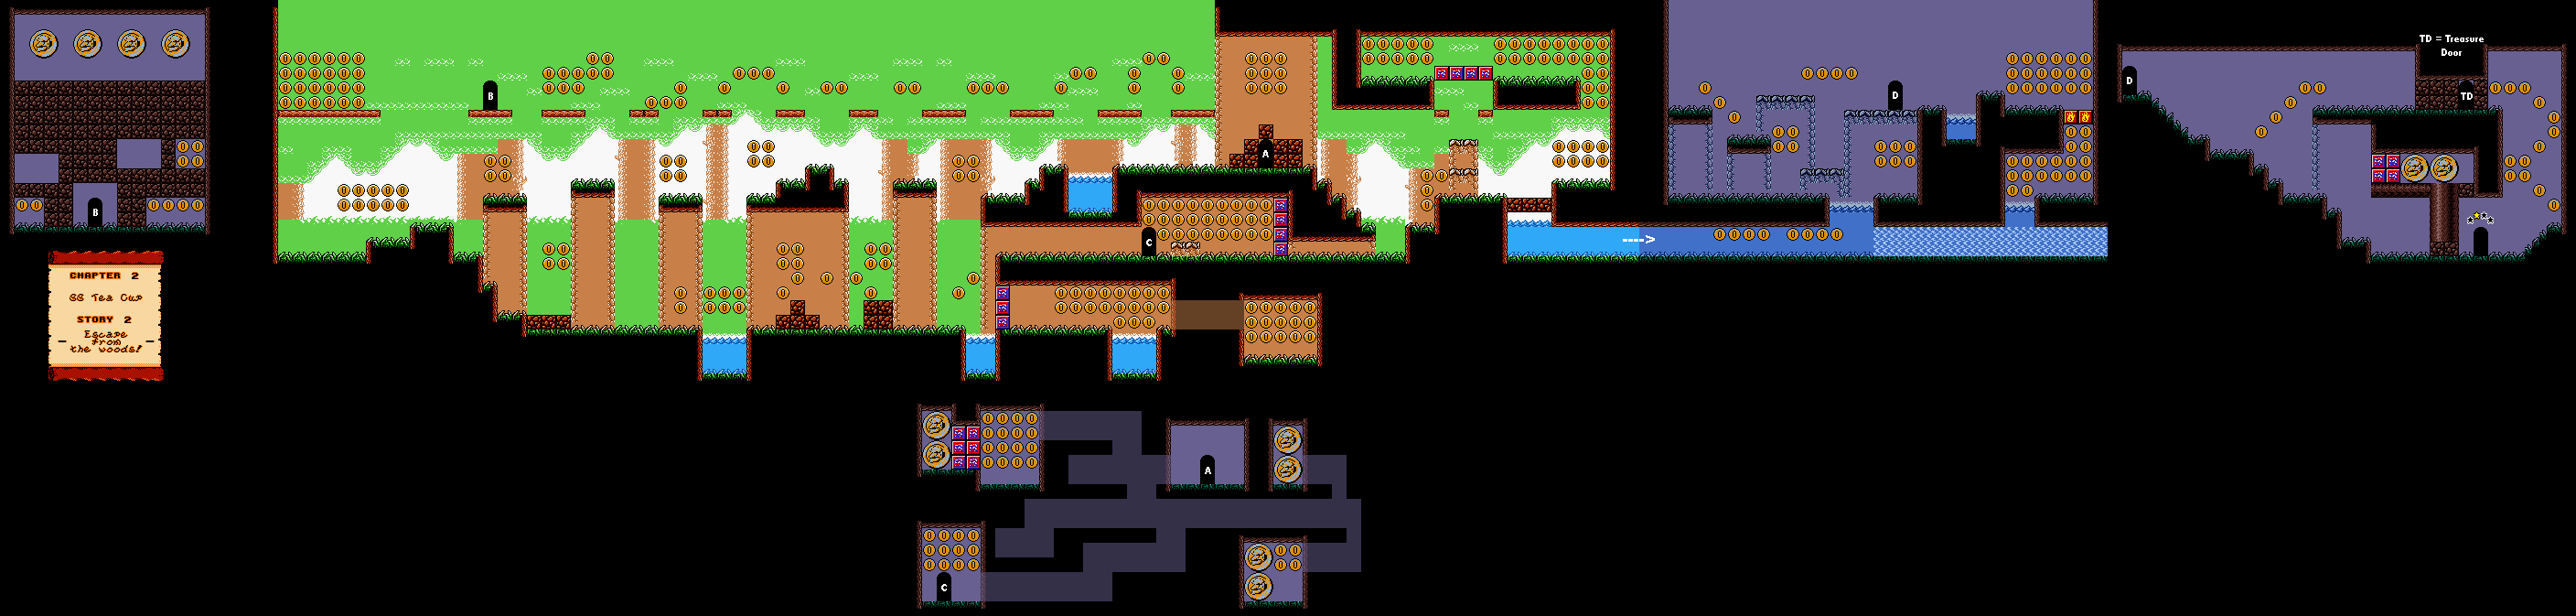
Story 2: Escape from the woods!


The penguins throw balls with handles at you. If the balls hit you, they turn you into Drunk Wario. Drunk Wario will move opposite the direction that you tell him to go, and he does not jump very well at all. Sometimes, he will stand in place before moving again. If you press B while drunk, you will belch out a cloud, but it doesn't seem to do anything. In order to become sober again, you'll have to fall into a pool of water. And before you ask, the balls were indeed beer steins in the original Japanese version before being censored in the Western releases.

In case you can't get to a cache of coins directly, tackle walls, jump into ceilings and ground pound floors. You'll eventually find a way to get to where you want to go...and a few other places, too!

Once again, you'll need to be Fire Wario to get your hands on a few extra coins.

The treasure room contains a sword of some kind.

Monday, February 3, 2025

PrinceWatercress plays Wario Land II - Part 6 of 51


Before we can chase after Captain Syrup and her goons again, we need to get our hen back to her nest.


Chapter 2: S.S. Tea Cup

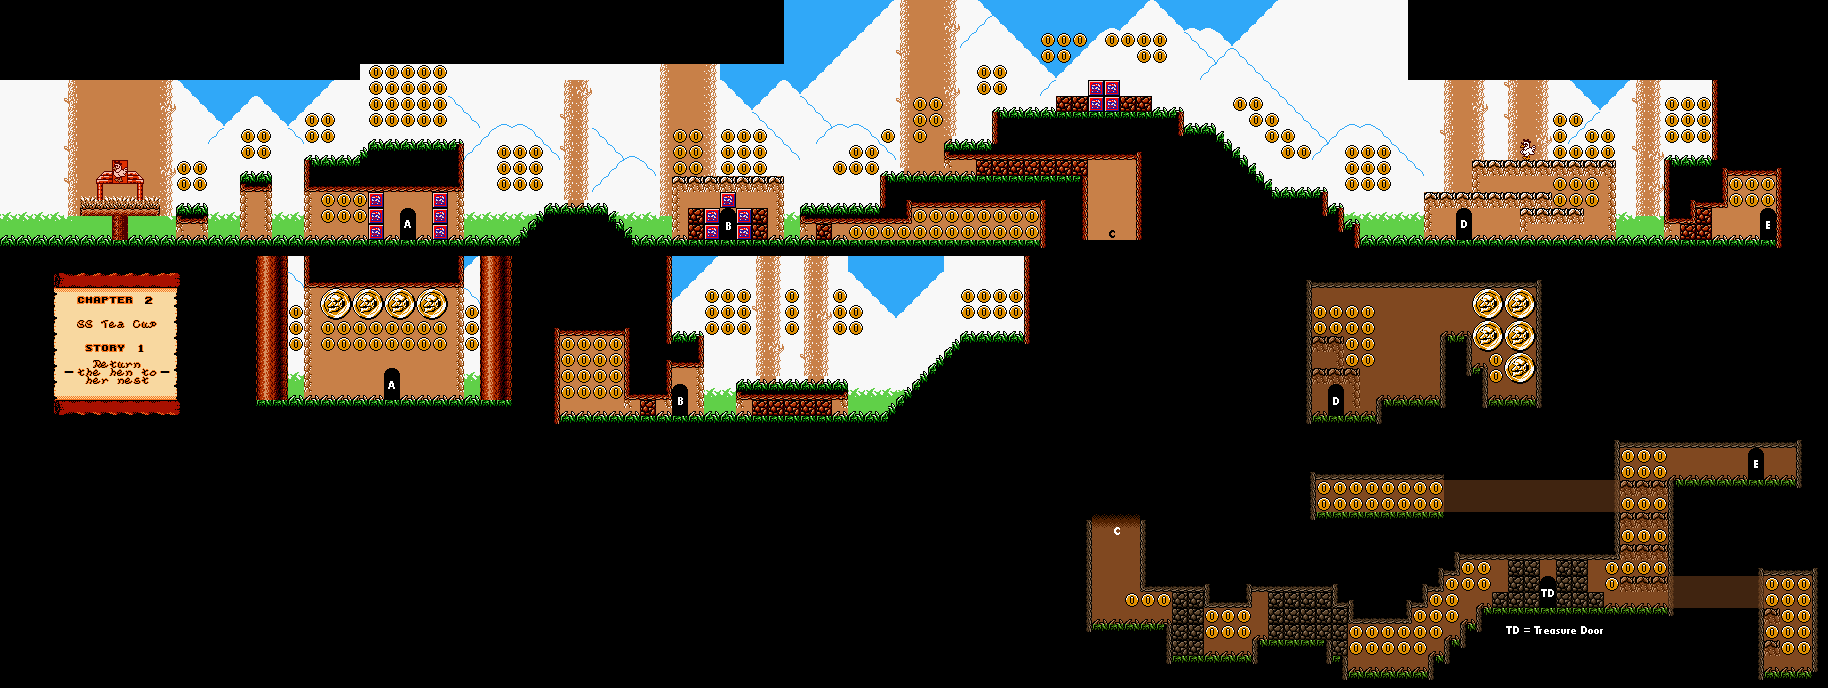
Story 1: Return the hen to her nest!


The little guy with the spikes on his head unless he hits his head on a ceiling or wall, which causes him to ball up. From here, you can defeat him, but you can also pick him up and throw him. You can also jump into him from below to get him to ball up.

You can keep jumping on enemies repeatedly in order to get coins that are in the air. Holding Up on the D-Pad lets you bounce even higher.

The giant chicken is a heavier enemy, and while he can be picked up, Wario will move more slowly while carrying him and will also not be able to jump while doing so.

This is the first level where you'll have to jump after rolling down a slope to get to other narrow areas and roll through the blocks. Doing it here will lead you to some extra coins.

The treasure here looks like a Pegasus Boot.

You'll eventually find the hen, but when you approach her, she will run away. You can bump into her and stun her like you can most other enemies, and you can pick her up and carry her over to the start. When you get back there, throw her back onto her nest to complete the level.

Sunday, February 2, 2025

PrinceWatercress plays Wario Land II - Part 5 of 51


The exploration of our castle concludes with a giant snake. After that, we start chasing Captain Syrup's goons into the outside world where they create even more havoc!


Chapter 1: One Noisy Morning

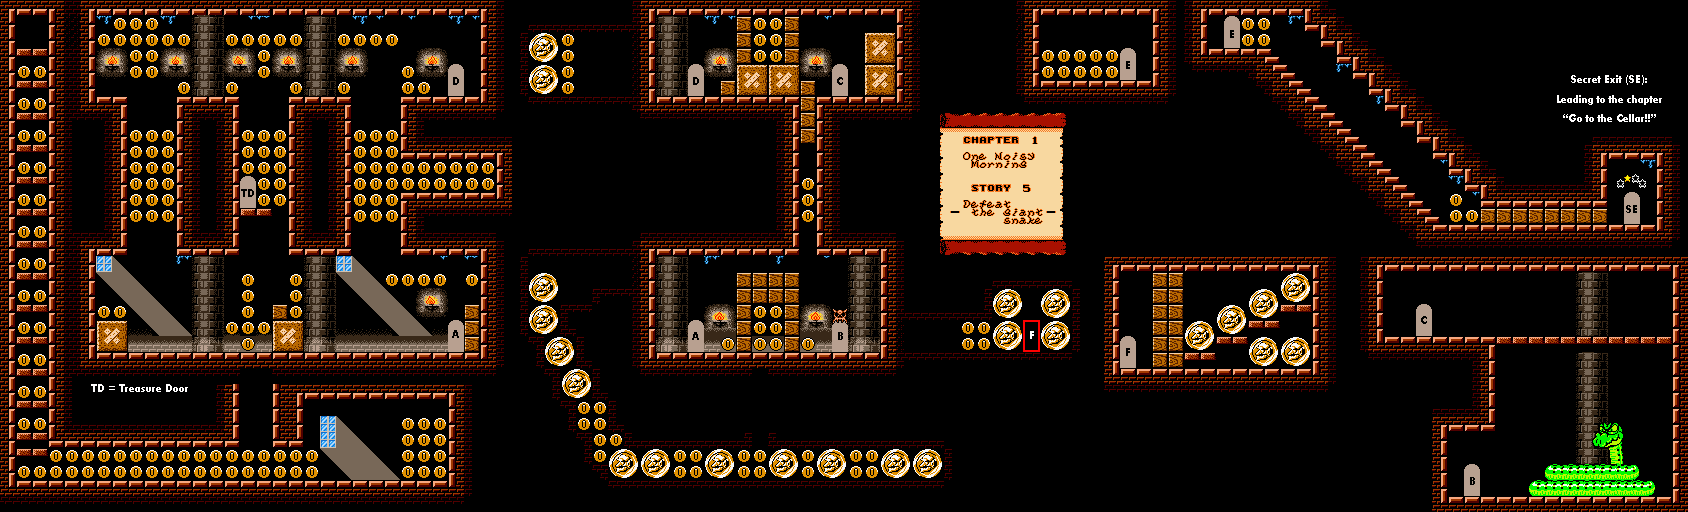
Story 5: Defeat the giant snake


There is a door that I missed, looking at the map. Not surprisingly, it leads to coins.

There's a new enemy here: the zombie. The zombie will not only throw its head at you, but it will also turn you into Zombie Wario. As Zombie Wario, you cannot jump, you can only move left or right, you can fall through thin platforms, and you must move into sunlight coming out of a window in order to turn back into regular Wario. Tackling the zombie from behind only gets rid of it temporarily, you must run into it as a zombie to defeat it.

There is a path that leads to a secret exit; we won't be entering it yet.

The treasure in the treasure room is a glove.

The door with the skull above it leads to the boss. 

To defeat the giant snake, you'll need to avoid the snake's bite while ground pounding on its head as it moves around. After three hits, you'll take it down. If you get bitten, you'll be sent upwards and you'll have to restart the boss battle.

After beating the giant snake, Wario finds out that his treasure has indeed been stolen. As Captain Syrup's goons run off with the treasure, they also cause some havoc in the forest, and now Wario has to find his prize hen - which has been scared off by the goons - before continuing on.

Saturday, February 1, 2025

PrinceWatercress plays Wario Land II - Part 4 of 51


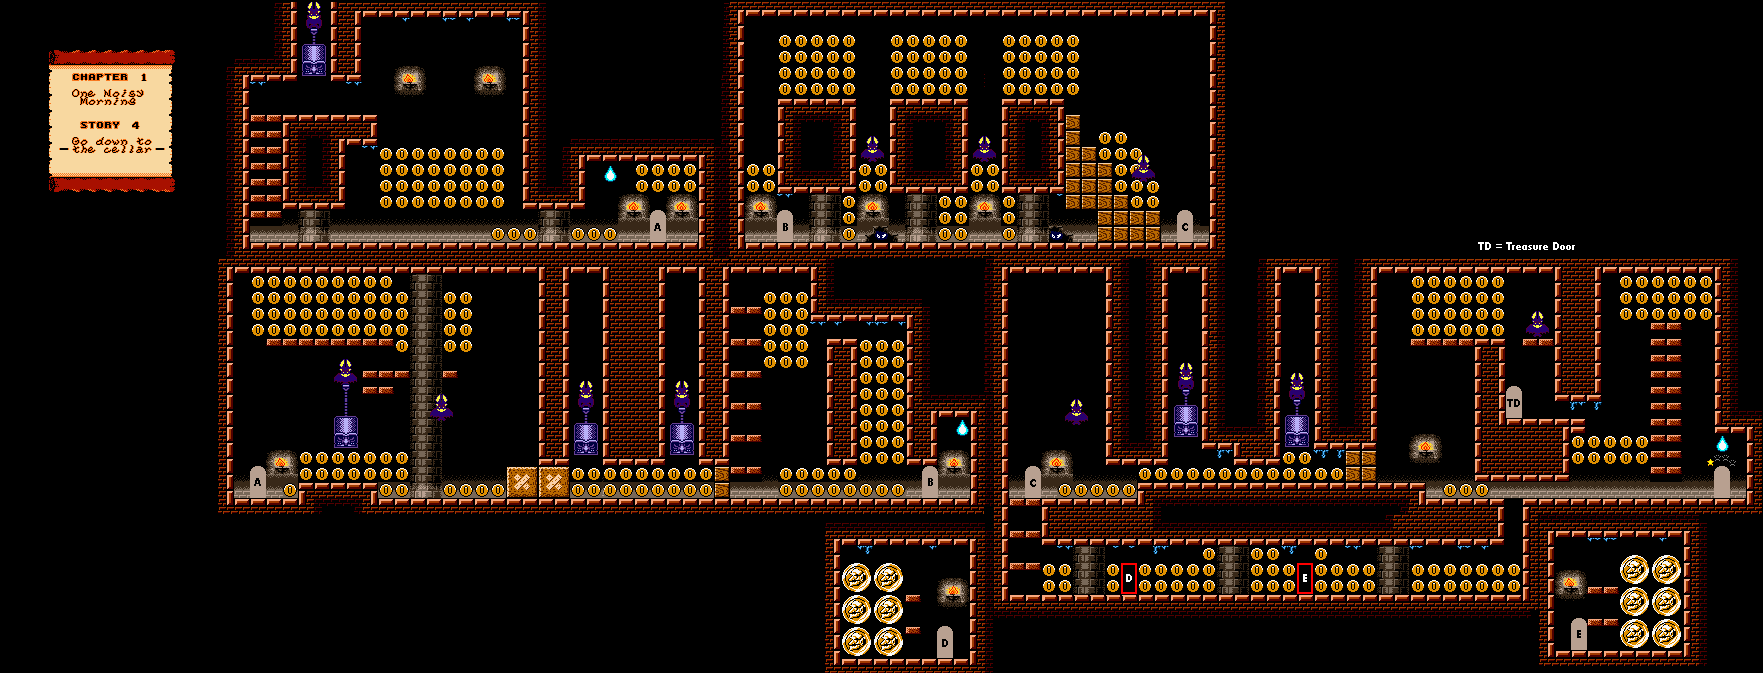
In this entry, we explore for cellar for riches as we look for our treasure.


Chapter 1: One Noisy Morning

Story 4: Go down to the cellar


When you start the level, you'll be flattened by a bat carrying a huge weight, and you'll be Flat Wario. Here, you can float around and collect all the coins. If you need to get back to where you started, you'll need to hold Up on the D-Pad as you jump up the platforms on the far left. Once you're done, however, you'll probably be wondering how to turn back into regular Wario. Believe it or not, it's the big drop of water that continuously drops from the ceiling. It won't do anything if you're regular Wario, but if you're Flat Wario, it will turn you back to your normal form.

The rest of the level is your usual exploration. You can land on the top of the weights that the bats carry to get to higher heights, and being flat will allow you to avoid falling into narrow gaps. Also, if jumping towards a narrow gap as Flat Wario does not work, try moving off an edge and holding the D-Pad in the direction you want to go. That usually works.

There are some hidden rooms that lead to several big coins. Press Up in the hallways to find these hidden doors.

The treasure room contains a black mantle for a treasure, and you'll need to leap towards the gap leading to the door while flat from one of the lower platforms.