Part nostalgia-bomb, part note-taking and part FAQ, what started in GameTrailers as a video game blog is now on Blogger. This blog is a look back at video games, both popular and obscure, from the video game industry's infancy all the way to the previous console generation.
Wait around in the library until Mordack appears. When he does, he'll retire to his bed and sleep. Go into the room and grab his wand (it's near the bed), then go right and get out. Go right again, and go up the stairs. You'll see a machine. Put the wand on the right tray and Mordack's wand on the left one. Toss the cheese into the machine's liquid. The power from Mordack's wand goes into Crispin's wand. Take Crispin's wand again, then you'll go downstairs again. Mordack will pop up, and he's not too happy. He'll try to zap you, but Cedric (who comes to you with great news only to show up at the wrong place at the wrong time) gets hit instead, turning to stone and falling to the ground. Mordack is really ticked off that you messed up his wand, and turns into a wyvern so he can kill you. Use the wand on Graham...quickly!
It's those four icons again! Choose the lower-right icon to change Graham into a tiger. He'll automatically give Mordack a hard time. Mordack will then change into a giant dragon, similar to what you saw at the beginning of your trip into Mordack's domain. Use the wand on yourself again, and this time select the upper-right icon. You'll turn into a rabbit. You can now dodge the fireballs.
After several failed attempts to fry you and make you his dinner, Mordack will turn into a poisonous snake. Use the wand again, and choose the upper-left icon. You'll become a lizard (mongoose?) and fight Mordack off once again. Mordack will then set himself ablaze in a last-ditch effort to kill you. Use the wand and choose the lower-left icon. You'll change back into King Graham and summon rainwater to come and wash Mordack away. Good riddance.
Cassima and Crispin will show up. Crispin will de-miniaturize the castle and your family, de-stone Cedric, and sends everyone (including Cassima) back to their rightful homes.
Once you go inside, use the crystal shard on one of the statues after you go inside to reflect their magic back at them.
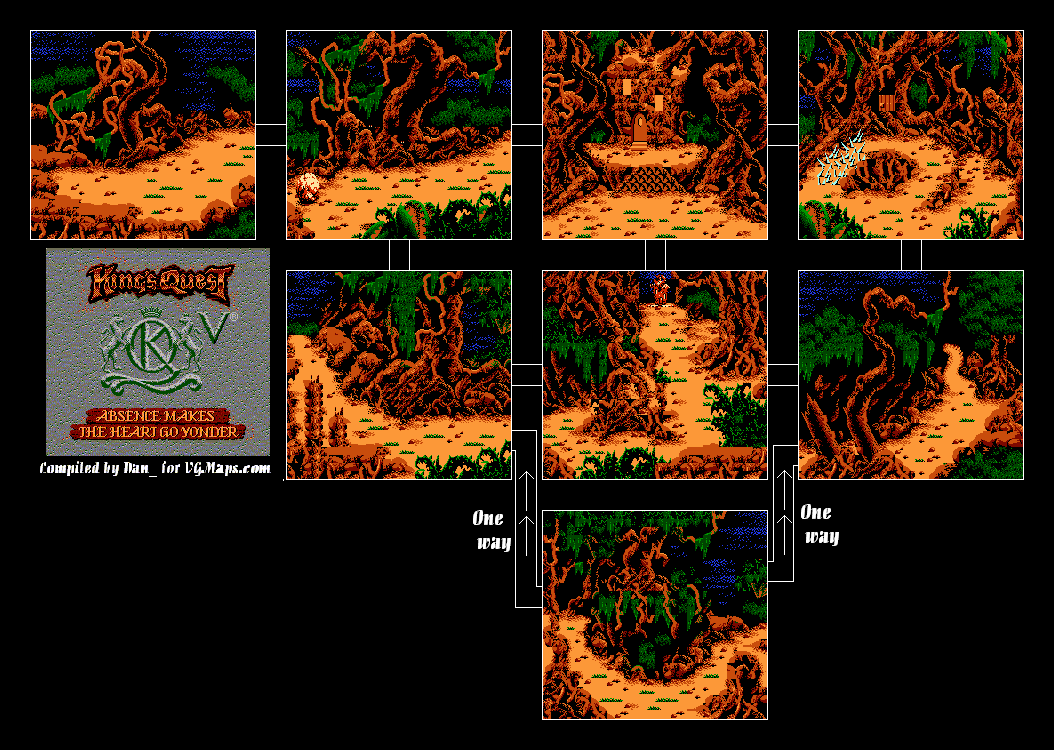
Go around the front door by taking the path to the left. Don't fall! You'll come across an iron grate. Open it with the iron bar, then go inside it by using the hand on it. Next time...maze time!
The arrow at the bottom of the screen shows which direction you're facing. If you're looking at Graham's back and the arrow isn't pointing up, you're not facing north.
Instead of using compass directions, I'll use normal directions like I've been doing the entire guide. Here is where to go:
You'll meet a beast. Use the tambourine on it and it'll run away, dropping something on its way out. It's a hairpin. Take it, because you're going to need it for what's happening next.
You'll come across a door. Unlock the door with the hairpin.
You'll now be in the evil wizard's house. Go to the left shelf and grab the bag of dried peas, then go up and into the next room. Give her the locket. She'll introduce herself as Princess Cassima of the Green Isles.
[quote]My name is Princess Cassima from the Land of the Green Isles. My father, the king, employs a horrible vizier who befriended Mordack. When Mordace saw me he immediately wished to marry me and bring me here.[/quote]
Why am I mentioning this snippet of dialogue? Well...SERIES-WIDE SPOILER ALERT! (Yes, I'm going to mention what's going on, but also the other canonical events in the series that tie this together.)
Prince Alexander (or "Gwydion," as he is called by Manannan until he finds out who he really is) casting a spell that changes into a cat happened back in King's Quest III: To Heir Is Human. When he returns to Daventry, he saves his sister Rosella from a dragon. From this point on, elements of past games play in the storylines of future entries even further than they already did.
You play as Rosella in King's Quest IV: The Perils of Rosella. There, she meets a man named Edgar during her travels in Tamir and helps him out. Princess Cassima appears in King's Quest VI: Heir Today, Gone Tomorrow, which is the next game in the series after KQ V. In this one, Prince Alexander sees her in the magic mirror and goes out to find her. He (luckily) crash lands in the Green Isles, where she returned to after Crispin teleports everyone back to their home at the end of King's Quest V. Alexander saves her from the evil vizier Abdul Alhazred (who has killed Cassima's mother and father - the king and queen of the Green Isles - in a plot to force Cassima to marry him and rule the Green Isles himself; he is named after the author of the fictional Necronomicon in the stories of H. P. Lovecraft) at the end and marries her. It is also revealed in this game that Mordack and the Vizier were further tied together by the membership in a secret organization known as the Society of the Black Cloak.
In the next game, King's Quest VII: The Princeless Bride, Rosella meets Edgar near the end of the game. He had been changed into King Otar and could be told apart from the real one by his purple eyes (King's Otar's were green). She changes him back and finds out he is the prince of Eldritch, where the entire game takes place. She later saves him with an extra life given to her by a black cat earlier in her adventures, and saves him from death. Rosella, who initially refused to marry at the beginning of the game, marries Edgar with his parents' blessing.
Hope that big wall of text helps.
Anyway, her father sent her there anyway and forced her to work as a scullery girl until she does marry Mordack. Graham promises to save her when he rescue his family. Go right.
While you're here in Mordack's castle, don't stand around for too long. Otherwise, Mordack will find you and kill you. If you save your game every time you enter a new room, you won't have the problem of getting killed again while you retrace your steps.
In this room, you might meet a black cat. This is Manannan; he will send Mordack out if he sees you or you walk onto its tail, killing you. Leave and re-enter until it isn't there, then go right to the next room. Go through the other door on the left (it's below the one you came in here in) then get out when you see a large blue beast. Let it grab you; it'll throw you in a dungeon. Use the eye on the mousehole and you'll find a piece of cheese inside. Use the fishhook on the mousehole to get it.
Since you found Cassima's locket and gave it back to her, she'll open up a secret compartment in the wall. Use the hand on the opening. You're in the labyrinth again. Go down, then follow Cassima. You'll reach the door again. Retrace your steps and you just might see the blue beast again before you're right back where you started from. Use the bag of dried peas to trip it up and make it disappear.
If you see Manannan the cat when you have the now-empty pea sack. throw the fish at him to distract him (he won't be able to help himself) then use the brown sack that the peas were in to trap him. That cat won't be screwing with you again.
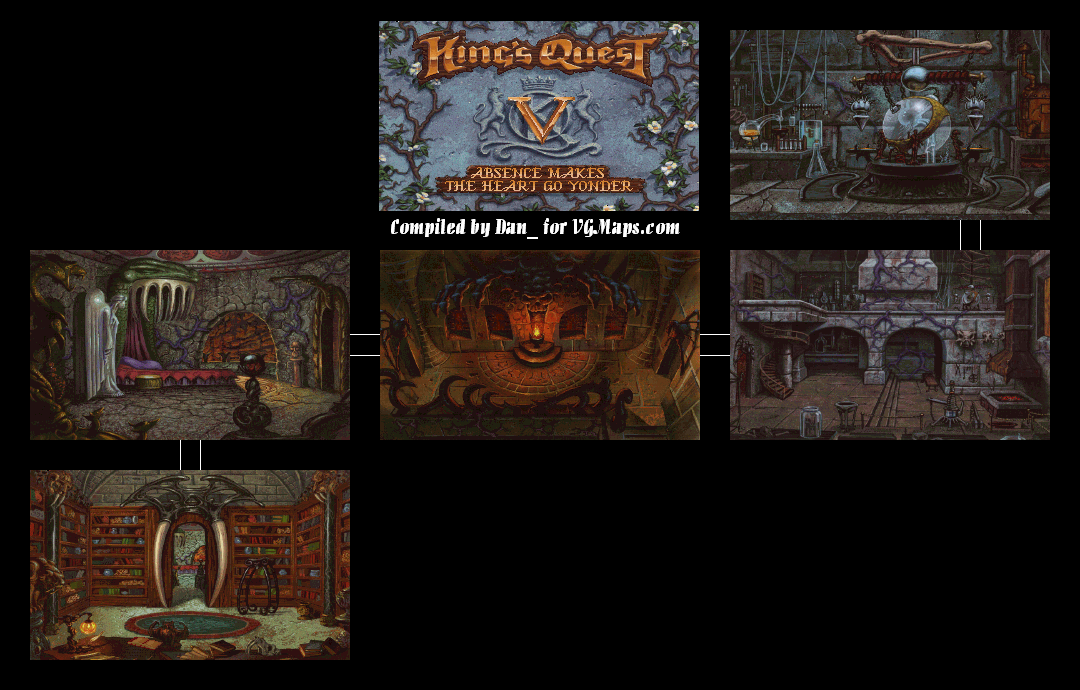
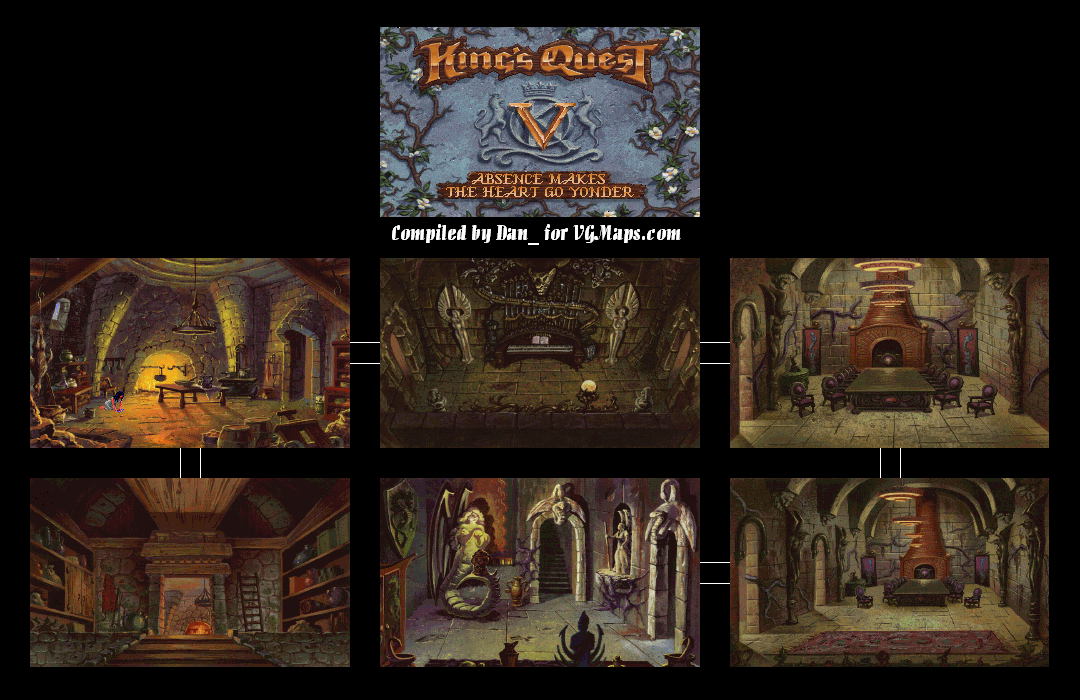
From the organ room (do not play the organ!), go east, wrap around to the left, then go up the stairs. Go left, and you'll find Mordack's bedroom. Gee, I guess he sleeps very well at night.
Go down and you'll find the library. Use the hand on the open book on the bottom of the screen, and the game shows you four symbols. Failure to do so makes the game unwinnable! What do they mean? Stay tuned for the conclusion!
Anyway, pick up the iron bar. Failing to take it makes the game unwinnable later on. Then go down, and then ring the bell at the house that looks like the fore of a half-buried ship. (Hey, don't look at me, that's what it looks like it's converted from.) It turns out the old man in the house is hard of hearing. Go back up, and head towards the shore on the right side of the screen. The boat has a hole in it, so plug it up with the beeswax before you get in or else you will die.
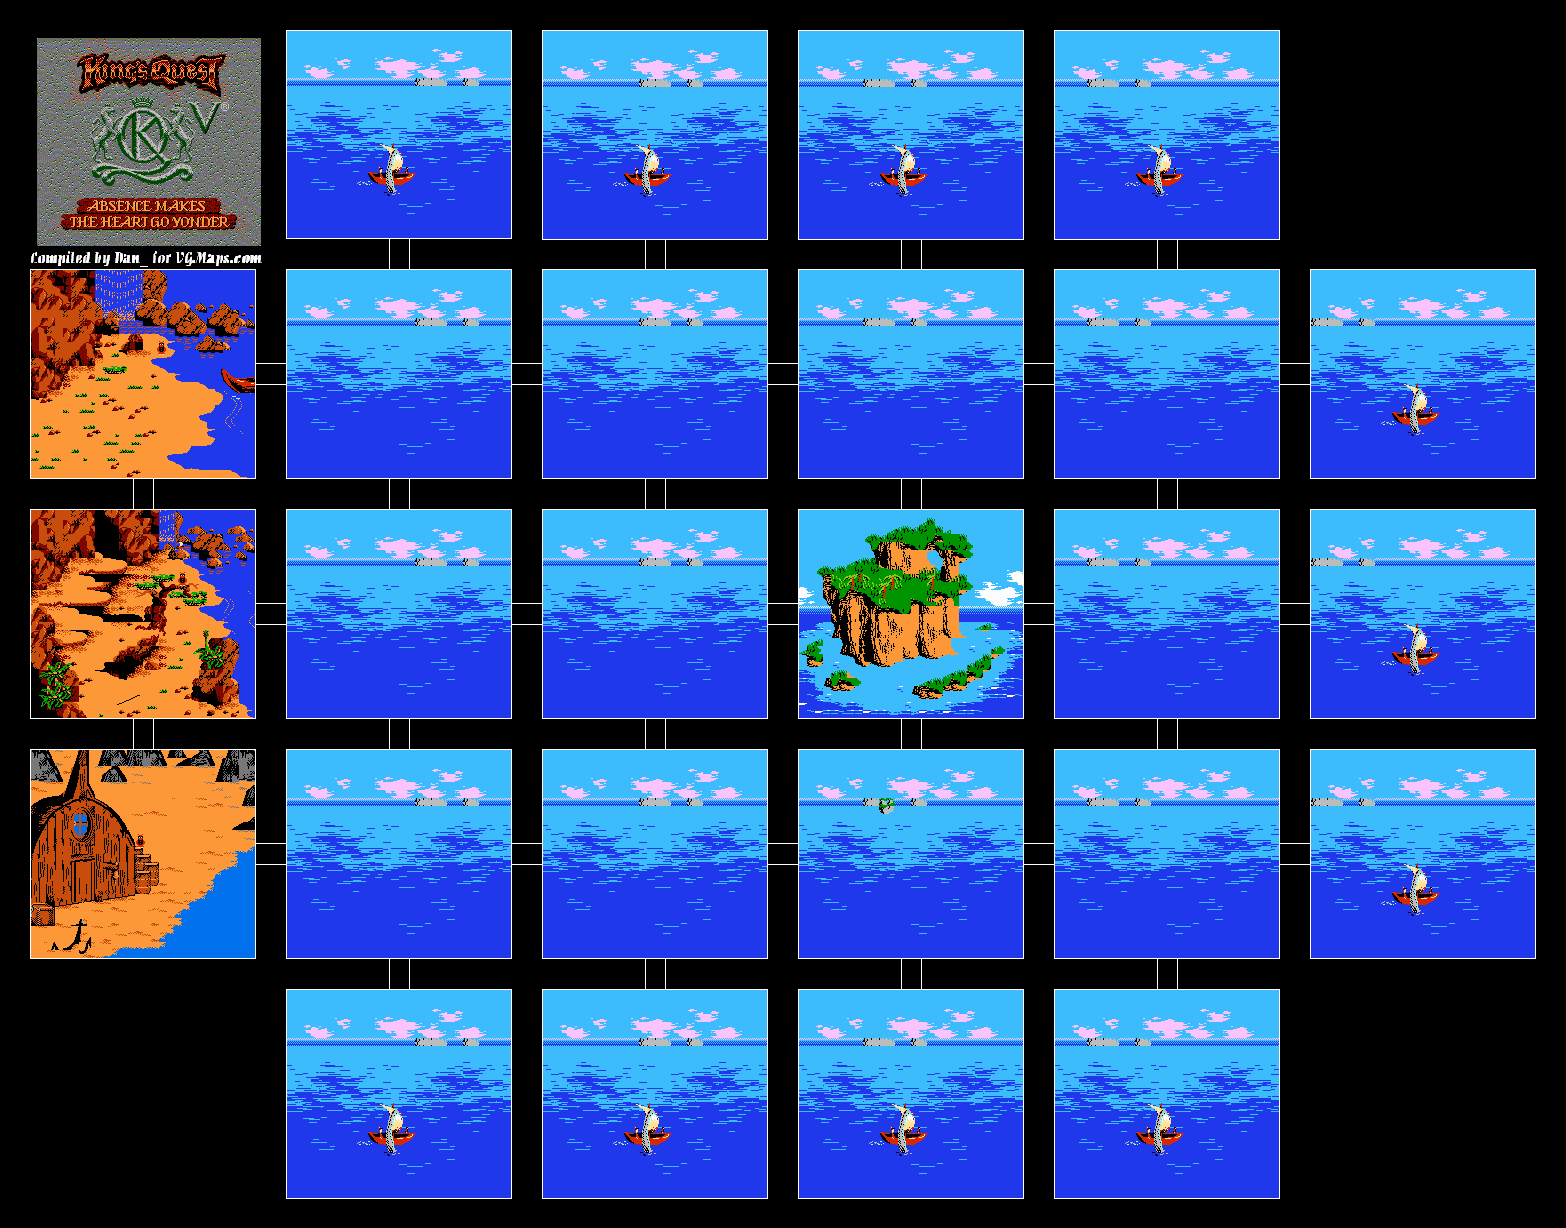
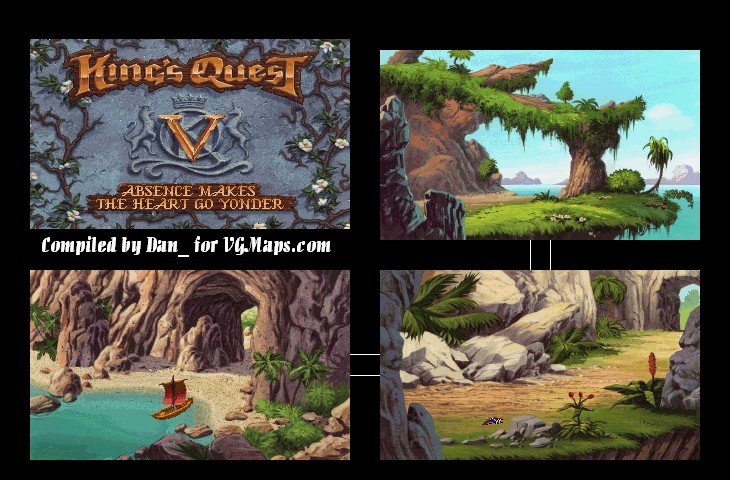
When you're finally sailing the seas, go down one screen and right three. Going anywhere else will kill you via giant squid. (Nice way to tell me I'm going the wrong way by having a giant squid grab my boat and drag it down underwater with me, game.) Before you can do anything, a harpy carries you and Cedric off to her sister. They introduce themselves as Minotta (the one who got you) and Cruleena (her sister). Quickly use the harp and you'll distract them - Minotta will take the harp and Cruleena will chase after her. Once they're gone, grab the shiny object next to King Graham - it's a fishhook. Go left, and pick up Cedric or else the game will become unwinnable. Graham will take him to the boat. Before you leave, pick up that flashing object. It's a shell! Failing to take the fishhook, failing to take the shell or failing to pick up Cedric - or any combination of any of the three - will make the game unwinnable later on.
Get back on the boat and keep going west. You'll end up back at the old man's house. Ring the bell and give him the shell. (o hay that rhymes) Now that the old man can finally hear you, he'll let you bring Cedric into the house and heal him with a few poultices. Then, he'll call out a mermaid named Pearl who will lead you to Mordack's island.
The ship, sadly, will crash once you're there, so once you're here, you won't be able to go back. Once you're there, pick up that yellow object near the wall before going in. It's a fish.
From the village, go west until you reach the inn. Go in, and the innkeeper will toss you in the cellar after his little buddy tries to rub you out. Since you just saved the mouse earlier, he'll eat at the ropes that bind you and free you. But don't leave just yet! Grab the rope before you do anything else, then use the cobbler's hammer on the door to break the lock. Go into the next room and open the cupboard with the hand icon to find a leg of lamb. Get it and go through the door on the left. It will lock back when you're back outside. DO NOT GO BACK INTO THE INN UNLESS YOU HAVE A DEATH WISH. IF YOU DO NOT TAKE THE ROPE, THE GAME IS UNWINNABLE. THE GAME IS ALSO UNWINNABLE IF YOU FAIL TO TAKE THE LEG OF LAMB.
Go back to where you met the poisonous viper and use the tambourine on the viper to frighten it away. We're now going to the mountains!
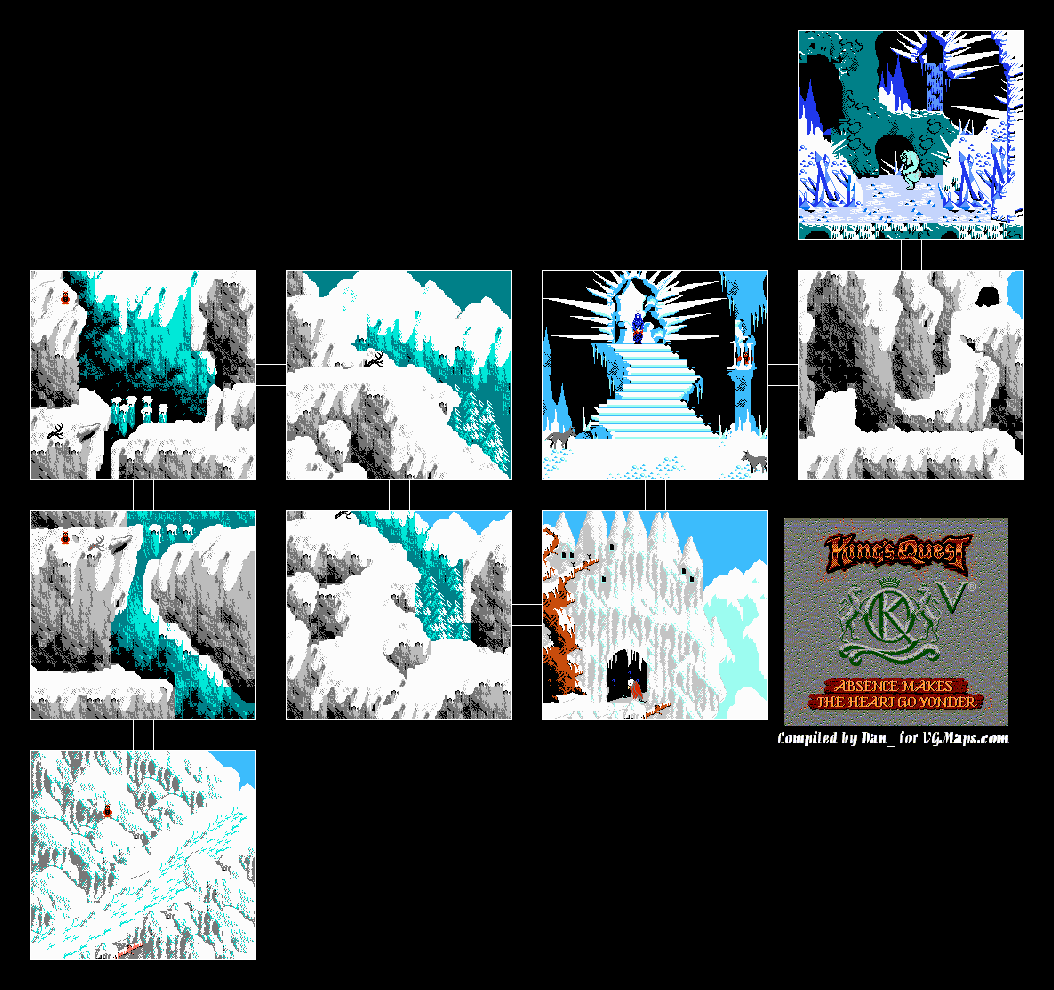
First things first - put the cloak on so the cold won't kill you. Select the cloak, then press A when the arrow is on Graham. You'll put it on.
Go right, and you'll reach a supposed dead end. Use the rope on the rock overhang poking out of the cliff side, then climb up by using the hand icon on the rope. DO NOT USE IT ON THE BRANCH NEXT TO IT, YOU WILL DIE.
When the game tells you Graham is getting hungry, eat the leg of lamb. When you're ready to climb the rope, use the hand on it.
The "M" on the screen-top menu (the eighth icon) gives you a password if you select Save. Write the password down and enter it when you decide to Restore your game. I can almost picture the AVGN's rage over this. You also have two save files that last as long as the power is on, and you can use these to quickly go back in case you mess anything up.
Next is the columns between the cliffs. Take the upper path (the lower path kills you) and move the arrow below Graham when you're almost at the other side to make it to the other side. Go right.
A wolf will kidnap Cedric on the next screen. Use the sled on the slope to go after him!
Go right and talk to the eagle. He's hungry and cannot fly. Give him the rest of the leg of lamb, then he'll thank you before flying off. IF YOU DO NOT DO THIS, YOU WILL MAKE THE GAME UNWINNABLE. Go into the cave, and you'll displease Queen Icebella. Play the harp by using it on Graham to stop the wolves and move Icebella's heart into freeing you. She wants you to remove a yeti from her crystal cave before she can release you. Sir Greywolf will show you to the cave.
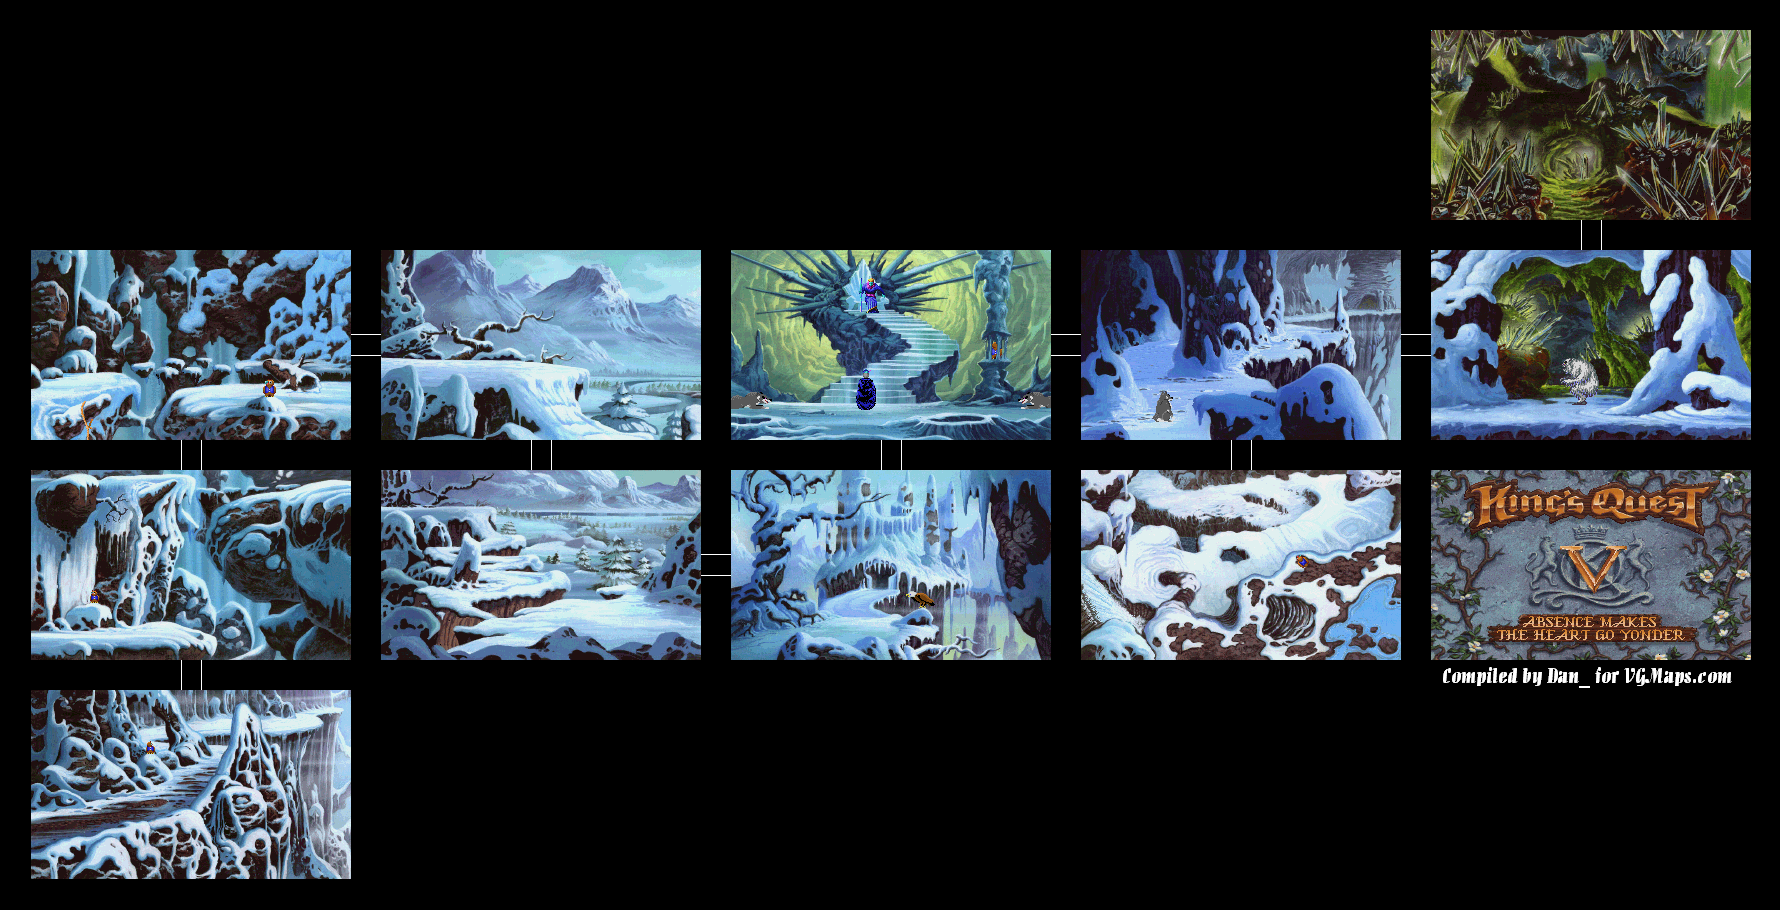
On the next screen, go to the cave in the upper-right corner, and be careful not to fall over the edge. To keep from dying, hug the wall.
Once you're in the cave, select the pie. Throw it at the yeti and he'll fall over the edge. Go up to the crystals blocking the doorway in the center of the screen and use the cobbler's hammer on it. You'll get a crystal that will come into play later. IF YOU DO NOT TAKE IT, THE GAME WILL BECOME UNWINNABLE.
Go back to Sir Greywolf. Queen Icebella, now knowing who you are, will hold her promise and release you. Greywolf will show you out again and ask you to follow the path east. When you take it, a two-headed roc gets you. You will end up in the two-headed roc's nest. Pick up the shining object next to you - it's a golden locket. IF YOU DO NOT TAKE IT, THE GAME WILL BECOME UNWINNABLE. Since you fed the eagle, he'll show up in the nick of time to rescue you and drop you off in yet another part of Serenia - his home, perhaps?
Go two screens to the right, then go up. Go right, and then you'll meet the Dark Witch, who tries to zap you with a spell that turns you into a frog. Since you're wearing the amulet, it (obviously) fails. Talk to her, then go up and then left. She'll follow you all the while. When you're at the house, use the brass bottle on the witch, and she'll open it. This is why I told you not to open the bottle - the genie comes out and traps her inside for 500 years. Take care not to fall off the sides of the bridge as you enter her house. Go to the lantern hanging off the tree in the room to find a small key. Open the trunk below it to find a small spinning wheel. Go to the drawer to the left and use the hand on it to get three emeralds.
Leave the house, then use the key on the door that's one screen to the right and one screen to the north. Take the right path, as taking the left will expose you to spikes that will kill you. It's the golden heart! Take it, then go two screens to the left, then go north. . Use the honeycomb on the eyes in the tree. You'll squeeze the honey out on the ground, leaving you with a piece of beeswax. Use the emeralds on the eyes, and on the third emerald you'll catch the elf. He'll show you the way out by talking to the rock that blocks your path to the left (it's a living creature that looks like a rock, strangely - a tiny golem, perhaps?) and taking you to an underground chamber.
King Graham will take the pair of shoes that are in front of the elf, then he'll climb through the passage on the right and push a log out of the way. You're out of the Dark Forest! Go left and give the golden heart to the weeping willow. She'll turn back into a human princess and drop her harp before leaving with her husband-to-be. Take it.
To the west is where Madam Mushka's wagon is located. It is now gone, and if you come here now, the wagon will be gone and a tambourine will be on the floor. Take it.
East of the anthill - or west of where you found the young man looking for his fiance - is a gnome and his son.. Talk to the gnome sitting down. He'll tell you that he made the marionette for his grandson and it will cost a pretty penny if you want it. Give him the spinning wheel, and he will not only thank you for taking the spinning wheel from the Dark Witch, he will tell you that wheel is able to spin straw into gold - a reference to Rumpelstiltskin. In exchange for the spinning wheel, you'll get the marionette.
If you go down from here, you'll see the Inn. DO NOT GO IN HERE YET. YOU WILL DIE. Head back to town and give the marionette to the toymaker. You'll be able to get the sled in exchange.
Go back to the shoe cobblers and give the man on the right the shoes you got from the elves. He will remark that the shoes are of such fine quality that he can retire off the sales of the shoes. In exchange for the shoes, the old man will give you his cobbler's hammer.
If you go south from the screen west of the beehive, you will be stung by a scorpion and you will die.
Go west until you reach an oasis two screens in. Switch to the hand icon, then press A on the oasis to drink from it. Sadly, the "Nectar of the gods!" line is edited out due to Nintendo of America's policy on religious reference in games published for the system. You will always want to drink from an oasis every so often; otherwise Graham will die of thirst. If you ever see vultures show up, you'll know you went too long without water. Thankfully, the game will warn you beforehand. Take the warning seriously.
From here, go north two screens until you hit a wall, then go west two screens. Hide much of Graham behind the nearby rock as much as possible, or else you will die. A bandit will show up. You'll watch him open the door, go in, grab something and leave. Drink from the small pool of water near the rock (you'll need to do this to keep from dying from thirst in the desert area), then go east one screen and south three. On the way to the oasis, you will see some sun-bleached bones and what looks like a boot. Use the hand icon to grab the boot. Go south one more screen to find another oasis. Drink the water here.
Go south one screen, then keep going west until you reach a set of tents. You'll see a guy show up. It's that bandit, and he's been stabbed to death. If you go to the pot, you can drink some more water; I definitely recommend it here. Go into the second smaller tent and grab the staff (don't wake up the guy that's sleeping, and don't take too long!), then get out. If you enter the big tent, you will die.
Head one screen east, and keep going north until you reach an oasis. Drink from the oasis. Keep going north until you reach the rock wall again. From there, go one screen east to the temple. Drink from the nearby puddle, then go north into the temple. Use the sceptre you just picked up on the door, and the scepter will break. Grab the shining coin and the brass bottle to the left, then get out. If you take too long, you will die. If you leave without taking both items, you will make the game unwinnable.
Leave the temple, go two screens east and two screens south. Drink from the oasis here. From here, keep going east, and you'll be back at the beehive.
North of the anthill is the fortune teller's wagon. By approaching the wagon, the man standing guard tells you it will cost you one gold coin to see Madam Mushka. Thankfully, we found a gold coin in the temple, so give it to him. You'll go in to meet Madam Mushka and find out that both the castle and the royal family have been miniaturized, and that Mordack is the brother of Manannan - the main villian from King's Quest III: To Heir Is Human. Alexander turned Manannan into a cat in that game, and Mordack wants Alexander to change him back as he casted the spell and is the only one who can reverse the spell. Madame Mushka then gives you a magic amulet that protects you from evil magic. You'll leave after that. Select the amulet from your inventory, then press A after you put the arrow on King Graham. You'll automatically put it on. Do this as soon as you get it, you'll definitely need it for later.
From here, head to the inn and save your game. Go east to the bakery, stand on the right side of the screen, and get the boot you found in the desert from your inventory. A mouse will be running to the right, and a cat will chase after it and eventually catch it. Throw the boot at the cat before that happens. The mouse will thank you and tell you that he will eventually pay it forward later. If you do not do this, the game becomes unwinnable. If you fail to do this, re-load your game and try again until you do.
From here, head back to where you met the viper and go west. Talk to the young man sitting on the log. He'll tell you about his fiancee, who has gone missing. He thinks the old witch in the Dark Forest is responsible for her disappearance. Go up from here, then go to the left and talk to the weeping willow. Turns out the tree is the man's fiancee, and the old witch did get her after her husband-to-be rejected the witch's advances. You have to find her heart (which has been turned to gold) so she can become human again.
This is a pretty interesting situation for a console. It's a weird little gem on the PC, but for some strange reason it was ported to...the NES?!? And Konami published it? Oh, this is intriguing, indeed...
Believe it or not, this isn't the first time a King's Quest game appeared on a console. The first game appeared on the Sega Master System.
The Story Begins
The game begins with an evil wizard appearing out of thin air near the Castle of Daventry. He raises his arms and lightning surrounded the castle. A dark cloud causes the screen to alternate between light and dark as the castle disappears...and the wizard with it!
Meanwhile, King Graham, fair ruler of the kingdom of Daventry and the patriarch of the royal family, is out for a walk when this happens (adventurer's cap and all) only to return to his home and find it missing. A talking owl named Cedric flies out of a nearby tree and tells you that the evil wizard Mordack has cast a spell on the castle, causing it to disappear. With a sprinkle of fairy dust, he takes you to Serenia, where he and his master Crispinophur (Crispin for short) live, to get to the bottom of this.
You'll land with a dull thud in the shallow water, near Crispin's residence. You and Cedric will both go inside. Crispin will tell you more about Mordack, then he gives you a piece of magical white snake which lets you speak to the natural and animal world's inhabitants. He also gives you an old wand before he sands you on your way.
Unlike the PC diskette version, where the wand was used to cast spells to get past the copy protection (which you'd need the manual for), the wand doesn't come into play much.
Once you leave the house, Cedric recommends visiting the town first. After this, you finally have control of the game. The Control Pad will let you move Graham around. Pressing B opens the menu, which will allow you to touch and look at items, speak to people, get a password, create a temporary save file and look at and use inventory items. If you select the hand, mouth or eye, move the mouse cursor onto something and press A, you can see if you can interact with it.
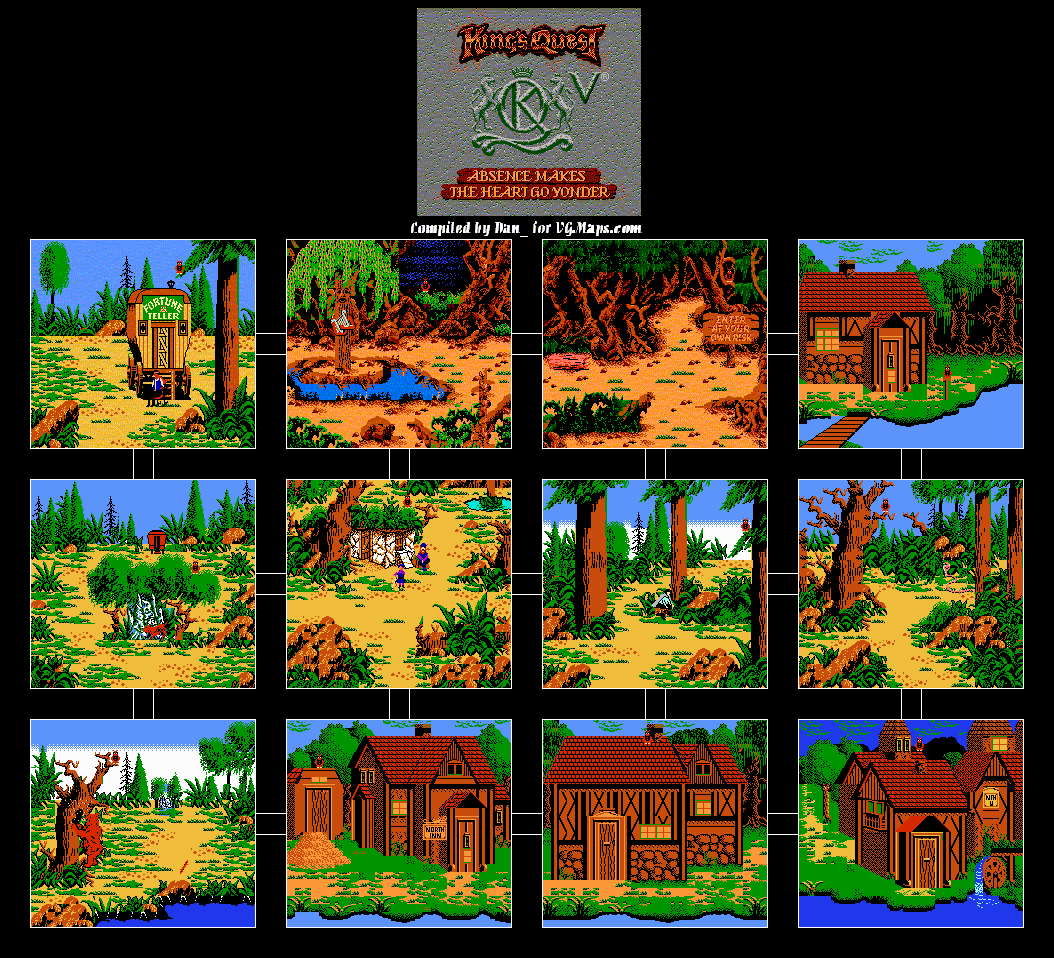
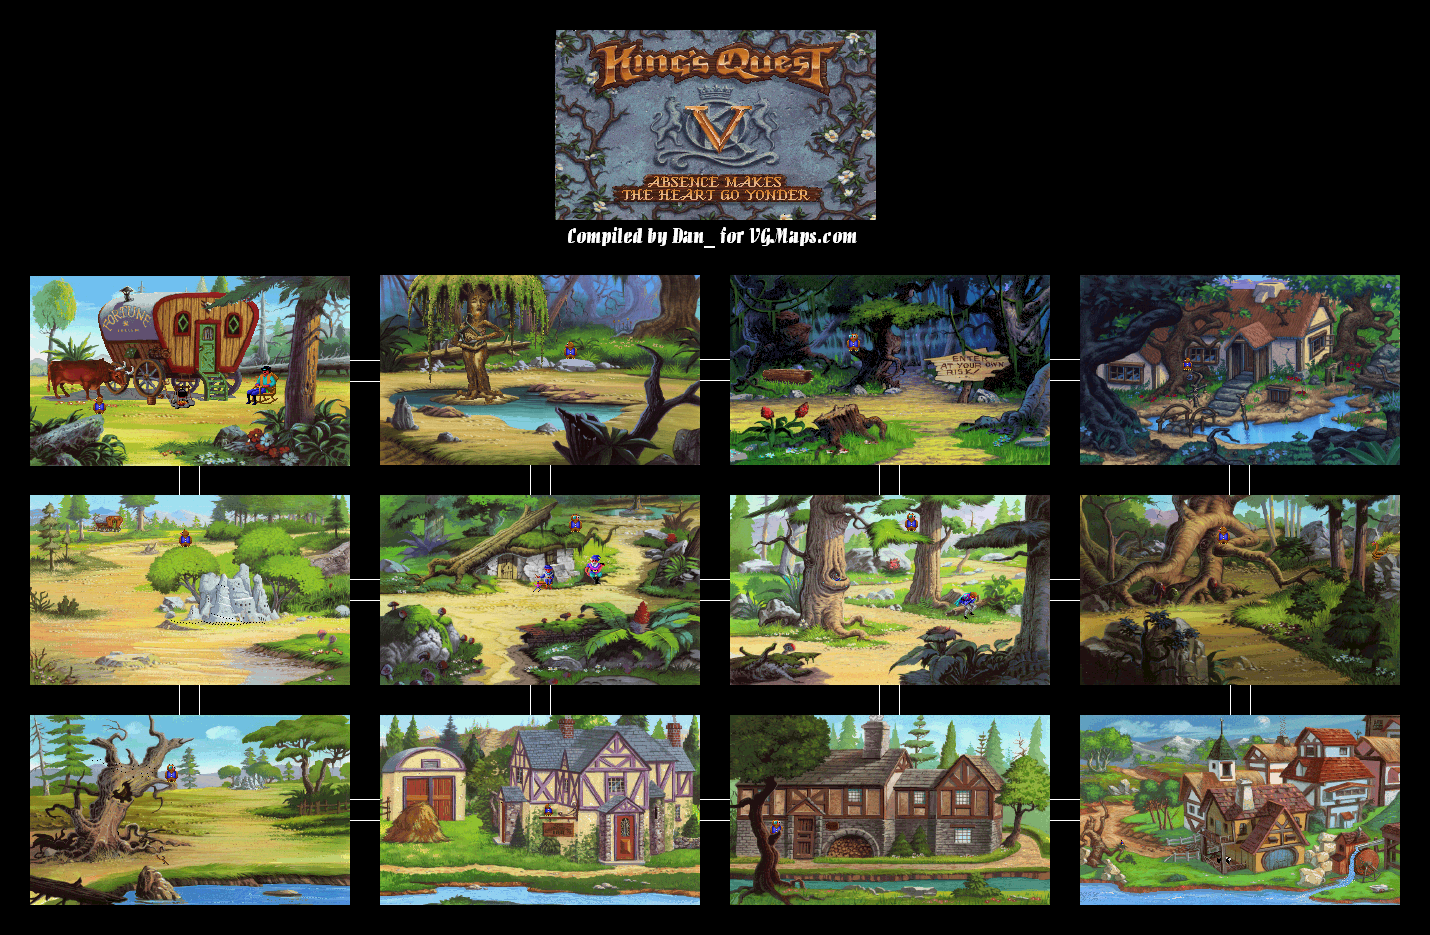
Go down (taking the bridge as you go), and you'll come to a fork in the road. The path to the right has a poisonous snake, and if you touch it, you will die. Go down once again from here, and you'll reach the town. Take the light green bath between the buildings and you'll enter it. Talk to the guy near the entrance that's standing behind the wagon, and go through any of the doors and head back out. . There will be something shining on the ground near that wagon near the entrance, and if you use the hand on it, you'll pick it up. It's a silver coin, and it'll come in handy later. If you use the hand on the barrel, you can grab a fish. This (like all the items you find in the game) also comes in handy a little later on.
The first door is a pair of cobblers. You won't be able to do anything here...yet.
The second door leads to a tailor. There's a blue cloak that you can get, but you won't be able to get it right away. If you examine it with the hand, you'll notice it fits you perfectly.
The third door is the toymaker. Talk to the toymaker and examine the sled with both the eye (look) and the lips (speak).
Leave town the same way you came in and go left. Inside the building is a baker. Give him the silver coin to receive a pie. DO NOT EAT THE PIE; YOU WILL MAKE THE GAME UNWINNABLE. To get it, select the backpack (the seventh icon on the screen-top menu), then select the coin from your inventory. The silver coin will then appear on the sixth slot in the screen-top menu; select that slot, then move the arrow and press A on the baker. Congratulations, you have a pie.
To the west of the baker is the inn. Don't go in here yet; YOU WILL DIE. Instead, go another screen west. You'll find a bear. Don't even go near it; instead, give it the fish, and it'll eat it and run away. Queen Beetrice, the queen of the hive, will let you take a honeycomb from the hive. Use the hand on the hole in the tree to get it, then grab the stick on the ground. Go north, and throw the stick to the dog near the ant hill to make it go away. You'll meet King Antony the Great, who will offer his help when you need it again.
Go back to the inn, then use the hand icon on the nearby haystack. Now that you've saved King Antony, Antony and his colony will find a golden needle inside the haystack. From here, head back into town and go to the tailor. Give the tailor the golden needle, and you'll find out that he had been looking for the needle and that the innkeeper is a jerk. You'll then be able to get the cloak in the store in exchange for the golden needle.
There's nothing else that we can do for now. From here, we'll be heading to the desert.
Notice that all of your icons except for options and inventory are greyed out. You won't be able to use them here! It's time to fight with the wand!
After taking out Cedric, Mordack changes into some blue flying thing. It's like a chameleon with ant legs, beetle pincers and bat wings. It's a chamantlebat.
Use the wand on Mordack. You'll get a choice between the four symbols you saw earlier. You can change into either a mongoose, a rabbit, a raincloud or a tiger.
Change into the tiger and you'll corner Mordack. It won't last long as Mordack changes into a humongous dragon, making your tiger form useless.
Change into the rabbit. It's the only form nimble enough to avoid the dragon's attacks. This leads Mordack to keep missing until he decides to become something smaller yet much more dangerous: a cobra. If you let him squeeze you, it's over. Talk about a real Anaconda Vice!
Change into the mongoose. This gives you a fighting chance as mongooses are the natural enemy of snakes. Mordack will then change into a circle of fire that envelops you.
Change into the rain cloud. This will extinguish the fire, killing Mordack for good and vaporizing him into the atmosphere. He'll never harm anyone ever again.
After all of this, Crispin finally appears. TUrns out Graham's son Prince Alexander was the only one who could change Manannan back to normal, and Mordack miniaturized the castle out of revenge and to try to make it possible. The rest of the royal family is restored to normal size. Princess Cassima is introduced to the royal family, and Alexander asks for permission to see her in her home of the Land of the Green Isles. (This basically kickstarts the events of King's Quest VI: Heir Today, Gone Tomorrow.) Cedric is restored to good health, Cassima makes it back to the Green Isles and everyone returns home, castle included and in the proper size. You did it!
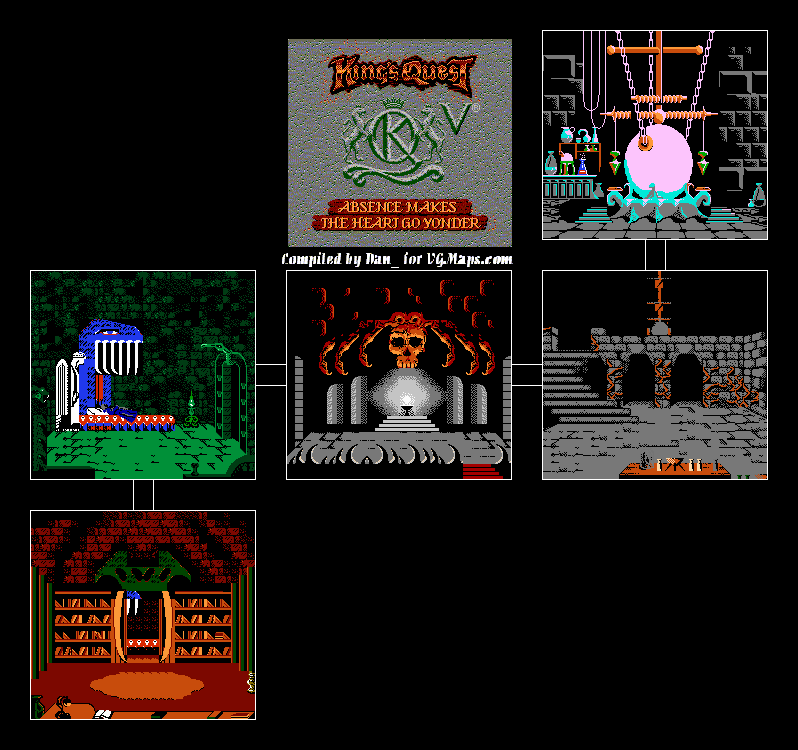
Go back into Mordack's bedroom and take the wand at the bedstand. Go to the right and enter the room to the right of the second story foyer. This is Mordack's laboratory.
You won't be able to do anything for the rest of the royal family yet. Go up the stairs and go to the odd machine at the right. There are two platters on this device. Place Mordack's wand on one end and Crispin's wand in the other. From there, place the moldy chase inside the vat of foul liquid.
YOU MUST BE QUICK ABOUT THIS. IF YOU ARE NOT, MORDACK WILL SHOW UP AND YOU WILL DIE.
Once you throw the moldy cheese in, watch this thing go. All of Mordack's wand's power will transfer to Crispin's wand. Take it.
Mordack will show up. He will try to kill you just like earlier in the video, but Cedric shows up right out of the blue telling you he's heard from Crispin. Cedric unknowingly flies right into Mordack's line of fire, and Cedric gets hit instead of Graham. The final fight is about to begin!
We may be imprisoned, but there's still a way out.
Not long after you get locked up, Cassima comes out through the wall and bails you out. (Dink is the black golem-like creature we saw, while Sam is a yellow bug-like creature that you may or may not see in the labyrinth. If Sam shows up, you'll definitely hear him coming.)
If you use the eye on the small mousehole in the center of the north wall, you'll find a moldy piece of cheese. Take it by using the fish hook on the mousehole. Now you can leave this dungeon by using the hand on the opening Cassima made. From there, follow Cassima through the labyrinth.
When you travel through the first floor this time, watch out for that blue alien creature! It will If you get captured again, you'll be stuck in the dungeon for good.
To the east of the organ is the dining room. There's nothing of use here, so go south.
You'll see two doors to the west. You may see a black cat, too. The cat is Manannan. IF YOU INTERACT WITH THIS CAT, MORDACK WILL BE ALERTED TO YOUR PRESENCE AND YOU WILL DIE. If you see this cat, move back to where you were and go back. The cat should be gone.
If you see the blue alien, you'll want to use the bag of peas on it. The alien will slip on the peas and fall to the floor. You won't have to deal with that thing ever again.
You will still keep the bag the dried peas were in. You'll need this later.
The bottom door to the left in the area south of the dining room leads to the foyer.
To the left is Mordack's bedroom. There's not much to do here.
If you see the black cat, you now have a way of dealing with it. Use the fish on the cat to distract it, then use the empty pea bag on it. You'll get rid of the cat for good.
To the south of the bedroom is Mordack's library. Use the hand on the open book on the desk in the foreground, and Graham will read it. While it seems unnecessary and unusable now, it will allow you to do something later on.
You're done here, but don't leave. Instead, stay out of sight from the bedroom. Hide near one of the walls next to the library entrance. Mordack will show up, then go to his bed and rest.
You'll be on the first floor. Use the hand on the cupboard doors to the left to find a bag of dried peas. Take it.
To the north is a woman scrubbing a floor. If you try to talk to her, she'll back away. Give her the amulet. If you examined it with the hand, you'd notice (but never see) a picture of an older couple.
The girl introduces herself as Princess Cassima of the Green Isles. An evil vizier sold her to Mordack's Castle as a slave for refusing to marry him (and her father agreed with her, too). She tells you that the bottle containing the royal castle is in Mordack's laboratory, and she also agrees to help you in any way she can.
To the east is a giant organ. DO NOT GET NEAR IT. YOU WILL DIE. If you go to the right, there's a chance a blue alien creature finds you, grabs you, takes you through a portal and puts you in the dungeon. This blue creature shows up at different locations randomly. You'll want to be captured at least once, if only to get one of the items necessary to beat the game.
To the left of the stairs leading to Mordack's castle lies a dead fish. Take it.
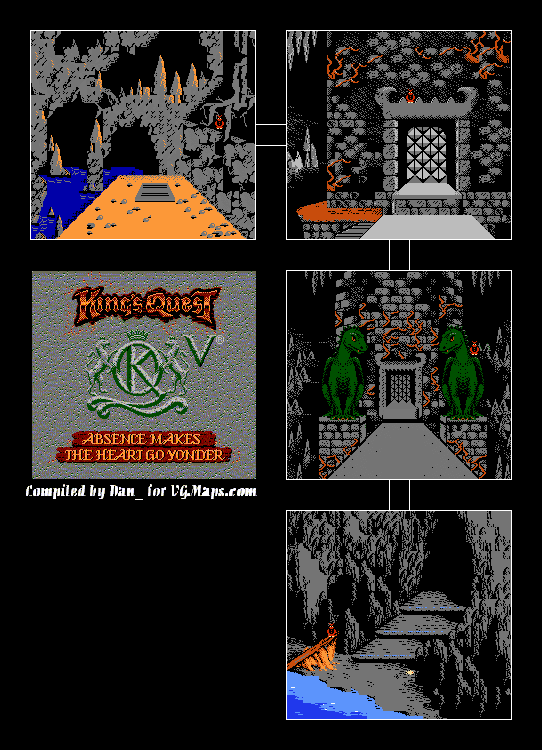
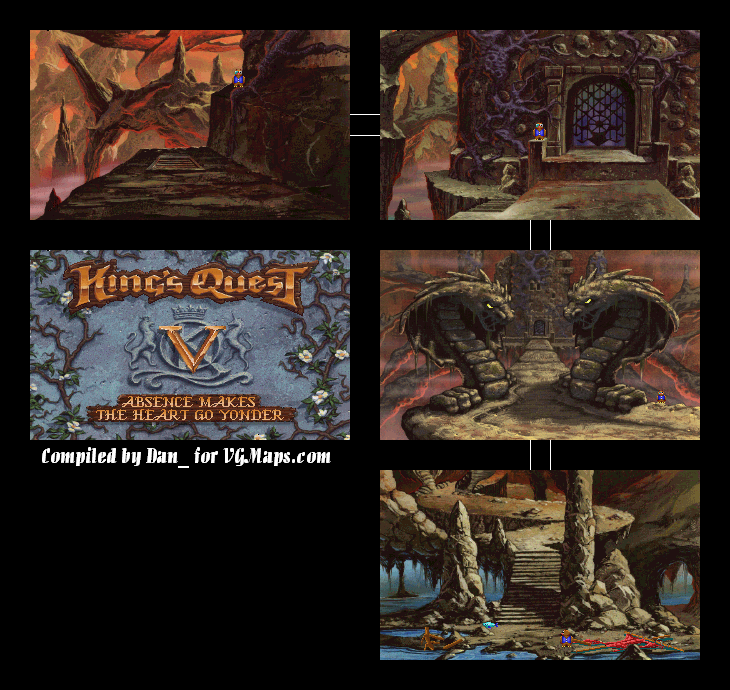
To the north are two foreboding snake statues. IF YOU WALK UP TO THEM, YOU WILL DIE. Instead, use the crystal on them. The crystal will shoot their magical energies back, destroying the front door's defenses.
To the north is the front door. IF YOU WALK UP TO THE GATE, YOU WILL FALL INTO A PIT AND DIE. Instead, take the path to the left that winds around the castle. Use the iron bar on the grate in the floor. You're in!
Guess what? It's a maze. This maze changes perspective as you change direction. One part of the maze will look a certain way if you enter it from the north, yet will look different if you approach it from the south.
To put it more plainly, if you go south in one room, south will be directly in the next. If you went to the same room facing the east, east will be directly upward. It will be the same room, but the perspective will be different because you entered it from a different direction.
As a result, this is probably the hardest part of the game, bar-none. I bet this part was hellish to program for Sierra. Just like in the NES port walkthrough, I'm using words like "up" instead of "north" just to make this as simple and un-awkward as possible. Do not pay attention to the perspective. Follow my instructions to the letter.
For this part go down, left, left, left, right, left, right, left, up, right, and left.
There is a golem here. (I think that's what it is.) IF YOU GET NEAR IT, YOU WILL DIE. Instead, give it the tambourine. It will take it, play with it and walk off. It will leave the hairpin from its head. Take it.
Now, go down, right, up, up, and right. There is a door.
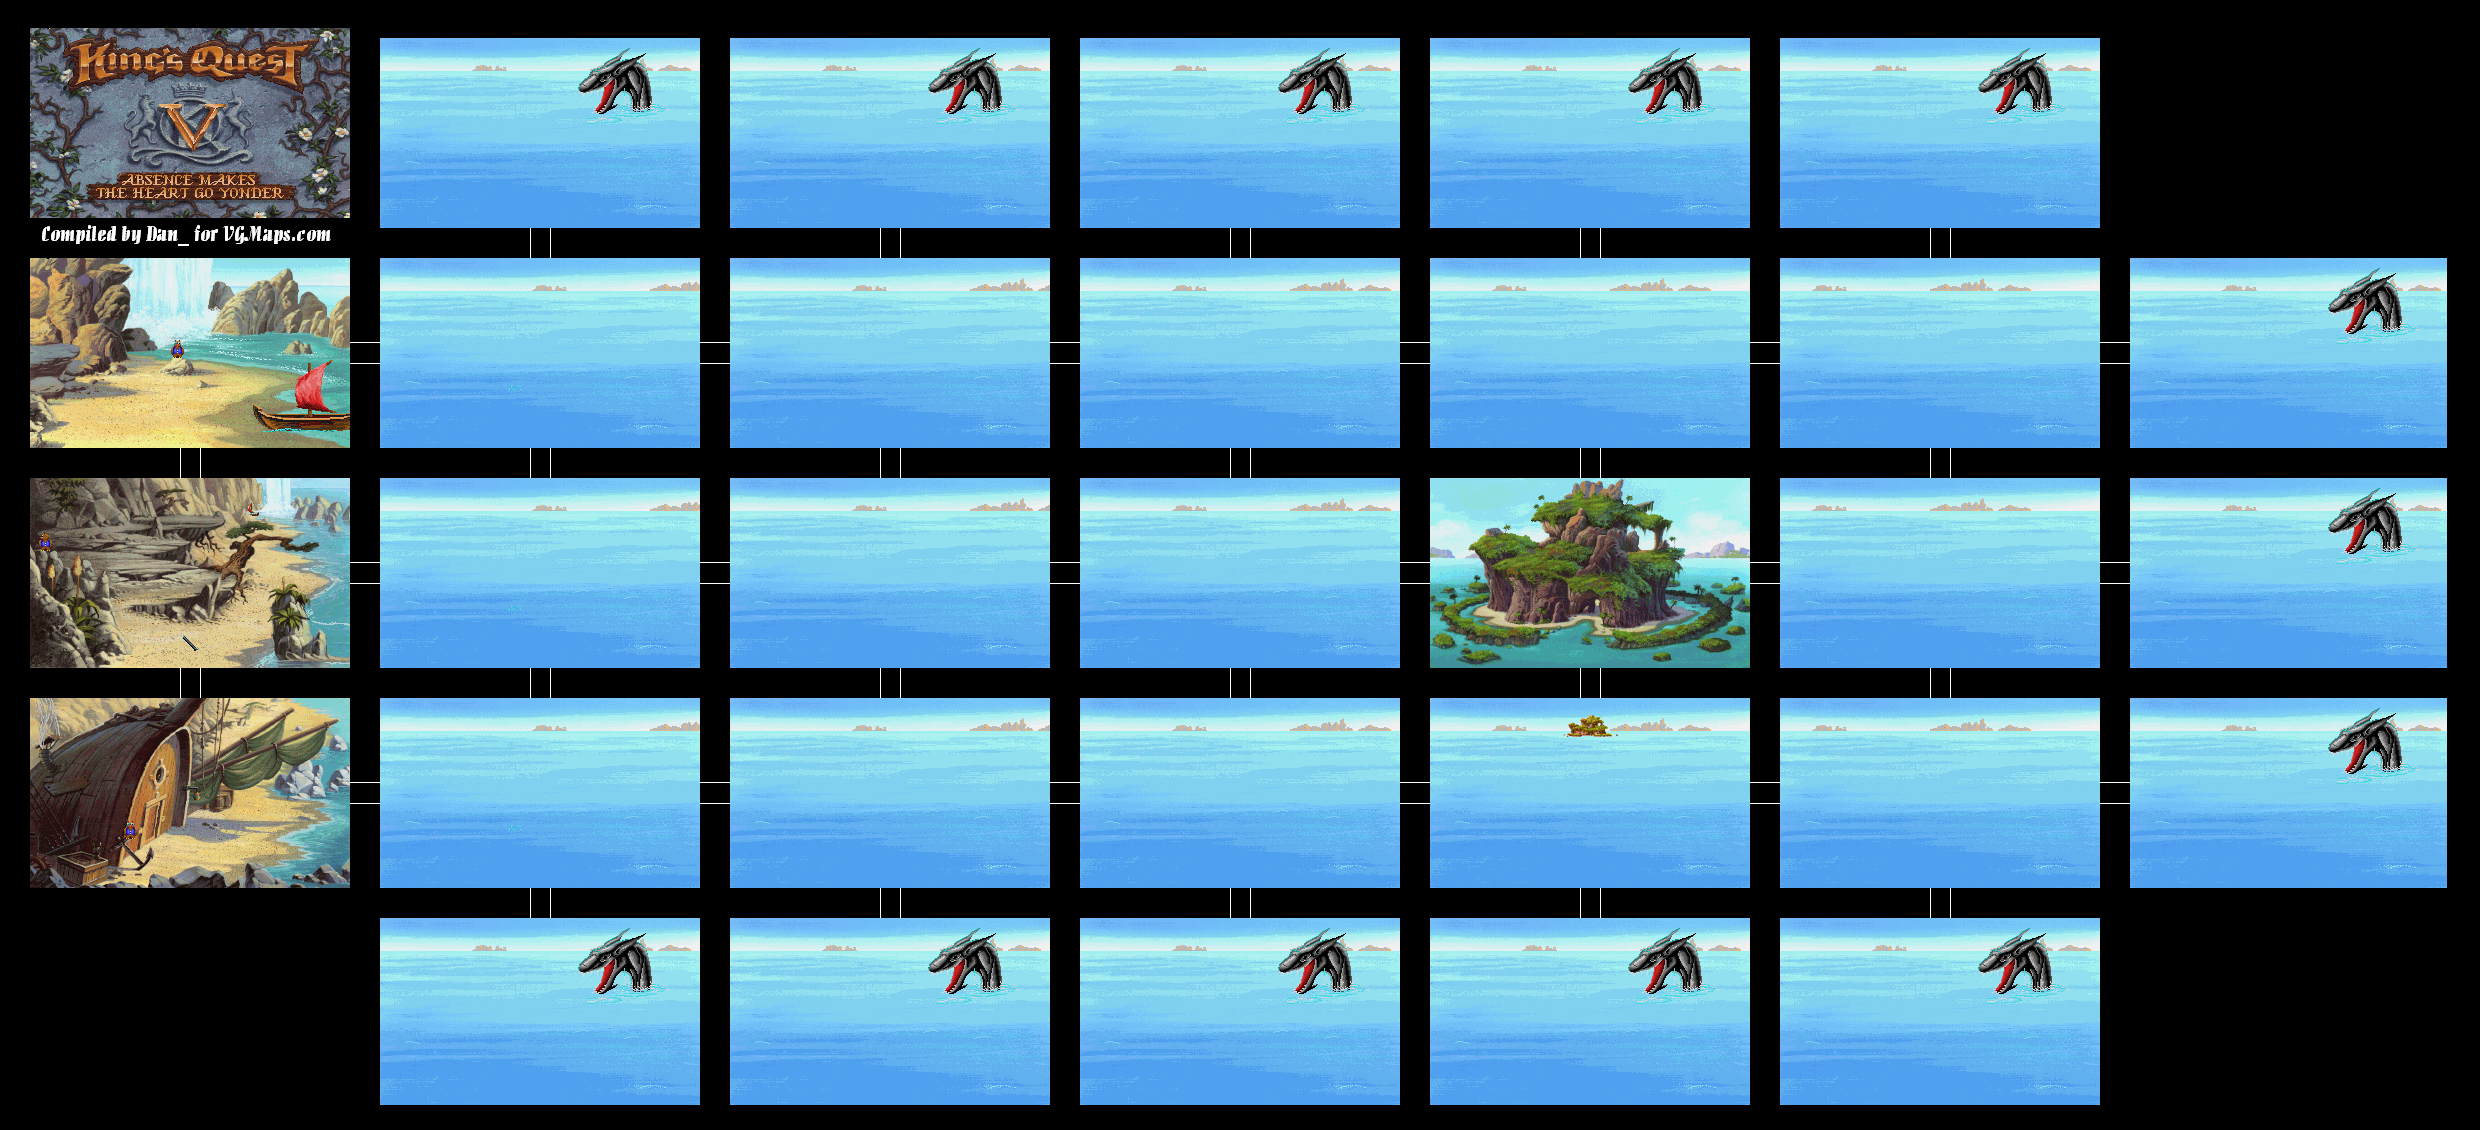
You'll now be at sea. Go one screen south and three screens east. The walk icon moves the boat like it normally does. (You can do this the other way around if you wish.) IF YOU VENTURE TOO FAR OUT INTO SEA, A GIANT SEA CREATURE WILL GET YOU AND YOU WILL DIE.
You'll be picked up by a few harpies. Mordack's island, this is not. IF YOU LET THEM FINISH THEIR ARGUMENT, YOU WILL DIE. Instead, play the harp. One of them grab it from you and fly away, and the others will follow suit. At least you're not harpy food.
You may have noticed something sparkling next to Graham. Use the hand on it. It's a fish hook. Take it.
Go south from here. You'll see Cedric on the ground wounded. Use the hand icon to pick Cedric up. Go left and you'll be at the boat. There is a shiny glint north of the boat. Use the hand icon on it. It's a large conch shell. Take it.
Get back on the boat. Go west until you're on the beach again. You'll be back at the old man's house. Ring the bell, and give the conch shell to the old man when he comes out. He'll be able to hear you now, and you'll be able to heal Cedric.
The old hermit also calls for Pearl, a mermaid. She takes you directly to Mordack's island, where the boat will crash. No turning back now...
You're done here. Approach Sir Greywolf (speak to him if you want), and he'll take you back to Queen Icebella's throne room. She keeps her word, and lets both you and Cedric go. She also knows who you are now, and wishes you luck in your quest to find the evil wizard Mordack. Sir Greywolf escorts you to the exit out of the mountains.
If you missed the crystal, you can go back to the cave and get it here. Since we got it in the last entry, however, we won't have to. The exit out of the mountains is to the south.
The next screen has an interesting top-down perspective. Keep to the ground, and don't move towards the cliff edge or the hole in the middle of the ground. Move towards the hole next to Cedric, and Graham will climb up to where Cedric is.
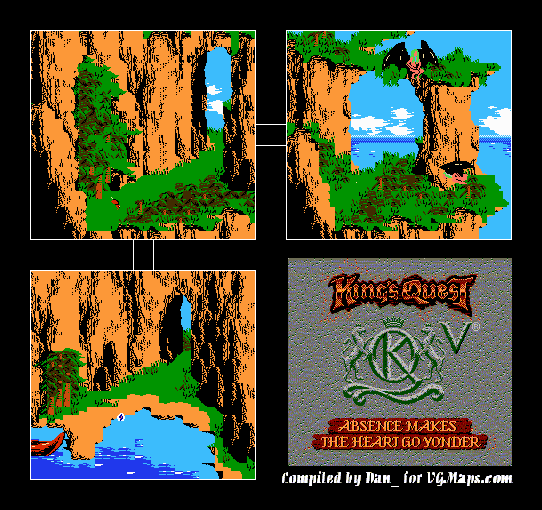
When you do that, though, you'll be picked up by a giant roc! The roc will take you up to his nest, which contains a giant egg!
There will be a glistening gold glow next to Graham. Use the hand on it to pick it up, and do this immediately. It's a locket! This might just come in handy.
You don't have much time, however, as the giant egg hatches almost as soon as you're dropped into the nest. If you didn't feed the eagle before meeting Queen Icebella, you're screwed. Thankfully, we did, and the eagle returns the favor by rescuing us from that two-headed baby roc! We also lose the cloak, as the roc gets its beaks on it as the eagle rescues us.
You'll be dropped off at a beach, and the eagle flies off. And how did Cedric get here if he said he was looking all over for us?
Anyway, use the hand on the iron bar to pick it up.
There is a boat to the north, but to the south is a half-buried ship that has been converted into a house. Ring the bell, and an old hermit will come out of the house. When Graham speaks to him, however, the hermit can't hear him. If you ring the bell again, you'll find out he's almost completely deaf.
Go to the boat. IF YOU USE IT RIGHT AWAY, YOU WILL DROWN DUE TO A HOLE IN THE BOAT AND YOU WILL DIE. Instead, use the beeswax to plug up the hole. Now you can get in.
IF YOU WALK FROM HERE, YOU WILL DIE. Use the sled on the slope instead. You'll land with a thud - and a broken sled - on the other side, but at least you're not dead.
Go to the right, and you'll come across a castle. You'll also come across an eagle. If you talk to him, you'll find he's hungry. Hand him your leg of lamb. He'll eat the rest of it. I think it's safe to say that this eagle will help you out, too.
When you approach the castle, you'll be surrounded by two wolves, who escort you inside. You'll meet Queen Icebella, the ruler of this icy domain. She decides to put both of you to death for trespassing into the mountains. (In the NES version I covered a while back, the death penalty was replaced with life imprisonment in a gilded cage.) Use the harp on Graham before her two wolves tear you apart. The beautiful music causes her to spare you...for now. She asks you to go further into the mountains and take care of a yeti in the nearby Crystal Cave. If you can do it, Cedric will be freed and you'll be able to continue on your journey. Sir Greywolf will escort you over to the cave. From there, you're on your own. Be sure to use the left path, and then go to the cave from there.
You'll meet the Yeti on the next screen...and he's coming straight for you. The only thing you can use against the Yeti is the custard pie. Graham will hit the Yeti in the face with the pie, and the Yeti will fall over the edge of the cliff!
You now have full reign of going into the cave. Do it. Use the hand on the crystal in the center of the room. Graham will try to get a part of the crystal, but it won't budge. This is where the cobbler's hammer comes in. Use the hammer on the crystal, and Graham will be able to break part of the crystal off and take it with him.
Well, we're still in the inn. We've stumbled across the kitchen on our great escape. First things first. IF YOU GO TO THE RIGHT IN THE ROOM LEADING TO THE CELLAR, YOU WILL DIE.
Use the hand on the cupboard. Graham will find a nice roast leg of lamb. Take it. You're definitely going to need it later. Go through the door on the left. You'll be back outside. DO NOT GO BACK INTO THE INN UNLESS YOU HAVE A DEATH WISH.
Go back to the intersection with the snake and use the tambourine on the snake. The tambourine will scare the snake away! You can now go into the mountains.
On the first screen, put on the cloak so Graham doesn't die from hypothermia. You can do that just like you did the amulet: just select the cloak from the inventory and click on Graham with it.
Don't deliberately walk over the edge, otherwise this happens.
On the second screen, you'll need to use the rope to climb up. DO NOT USE THE ROPE ON THE TREE BRANCH. YOU WILL DIE. Instead, use it on the cliff edge to the right of it. It's a lot sturdier, and is in no danger of coming loose and sending you to your doom.
You'll eventually get a message telling you that Graham is hungry from going up the mountain. Use the leg of lamb on Graham so he won't die of hunger.
On the third screen, you'll have to leap from one narrow platform to another. Use the hand icon on the platforms, otherwise you'll walk over the edge and die. The center platform at the front will kill Graham if he leaps onto it. All of the rest are safe. Use the ones in the back, then leap to the last one in the front. You can now leap to the other side. You can use the walk icon on the log to cross it, which isn't that hard, thankfully.
When you head to the left, a wolf appears and kidnaps Cedric!
Go east to the baker. You'll soon see a cat chase after a mouse as you move to the right. Throw the boot at the cat. The mouse will thank you and offer his assistance in the future. Hope you saved your game at this point, because if you don't save the mouse in time, the game is unwinnable. (Which is weird, considering that the NES version lets you try again multiple times. At first, I thought the PC version would do the same thing, but if you've watched PushingUpRoses' review from earlier, you'll find out that it does not.)
With that done, let's head back into town. Go back to the tailor and give him the golden needle. He'll let you have the cloak. Giving the marionette to the toymaker will allow you to get the sled in return. Giving the elf's shoes to the shoemaker's wife will reward you with the cobbler's hammer.
Well, we've got all we can from trading one item in exchange for something else. All that's left is going to the inn. Yeah, we're returning there...but this time, we're a lot better prepared.
Go into the inn and talk to the innkeeper. You'll be knocked out by one of the guys at the counter. This time, you've saved the rat, and the rat returns the favor by gnawing away at the ropes you're tied up in, freeing you. The next things you do are crucial, so make sure you do all of this. Use the hand on the ropes to take them, you'll need them later. Use the cobbler's hammer on the door to break the lock.