Showing posts with label Crystal Caves. Show all posts

Sunday, August 6, 2023

PrinceWatercress plays Crystal Caves - Part 16 of 16


Well, we have to replay some levels we played before, but we finally got this game beaten. Happy 350th Let's Play, me!


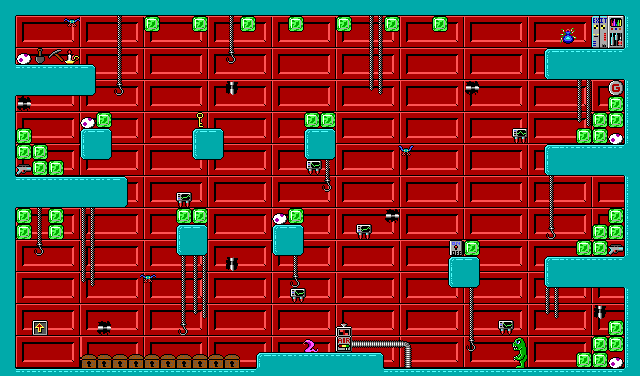
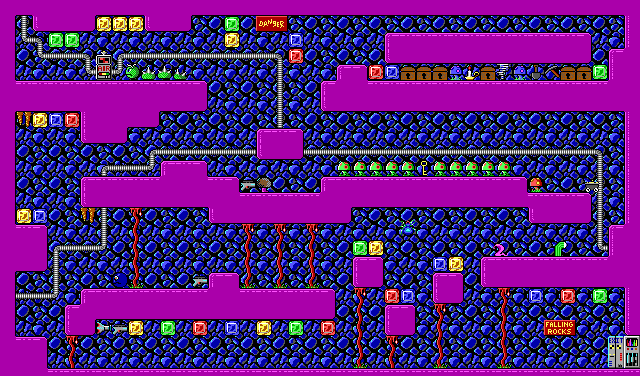
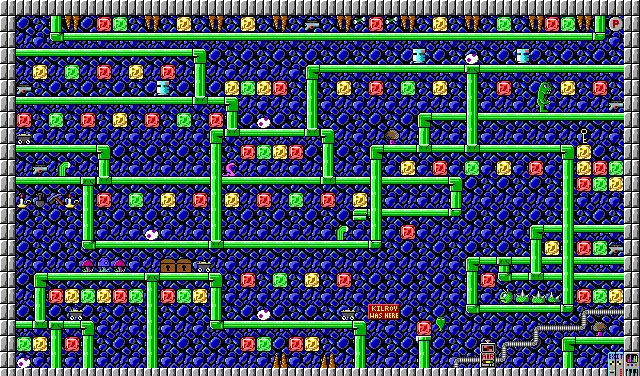
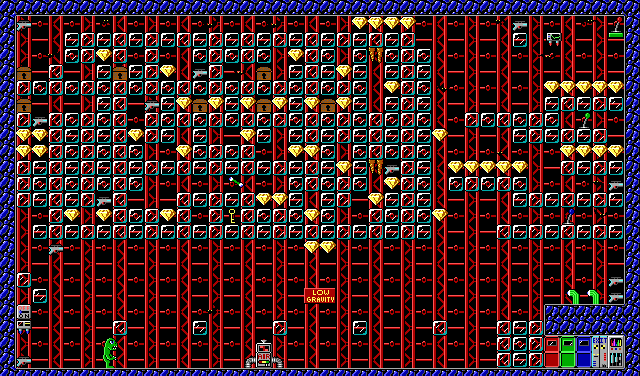
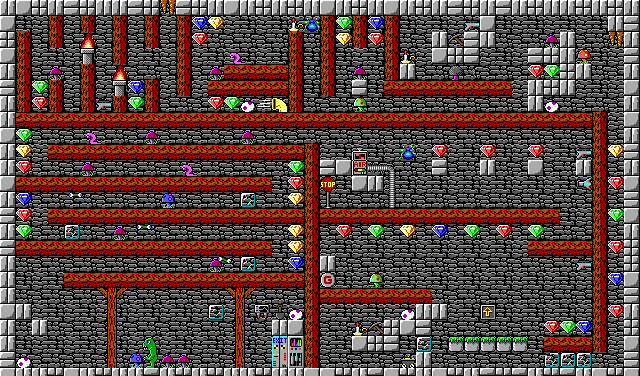
0:20 - You'll have to go down the pipe to start the level. The light switch is to the right at ground level. Watch out for those robots!

You'll need to shoot the blocks near the blocks near the green door and hit the switch to turn the laser turret off.

The stalactites will fall but will not hurt you as you ride the platform below them. As for the stuff at the top, don't waste any time trying to get everything.

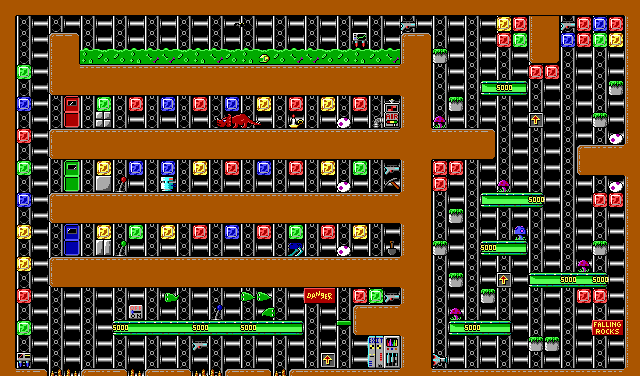
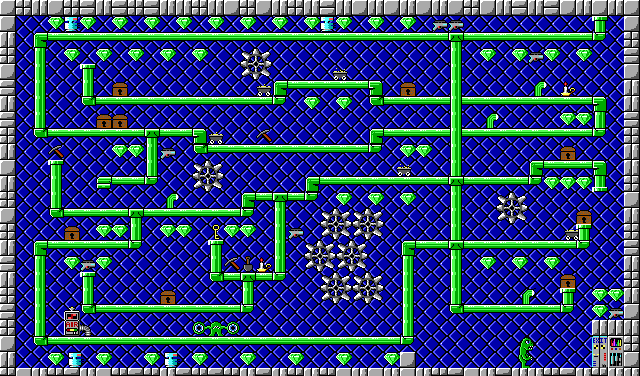
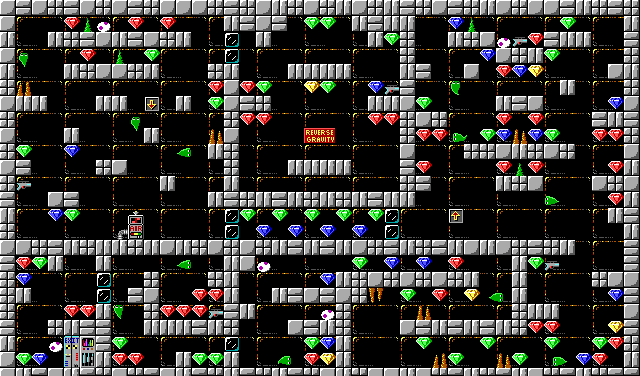
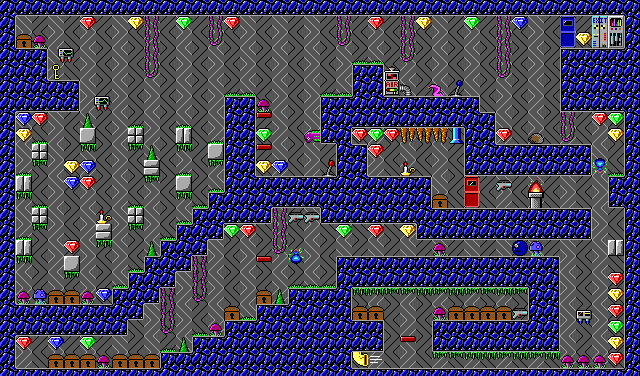
3:44 - This area has low gravity, and every time that you fire your gun, you'll be pushed back a bit.

Here, you'll need to find the three colored levers in order to open a path to the exit.

The "Danger" sign does fall down as you walk under it.

The switch in the lower-right corner of the level turns off the laser turrets, which makes it easier to get to the red lever.

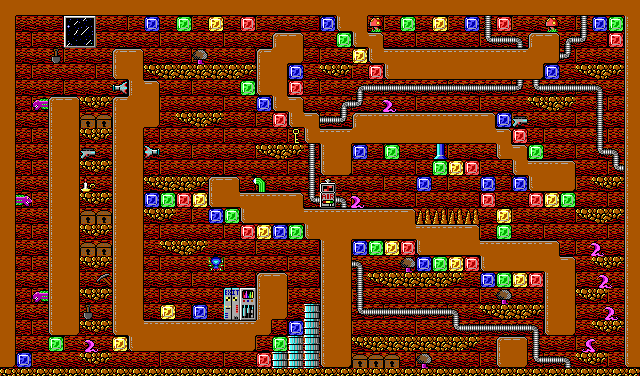
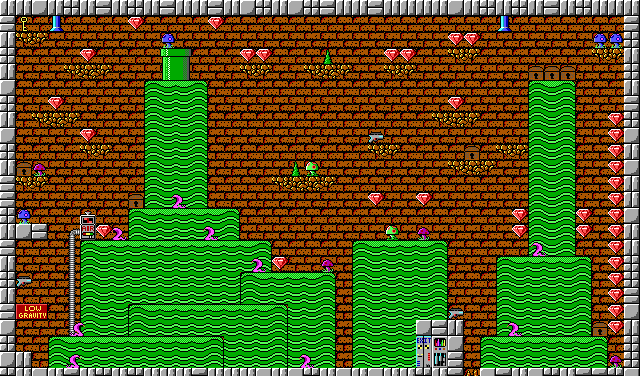
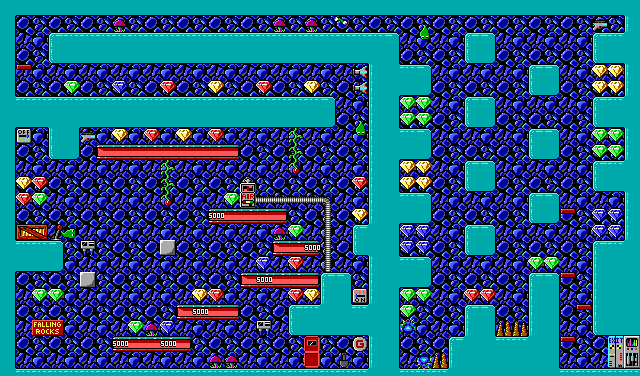
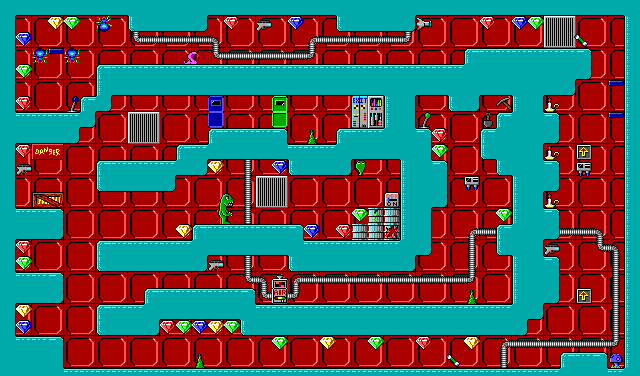
6:14 - The first thing that should be mentioned is the low gravity, which pushes you back every time you fire your weapon.

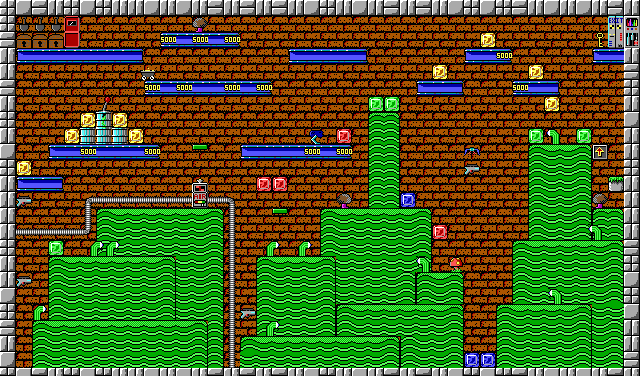
The red mushroom lets you get past the stalactites at the beginning. From here, you'll need to go down every chasm to get everything. The first one has invisible blocks you'll need to uncover. The next two has spiders to shoot down, and the fourth is pretty simple. The fifth has a stop sign that easily gets you past everything. Don't forget the invisible block! The sixth has the pit of green goop; jump near the bottom to avoid the goop. The seventh has one more crystal that you'll need to get. The last has a P icon that you'll need to shoot down the purple wall enemy at the end.

Make sure you get everything, or else you'll have to go back to the main level and do this all over again.

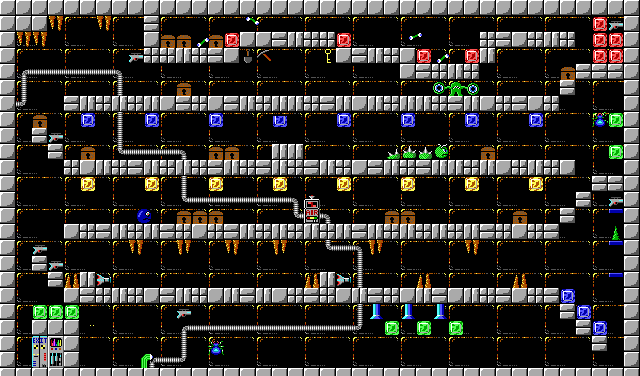
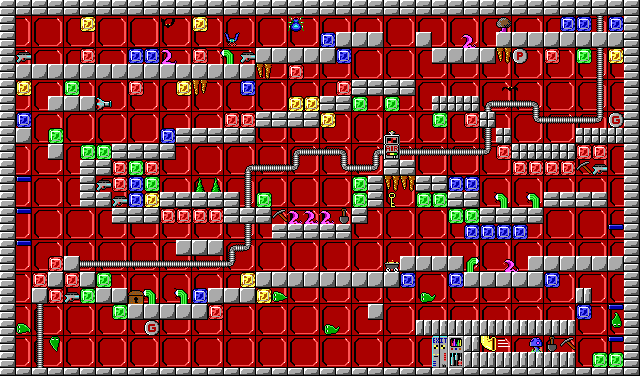
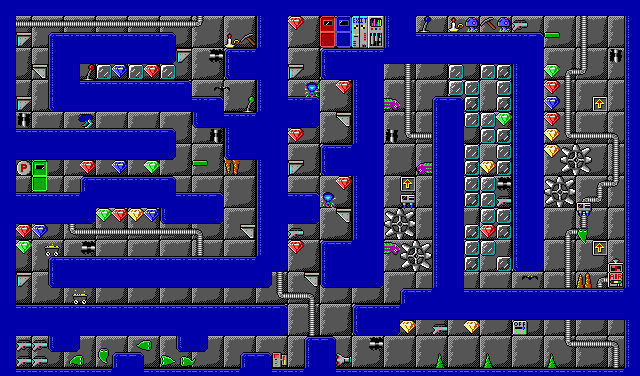
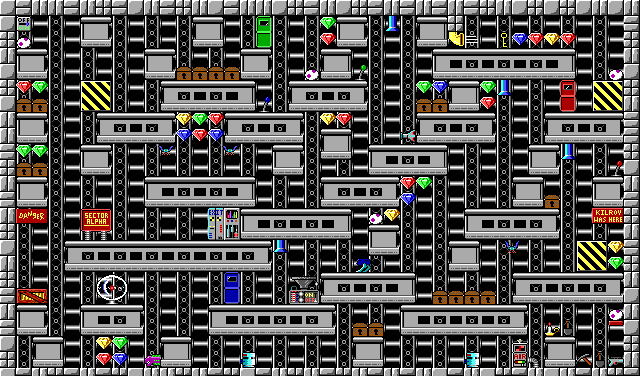
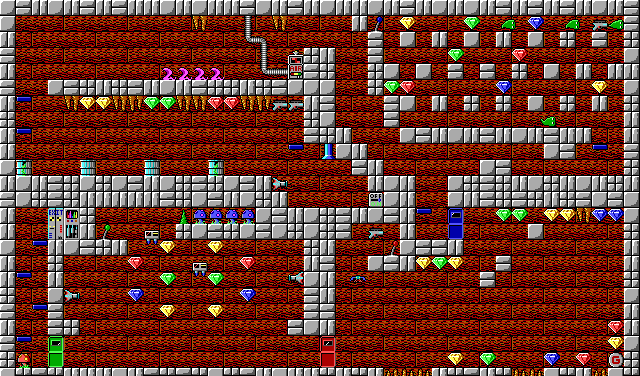
10:02 - In this very gray level, you'll need to look for invisible blocks and carefully take out all of the flying green enemies.

Watch where you are going. Make sure you explore the areas near the red and blue levers, and go to the blue lever area first. Once you drop from the top, there's no way back, and the path to the exit is also a "no turning back" point.

The blue ball enemy is near the air machine, which can be a recipe for disaster.

Once you beat all sixteen levels, Mylo buys his own solar system to make into a multi-planet vacation resort from Mr. Rip Eweoff...only for the solar system's sun to blow and go supernova. Mylo returns two weeks later and makes it the location of (hopefully the first) Mylo Burger. From that, he finally gets his riches, and the game ends. You just beat Crystal Caves!

Saturday, August 5, 2023

PrinceWatercress plays Crystal Caves - Part 15 of 16


What is up with the massive frame loss at the beginning of the video? As much as I like playing this game, recording it was a pain.


0:29 - This level (which is to the left of the one that I just finished at the end of the last video; thanks, random massive frame loss) has reverse gravity, so be prepared to be upside down most of the time.

Take care of everything on both sides of the start, then go right, get the reverse gravity, and drop down and handle everything there and hit the blue lever. From here, you can explore the left side, get the gravity power-up that was behind the blue door, then go downwards and get everything around the boxes before you're upside down again.

Wait for the hammer to be down before making your way past it.

7:11 - The switch to the left of the start turns off the nearby laser turret. As for the cobras, keep them one "block" away from the wall.

You'll need to jump, then move left to get the egg and its contents in the upper-right corner.

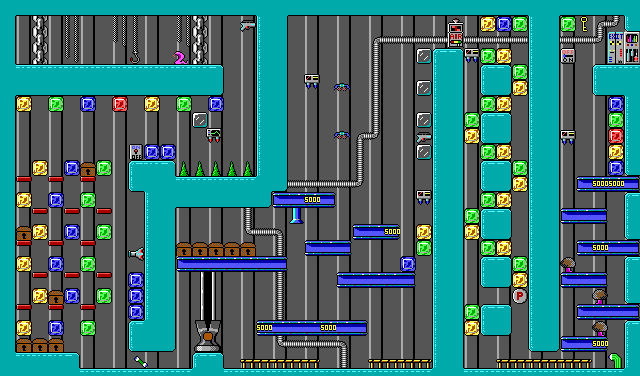
16:18 - You'll really want to be careful with these steel gray platforms. 

Go to the bottom at the start. At the platform to the left of the Danger sign (which falls down), you'll want the cobra to die in the middle.

You'll then have to jump your way to the top. Use the steel gray platforms to get over the poison mushrooms safely and more easily take down that one cobra. You can then pull the red lever, loop all the way back around to the red door, then pull the green lever. You can then go back to the start, grab the red mushroom and take out all the rock enemies. You'll then have to travel through the lower level one more time to get to the exit.

Friday, August 4, 2023

PrinceWatercress plays Crystal Caves - Part 14 of 16


Man, that lower-right corner of the main level is pretty open.


0:45 - You'll need to use the stop sign for the platform to get to the upper area. Also, you'll need to jump off the edge to get to the red lever. Strangely, when I accidentally went back there and jumped near the purple enemies in the walls, they didn't come at me.

Turn on the switch near the gaps with the poison mushrooms to turn on the platforms. Leap at the bottom of the platform paths to avoid the poison mushrooms.

You'll want to get the crystal near the exit last, as you won't be able to go back when you go down there. Go get the stuff above the starting point first, then go back there. Thankfully, there's a nearby switch that turns off the laser turret.

9:28 - Watch out for the mine carts just past the start, and stand on the edge to avoid being hit by falling drops of water.

Be sure to get everything left of the gravity power-up first. Once you get the gravity power-up, shoot the blocks to the sides so you can use the nearby platform. From there, get to the green lever in the upper-left corner and activate it, then use that platform to get to the left and hit the switch to the left the pipes with the flames coming out to activate the platform in the upper-right corner. Get everything there, then go back and drop down to the area below where the switch is. Destroy all the blocks, then get everything here and exit.

Thursday, August 3, 2023

PrinceWatercress plays Crystal Caves - Part 13 of 16


Well, aside from the second level in this video, we didn't have much trouble with everything else.


0:46 - You'll need to get the P icon to get rid of some of the rock enemies on the way up. You'll also need to use the G icon to pull the red lever and get to the red door. Get the other G icon, then make your way down and right to get to the bottom, get everything on the way up, then complete the level.

6:28 - The road to the exit is lined with poison mushrooms. As a result, I don't open any of the chests at the bottom of the level when I get the key.

Head to the left and take out the top block, and you'll be able to get to the upper-left corner, hit the switch, and then get to the right side, which goes the same way as getting to the left side. 

Use the P icon to get rid of all the purple enemies in the walls in the first drop. Hitting the switch in the upper-left turns off the laser turrets in the second drop.

9:38 - Watch out for the green stalagmites that pop out of the ground at the bottom of the level.

There are plenty of ways to get around in the box area in the upper-left.

After you get to the green lever to open the green door, you can easily do a wrap-around jump to the exit area.

17:40 - You'll need to get to the lower-left corner first and get everything on the way. From there, you can find the invisible blocks to get back to the top, go right, get all the crystals on the drop, get to the red lever to get the bonus stuff near the start, and make our way back to the exit. An amazingly simple level.

Wednesday, August 2, 2023

PrinceWatercress plays Crystal Caves - Part 12 of 16


We start all over again at starting all over again...again. The first two levels are reprised, but the third one is some new territory.


Since I'm starting over, it's copy and paste time here. The third level I play here is one that I had yet to play, however.

2:20 - Oh, good grief, this level. It's another falling rocks level, but it's really, really wide open. For this one, you'll need to go all the way to the top and pull the red lever, then get the one crystal (which is now in sphere form like every other crystal in Volume 3) and get out. You'll also find the key there, but if you're going to open the chests in this level, you're going to be doing so at your own risk.

Four of the five eggs for the "BONUS" letters will be at the bottom.

Since you're starting a new episode of the game, preserve your shots early! Guns will be a bit scarce in Volume 3, just like in Volume 2.

6:05 - You'll need to jump over the red triceratops and shoot it in the back to ensure you get rid of it. You may not have a lot of shots at this point, but getting rid of this triceratops is essential due to how big it is and how annoying its randomly fired shots are. And before you ask, yes, there are crystals to collect left of the start.

You'll also want to shoot down the robots that quickly move back and forth and will occasionally double back, as they can make things more difficult than they should be.

One of the mine carts stops near a red crystal, but you can easily grab that red crystal without running into the mine carts.

Be careful with some of the jumps, as you can run into enemies or poison mushrooms by jumping into them from below.

To get the crystal surrounded by the green stalactites, you'll need to grab the red mushroom, then get up there and get those.

The three "corpse" enemies near the poison mushroom are the hardest to deal with. Watch their moments very closely. then shoot them down in areas when you can easily avoid them as you jump over them. The two enemies that move around near that mushroom will not move into the mushroom, but the right-most one covers a very small amount of area.

11:00 - This level has a lot of invisible blocks. Seriously. The crystals and other items are usually a hint as to where you'll need to jump to uncover them, as they will usually be underneath crystals. There are walking rock enemies at ground level, but if you're patient, you can easily jump over them. Also, falling all the way back down to ground level is a pain, as you have to go all the way to the right to start over every single time.

The eye enemy is the worst, as there is a low ceiling where he is and jumping over him is difficult. You're better off coming here after getting more ammo for your weapon, but jumping over him is possible.

Tuesday, August 1, 2023

PrinceWatercress plays Crystal Caves - Part 11 of 16


It was at this moment that he knew...he hecked up.


0:18 - You'll have to go down the pipe to start the level. The light switch is to the right at ground level. Watch out for those robots!

You'll need to shoot the blocks near the blocks near the green door and hit the switch to turn the laser turret off.

The stalactites will fall but will not hurt you as you ride the platform below them. As for the stuff at the top, don't waste any time trying to get everything.

At this point, I shouldn't have continued further to the left. NOW YOU'VE GONE AND DONE IT!

5:21 - The first thing that should be mentioned is the low gravity, which pushes you back every time you fire your weapon.

The red mushroom lets you get past the stalactites at the beginning. From here, you'll need to go down every chasm to get everything. The first one has invisible blocks you'll need to uncover. The next two has spiders to shoot down, and the fourth is pretty simple. The fifth has a stop sign that easily gets you past everything. Don't forget the invisible block! The sixth has the pit of green goop; jump near the bottom to avoid the goop. The seventh has one more crystal that you'll need to get. The last has a P icon that you'll need to shoot down the purple wall enemy at the end.

Make sure you get everything, or else you'll have to go back to the main level and do this all over again.

11:42 - In this very gray level, you'll need to look for invisible blocks and carefully take out all of the flying green enemies.

Watch where you are going. Make sure you explore the areas near the red and blue levers, and go to the blue lever area first. Once you drop from the top, there's no way back, and the path to the exit is also a "no turning back" point.

The blue ball enemy is near the air machine, which can be a recipe for disaster.

And with that, we can't get back. We were supposed to enter the upper-left corner of the main level last, and thanks to the level design, we can't get back to the rest of the main level and we are trapped forever. In the next entry, we start all over again. Thanks, game.

Monday, July 31, 2023

PrinceWatercress plays Crystal Caves - Part 10 of 16


We have one more volume of this before we completely beat the original game. We start off a bit strong here, but expect trouble a little bit later...


In Volume 3, Mylo Steamwitz has learned about Mr. Rip Eweoff's (pronounced "rip you off") technique to buying real estate with no money down through Galactic Cable Vision. To get the money to buy the technique that Mr. Eweoff is selling, he will have to return to Altair to get more crystals and trade them in for cash.

This time around, Mylo Steamwitz blows up the planet that is in way and flies straight through the hole he makes through it in the process, and suffers virtually zero repercussions for doing it.

Unlike the first two volumes, I don't have any maps for Volume 3. As a result, everything here is separated by timestamps.

3:09 - Oh, good grief, this level. It's another falling rocks level, but it's really, really wide open. For this one, you'll need to go all the way to the top and pull the red lever, then get the one crystal (which is now in sphere form like every other crystal in Volume 3) and get out. You'll also find the key there, but if you're going to open the chests in this level, you're going to be doing so at your own risk.

Four of the five eggs for the "BONUS" letters will be at the bottom.

Since you're starting a new episode of the game, preserve your shots early! Guns will be a bit scarce in Volume 3, just like in Volume 2.

5:49 - You'll need to jump over the red triceratops and shoot it in the back to ensure you get rid of it. You may not have a lot of shots at this point, but getting rid of this triceratops is essential due to how big it is and how annoying its randomly fired shots are. And before you ask, yes, there are crystals to collect left of the start.

You'll also want to shoot down the robots that quickly move back and forth and will occasionally double back, as they can make things more difficult than they should be.

One of the mine carts stops near a red crystal, but you can easily grab that red crystal without running into the mine carts.

Be careful with some of the jumps, as you can run into enemies or poison mushrooms by jumping into them from below.

To get the crystal surrounded by the green stalactites, you'll need to grab the red mushroom, then get up there and get those.

The three "corpse" enemies near the poison mushroom are the hardest to deal with. Watch their moments very closely. then shoot them down in areas when you can easily avoid them as you jump over them. The two enemies that move around near that mushroom will not move into the mushroom, but the right-most one covers a very small amount of area.

16:39 - This area has low gravity, and every time that you fire your gun, you'll be pushed back a bit.

Here, you'll need to find the three colored levers in order to open a path to the exit.

The "Danger" sign does fall down as you walk under it.

The switch in the lower-right corner of the level turns off the laser turrets, which makes it easier to get to the red lever.

Sunday, July 30, 2023

PrinceWatercress plays Crystal Caves - Part 9 of 16


In this entry, we finally wrap up Volume 2. Next up: Volume 3.


Level 12


This one has you going in different directions to defeat monsters, grab crystals and pull levers. The layout for this level is pretty fun, to be honest. With the "corpse" enemies, make sure they die in an out of the way location.

You'll need the gravity power-up behind the green door to reach everything at the top center. Once you get to top center, get everything you can, then drop down somewhere safe in that section.

Level 9


Hit the switch to turn on the platform below, then get ready to jump over the blocks on the way to the right. Hit the two switches at the end so you can turn the platform above on. Shoot down the blocks you see on the way to the left so you can get to the part with the steel drums, then get everything in the area. Once you're done, you're going to have to take the moving platforms back to the exit. Hit the second switch near the vertically moving platform to turn the horizontally moving on back on, then jump over the blocks to get back to the exit. 

Level 6


The "Danger" sign will drop down when you are under it.

You'll need to blast your way through the block maze near the top of the level in order to turn off the laser turrets at the very bottom.

Watch out for green stalactites; they will blend in with the background a little bit.

There's really not much to say about this level; it's definitely one of the easier ones in Volume 2.

Level 3


You're going to have to do a little jump in the lower-right corner of the level in order to turn on the light switch. You're also going to have to do a lot of platforming around here, period.

Grab the gravity power-up when you have collect all the crystals below the top of the stage. You'll only have one shot to get everything at the top and get to the exit.

When you beat Volume 2, Mylo will get that medicinal slug farm, but the farm is directly above a salt mine, which dries up all of the slugs and kills them, stopping his sudden new cash flow as soon as it starts. Why Mylo is unable to make a steady stream of cash out of that salt is beyond me, but at least it sets everything up for a retain to Altair for Volume 3.

Saturday, July 29, 2023

PrinceWatercress plays Crystal Caves - Part 8 of 16


Two more for Volume 2. Next time, we finish Volume 2 and go on to Volume 3.


Level 13


There are a lot of cobras here. If you need to shoot one down, make sure they're out of your way when they die. All of the enemies here are especially tough. Thankfully, you have two red mushrooms that give you more powerful shots.

The drop in the upper-right corner has those purple lizard heads that pop out of the walls. Be prepared to swerve left, right and then left.

Level 10


Once again, you have falling rocks to deal with. You'll also need to find invisible blocks in order to make your way up. After travelling over the slime pit (love the Commander Keen helmet, by the way), you'll have to drop down and take out the enemies to get to the blue lever and turn on the switch that operates the nearby moving platforms. You'll then have to work your way up to the rest of the doors to get everything and finally get out of here.

Friday, July 28, 2023

PrinceWatercress plays Crystal Caves - Part 7 of 16


Now that we've taken care of everything on the right half of the main level, it's time to explore the left half.


Level 4


Compared to other levels that we've seen so far, this one is a little more simple. The only really hard part is the eye monster, but if you can jump over him, you're good.

If you stand on the very edge of a small mid-air platform with a green pop-up stalagmite on it, the stalagmite won't hurt you.

Don't forget the three crystals above the exit; otherwise, you're gonna be stuck at the exit.

Level 7


You can stand on the exit doors to get the crystals above it.

This level has falling rocks. Once again, they will be random and they won't show up if you're at the top of the level.

The red mushroom will allow you to power through all the green ones.

You'll need the "danger" sign to fall down in order to get to the top of the level.

The tornado is even more powerful than the yellow pipe that sucks you in. As a result, I end up staying away from it after a few attempts at getting everything near it. Also, you have to make a standing jump to the left at the upper-right corner of the level in order to get out.

Level 15


Keeping enemies that turn into harmful carcasses all dead in one spot is essential to get past certain points.

You'll need to drop down and to the right at the upper-right corner of the level and get the gravity power-up to get everything in that corner. Once you go down far enough, you won't be able to get back there, and that's especially true if you get to ground level without getting there.

Thursday, July 27, 2023

PrinceWatercress plays Crystal Caves - Part 6 of 16


Six levels and not one? Now we're getting somewhere!


Level 8


Get all the crystals first at the start, then get the gravity power-up. Go to the left and hit the switch so you don't get shot by the laser turrets, then get everything at the top. Wait above the platform with the key and the chest on it for the gravity to run out, then make your way to the right.

Use the gravity power-up on the other end to get everything at the top and hit the blue lever, then use the P icon to shoot down the rock enemies. If you do everything right, this should be a somewhat easy perfect health bonus.

Level 11


Be careful in this level, as there is reduced gravity. You will be pushed back when you fire your rocket launcher, so watch where you're standing.

The light switch is just below the start of the level.

If you miss any crystals past the air machine, just continue on, grab the P icon to blast through the enemies and hit the switch near the exit so you can get them.

Level 14


This may be the first time that the game throws a pit full of green instant death mushrooms at you, but it won't be the last. Be ready to shoot down the blocks across the way so that you can get to the air machine and continue with the rest of the level.

The stalactite before the worm will fall, so get the gun and then get away.

The "Danger" sign will fall. You'll need it to fall so you can use it as a platform.

Level 16


Oh, look. Another level that looks like something straight out of Super Mario Bros. 2, much like that one level from Volume 1. The only difference is that you have those green, jumping one-eyed creatures instead of the purple cobras, even though they also have the "deadly to the touch corpses" thing going on.

You'll be dealing with less enemies once you get to the blue girder platforms. The red lever is completely optional and is only there if you want the bonus points.

Level 1


Do not go right at the start. You will get hit. Instead, get to the stop sign below the start, then make your way to the hammer, pass through it and get everything on the other end and get out before the time stop power expires.

Be careful when shooting the blocks on the way up to where the fire pipes are. You don't want to make it so that you can't get all the way up and you're forced to start over.

Shoot the green one-eyed enemy next to the tower of drums when it is away from the edge.

Level 2


There is an eyeball enemy on the lower path just after the start. Even though I fight it, you're better off not doing that.

The worst part of the platforming section above the ooze pit is the bats, as they can double back, sometimes frequently. If they're anywhere you want to be, take them down.

You'll need to jump off the edge of the platform to reach the exit.

Wednesday, July 26, 2023

PrinceWatercress plays Crystal Caves - Part 5 of 16


Welcome to the second volume of Crystal Caves, where things get a little harder. As a matter of fact, the level I start with is harder just because getting one of the crystals is near-impossible.


In the second episode, Mylo Steamwitz - having sold the twibble farm for a loss - heads back to the caves of Altair, this time to collect enough crystals to buy an Organian slug far, as the Galactic Medical Conglomeration is in dire need of medicinal slugs due to the Mule Ear on Irata 6. He hopes that full body slugs will make him a fortune on the black hole market.

On the way to Altair, Mylo still has trouble with the steering, but he stopped before running into the nearby planet.


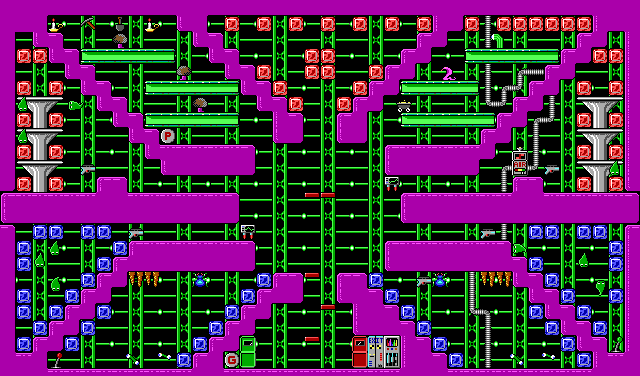
We have a whole new hub world/main level and sixteen new levels. Let's get into it.

Level 5


The crystals are all square shaped for Volume 2.

When you start Volume 2, preserve your shots and use them only when you absolutely need to, as shots for your rocket launcher will be harder to come by here.

You'll be doing a lot of jumping in this level just to get anywhere.

To get that one red crystal near the start, you have to approach it from the left and jump off the very edge of the platform. You have to jump as late as possible, or else you're not getting it. 

To get everything at the very top, you'll need to walk underneath all of the stalactites in order to get them to fall down first. The only way out is through the right, and if all of the stalactites haven't dropped yet, you're either going to be taking damage or dying trying to get out.

Tuesday, July 25, 2023

PrinceWatercress plays Crystal Caves - Part 4 of 16


In this episode, we finally finish off Volume 1, but our hopes at riches don't go as well as expected.


Level 9


You'll need to find the red, blue and green levers in order to get out of here.

Be ready to do a lot of platforming in this level. Also, the position of where the purple cobras are when they die is a bit crucial; make sure they're not near any edges where you need to jump at or land.

The creatures with the big eyes at the sides are particularly nasty. They move back and forth, and you can only shoot the eyes out when they are open and in front of you. You'll need to shoot down both of the eyes entirely to destroy the body, and the fact that these creatures can fire eyes at you like projectiles and cancel out your own shots only complicates things.

Be sure to move to the right when getting that huge column of blue crystals on the far left so you don't land in stalagmites.

Level 11


Jump up to activate the switch at the start.

Make sure you shoot down all the destructible blocks when getting the key; otherwise, you'll have to quit to the main level and start all over. Same for that one block below all the crystals near the triceratops.
Level 13


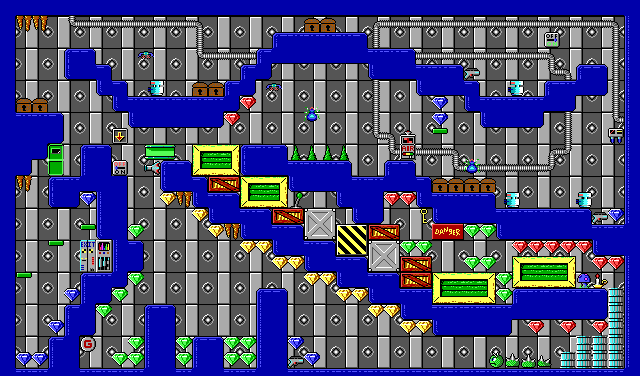
We have low gravity here, so get ready to make some higher, more floaty jumps.

Also, this place looks like something straight out of Super Mario Bros. 2.

I usually avoid shooting the cobras, since there is enough room to jump over them and avoid them as opposed to shooting them. Helps save on ammo, too.

Level 16


Be ready to fire ahead of time to shoot down the robots who will zap you with a vengeance at the very top as well as at the very bottom.

You can go through the vertical pipes and jump upwards through the horizontal pipe floors. The joints, on the other hand, are absolutely solid. Take care where the green one-eyed worms are when they die so that you don't accidentally jump into their corpses in some spots.

Once you beat all sixteen levels in Volume 1, Mylo will automatically leave the mines. You'll get points for every required crystal you picked up throughout the game, then Mylo will buy his twibble farm. Unfortunately, the twibbles multiply like rabbits to the point that they devour a whole planet's food supply, and to make matters worse, the twibble fad has cooled down and Mylo has missed out on it, costing him untold amounts of money. Time to head to the mines again...

Monday, July 24, 2023

PrinceWatercress plays Crystal Caves - Part 3 of 16


It won't be long until we complete Volume 1.


Level 14


In this level, you have low gravity. Here, you'll get some higher, more floaty jumps which will make doing things a little more interesting.

You'll want to take out the dinosaur, then head for the exit and make a staircase. From there, get the ammo to the right, then jump your way to the left, shoot the destructible blocks near the switch and the platform out of the way and toggle the switch. From here, you'll need to take the platform upwards and shoot your way through the block maze to get all of the crystals as well as the key. Watch out for stalactites along the way. When you make it to the top and head to the right, you'll need to shoot the block near the platform leading to the red lever. From here, you can open the doors, then exit once you've gotten all the crystals.

Level 15


The "Danger" sign just to the left of the start will fall down when you get under it. The box will keep it from damaging you.

You can stand on the "Sector Alpha" sign.

The switch in the upper-left corner will turn off a laser turret on the way to the green lever.

The blue robot with legs will shoot at you if it sees you. Wait for it to turn around before firing at it.

Level 11


The switch at the start will turn off the turret at the start.

The lower-left corner has a bunch of guns; you'll definitely want those.

Be careful in the area with the platform leading up just above the laser turret at the start; there will be those purple lizards at the sides trying to bite you again.

The P icon will make it easier to get past the mine carts on the way back to the exit.

Watch out when destroying the destructible blocks; you'll need to make your way back up.

With the platform above the stalagmite, just jump straight up when the platform makes it way to the bottom.

Level 8


The switch in the upper-right corner turns off the lone laser turret in the level. That laser turret guards a switch that moves the platform on the right side of the level up and down. You'll want to trigger both of them. Trigger the upper-right switch, then go back to the start and go down from there. 

You'll need the G icon to collect all the yellow crystals on the ceiling. Be sure to trigger the stalactites first (and get all the green crystals below them) before you do it.

The "Danger" sign in the box maze will fall down when you are under it.

You'll want to enter the exit area last.

Sunday, July 23, 2023

PrinceWatercress plays Crystal Caves - Part 2 of 16


After that less-than-stellar start, we do a lot better here.


Level 5


When you start this level, rocks will drop down from the top of the screen in completely random locations. Keep an eye on the top of the screen so you don't get hit by a falling rock.

The rocks will not fall if you are at the very top of the level, so if you can get there, you'll get a respite until you drop down.

The G icon gives you reverse gravity, which turns you upside down for a limited amount of time. You'll need this to hit a switch to turn off the laser turrets halfway through the level.

Level 6


Remember the reverse gravity that we had for a couple of seconds in the last level? Well, now we have it for a whole level!

Be on the lookout for the tips of the green stalagmites that will sprout up when you walk into them. You'll also have to learn how to avoid the brown stalagmites and stalactites as you get closer to the exit.

The translucent blocks will have to be shot with the gun in order to get them out of the way and enter other areas.

As for the green flying enemies - of which there is a lot of in this level, you'll want to either be close or have them coming right for you in order to shoot them without wasting too much ammo.

Level 3


Watch out with the yellow pipe; it will slowly suck you in, and if you make contract with it, you will take damage until you get out.

Head right when you get close to they yellow pipe, as the stalactites above will drop down in an attempt to hurt you. Not all stalactites will drop down and hurt you, but some do. Moving past them generally keeps that from being an issue.

The green mushroom will instantly kill you if you run into it. Does Mylo Steamwitz have a habit of eating any mushrooms he runs into from being in so many caverns?

The red mushroom gives you temporary invincibility. With this, any enemy you run into will immediately be destroyed.

The stop sign, when grabbed, will stop time for a brief amount of time. Use this to get past the purple cobra enemies without getting hurt. While you cannot shoot and kill enemies while time is stopped, enemies cannot damage you in any way while time is stopped, either.

Be ready to head to the left after the second egg when you have to drop down, as the stalactites above will drop down and hurt you.

Level 7


There's not much new in this level compared to the first six that we've been in, but I will say that I like the level design here.

Watch out for the purple heads in the walls. If you're too close to them, the purple heads will extend out and bite you. The only way to kill them with the gun power-up or the invincibility from a red mushroom.

Level 10


Turn the switch at the start off so you don't get zapped by the nearby laser turret. Keep running to get past the falling stalactites afterwards. As for the purple cobras, try to get their corpses in one place.

The bird enemy will not only try to drop eggs on you, but sometimes those eggs can hatch new bird enemies that you'll have to kill.

Use the gravity power-up to get the crystals that are high up near the ceiling in the lower-right corner of the level.

Use the red mushroom near the end to get the four blue mushrooms behind the pop-up stalagmite.

Saturday, July 22, 2023

PrinceWatercress plays Crystal Caves - Part 1 of 16


Fifty games ago, we played Secret Agent. Now we're playing the spiritual sequel...or is it the other way around? I can never remember. Anyway, here's Crystal Caves!


Poor Mylo Steamwitz. He just wants to get rich quick so he doesn't have to work for his uncle's Yorp herding business. Too bad he has to put his life on the line every time he takes part in the latest get-rich-quick scheme by heading down to the crystal mines in Altair to get enough money from the trading post.

In the first episode, Mylo has to get a bunch of cash in order to afford a down payment on a Twibble farm and get in on the Twibble market before the fad fades.

On the way to Altair, Mylo's Millennium Kiwi nearly runs into a planet with its own moon, but he safely makes it to Altair.

Playing the game is pretty simple. Left and Right on the arrow keys lets you move around, Ctrl jumps, and Alt lets you fire rockets from your rocket launcher. You only start with a few rockets and you'll need to find guns to get more, so take care to preserve your ammo. You have three hit points that you won't be able to replenish, and if you lose all of them, you'll have to restart the level from the beginning. Thankfully, you have infinite lives, and you can save and load games at any time by pressing Escape and selecting the save and load options. If this game is reminding you of Secret Agent, that's because it's made by the same developer (Apogee/3D Realms) and is more or less a spiritual sequel to it.


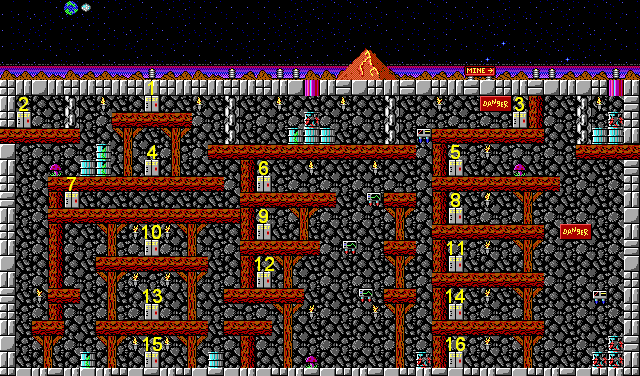
When you start the game, you'll be in a hubworld full of platforms and elevators with sets of doors leading to the sixteen levels of the episode. When you complete all sixteen levels, you'll beat the episode. There are 3 episodes and 48 levels in all, and we'll be playing through every single one of them.

Sometimes, random fruits will pop up in the level. If you can grab one, you'll get a few thousand points.


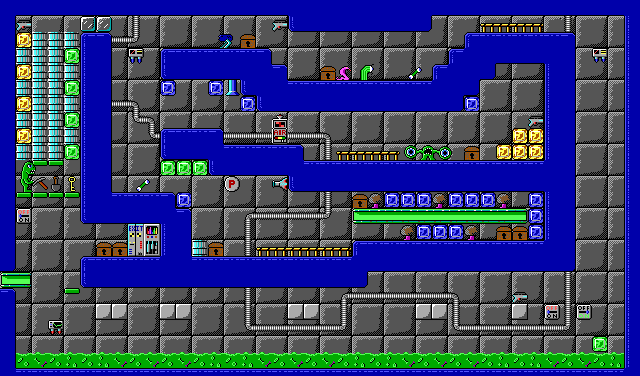
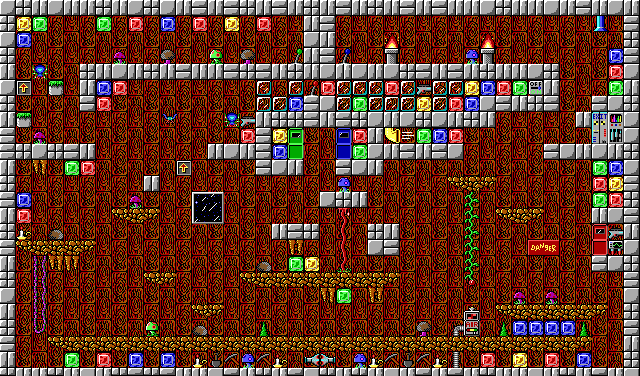
This was the first level of the game that I played when I booted this up for the very first time. 

The red, blue, yellow and green crystals are the main thing that you need to collect, and you'll need to collect every single in a level in order to exit the level. 

The green needle-like tip is a stalagmite that will pop up and hurt you when you walk into it. Jumping over it prevents taking damage.

Platforms will move left and right or up and down depending on their appearance. If they have the green static line, they move left and right; if they have the thrusters as well as the yellow and orange lines, they move up and down. Some of them will not move until you activate them by activating a switch. To activate a switch, stand in front of it and press the fire button.

Along the way, you'll find bonus items such as candles, shovels, picks and even blue mushrooms. Those things will give you bonus points to add to your total score. You don't need to pick up these extra items, but you can if you want.

Your score will be in the lower-left corner, and to the right of that will be your current amount of ammunition for your rocket launcher, your health and a spot for your key. To the fight of all that is space for a timer for some power-ups, and this will be mentioned later.

Watch out for laser turrets; if you're lined up with them on the ground or in the air, they will shoot at you. Some of them can be turned off if you find a switch; thankfully. To activate a switch, stand in front of it and press the fire button.

The purple cobra takes two hits to kill, and after the second hit, its corpse is left behind. If you walk into its corpse, you will take damage, so you will have to jump over it. This is used to make some levels more difficult later on.

The spiders will shoot webs down if you are under them. At least they take only one hit to kill.

There are red, blue and green levers used to open red, blue and green doors. To pull a lever, walk into it and press the fire button. If the lever is pointing left, it is activated; if it is pointing right, it is not.

If you see an air machine, don't shoot it! Doing so will suck all of the air out of the room, instantly killing you and forcing you to start the current level over.

The big green dinosaur takes five shots to kill. If you hit it with a rocket, or if it is facing you when it is moving around, it will charge at you. Keep your distance while facing this thing. 

The green thing that looks like a teardrop takes one hit to kill, but it will only change direction when it runs into a wall, which makes it a slippery creature to shoot down.

If you complete a level without getting hit once, you'll get 50,000 points when you reach the exit with perfect health intact, even if you died at any point in the level.


The caterpillar can be killed by shooting it in the head until it is completely gone, which will require four shots from your rocket launcher.

There are five eggs in some levels, and if you shoot an egg, a bonus letter will pop out. Regardless of the order in which you shoot down the eggs, if you shoot down all five eggs and take the letter from each one to spell "BONUS," you'll get 10,000 bonus points. Sadly, you won't get nearly as many points if you just take the eggs.

The metal girder platforms can hide hidden clear diamonds that will give you bonus points, and if you hit certain segments from below like a ? Box from a Mario game, you can find them. These bonus crystals are not required to complete the level, but they're still fun to get.

The chests require a key to open. You'll have to find the key, and when you get it, the key will show up next to your health on the bottom of the screen. When you walk into a chest with the key in your possession, you'll get bonus money (or points, depending on how you want to look at it). The more points you have, the more money you have.

The mine carts and the rocks with legs are invincible...almost. If you can grab the P icon, you can power up your gun and make it more powerful without using any of your ammo for a limited time, and you'll have a timer in the lower-right corner of the screen showing you how much time you have left with the power-up. With this powered-up ammo, you can blow the rocks with legs and the mine carts away.

The hammer heads will not only crush you, but they are harmful to the touch regardless.

Hit the switch at the beginning to turn off the wall turrets. I should have done that before exploring, honestly. You'd think I'd know these levels by now.

Watch out for the water drops that comes out of the blue pipes; they can damage you.

You'll need to pull all the levers in order to get everything here.


You'll need to go all the way to the right at the start to find the switch that turns the lights on. When you get to the light switch, press the fire button to toggle it like you would a normal switch to turn the lights on.

The bats fly back and forth, but they can double back, so keep an eye on them.

The switch in the lower-left corner will turn on the platforms near the red and green doors.

The clear blocks can be shot down to make paths to places and things, but be careful not to shoot down more blocks than you need. This is especially true here, as you'll need a way to get back up after finding what's behind the red and green doors.

Sometimes, you can hit your head on invisible blocks to reveal them. While there is on in the lower-left corner, there will be more in future levels.

The grey pipes have fires that bellow out of them. Wait for the fire to be completely gone before jumping over them and passing by.

The blue ball monster takes three hits to destroy, but they are only vulnerable when they are sleeping - which happens randomly - and they will shoot projectiles at you if they are rolling towards you. If you've picked up a P icon, you can destroy it no matter what it's doing.

Wait for the red triceratops to turn away from you before firing, as it will shoot projectiles of its own that can cancel out your shots. Much like the green dinosaur, it turns around when it is hit by a rocket. It takes five shots to take down a red triceratops.