Sunday, December 5, 2021

HCBailly and JB play Secret of Mana - Part 1 of 41


Before the LP began, HCBailly and JB took questions from viewers before doing a co-op Let's Play.


...and now, the game.


When you start a new game, you'll get to name the boy. Believe it or not, he has a default name according to the Japanese manual: Randi. (I will refer to "The Boy" as Randi from here on in.) HCBailly Anglicizes the name, however.

Using the power of Mana, a civilization had grown strong. In time, Mana was used to create the ultimate weapon: the Mana Fortress.

This angered the gods. They sent their beasts to destroy the Fortress. A violent war rocked the world, and Mana seemed to disappear. Before all was lost, a hero with the Mana Sword smashed the Fortress. Though the civilization has been destroyed, the world was peaceful again.

But time flows like a river...and history repeats...

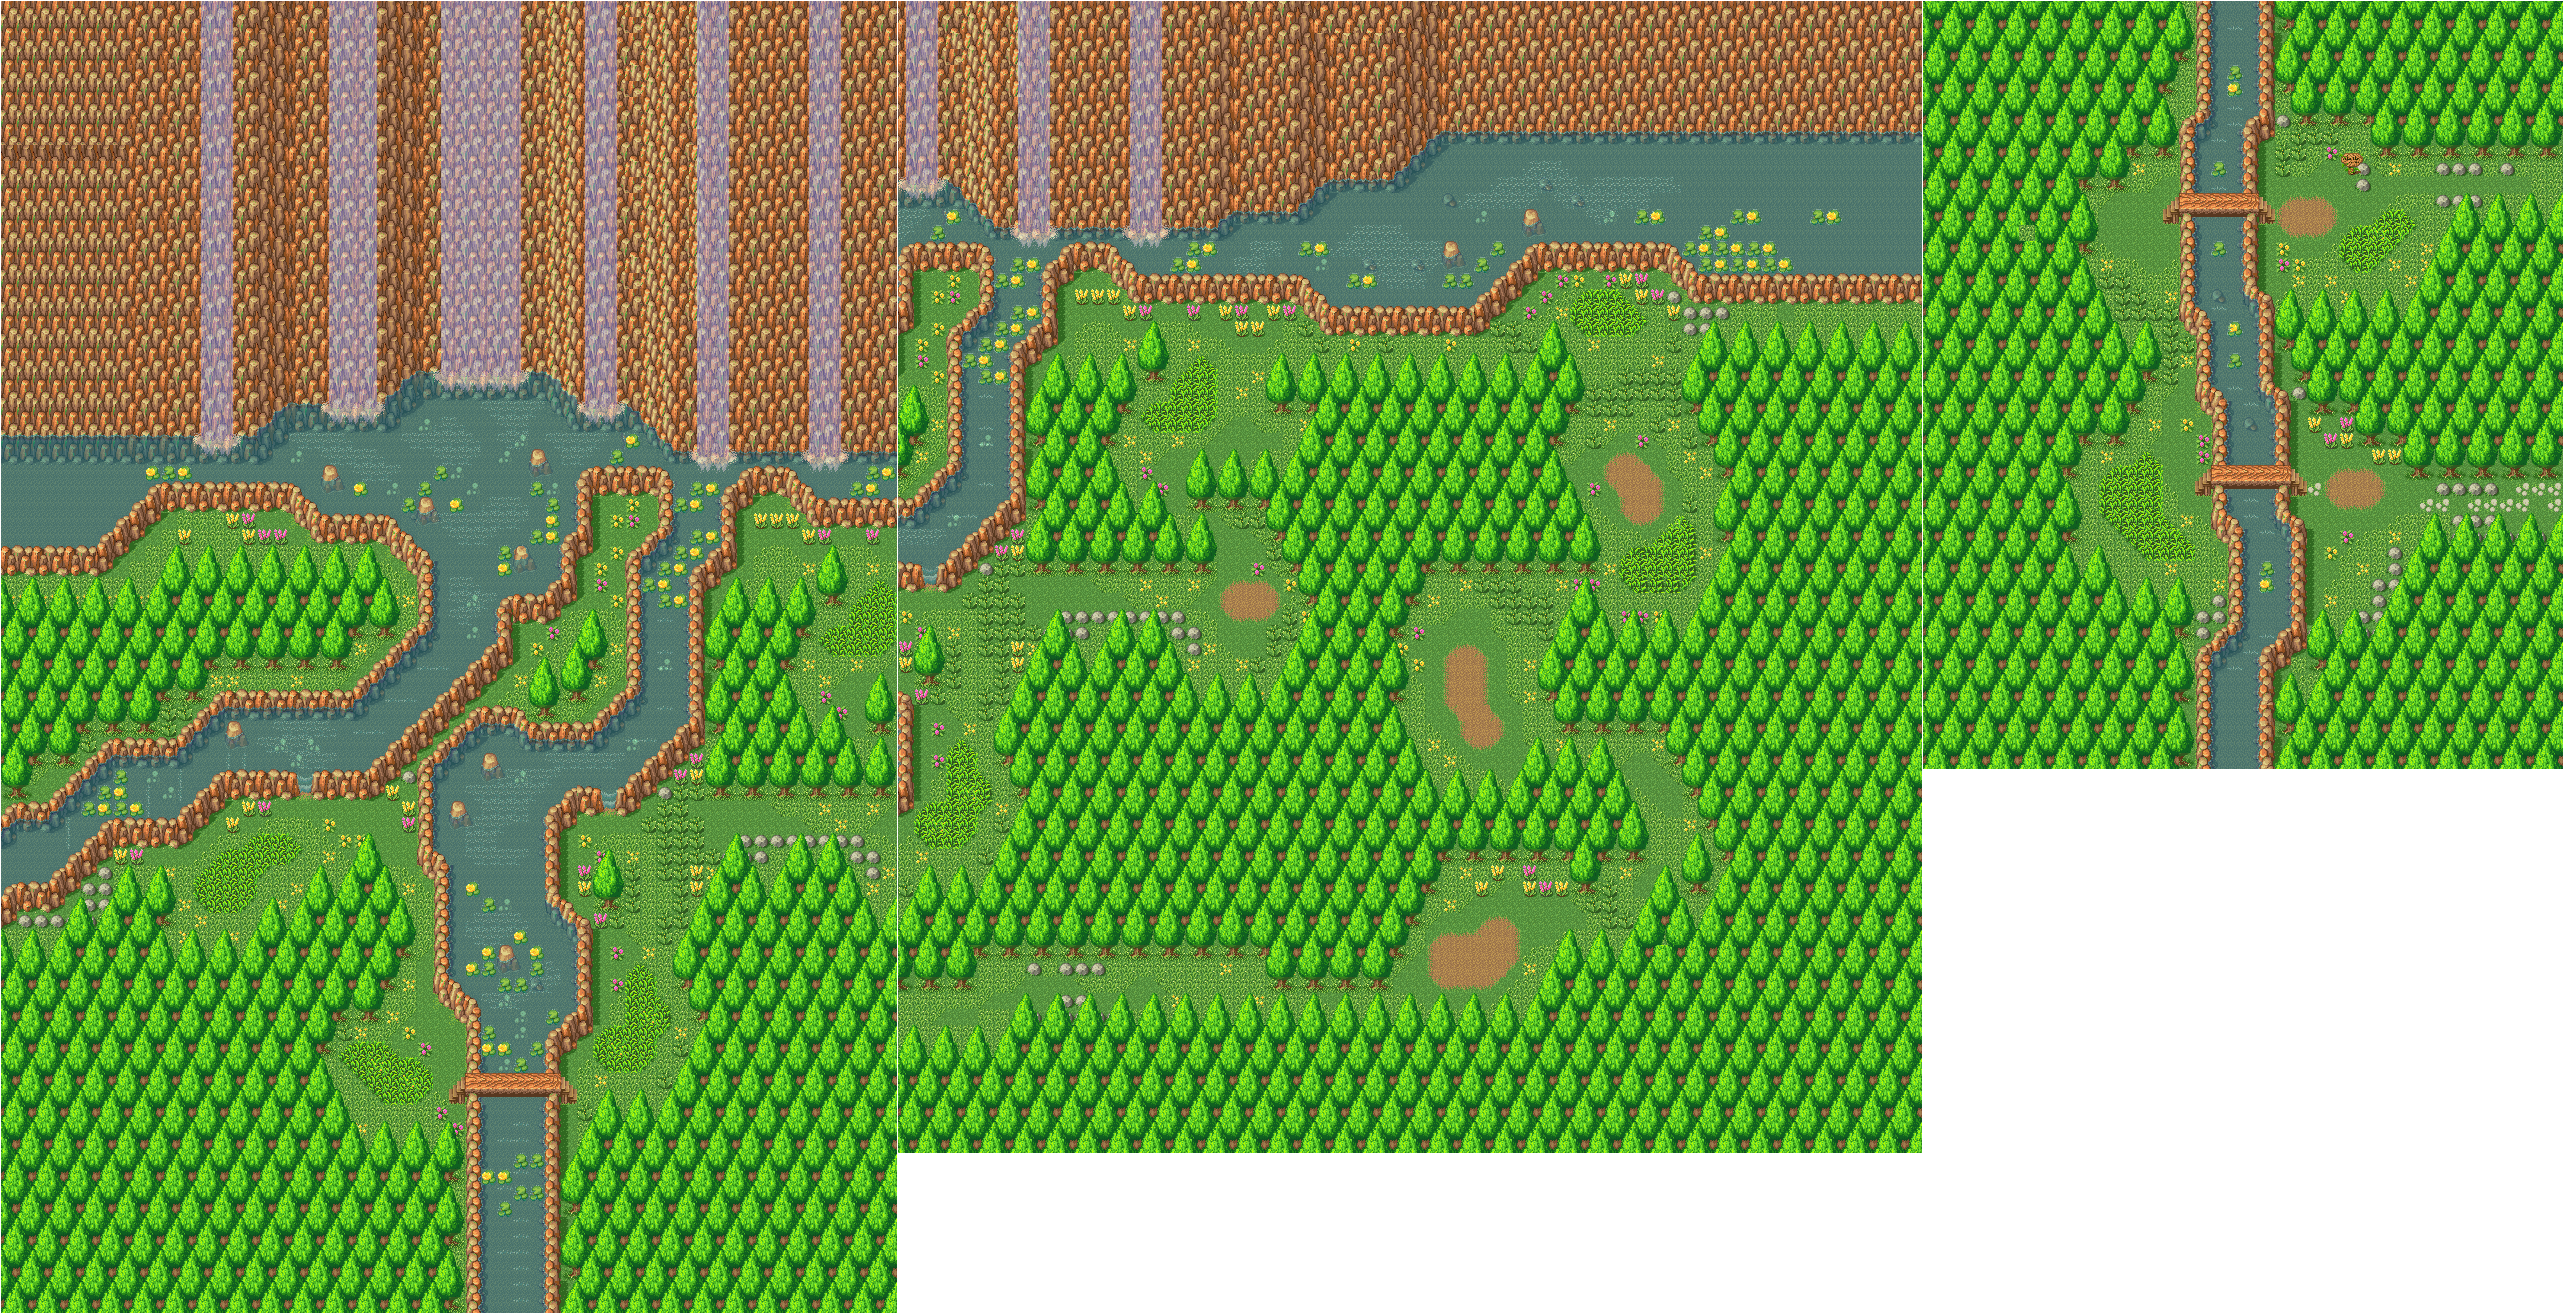
Potos Falls


The story begins with Randi, Elliott and Timothy on top of a log on the waterfall. The log is above an area where nobody is supposed to be according to the village elder. Timothy mentions rumors that a ghost is around, and Elliott mentions his Grandma talking about a shiny object near the falls, which Timothy thinks may be some sort of treasure. Suddenly, Randi falls off the log, and Elliott and Timothy head back to the village.

After Randi hits the ground, you're in control. Use the Control Pad to move around and follow the path. If you see a gap in the rock wall, you can walk through it. Eventually, you'll see a flashing light and hear someone calling Randi's name. From here, continue on the path. Randi will notice the bushes and mention that he needs something to cut through them. Head towards the sword, and a voice will tell Randi to remove the sword. Randi does, and a bright light emerges before Randi sees a ghost after it disappears. The ghost tells Randi that it asked him to remove the sword, then disappears. When Randi holds up the sword, another bright light emanates from it. Randi will then have a HP meter and attack gauge, and you'll be able to do even more things.

To pull up your status ring, press Y. Pressing Up and Down lets you go through an option ring to let you equip armor, target enemies (and see what their names are), see weapons levels, change how the character acts when controlled by the computer, see character stats and mess with game settings, and a weapons ring that lets you switch weapons. Make your selections with A. Press Y again to back out of the rings.

To attack, press B. Use the sword to cut through the bushes and go right. On the other side, you'll meet a Rabite. Attack it with B, and make sure to wait for the attack gauge to go up to 100% before attacking again for maximum damage. (The game gives you an audio cue in the form of a beep for when you've reached it.) Follow the path and fight the Rabites. You should reach Level 1 with the Rusty Sword - your current weapon - by the time you've reached the end of the first half of the area. When you reach Level 1, hold down B. After you reach 100%, you'll power up a bar. When it goes all the way to the right, release the button. You'll perform a more powerful strike that does even more damage than a 100% attack.

The Rabites will leap at you and also try to bite you, but they are very easy to defeat. Keep fighting them to gain experience, as getting experience allows you to level up, get more hit points and increase your strength and other stats.

You can cut the grass with B, but there's no reason to really do so except for fun.

To read signs, walk up to them and press A. You'll find out the village is nearby.

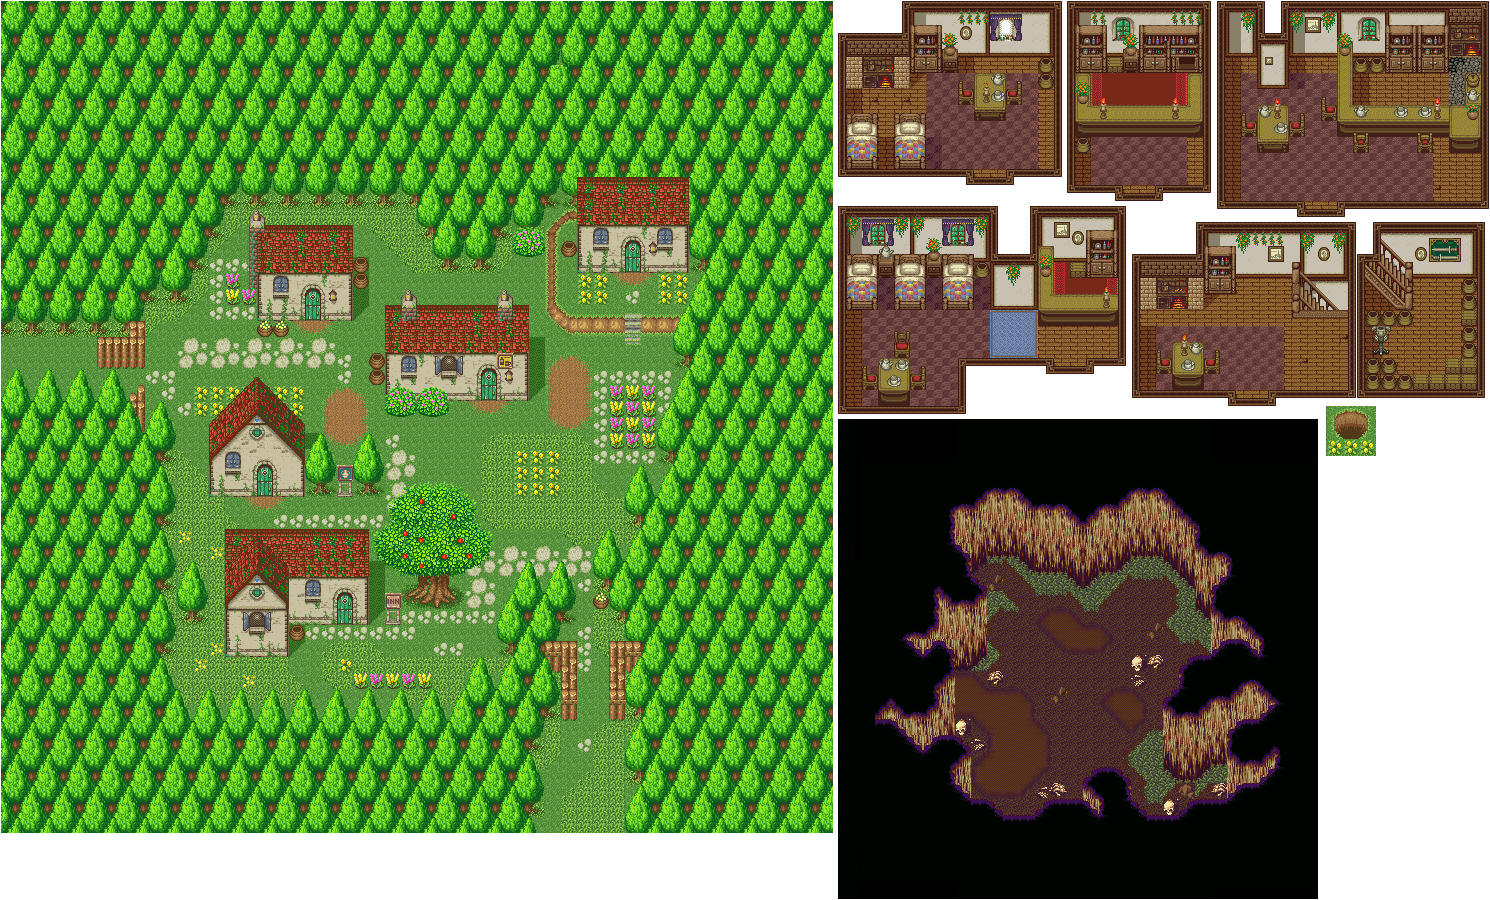
Potos Village


When you reach the village, you can talk to people with A. You can rest at the inn for a small fee, and you can also buy Candy to refill your health with and even a Bandanna at the shop to equip as armor. (Yes, the merchants dance.) There is also a café in town, and if you enter, you'll be able to meat a guy in armor and a cape. To go on with the plot, you'll need to go to the Elder's house and move up to the Elder. The Elder will get angry with you, Timothy and Elliott before everyone realizes that you just pulled out the Mana Sword, bringing back the monsters that you just fought and endangered everybody. As Elliott gets angry with you and attacks you, an earthquake occurs and you and Elliot falls in. You'll face your first boss: the Mantis Ant. The man from the café will tell you to use your sword.

When the Mantis Ant blocks its body with its arms, don't strike. Be sure to use your Level 1 strike to kill this thing. If it hits you with the projectile from its arms or with the Gem Missile, there won't be anything you can do. However, if you die, you'll be revived automatically by a mysterious man. This is the only battle you can lose. When you beat the Mantis Ant, you'll get a Sword Orb, then you'll be helped back up to the surface.

PrinceWatercress plays Sly 3: Honor Among Thieves - Part 37 of 42


The Master Thief Challenges start now! With these, we can complete the rest of the game!


Now that the main game is over, it's time for the Master Thief Challenges. The Master Thief Challenges are challenges based on jobs that you've done throughout the game, but usually with some sort of caveat attached to them. Maybe you'll have half health. Maybe you'll have a time limit attached to it. Maybe you'll have to do something else while completing a job. Whatever it is, it makes the challenges a little more difficult. All six episodes of the game have their own set of challenges, and we'll go through all the episodes video by video, starting with the first episode and ending with the last.

Episode 1: An Opera of Fear

Canal Chase - Expert Course

Remember this mini-boss battle? Well, you're going to have to do it again, but this time, you'll only have half of a full health bar. If you can remember to watch out for obstacles, jump ahead of time, and get those shots in with the machine gun without making it overheat, you should be fine. Just don't run into a ton of stuff.

Air Time

This Master Thief Challenge harkens back to the mission in Episode 1 where you had to get into ball form and bounce on all of the tar reservoirs in order to destroy them and close them off. Unlike the main game, however, you don't have all the time in the world. Whenever you destroy a reservoir, however, the timer on the left side of the screen will fill back up. Using L3 to find the reservoirs and follow the targets will make this Master Thief Challenge a quick one.

Tower Scramble

For this one, you'll need to be quick, and you'll also need to survey your surroundings very quickly, especially if you haven't practiced this one. The beginning is the easiest part to mess up, believe it or not. Other than that, just keep chipping away at this one, and you'll eventually be able to get to the top of the building and strike the cardboard cut-out of Octavio.

Coin Chase

For this one, you'll have to pay attention to your surroundings and destroy the scenery as you chase after Octavio. There will usually be something on the rooftops such as a chimney or an antenna that you can destroy for two or three coins each, but on the ground, you'll have to be a bit more attentive. Make sure not to spend too much time looking for things to smash; otherwise, you'll fail the mission due to letting Octavio go too far. The tables near the end of the chase are a really good source of coins in case you're lacking in them. Also, the paraglider is really useful here, too.

Speed Bombing

Here's one that I got some practice with during the main game. You'll want to go up to the valves and drop at least four bombs with the Triangle button, then get out of there without getting blown up, as dying will force you to start over here. Being spun around makes things a little more difficult, but not by much. The valve near the spinning cylinder that you have to stand on is the hardest, as you're being carried towards the valve as you're dropping the bombs, making your bombs not go exactly where you planned them to be. The rest of the valves aren't that bad, though.

Octavio Canal Challenge

This one has you shooting down Octavio in the gunboat within a time limit. At least you have full health this time. The controls and the gun temperature gauge here are the same as the Canal Chase Expert Course. All you really need to worry about is not running into things and jumping over those lasers and bombs that Octavio drops. Make sure you always fire the gun whenever you're perfectly lined up with Octavio. I got quite a lot of shots in when the canal was wide open.

Octavio's Last Stand

Yep, it's that boss battle from the end of Episode 1 again. Your future moves from later episodes such as the fire punch or the fire slam won't work here, so you're better off doing the same tactics as before: two punches, then single jump away to avoid the somersault kick. If he somersaults straight up into the air, stay off the ground so the shockwave doesn't hit you. Also, when you run to the second half of the battle, make sure he doesn't get in your way; that will cost you both time and health if he does. I also found out that attacking in mid-air when Octavio performs the singing attack can take a little more health off and has the potential to knock him back and out of the attack, provided you can nail him with it without hurting yourself. This one will take some practice to finish, but the results are worth it.

Venice Treasure Hunt

To start this treasure hunt, you'll need to find the large clock. From here, you'll want to face east on the treasure map and move four paces away from the flags. From here, you'll want to go fourteen paces southeast. After this, go sixteen paces southwest towards a moon shaped area. You'll be at the police station here. Move nine paces to the west to get away from it. You'll be near a tall building after that. Move six paces to the north to get away from it. From here, go eleven paces northwest to get away from the tar spout. Finally, face the statue of the man fighting the beast that is southwest from your current location, then go six paces in that direction to complete this challenge.

Saturday, December 4, 2021

Tomba!/Tombi! - The OST


Here's every track from Tomba!/Tombi! in one playlist!

ZonicTHedgehog plays Tomba! - Part 17 of 17


In this episode, we take care of the last few missions before taking on the 8th Evil Pig again for closure.


Now that we have all the ingredients for the candy, we can now go back and put the last of them in the pot and talk to the cute witch in her house at the Village of All Beginnings. You'll create the Gold Candy and clear the "Let's Make Candy!" objective.

When you go back to the Million-Year-Old Man with all five Gold items, you'll clear the "The 5 Golden Items" objective and get the Psychic Fish, which can make you run faster and jump higher than before when equipped. When equipped, Tomba's skin will be onyx black while his pants and hair will be a silvery white.

Back in Baccus Village, the man to the east of the town square village (the one near the wagon of barrels, not the one right next to the entrance) is one of the seven friends needed to open the door to the Black Evil Pig. Talk to him and he will automatically head there.

The guy in orange that you'll see on the right upon entering the Iron Castle in the Village of Civilization is another of the friends needed to open the door to the Black Evil Pig. Talk to him and he will head to the door automatically.

There is a cave with a bunch of wooden logs to swing on above a pool of water. At the top of this area is another guy, and if you talk to him, he will head to the door to the Black Evil Pig. This is the sixth and last friend you'll be able to find for the "Seven Friends" objective.

Now that you've found the first six friends, go back to The Strange, Small Room. Baron will join the other friends when you bring the first six friends, completing the "Seven Friends" objective and opening the door to the Black Evil Pig. When the door opens, however, you'll immediately enter the door and fight the Black Evil Pig. When you talk to him, you'll find out that he created all of the other Evil Pigs and that he treats the world much like a grand toy box as you meet him in a room littered entirely with gold.

The Black Evil Pig will teleport around the room, and will stun you if are nearby and not quick enough to jump on him before teleporting again. The Black Evil Pig Bag will move up and down on the right side of the room, with the opening facing left. There will be four small platforms in a diamond pattern to stand on while waiting for the Evil Pig. Stay on the left end of the "diamond" and wait for the pig to show up nearby, then be ready to be right on top of him around the time that he stops flashing and becomes solid. Once you throw the Black Evil Pig in the bag, the island where the battle took place will crumble as Tomba flies away on Baron. The four old men will congratulate Tomba on beating the Evil Pigs, then Tomba heads home as the credits roll. "Grandpa's Bracelet" will be completed after the credits sequence.

Now for the last few missions!

Here's one that could have been started all the way back at the beginning of the game, but this is now being done in its entirety. Go back to the hut near the Ol' Pond. You'll find a set of eyes moving about in the window. If you talk to this guy, he will tell you about the Ol' Pond and the 100-Year-Old Man. This triggers the "Who Are You?" objective. From here, you'll need to finish the "Inside The Kokka Eggs" event and get the 100-Year-Old Key, but we've already done this, so we can just talk to the mystery man again. The mystery man will call himself Yan of the Hidden Village. This completes the "Who Are You?" objective and starts the "Hide and Go Seek" objective. Yan will start a game of hide-and-seek where you will need to find him again and get some more information out of him. He then runs off, and you'll need to find him out of nowhere to continue the game.

The next place you need to go to is where the Butterfly Cage used to be in Charity Square. If the cage is still there, he'll be behind it; otherwise, it'll just be him there. If you have Yan's Lunch Box at this point, you'll be able to give it to him, but he will not give it to you and give you two pieces of Cheese in return for not eating it. If you did eat it, you will not get the cheese. This completes the "Take Out" objective. From here, you'll need to find Yan again.

The next location is the smiley face door in Phoenix/Stormy Mountain. If you laugh in front of the door, you'll open it and find Yan. From here, head to the Deep Jungle and get to the wooden platform to the left of the entrance of the Village of Civilization. If you talk to him there, he'll run off again. 

This time, head to the Mansion. He will be on the east side behind where the wall made of straw used to be (there should be a laughing man there). When you talk to him, he will run off again.

From here, you'll need to return to Hidden Village. Go all the way to the north and he will be in plain sight. Talk to him, he will tell you about the Flower Tower before giving you the Golden Bowl. This will complete the "Hide and Go Seek" objective. As for the Golden Bowl, it will increase your maximum health beyond eight units assuming you've picked up enough Vitality Max +1's to make it happen.

For the final mission, head back to the Village of All Beginnings. Remember those weird flowers that produced a gas cloud whenever you grabbed one? If you grab one when a Koma Pig is nearby, it will shrink it. You can then jump on it and grab it to get your Baby Pig. Be careful, he might run off and be a bit fast. This will trigger the "Peach Flower Gas" objective. From here, head to Baccus Village and use it as an item in front of the guy who is looking for it. You'll get the Kokka Claw, which you can use for the "Let's Make Candy!" objective had you not completed it yet.

If you're wondering where the last Vitality Max +1 is (which Zonic doesn't get), it's inside a Million Year Old (yellow) Chest in Phoenix/Stormy Mountain. You can find the locations of all the Vitality Max +1 Icons here.

Now that you know where everything is as well as how to do all the missions, go ahead and beat the Black Evil Pig again to get credit for all 130! You've beaten Tomba! with all 130 missions cleared!

PrinceWatercress plays Sly 3: Honor Among Thieves - Part 36 of 42


The final battle between Sly and Dr. M occurs...and after the story is done, we're not done yet. We still have the Master Thief Challenges!


Final Legacy

Sly is now in the inner sanctum...and so is Dr. M, who now has a metal, spider-like apparatus on his head. This leads to one last battle where the fate of the Cooper Vault lies in the balance.

When Dr. M. flies around, you'll need to latch on to the bottom of Dr. M with your cane while avoiding the laser blasts that he shoots out. This will pull him down to the center of the arena. If you have to slide on the laser ropes to get to him, so be it.

Once he's in the arena, a vehicle will appear from beneath the floor. You'll need to hide under it to avoid the laser that Dr. M fires. From here, you'll need to use your more powerful versions of the push attack in order to damage him. As you do this, you want to avoid being jumped on, shot or hit by Dr. M. Your best bet is to be aggressive with Dr. M, just like you did when you fought General Tsao on the ground in Episode 4. When you bring down a third of Dr. M's health, you'll have to latch on to him from below with your cane again.

Each third of Dr. M's health meter is one phase of the battle. For the first battle, Dr. M will shoot out balls of water that will follow Sly around and keep him in place if they touch him. You'll need to mash the buttons to break out. For the second phase, the balls of water are placed with balls of electricity that will shock Sly, and his jump attack also has an area of effect (AOE) attack that also sets Sly on fire if he's too close. For the third phase, Dr. M shoots fireballs.

When Dr. M is close to death, Carmelita shows up. Dr. M shoots Carmelita, but Sly takes the laser blast for her and is knocked unconscious. From here, you'll be playing as Carmelita. Just move back and forth to avoid the laser blasts and keep shooting Dr. M. This part of the battle is an absolute joke compared to Sly's part and it will be over in seconds.

After this, Carmelita finds Sly, who now suffers from amnesia. When Sly asks who he is, Carmelita lies to him and tells him that he is her partner, Constable Cooper. The two of them escape from the exploding Cooper Vault, as Dr. M was apparently a load-bearing boss. Bentley makes it into the inner sanctum somehow, but Sly and Carmelita are gone by then.

The final cutscene of the game is narrated by Bentley instead of Sly. Dr. M refuses to leave the vault as it comes down, and is presumed dead. Bentley gets the rest of the Cooper Gang out as the Cooper Vault finally blows, and as it seems that the contents of the vault are locked away forever, the gang finds Cooper's cane along with his Binocucom pack and his calling card...and the seemingly uncountable riches of the Cooper Vault.

Months later, Sly Cooper is still missing, but presumed alive. With Sly gone, Bentley and Murray chased their own pursuits. Murray completed his training with The Guru, and eventually attempted to break into the racing circuit in the stock van class while also somehow managing to walk away from crashes that would kill anyone else. Bentley and Penelope have a more serious relationship now despite Penelope still living in Holland, and have secured the Cooper Vault in the Cooper Gang's hideout. With everyone going their separate ways for now, Bentley considers this the start of a new adventure, both figuratively and literally, as he has built a time machine. This sets the stage for the fourth game, Sly Cooper: Thieves in Time, which came out after an eight-year-long wait.

With that, we have another cliff-hanger, and we have a fourth game on PlayStation 3 on our hands. As the credits roll, we find out what happened to Dimitri, the Panda King and The Guru, then we find out that Sly is still in a serious relationship with Carmelita as Bentley looks through his binocucom. Sly then looks in Bentley's direction and winks, signifying that he has been faking his amnesia the entire time.

And now, we have the Master Thief Challenges to attend to. We'll tackle those next time...

Controls:

D-Pad/left analog stick: Move
X: jump/double jump
Square: attack
Circle: use to interact with sparkles, steal from enemies (from behind; with Sly), grab objects and stunned enemies (with Murray; press Circle afterwards to grab enemy out of air and press again to shake them, or press Square to throw them)
Triangle:
  • charge up cane, knock enemies into the air (from behind; with Sly, use Square afterwards to slam enemy down/use Silent Obliteration)
  • drop bombs (Bentley)
  • uppercut (Murray; press Circle afterwards to grab enemy out of air and press again while holding enemy to shake them, or press Square afterwards to knock enemy out while in mid-air)

Select: access Gadget Grid
  • D-Pad/Left analog stick: select gadget/ability
  • L1, L2, and R2 buttons: assign gadget to button pressed; gadget can then be used with that button

Start: Pause/unpause
  • D-Pad/left analog stick: choose options
  • X: confirm choice
  • Triangle: back out of choice

L3: bring up waypoint

R3: use Binocucom
  • Left analog stick/D-Pad: look around
  • Right analog stick: move in and out
  • R1: take picture

R1: run (hold down)
  • use Paraglide (as Sly; hold down to use, must purchase first)

Right analog stick: move camera

As Carmelita:

  • Left analog stick/D-Pad: move
  • Right analog stick/D-Pad: move camera/aim
  • Triangle: toggle between strafe mode and free movement
  • Square: kick
  • Circle: mega jump
  • X: jump and double jump
  • R1: shoot

As The Guru:

  • L1 (hold): transform
  • Circle (in mid-air, behind an enemy): mind control
    • Left analog stick/D-Pad: steer enemy
    • X: jump off enemy and launch enemy forward
    • Square: attack

Grapple cam controls:

  • D-Pad/Left Analog Stick: aim camera
  • X: shoot/grapple with hook
  • Circle: distract enemies
  • Square: self-destruct (hold down)
  • R1: Fire turret

Hacking mini-game controls:

  • Left analog stick: move
  • Right analog stick: aim and fire gun

As The Panda King:

  • Square: flame chop
  • L1: hold to load fireworks, release to attack with stored fireworks
    • Right analog stick: sweep over multiple targets

Friday, December 3, 2021

ZonicTHedgehog plays Tomba! - Part 16 of 17


In this entry, we face the Blue Evil Pig and tie up some loose ends.


The diggers in the Blue Fortune Teller's hut will mention that the thief's tools might be in the (formerly) Haunted Mansion, and that one of their friends is at the Mansion right now. After they ask you to ask that friend about it, you will trigger the "Unbreakable Wire" objective. If you go back to the healing fountain in the Mansion, you'll see a digger. By talking to him, you can find out that he has the unbreakable wire, but he will not give it to you at first before eventually giving it to you. This clears the objective.

The digger just past the door that will not open will you that there is a legendary place where treasures were stored. This triggers the "Underground Treasure" objective.

One of the doors in the Underground Maze leads to the Million-Year-Old Man. He will tell you that the Evil Pigs are collecting gold because gold is the very source of their evil magic, and that the more gold they collect, the more powerful their magic can become. He says that it is too dangerous to allow the Evil Pigs to keep taking gold, which is where evil spirits are said to reside. This will complete the "Source of Evil Magic" objective.

The Million-Year-Old Man will tell you that you must seal the pigs in the Evil Pig Bags (which we've been doing), and that since you've been to all seven lands, it should not be hard to find all of the Evil Pig Bags. From here, it's a matter of fully exploring areas to find all the Evil Pig Bags. You will then get the Million Year Old Key, which will unlock all of the golden chests in the game. He will then wish for all seven Evil Pigs to be sealed away forever. This triggers the "Million Year Old Wish" objective.

Speaking of which, if you have the Blue Evil Pig Bag, you'll find the door to the Blue Evil Pig's lair in the Million-Year-Old Man's room.

After you talk to the Million-Year-Old Man, you'll be able to reach a 100 Year Old chest in the south part of the maze that you couldn't before, had you talked to the digger near it beforehand. By returning to this area after talking to the Million-Yar-Old Man, you'll complete the "Dig Like a Mole" objective. West of here is a red chest that contains a Butamushi Thorn. Get it. You'll need it to make the candy

At the north end of the Underground Maze is a gold chest. Opening it will award you with 300,000 AP and complete the "Underground Treasure" objective.

If you use the Mighty Fish Food in the Ol' Pond, you can summon a fish. Grab the fish to complete the "Mighty Fish Food" objective. There are two other places where you can use it and summon a fish: one of the rooms with water in it at the south side of the Mansion and the Masakari River in the Deep Jungle. If you grab the fish at the Ol' Pond, you'll max out your fire (red) experience. If you grab the fish at the river in the Deep Jungle, you'll max out your water (blue) experience. If you grab the fish at the mansion, you'll max out your green (wind) experience.

The Blue Evil Pig will shoot mushroom spores at you while giant wheels will roll back and forth across the level. To beat the Blue Evil Pig, stay in the middle and use any Gems you have to avoid damage from the wheels and spores. When the Blue Evil Pig gets close enough, jump on him, then throw him into the Evil Pig Bag at the center of the room once you can throw the Blue Evil Pig into the opening. When you beat the Blue Evil Pig, the 100 Flower Forest will no longer be cursed.

When you beat all seven Evil Pigs, you'll be teleported to the Strange, Small Room in the Underground Maze, where the Million-Year-Old Man will be waiting for you. You'll also get a Black Evil Pig Bag, which completes the "The 8th Evil Pig Bag?" and "Million Year Old Wish" objectives. The door to the Black Evil Pig is here in this room, but you won't be able to open it yet. The Million-Year-Old Man will tell you there is one more Evil Pig, and to get to him, you'll need to find seven friends to step on the floor switches after the first seven Evil Pigs become unsealed and fly away to meet the eighth. This triggers the "The Real Evil Pig" objective and the "Seven Friends" objective.

Head back to Dwarf Village and go back to the Dwarf Elder's house. There will now be a golden flower nearby, since you planted the seed before beating the first seven Evil Pigs and beat the Blue Evil Pig. This will complete the "Plant a Flower Garden" objective, and you can pick up the Gold Flower. (Note: I've since found out that once you plant the seed, you have to complete six events for the flower to bloom.)

If you go back to the Mushroom Forest, you can take on two Yellow Bonsugee. If you blind both of them by jumping into them from the side, you can throw one of them into the other and damage both of them. If you can do this three times, you'll be able to get a Tear Bottle and complete the "I Need a Tear Bottle" objective.

There is a dwarf you can find in the Mushroom Forest near the Leaf Slider exit. If you talk to him, he will tell you that he came to get some Flower Tears to revive the Charity Fountain in Charity Square, yet he does not know how to get any Flower Tears. This triggers the "Tears from a Flower" objective. Now that you have the Tear Jar and the Rise and Shine Powder, equip the Tear Jar, then find the giant yellow flower in the Mushroom Forest. Use the Rise and Shine Powder on this flower, then equip the Tear Jar if you haven't already and position yourself so a tear falls into the jar. This clears the "Tears from a Flower" objective. From here, head back to Charity Square and go to Charity Fountain, then use the Flower Tears. You will fix the fountain and clear the "The Broken Fountain" objective. You'll also get a cutscene of a giant flower growing, then get the "the Flower Tower" objective. Some of the fountain angels (who are actually looking down at the ground peeing) will fly off, and you'll be able to enter the tower...provided you have 1,000,000 AP. If you do, you'll be able to enter the tower, climb up to the top and get the Sacred Fish, which allows you to move fast. To go back down, just hop into the hole in the center like you would a background wall.

The Jewel of Wind is acquired at this point, completing the "Green Hidden Powers" objective.

If you head back to the Village of Civilization entrance, you'll notice there are two guards. The guard on the right is one of the friends you need for the "Seven Friends" objective. He will be back at the Strange, Small Room if you need him. From here, go left to where the caged Bonsugee is. Talk to the guy who is near the table. He is another friend needed for the "Seven Friends" objective. 

The gold chest near the Old Tree contains a gem that gives you 500,000 AP.

If you talk to the 10,000-Year-Old Man, he will tell you about the Psychic Fish that he has in his collection of fish, then says he will be willing to give it to you if you can give him five golden items. These items are:

  • Golden Candy: the candy that the cute witch makes for you
  • Golden Flower: the flower that results from the seed that is planted before the first seven Evil Pigs are defeated
  • Golden Fruit: give ten pieces of Cheese to the one villager in Baccus Village who is looking for them
  • Golden Leaf Butterfly: Find the 29 Leaf Butterflies for the cage above Charity Fountain
  • Golden Medal: get the best time on the Motocross Course

This triggers the "The 5 Golden Items" objective.

From here, jump on the parrot near the Old Tree to ask the Old Tree about the Golden items. This will complete the "Tree of Knowledge Knows" objective.

The Jewel of Water in the Math Bead maze in Trick Village is acquired here, completing the "Blue Hidden Powers" objective.

The gold chest in Phoenix Mountain contains the Iron Boomerang, and the gold chest in the Seaside Mountain contains three 1-Ups.

If you back to the jail cell near the Dwarf Elder's hut, you'll meet the thief that was locked up. You'll find out that the dwarves let him go, then he will leave. (This will happen after you complete the "Look and See?!" objective.) If you head back to the entrance to the Dwarf Village where the Watch Tower area entrance is, you'll be able to race him. The thief will tell you that he hid a treasure at the top of the Watch Tower, and whoever gets there first wins the treasure. This triggers the "Ready, Set, Go!" objective. You'll then follow him automatically to the Watch Tower, and from here, you'll need to make it to the watch tower, then go up the ladder to where the telescope is before the thief does. You'll get the Silver Powder, which you'll need to make the Golden Candy. This also completes the "Ready, Set, Go!" objective.

At the Dwarf Village, the guy in gray near the hut to the north is another friend for the "Seven Friends" objective. Talk to him to get him to go to the 8th Evil Pig door.

ZonicTHedgehog plays Tomba! - Part 15 of 17


In this entry, we face off against two more Evil Pigs as the amount of things we can do left in the game gets whittled down.


Now that you have the Yellow Evil Pig Bag, you can now access the door leading to the Yellow Evil Pig if you go up to the bell at the top of the Clock Tower at the Village of Civilization.

The Yellow Evil Pig will use his staff to drag you towards him to deal some damage, and he will also shoot shell missiles at you. In-between attacks, he will teleport in and out of the room. Stay away from him as his staff flashes, and avoid the missiles.

To beat the Yellow Evil Pig, let the current carry you to the center of the whirlpool and wait for the Yellow Evil Pig to teleport into the room close to you, Get above him (or let him appear below you), then press X to drop on him. From there, throw him into the bag, which rotates around the room counter-clockwise with the opening facing the whirlpool. Once you beat the Yellow Evil Pig, Trick Village will no longer be flooded.

The red chest next to the entrance to the Village of Civilization contains Flash Pants, which are red and make you faster.

The red chest near the Old Tree in the Deep Jungle contains the Navy Evil Pig Bag. If you go back to the Seaside Mansion, you won't be able to go up anymore; instead, you'll see that the other opening is open and it will take you downstairs into a dining room where the door to the Navy Evil Pig is hidden.

The Navy Evil Pig - and the only noticeably female evil pig of the game - teleports in and out while tossing bags. If you touch the bags, they will burst into smoke and hurt you. Meanwhile, the Evil Pig Bag moves up and down on the right side of the room, rotating counter-clockwise in the process. If you can jump on the evil pig and throw it into the ag, it's over. The Deep Jungle will turn into a beautiful forest when you win this battle, and not only will the sky be a bright blue, but the people of the Masakari Jungle will no longer hurt you. The cages will not even be a death trap anymore. Also, once you beat this pig, you can't enter the dining room ever again.

If you give ten pieces of Cheese to the man in Baccus Village looking for Cheese, you'll get the Golden Fruit. You'll also clear the "Some Cheese Please" objective.

The red chest all the way to the left in the Charity Square area contains a gem worth 100,000 AP.

If you go back to the Phoenix's nest, there will be a green jewel to the right of the next. Touching it before you have maximum Wind (green) experience will trigger the "Green Hidden Powers" objective.

A good amount of red chests in the game contain 1-Ups, so go back for them and find them if you can.

There is a cave with a "Danger" sign next to it. If you enter it after beating the Red Evil Pig, you'll complete the "When The Wind Dies Down..." objective. Inside is a Large Lunch Box.

There is a rock to the left of the watch tower in the Dwarf Forest area. If you push the rock to the left, it will hit a see-saw and send the monster on it flying upwards into a pink puffball, revealing the Dirty Mirror. This could have been done much earlier in the game, but it only gets done now. Go down and get the Dirty Mirror. Head back to the Cute Witch in the Village of All Beginnings and talk to her, now that you have the three crystal balls and the mirror. You'll clear the "What The Witch Lost..." objective. Leave, then go back to get the Magic Mirror. You'll complete the "A Magic Mirror?" objective. Talk to the Cute Witch again, and you'll use the Magic Mirror to combine the Grapple and Blackjack to create the GrappleJack, which is a Grapple with a much longer range. This will complete the "Power Up for Tools?!" objective. 

If you leave and enter again and talk to the Cute Witch, you'll find out she has a cold. This triggers the "Take Two of These" objective. Use the Cold Medicine that you have as an item to complete the objective and get a Vitality Max +1.

By using the ingredients for the Golden Candy into the pot, the Cute Witch will tell you what ingredients you need to complete it. Once you put the Biting Plant Flower in the pot, you'll complete the "Biting Plant Flower" objective.