Showing posts with label part 63. Show all posts

Thursday, March 19, 2026

PrinceWatercress plays Super Mario Odyssey - Part 63 of 92


In this entry, we finish up the Cascade Kingdom, then get the Sand Kingdom started.


Cascade Kingdom


32. Under the Ground - This Power Moon is underneath the T-Rex; you'll need to destroy all of the rocks around it to find a light you'll need to ground pound for the Power Moon.

36. Cascade Kingdom Master Cup - You'll need to get the Regular Cup Power Moon for this. For the Master Cup, you'll need to do a jump immediately after a ground pound for a ground pound jump to save yourself some time, as the Gold Koopa will jump at a specific point to get ahead of everyone else. Get to that spot, do the ground pound jump, and carefully long jump your way to the finish line and you should get this Power Moon without much of a problem.

Sand Kingdom


63. Found with Sand Kingdom Art - There is some hint art on the side of one of the buildings in town in the Sand Kingdom. This is a reference to where the Crazy Cap store is in Bowser's Kingdom, and you'll need to count the number of stones on the path before ground pounding the part in the grass between them for a Power Moon.

64. Jammin' in the Sand Kingdom - One of the rooftops in Tostarena Town will have a Jammin' Toad. He will request a piece of music with the them of "Memories of a tough battle." Select any boss theme, and you'll get a Power Moon.

65. Hat-and-Seek: In the Sand - There is a line at the ice cream stand, and one of the people in line has eyes in the back of their head, both figuratively and literally. If you talk to that person, you'll find out that it is a Bonneter from the Cap Kingdom disguised as a sombrero. It turns out that there are two other Bonneters in town looking for him. He will give you a Power Moon for keeping his appearance on the down low.

67. Binding Band Reunited - Go back to where you fought Knucklotec and use the slingshot to get to the exit. The Binding Band will now be in its rightful place, and if you ground pound the diamond on it, you'll get a Power Moon.

68. 'Round-the-World Tourist - After getting the "A Tourist in the Mushroom Kingdom" Power Moon, head back to the Sand Kingdom and go back to where you first met the tourist and the taxi driver. Talk to the tourist for one last Power Moon.

69. Peach in the Sand Kingdom - Princess Peach and Tiara will be at the edge of the Inverted Pyramid; talk to them for a Power Moon.

Thursday, October 31, 2024

PrinceWatercress plays Chrono Trigger (Super NES) - Part 63 of 70


It's now time for the most uninteresting ending in the game.


For the next ending, you'll need to fight Lavos after you get the Dreamstone and before you give the Masamune to Frog. I also try to beat Lavos as quickly as possible. Eight-and-a-half minutes isn't too bad. 

As for the credits? You just get the credits with sprites of the characters jumbled in while the music from The End of Time plays. That's it.

Tuesday, November 16, 2021

HCBailly plays Final Fantasy II AGAIN - Part 63 of 65


In this entry, we get some good weapons and armor while Borgen comes back from the dead.


The chest with the Genji Gloves contains Zombie Borgen (Z.Borgen). Use Fire on him, because that's more likely to work than anything else. He has high magic defense, and you won't be able to use Osmose on him due to him being an Undead-type enemy. He can also cast Flare 16 on a single party member.

The Genji Gloves are extremely heavy, but they do have Mind resistance.

There's a fake wall that leads to the room in the upper-right corner of the crystal maze behind the first door. The upper-right corner of that room is a fake wall, which leads to the Masamune. It's uber-powerful, so if somebody in your party has mastered swords quite well, this weapon is going to be extremely useful. When used as an Item in battle, it can cast Haste 11 on your entire party. Nice. Just remember that Haste does not stack on itself in this game.

The Genji Helmet is guarded by the Tiamat, and the Genji Armor is guarded by...Satan. Who is a bug. What.

Anyway, Tiamat and Satan are extremely easy if you have Mini and/or Toad powered up. If not, keep in mind that Tiamat's magical attacks are weaker than her physical ones, and that Tiamat are immune to Mind-elemental spells but weak against Body-elemental. She also absorbs Fire, Ice, Thunder and Poison-type attacks. Tiamat is also a Spellcaster- and Magic Beast-type enemy and also happens to be an Earth-elemental enemy.

The third of four doors is the path to the boss.

The DevilWolf can cast Warp on you, and if it connects, it's instant death. They are considered Spellcaster-type enemies.

Wednesday, May 29, 2019

HCBailly plays Final Fantasy IV (Super Famicom) - Part 63 of 70


...and now for the cheapest enemy in the entire game.


The Crystal Armor is great for Cecil and is one of the strongest armors in the game, and protects against all status ailments, including Berserk. You may want to keep the Genji Armor around for him.

The Allemagne is susceptible to projectile weapons, and loves to cast Death Sentence, which causes a timer to appear above whoever it is casted upon, which kills the player upon reaching zero.

If you come across multiple Red Dragons, have Rydia summon Leviathan and Edge use Suiton to take them all down.

The White Robe is the best armor in the game for Rosa and increases her Will by 15.

The Rilmarder is weak to Lightning and continuously casts Libra on itself. If you cast Bolt 3 on it and do maximum damage, it will castle Haste on itself and cast Bolt 3 on everybody until the whole party dies. Instead, use other attacks, then use Bolt 3 to finish it off. (In the Western Super Nintendo version, it is known as Tricker for this very reason.)

The Crystal Helmet is great for Cecil and increases Will by three.

The Red Fang isn't too special, but the room that contains it is the only area where you can fight Pink Puffs if you use the Alarm. When you fight them, the Chocobo music plays, and the Pink Puffs will automatically Bersek one of your party members. If you beat them, there is a slight chance that you can win the Pink Tail, and if you give it to the dwarf that collects tails, you can get Adamant to use to get the Adamant Armor at Kukuro's house. It boosts all stats by 15, gives you near perfect evade and magic defense, and protects against all status ailments. 

Sunday, June 17, 2018

HCBailly plays Terranigma - Part 63 of 75


"It's me, Ark! It's me, Ark! It was ME all along, Ark!"

Aw, son of a bitch.

World Map by Tropicon. Lhasa map by Amir Azadur.

When you go north to the final room, you'll see Dr. Beruga come out of cold storage. Beruga thanks you for waking him up, and said he went into cold sleep when the world died and waited until then asks you to follow him. You'll see the tubes with the zombies in them, and Beruga will tell you he created them.

This is what he means by ending death. He's literally creating a zombie world.

Look at any of the zombies. Ark will notice that the zombie is sad, and asks if this is really a good idea as the world would fill up immediately if people didn't die. Beruga will say he's taken this into account and declares that only the unnecessary shall die and only the necessary shall live.

Ark charges at Beurga, but Beruga summons some orbs and fires at him. Beurga mentions the Three Laws of Robotics, but says the robots here have one more law governing them: anyone deemed a threat to Beruga must be immediately terminated.

Beruga then says his liege shall soon re-emerge from the underworld, as his liege is the world and knows all its truths. He then decides to witness the world on the verge of "great progress."

In Neotokio, a yellow fog encompasses the city. Everyone flashes weird colors, then disappears. This is Asmodeus wiping out everyone in the town.

You then go to a black screen with Ark. The Elder tells Ark that he has done well to groom the world, and that Beruga will make the world fantastic. He tells Ark his duty is finished and that he shall rest eternally. The liege is the Elder of Crysta. We've been played the fool all along. Ark wonders what he fought for all this time, and wonders if he was really shaping a world like Beruga wanted, and doesn't want to die without knowing.

A voice comes from out of nowhere and says that Ark will not die here, and explains that Ark exists outside the loop of fate, allowing him to change destiny. The voice teleports Ark to its source.

Lhasa


You'll wake up in Lhasa. Meihou will be nearby, and tell you he arrived just as Lord Kumari brought you back. He tells you the star of darkness hsa re-emerged and erased a city from the world without effort. He tells you to ask Lord Kumari to show you the way before the "dark star" consumes the rest of the world.

Head to Lord Kumari's chamber. He'll tell you what Beruga has done, says that Beruga has disrupted the loop of fate by ending death, tells you an old saying: "Starstones laid at the grave at time's end calls the golden child." Meihou journeyed around the world trying to figure out what this meant, but only got fleeting glimpses of the truth: human fate is a fixed loop, and what one seeks is not always found. Kumari then tells Ark is different as he exists outside the loop of fate. He tells you to seek out the Starstones and place them at the grave at time's end in order to realign the disrupted loop of fate.

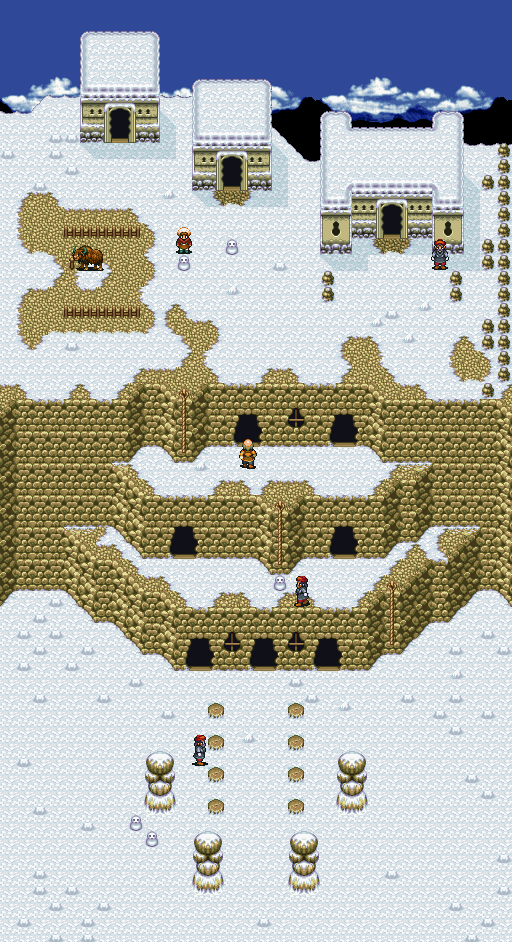
From here, go to any town and head to the Fortune Teller in the town and talk to her. She tells you that what you seek are in a dream, sand, ice, mountain and ruins.


Head to the Sahara Desert in Western Africa. Head to a point that takes you to a desert. Nearby is a skeleton. Interact with it, and Yomi tells you to look at the skeleton's neck. It's the stone Leim found in the canyon, and Ark wonders why it's here. Yomi says that a human probably stole it from a lion's den. This is the first Starstone.

Your next stop is South America. Head to the stopover near the mountains to the south and tell the bird to give you a ride. This will take you to Greenland, and the stopover bird is the only way to get into Greenland as rocks line the entire perimeter of the land.

Friday, March 16, 2018

skorch82 plays Brave Fencer Musashi - Part 63 of 70


We finally face Leader's Force as we begin to storm Soda Fountain!

Once you enter Soda Fountain, equip the Sky Scroll. The chest at the beginning is a Memory Box. Charge up the Sky Scroll, then press and hold X to float. You have until the charge meter runs out to get to the next piece of dry land before falling and hitting the electrified water below.

It won't be long until you have to avoid rotating spiked walls and electrified walls. You'll have to be quick as well as accurate to avoid taking damage and being knocked out of the air and make it to land.

Don't worry about the items in the chests if you've well-stocked with good healing items, as you won't find any useless items in them that you'll have to choice but sell to the pawn shop in this area.

The next section is a rotating tunnel with spikes. The first part isn't that hard, but it isn't until you meet the helicopter enemies and the spiked walls. Use the Sky Scroll when you need to.

You'll then meet Ben, one of the two bell thieves from earlier, who says that he is the leader of Leader's Force. Ben will fly around with the helicopter blade strapped to his back and throw bombs. There are a few safe spots, but you can also use the Sky Scroll or stay on the southern end of the room. Not only do the bombs land in the same place, you also get the same safe spots and the bombs explode in the same order every time.

After the bombs explode, he'll drop to the ground and throw shurikens and axes at you before going in for a dashing sword slash. Use your advanced techniques on him to do more damage, as Ben will be vulnerable when he is on the ground. Get in a few hits, then back away and stay on the move to avoid each attack, then get one or two hits in with Lumina. When he returns to the air, his attack pattern will repeat.

Once you beat Ben, you'll be able to continue and save your game.

Sunday, December 15, 2013

brickroadbrickroad and SovanJedi play Secret of Evermore - Part 63 of 88


More forest exploring, because Brick wants to map everything out when I've already got the maps for you people. Yay.

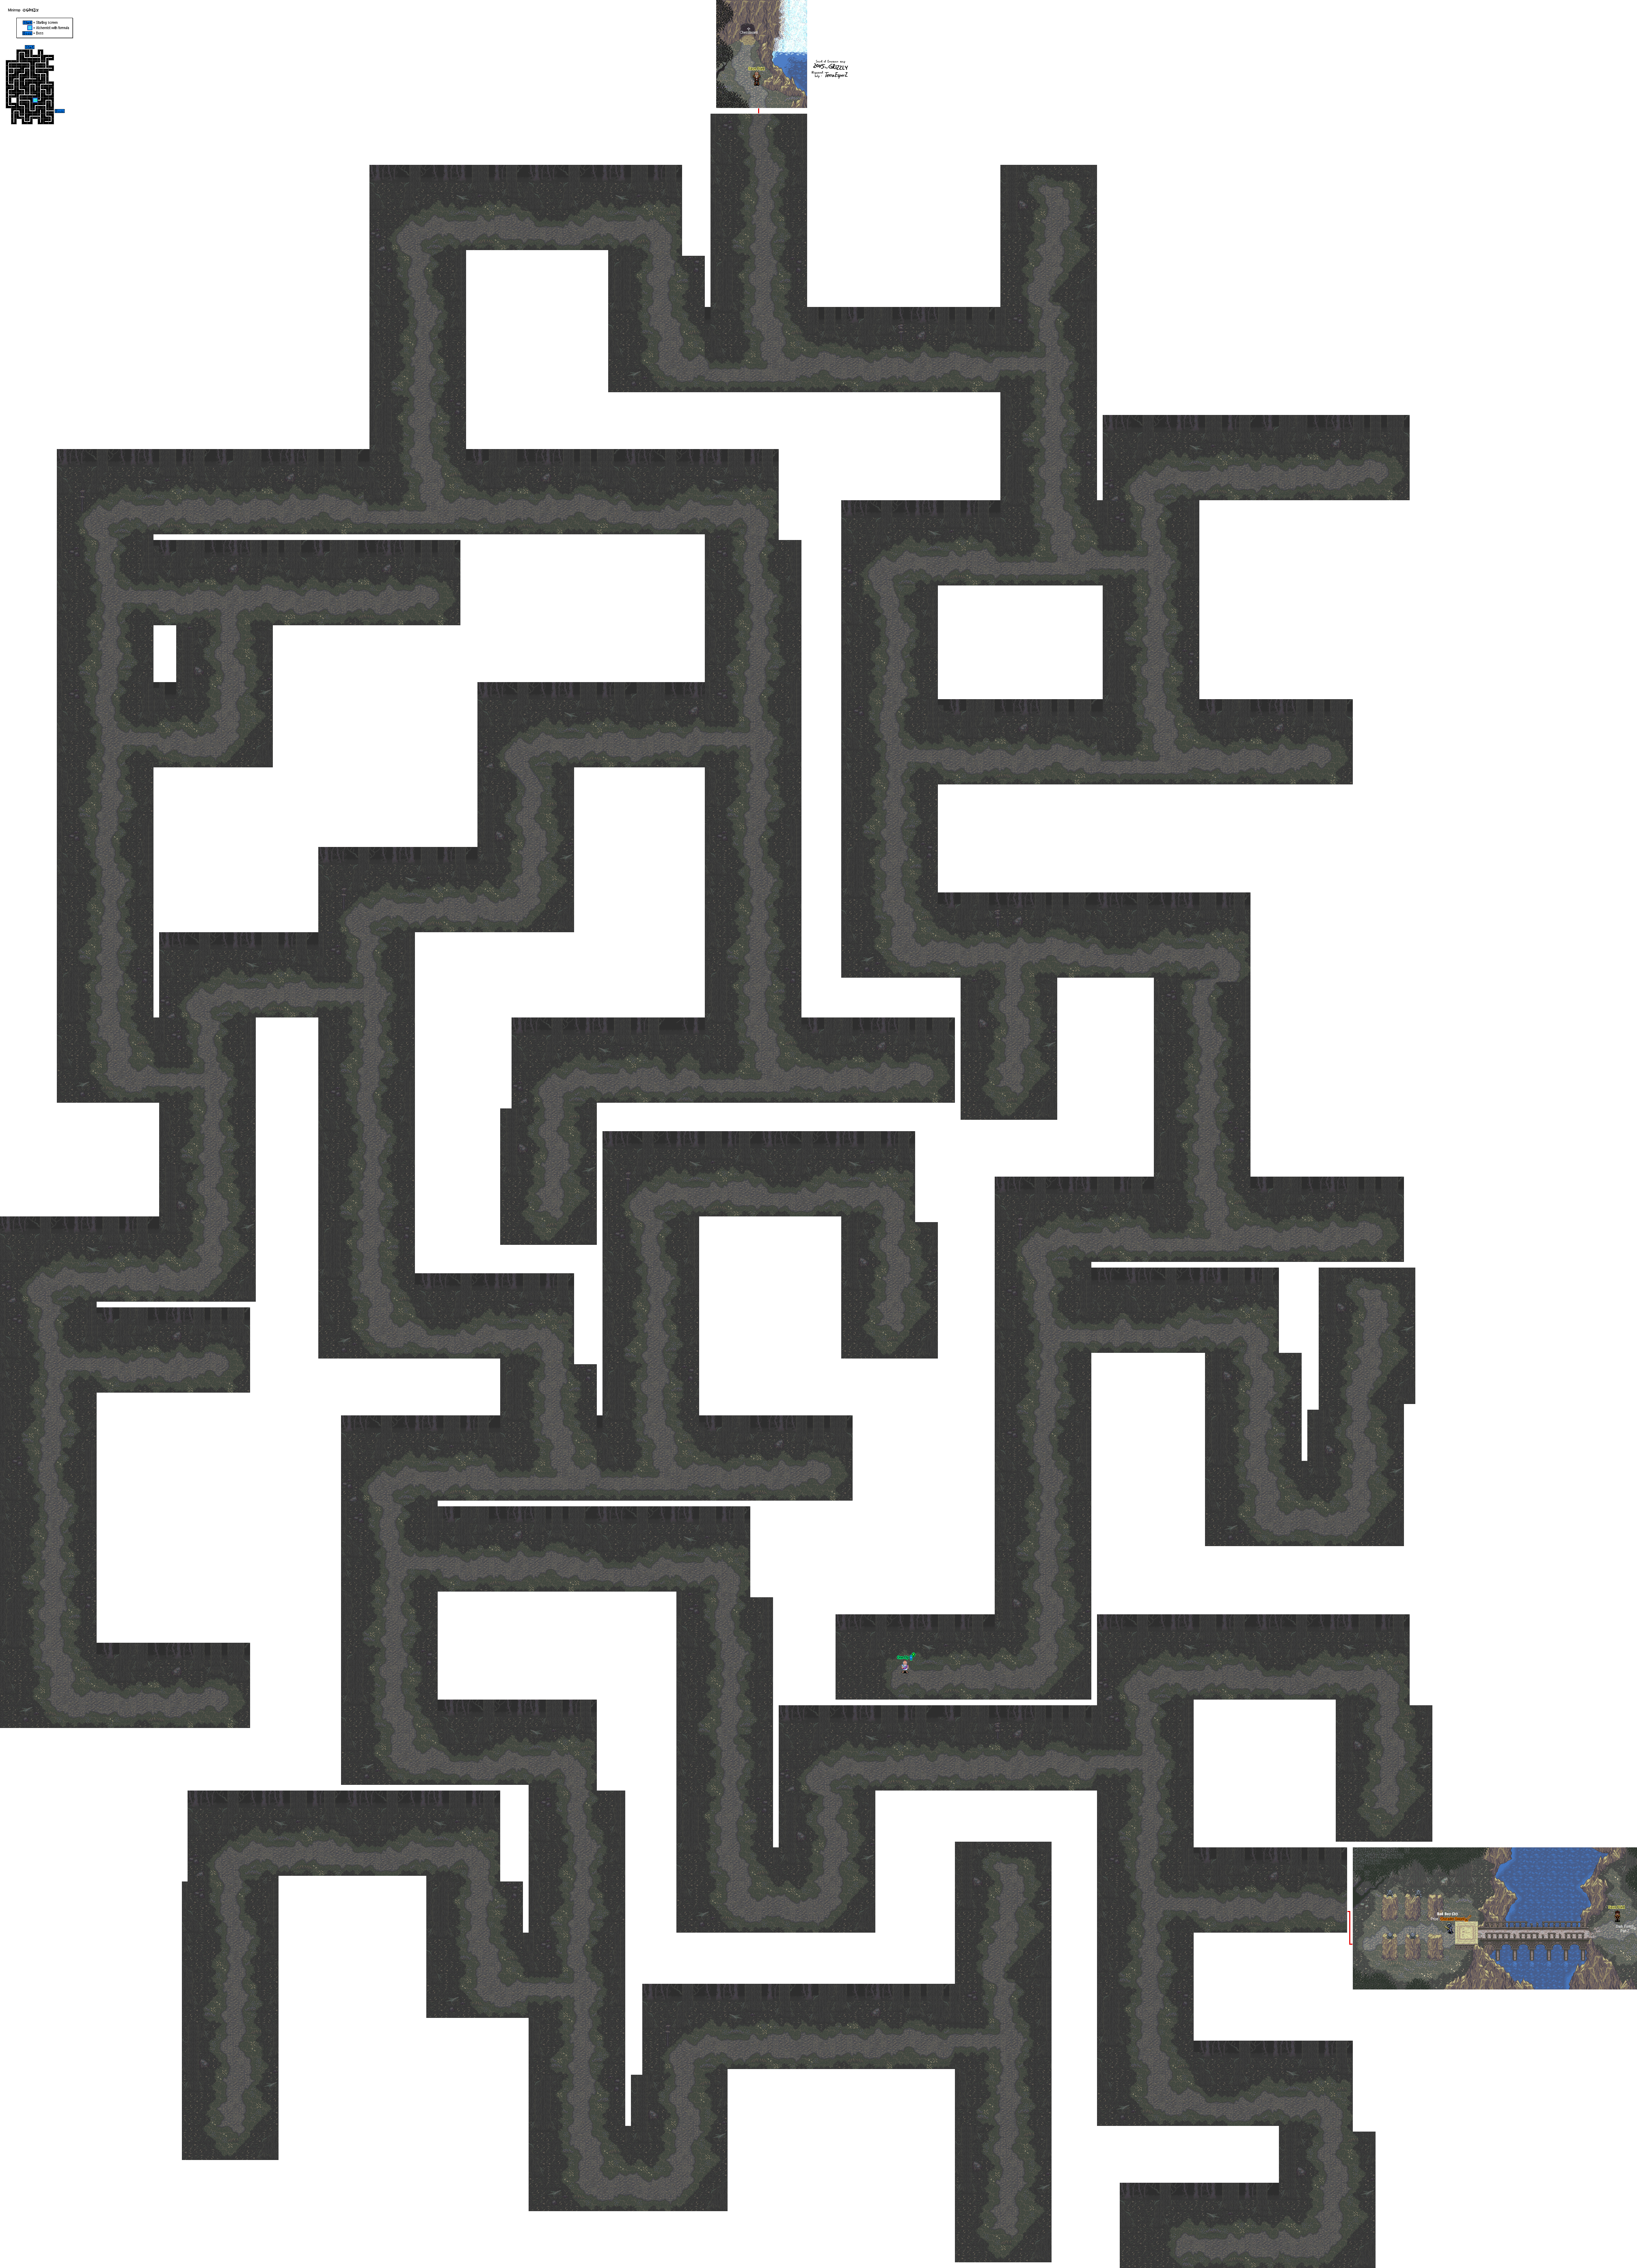
All maps by Grizzly.

Dark Forest


Map 1

Even more fun with the signs: one of them tells you to see Mr. Head and Percival Plank's exhibit, which we've already done. CM Punk was not impressed.

As for Gruelville, I'll second Sovan's opinion. I'd rather be in Slopland.