Here it is...every track from Donkey Kong Land...including an unused one.
Showing posts with label Donkey Kong Land. Show all posts
Showing posts with label Donkey Kong Land. Show all posts
Monday, October 28, 2019
Donkey Kong Land - The OST
Here it is...every track from Donkey Kong Land...including an unused one.

Sunday, October 27, 2019
PrinceWatercress plays Donkey Kong Land - Part 11 of 11
After all this, you have an interesting final boss battle with King K. Rool, then...credits.
All maps by Shiny.
K. Rool's Kingdom
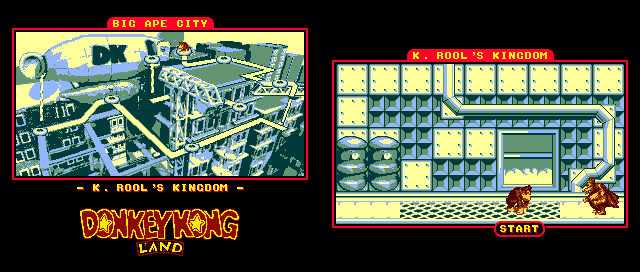
It's now you vs. King K. Rool.
For the first part of the battle, King K. Rool will throw his crown at you. Jump on his head when he throws his crown at you, then run to the other side of the room. Jump over him, then wait for him to throw the crown again and jump on him. After six hits, you'll trigger the second part of the battle.
There is a glitch where you can jump on K. Rool at the exact instant he throws his crown, and if you do that, you'd better be ready to jump over the crown, because he will still throw it afterwards. It is possible to get all six hits in by timing it just right so that you can get all your jumps in the moment he starts throwing every single time.
In the second part of the battle, jump over K. Rool, then start running towards him when he runs. He jumps over you when you are close enough to him - it is not just a random jump. After a few pounces, he will start throwing his crown before running behind it. Be ready to jump over him when that happens. He will then keep throwing the crown and running behind it, and he will be faster with each successive hit. After another six hits, you've beaten Donkey Kong Land with 100%! Congratulations! Enjoy your underwhelming ending!

PrinceWatercress plays Donkey Kong Land - Part 10 of 11
Here they are: the last three levels in the game before the battle with K. Rool.
All maps by Shiny.
Skyscraper Caper
Bonus areas: One (1)

The conveyor belt ropes are introduced, and by looking at them, you can tell whether they are going up or down. You may have to avoid Zingers while sliding downwards or Slippas that slide down the ropes as you make your way up.
Close to the end, there will be a series of ropes where Zingers will be in your way. When you get here, get as high as you can. You'll find the barrel cannon that leads to the level's lone bonus area, where you can get the N.
Button Barrel Blast
Bonus areas: Two (2)

In this level, the button from the coin mini-game is back...but you'll be seeing it multiple times, and every time you see it, jumping on it will control the angle that a nearby barrel cannon will be facing by spinning the barrel clockwise.
Shortly after the K, you'll have to aim a barrel downwards and jump in. You'll get the first bonus area, where you can get the O.
After the continue point, aim the barrel you see afterwards to the right and jump in. You'll enter the second bonus area, where you can get the N.
Oil Drum Slum
Bonus areas: Two (2)

The oil drums finally come alight just like they did in Donkey Kong Country in this level. It may not seem that way at first, but soon after the start, some of them are ablaze, and there will be others where the fire goes in and out of the oil drum. Wait for the flame to start going straight down before jumping.
There is a tire to the left of the rope where you find the O. If you can superjump to it at the bottom of the rope and leap further to the left, you'll enter the first bonus area, where you can get four extra lives.
The second barrel involves throwing a TNT barrel at an oil drum on a platform after the second continue point. If you can pull it off, you can go up another rigging area where you can get a few extra lives if you're quick enough.
Saturday, October 26, 2019
PrinceWatercress plays Donkey Kong Land - Part 9 of 11
Our adventures through the city continue with some interesting level gimmicks and level design.
All maps by Shiny.
Kong Krazy
Bonus areas: One (1)

In this stage, the Kong letters show up very frequently. When you collect a whole set, you can jump on the checkerboard cylinder at the end of a section of the level to turn the Kong letters into platforms that you can use to get across a pit.
The bonus area here isn't until near the end. You'll see a long line of bananas arcing downwards to the right, and if you jump to where it ends, you'll get a rope that you can climb to the last K and a bonus coin.
When you get the last set of Kong letters in this level, you'll be able to save your game, like always.
Construction Site Fight
Bonus areas: Two (2)

Be careful in this area, there is a bottomless pit all around you.
The chain before the O leads to a bonus area. You can get an extra life here.
The barrel cannon for the other bonus area is directly below the N. Here, you can get a bunch of bananas.
Fast Barrel Blast
Bonus areas: Two (2)

In this level, you'll be firing yourself out of barrel cannons...a lot. Some are automatic, some are not. Some of them rotate part of the way, some of them rotate a complete 360 degrees. You'll have to be patient with your shots so you can get through this level. You'll also have to bounce off of tires from barrel cannons as well.
The first bonus area is a rope in the ground just after the start, just before the K. It's a coin mini-game.
The second bonus area is at the end. Instead of going right to the exit, go left and superjump. You'll find the second bonus area, where you can get the G.
PrinceWatercress plays Donkey Kong Land - Part 8 of 11
Well, whaddya know? We've made it to the fourth and final world. Wish there were city levels in Donkey Kong Country.
All maps by Shiny.
Landslide Leap
Bonus areas: Two (2)

It's another mountain cliff level, but this time you're going left to right the entire time. Watch out for enemies while jumping from one platform to the next, as enemies will suddenly pop up and rocks will keep dropping down.
The first bonus area is after the first pair of rocks dropping down. Drop down and follow the trail of bananas to get to it and get the O with Expresso.
After the area with the Zingers flying between the platforms, there will be a flying pig. Leap off it to the right as it goes to the right to find the second bonus area. You can get the G here.
If you drop down past the exit to the right, you'll find twelve bananas.
Collapsing Clouds
Bonus areas: Two (2)

The third clouds area is not only the easiest, with the main gimmick being the clouds that disappear when you jump onto them, but also the most fun.
You'll finally see Expresso outside of a bonus area here, and soon after you get him, there will be a barrel cannon leading to the first bonus area. The two bananas will signify where to drop down and a little bit to the left. You can get some bananas and three bonus coins here.
Just before the N, there is a cloud that you must stand on, and if you stay on it, you'll drop to the second bonus area. Unlike the first one, the two bananas that signify where you need to stop are located on the cloud before the one you need to wait on. It's a coin mini-game.
Mad Mole Holes

The mole boss will come out of one of the three holes on the ground, then wait before throwing his hat at you. Only his hat can hurt you; if you leap on him before he throws it, you're only knocked back. As you keep jumping on him, this battle gets faster and faster, and you'll have to time your jumps more and more so that you can land on him almost as soon as he comes out of the ground. Eventually, you'll be able to take him down and move on to the final world of the game.
Big Ape City

Balloon Barrage
Bonus areas: Two (2)

Love the city themes for some of the last world's stages; it's a shame Country didn't do this.
The first bonus area is right at the start. Use the balloon that moves up and down as it inflates and deflates to jump to the right when it goes as far up as it can. If you can stay on the platforms here, you can get a ton of bonus coins.
As mentioned earlier, the gimmick for the stage is the balloons that move up and down as they inflate and deflate. They serve as platforms for this stage, and you'll have to not only time your jumps well, but also position yourself very well to get through the stage.
Just before the G, there will be a barrel cannon leading to the second bonus level. Jump onto the third balloon and wait for it to go all the way up before jumping up and to the right to go in. You'll have to deal with the Sky High Caper platform again to get four bonus coins and the N, but at least this part isn't mandatory to attempt.
Friday, October 25, 2019
PrinceWatercress plays Donkey Kong Land - Part 7 of 11
In this blog entry, we...oh. Oh, dear. We have THAT level, don't we?
All maps by Shiny.
Track Attack
Bonus areas: Two (2)

Welcome to the first of three cloud levels...and they are doozies.
The gimmick for this one is platforms on tracks. Stay on the platform, jump over the Zingers and make sure you don't fall to the bottom.
There is a barrel to the right that you can jump to on the second platform. A superjump will allow you to reach it easily and get the O.
The second bonus area is after the checkpoint. When you see the flying pigs, you're there. Jump off the two flying pigs to the right and get in the barrel cannon. When you get back, duck under the flying pig, then jump to get the G. Jump on the cloud platform near the end to reach the goal.
Spiky Tyre Trail
Bonus areas: Two (2)

The spiky tires are Mincers, obviously.
For some reason, the barrel cannon to the left at the start refused to spawn when I started the level. It takes you to the K, four banana bunches and a 1-Up.
When you see the pit with two Mincers and the platform that moves over them after the start, drop down between the Mincers to enter the first bonus area and get a bunch of bananas.
When you make it past the long pit after the N, drop down where the Mincer is going up and down. There will be a steel keg to the right. Grab it, then go back down and throw it into the right wall to enter the second bonus area, which is a coin mini-game.
Sky High Caper
Bonus areas: One (1)
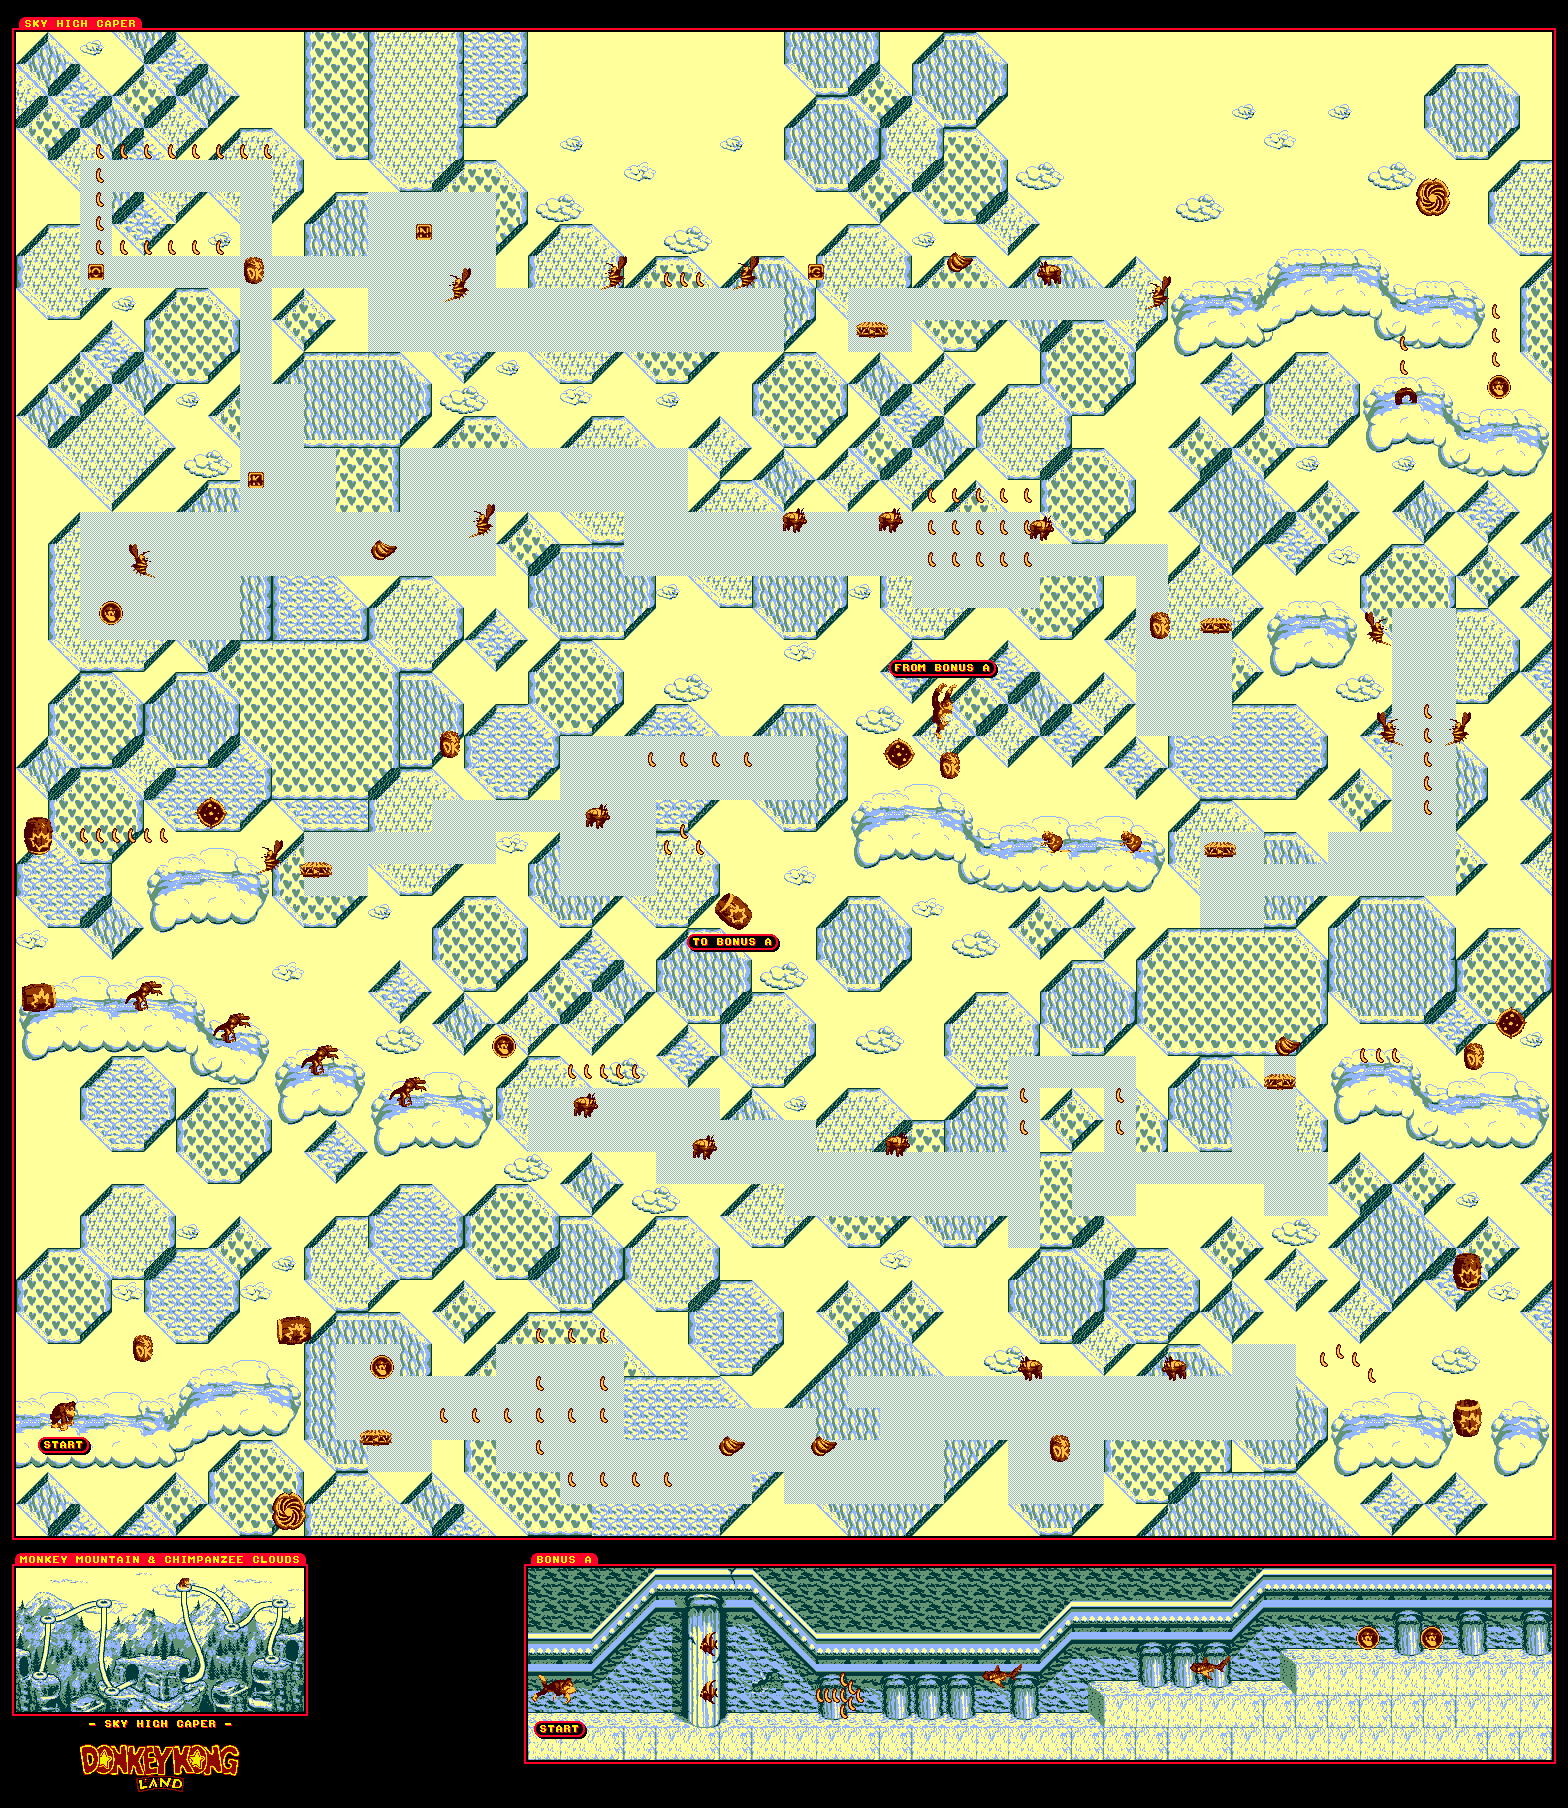
Oh, boy. This level.
The platforms here move around in pre-determined zones. When you jump on the platform, or when the platform hits the end of a zone, the direction the platforms goes - which is signified by the arrow on the center of the platform - moves counter-clockwise (right, up, left, down). In certain parts of the zones, you'll be going down some pretty linear paths, but your reaction time will have to be good to get the platform to go where you want to go.
The pigs are the worst part of this stage. You may have to roll/cartwheel into them to get rid of them. Be ready to jump right back onto the platform and get the platform re-situated and moving the way you want it to again afterwards. If you hold the B button during this level and let go of it at any time, pause the game, hold down the B button, then un-pause so you don't roll off the platform.
Shortly after the second checkpoint, there will be a banana path that arcs downwards to the right. If you follow it, you'll find the stage's lone bonus area where you can swim for some bonus coins. Just lay low so you can get past all the enemies.
When you see the K, you're nearly at the end. At this point, the worst is over. To the right of the goal is a line of bananas, and if you follow it, you'll find a bonus coin.
Oh, and if you get the first platform in the level down and to the left at the beginning of the platform zone, then superjump to the left, you'll find a secret exit that allows you to skip everything.
Thursday, October 24, 2019
PrinceWatercress plays Donkey Kong Land - Part 6 of 11
Well, that didn't take long. It's now time for World 3!
All maps by Shiny.
Swirlwind Storm
Bonus areas: One (1)

The tornadoes - which are known officially as Swirlwinds - are here in greater numbers.
Just jump on one, then keep going in the direction you want.
To get the K, face away from the nearby Swirlwind to get it to come to you, then jump over the Swirlwind and get it.
There is a lone banana above one of the Swirlwinds, and if you use the Swirlwind to get to it, you'll enter the lone bonus area. Here you can get the G.
Seabed Showdown
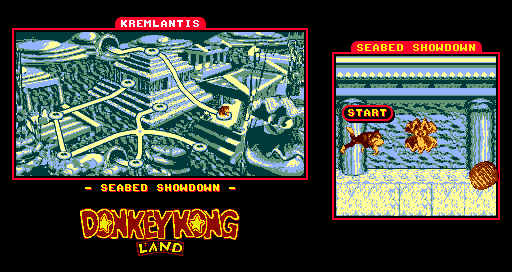
The boss here is a Clambo. To beat him, just position yourself in front of the shell that will be in one of the corners of the room, and when the Clambo moves back and spits a pearl at you, move out of the way so that the pearl bounces off the shell and hits the Clambo. After enough hits, you'll win the battle.
Monkey Mountain and Chimpanzee Clouds

Pot Hole Panic
Bonus areas: Two (2)

Move the tire at the start to the right to get the K. It's your first movable tire of the game! After some crawling by just moving right, move the second movable tire you see to the right to the first area where you can stand up. Jump up and to the left to enter a barrel cannon that takes you to the first bonus area. Here, you can use Rambi to beat up some Kritters and get some bananas.
Before the N, there is a movable tire you can move. Move it to the left first so you can take it down the normal path, then take it to the right and over the pits until you see a line of bananas. Leap into it with the movable tire to enter the second bonus area, where you can get the G.
Mountain Mayhem
Bonus areas: Two (2)
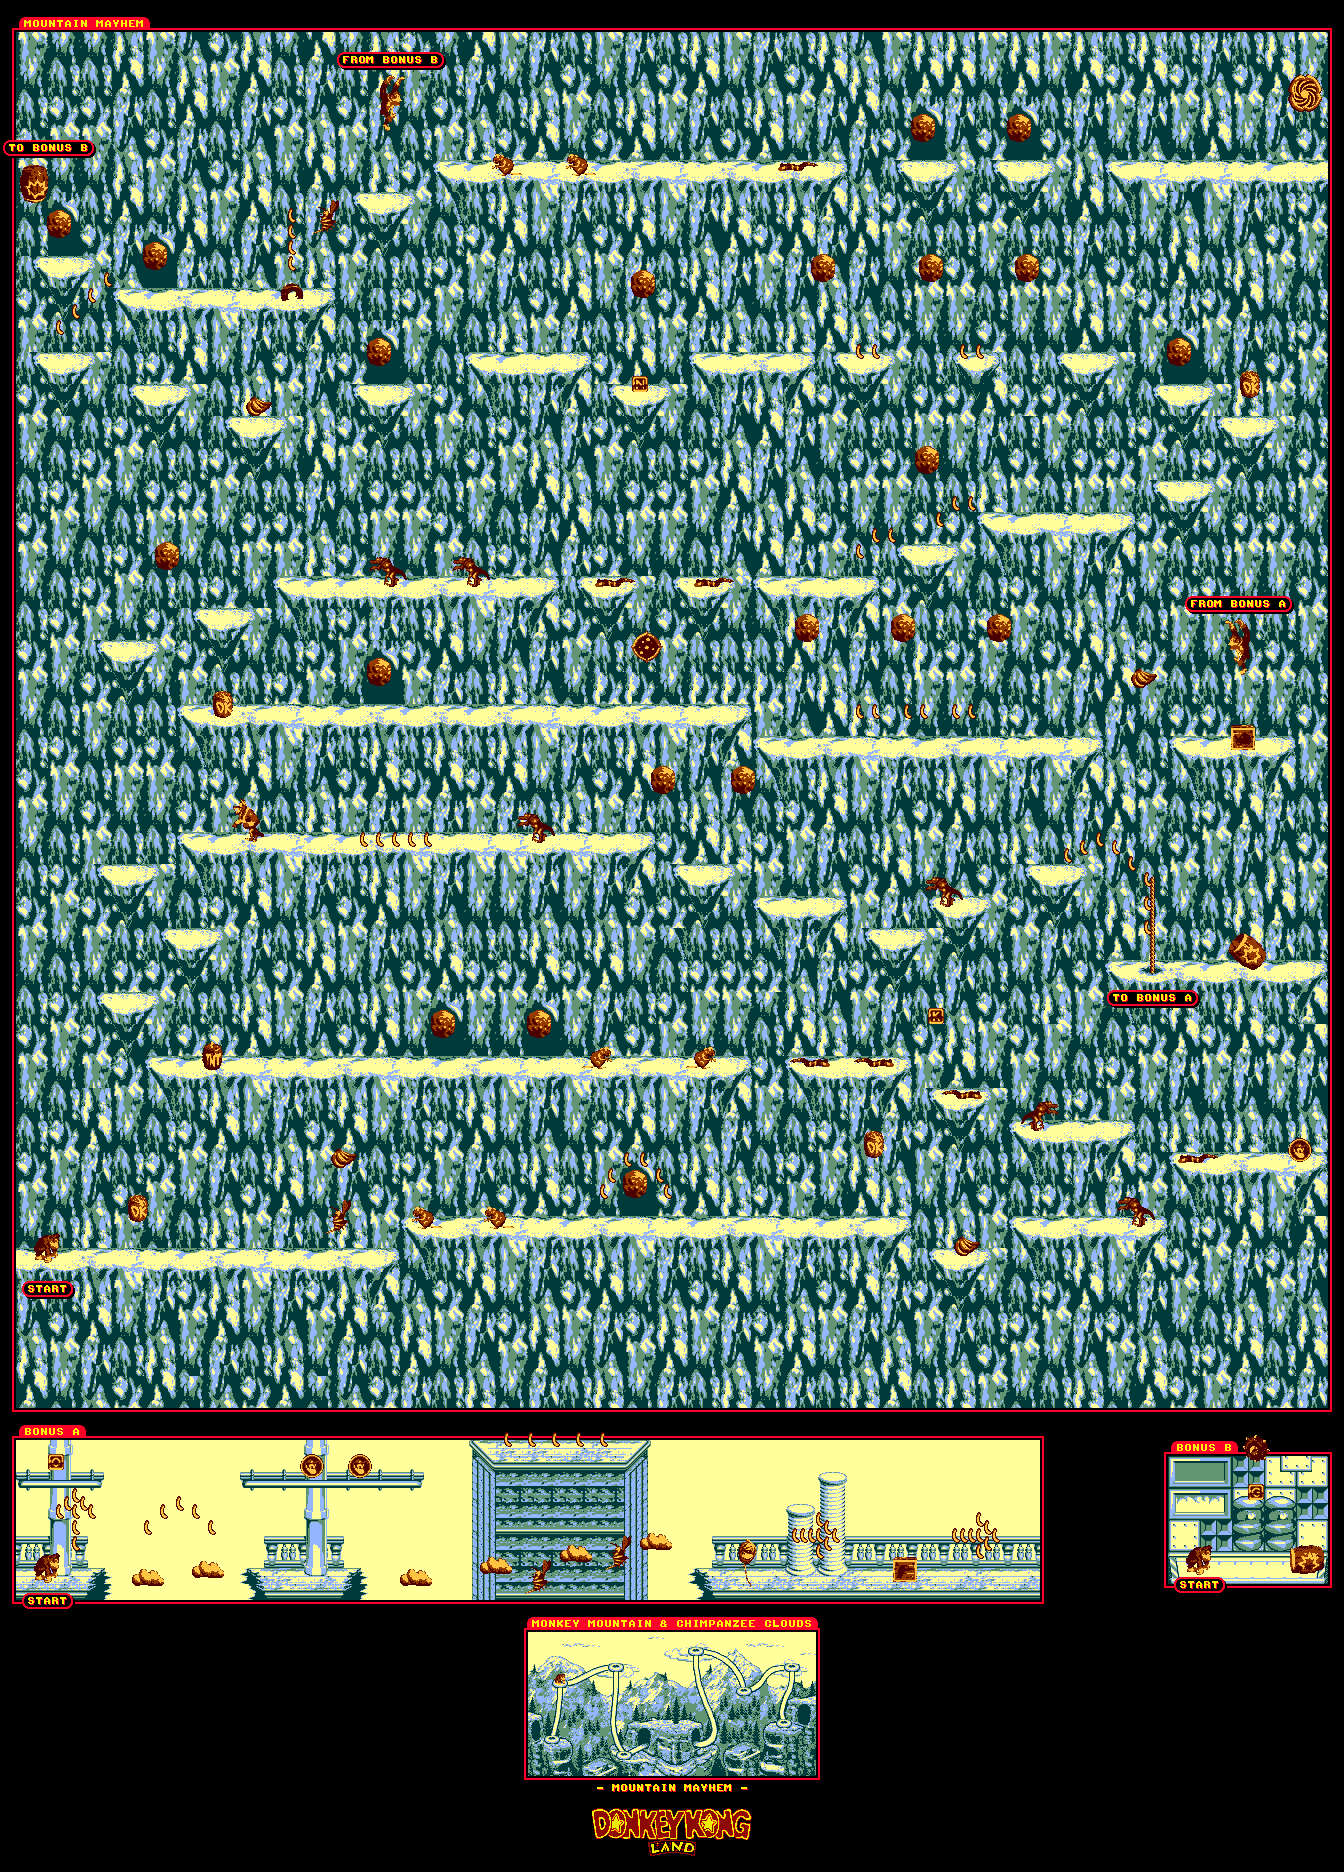
Here, you will see falling rocks every so often. You want to make sure that you avoid them, as there is no way that they can be destroyed. Some of them also drop down between ledges, so take care not to rush through the stage too fast.
The first bonus room is hinted at with a line of bananas leading downwards. Leap on the clouds, avoid the Zingers and use Expresso to bounce off a Zinger to get some bonus coins. Unlike Donkey Kong Country, he can bounce off Zingers this time around.
You can use Rambi, but it is not recommended if you're not confident in your jumping skills, even if he does provide an extra hit.
Going left near the end will reveal a barrel cannon leading to the second bonus room. Get the G and get out.
PrinceWatercress plays Donkey Kong Land - Part 5 of 11
There's not a lot of bonus areas in this stretch, so don't expect this video to take long.
All maps by Shiny.
Snake Charmer's Challenge
Bonus areas: One (1)

The spinning pots will endlessly spit out Slippas. Also, the tornadoes will slowly follow you around, and if you keep jumping on it, you can keep bouncing on top of it while it moves where you move. If you see any pots rolling towards you, jump over it.
One of the spinning pots has a tire under it, and if you throw a barrel at it, you'll be able to launch yourself up into the bonus area. If you can make it to the end, you can get the O.
You'll also be able to pick up a bomb at the end. This opens up more of the second world.
Chomp's Coliseum
Bonus areas: none

This time around, Chomps Jr. will make his debut. He is pretty quick and has a slightly bigger hitbox than the other underwater enemies you've met.
Other than that, there's a bomb for blowing up rocks in the path in the overworld map.
Nautilus Chase
Bonus areas: none
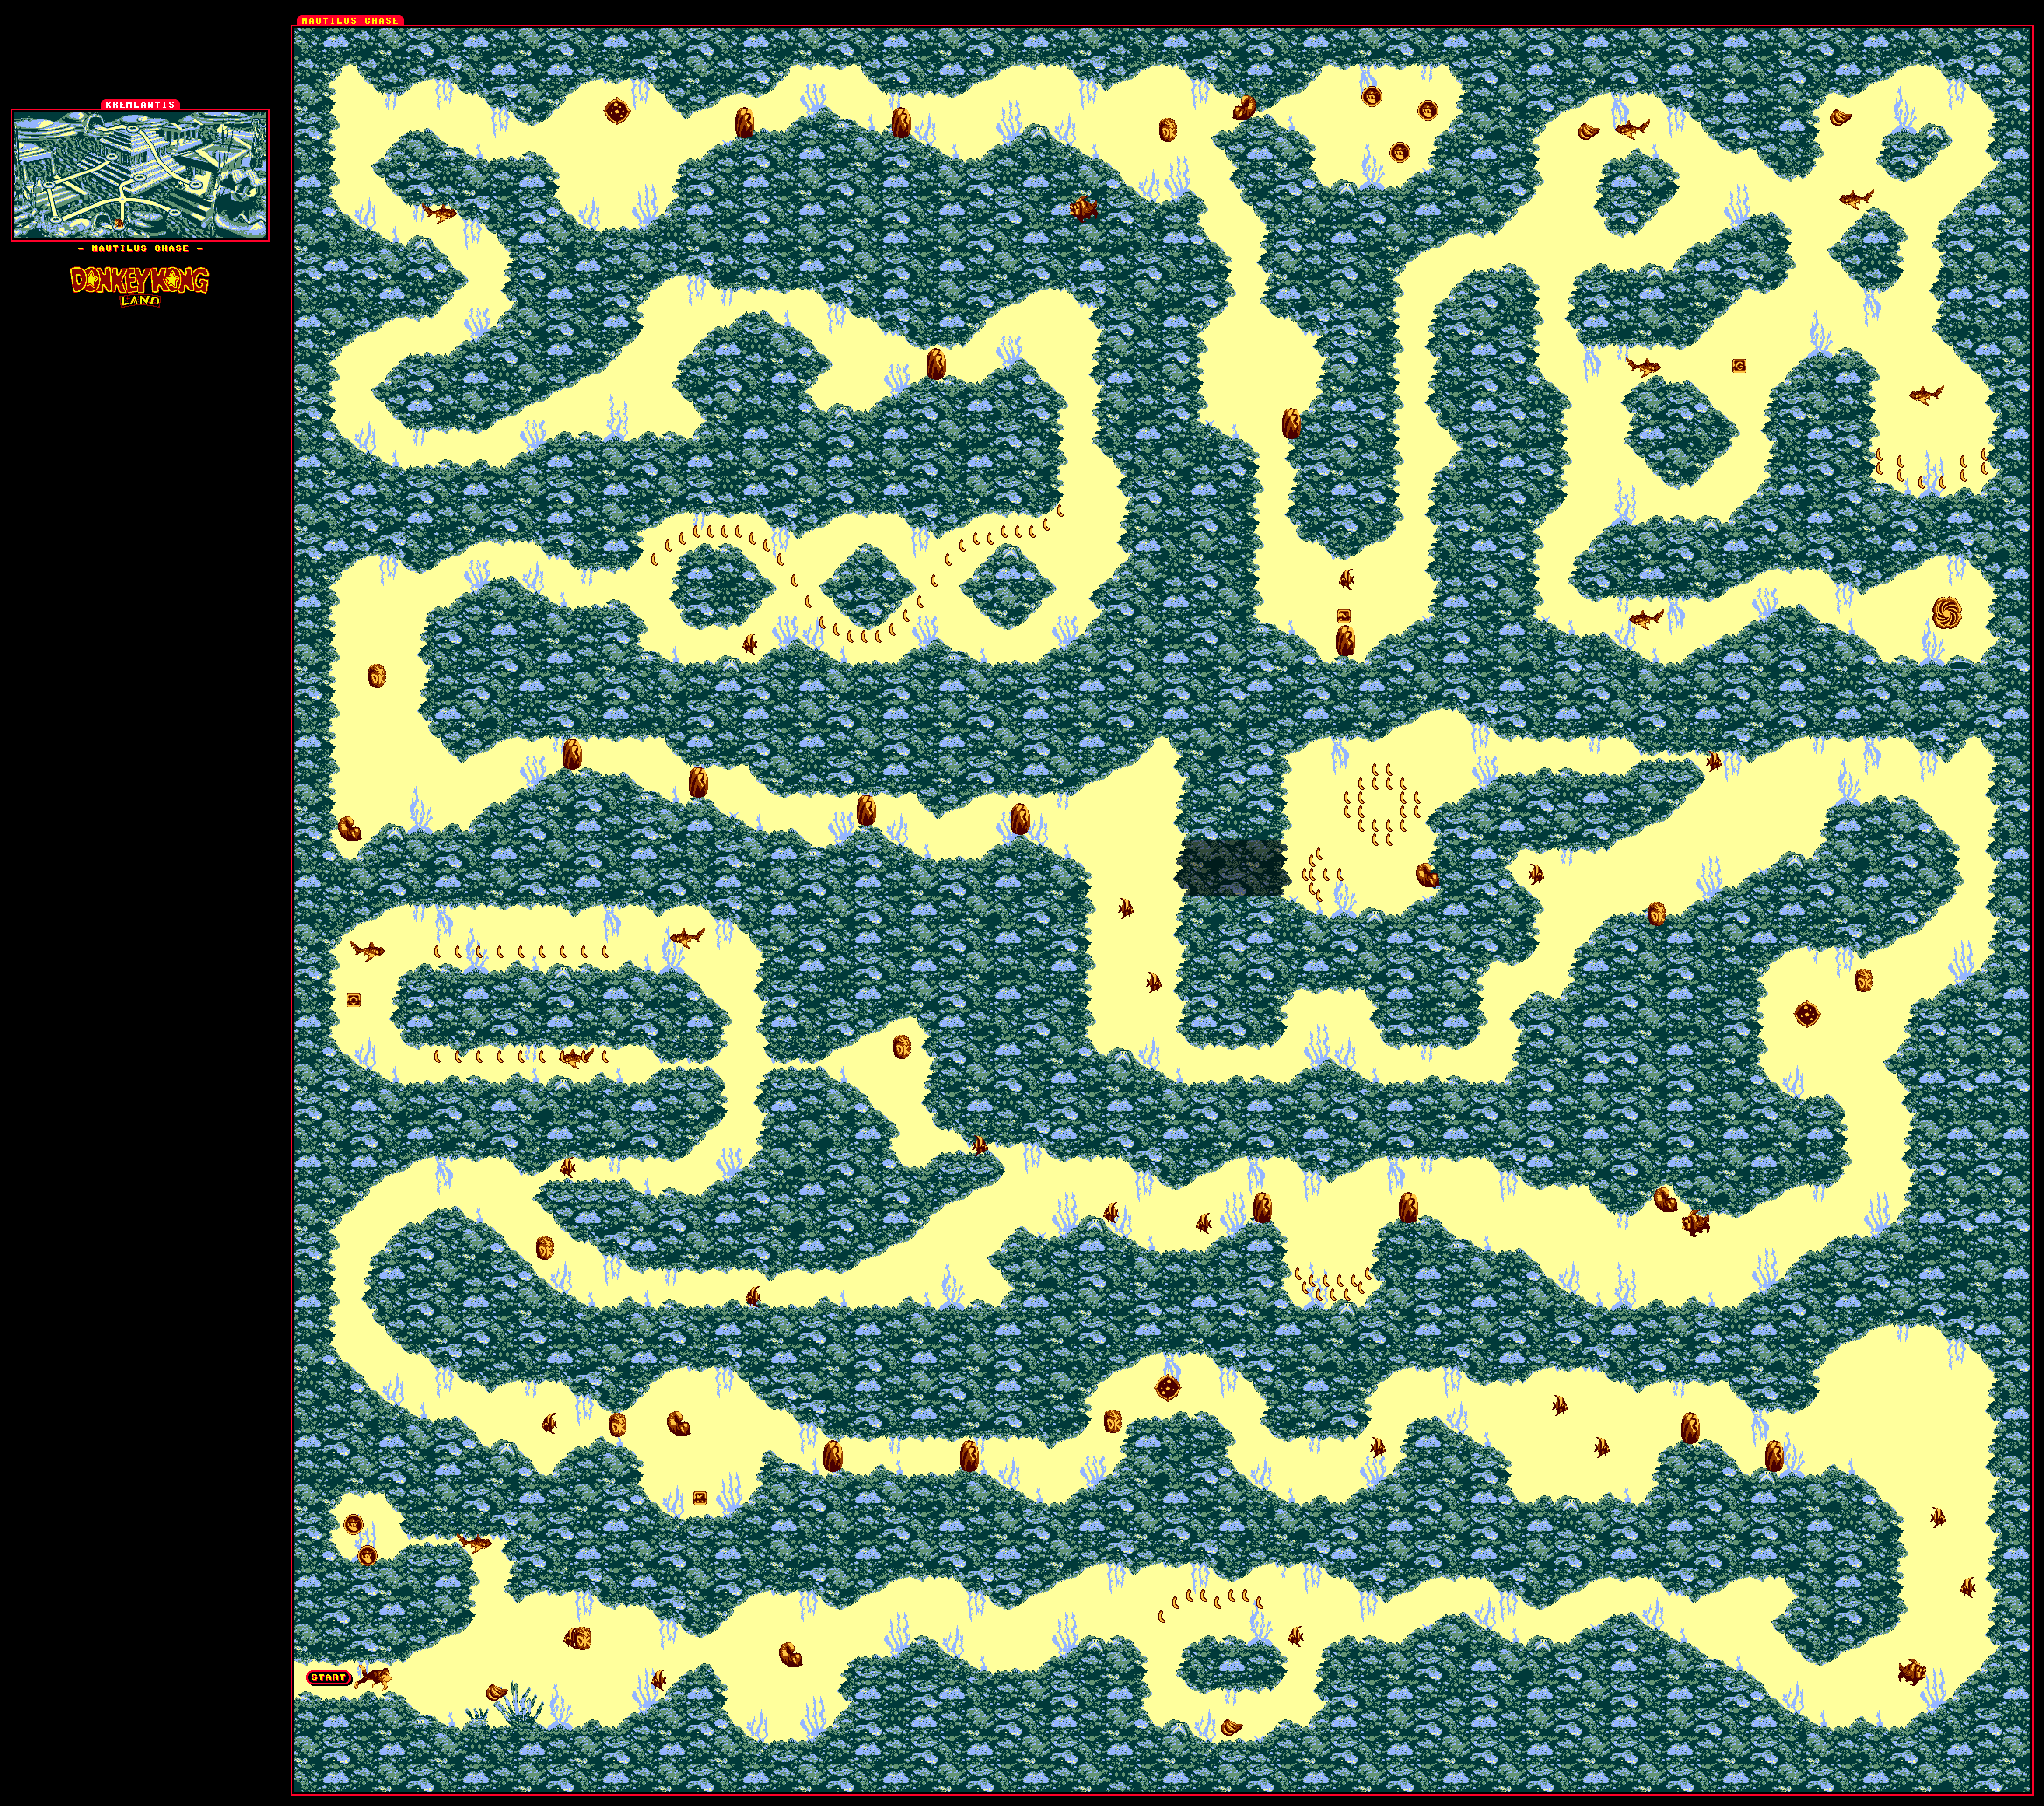
Shortly after you start the stage, you'll be chased by the Nautilus, and he will be very persistent in chasing you.
Another new enemy you will run into is the giant clam that will slowly open and close. Don't get too close to it; otherwise you'll get clap-trapped.
Shortly after the second continue point, take the high road. You'll find a hidden wall that lets you skip some of the level.
Wednesday, October 23, 2019
PrinceWatercress plays Donkey Kong Land - Part 4 of 11
In this entry, we start tackling the second world of the game.
All maps by Shiny.

Tricky Temple
Bonus areas: One (1)

Krusha makes his Donkey Kong Land debut here, and you'll have to either jump on him with Donkey Kong or throw a barrel at him to get rid of him.
There will be a lot of Kritters jumping at you or back and forth, so you'll want to be careful.
The sole bonus area here is near the end. You'll see the top of a barrel cannon, and if you jump into it, you'll enter a very deep brown-colored area where you can plow through Kritters with Rambi.
Kremlantis
Bonus areas: none

There is a level called "Kremlantis" in the world called "Kremlantis." Kremlantisception.
There are a couple of enemies that you'll meet here: small angelfish that swim back and forth and have rather nice frames of animation, bigger fish that sometimes move up and down as they move back and forh, and clam enemies that descend downwards before slowly clapping their way back up. You won't be able to destroy any of them.
It should be mentioned that Donkey Kong is a much bigger target than Diddy is, so be careful if you're swimming around with him.
If you swim right past the exit portal, you'll find some bananas and two bonus coins as well as a second portal.
Reef Rampage
Bonus areas: none
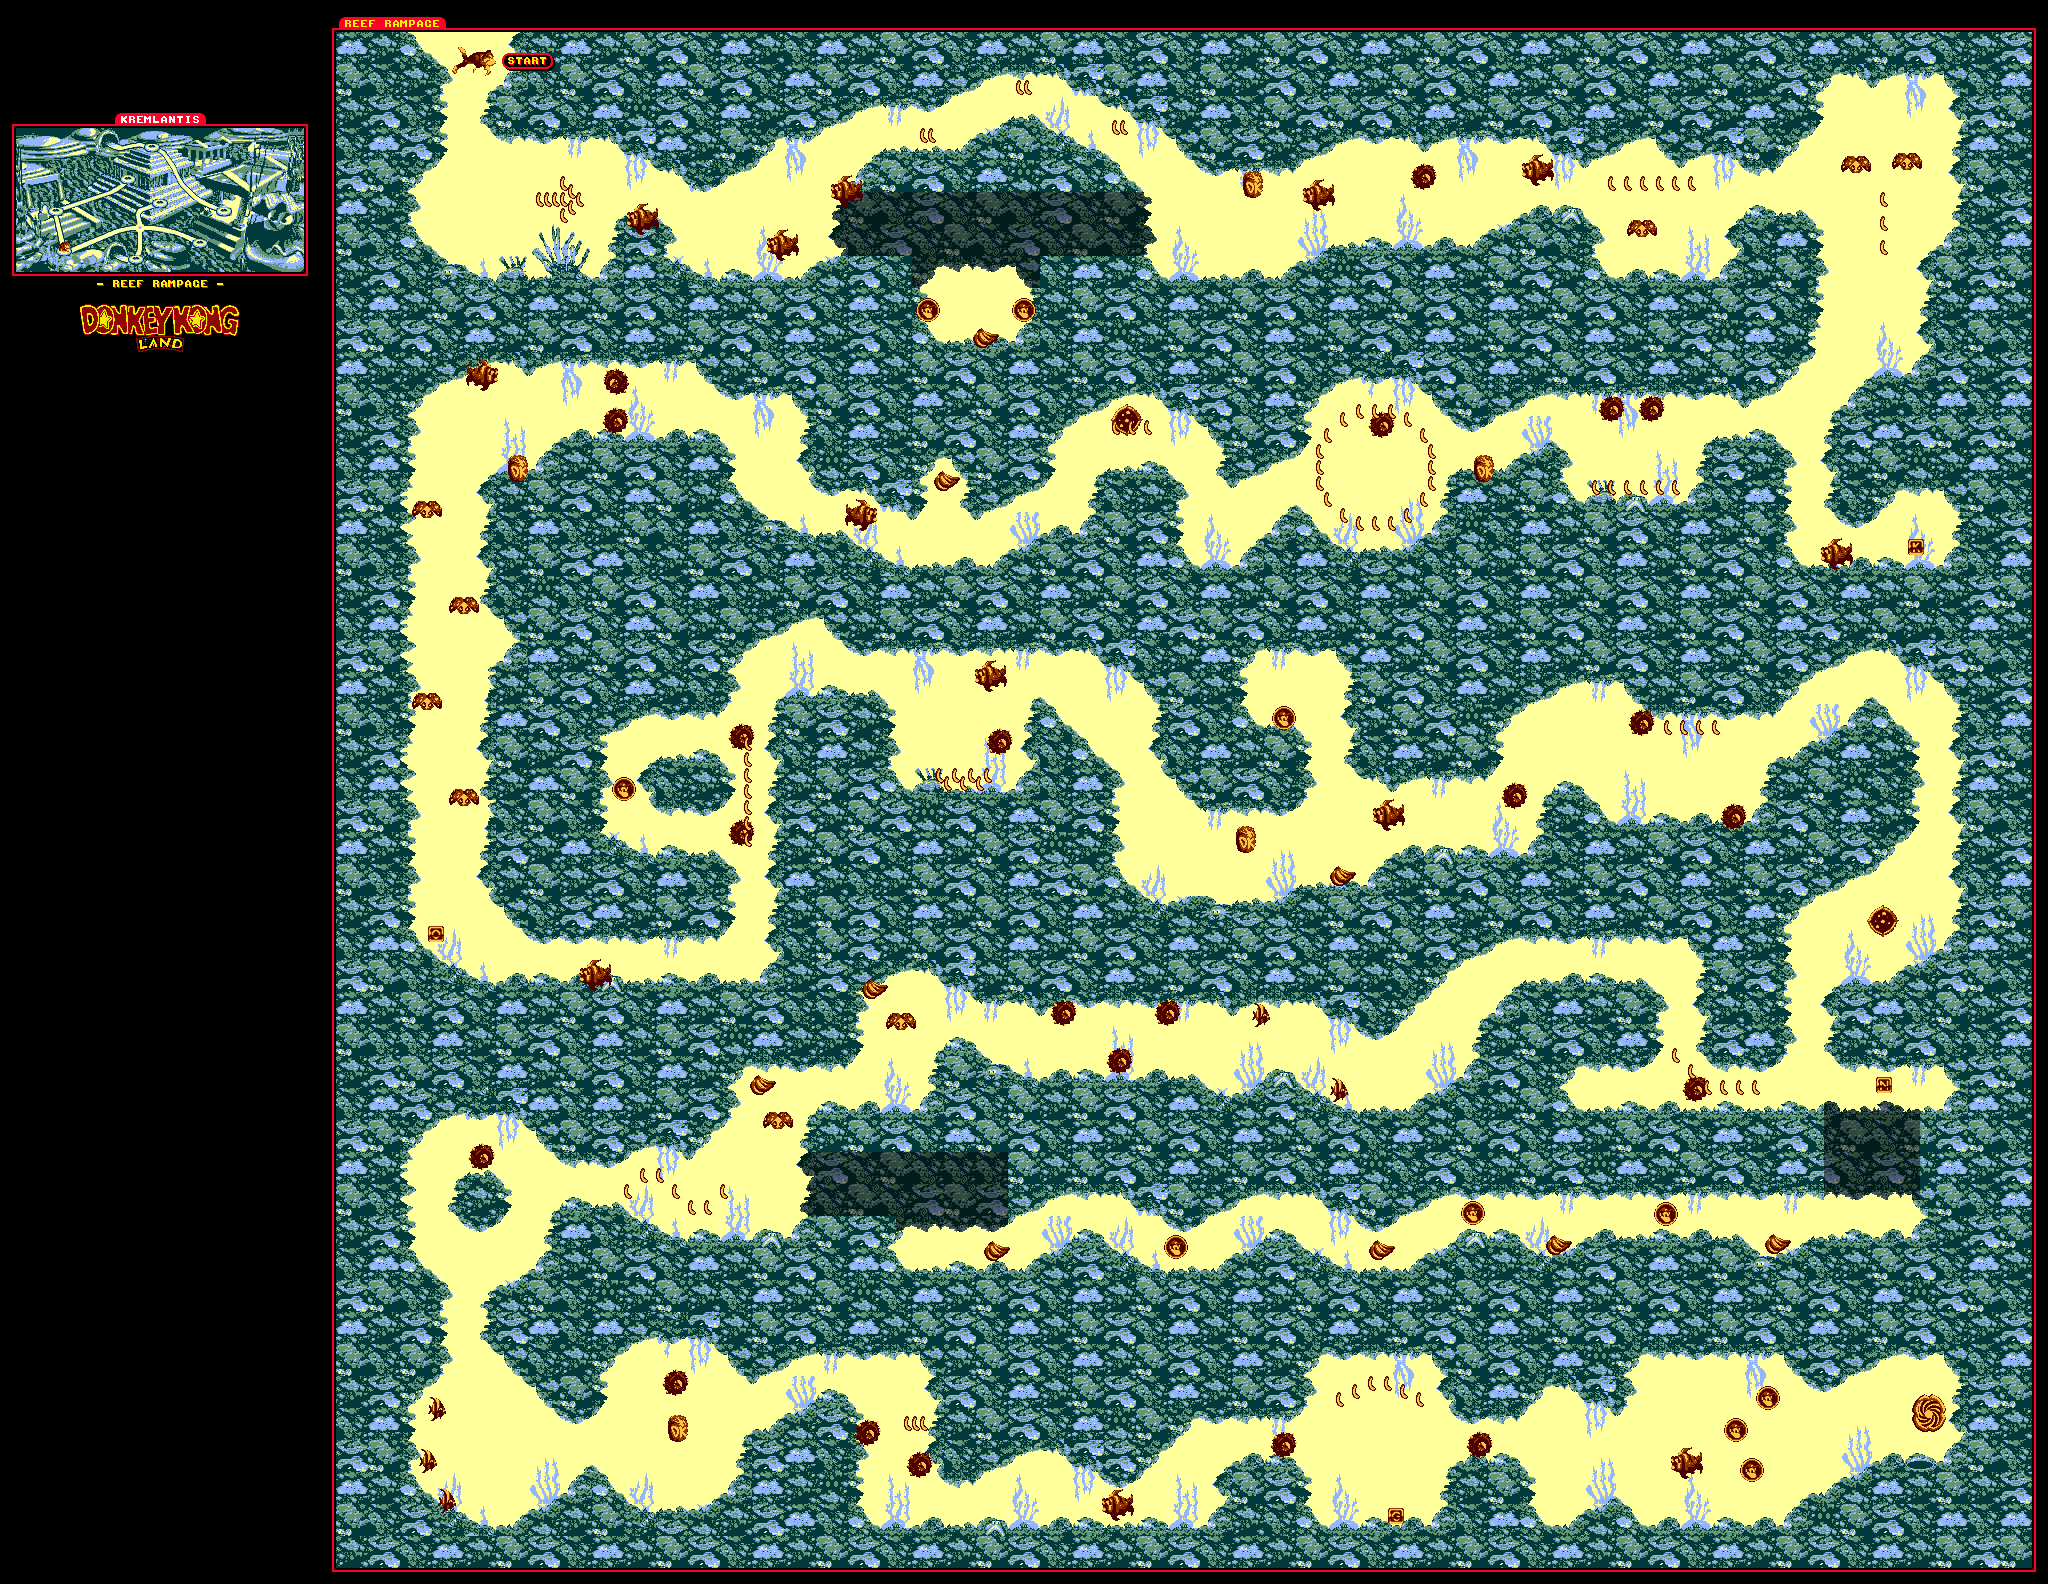
Instead of swimming from left to right, you'll be going all around and you'll be in a more natural environment compared to the sunken ancient temple of the last stage.
There are two secret passages: one in the wall just past the banana arrow pointing right at the start, and another one just below the N. When you take the first one, go down midway through to find two bonus coins. When you take the second one, just keep swiming left and you'll avoid a whole set of Mincers as well as two clams while picking up three bonus coins and four bunches of bananas. This is where you'll start seeing the Mincers in a main level setting. You can't destroy them; all you can do is avoid them. Sometimes they are stationary, other times they move around in patterns that you'll have to figure out. No matter what, they are dangerous, and touching them never ends well.
PrinceWatercress plays Donkey Kong Land - Part 3 of 11
In this entry, we cover the last stretch of World 1 before continuing on to World 2.
All maps by Shiny.
Riggin' Rumble
Bonus areas: Two (2)

This is going to be the hardest stage yet.
At the start, you can bounce off the flying pig to land on top of the column at the start, then jump in a barrel cannon to soar across the stage to the first continue point.
If you take the low road after the first continue point, you can get a 1-Up.
In this stage, there are areas where Slippas will spiral down the ropes, and if you run into them, they will take one of your Kongs out of commission. Even worse, there are times where if you drop past the bottom of the screen while dying, you lose a life as well as your other Kong. (This gets fixed in the sequels.) If you make your way to the top of the ropes, you won't have to deal with these Slippas some of the time.
The first bonus area is after the O. Look for a bunch of bananas below the left edge of a platform, then drop down. You'll enter a bonus area with two bonus coins and a bunch of bananas.
The second bonus area is inside what looks like a grate in the floor, and if you leap into it from high enough, you'll reveal the rope below. Ride it up to another area with a few bonus coins.
Before the G, you can bounce to the left off a tire to find a bunch of bananas as well as a continue point that's possible to miss. Hitting that continue point is essential in case you die near the end.
Congo Carnage
Bonus areas: Two (2)
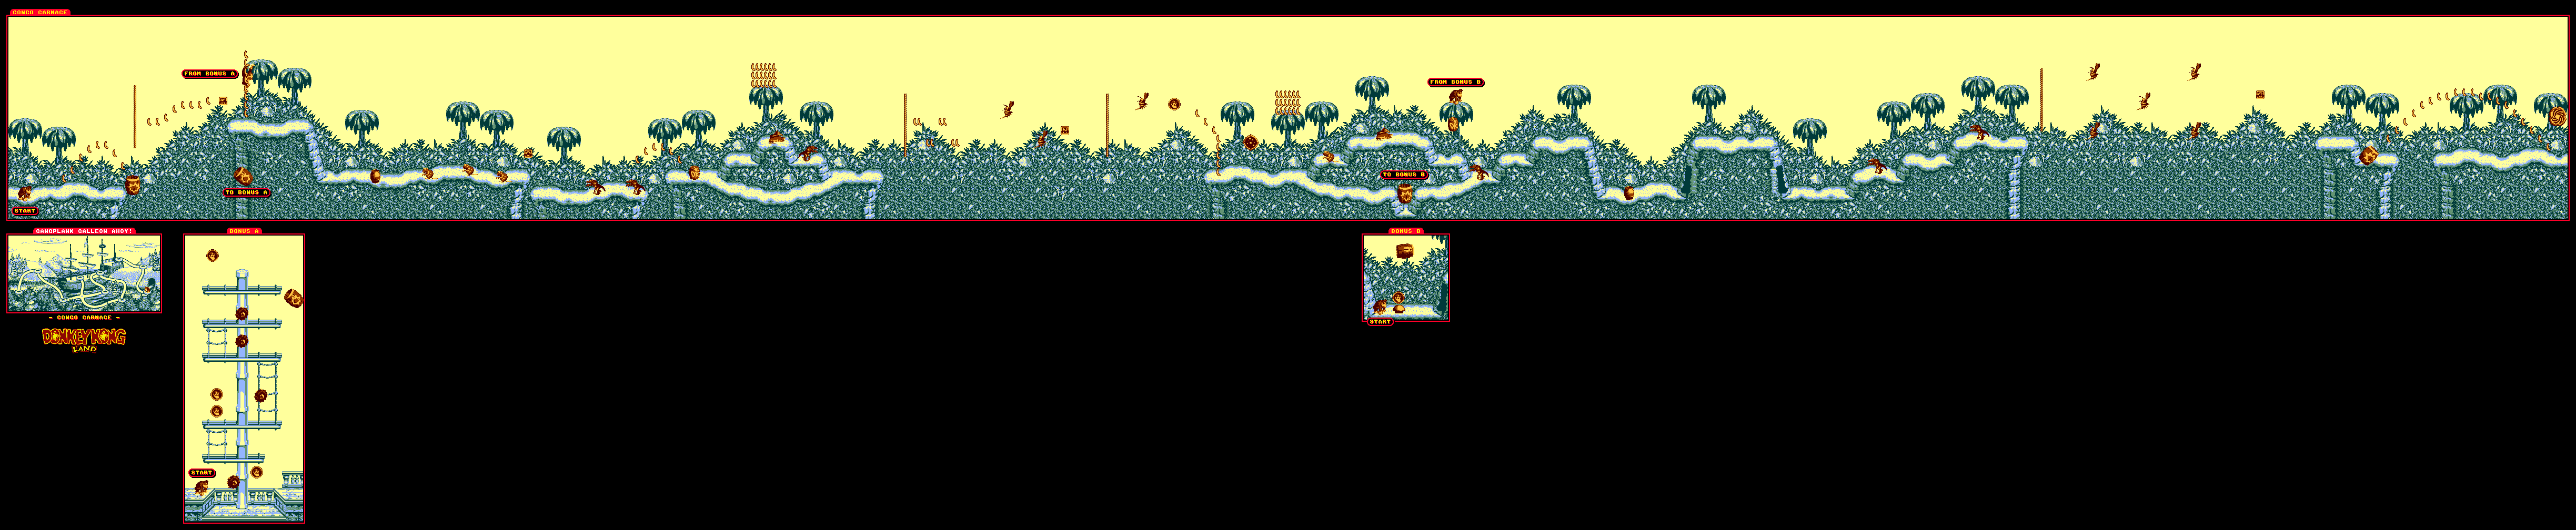
The first bonus area is below where the first rope ends. If you have to, jump onto the ground after that rope, then roll off the edge and get underneath it to get to the barrel cannon and find a few coins and Mincers.
You'll see the steel keg for the first time here, and just like in Donkey Kong Country, you can jump on top of it to ride it.
Necky makes his debut in this stage, and he will through nuts at you just like in Donkey Kong Country, so hurry on past.
After the checkpoint, take the low road. The barrel cannon will take you to the second bonus area, which is a coin mini-game.
After the second bonus game, you can throw the steel keg into the wall for a tunnel. Sadly, this is the only time the game (or series) does something like this.
Arctic Barrel Arsenal
Bonus areas: Two (2)

Launch yourself to the left out of the barrel cannon with A at the start. You'll find the first bonus area, which is another coin mini-game.
After this, you'll have to jump into some barrel cannons that automatically move one way to the other and press A to launch yourself from one barrel cannon to another once you're all lined up.
The Klap-Traps make their debut here. Never roll into them; they will bite you and you will lose a Kong.
At the barrel cannons immediately after the checkpoint, wait for the third barrel cannon to go low after going as high as it can go before launching yourself out of it. You'll enter another barrel cannon that takes you a screen full of bananas that spell out the word "KONG" as well as the N.
After this, you'll have more barrel cannon, and this time, Zingers are involved. There will also be a barrel cannon that spins around, and if you can time your shot right, you can launch yourself to the right. These barrel cannons are easy (but still heart attack inducing), but they get harder later on.
Wild Sting Fling
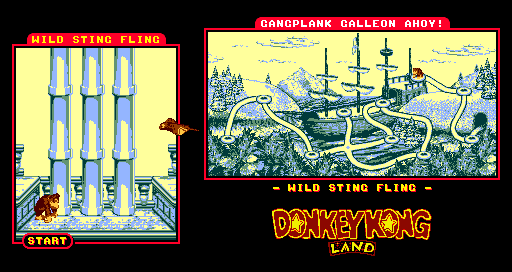
Wait for the manta ray to drop to your level, then jump on him. The manta ray gets faster and faster, but you'll always enter with both Kongs when you go into this stage and you'll usually be able to hit him. When you beat the boss, you'll get a few banana bunches as a reward before going to the next stage.
Tuesday, October 22, 2019
PrinceWatercress plays Donkey Kong Land - Part 2 of 11
Despite being based on Donkey Kong Country, this game has some of its own ideas...such as using the pirate ship for regular stage themes!
All maps by Shiny.
Deck Trek
Bonus areas: Two (2)
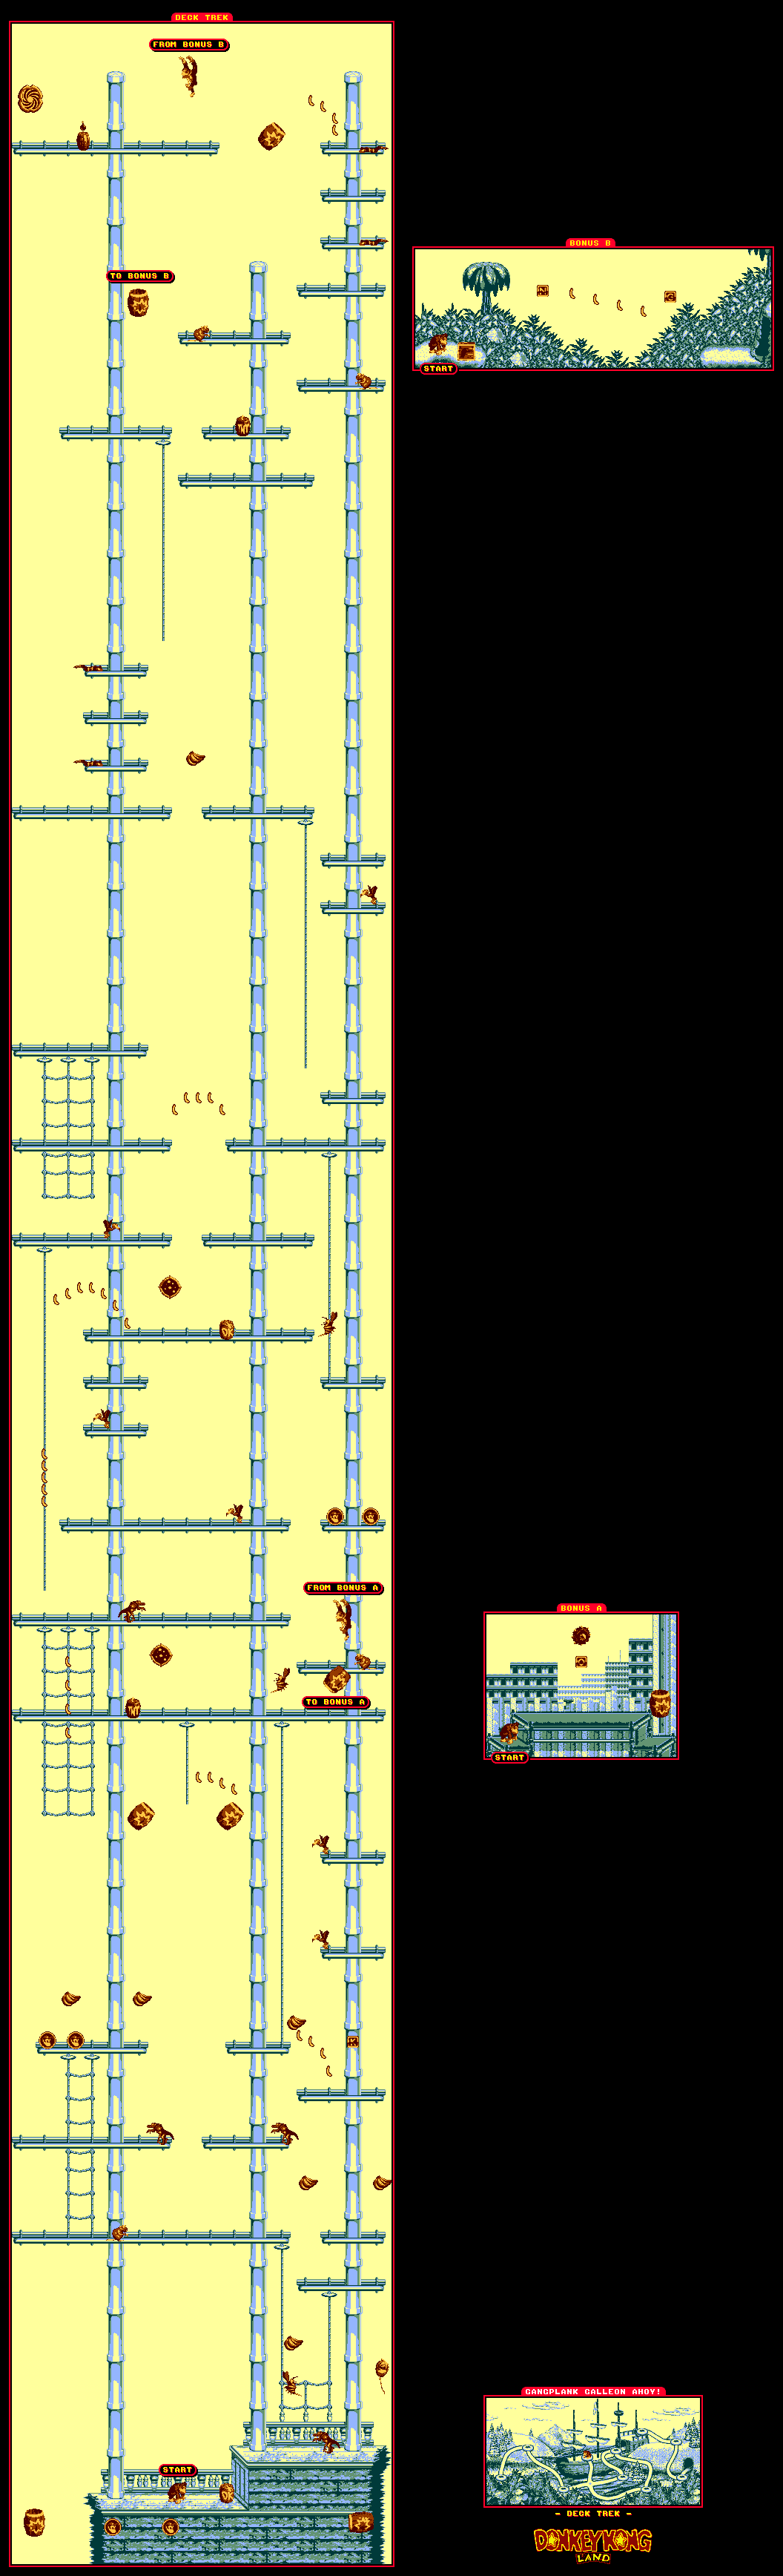
If you leap to the barrel cannon to the left of the start, you can get two bonus coins and a 1-Up.
There are plenty of ropes to climb up. The rat guards at the top end of all the ropes cannot be jumped through.
Just like in Donkey Kong County, you can do a superjump. To perform a superjump, run up to the edge of a platform, then quickly let go and tap the B button to roll off. After tapping the B button to roll, you want to hold the button after that tap, and jump forward with A and the Control Pad. There's the superjump.
There is a new enemy here: the Mini-Neckys that spit nuts. Thankfully, they're easy to deal with.
Immediately to the right of the first continue point is a barrel cannon. Jump in, and you can get the O while avoiding the Mincers that fly around in a circle.
Near the end is a barrel cannon to the left of a Gnawty. Jump into it and use Expresso to get the N and G. Just keep going right, jump to the right off the edge of the cliff and keep pressing A to keep flapping to the other side.
At the end, there is a bomb. You have to pick it up before you can enter the portal, and when you go back to the overworld map, you can blow up a rock in the path when you walk into it.
Rope Ravine
Bonus areas: Two (2)

This time around, there are ropes that hang off a non-existent ceiling and move left and right when you grab onto them. Watch out for Zingers, and be on the look-out for power-ups.
The first bonus area is just below the O, before the checkpoint. It's a bonus coin mini-game. Don't jump off from a high height to get into the barrel; instead, drop off the bottom or get there from the ground near the checkpoint.
The second bonus area is right after the N; just jump in the pit between the two snow platforms and there you go. Here, you'll swim around and collect bananas and bonus coins.
If you keep going right at the exit, you'll find more bananas and a second portal. The second portal doesn't lead to anything special.
Tyre Trail
Bonus areas: Three (3)

The first bonus stage is to the left of the start after you drop down. It's another coin mini-game.
You'll meet a new enemy: Army the Armadillo. He rolls around in an attempt to hit you, and he takes one jump from Donkey or two jumps from Diddy to defeat. Wait for him to stop rolling to deal your damage, and avoid him until then. Holding a barrel in front of you can also help
The second bonus stage is after the O and before the checkpoint, and you'll have to land on a mound in the ground to reveal the rope that takes you to it. You'll find six bonus coins here.
The third bonus stage is soon after the checkpoint. There are two tires, and to the right of the second one is a Barrel Cannon you can drop into. Get into the Barrel Cannon to get the N.
After the third bonus stage, you'll have to use the tires to get over pits as well as Zingers. Just remember to hold A before bouncing upwards to get more height.
PrinceWatercress plays Donkey Kong Land - Part 1 of 11
Well, I've already beaten the Country games, might as well play the Land ones.
All maps by Shiny.
There is a story to this game, but it's only mentioned in the instruction manual. After the events of Donkey Kong Country, Cranky Kong bets Donkey Kong and Diddy Kong that they couldn't get their banana horde back a second time, this time on the Game Boy. Donkey and Diddy take that bet, and Cranky Kong teams up with the Kremlings to re-steal the banana horde. When Donkey and Diddy wake up, they have to beat King K. Rool a second time and take the banana horde back. That's it. That's the story.
Gangplank Galleon

Jungle Jaunt
Bonus Areas: Two (2)

There are names for the levels, but they are only in the instruction manual and are never mentioned in-game.
Controls are simple: Left and Right let you move left and right, Down lets you dump, B lets you roll and run, and A lets you jump. If you have both Kongs, you can switch between them with Select. Start lets you pause, of course.
100 Bananas will give you an extra life, and you can see how many you have just by looking at the Battletoads-style hearts at the bottom. You can only see about twenty-something or so, but you can obviously have more lives than the game itself can show.
The usual enemies from the first game are here, such as the Slippas that slither back and forth and the Kritters that always move forward.
If you stick to the treetops early in the stage, you can get a ton of bananas as well as land on a circular indentation in the ground. If you leap onto it from high enough, a rope will pop up, and if you jump and climb onto it by holding the Control Pad towards it, you can ride it to a bonus area. Here, you can get a bunch of bananas and a coin before going to the right to exit. The rotating coins with Donkey and Diddy's faces on them are used for one of the bonus stages.
Barrels can be grabbed by pressing and holding B when near one, and thrown by letting go of B. You can hold Down and press B to put the barrel down.
Shortly after the first bonus area, there will be a crate with Rambi. You can use B to attack as well as to run, and you can get off Rambi by pressing Select.
The black circle with the twinkling stars is the continue point, and if you jump into it, you'll trigger a midway point that you can return to if you lose a life.
Shortly after the continue point, there is a wall you can run into with Rambi. If you do that, you'll enter an underwater hamber where you can get a 1-Up Balloon and a bunch of bananas. All 1-Up Balloons will give you one extra life (which applies to all games in the Land series).
The portal at the end is the goal. Enter it, and you'll be able to move onto the next stage. If you collect all the Kong letters (K, O, N and G) before reaching the portal, you won't be able to get an extra life; instead, you'll be able to save your game.
If a course marker on the overworld map has a flashing exclamation point next to it, it means you've found all the bonus areas there.
Freezing Fun
Bonus areas: One (1)

There is a coin to the left of the start. You'll have to run to the right and jump at the right time to get a 1-Up Balloon.
The flying pigs are a new enemy exclusive to this game. They just fly back and forth, but they can be annoying. You'll also see the Gnawtys, the beavers that make up the Kremling ranks, moving towards you throughout the stage, and there is a Zinger just above the N. You'll be seeing the Zingers quite a bit, too.
The lone bonus area in this stage is just after the start after the K. You'll have to jump to the right just before the bottom of the slope with a running jump to reach the Barrel Cannon (the first of many!) that takes you to it. Inside is a bunch of bananas and two 1-Ups.
Press and hold A just before you land on a tire to get a higher bounce.
If you've completed a stage, you can pause the game and press Select to go back to the overworld map.
Simian Swing
Bonus areas: Two (2)

You can get two bonus coins above the start if you jump to the left off the rope. By jumping into the ropes, you can swing back and forth to get to where you need to go.
The first bonus area is in a hole to the ground. Inside is two cloud platforms that melt under your weight and a bunch of bananas.
The second bonus area is on a platform under the treetops after the continue point. Run or roll/cartwheel off the edge to get to it; otherwise, the game will think you're jumping into a pit and take one of your lives. To the right will be a Barrel Cannon, and going into it while immediately whisk you to the right. Enter the cave to the right and you'll enter a mini-game where you can hit a button on the ground to launch a bonus coin out of the barrel cannon spinning around at the top. If you can catch a coin that comes out of the Barrel Cannon, you'll get a 1-Up. The mini-game continues until you either leave through the cave opening on the right or you spend all of your coins.
After the second bonus area, you'll be immediately under the exit.
Subscribe to:
Posts (Atom)