Sunday, December 26, 2021

HCBailly and JB play Secret of Mana - Part 40 of 41


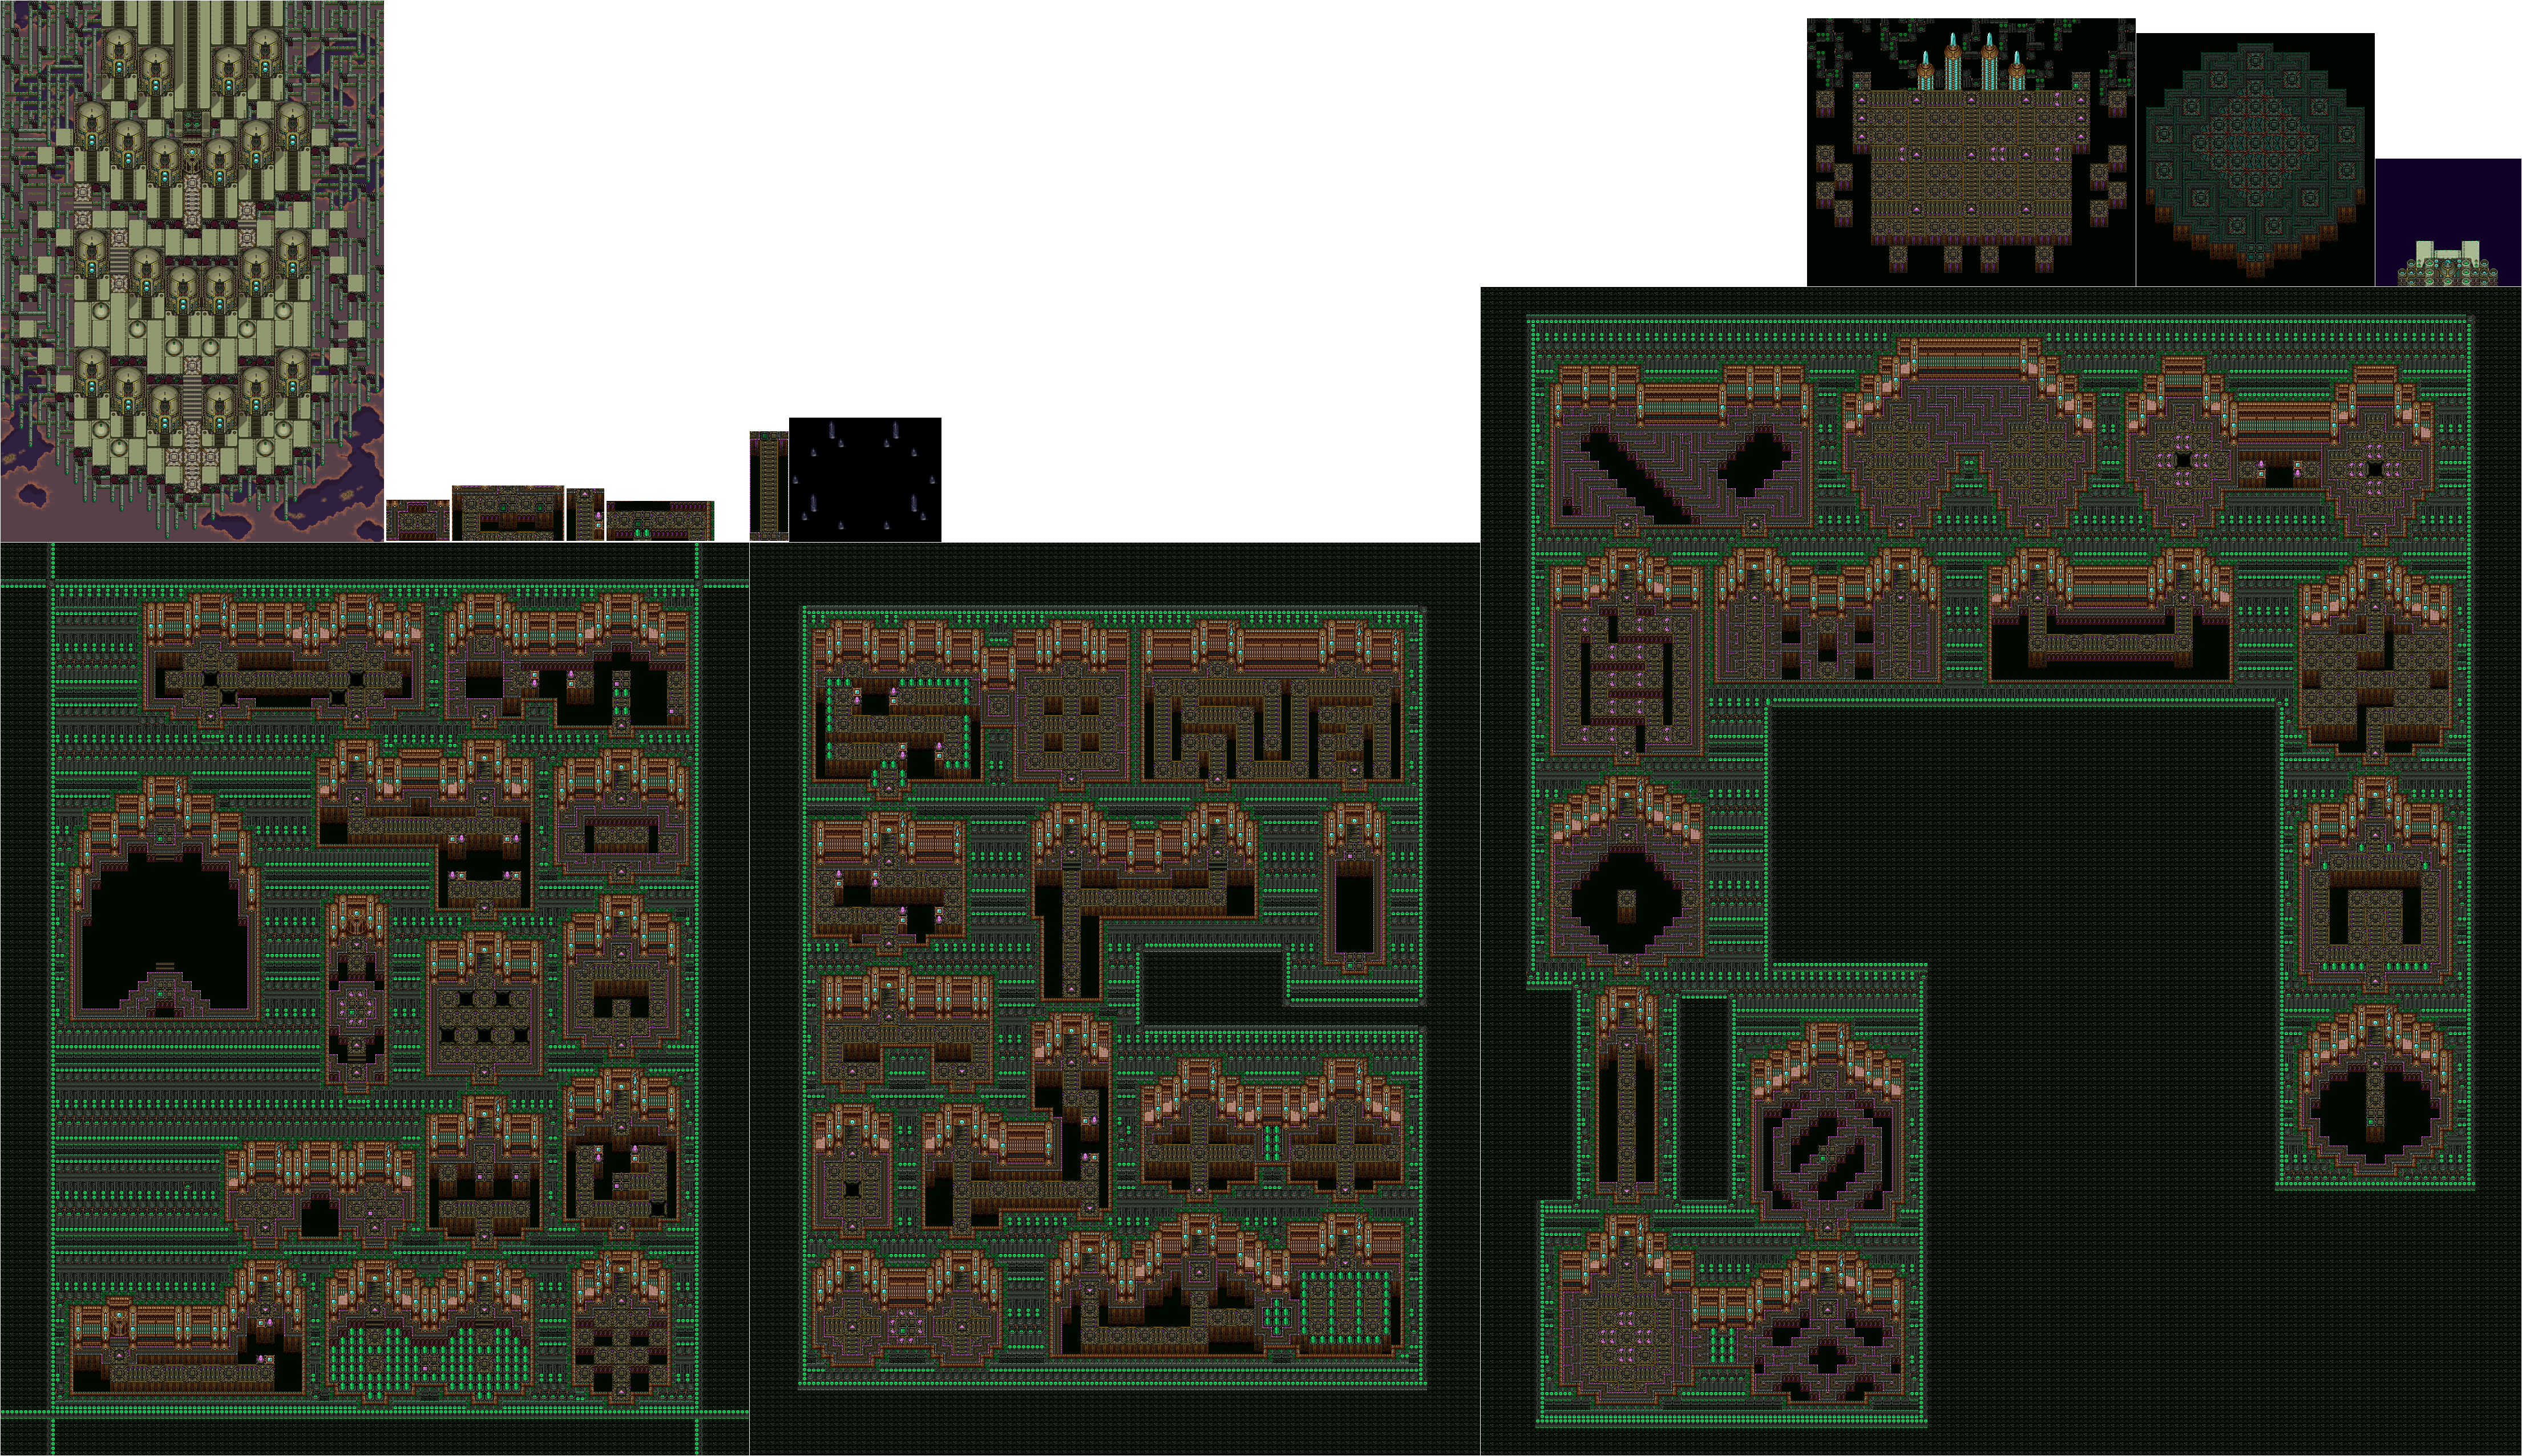
After a brief preview of the end, we make our way even further into the Mana Fortress and finally go face-to-face with Thanatos.


The Master Ninjas are even more powerul versions of the Dark Stalker. They can cast Exploder and Stone Saber. They can also drop a Boomerang's Orb. The Ninja's Trump is the best boomerang in the game.

The Terminators are more powerful versions of the Dark Knight and can drop the Whip's Orb. They can also protect themselves from physical damage with Lucid Barrier. The Gigas Flail is the best whip in the game.

At the end, you'll meet Thanatos, who has Dyluck. Thanatos will tell you that he has been searching for a human with the power to conquer the world who was born in the shadow of darkness and raised in the light of Mana. He says that Dyluck is the one, then tries to transfer himself into Dyluck's body and take the Mana Fortress. Purim defends Dyluck from Thanatos by hitting and supposedly killing Thanatos, but Thanatos succeeds in transferring himself into Dyluck's body. Unfortunately for Thanatos, Dyluck resists. He tells the party that Thanatos is an ancient sorcerer who sold his heart to the underworld, and although his life force is eternal, he does not have a body. He also tells you that Thanatos feeds on hatred and destruction and that his life force is growing darker. Dyluck sacrifices himself to draw Thanatos out, and from here, you have another boss battle with the Dark Lich.

Dark Lich has a ton of attacks: Freeze Beam (for frostying your party), Balloon Ring (for casting Balloon), Confuse Hoops (for casting Silence), Petify Beam (for petrifying your party), Dispel Magic, Sleep Gas (for putting your party to sleep), Pygmus Glare (for shrinking your party) and Thunder Beam. He can also cast Evil Gate, Dark Force, Freeze and Energy Absorb. Lumina's Lucent Beam will do a ton of damage to him if you've powered Lumina to Level 8. Dark Lich can teleport away, then try to hit you with energy waves out of his fists when they stick out of the floor. You can still hit him with magic in this form, however. Also, this boss battle has its own music that is very much worth listening to.

Once you beat Dark Lich, the seal of Dryad's Mana Magic spell is gone, giving Dryad a saber spell. Afterwards, it will be apparent that Dyluck is gone, then the Mana Fortress will be attacked. When you head out, you'll be on the roof of the Mana Fortress, where a Mana Beast will be attacking the fortress.

PrinceWatercress plays Kid Klown in Night Mayor World - The Longplay


...and now, the whole game in one sitting without commentary. Enjoy.


It's a rainy night in Kansas. Mr. and Mrs. Klown and their two children, Kid and Baby, are traveling to the next town to perform in the big circus show. Suddenly, with a flash of lightning, the evil magician, Night Mayor, appears.

Evilly twisting his moustache, he hisses: "Kid, I need your help to open a treasure vault. If you'll help me, you'll be well rewarded!" Kid Klown's parents had warned him about the Night Mayor's evil ways. "No way, pal! I know your tricks, and I'm not going anywhere with you!"

Kid Klown's family then disappears as if into thin air. "Very well," said the Night Mayor, "If you even want to see your family again, you'll find me!"

Intro Stage

From here, you'll be playing the introductory stage. Left and Right move around, while Down ducks. A jumps, while B lets you blow up and throw balloons. By holding B, you can hold the balloon, and while holding the balloon, you can glide long distances. While holding B, you can also aim the balloon by holding any direction on the D-Pad and letting go of the button to throw the balloon in that direction. You can aim in eight directions, and you can even put a balloon straight down on the ground with Down, jump on the balloon and use it as a springboard for a high jump.

At the bottom is your current amount of lives, the current amount of chips - which are the amount of chances you have at the bonus area at the end of every stage - and your current health.

Be careful when moving around; after moving left or right for a short while, Kid Klown will go from walking to running, and there are a few instances when you'll really want to run.

Enemies include wasps that move up and down while flying forward and also come at you if they stay on-screen long enough, poodles that jump out at you, and spiders that climb up and down

You can find power-ups in chests and also by throwing balloons around and finding pick-ups out of thin air. To open the chests, throw balloons at them. Strawberries act as chips, or chances at the bonus area at the end of every level. Hearts refill health. The lightning bolt acts as temporary invincibility. The question mark pick-up is a random power-up, and while you can get something good out of them, sometimes you won't.

The clam in the water acts as a platform, but if you stay on it too long, it dives back into the water and leaves you without a platform.

The boss here is a hedgehog. Throw balloons at the hedgehog when it is moving towards you on foot, and stay away from it when it curls into a ball and jumps around. When it uncurls itself, it is vulnerable again. Beating the boss takes you to the first real stage.

At the end of every stage is a bonus area. The number of strawberries you had at the end of the stage dictates how many balloons you'll be able to throw at stuff in the bonus area. Icons will move around - sometimes double-backing, sometimes not - and you'll need to use the D-Pad to move the target to one of six places while using the B button to throw a balloon. You'll need to throw ahead of time and time your throws right to get what is moving around. The balloons take longer to get to the upper level than they do to get to the lower one. Kid Klown icons gives you lives, foods will heal you (with the meat giving a complete refill), small hearts that also refill health, and big ones that can extend your life bar up to five hearts. Chests contain random power-ups, but are often worth getting. When you run out of chances, you run out of balloons, and you'll enter the next stage.

Stage 1

The trail Night Mayor left led to a swirling purple portal on the far side of the forest. The magician's cruel laughter could be heard beyond the gate...

"A Klown's gotta do what a Klown's gotta do," said Kid, and he plunged into the gate.

"You're in my world now, Kid Klown! Ha ha haaaa!"

The first real stage looks much like the intro stage, but new things get introduced. The white piranha plants hurt you if you land on them. The moving brown floors will slow you down. The snakes will swallow your balloons and send them back at you, but they are vulnerable while they have a balloon in them. The chameleon enemies are only vulnerable when you see them, as the balloons go right through them when they are briefly. invisible.

If you see a bridge, run to the right while throwing balloons forward to defend yourself.

If you get more grim music when you pick up a question mark icon, your left and right controls will be reversed. Thankfully, when the music ends, so does the confusion effect.

The boss here is a giant owl. Get under him when it throws feathers, and duck down when it dives towards the ground. All the while, throw your balloons at it. It shouldn't take long for you to beat this boss.

Stage 2

This stage takes place in some sort of toy land. Shoot upwards at the start for a hidden strawberry.

Enemies here include leaping shoes, hands that walk on their fingers, flying jack-in-the-box heads, robots with boomerang fists, falling soldier hats, falling jigsaw puzzle pieces, and moving cannons.

When jumping on the trampolines, hold A and B so you can leap high and glide with a balloon in your hands.

To enter a door, stand in front of it and press Up or Down (despite what I say here, I find out Up works later on).

The monkeys with the cymbals can be jumped over. As for the constantly inflating and deflating men, jump over them when they go down.

If you need to make a higher jump, hold Down and press B to lay a balloon on the ground, then jump on the balloon for a big jump.

At one point, there is a section that auto-scrolls vertically. For best results, don't hold a balloon with B to keep yourself from getting trapped. Watch out for sudden falling jigsaw pieces and the random jack-in-the-box head at the end.

The bubbles will drag you down if you're in them, making jumping harder. Good thing I glide with a balloon when I go through them.

The boss here is an angler fish with a light on its head. Throw balloons at the light first, then throw balloons at the fish's jaw to finish it off. The fish will spit out enemies, but you can easily and quickly take them out. And before you ask, yes, the flashing lights are annoying to the point that they are unnecessary.

Stage 3

This stage has you going up a couple of beanstalks. Praying mantises will shoot sickle-shaped projectiles at you, ducks will divebomb you and drop eggs that produce smaller chicks who will hit you, peapods will shoot out projectile sand clouds will fly around and drop water and thunder bolts downwards hoping to hit you. The rockets are the worst, as they pop up from the sides of the screen, slowly move forward then go fast the rest of the way. Even worse, they keep coming even as you destroy them, forcing you to fight them while simultaneously making progress.

The green cracked blocks are your worst enemy here; try to stand on them as little as possible. Also, there are plenty of spikes; be sure not to land on them.

The red spotted lizard is only vulnerable from behind, and it can also leap at you if you're a certain distance away from it. 

The white lines travelling upwards are air currents that will carry you upwards if you're carrying a balloon.

The boss is a one-eyed giant with a mace. As you throw balloons at his head, you'll have to avoid a ball that rolls around on the floor as well as two crushers on the left side of the screen that will come down every so often to squash you. The giant can also hold his mace up, protecting his head briefly. Staying near the giant without getting hit and also staying from the ball at the same time can be tough, but it can be doable if you can aim your balloons well. 

Stage 4

There are ice physics here, so you'll need to be careful.

While the penguins and jumping snowmen are easy enough, you'll have to drop balloons into the paths of the ice skating witches to get rid of them.

Once you start dropping down, do not hold a balloon. It will make it easier to avoid the Quick Man-style beams that shoot out of the walls. Believe it or not, Kid's head is not part of his hitbox, and as long as the beams don't touch his body, you're fine.

Afterwards, watch your head so you don't hit the retracting spikes, and watch out for rocks falling out of the holes in the background walls. The yetis will throw snowballs at you, but if you can hit them from a distance, you'll be solid. As for the platforms, hold a balloon with B so you can land on them more easily.

To defeat the big snowman, throw balloons at him from distance, and watch the sky so that the snowflakes he creates don't hit you. This can be a little easier said than done, but it is doable. Afterwards, you can find a hidden doorway by throwing balloons at right side of the platform that the big snowman was on and entering the hole you make. This takes you to a couple of hidden power-ups before entering the next section.

In the next section, Get the invincibility power-up, then hold Right on the D-Pad and be ready to run. This will save you from the collapsing ground and allow you to run across the gaps in the ice platforms.

The section after this takes place in the clouds. If you land on the ground without a balloon in your hand, you'll get trapped in the clouds for a few seconds and you'll need to button mash to get out. The frogs in the clouds will be annoying and will make high jumps back and forth, and the dangerous snowflake platforms from earlier will return just before you make it to the exit door.

The boss here is a sea creature. You'll need to face the front of it and throw balloons at it. The sea creature will try to balance a balloon on its nose for a few seconds before sending it back at you. As this goes on, you'll want to pelt the sea creature with balloons. Five hits will do it in. To avoid the boss, make sure you hold a balloon as you jump around so you aren't the victim of the ice physics or falling into the water at the sides.

Stage 5

Welcome to Candy Land! Watch out for giant letter A's and small letter B's that chase after you (What is this? Castle of Illusion?), snails that shoot lollipops when you hit them, ice cream cones that toss their heads and run away, and bouncing letter O's.

If you see two light blue vertical bars made out of gelatin on the floor, press Down while standing on them. They're actually doors, believe it or not.

The squirrels will roll balls at you if they see you, which can make them a little difficult to deal with at times.

Gelatin floors will slow you down and suppress your jumps tremendously. Lay a balloon on the ground, jump up and hold B to float with a balloon to get past them with minimal effort.

To take out the gumball machine on the tank treads, drop balloons on it from above. From there, you can stand on the tank treads and use Left and Right on the D-Pad to move them. Be ready to duck under low ceilings!

There is a cookie floor that collapses when you walk on it, so be ready to run there.

The boss here is a caterpillar. Watch out for the bouncy mushrooms it throws and stay away from its backside that pops in and out of the ground while throwing balloons at the head. You may have to get close to the body and aim for the head from there to defeat this thing quickly.

After this, Kid Klown will see his family, but they will be teleported away, and Kid Klown will have to head to Night Mayor's castle to get them back.

Stage 6

In the first section, go slow to avoid the spears that come down. Be fast to get past the spears that shoot at you. The door afterwards contains the hedgehog boss from the intro stage, and the same strategies from the first time around apply. There are a few boss battles behind doors here, and if you enter them and complete them, you'll be rewarded with full health. Take advantage of this if you need to.

The knights will move towards you, while the squirrels will throw nuts at you. Both of these enemies are easy to defeat. 

In the next room, you'll have to deal with conveyor belts. The yellow doors here lead to the Stage 1 boss battle, and once again, the same strategies apply. Watch out for the gear that takes two hits to defeat, and be careful to hit the bats that dive at you from a distance. If you fall into the pits here, you'll be sent back, but not by much. At least you'll get the health in the chest. Just watch out for the giant protracting spikes on the floor.

Once you make it past this part, you'll meet up with some evil Kid Klown klones. (I'm trying to bring some humor back into my blog entries while still giving you info; gimme a break.) They will throw their noses at you, but the noses have limited range and will eventually return to them. Hit them while they're standing there waiting for their noses to come back.

The tiles with the glass-like sheen are one-way. You can go through them, but you can't press Down to go back. Watch out for the Kid Klown klones and the gears on the way up.

The knight helmets spit out Kid Klown klones, but only one. You can also push them out of your way just by walking into them.

The next room has more gear enemies to contend with. Be ready to throw balloons upwards on the way to the door to defend yourself. After this, you have more conveyor belts and more gear enemies. You don't need to enter the door before the climb up; even though it contains a battle with Stage 4's sea creature boss that you can use to refill your health with. When you make it to the top, enter the right door first. You'll repeat this room, but you're actually going in the right direction. Make your way to the top again, then take the left door. 

You'll be in a room with a series of six doors. Five of them take you back to past boss battles, but the one you want to enter the door on the left on the center platform. This will take you to a boss battle against a giant pterodactyl that stands there and spits fire. Aim for the head, and when the pterodactyl spits fire, you'll need to blow up a balloon, hold the B button down and use your float technique to jump over the fire as you get pushed all the way to the left side of the screen by the pterodactyl's flapping wings. As for the five way shot, stay to the left and jump clear over it.

Afterwards, you'll face Night Mayor himself. Aim for the head and stay on one side of the room, and when the sparkles that come out of his hands move towards you, let them come to you and them move to the other side. Repeat until he disappears.

That was just the first phase. The second phase has Night Mayor teleporting and spitting fire. Jump to avoid the fire breath and hit Night Mayor in the head. If you can get distance between yourself and Night Mayor, more power to you. Keep that distance as you aim for the head with upwards diagonal directions. Also, if you die at any point in this battle, you'll have to face the pterodactyl boss again (and that's no fun for anyone).

After dealing enough damage, Night Mayor will no longer have a body, and you'll have to deal with his floating, disembodied head that spits fireballs that bounce around at 45-degree angles. Thankfully, you can easily destroy these fireballs with your balloons, and aiming at Night Mayor's head is pretty simple. Once you beat this phase, Night Mayor finally calls it quits. Kid Klown will re-unite with his family and find out what was in that vault: a giant supply of red rubber clown noses to give to everyone they meet as they tour the world and perform their acts of clownery. You've beaten Kid Klown in Night Mayor World!

Also, if you enter Up, Up, Down, Down, Left, Right, Left, Right, B and A at the title screen, you'll unlock hard more. I might play that mode down the line...

Saturday, December 25, 2021

HCBailly and JB play Secret of Mana - Part 39 of 41


Now that we're in the Mana Fortress, we'll be facing a few bosses before facing the Mana Beast.


If you can get your magic to 99 experience points at Level 8 (which is shown in the magic level screen as "8:99"), you can get some alternate animations for the spells at random. 

The Whimper enemies can cast Wall on themselves and Earth Slide on your party, and they have a chance of dropping the Javelin's Orb. The Valkyrian is the best javelin weapon in the game.

There are a few bosses in the Mana Fortress. The first is Buffy, an obvious "Buffy The Vampire Slayer" reference. Buffy can cast Freeze on your party and also petrify them with Leaden Glare. Buffy can also cast Dispel Magic. Since Buffy is a palette swap of the Vampire, it fights more or less the same way. Lucent Beam will do a lot of damage to Buffy.

The Mana Fortress will not drop weapon orbs. To get weapon orbs, you'll have to get them from Mana Fortress enemies at random.

The next boss is the Dread Slime. The Dread Slime will grow as you do damage to it, and it is a palette swap of the Lime Slime. Because of that constant growing, unless you have a lot of Faerie Walnuts and strong magic, you probably won't make it out of this battle alive. Dark Force is the best magical attack you can use against it. Also, Dread Slime loves to use Acid Storm.

HCBailly and JB play Secret of Mana - Part 38 of 41


In this entry, we get some backstory on our hero, and everything starts making sense. There is nothing else to do than to go to the Mana Fortress.


The force of the energy knocks you to the bottom of the Mana Tree, which is now devastated. The Mana Tree then talks to the party, saying that the Mana Fortress is using up most of the world's Mana and that all of the beast will be transformed into one giant creature: the great Mana Beast, the only thing that can bring back Mana. Unfortunately, the Mana Beast has little control over its rage, and if it were to attack the Fortress, the world would be finished, and the only way to avoid this is to beat the Mana Beast with the Mana Sword, which can only be used by the people of the Tribe of Mana.

The tree will tell you that Randi's father, the legendary knight Serin, should be standing here now. Serin was the ghost that you saw at the sword at the beginning of the game. Unfortunately, he's gone after being badly wounded fifteen years ago by Emperor Vandole and eventually felled in Potos Village. You'll be taking his place. Not only that, but the Mana Tree is his wife and Randi's mother. If it isn't obvious at this point, Randi and his parents are part of the Mana Tribe. The women become the Mana Tree and the protectors of the world, while the men wield the Mana Sword and protect against evil.

Now that Mana is weak, the shields on the Mana Fortress are down, making it open to attack. From here, you can now go to the Mana Fortress. The Mana Tree will then use the last of its energy to summon the power of the Seeds of Mana, bringing the Seeds back and bringing your Mana Power to 8, giving the sword maximum power. Soon after this, you'll be able to go to the Fortress.

If you return to the Pure Land after this, you won't be able to explore it anymore. You'll just go back to the devastated Mana Tree.

Mana Fortress


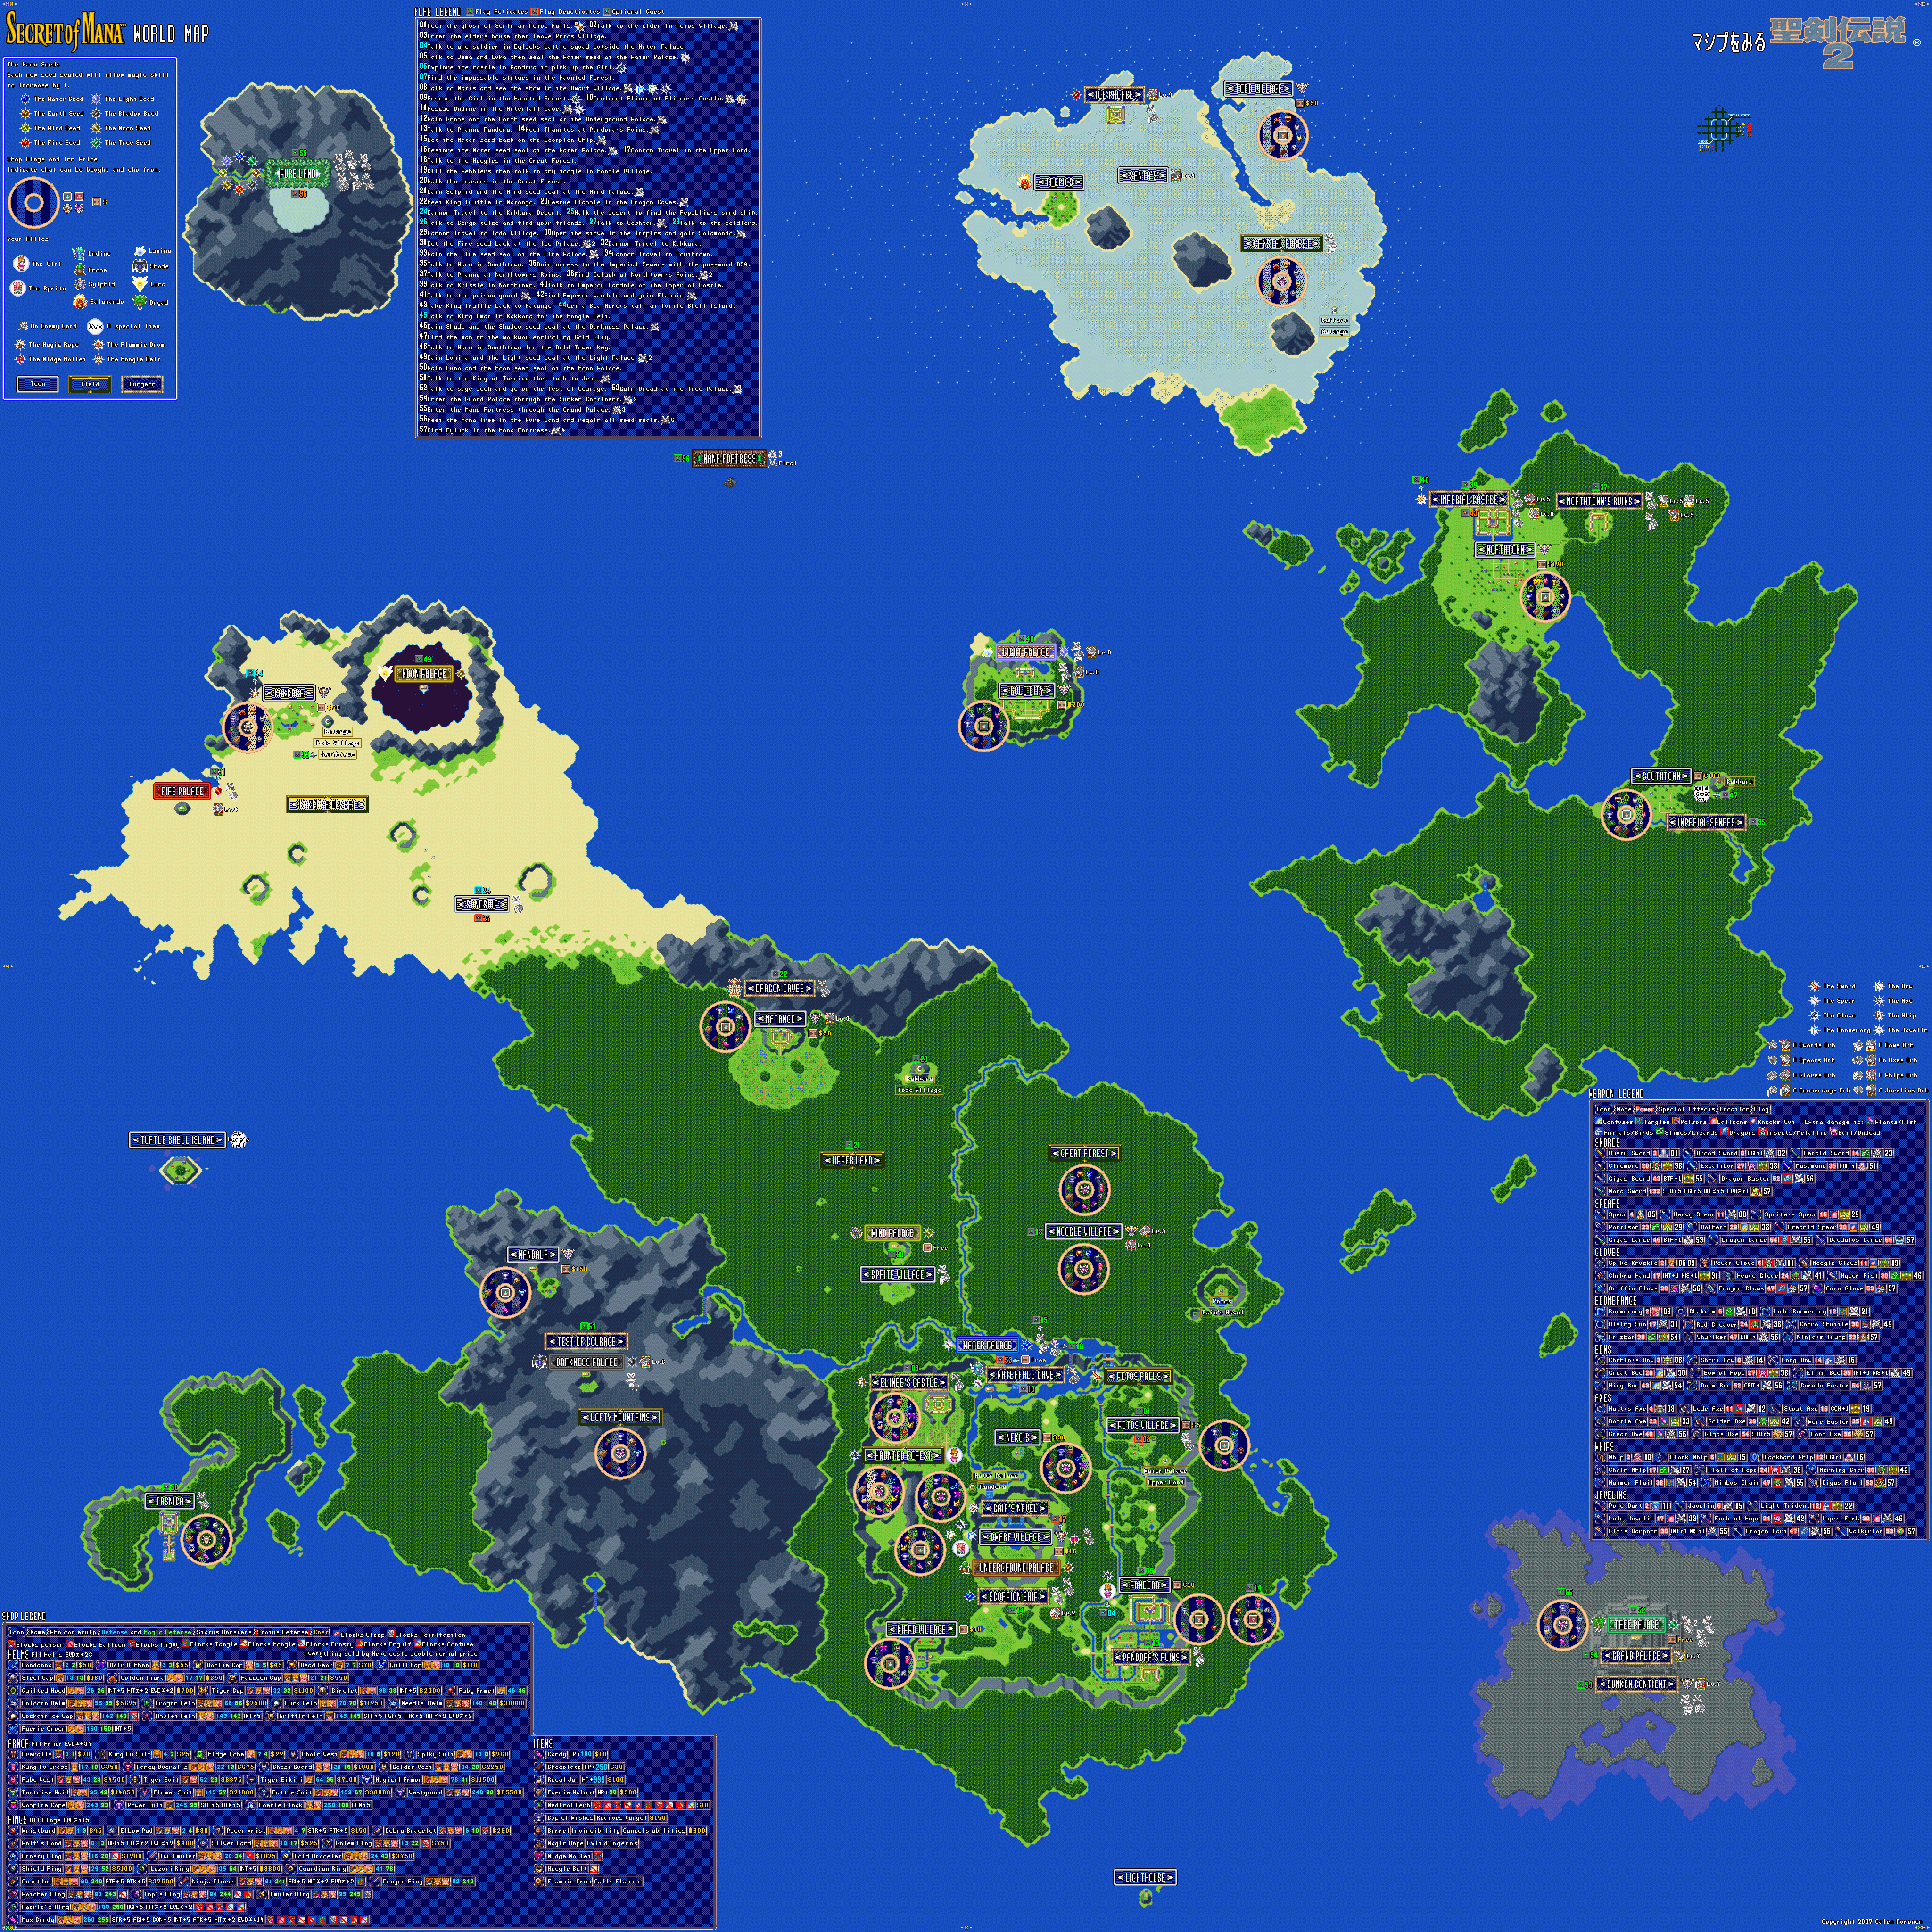
Whenever you see the Mana Fortress on the map (the big gray ball with the spikes at the bottom), just approach it. When Flammie flies upwards towards it, let go of the Control Pad and let Flammie do the rest. Otherwise, keep flying if don't want to go over there, in case you want to get more experience or something. Keep in mind that the Mana Fortress will change position from time to time, so keep an eye on it.

At the outside, Captain Duck will make a return appearance here, as well as the Kimono Wizard, Metal Crawlers and Dark Stalkers.

Once you're inside, you'll meet some new enemies. The Metal Crab can shoot bubbles around itself and cast Light Saber on itself. There is a chance you can get a Bow's Orb from it. The Garuda Buster is the most powerful bow in the game. (It should still be mentioned that the highest power level you can get a weapon to is Level 8.)

The purple crystals and the light blue squares near them are the whip jump points.

The Tsunamis are palette swaps of the Embermen, and can cast Acid Storm and Energy Absorb in addition to splitting into three. They have a chance of dropping the Spear's Orb. The Daedalus Lance is the best spear in the game. They can also drop Amulet Rings.

If you see a pink square tile, step on it to activate something that will open up the path.

The Wolf Lords are more powerful versions of the Werewolf enemy. They can cast Cure Water and Moon Saber, and they can also drop the Glove's Orb. This is the only way you can get the last two Glove's Orbs. The Dragon Claws are effective against Dragons, and the Aura Glove is the most powerful glove in the game.

The Beast Zombies make a return appearance from the Great Palace, as will the Turtlance and the National Scar.

The green crystals have to be cut down with a sharp weapon like the sword or axe. Unless you fully cut them down, however, they will soon grow back. Watch out with some pink tiles; some of them will cause fields of green crystals to grow back out.

PrinceWatercress plays Kid Klown in Night Mayor World - Part 6 of 6


In this entry, we take on Night Mayor to save our family once and for all!

Stage 6

In the first section, go slow to avoid the spears that come down. Be fast to get past the spears that shoot at you. The door afterwards contains the hedgehog boss from the intro stage, and the same strategies from the first time around apply. There are a few boss battles behind doors here, and if you enter them and complete them, you'll be rewarded with full health. Take advantage of this if you need to.

The knights will move towards you, while the squirrels will throw nuts at you. Both of these enemies are easy to defeat. 

In the next room, you'll have to deal with conveyor belts. The yellow doors here lead to the Stage 1 boss battle, and once again, the same strategies apply. Watch out for the gear that takes two hits to defeat, and be careful to hit the bats that dive at you from a distance. If you fall into the pits here, you'll be sent back, but not by much. At least you'll get the health in the chest. Just watch out for the giant protracting spikes on the floor.

Once you make it past this part, you'll meet up with some evil Kid Klown klones. (I'm trying to bring some humor back into my blog entries while still giving you info; gimme a break.) They will throw their noses at you, but the noses have limited range and will eventually return to them. Hit them while they're standing there waiting for their noses to come back.

The tiles with the glass-like sheen are one-way. You can go through them, but you can't press Down to go back. Watch out for the Kid Klown klones and the gears on the way up.

The knight helmets spit out Kid Klown klones, but only one. You can also push them out of your way just by walking into them.

The next room has more gear enemies to contend with. Be ready to throw balloons upwards on the way to the door to defend yourself. After this, you have more conveyor belts and more gear enemies. You don't need to enter the door before the climb up; even though it contains a battle with Stage 4's sea creature boss that you can use to refill your health with. When you make it to the top, enter the right door first. You'll repeat this room, but you're actually going in the right direction. Make your way to the top again, then take the left door. 

You'll be in a room with a series of six doors. Five of them take you back to past boss battles, but the one you want to enter the door on the left on the center platform. This will take you to a boss battle against a giant pterodactyl that stands there and spits fire. Aim for the head, and when the pterodactyl spits fire, you'll need to blow up a balloon, hold the B button down and use your float technique to jump over the fire as you get pushed all the way to the left side of the screen by the pterodactyl's flapping wings. As for the five way shot, stay to the left and jump clear over it.

Afterwards, you'll face Night Mayor himself. Aim for the head and stay on one side of the room, and when the sparkles that come out of his hands move towards you, let them come to you and them move to the other side. Repeat until he disappears.

That was just the first phase. The second phase has Night Mayor teleporting and spitting fire. Jump to avoid the fire breath and hit Night Mayor in the head. If you can get distance between yourself and Night Mayor, more power to you. Keep that distance as you aim for the head with upwards diagonal directions. Also, if you die at any point in this battle, you'll have to face the pterodactyl boss again (and that's no fun for anyone).

After dealing enough damage, Night Mayor will no longer have a body, and you'll have to deal with his floating, disembodied head that spits fireballs that bounce around at 45-degree angles. Thankfully, you can easily destroy these fireballs with your balloons, and aiming at Night Mayor's head is pretty simple. Once you beat this phase, Night Mayor finally calls it quits. Kid Klown will re-unite with his family and find out what was in that vault: a giant supply of red rubber clown noses to give to everyone they meet as they tour the world and perform their acts of clownery. You've beaten Kid Klown in Night Mayor World!

Also, if you enter Up, Up, Down, Down, Left, Right, Left, Right, B and A at the title screen, you'll unlock hard more. I might play that mode down the line...

Friday, December 24, 2021

HCBailly and JB play Secret of Mana - Part 37 of 41


We finally made it to the Mana Tree! But before we can do what we came here for, the Empire has other plans...


To the left of the second save point is the Red Dragon. This is a fire-based version of the Snow Dragon, and it has Fire Breath that can engulf one of your party members. It can also damage your party with Breath Wing and put party members to sleep with Sleep Ring. Use Undine to do massive magic damage against it. Beating the Red Dragon will net you a Glove's Orb. The Dragon Claws are effective against Dragons.

Once you beat the Red Dragon, you can leave the cave area and go north past the gate. From there, go west when you have a choice between west and north, and go north at what looks like a four-way intersection. You'll face Thunder Gigas.

Thunder Gigas is a wind- and thunder-based version of the Gigas enemies, and the last that you're going to see in the game. He can hit you with Thunderbolt and Blitz Breath, and he can case Thunder Saber on himself. Defeating Thunder Gigas will net you the Sword's Orb. The Dragon Buster is effective against dragons and is the last sword in the game.

After beating Thunder Gigas, go north. You'll be back on the path. One screen north leads to another save point. Head west and follow the path to face the Blue Dragon.

The Blue Dragon is much like the Snow Dragon and Red Dragon. It can cast Silence on your party with Confuse Hoops, and can also damage your party members with Blitz Breath. Defeating the Blue Dragon will net you a Boomerang's Orb. The Shuriken raises the chance of landing a critical hit on an enemy.

Once you go back to the gate and save your game, you'll finally reach the end of the Pure Land. In the distance is the Mana Tree, and as Randi is about to ask the Mana Tree to revive the sword, the Mana Fortress is revived...

HCBailly and JB play Secret of Mana - Part 36 of 41


In this entry, we head to the Pure Land to revive the Mana Sword.


If you approach the Mana Fortress and stay in one spot when Flammie ascends near it, you'll enter the Mana Fortress. Unfortunately, you won't be able to do anything here due to the barrier, so you'll be bounced off it and back onto Flammie.

It is now that you'll need to find a huge mountain with a light blue and light green center. This is the Pure Land. Had you tried to go here earlier in the game, the game wouldn't let you, but now, you can go here.

Pure Land

The Needlions are palette swaps of the Pebblers. They can cast Earth Slide and Defender and can also petrify you with their physical attacks, so be careful. The Griffin hands can grab at you, but thankfully, they cannot cast magic. They can drop Griffin Helms, which only Randi can equipped, but it's a rare drop for the most powerful helmet he can get.

The Mushglooms are palette swaps of the Mushbooms and can cast Wall on themselves. The Ice Thugs are palette swaps of the Water Thugs and can cast Acid Storm and Curew Water. The Ice Thugs can drop Dragon Rings, which are marginally better than the Gauntlet but also increase your Strength a little bit.

You'll eventually find a cave where you'll fight the Dragon Worm. Much like the worm from where you looked for Flammie, you'll want to zap this boss with Slyphid's music. Don't forget to cast Lucid Barrier on your party and give Moon Energy to whoever needs it, and keep the Moogle Belt and Midge Mallet ready in case anyone gets Moogled or shrunken, respectively. The Dragon Worm can also cast Earth Slide, Balloon Ring and Petrify Gaze.

By beating the Dragon Worm, you'll get the Axe's Orb. The Gigas Axe increases Strength by five points.

If you see a staircase leading to an archway, you can save your progress there. Of course, if you do, you'll have to go to the area to the side to continue on.

You'll soon be fighting the Snow Dragon. This boss can cast Freeze, Breath Wing and Balloon Wing. Use Salamando to do a lot of damage to this boss. If you need to use physical attack, aim for the lower part of its body (the tail is considered the hitbox). Sometimes the Snow Dragon will disappear for a while. If this happens, you'll have to wait for the Snow Dragon to come back. Beating the Snow Dragon will give you a Bow's Orb. The Doom Bow raises the chance of critical hits.

The Eggplant Man can cast Lucid Barrier on themselves and can spawn Needlions. If you can smash them before they cast Lucid Barrier, you may be able to destroy them in one hit if you're strong enough.

The Ghosts are stronger palette swaps of the Specter and can cast a stronger version of Freeze.

The next boss on the hit parade is the Axe Beak, which fights like the Spring Beak from the Upper Land. This boss can cast Sleep Gas, Sonic Pulse and Fireball. Hit this thing with magic more often much like you did with the Spring Beak, and use Freeze if you want to deal the most damage. Beating the Axe Beak gives you a Javelin's Orb. The Dragon Dart is effective against dragon-type enemies.