If I hear that "Under The Sea" song from The Little Mermaid one more time...
All maps by Dan_.
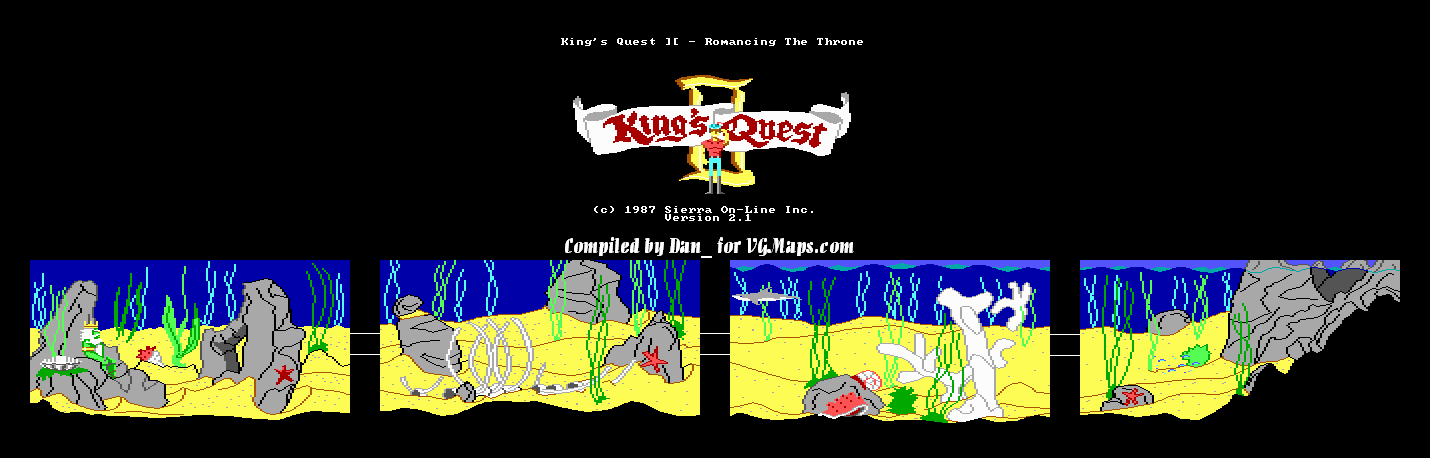
When you take the clamshell, you'll find a diamond and sapphire bracelet underneath. Take the necklace.
If you open the clamshell, you'll find out it's empty.
North of the clamshell screen is a mermaid. You'll get nothing if you talk to her after swimming up to her, so give her the bouquet of flowers instead. She'll summon a seahorse. Take a ride on it, and you'll go underwater.
Underwater Map
Go west until you meet King Neptune. Get to the middle of the screen and give him the Trident. He'll give you a bottle, and he'll also open a large clamshell which gives you a golden key. Position King Graham so he's right next to the key, and take the key. Congratulations! You have the first key!
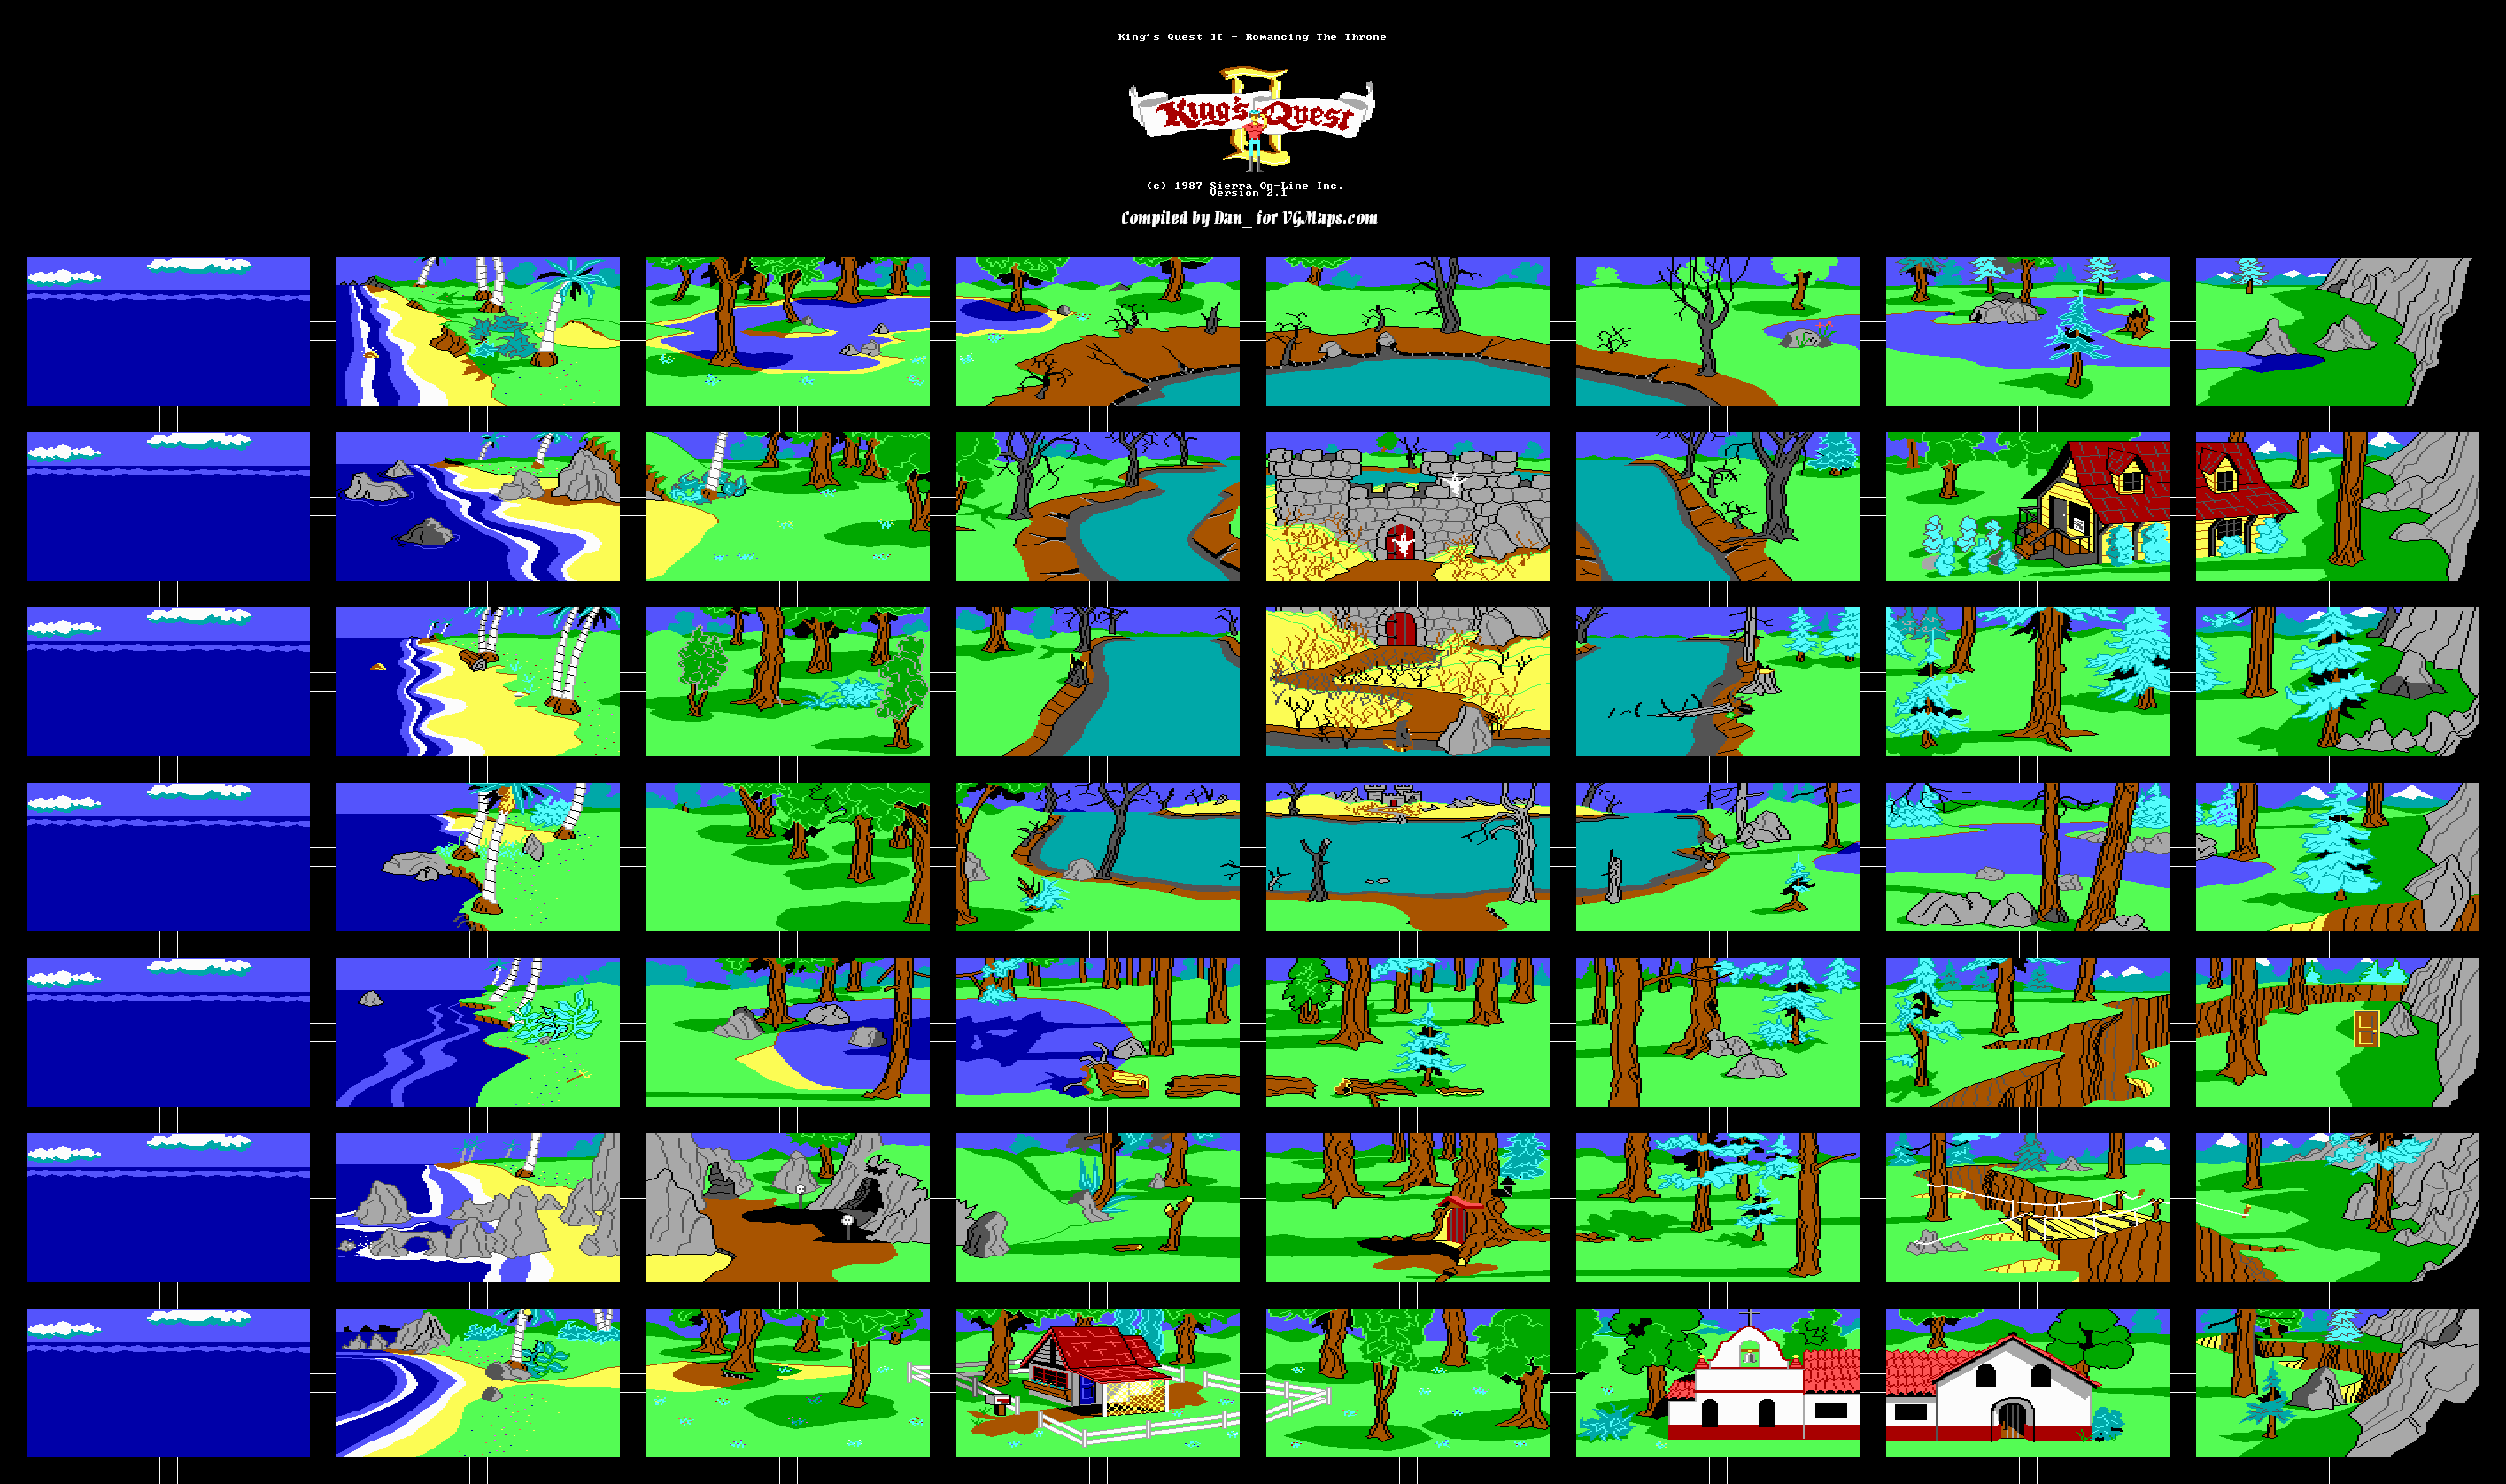
Map
Once you're back on dry land, head two screens west and you'll see the poisoned lake. We've seen it before, but this time around, Dilandau3000 goes into detail about it. If you even do so much as drink the water of the poisoned lake, you'll die.
Follow the poisoned lake, and you'll see it encompasses around an island with a castle on it.
Two screen west of where you saw the castle, and you'll see a complete change in scenery from the poisoned lake. There's nothing special here, though, but if you go west again, you'll be near the chasm. Go back to the bridge and unlock the door with the key. You'll find another door. Read the inscription on the door before you do anything else: "Whosoever chooses to seek the key for this door should set their sights high."
Now that this is out of the way, let's cross the bridge and head south from the monastery entrance. Look inside the hole in the boulder and you'll find a diamond and sapphire brooch...which matches the earrings and bracelet perfectly! I wonder...
Anyway, take the brooch.
No comments:
Post a Comment