Sunday, March 12, 2017

newfiebangaa plays Bomberman '94 - Part 1 of 6


More Bomberman! More year numbers! More Turbo-Grafx 16! More '90s! More Hudson Soft goodness!

The inhabitants of Bomber Planet lived in peace, protected by five spirits, until the evil Bagular and his robot army invaded. The Spirit Pictures, the source of the Spirits' magical power, were destroyed, splitting Bomber Planet into five pieces. Bomberman arrives to restore the Spirit Pictures and reassemble Bomber Planet.

This game was only released in Japan, and was ported to Sega Genesis/Mega Drive in the U.S. and Europe under the name Mega Bomberman.

Area 1: Grass Land

Stage 1


As in every Bomberman game, you'll be blowing up enemies, breaking blocks and trying not to get yourself killed.

The bunnies and the robot flowers just move back and forth, and it's all to easy for them to walk into the explosion radius of your bombs. The bunnies are known to stand there and jab like some sort of kickboxer if they see you. The red flowers are also enemies and die like regular enemies do when you blow them up.

When you break all of the flashing globes, you'll free the piece of the Spirit Picture for that area.

Power-ups will be on blue squares that you can find when you blow up blocks. Pictures of flames with smiley faces will increase the range of your explosions, while pictures of bombs allow you to drop more than one bomb on the playfield at one time. Unlike the previous game, Bomberman '93, there's more than one power-up to pick up in every area.

When you collect a piece of a Spirit Picture, the destructible blocks that are left will turn into coins. You have fifteen seconds to pick up as many coins as possible.

Stage 1-2


The mouse with the big lips runs really fast, while the snails are slow.

The picture of the foot kicking a bomb allows you to kick a bomb by moving into it when collected. You'll lose this ab

One of the globes is being carried by an enemy. You'll have to kill that enemy before you can blow up the globe.

Stage 1-3


This area is split into two sections. Blow up the two globes at the beginning to open the gate. The second section has the Spirit Picture.

The egg contains a kangaroo named Louie that Bomberman can ride on. To do that, walk into the egg to pick it up and Louie will immediately hatch out of it. Different color Louies have different abilities. The yellow ones can kick destructible blocks out of the way. If you get hit while on the kangaroo, you'll lose it...but at least you don't lose a life. Yet.

The yellow life vest makes you invincible for a few seconds.

Boss


Before you can put in the final Spirit Picture piece, you'll have to face a boss. Here, it's a monkey controlling a banana by remote control. Avoid the banana (which will follow you around if you're nearby) and keep attacking the monkey.

Once you compete the Spirit Picture here, enemies will enter the other lands and attack the other Bombermen! Now it's up to the White Bomberman to set things straight!

Saturday, March 11, 2017

Tails' Adventure - The OST

Here it is: every song from Tails' Adventure.

ClementJ64 plays Tails' Adventure - Part 6 of 6


We have everything we need. Let's do this.


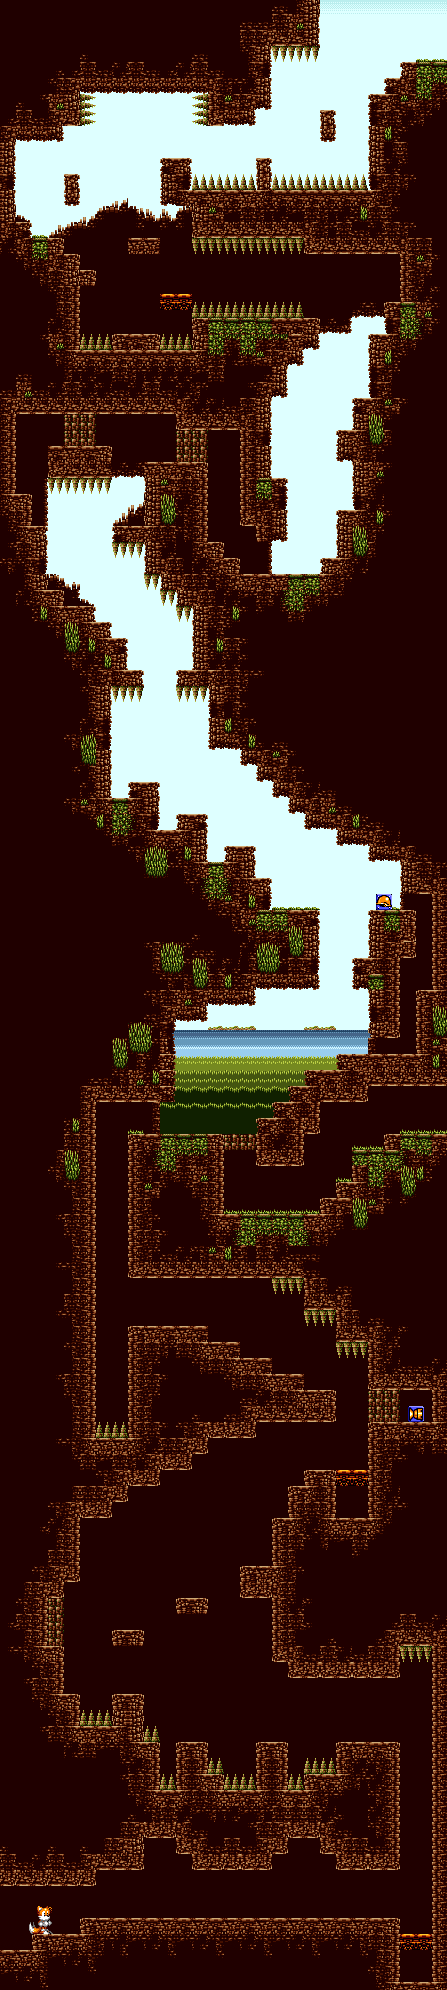
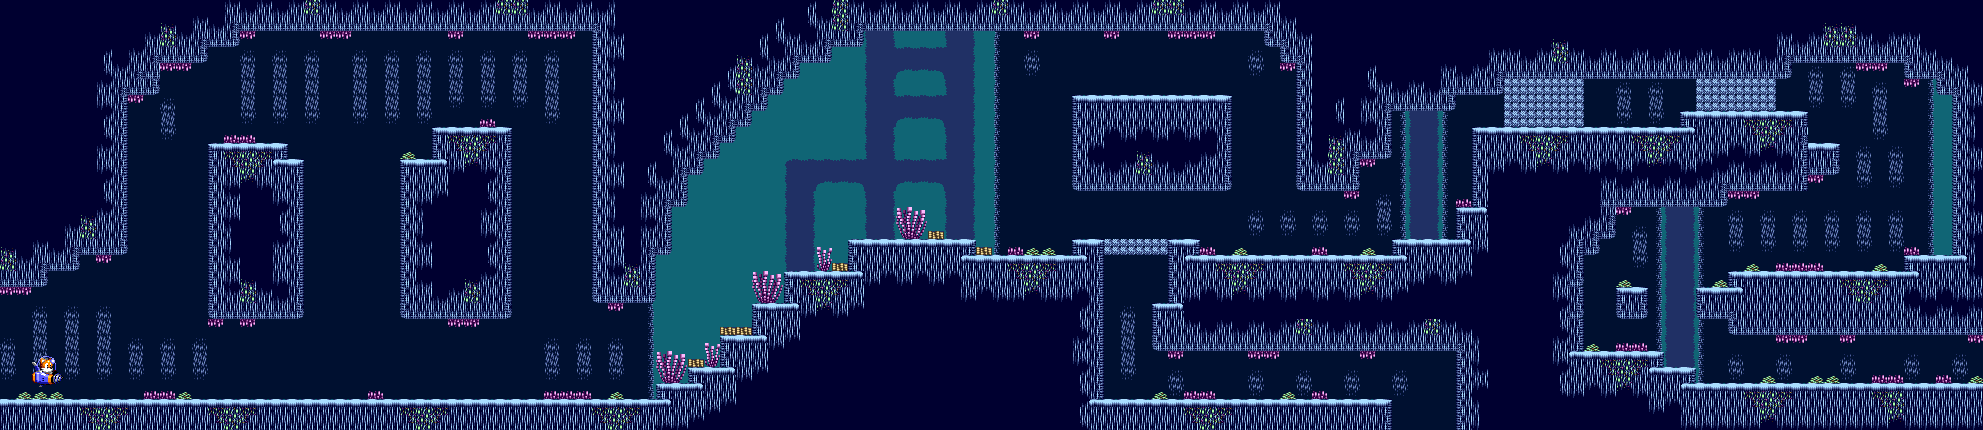
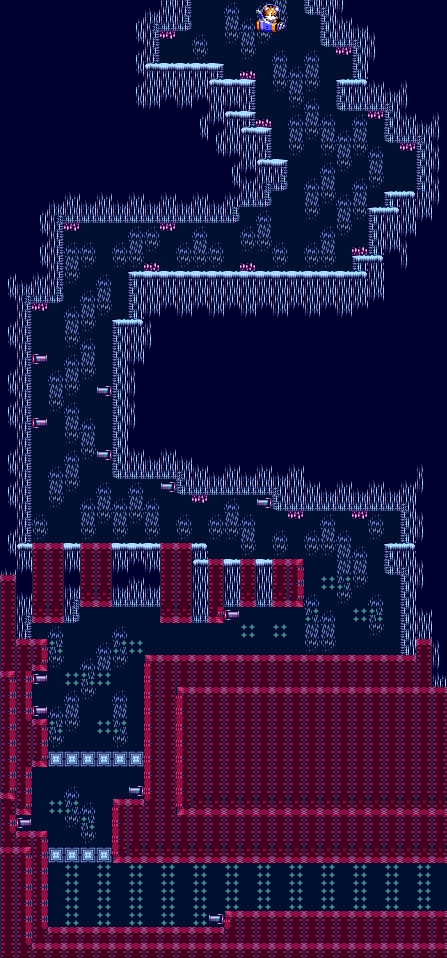
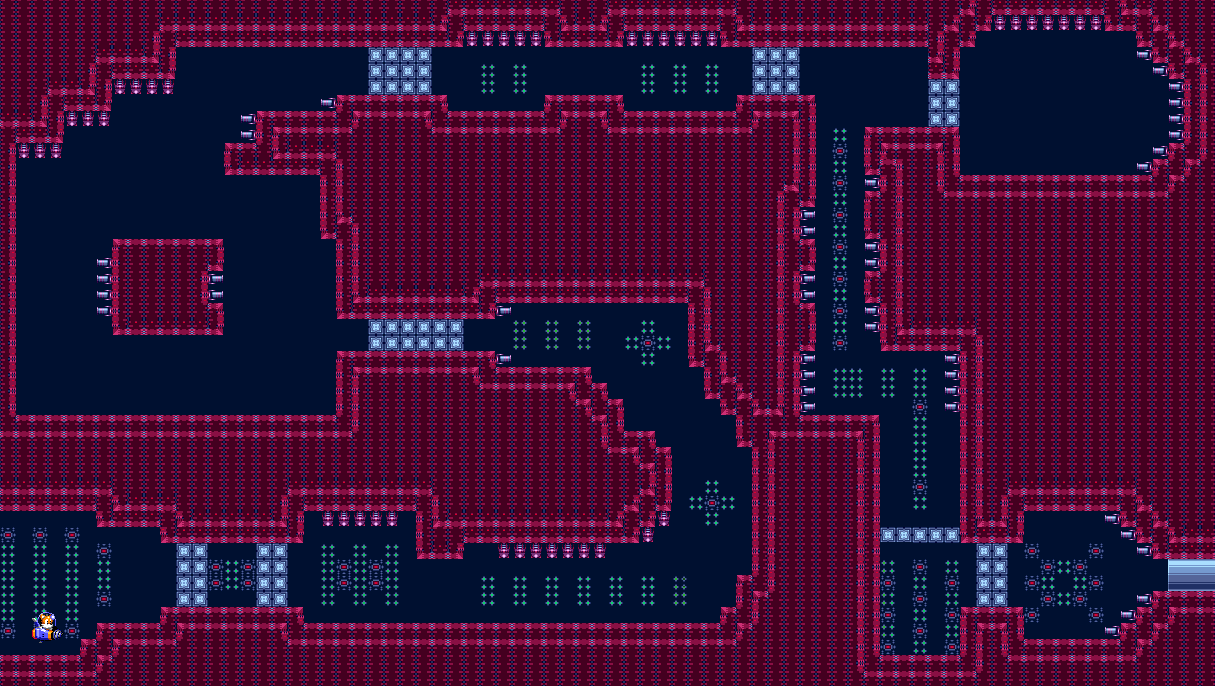
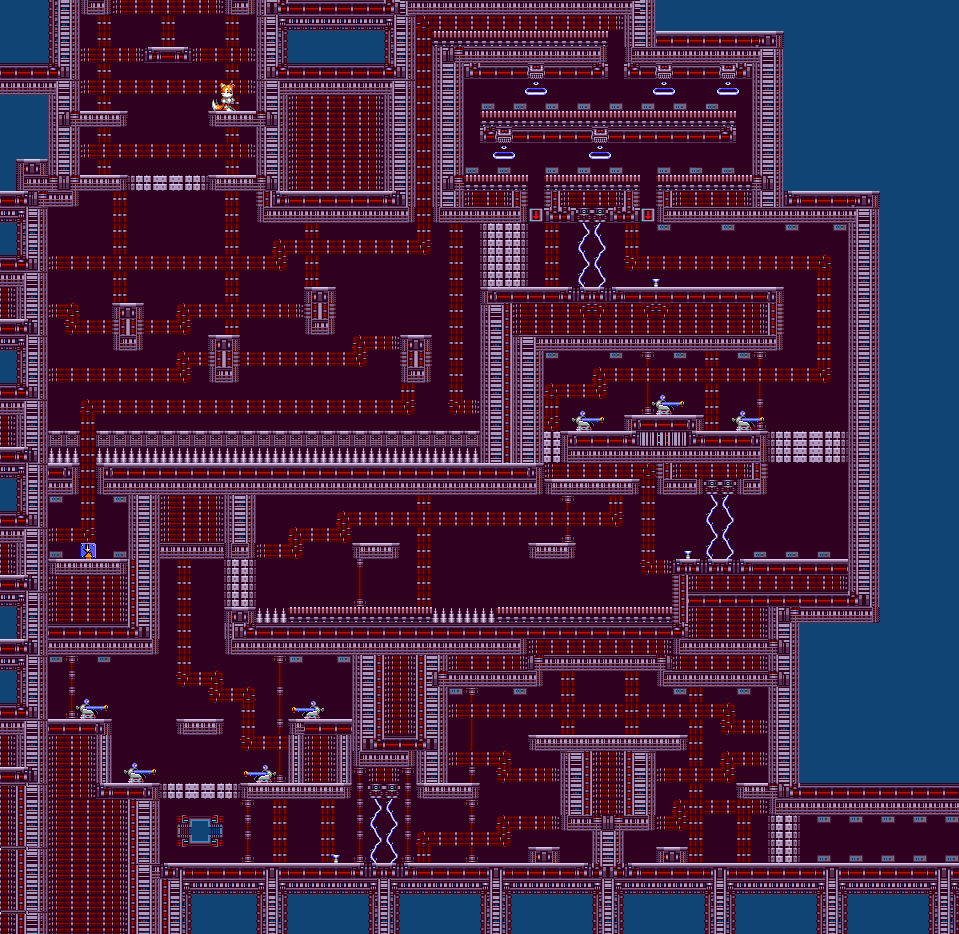
All maps by Will Mallia.

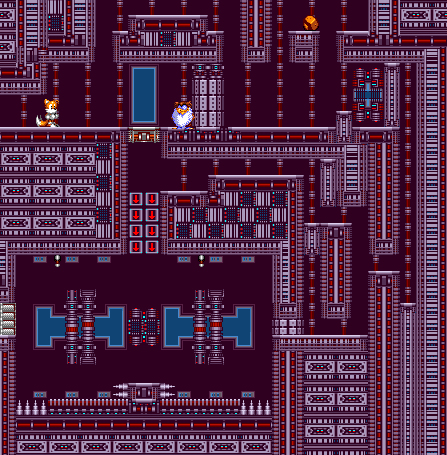
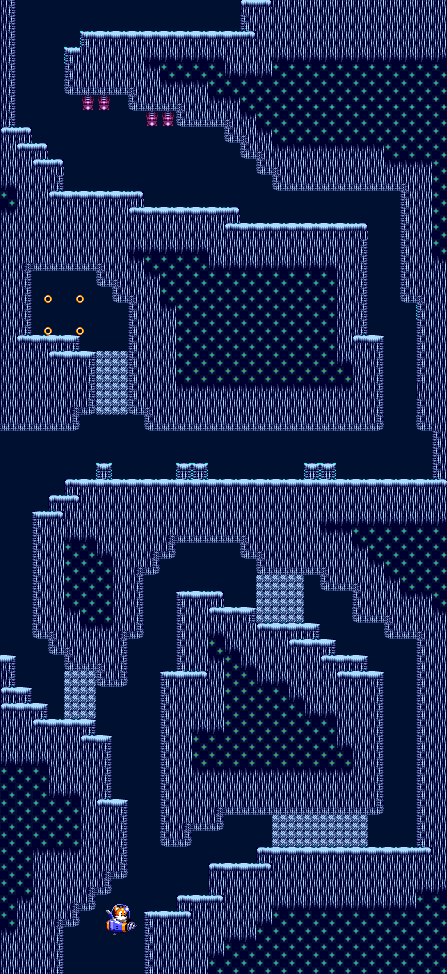
Battle Fortress


Head back to Tails House and equip the Rocket Booster on the Sea Fox. Also, the Spark will be useless here, so go ahead and unequip it.

Also, this level is easier with all seven Chaos Emeralds, since the max HP of 99 really helps here.

Stay at the top of the screen and none of the enemies will hit you.


Hang to the right and use the Anti-Air Missiles on the turrets situated on the right side of the screen.

Once you get past this area, you'll enter the fortress on foot.


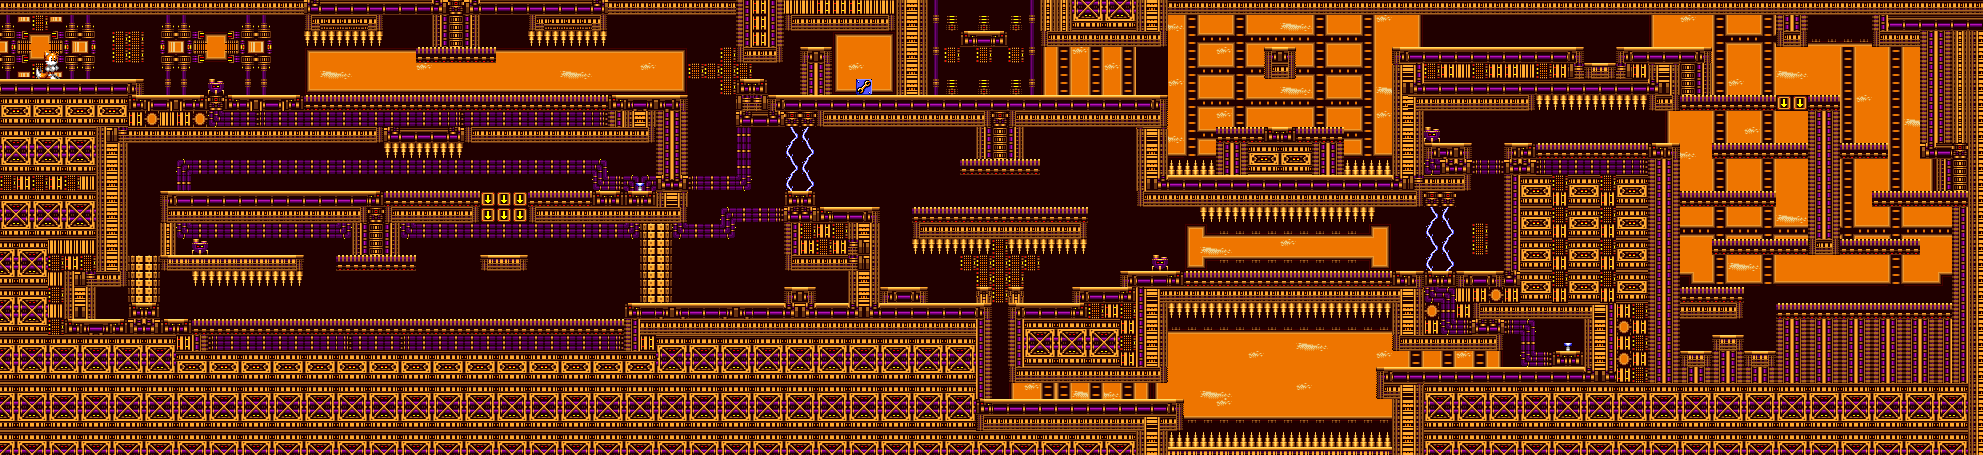
At the start, go right. You'll find a narrow passage with a crouching Battle Kukku soldier on the other side. Get the Remote Robot into this area to find the Wrench, which is only useful in this level and lets you turn switches to reverse the direction of the conveyor belts in this level. Use it on the small purple machines sitting on tripod legs.

You'll need the Remote Robot again near the end to hit a switch to turn off the laser barrier blocking the path to the exit.


This part is more of a maze than anything else. Use the Remote Robot at the start to hit the switch just above your starting position, then you can take the conveyor belts above.

From there, you'll have to make your way to the right, and break the lower wall to the left to hit another switch with the Remote Robot. Go through the maze again and go left through the upper wall to head to the top and hit the other switch. You'll now be able to continue on to the final area.

The Kukku robots just stand there on the conveyor belts, and if they fall off of them and hit the ground, they'll be immediately destroyed.


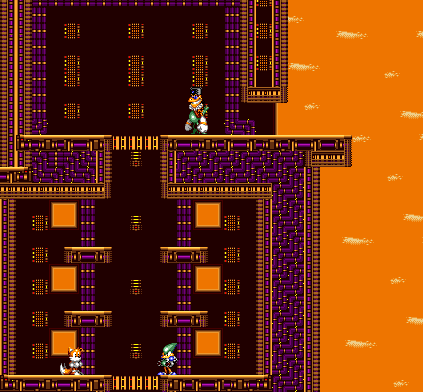
To beat Speedy (aka Battle Kukku XVI), equip the Triple Bomb and attack him as he flies around the room. Speedy has two attacks: an electric blast that he shoots forward as well as a jetpack back-blast that covers all rows and is easy to avoid, since it's slow to fire and he predictably goes from the top row to the bottom as he fires it.

When you beat Speedy, you'll fight Grand Battle Kukku XV. To beat him, avoid the bombs that he throws, stay far away from him and throw Triple Bombs at his head. If he touches you, he'll shake you before throwing you. At first, he just stays at the right side of the screen, but after taking enough damage he will move back and forth across the entire room, ducking down to throw bombs. Stay above him at all times and drop bombs on his head. If you have all seven chaos emeralds, this is much easier.

Once you beat Grand Battle Kukku XV, you've beaten the game! Congrats!


Friday, March 10, 2017

ClementJ64 plays Tails' Adventure - Part 5 of 6


Now that we have mines for the submarine, we can reach some new areas!


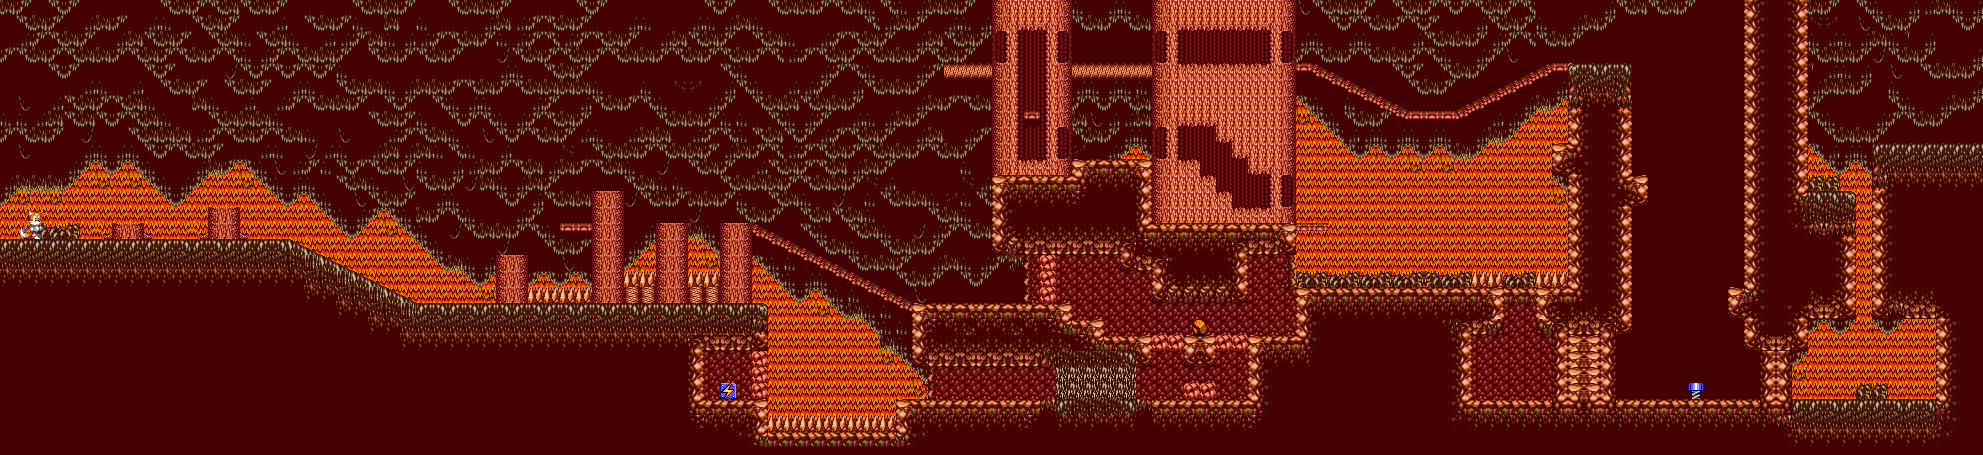
All maps by Will Mallia.

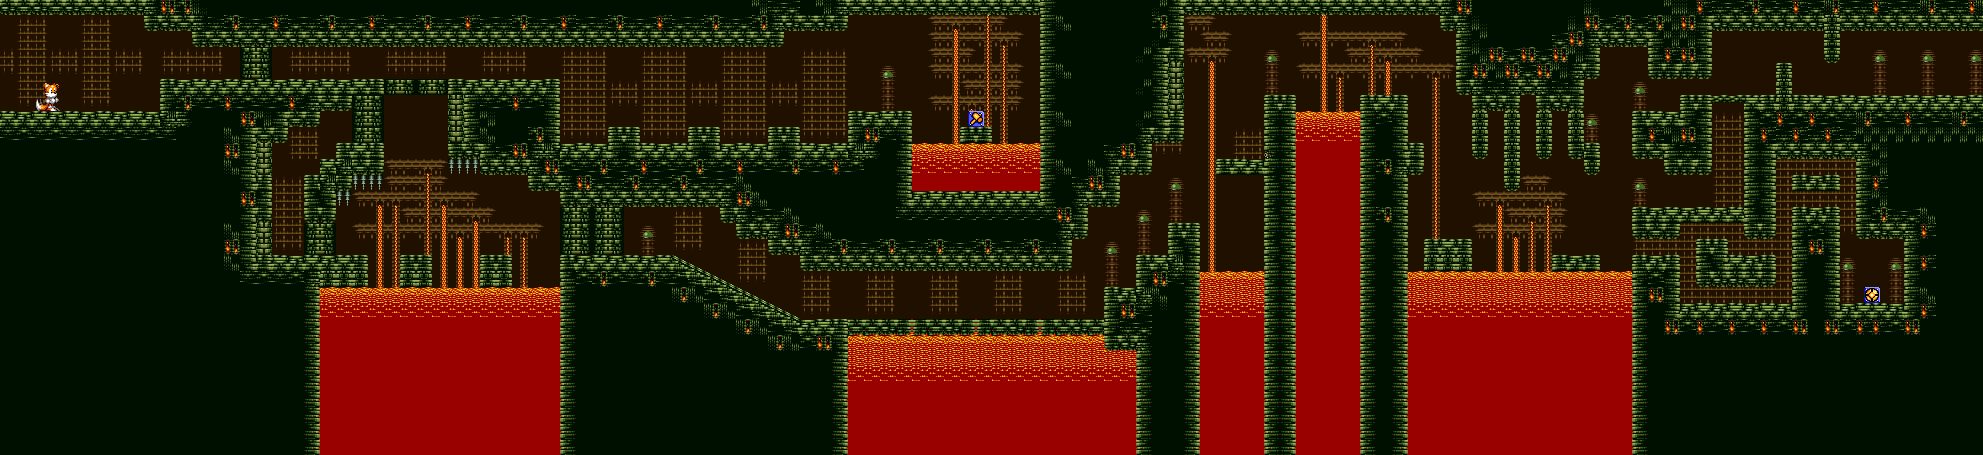
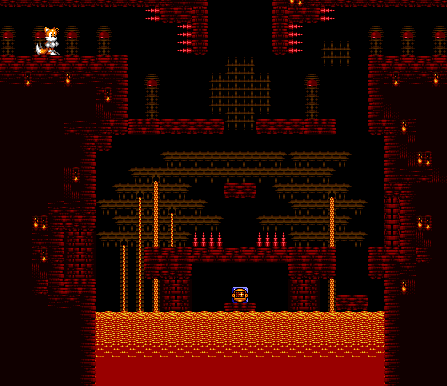
Volcanic Tunnel


Head to Area 2.


Just after the start, you'll be able to go down and break the wall to the right and enter Area 3.


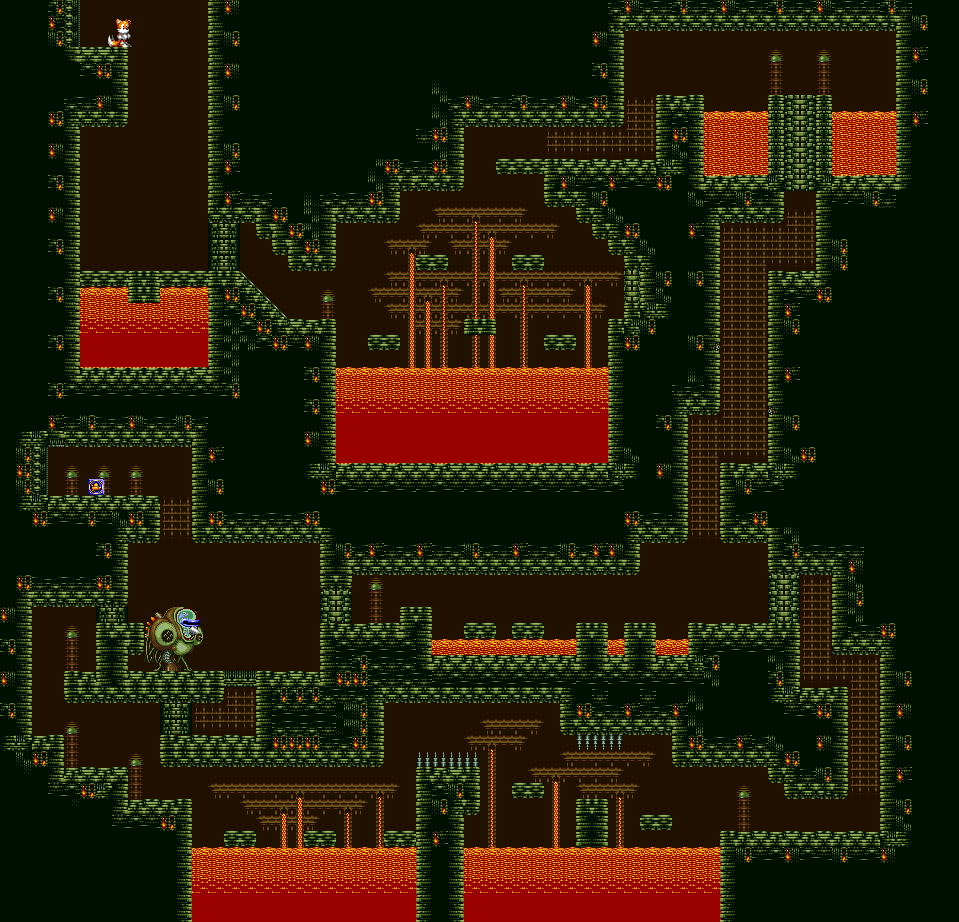
To beat the boss, get behind the mech and drop Large Bombs on the back of its head. You'll take damage, but you won't take much before the boss finally goes down. Beating the boss will give you access to the area above the boss, where you'll get Extra Armor for the Sea Fox, which makes the submarine invincible when equipped. Go left to head out.

Polly Mt. 1


You'll now be able to break the blocks shortly after the beginning that you couldn't before. You'll find the Rocket Booster for the Sea Fox, which you'll need to enter the final level.

Poloy Forest


Head to Area 2.


Above the entrance to Caron Forest is another narrow passageway for the Remote Robot, just under the other side of the second bridge. Take it over there and you'll be able to find the Radio. This lets you play any song you want in any stage.

Lake Rocky


Head to Area 2.


You can now break the blocks on the floor with the Mine. This takes you to Area 6.


Use the Extra Armor to plow through this area, and use the Mines to break the blocks in your path. The missile cannons in the walls take down 10 HP with every shot, so the Extra Armor will definitely come in handy here.


Once again, the Extra Armor will come in handy for this area. Use the Proton Torpedoes to break the blocks ahead of you.


Once you break through the blocks with the Proton Torpedoes, you're done. Leap out of the water and you'll be in Coco Island.

Coco Island


The Battle Kukku soldiers with the guns are invincible when crouching. Attack them when they're standing up and shooting.

You will have to step on switches (some of them with the Remote Robot) to turn off some of the laser barriers. If the Remote Robot runs into the barriers, it will return to Tails.

You cannot fly up through the Down Arrow blocks, so don't even try.

The Yellow Chaos Emerald is pretty easy. Picking it up will bring your max HP all the way up to 99.

The elevator below the start leads to Area 2.


Go down and to the left at the beginning to get the Teleport Device. This lets you exit the level just by using it, much like the Escape Unit in the Mega Man X series.

You'll have to use the Remote Robot at the start again to enter a narrow passage in the ceiling. Move past the blue energy waves (which will return the Remote Robot to Tails), as you go right, then down, then left. Hit the switch, and you should be able to continue as Tails.

The cannons are really easy to deal with and avoid.

There's another instance of having to use the Remote Robot to trigger a switch near the end, but it's a good deal easier than last time.


You'll meet Dr. Fukurokov, who sends you into a trap room below. Blow up the floor tiles to the right, then send the Remote Robot through the narrow passage that is now open. Send it through the maze and push the rock onto Dr. Fukurokov's head, crushing him. Hit the switch that shows up, and return the Remote Robot to Tails. You'll be able to head out through the left.

When you return to the World Map, you'll find out Coco Island is really not an island. Instead, it's the Grand Kukku Battle Ship!

ClementJ64 plays Tails' Adventure - Part 4 of 6


It's time to head to the mountains to find a really important item, then it's time to backtrack.

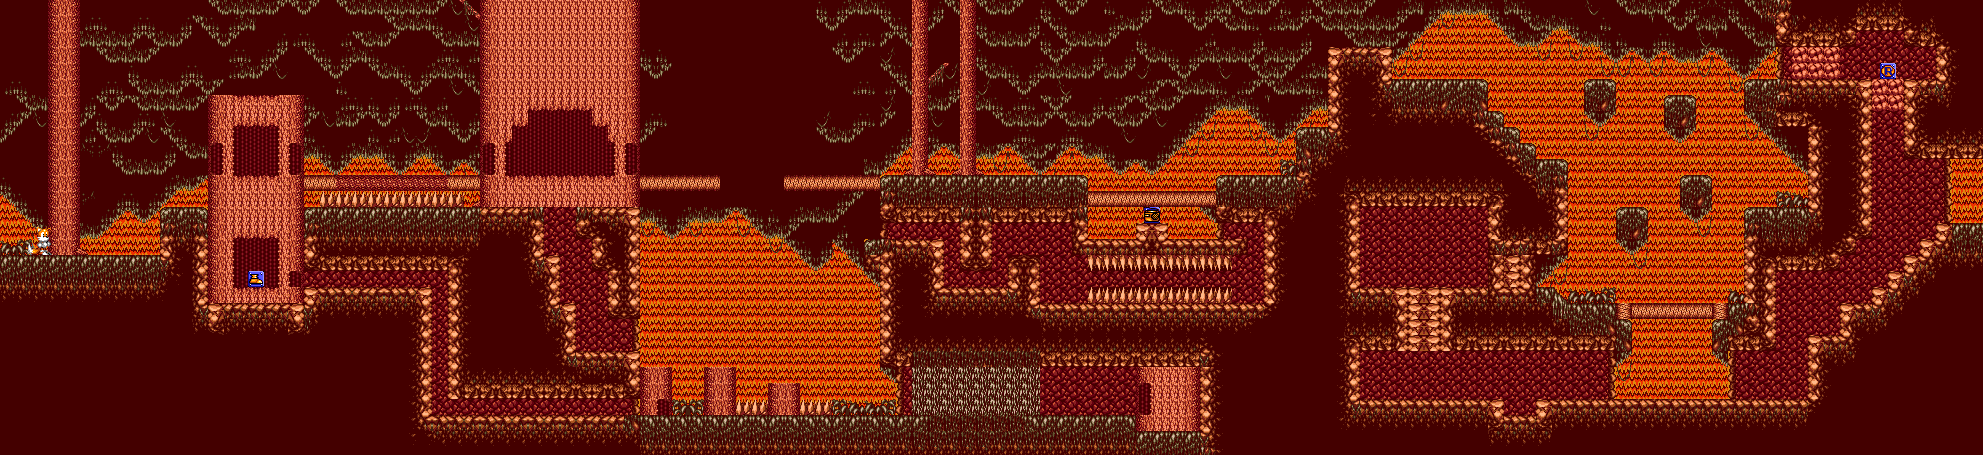
All maps by Will Mallia.

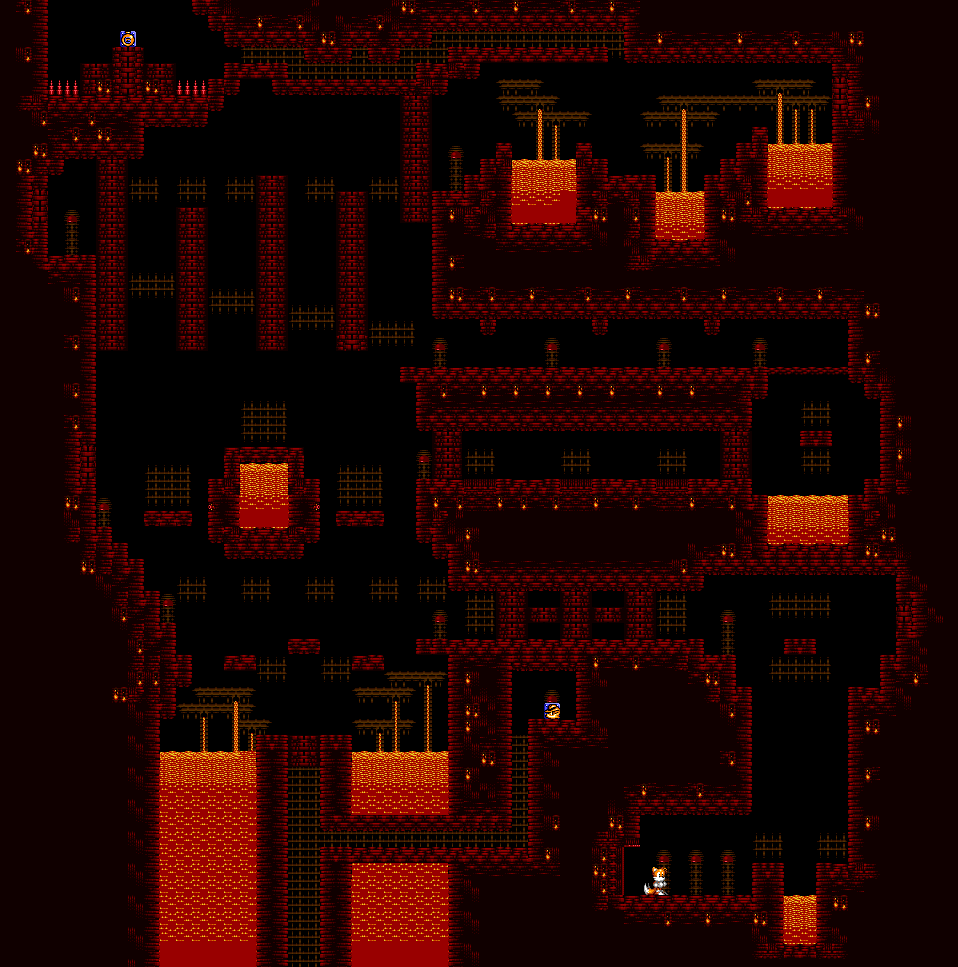
Polly Mt. 2


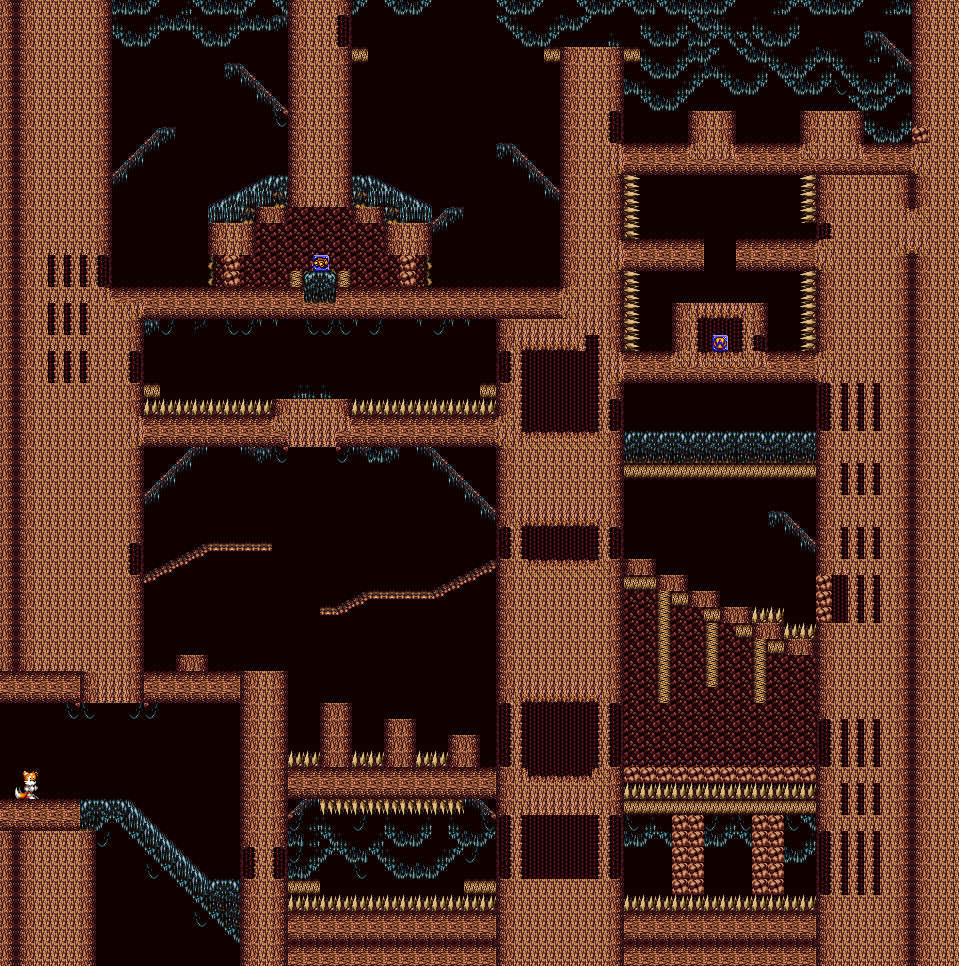
Equip the Night Vision at Tails House before you go into this level or when you enter a new section. Otherwise, you won't be able to see anything.

At the bottom of this area, use the Remote Robot to get the Item Radar, which helps you find all of the items in the game.


There are two instances where you will be able to use the Remote Robot. The first is shortly after the beginning of the section, where you can bomb the floor. Don't drop down into this area; instead, use the Remote Robot to find a narrow passage that leads to the Fang the Sniper/Nack the Weasel power-up. It's like the Knuckles power-up, but you'll able to get Rings from enemies more often when you defeat them with this.

The other is at the top, which involves bombing a lot of blocks to make your way up there. You won't be able to fly either, and if you leave yourself without any means to jump to the next platform, leave this section and come back to reset the blocks. Once you're up there, send the Remote Robot into the narrow passage in the ceiling to get the Large Bomb, which also blows up walls that only the Napalm Bomb can take out.

You're done here, so go ahead and exit this area.

Poloy Forest


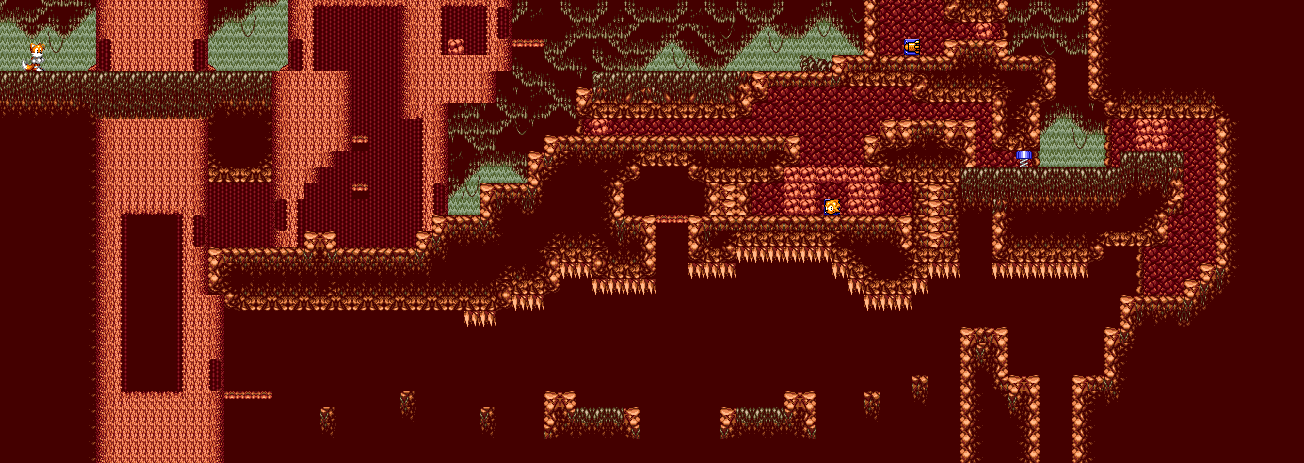
There are two items in Poloy Forest you can get now. The first is the Spark, which is underneath the bridge. Break the wall just past the bridge underneath the destructible floor tiles with the Napalm Bomb, then take out the floor tiles. The Spark is for the Sea Fox, and it kills everything on-screen.


Go down at the bridge with the gap, then go to the left and use the Remote Robot to get the Speed Boots, which makes Tails run faster...at the expense of being unable to attack.

From there, go straight to the right and use the Napalm Bomb to enter Caron Forest.

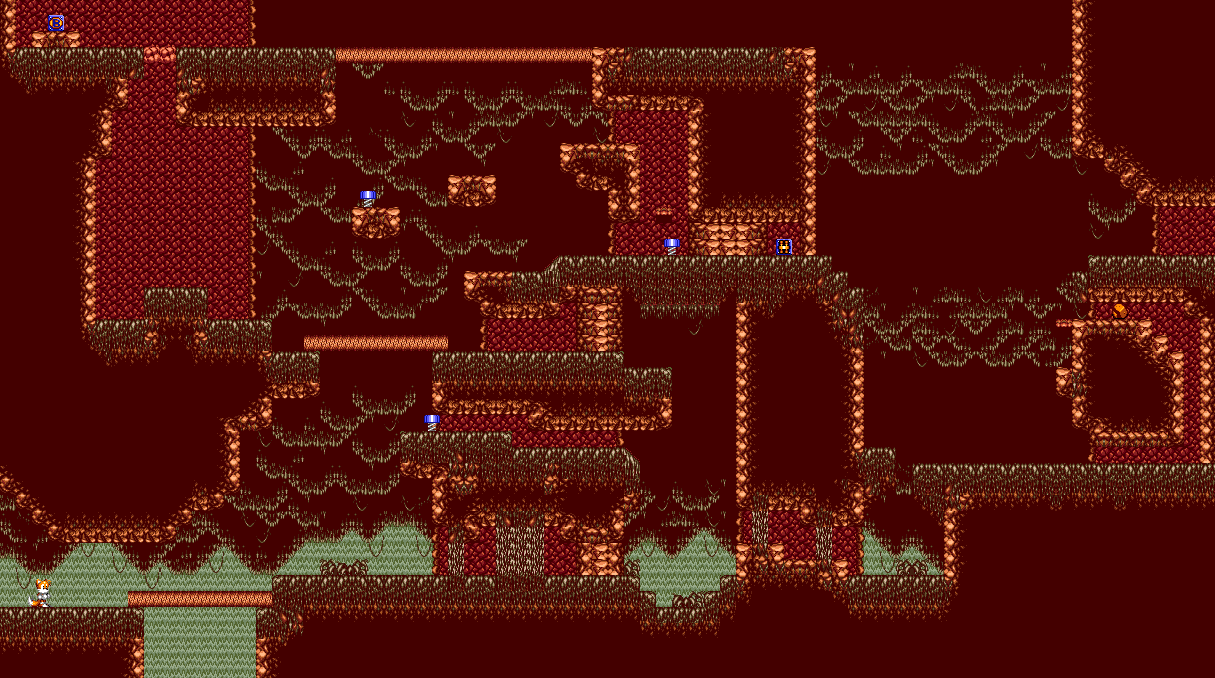
Caron Forest


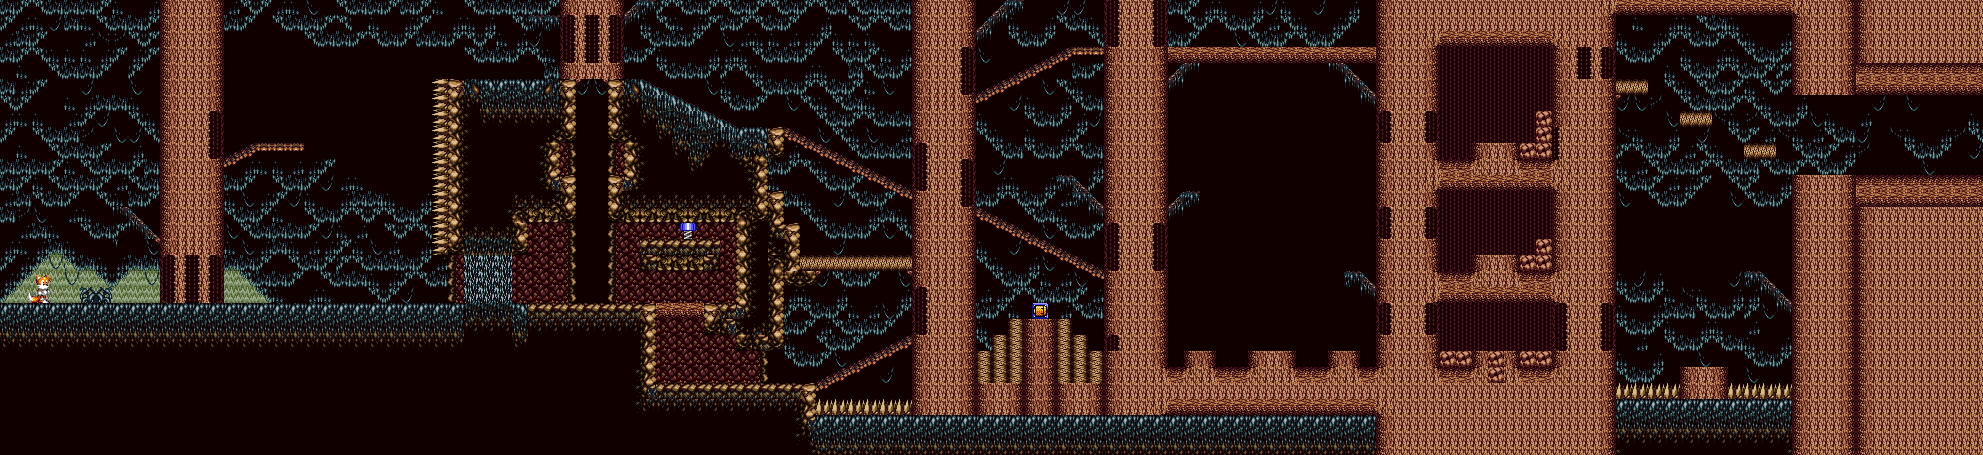
You'll be using the Remote Robot a couple of times to push rocks down the mountain so Tails can go up, since the wind will push him down and leave him unable to fly.

Fly to the left at the entrance to the next section to find the Blue Chaos Emerald. Your max HP is now 60.

From here, bomb the nearby bombable floor tiles and go right. Go through the wall to get the Triple Bomb, a more powerful version of the Regular Bomb.


Not far to the right are two icons. The first is the Sonic icon, which lets Tails do a Sonic Spin Dash. You'll have to fly around to get it, but it's easy to find.

The other one is the Proton Torpedo for the Sea Fox. You'll have to use the Remote Robot, fly it around in a loop and get it to push a spring to Tails that will allow access to the area it is located at. From there, bomb the tile blocking the narrow passageway and get the item with the Remote Robot. You're done here, so head out.

Thursday, March 9, 2017

CGR Undertow reviews Tails' Adventure


Here's another review from CGR Undertow, and this time it's for the game in the current blog series: Tails' Adventure.

ClementJ64 plays Tails' Adventure - Part 3 of 6


Misleading island name is misleading.

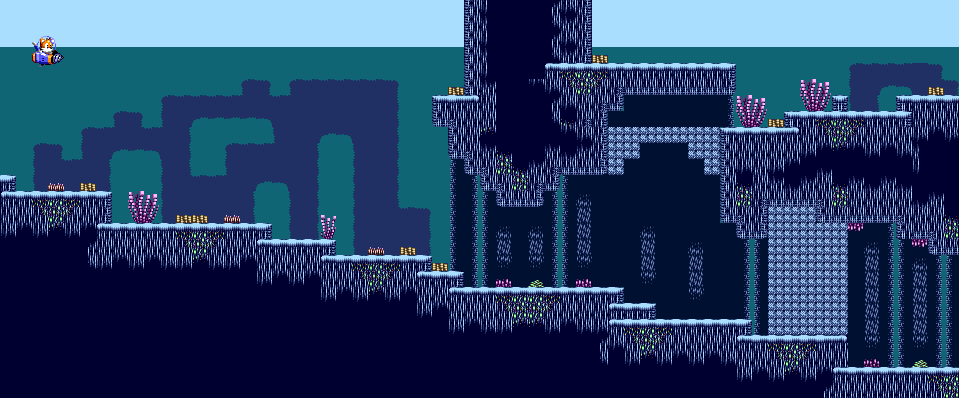
All maps by Will Mallia.

Lake Rocky


Use the Anti-Air Missiles to break the blocks above you and take the upper path. Just use Up to aim. Here, you'll fight a boss. This time, it's a ship. Stay underneath the center of the boat and keep firing Anti-Air Missiles at it to take it down.

Beating this ship will give you access to Green Island. Looks more brown than anything else when you're there.

Green Island


The Napalm bombs can attack anything above them as soon as the fire from the explosion travels forward. Use this to clear out the wasp hives as well as the one wasp that sticks around before chasing you. Ditto for the mini Battle Kukku soldiers. Even thought they're easy as anything, they'll quickly run at you if given the chance. Besides, you'll need the Napalm Bomb in order to progress through the area, anyway.

Use the Remote Robot to push the spring off the platform and gain access to the rest of the section.

Near the end, there are two tiles to bomb in the floor. Bomb them, then send the Remote Robot into the hole and go left to find the Extra Speed, a speed booster for the submarine.


Following the path will net you the Night Vision.

After this, fly up through the ceiling and go right until you see a wall in front of you. Bomb the lone tile, then send the Remote Robot through it to find the White Chaos Emerald, bringing your total HP to 50.

There's nothing more to do, so backtrack to the entrance. Thankfully, there are a few shortcuts on the way back in the second section to make this somewhat easier. Once you're out, go back to Tails House and equip the Extra Speed on the submarine.

Lake Rocky (again)


Go straight to Area 2.


You could use the mines to take the alternate path here, but not quite yet. This path will require some more hit points. Go to Area 3.


This time around, go up. You'll enter another section.


Move away from the mines that drop out of the purple pipes on the ceiling with the Extra Speed.

One of the small chambers in this section contains four rings. If you grab the rings, then offscreen that chamber, the rings will respawn. Perfect if you're low on health.

Going up from this part takes you to another area.


Just follow the path. Back up before the flying soldiers drop the bombs. The exit leads to Lake Crystal.

Lake Crystal


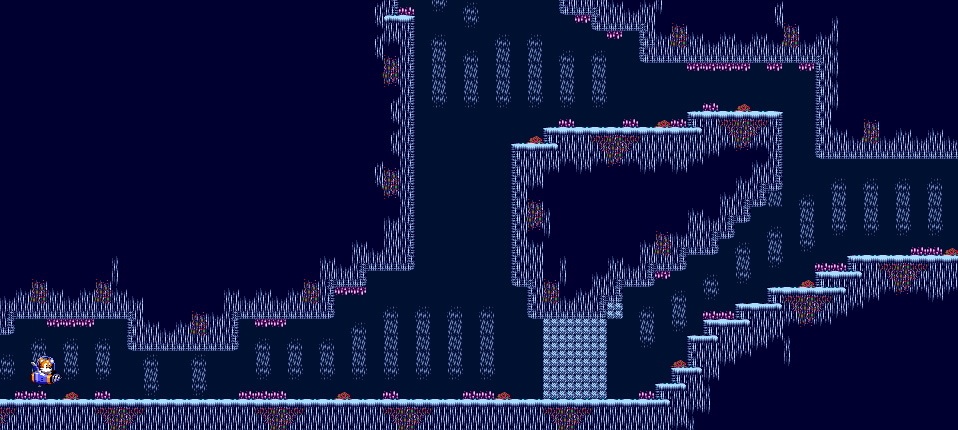
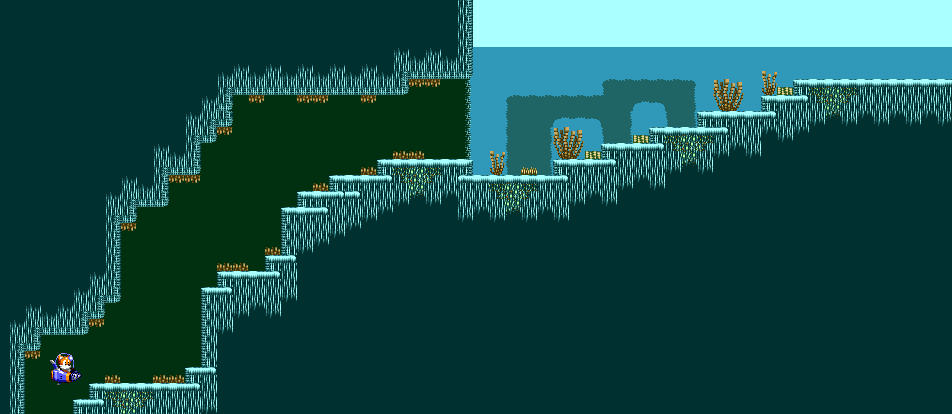
Use your missiles to get rid of the birds riding on the logs, and use Extra Speed to get over some of the logs. When you reach what looks like a dead end, equip Extra Speed, use it and then jump at the highest point of the engine revving sound (which is near the end of said sound). This will cause the Sea Fox to jump very high and clear the wall.


This section has more of the logs with birds as well as the flying soldiers with the bombs. This section is easier to clear.