Here it is: every song from Tails' Adventure.
Showing posts with label Tails' Adventure. Show all posts
Showing posts with label Tails' Adventure. Show all posts
Saturday, March 11, 2017

ClementJ64 plays Tails' Adventure - Part 6 of 6
We have everything we need. Let's do this.
All maps by Will Mallia.
Battle Fortress

Head back to Tails House and equip the Rocket Booster on the Sea Fox. Also, the Spark will be useless here, so go ahead and unequip it.
Also, this level is easier with all seven Chaos Emeralds, since the max HP of 99 really helps here.
Stay at the top of the screen and none of the enemies will hit you.

Hang to the right and use the Anti-Air Missiles on the turrets situated on the right side of the screen.
Once you get past this area, you'll enter the fortress on foot.
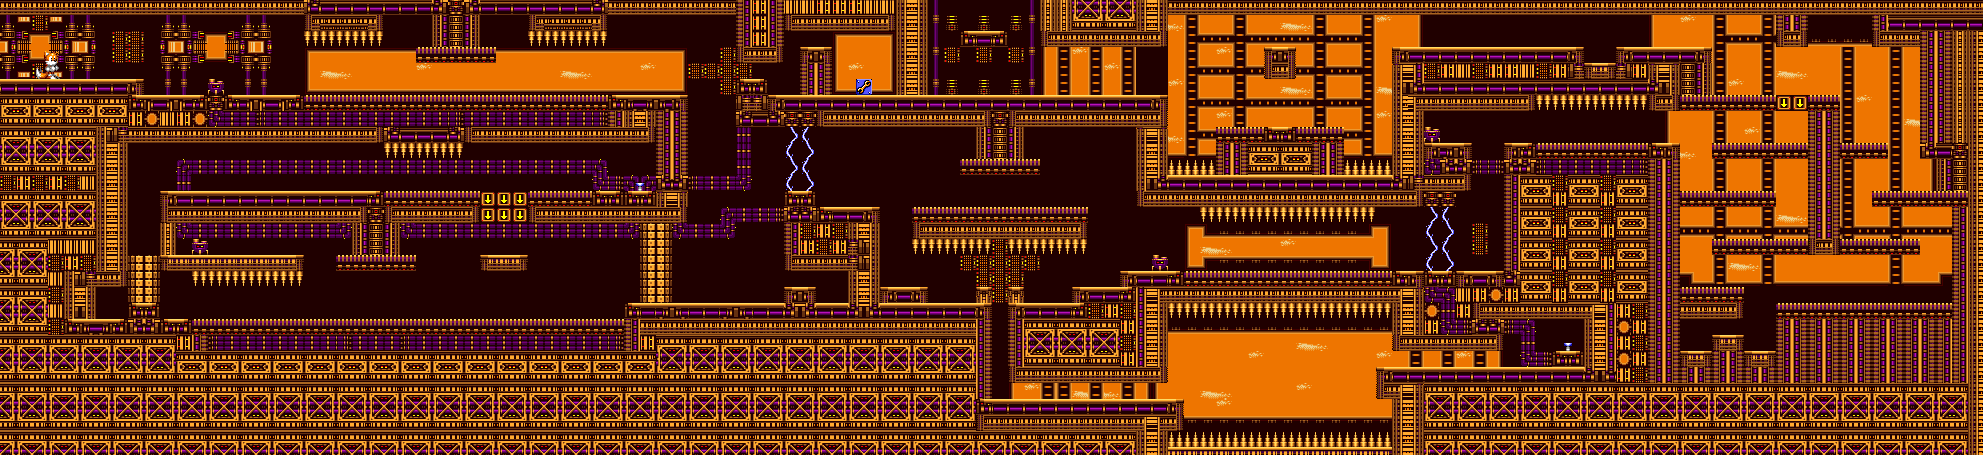
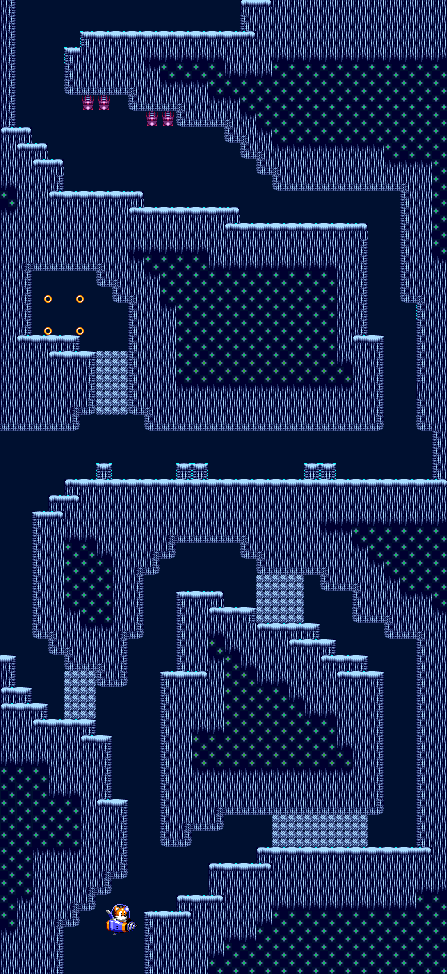
At the start, go right. You'll find a narrow passage with a crouching Battle Kukku soldier on the other side. Get the Remote Robot into this area to find the Wrench, which is only useful in this level and lets you turn switches to reverse the direction of the conveyor belts in this level. Use it on the small purple machines sitting on tripod legs.
You'll need the Remote Robot again near the end to hit a switch to turn off the laser barrier blocking the path to the exit.

This part is more of a maze than anything else. Use the Remote Robot at the start to hit the switch just above your starting position, then you can take the conveyor belts above.
From there, you'll have to make your way to the right, and break the lower wall to the left to hit another switch with the Remote Robot. Go through the maze again and go left through the upper wall to head to the top and hit the other switch. You'll now be able to continue on to the final area.
The Kukku robots just stand there on the conveyor belts, and if they fall off of them and hit the ground, they'll be immediately destroyed.
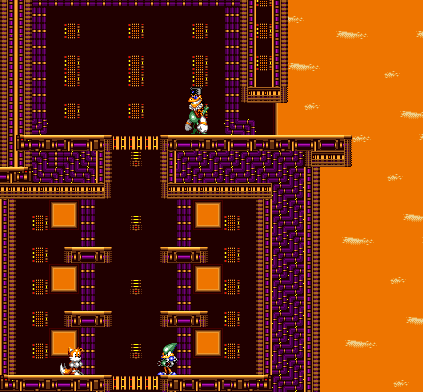
To beat Speedy (aka Battle Kukku XVI), equip the Triple Bomb and attack him as he flies around the room. Speedy has two attacks: an electric blast that he shoots forward as well as a jetpack back-blast that covers all rows and is easy to avoid, since it's slow to fire and he predictably goes from the top row to the bottom as he fires it.
When you beat Speedy, you'll fight Grand Battle Kukku XV. To beat him, avoid the bombs that he throws, stay far away from him and throw Triple Bombs at his head. If he touches you, he'll shake you before throwing you. At first, he just stays at the right side of the screen, but after taking enough damage he will move back and forth across the entire room, ducking down to throw bombs. Stay above him at all times and drop bombs on his head. If you have all seven chaos emeralds, this is much easier.
Once you beat Grand Battle Kukku XV, you've beaten the game! Congrats!

Friday, March 10, 2017
ClementJ64 plays Tails' Adventure - Part 5 of 6
Now that we have mines for the submarine, we can reach some new areas!
All maps by Will Mallia.
Volcanic Tunnel
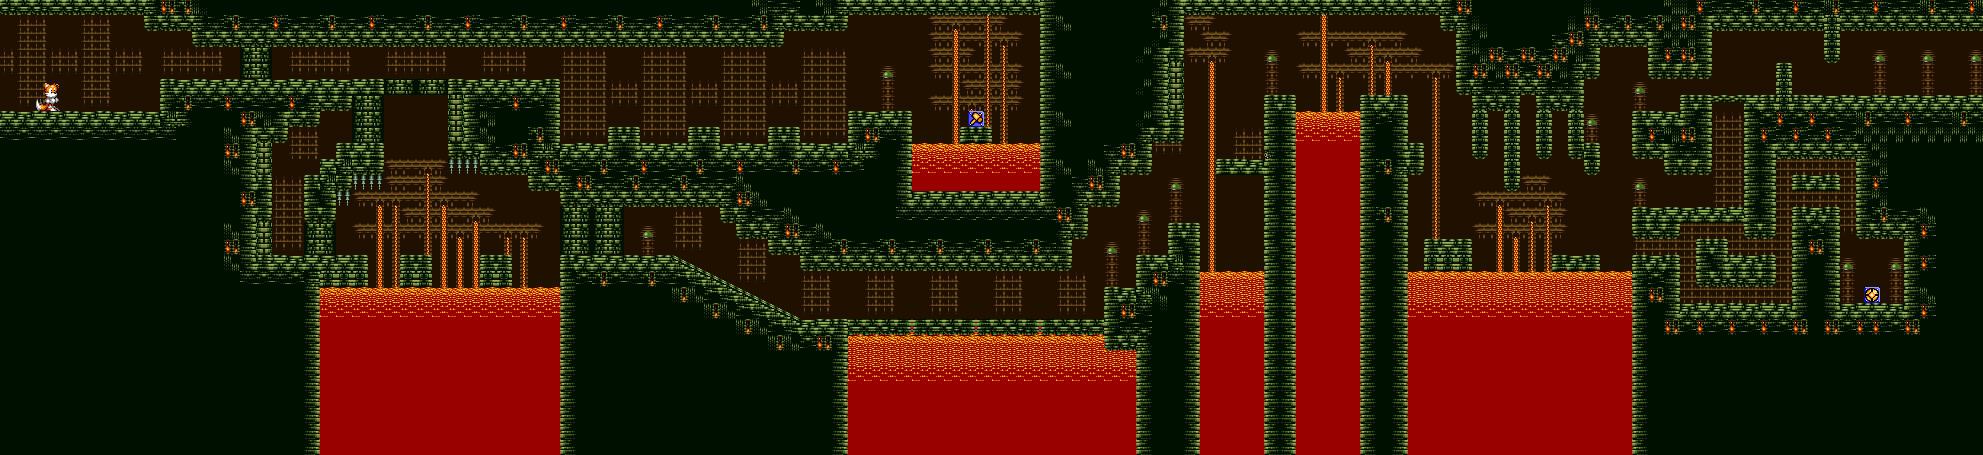
Head to Area 2.

Just after the start, you'll be able to go down and break the wall to the right and enter Area 3.
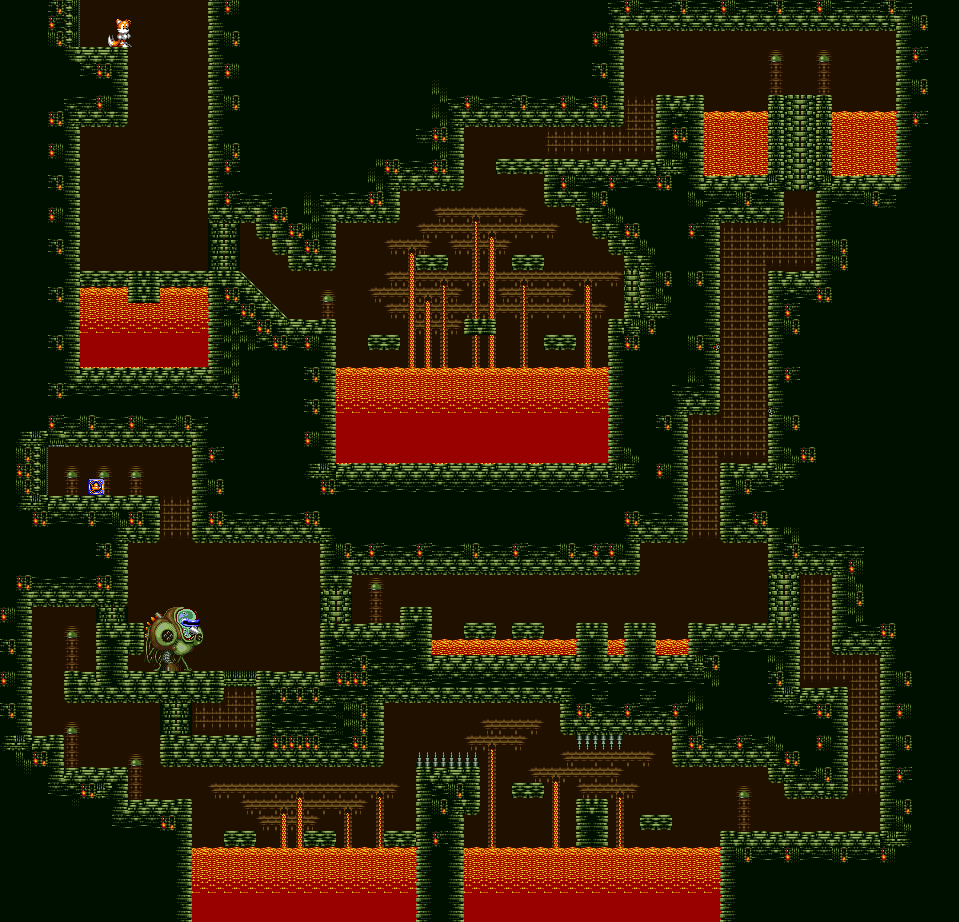
To beat the boss, get behind the mech and drop Large Bombs on the back of its head. You'll take damage, but you won't take much before the boss finally goes down. Beating the boss will give you access to the area above the boss, where you'll get Extra Armor for the Sea Fox, which makes the submarine invincible when equipped. Go left to head out.
Polly Mt. 1
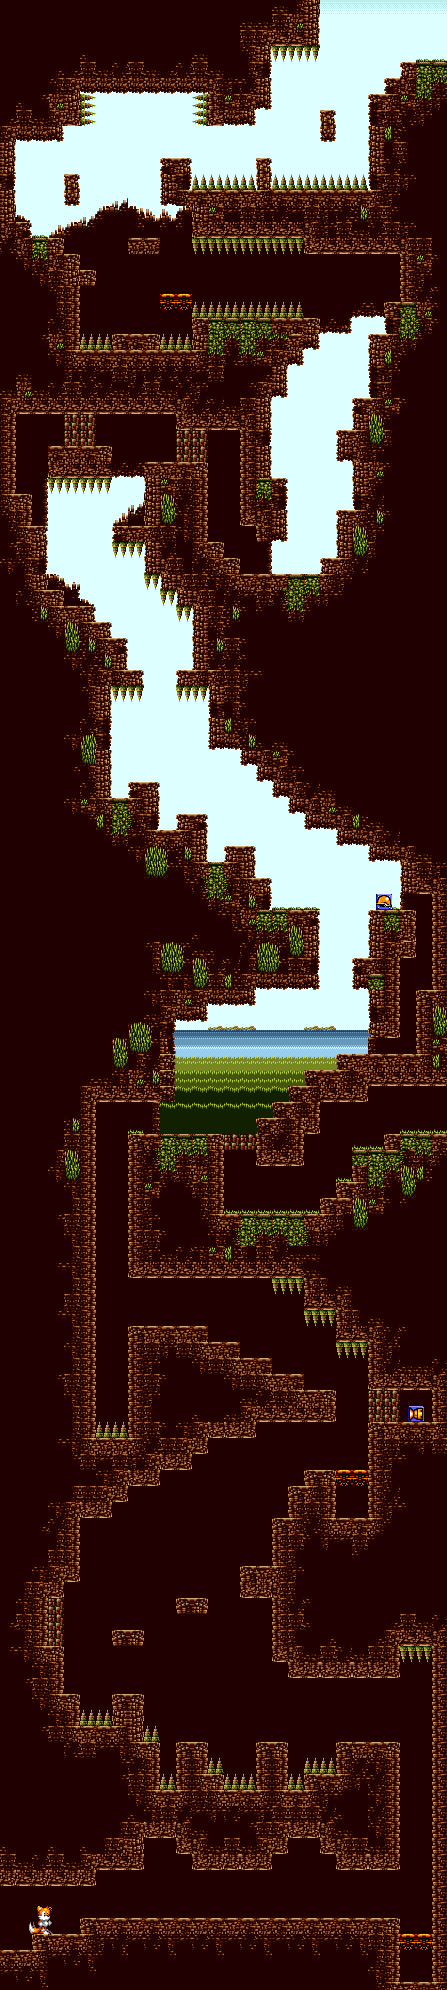
You'll now be able to break the blocks shortly after the beginning that you couldn't before. You'll find the Rocket Booster for the Sea Fox, which you'll need to enter the final level.
Poloy Forest
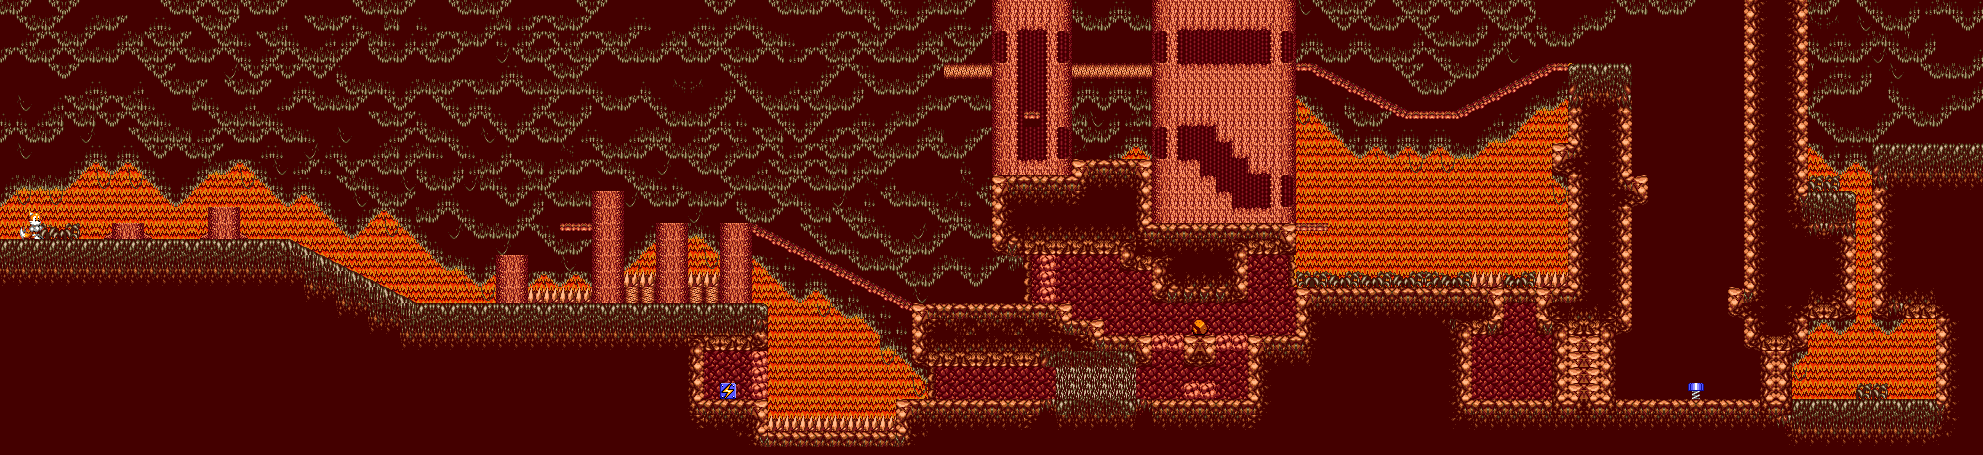
Head to Area 2.
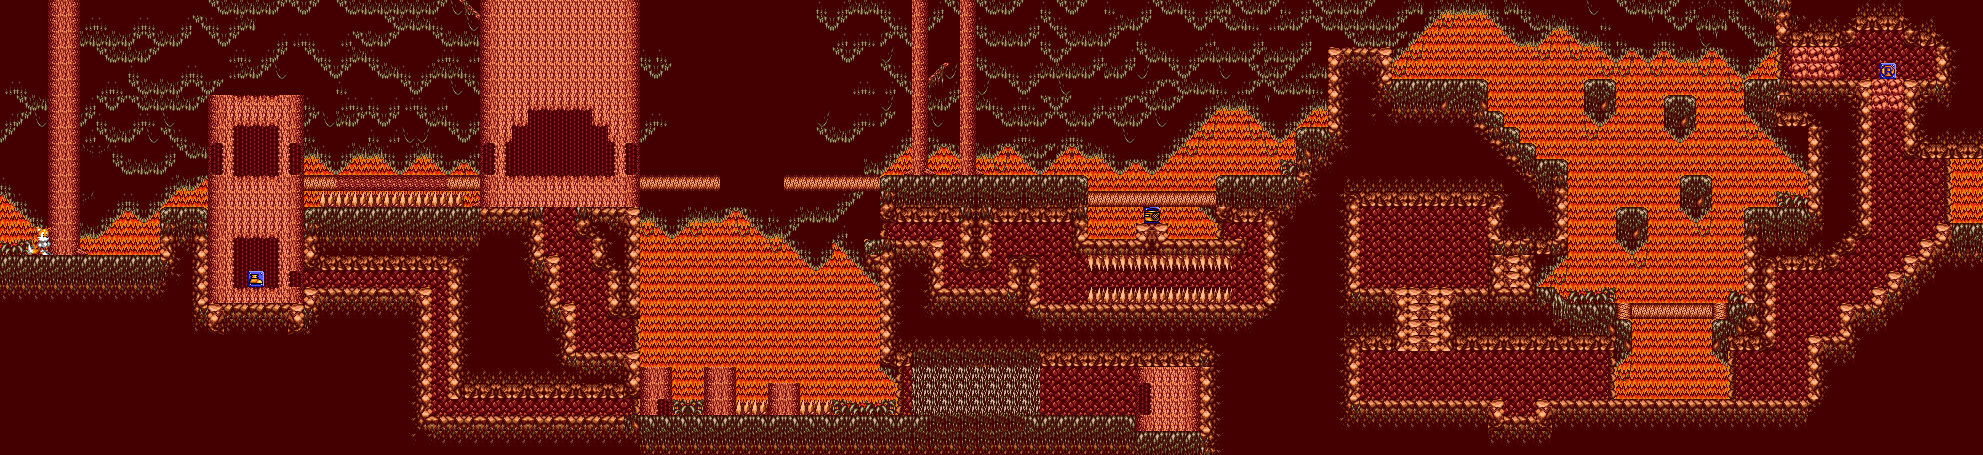
Above the entrance to Caron Forest is another narrow passageway for the Remote Robot, just under the other side of the second bridge. Take it over there and you'll be able to find the Radio. This lets you play any song you want in any stage.
Lake Rocky
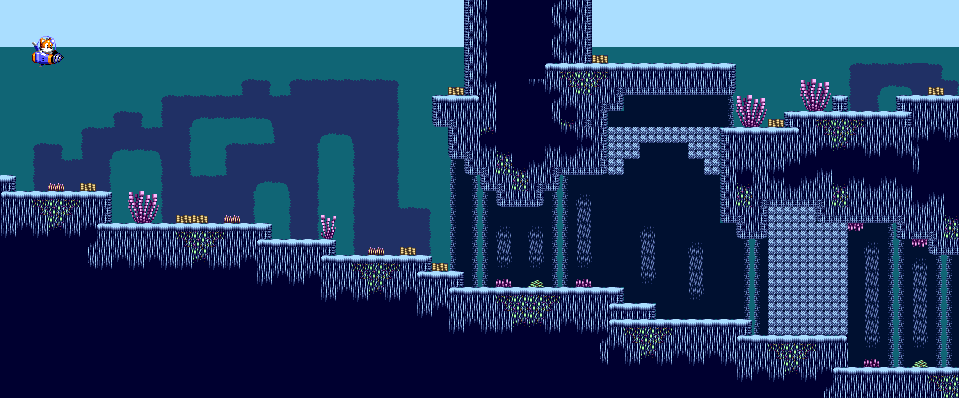
Head to Area 2.
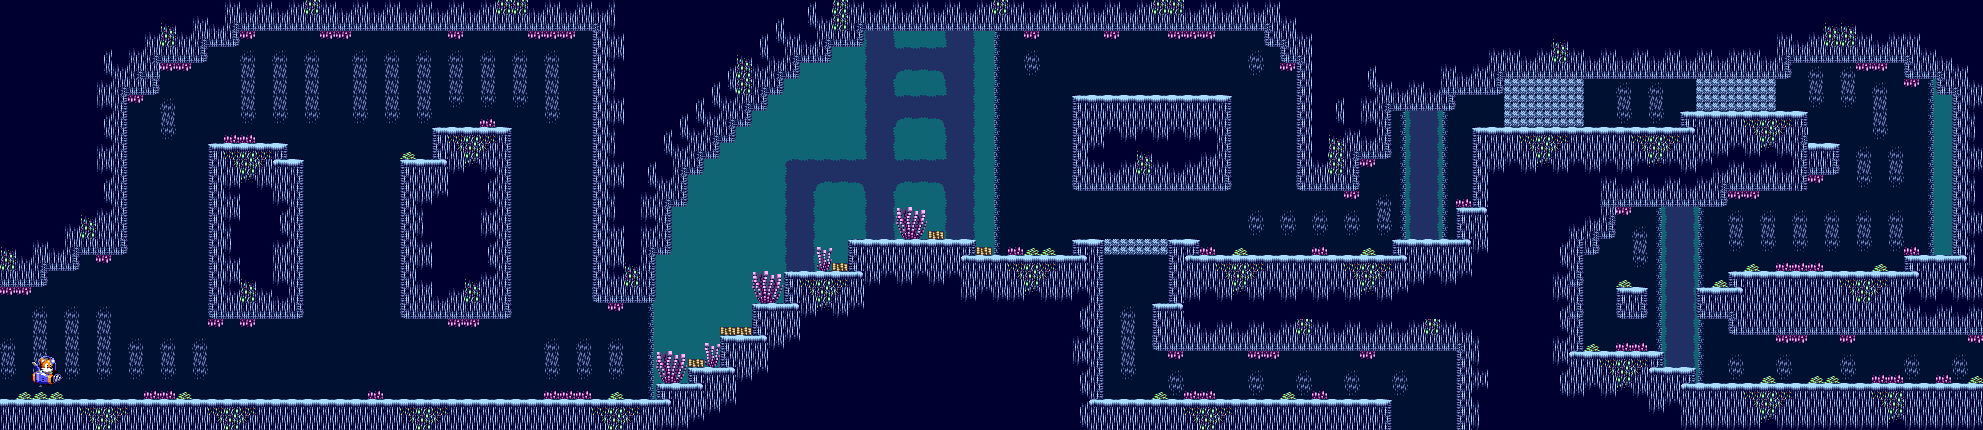
You can now break the blocks on the floor with the Mine. This takes you to Area 6.
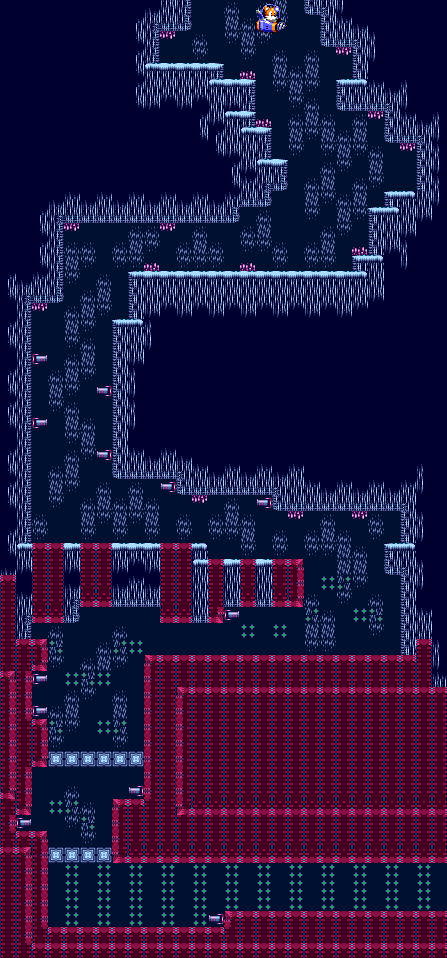
Use the Extra Armor to plow through this area, and use the Mines to break the blocks in your path. The missile cannons in the walls take down 10 HP with every shot, so the Extra Armor will definitely come in handy here.
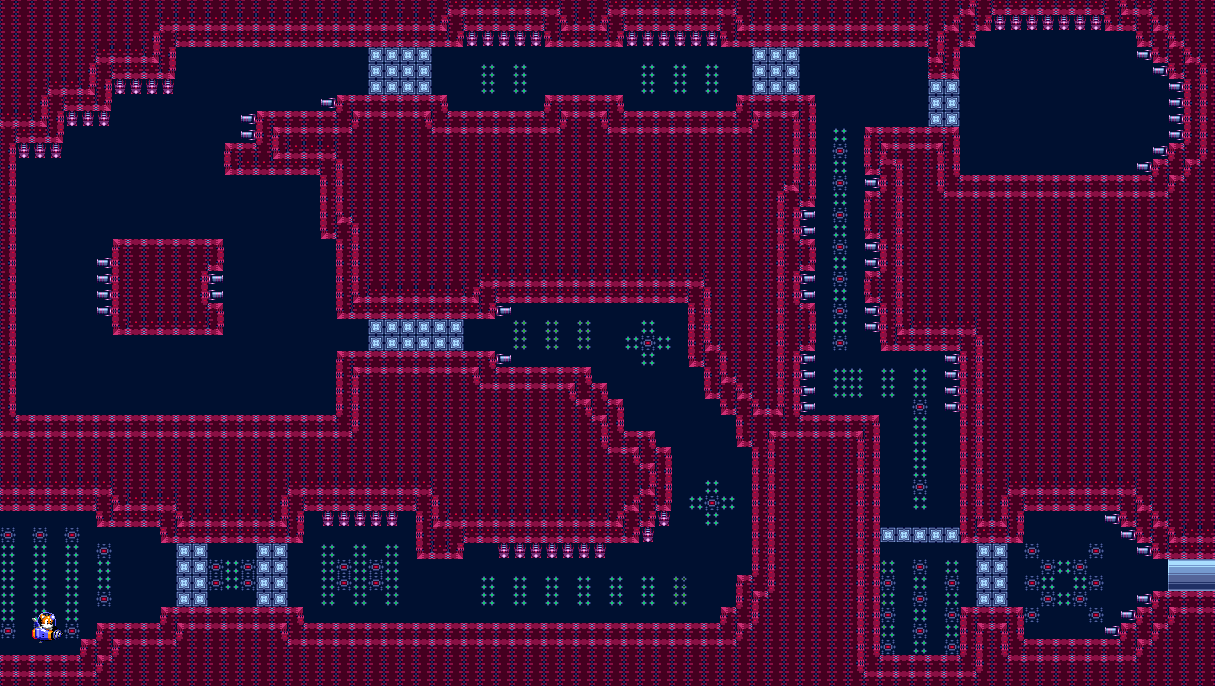
Once again, the Extra Armor will come in handy for this area. Use the Proton Torpedoes to break the blocks ahead of you.

Once you break through the blocks with the Proton Torpedoes, you're done. Leap out of the water and you'll be in Coco Island.
Coco Island

The Battle Kukku soldiers with the guns are invincible when crouching. Attack them when they're standing up and shooting.
You will have to step on switches (some of them with the Remote Robot) to turn off some of the laser barriers. If the Remote Robot runs into the barriers, it will return to Tails.
You cannot fly up through the Down Arrow blocks, so don't even try.
The Yellow Chaos Emerald is pretty easy. Picking it up will bring your max HP all the way up to 99.
The elevator below the start leads to Area 2.
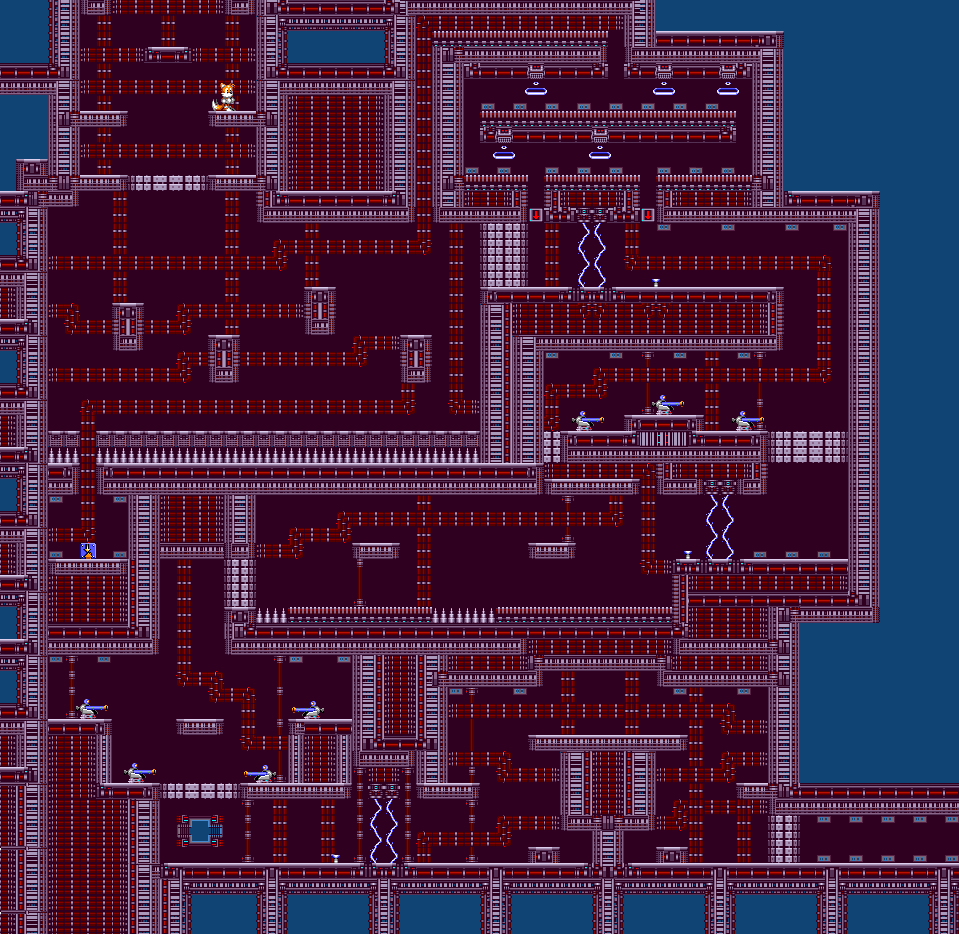
Go down and to the left at the beginning to get the Teleport Device. This lets you exit the level just by using it, much like the Escape Unit in the Mega Man X series.
You'll have to use the Remote Robot at the start again to enter a narrow passage in the ceiling. Move past the blue energy waves (which will return the Remote Robot to Tails), as you go right, then down, then left. Hit the switch, and you should be able to continue as Tails.
The cannons are really easy to deal with and avoid.
There's another instance of having to use the Remote Robot to trigger a switch near the end, but it's a good deal easier than last time.
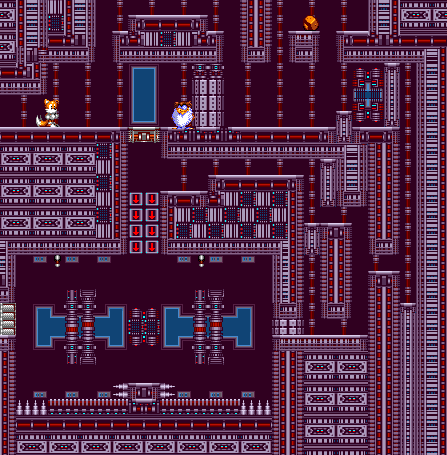
You'll meet Dr. Fukurokov, who sends you into a trap room below. Blow up the floor tiles to the right, then send the Remote Robot through the narrow passage that is now open. Send it through the maze and push the rock onto Dr. Fukurokov's head, crushing him. Hit the switch that shows up, and return the Remote Robot to Tails. You'll be able to head out through the left.
When you return to the World Map, you'll find out Coco Island is really not an island. Instead, it's the Grand Kukku Battle Ship!
ClementJ64 plays Tails' Adventure - Part 4 of 6
It's time to head to the mountains to find a really important item, then it's time to backtrack.
All maps by Will Mallia.
Polly Mt. 2
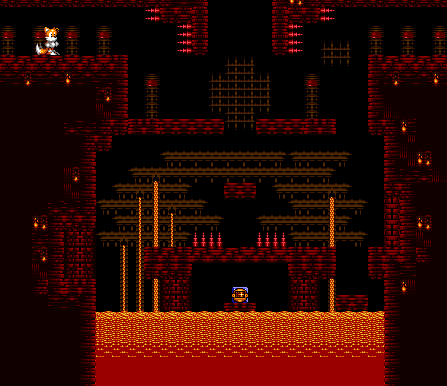
Equip the Night Vision at Tails House before you go into this level or when you enter a new section. Otherwise, you won't be able to see anything.
At the bottom of this area, use the Remote Robot to get the Item Radar, which helps you find all of the items in the game.
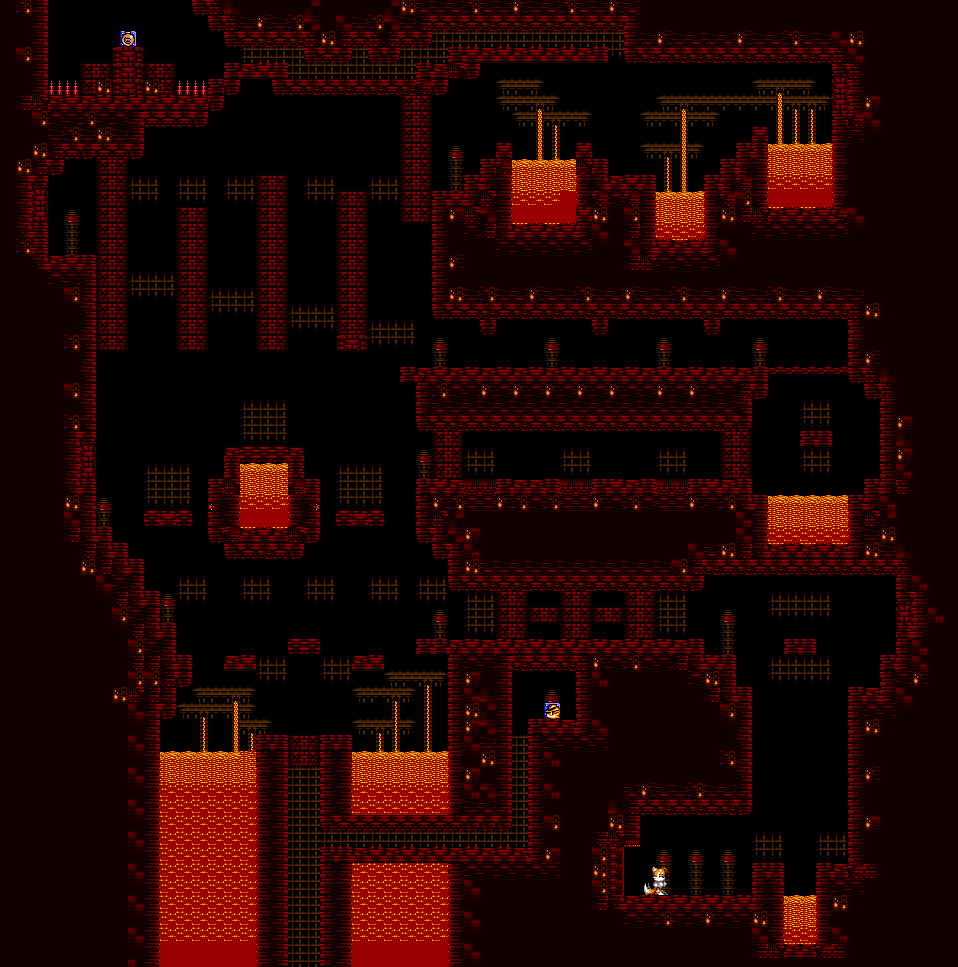
There are two instances where you will be able to use the Remote Robot. The first is shortly after the beginning of the section, where you can bomb the floor. Don't drop down into this area; instead, use the Remote Robot to find a narrow passage that leads to the Fang the Sniper/Nack the Weasel power-up. It's like the Knuckles power-up, but you'll able to get Rings from enemies more often when you defeat them with this.
The other is at the top, which involves bombing a lot of blocks to make your way up there. You won't be able to fly either, and if you leave yourself without any means to jump to the next platform, leave this section and come back to reset the blocks. Once you're up there, send the Remote Robot into the narrow passage in the ceiling to get the Large Bomb, which also blows up walls that only the Napalm Bomb can take out.
You're done here, so go ahead and exit this area.
Poloy Forest
There are two items in Poloy Forest you can get now. The first is the Spark, which is underneath the bridge. Break the wall just past the bridge underneath the destructible floor tiles with the Napalm Bomb, then take out the floor tiles. The Spark is for the Sea Fox, and it kills everything on-screen.
Go down at the bridge with the gap, then go to the left and use the Remote Robot to get the Speed Boots, which makes Tails run faster...at the expense of being unable to attack.
From there, go straight to the right and use the Napalm Bomb to enter Caron Forest.
Caron Forest
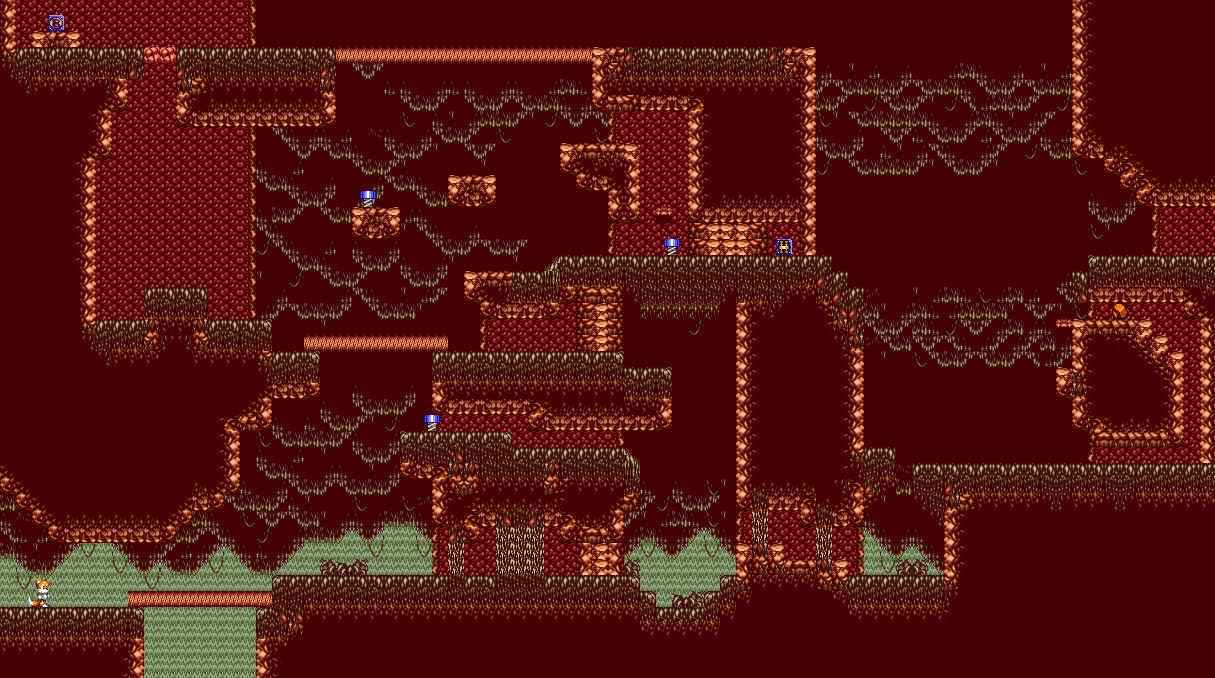
You'll be using the Remote Robot a couple of times to push rocks down the mountain so Tails can go up, since the wind will push him down and leave him unable to fly.
Fly to the left at the entrance to the next section to find the Blue Chaos Emerald. Your max HP is now 60.
From here, bomb the nearby bombable floor tiles and go right. Go through the wall to get the Triple Bomb, a more powerful version of the Regular Bomb.
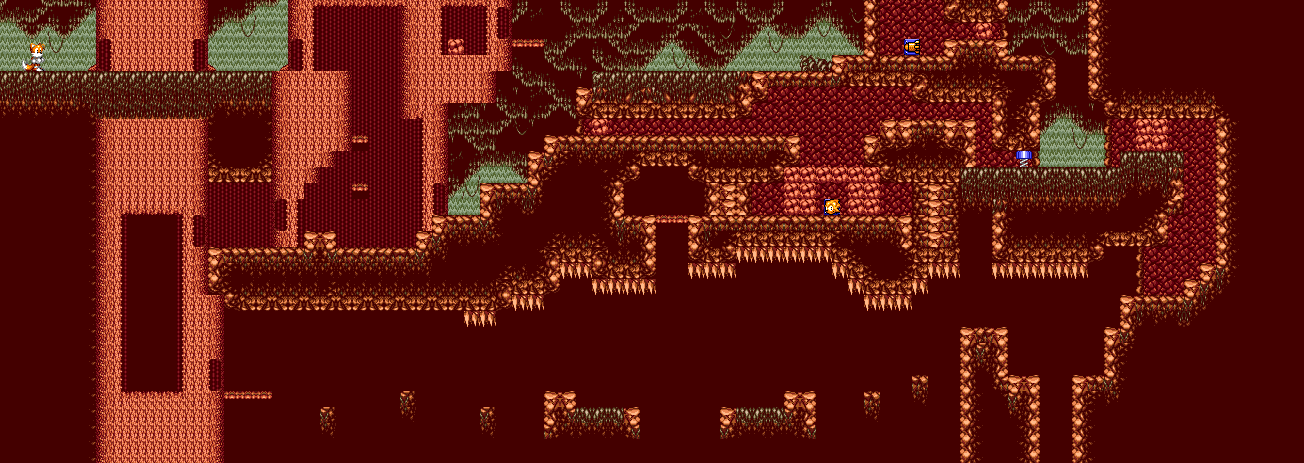
Not far to the right are two icons. The first is the Sonic icon, which lets Tails do a Sonic Spin Dash. You'll have to fly around to get it, but it's easy to find.
The other one is the Proton Torpedo for the Sea Fox. You'll have to use the Remote Robot, fly it around in a loop and get it to push a spring to Tails that will allow access to the area it is located at. From there, bomb the tile blocking the narrow passageway and get the item with the Remote Robot. You're done here, so head out.
Thursday, March 9, 2017
CGR Undertow reviews Tails' Adventure
Here's another review from CGR Undertow, and this time it's for the game in the current blog series: Tails' Adventure.
ClementJ64 plays Tails' Adventure - Part 3 of 6
Misleading island name is misleading.
All maps by Will Mallia.
Lake Rocky
Use the Anti-Air Missiles to break the blocks above you and take the upper path. Just use Up to aim. Here, you'll fight a boss. This time, it's a ship. Stay underneath the center of the boat and keep firing Anti-Air Missiles at it to take it down.
Beating this ship will give you access to Green Island. Looks more brown than anything else when you're there.
Green Island
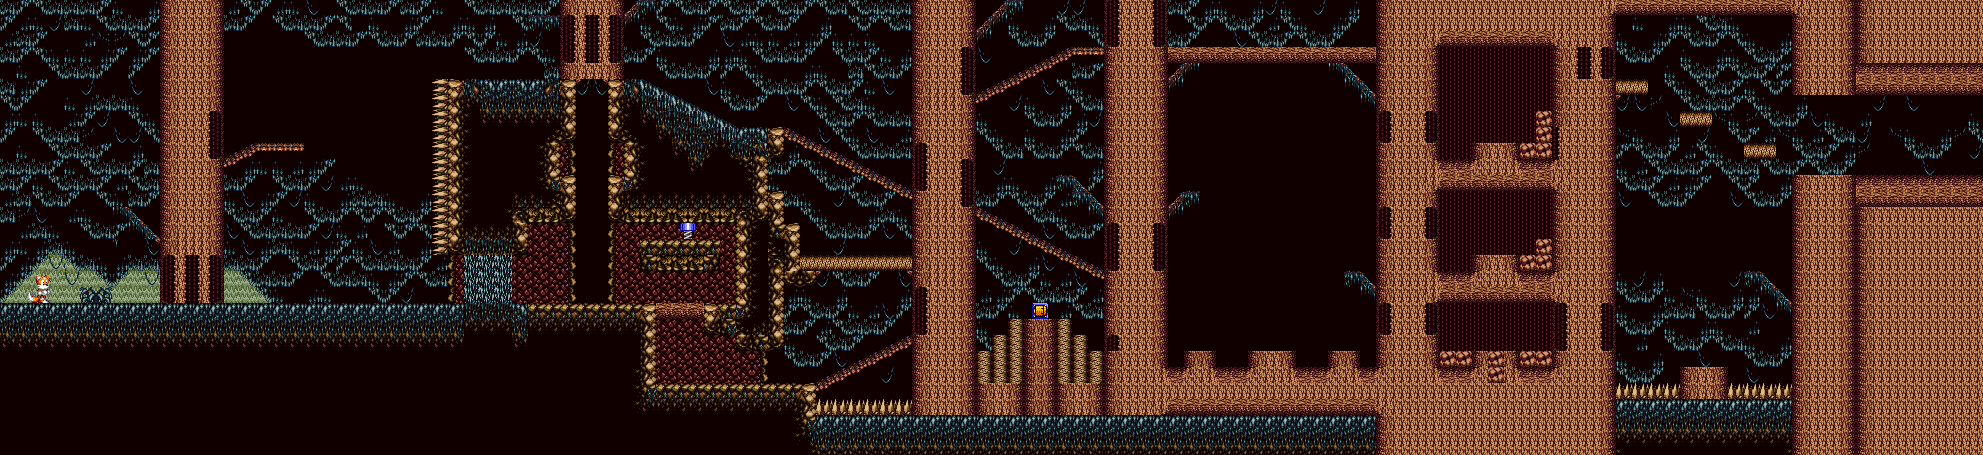
The Napalm bombs can attack anything above them as soon as the fire from the explosion travels forward. Use this to clear out the wasp hives as well as the one wasp that sticks around before chasing you. Ditto for the mini Battle Kukku soldiers. Even thought they're easy as anything, they'll quickly run at you if given the chance. Besides, you'll need the Napalm Bomb in order to progress through the area, anyway.
Use the Remote Robot to push the spring off the platform and gain access to the rest of the section.
Near the end, there are two tiles to bomb in the floor. Bomb them, then send the Remote Robot into the hole and go left to find the Extra Speed, a speed booster for the submarine.
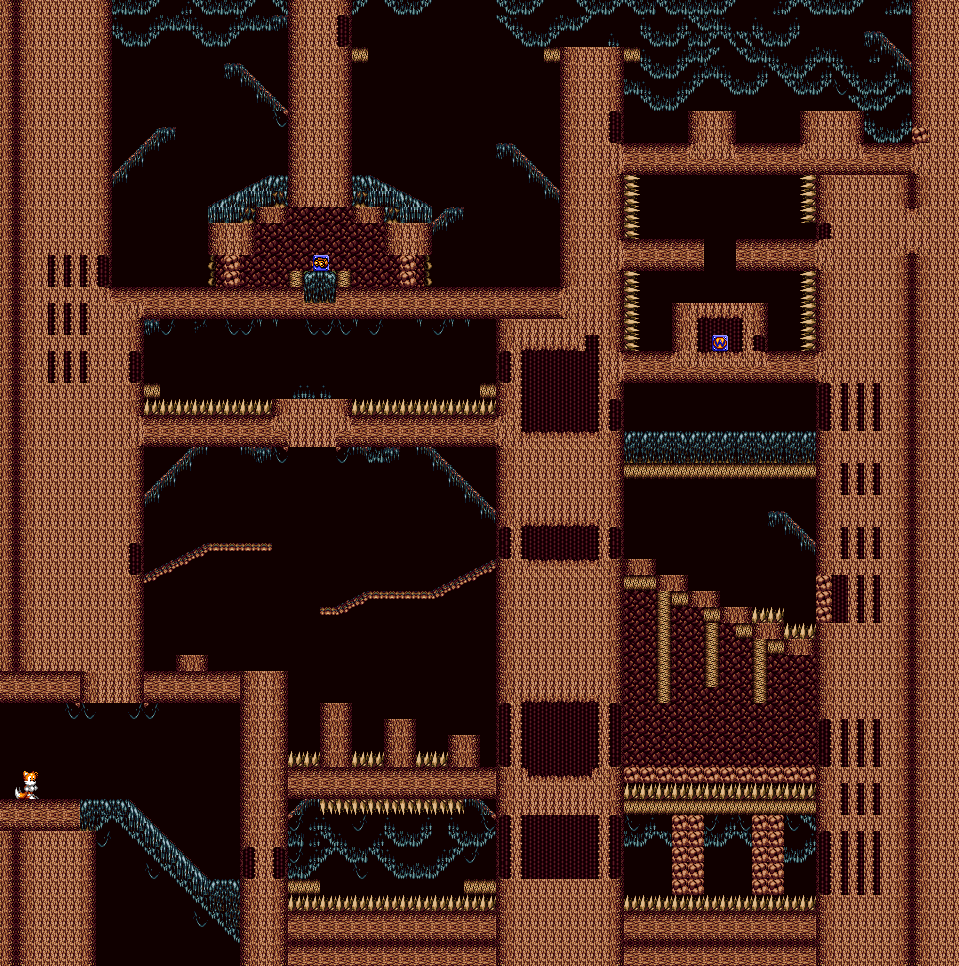
Following the path will net you the Night Vision.
After this, fly up through the ceiling and go right until you see a wall in front of you. Bomb the lone tile, then send the Remote Robot through it to find the White Chaos Emerald, bringing your total HP to 50.
There's nothing more to do, so backtrack to the entrance. Thankfully, there are a few shortcuts on the way back in the second section to make this somewhat easier. Once you're out, go back to Tails House and equip the Extra Speed on the submarine.
Lake Rocky (again)
Go straight to Area 2.
You could use the mines to take the alternate path here, but not quite yet. This path will require some more hit points. Go to Area 3.
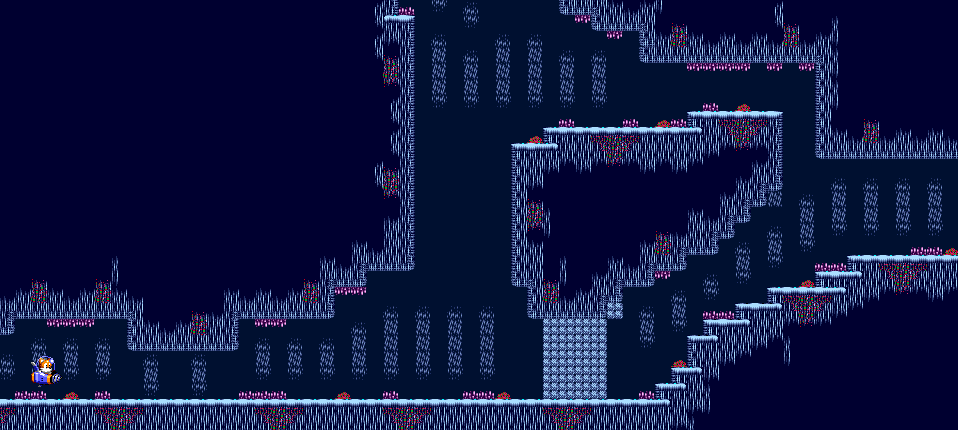
This time around, go up. You'll enter another section.
Move away from the mines that drop out of the purple pipes on the ceiling with the Extra Speed.
One of the small chambers in this section contains four rings. If you grab the rings, then offscreen that chamber, the rings will respawn. Perfect if you're low on health.
Going up from this part takes you to another area.
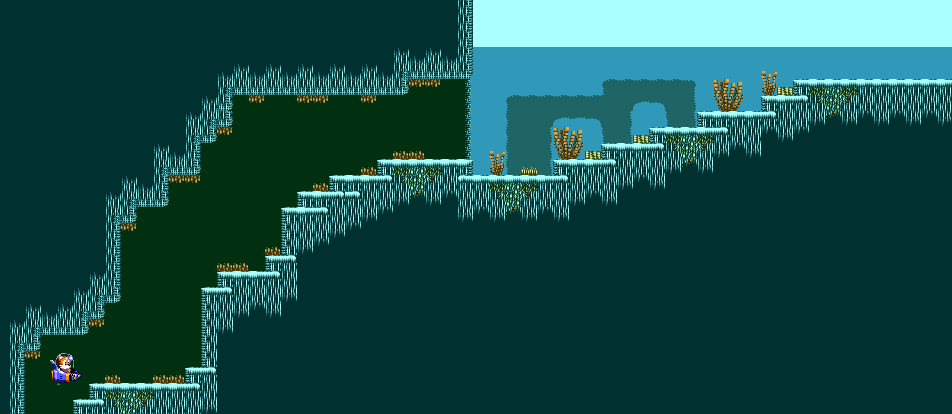
Just follow the path. Back up before the flying soldiers drop the bombs. The exit leads to Lake Crystal.
Lake Crystal

Use your missiles to get rid of the birds riding on the logs, and use Extra Speed to get over some of the logs. When you reach what looks like a dead end, equip Extra Speed, use it and then jump at the highest point of the engine revving sound (which is near the end of said sound). This will cause the Sea Fox to jump very high and clear the wall.

This section has more of the logs with birds as well as the flying soldiers with the bombs. This section is easier to clear.
Wednesday, March 8, 2017
ClementJ64 plays Tails' Adventure - Part 2 of 6
The adventure continues as we climb Polly Mt. and explore underwater caves!
All maps by Will Mallia.
Polly Mt. 1
The Battle Kukku birds here attack differently, but they aren't any more difficult than what they've already been so far. The ones here either jump up and down when you're nearby or throw rocks at you.
As you make your way to the top, you'll find the Helmet. This allows Tails to hide under a giant helmet and shield himself from attacks. If you use the Helmet in mid-air, you can crush enemies that are underneath you when you land.
There are some tiles that you won't be able to break with your bombs yet. You'll need to find other types of bombs in order to break them.
There is a spike pit in the path before you make it into the open air, and if you fly into it, the wind will push you upwards before you can even touch the spikes. You'll see the wind again before you reach the top. You'll see the wind while you're flying, and it will push you in certain directions in certain areas. Sometimes you'll be pushed forwards, while other times you'll be pushed back.

At the top of the level is the Knuckles item. This allows Tails to punch people much like Knuckles the Echidna, but it has the sorriest range and even the Hammer does a better job. From here you can backtrack to the first area and break the tiles on the floor where the background starts to show up to go to Area 3.

Drop down from the narrow ledges and go to the left to find the Super Glove. Of course, if you fall from the narrow ledges, you'll have to go to the left, fly back up, and start all over again. But at least you'll find this in the meantime.

This is the first time you'll meet Speedy, aka Battle Kukku XVI.
In this section, you'll be able to fly forever, which is indicated by the lack of a flight meter and Tails being in a different animation when he flies. You'll need this, since Speedy will divebomb up and down in an attempt to attack Tails and curtail some of his progress. If you're in the wrong place at the wrong time, you're going to be sent back down quite a bit.
Be sure to hold Down on the Contral Pad as you're flying, as the wind will push you up and make it harder to control Tails' ascent at times.
Making your way to the top will award you with the Purple Chaos Emerald, which increases your HP to 40.
When you return to the World Map, Speedy retreats to the southeast island, and the Remote Robot gains the ability to transform into the Sea Fox, a submarine. Choose "Ready" and you'll be able to head to Lake Rocky.
Lake Rocky
The Sea Fox has two abilites when you first use it: the drill at the front that breaks through certain rock walls and the ability to fire missiles. The missiles have rapid fire capabilities, which help make quick work of the Battle Kukku forces as well as the underwater mines.
Don't worry about drowning while in the sub; the drowning rule doesn't apply with it.
The submarine moves around much like the Remote Robot does. To turn around, press the Jump button and the submarine will face the opposite direction.
Just follow the path for now.
Head to the right to enter Cavern Island.
Cavern Island

The water slows you down tremendously, and there are times when you can be pushed around by the current (if Tails is spinning, you're being pushed). At least you can't drown, but unlike the regular games, Tails cannot swim or fly in water.
You'll have to bomb the floor at times to enter the columns that take you further down into the level.
Near the end, you can use the Remote Robot. Fly up the water with the Remote Robot and you'll get the Mine, which lets you shoot downwards in the Sea Fox.

The water moving around on the floor acts as conveyor belts.
Halfway through this section, you'll find a destroyable wall that leads to the Napalm Bomb. This destroy some walls that the regular bombs cannot.

The boss here is a Battle Kukku mech. It will swing its arm at you if you're nearby. Keep throwing regular bombs at its face. When its face is blown off, the soldier inside will be exposed. Keep throwing bombs at him as he shoots bombs directly at you. If you have 40 HP (which should be your max HP so far) when you come in, this battle will be much easier.
Beating this boss nets you the Anti-Air Missile for the Sea Fox.
ClementJ64 plays Tails' Adventure - Part 1 of 6
Tails gets his own adventure? Gee, whodathunkit?
All maps by Will Mallia.
The storyline depends on which version of the game you have, but even then both versions of the game are identical. The story differences are only in the instruction manuals. The game has also appeared on Sonic Gems Collection as well as Sonic Adventure DX.
In the Japanese version, the game takes place before Tails ever met Sonic. Tails lives on Cocoa Island, an island in the southern seas that doesn't show up on any map and is home of the Chaos Emeralds. As he takes a nap in his house, the island is rocked by a huge explosion. Tails finds out from a Flicky that the Battle Kukku Army has invaded the island and is hunting down the Chaos Emeralds. Tails is the only one who can stop them.
In the Western version, the game takes place after he's met Sonic. Tails finds an island while going solo for a while, names it "Tails Island" and spends a holiday only for a Flicky to tell him an army of birds has attacked the island. (This version of the plot would be used loosely in issues #17-20 of Archie Comics' Sonic Universe, albeit with the then-current comic continuity.)
Gameplay is different here compared to the first game. Tails just walks and doesn't use his tails to make himself faster. Also, you can backtrack to certain areas to find stuff that you couldn't before. The game is considered to be Metroid or "Metroid-vania" style, predating Symphony of the Night by about three years.
Be sure to bomb walls whenever you need to. If you're stuck, look for wall tiles with indentations or different colors and you should be able to find your way to another area.
Rings act as health. You start out with 10 HP, but as you collect the Chaos Emeralds, you can increase that until it goes all the way up to 99 with all seven Emeralds. If you get hit, you can lose anywhere between 1 and 3 rings. You can find rings that will replenish your HP. Tails also has a flight meter for his flying ability. It's short at the beginning, but the Chaos Emeralds will extend flight time as well.
You can only equip four items at a time, and knowing what to equip for the situation is imperative to beating the game. Items can be equipped and unequipped by going to Tails House. This is where you'll get a password to save all your progress, since dying takes you back to the main menu. Also, if you're low on health, heading to Tails House will instantly refill it.
Poloy Forest
Your main attack is with the bomb. You'll just have the regular bomb for now, and you'll need to use it in order to defeat enemies and break blocks that block your path.
If Tails moves into the edge of a platform, he'll automatically grab hold and climb up. This is useful if you're trying to reach a platform by flying or by jumping to it.
The enemies here are pretty easy, for the most part. They don't go very fast and they only attack every so often.
The tree bridges will crumble when you stand on them.
The upper-right corner contains the Red Chaos Emerald, and thankfully, it can be reached easily this early in the game. This will raise your HP to 20 and increase your flight time.

You'll fight a Battle Kukku bird on a large walker. This is your first boss. Stay back at the beginning to avoid the flamethrower that travels across the screen in a sine wave pattern, then attack the top of the walker with 10 bombs, jumping over or ducking the triple-flame shots as you go.
Beating the boss will give you the Remote Robot, which allows access to areas that are too small for Tails to access.
Volcanic Tunnel
Be sure to duck to take out low-lying enemies with the Regular Bomb. Also, be sure to do the same when in areas with low ceilings.
Enemies here include bugs that fly from the ceiling, bugs that slowly walk back and forth on the ground while dropping miniature bombs (which you can also destroy), and flame jets that shoot out of the walls.
Keep going right and you'll get the Hammer. This acts a close-range weapon only.
Near the end, you can use the Remote Robot to enter a narrow tunnel. Take out the enemies and get to the other end to find the Remote Bomb. This bomb travels the ground and be activated by pressing the attack button a second time while still on-screen. It can also explode whenever it hits a wall (which might be destructible) or an enemy. This bomb is thrown at a lower angle than the Regular Bomb, so you'll have to alternate whenever necessary.
The drill robots can be taken out best with the Remote Bomb.
The Green Emerald is near the end and is also easy to access.
Head to the right to finish this area.
Subscribe to:
Posts (Atom)