Monday, November 7, 2016

newfiebangaa plays Bomberman '93 - Part 1 of 7


NEC TurboGrafx-16/PC Engine finally gets covered in The PrinceWatercress Blog for the first time!

Also, it's been a long time since I covered a Bomberman game, so this should be worth it.

The Black Bomberman has laid waste to a city with his bombs and has stolen the power circuits that power it! The circuits have been spread to six different planets! It's up to you, the White Bomberman, to get them back!

World 1: Planet Quarry


Watch out for Digger's fireballs after he warps.

A-1


The control isn't much different from the rest of the games. Lay bombs, get power-ups, break blocks to open up more destroy enemies with the explosions

The flame icons extend the reach of your explosions. Be careful not to blow yourself up!

If you see a destructible block glow after you beat all the enemies, go up to it and blow it up to find the power-up underneath. You'll only find one power-up on every board.

Be sure not to blow up the power-ups. If you do, three or four enemies will spawn and you'll have to take them all out.

The purple ghosts just move back and forth, and only turn the corner if they run straight into a bomb.

Once you take out all the enemies, you'll have to blow up all the destructible blocks until you find the exit, which is indicated by a blue teleport pad. Be careful not to bomb it, otherwise another enemy will show up. Step on the pad and the area is over.

A-2


The bomb icons allow you to lay more than one bomb onscreen at a time.

The red blobs with the one eye will turn corners slightly more randomly, but as long as you're careful they're not any more dangerous than the purple ghosts.

A-3


The roller skates allow you to move faster.

The blue spiked creatures move in one direction, stop and hide, and move in the other direction before stopping again. You'll have to wait for them to start moving before you can blast them.

A-4


The green ghosts can move through the destructible rocks. Take them out whenever you possibly can, as their slow speed seems to work against them.

The heart with the bomb on it is a remote detonator. Lay a bomb, then press the other button to detonate it whenever you want.

A-5


The blue pterodactyls are just like the green ghosts, but they move significantly faster.

The bomb icon with the red lines next to it allows Bomberman to walk right through the bombs he lays. This is really useful in case you accidentally trap yourself with one of your own bombs.

A-6


This board offers two new things: the board is now wider, and there is an orange ball enemy with teeth that chases after you when it sees you. You'll have to trick it into running into one of your explosions without doing yourself in. If you got the ability to walk through your own bombs as well as the remote detonator, these guys are a lot easier.

The picture of Bomberman gives you an extra life.

A-7


The picture of the wall with the red lines next to it allows Bomberman to move through destroyable walls. These power-ups are getting better and better!

A-8


It's time to face Digger!

Digger will warp, shoot fire, and leave before continuing his pattern. Get next to him and hit him with one of your bombs. After two hits, he'll start sending out a clone that shoots in another direction. The real one always shows up first, so keep hitting the real one. Digger will turn orange after two more hits, and he'll start shooting sideways. Two more hits, and he's history.

King's Quest V - The OST

Here's all 41 tracks of the soundtrack to King's Quest V!

Sunday, November 6, 2016

Dilandau3000 plays King's Quest V: Absence Makes The Heart Go Yonder! - Part 20 of 20


Here it is: the final confrontation with Mordack!


Notice that all of your icons except for options and inventory are greyed out. You won't be able to use them here! It's time to fight with the wand!

After taking out Cedric, Mordack changes into some blue flying thing. It's like a chameleon with ant legs, beetle pincers and bat wings. It's a chamantlebat.

Use the wand on Mordack. You'll get a choice between the four symbols you saw earlier. You can change into either a mongoose, a rabbit, a raincloud or a tiger.

Change into the tiger and you'll corner Mordack. It won't last long as Mordack changes into a humongous dragon, making your tiger form useless.

Change into the rabbit. It's the only form nimble enough to avoid the dragon's attacks. This leads Mordack to keep missing until he decides to become something smaller yet much more dangerous: a cobra. If you let him squeeze you, it's over. Talk about a real Anaconda Vice!

Change into the mongoose. This gives you a fighting chance as mongooses are the natural enemy of snakes. Mordack will then change into a circle of fire that envelops you.

Change into the rain cloud. This will extinguish the fire, killing Mordack for good and vaporizing him into the atmosphere. He'll never harm anyone ever again.

After all of this, Crispin finally appears. TUrns out Graham's son Prince Alexander was the only one who could change Manannan back to normal, and Mordack miniaturized the castle out of revenge and to try to make it possible. The rest of the royal family is restored to normal size. Princess Cassima is introduced to the royal family, and Alexander asks for permission to see her in her home of the Land of the Green Isles. (This basically kickstarts the events of King's Quest VI: Heir Today, Gone Tomorrow.) Cedric is restored to good health, Cassima makes it back to the Green Isles and everyone returns home, castle included and in the proper size. You did it!


Dilandau3000 plays King's Quest V: Absence Makes The Heart Go Yonder! - Part 19 of 20


Now that Mordack is...preoccupied...let's charge up that wand and start the final confrontation.


Go back into Mordack's bedroom and take the wand at the bedstand. Go to the right and enter the room to the right of the second story foyer. This is Mordack's laboratory.

You won't be able to do anything for the rest of the royal family yet. Go up the stairs and go to the odd machine at the right. There are two platters on this device. Place Mordack's wand on one end and Crispin's wand in the other. From there, place the moldy chase inside the vat of foul liquid.

YOU MUST BE QUICK ABOUT THIS. IF YOU ARE NOT, MORDACK WILL SHOW UP AND YOU WILL DIE.

Once you throw the moldy cheese in, watch this thing go. All of Mordack's wand's power will transfer to Crispin's wand. Take it.

Mordack will show up. He will try to kill you just like earlier in the video, but Cedric shows up right out of the blue telling you he's heard from Crispin. Cedric unknowingly flies right into Mordack's line of fire, and Cedric gets hit instead of Graham. The final fight is about to begin!

Saturday, November 5, 2016

Dilandau3000 plays King's Quest V: Absence Makes The Heart Go Yonder! - Part 18 of 20


We may be imprisoned, but there's still a way out.

Not long after you get locked up, Cassima comes out through the wall and bails you out. (Dink is the black golem-like creature we saw, while Sam is a yellow bug-like creature that you may or may not see in the labyrinth. If Sam shows up, you'll definitely hear him coming.)

If you use the eye on the small mousehole in the center of the north wall, you'll find a moldy piece of cheese. Take it by using the fish hook on the mousehole. Now you can leave this dungeon by using the hand on the opening Cassima made. From there, follow Cassima through the labyrinth.


You'll now be back at the first floor.

When you travel through the first floor this time, watch out for that blue alien creature! It will If you get captured again, you'll be stuck in the dungeon for good.

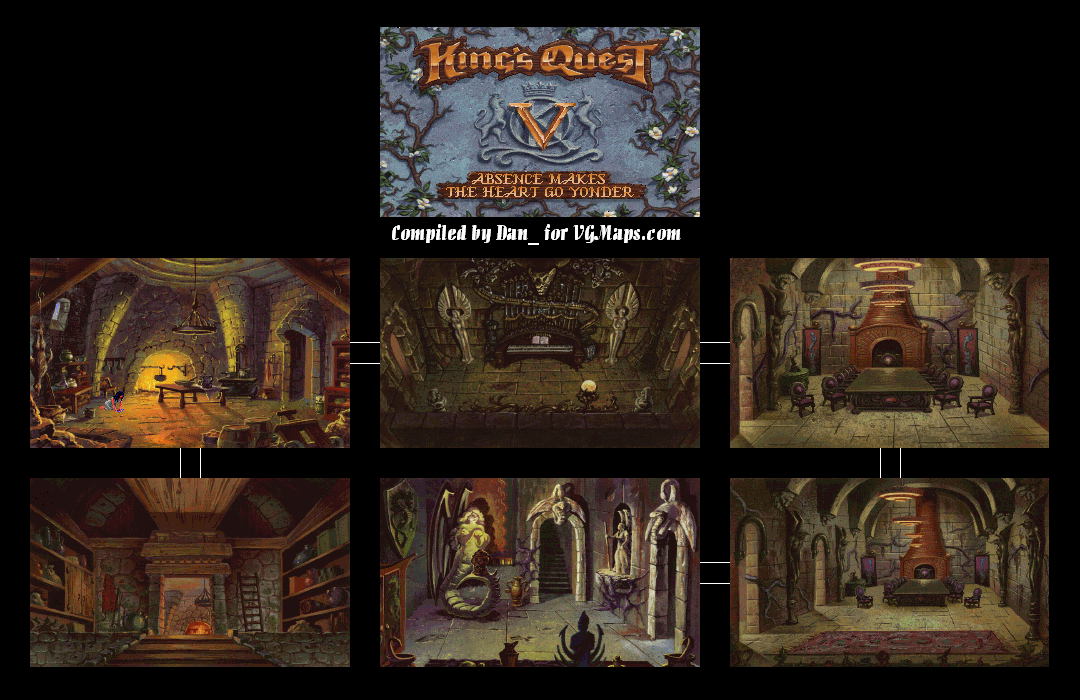
To the east of the organ is the dining room. There's nothing of use here, so go south.

You'll see two doors to the west. You may see a black cat, too. The cat is Manannan. IF YOU INTERACT WITH THIS CAT, MORDACK WILL BE ALERTED TO YOUR PRESENCE AND YOU WILL DIE. If you see this cat, move back to where you were and go back. The cat should be gone.

If you see the blue alien, you'll want to use the bag of peas on it. The alien will slip on the peas and fall to the floor. You won't have to deal with that thing ever again.

You will still keep the bag the dried peas were in. You'll need this later. 

The bottom door to the left in the area south of the dining room leads to the foyer.


You're now on the second floor.

To the left is Mordack's bedroom. There's not much to do here.

If you see the black cat, you now have a way of dealing with it. Use the fish on the cat to distract it, then use the empty pea bag on it. You'll get rid of the cat for good.

To the south of the bedroom is Mordack's library. Use the hand on the open book on the desk in the foreground, and Graham will read it. While it seems unnecessary and unusable now, it will allow you to do something later on.

You're done here, but don't leave. Instead, stay out of sight from the bedroom. Hide near one of the walls next to the library entrance. Mordack will show up, then go to his bed and rest.

Dilandau3000 plays King's Quest V: Absence Makes The Heart Go Yonder! - Part 17 of 20


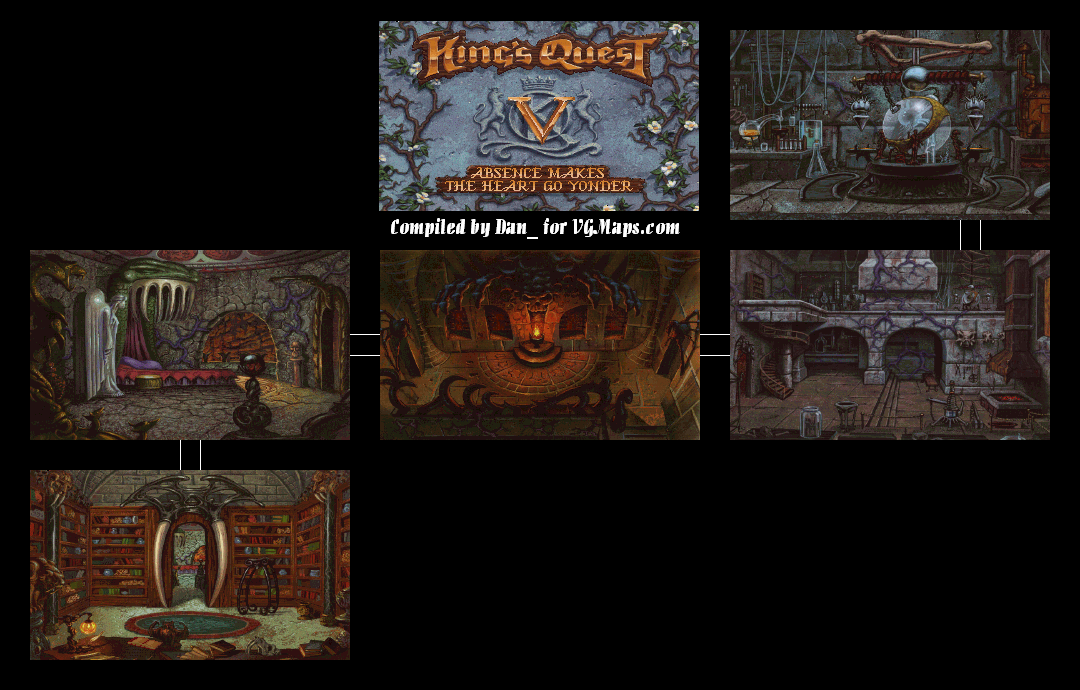
The rest of Mordack's castle doesn't succeed at putting one at ease, either.


When you try to open the door, you'll find out it's locked. You'll need to use the hairpin to break in.


You'll be on the first floor. Use the hand on the cupboard doors to the left to find a bag of dried peas. Take it.

To the north is a woman scrubbing a floor. If you try to talk to her, she'll back away. Give her the amulet. If you examined it with the hand, you'd notice (but never see) a picture of an older couple.

The girl introduces herself as Princess Cassima of the Green Isles. An evil vizier sold her to Mordack's Castle as a slave for refusing to marry him (and her father agreed with her, too). She tells you that the bottle containing the royal castle is in Mordack's laboratory, and she also agrees to help you in any way she can.

To the east is a giant organ. DO NOT GET NEAR IT. YOU WILL DIE. If you go to the right, there's a chance a blue alien creature finds you, grabs you, takes you through a portal and puts you in the dungeon. This blue creature shows up at different locations randomly. You'll want to be captured at least once, if only to get one of the items necessary to beat the game.

Friday, November 4, 2016

Dilandau3000 plays King's Quest V: Absence Makes The Heart Go Yonder! - Part 16 of 20


We now have to deal with a maze that couldn't be any more confusing it tried. They really wanted money for those hint books, I bet.


To the left of the stairs leading to Mordack's castle lies a dead fish. Take it.

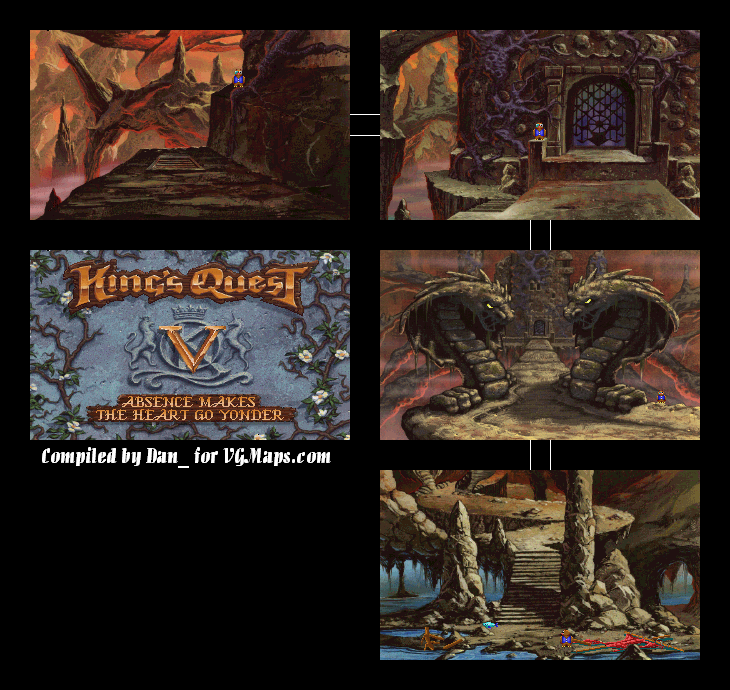
To the north are two foreboding snake statues. IF YOU WALK UP TO THEM, YOU WILL DIE. Instead, use the crystal on them. The crystal will shoot their magical energies back, destroying the front door's defenses.

To the north is the front door. IF YOU WALK UP TO THE GATE, YOU WILL FALL INTO A PIT AND DIE. Instead, take the path to the left that winds around the castle. Use the iron bar on the grate in the floor. You're in!

Guess what? It's a maze. This maze changes perspective as you change direction. One part of the maze will look a certain way if you enter it from the north, yet will look different if you approach it from the south.

To put it more plainly, if you go south in one room, south will be directly in the next. If you went to the same room facing the east, east will be directly upward. It will be the same room, but the perspective will be different because you entered it from a different direction.

As a result, this is probably the hardest part of the game, bar-none. I bet this part was hellish to program for Sierra. Just like in the NES port walkthrough, I'm using words like "up" instead of "north" just to make this as simple and un-awkward as possible. Do not pay attention to the perspective. Follow my instructions to the letter.

For this part go down, left, left, left, right, left, right, left, up, right, and left.

There is a golem here. (I think that's what it is.) IF YOU GET NEAR IT, YOU WILL DIE. Instead, give  it the tambourine. It will take it, play with it and walk off. It will leave the hairpin from its head. Take it.

Now, go down, right, up, up, and right. There is a door.