Is Cedric evil...or just plain useless and annoying?
Friday, November 4, 2016

Thursday, November 3, 2016
Dilandau3000 plays King's Quest V: Absence Makes The Heart Go Yonder! - Part 15 of 20
We finally go sailing the seas of Serenia, and it's not all it's cracked up to be!
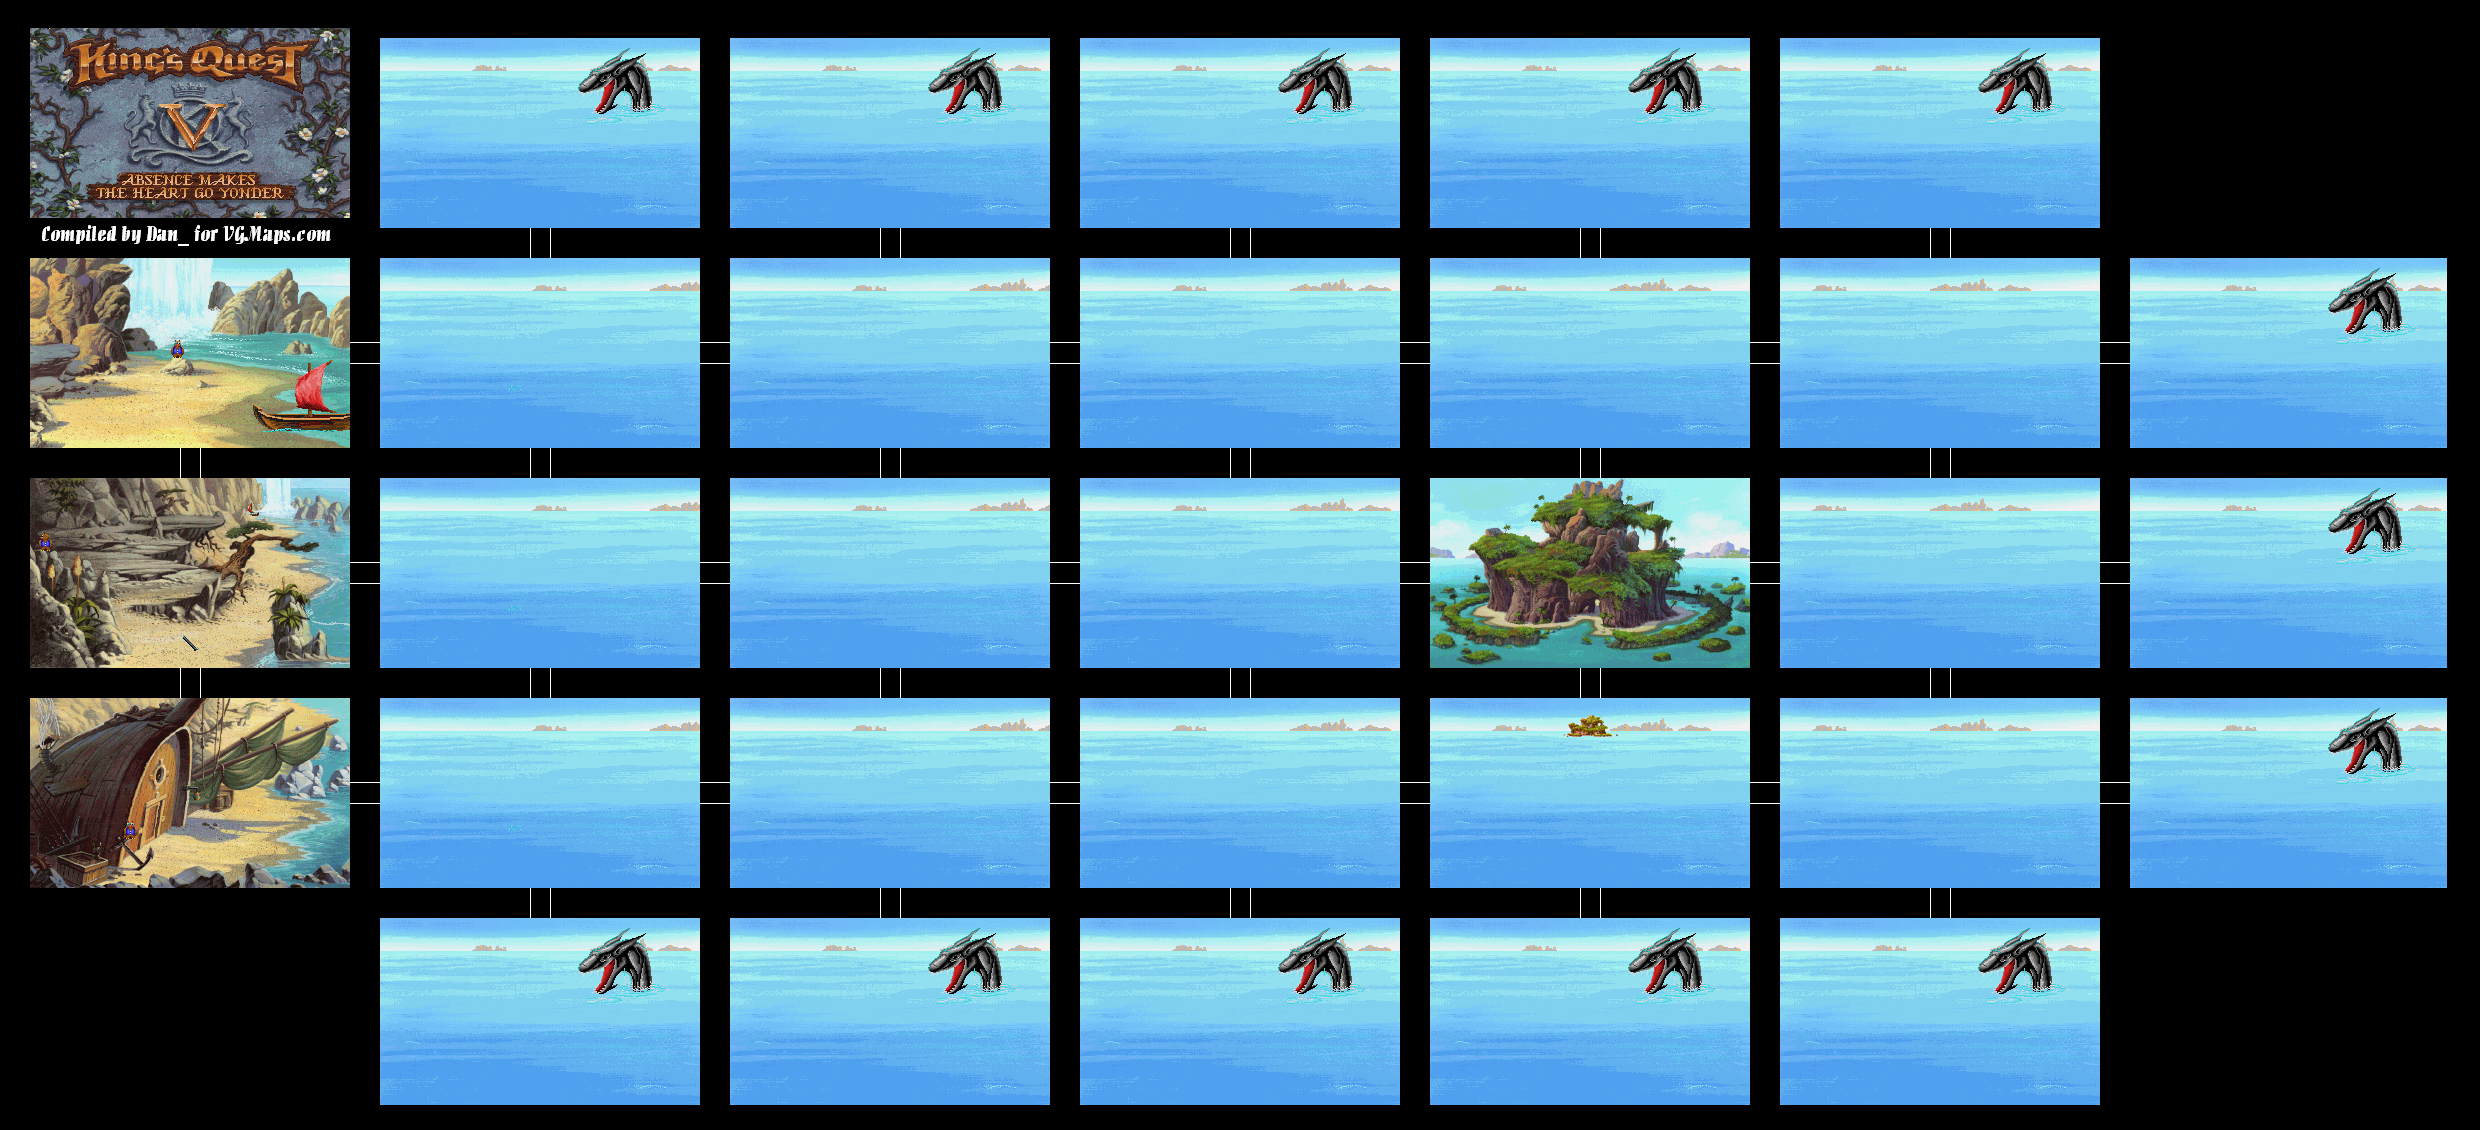
You'll now be at sea. Go one screen south and three screens east. The walk icon moves the boat like it normally does. (You can do this the other way around if you wish.) IF YOU VENTURE TOO FAR OUT INTO SEA, A GIANT SEA CREATURE WILL GET YOU AND YOU WILL DIE.
You'll come across an island.
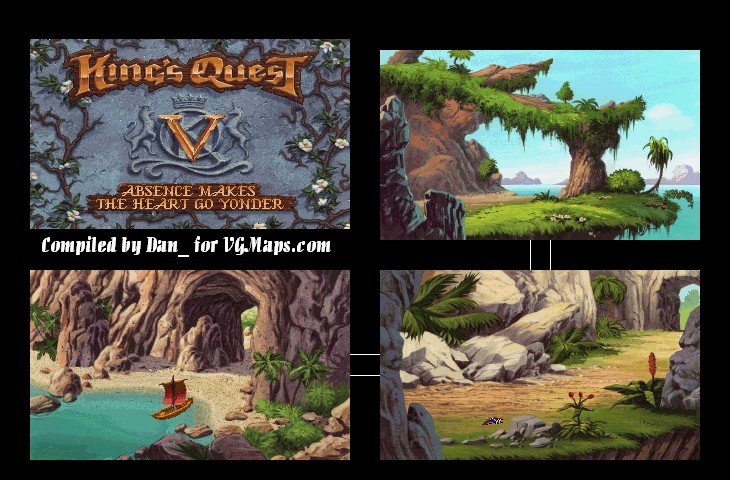
You'll be picked up by a few harpies. Mordack's island, this is not. IF YOU LET THEM FINISH THEIR ARGUMENT, YOU WILL DIE. Instead, play the harp. One of them grab it from you and fly away, and the others will follow suit. At least you're not harpy food.
You may have noticed something sparkling next to Graham. Use the hand on it. It's a fish hook. Take it.
Go south from here. You'll see Cedric on the ground wounded. Use the hand icon to pick Cedric up. Go left and you'll be at the boat. There is a shiny glint north of the boat. Use the hand icon on it. It's a large conch shell. Take it.
Get back on the boat. Go west until you're on the beach again. You'll be back at the old man's house. Ring the bell, and give the conch shell to the old man when he comes out. He'll be able to hear you now, and you'll be able to heal Cedric.
The old hermit also calls for Pearl, a mermaid. She takes you directly to Mordack's island, where the boat will crash. No turning back now...
Dilandau3000 plays King's Quest V: Absence Makes The Heart Go Yonder! - Part 14 of 20
The adventure continues...but what lies beyond the throne of Queen Icebella?
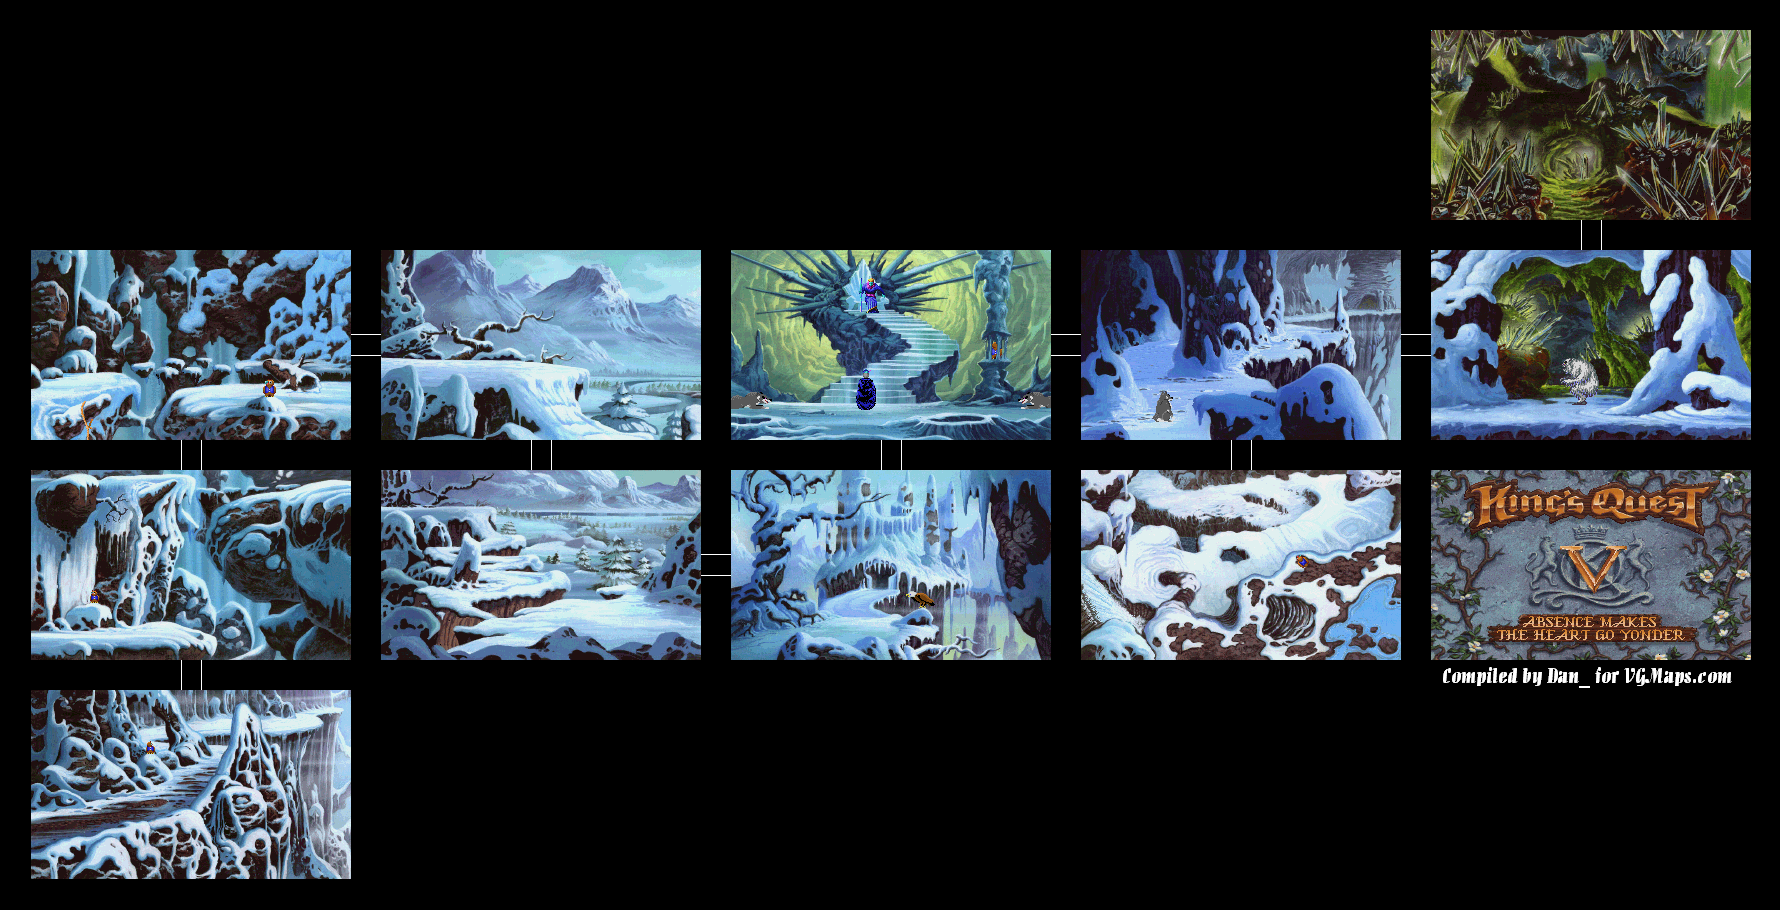
You're done here. Approach Sir Greywolf (speak to him if you want), and he'll take you back to Queen Icebella's throne room. She keeps her word, and lets both you and Cedric go. She also knows who you are now, and wishes you luck in your quest to find the evil wizard Mordack. Sir Greywolf escorts you to the exit out of the mountains.
If you missed the crystal, you can go back to the cave and get it here. Since we got it in the last entry, however, we won't have to. The exit out of the mountains is to the south.
The next screen has an interesting top-down perspective. Keep to the ground, and don't move towards the cliff edge or the hole in the middle of the ground. Move towards the hole next to Cedric, and Graham will climb up to where Cedric is.
When you do that, though, you'll be picked up by a giant roc! The roc will take you up to his nest, which contains a giant egg!
There will be a glistening gold glow next to Graham. Use the hand on it to pick it up, and do this immediately. It's a locket! This might just come in handy.
You don't have much time, however, as the giant egg hatches almost as soon as you're dropped into the nest. If you didn't feed the eagle before meeting Queen Icebella, you're screwed. Thankfully, we did, and the eagle returns the favor by rescuing us from that two-headed baby roc! We also lose the cloak, as the roc gets its beaks on it as the eagle rescues us.
You'll be dropped off at a beach, and the eagle flies off. And how did Cedric get here if he said he was looking all over for us?
Anyway, use the hand on the iron bar to pick it up.
There is a boat to the north, but to the south is a half-buried ship that has been converted into a house. Ring the bell, and an old hermit will come out of the house. When Graham speaks to him, however, the hermit can't hear him. If you ring the bell again, you'll find out he's almost completely deaf.
Go to the boat. IF YOU USE IT RIGHT AWAY, YOU WILL DROWN DUE TO A HOLE IN THE BOAT AND YOU WILL DIE. Instead, use the beeswax to plug up the hole. Now you can get in.
Wednesday, November 2, 2016
Dilandau3000 plays King's Quest V: Absence Makes The Heart Go Yonder! - Part 13 of 20
Guess what? We have to fight a yeti in order to save Cedric and our hides. That's just wonderful.
IF YOU WALK FROM HERE, YOU WILL DIE. Use the sled on the slope instead. You'll land with a thud - and a broken sled - on the other side, but at least you're not dead.
Go to the right, and you'll come across a castle. You'll also come across an eagle. If you talk to him, you'll find he's hungry. Hand him your leg of lamb. He'll eat the rest of it. I think it's safe to say that this eagle will help you out, too.
When you approach the castle, you'll be surrounded by two wolves, who escort you inside. You'll meet Queen Icebella, the ruler of this icy domain. She decides to put both of you to death for trespassing into the mountains. (In the NES version I covered a while back, the death penalty was replaced with life imprisonment in a gilded cage.) Use the harp on Graham before her two wolves tear you apart. The beautiful music causes her to spare you...for now. She asks you to go further into the mountains and take care of a yeti in the nearby Crystal Cave. If you can do it, Cedric will be freed and you'll be able to continue on your journey. Sir Greywolf will escort you over to the cave. From there, you're on your own. Be sure to use the left path, and then go to the cave from there.
You'll meet the Yeti on the next screen...and he's coming straight for you. The only thing you can use against the Yeti is the custard pie. Graham will hit the Yeti in the face with the pie, and the Yeti will fall over the edge of the cliff!
You now have full reign of going into the cave. Do it. Use the hand on the crystal in the center of the room. Graham will try to get a part of the crystal, but it won't budge. This is where the cobbler's hammer comes in. Use the hammer on the crystal, and Graham will be able to break part of the crystal off and take it with him.
Dilandau3000 plays King's Quest V: Absence Makes The Heart Go Yonder! - Part 12 of 20
We've done all we can in Serenia. It is now time to head to the mountains.
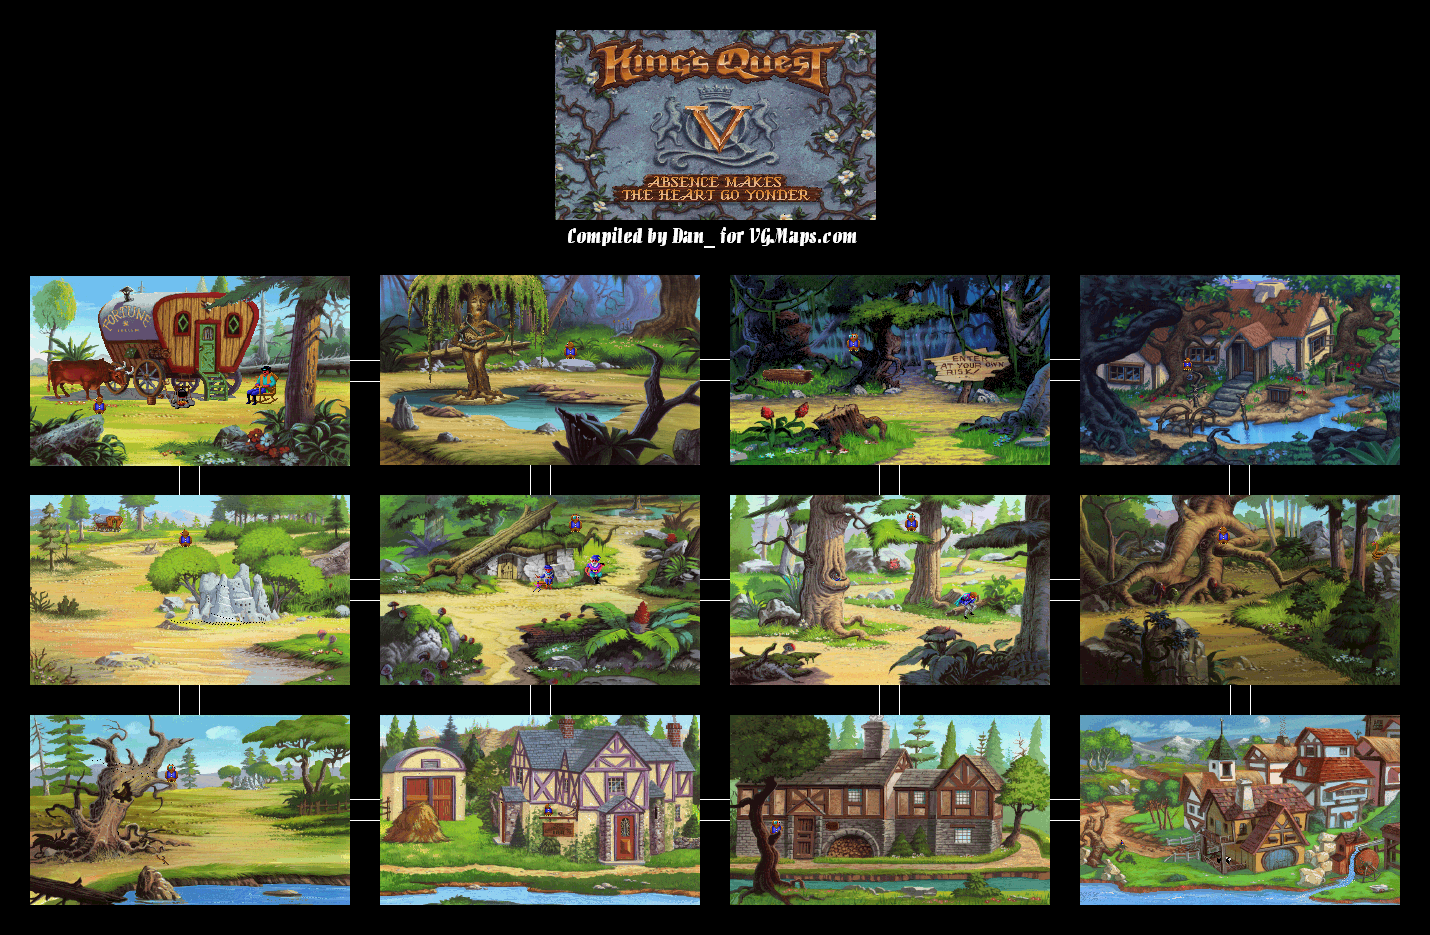
Well, we're still in the inn. We've stumbled across the kitchen on our great escape. First things first. IF YOU GO TO THE RIGHT IN THE ROOM LEADING TO THE CELLAR, YOU WILL DIE.
Use the hand on the cupboard. Graham will find a nice roast leg of lamb. Take it. You're definitely going to need it later. Go through the door on the left. You'll be back outside. DO NOT GO BACK INTO THE INN UNLESS YOU HAVE A DEATH WISH.
Go back to the intersection with the snake and use the tambourine on the snake. The tambourine will scare the snake away! You can now go into the mountains.
On the first screen, put on the cloak so Graham doesn't die from hypothermia. You can do that just like you did the amulet: just select the cloak from the inventory and click on Graham with it.
Don't deliberately walk over the edge, otherwise this happens.
On the second screen, you'll need to use the rope to climb up. DO NOT USE THE ROPE ON THE TREE BRANCH. YOU WILL DIE. Instead, use it on the cliff edge to the right of it. It's a lot sturdier, and is in no danger of coming loose and sending you to your doom.
You'll eventually get a message telling you that Graham is hungry from going up the mountain. Use the leg of lamb on Graham so he won't die of hunger.
On the third screen, you'll have to leap from one narrow platform to another. Use the hand icon on the platforms, otherwise you'll walk over the edge and die. The center platform at the front will kill Graham if he leaps onto it. All of the rest are safe. Use the ones in the back, then leap to the last one in the front. You can now leap to the other side. You can use the walk icon on the log to cross it, which isn't that hard, thankfully.
When you head to the left, a wolf appears and kidnaps Cedric!
Tuesday, November 1, 2016
Dilandau3000 plays King's Quest V: Absence Makes The Heart Go Yonder! - Part 11 of 20
Guess what? You're going to have to go through that dreaded inn. This time around, it's going to be a lot better.
Go east to the baker. You'll soon see a cat chase after a mouse as you move to the right. Throw the boot at the cat. The mouse will thank you and offer his assistance in the future. Hope you saved your game at this point, because if you don't save the mouse in time, the game is unwinnable. (Which is weird, considering that the NES version lets you try again multiple times. At first, I thought the PC version would do the same thing, but if you've watched PushingUpRoses' review from earlier, you'll find out that it does not.)
With that done, let's head back into town. Go back to the tailor and give him the golden needle. He'll let you have the cloak. Giving the marionette to the toymaker will allow you to get the sled in return. Giving the elf's shoes to the shoemaker's wife will reward you with the cobbler's hammer.
Well, we've got all we can from trading one item in exchange for something else. All that's left is going to the inn. Yeah, we're returning there...but this time, we're a lot better prepared.
Go into the inn and talk to the innkeeper. You'll be knocked out by one of the guys at the counter. This time, you've saved the rat, and the rat returns the favor by gnawing away at the ropes you're tied up in, freeing you. The next things you do are crucial, so make sure you do all of this. Use the hand on the ropes to take them, you'll need them later. Use the cobbler's hammer on the door to break the lock.
Project Genesis - Weeping Willow Tree (featuring narkatika)
Here we go: a metal cover of the Weeping Willow's song. Enjoy.
Subscribe to:
Posts (Atom)