Showing posts with label part 67. Show all posts

Monday, March 23, 2026

PrinceWatercress plays Super Mario Odyssey - Part 67 of 92


We have to do some extreme sheep herding - among other things - to get some more Moon Rock Power Moons in the Wooded Kingdom.


58. High Up on a Rock Wall - Shortly after the Iron Road: Entrance checkpoint, take control of an uproot, then stretch upwards before you enter the Uproot maze area to find some grey bricks. Land on those, then stretch upwards into the nut above for a Power Moon.

60. Above the Iron Mountain Path - There are two ways to get to this one. The first is to warp to the Iron Mountain Path, Station 8 checkpoint, head west to the cliff, and hit the P switch to reveal a flower road leading to the Sky Garden Tower. You can get the Power Moon on the way. The other, which I end up using, is warping to the Observation Deck, capturing the nearby Glydon, looking for a mid-air Power Moon in the distance, and gliding to it.

63. Invader in the Sky Garden - At the Sky Garden Tower, there is a UFO-like enemy called a Yoofoe (pronounced YOU-foe, like the Japanese pronunciation of the acronym "UFO"). Stack up all five nearby Goombas and watch out for the bombs that the Yoofoe drops as well as the blades that spin around it as you leap out of the Goombas and land on the top of the Yoofoe. You'll need to do this twice to defeat the Yoofoe, and when you do, you'll get a Power Moon. If you need health, break the two rocks in the area for Hearts.

65. Wooded Kingdom Timer Challenge 3 - Warp to the Iron Mountain Path, Station 8 checkpoint. Over the nearby guardrail is a scarecrow. Throw your hat at the scarecrow, then ride the platforms and swing over the poles to get to the Power Moon before time runs out.

66. Moon Shards in the Forest - There are now five Moon Shards in the Uproot Maze. Collect them all to get the Power Moon at the end of the maze.

73. Herding Sheep Above the Forest Fog - There is a Moon Rock Pipe in the area with the Goombas near the Forest Charging Station. Enter it, and you'll need to start herding a sheep to the pen above where you start. For best results, you'll want to stay slightly close behind the sheep to guide it away from the walls in the path, but at the same time, you want the sheep walking away from you rather than running away. You don't want to throw your cap at the sheep to launch it until you're lined up with the higher platforms as well as the pen itself, and even then, you'll want to be at the right distance to ensure you don't undershoot or overshoot.

74. Herding Sheep on the Iron Bridge - Below the sheep pen, there is a pipe off to the side that leads to another sheep. Hit the P Switch to activate a bridge, then get the sheep on the bridge and launch it off the edge to the pen with your hat. Doing this will net you another Power Moon.

75. Down and Back Breakdown Road - There is a Moon Rock Pipe near the Iron Road: Entrance checkpoint. Leap across the bridge while avoiding the Bullet Bills that will destroy it and grab the key. You'll then be chased by a Magnum Bullet Bill, and you can capture it to get this Power Moon...

76. Below Breakdown Road - ...except if you release the capture immediately afterwards, you'll drop down and encounter another one. Capture this one, then rush back to the start. You'll get this Power Moon that's easy to miss, and then you can get #75 along with it!

Monday, November 4, 2024

PrinceWatercress plays Chrono Trigger (Super NES) - Part 67 of 70


One more ending, and we'll finally cover the endings you can get with and without Crono.


For this ending, you'll need to get Schala to open the door to the throne room, then immediately head back to the End of Time and fight Lavos instead of powering up the pendant in the Mammon Machine. Once you power up the pendant, the way out will be blocked and you won't be able to get this ending. From that point until the Lavos battle at the Ocean Palace, you'll only be able to get the ending from the previous video.

In this ending, Lucca and Marle will make comments about random male NPC's in the game. Also, Crono talks a total of two times. 

Friday, May 31, 2019

HCBailly plays Final Fantasy IV (Super Famicom) - Part 67 of 70


Here's the preview...


...and here's the final battle!

Suddenly, a form of pure darkness known as Zeromus comes out of Zemus' body and rocks everyone. Golbez tries to kill Zeromus, who has been strengthened by hatred, but Zeromus absorbs Meteo. Golbez then tries to use the Crystal at FuSoYa's suggestion, but Zeromus declares that if one who has chosen the path of darkness were to use the Crystal, it would fail to shine, and would only return to the darkness. Zeromus immediately defeats Golbez and FuSoYa.

Meanwhile, at the Tower of Mysidia, the people of Mysidia use the prayer to pray for Cecil and his party along with other NPCs that have been encountered by the party. Back on the moon, Cecil gets up and takes the Crystal from Golbez, and everyone at Mysidia - including some people who aren't there, such as Edward and the now-deceased Tellah - send their strength and spirit to bring everyone in Cecil's party back to full HP and MP. The battle with Zeromus now begins.

Use the Crystal to reveal Zeromus' true form. From there, have Edge throw the Dart, have Kain use Jump, have Rydia summon Bahamut and have Cecil use physical attack.  Big Bang does a lot of damage, so make sure Rosa uses Cure 4 on the party when it hits. Zeromus always shakes before casting Big Bang, so have your best healing spells (and Rydia's Sylph summon) ready when that happens. Black Hole will dispel any buffs such as Haste, but it isn't that much of a big deal.

Zeromus has 65,000 HP, but gets a full health refill at around 16,000 HP, and you can tell when it happens when Zeromus changes its attacks up and starts using attacks like Meteo. If you can keep up the healing and the powerful attacks every round, Zeromus will go down, but not before declaring that it will return as long as evil lurks in the hearts of men.

Tuesday, June 19, 2018

HCBailly plays Terranigma - Part 67 of 75


"It's me, Ark! It's me, Ark! It was ME all along, Ark!"

Not this shit again.

Chapter 4: Resurrection of the Hero


Inside a house, Princess Elle sits at a table. A baby that looks like Ark is asleep in a bed, and Elle tends to him. The baby looks suspiciously like Ark, and we learn that Princess Elle found the baby crying in a field in Storkolm. She has named the baby Ark due to the baby's resemblance to him. As Elle goes out to look for some food, the other Elle - Elle from Crysta - enters the house and is ordered to kill the baby as this was why she was brought from Crysta to the above world. It appears that Ark was resurrected as a baby. Elle from Crysta takes the baby from the bed before Princess Elle can return, and Princess Elle is shocked to find out that the baby is gone.

Elle from Crysta has brought the baby to an underground chamber, and is ordered to stop hesitating and kill Ark. It is then that the two Elles meet, and we find out that the voice ordering Elle from Crysta to kill Ark was none other than Yomi. Now we know why Yomi knew the password to Dr. Beruga's computer: Yomi was in on it all along, too.

Yomi orders Darkside Elle to kill Lightside Elle. As this happens, Kumari reaches Ark through telepathy and tells him to wake up, as all the living things in the world await his awakening. The great tree Ra also speaks to Ark, telling him the earth is screaming and that he should save the planet. Leim also reaches you through telepathy, and even he knows that the world has gone awry. He asks you to give courage to the world. The Kingbird also speaks to Ark, saying that the sky is crying and the tears are filthy. Kumari then tells you that plants and animals are with you even though you cannot converse with them, and tells you once again that the world awaits your awakening. Ark transforms back into an adult and returns to his normal self, and Ark's resurrection is complete.

Yomi is displeased, and says that he was to kill Ark when he has resurrected Beruga, but he bided his time as he thought he would find the hero. Now that Ark is the hero, nothing will be able to stop "us" when Ark is killed, and the earth will be reborn by the hand of not the Elder, but Dark Gaia, also known as "the Devil" by humans. We finally know who the highest power is in all of this!

Yomi orders Darkside Elle to kill Ark, but Elle refuses and leaves. Head north and talk to Darkside Elle, and she tells you she only wanted to meet you again...but not like this. She tells you she was ordered to kill someone on the surface world endangering Crysta. She had no idea that it was Ark.

Yomi shows up and tries to kill Ark himself, and Ark has no idea why Yomi would turn on him. Yomi finally explains everything: Ark was just a pawn in the Elder and Dark Gaia's scheme to recreate the world in their image. Yomi then says that the Elder's word is absolute, and finally tries to kill Ark. Yomi creates an earthquake that stuns Ark, but Elle rushes up to Yomi, tells Ark to save the surface world, and then sacrifices herself along with Yomi. After saying that she wanted to be with Ark forever, Elle dies along with Yomi as they are both sucked into a portal, killing both of them. Ark wonders if the world would have remained peaceful if he had not opened the box that day, but realizes it doesn't matter even though he wishes for things to be as it once was.

Sunday, March 18, 2018

skorch82 plays Brave Fencer Musashi - Part 67 of 70


It's time to finally face Topo, but the battle with her is not like those with Ben and Ed...

Destroy the green cryonic tubes to find some power-ups as well as a few enemies. Destroy the computer mainframes if you need even more. After that, you'll be climbing up some stairs taking on flamethrower soldiers and walkers. After that, you'll deal with another door with laser turrets.

The missile silo will shoot at you with lasers and missiles. Jump over the laser when it spins around three times, and watch the shadows to see where the missiles will land. They usually land in a square-shaped formation. Attack the small visor with the eye that the laser comes out of to damage it and ultimately destroy it.

You'll then take a ride on an escalator platform. Watch out for the walker and smash one of the legs in order to destroy them.

After another turret door, it's time to face Topo. Unlike the other two Leader's Force, this is a dance-off. Topo will dance. Watch with buttons she leaps on, then wait for her to start dancing again. You'll have to tap the same buttons to the beat and keep up with her. If you go too early after the example or if you mess up, you'll be knocked to the back of the room into a force field and take damage. After three successful sequences, you'll beat Topo.

Wednesday, December 18, 2013

brickroadbrickroad and SovanJedi play Secret of Evermore - Part 67 of 88


We make our way back through the dungeon and see one of the most interesting video game cameos of the Clinton Years. Be ready to change your shorts, fanboys.

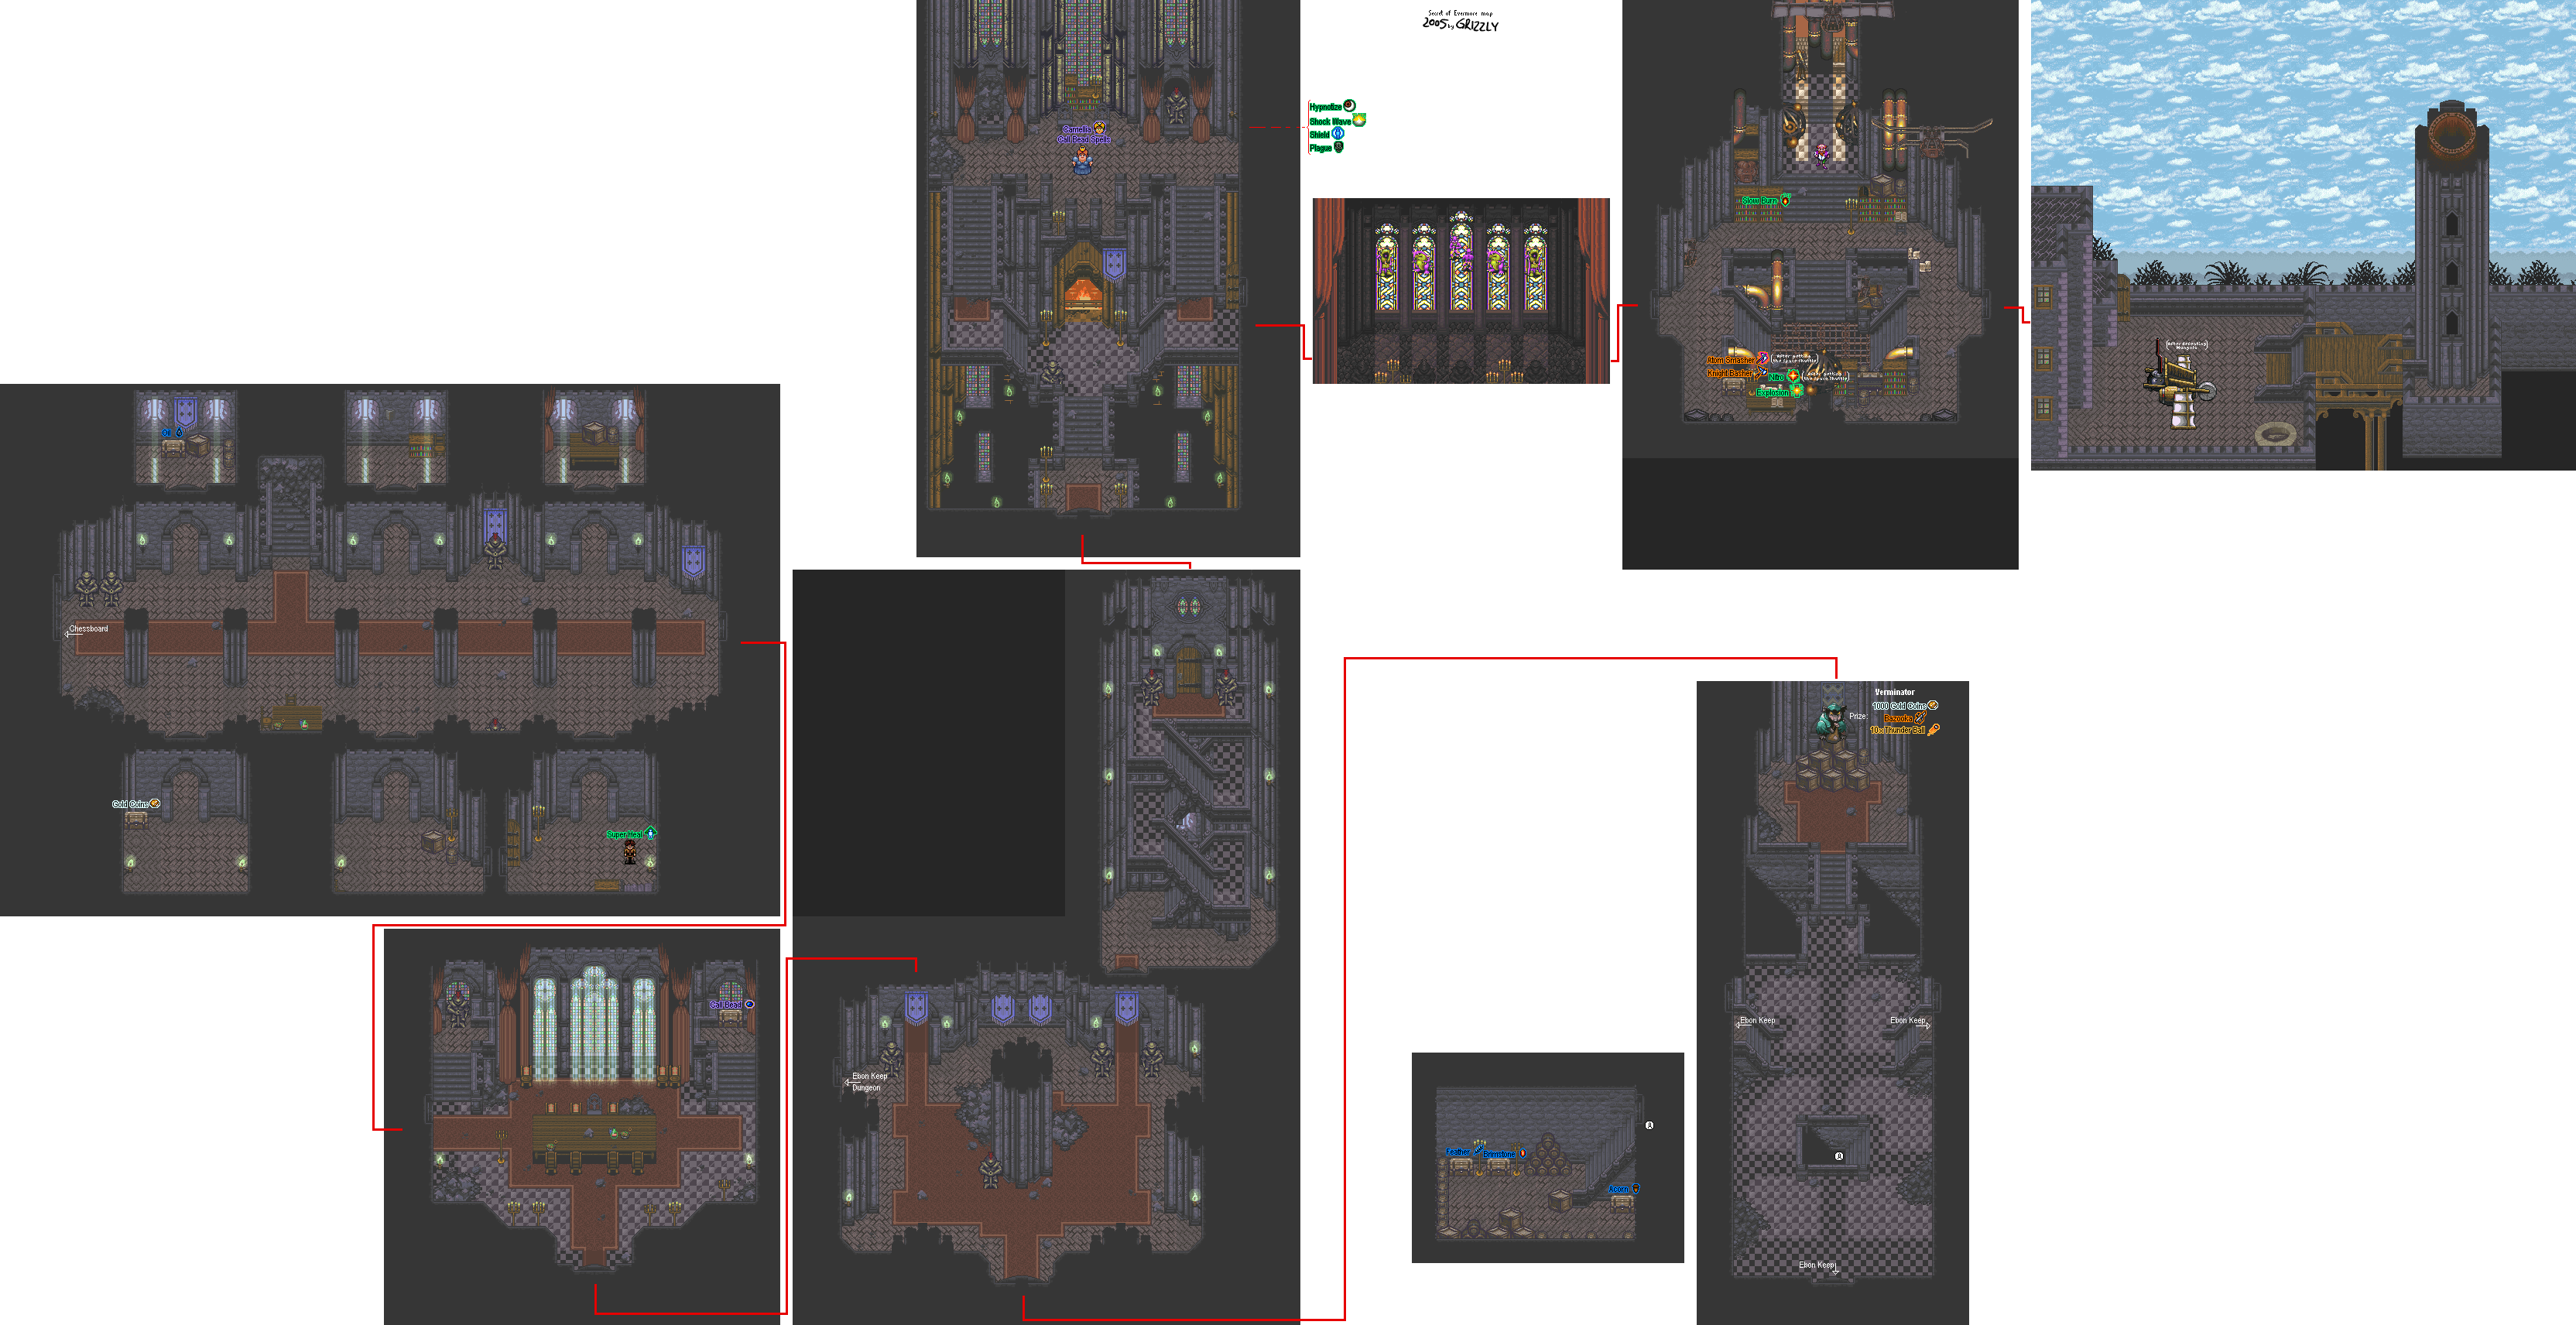
All maps by Grizzly.

Ebon Keep


Now that the whole "SovanJedi accidentally getting himself killed" thing is finally out of the way, we're finally in Ebon Keep. As expected the town is abandoned because of all the people moving to Ivor Tower. There are a few spots on the map that you can enter and find some interesting stuff, including an old woman who will give you the Regrowth formula, which slowly regenerates your health for a couple of seconds.

Regrowth

1 Acorn, 2 Water

Close to where the old woman with the Regrowth formula is located (in the same house, actually) is a stairway to a chest. Don't open it right away. Instead, walk through the wall to the right and you'll find two more chests behind the wall. Opening the first chest you see will close the opening to those two chests.

At the inn/store, you'll meet some guy in knight armor who will ask if you remember him. Here's some hints: his adventures on the moon, his victory over Zeromus, and turning into a paladin. It's Cecil of Baron Castle from Final Fantasy IV! He's settled down with his wife Rosa (apparently they married after FF4), who strangely doesn't appear in this game. C'mon, Square Enix!

If you tell him you know him, the armor he sells will be slightly less expensive.

Cecil will sell you the Knight Armor and also runs the Inn at the same time, and he also gives you the Bazooka, which he says he found in the jungle. It's the same Bazooka you got at the beginning of the game, but there's only one Thunder Ball shot in it, so using it at this point is kinda useless. You'll have to wait until you're done in Gothica to get ammo for it.