Part nostalgia-bomb, part note-taking and part FAQ, what started in GameTrailers as a video game blog is now on Blogger. This blog is a look back at video games, both popular and obscure, from the video game industry's infancy all the way to the previous console generation.
In this entry, we finally head to Judge Doom's mansion and take Doom head-on. Prepare for a bit of a maze and a tough boss battle if you want to save Toontown.
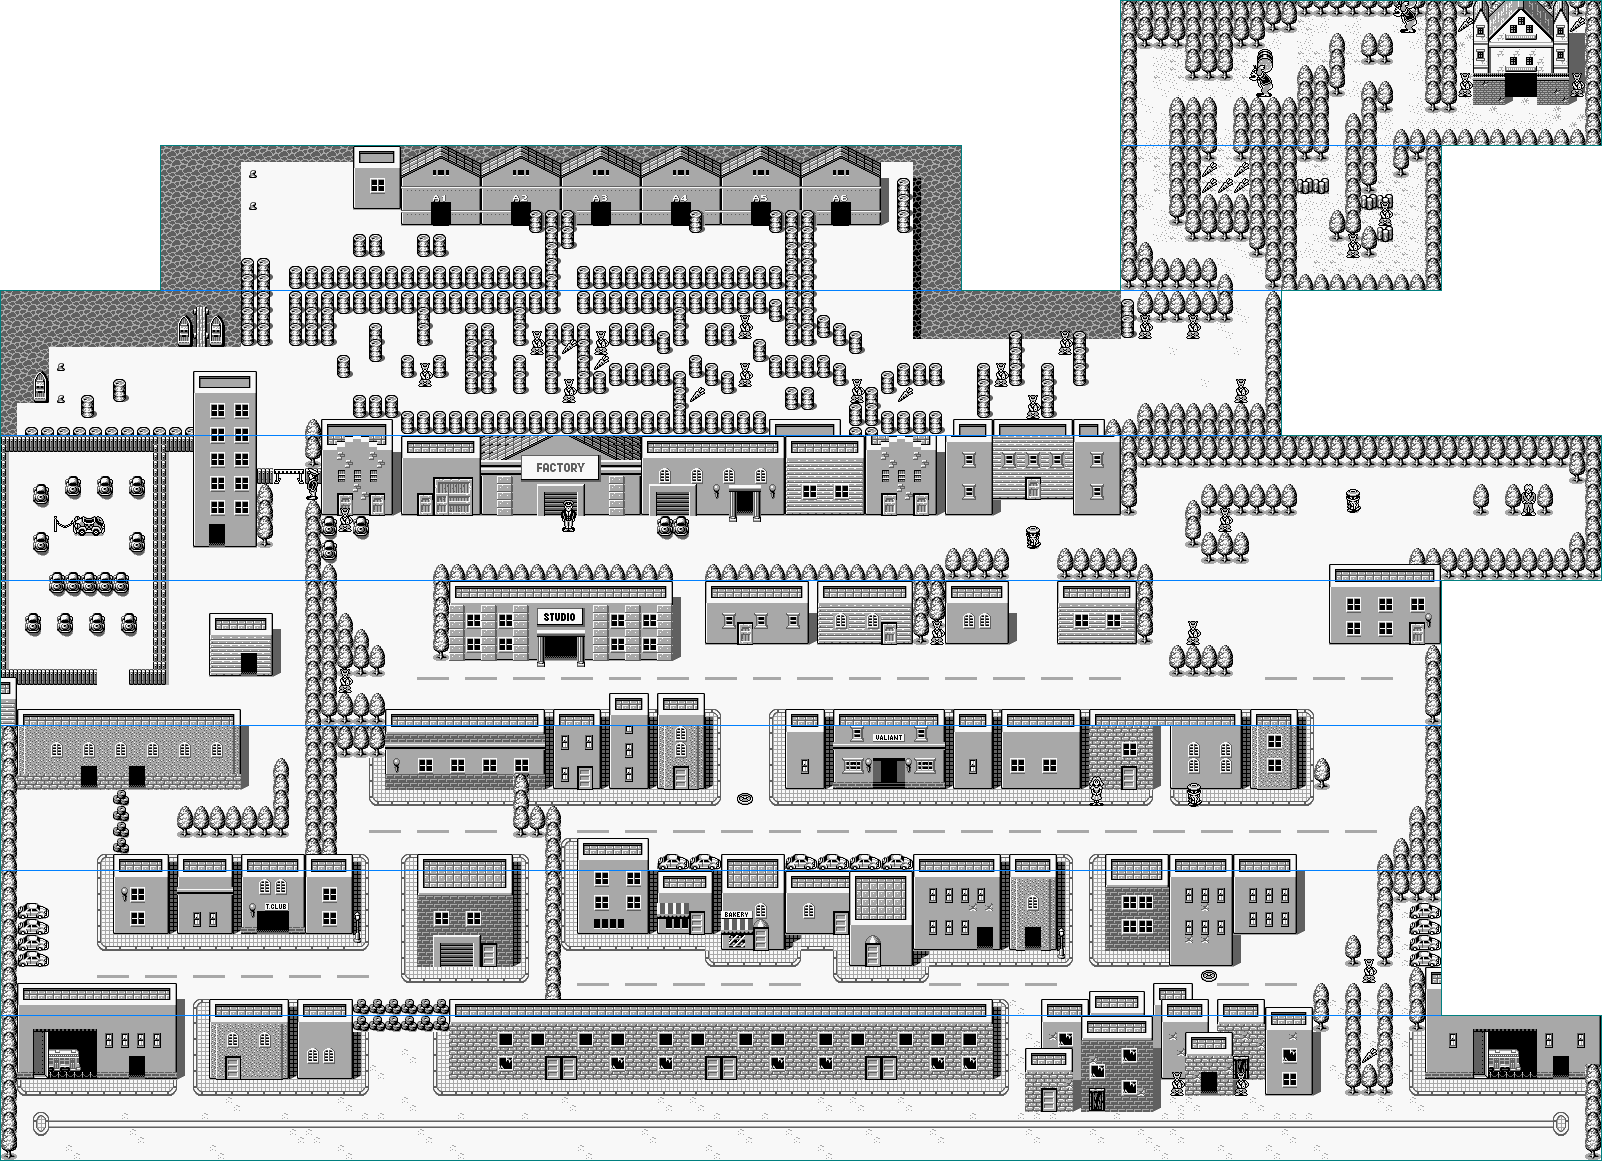
You'll start out in front of Warehouse A6, and you can't go back inside for health. Thankfully, you can replenish your health when you go south. From here, go east and follow the path. On the open area with the weasels east of the harbor, equip the Speed Shoes so you can run away from the weasels without getting hit.
Once you're in the forest, keep the Speed Shoes on. Avoid the barrels that the big gorilla enemies throw, and don't be afraid to use any of the carrots you see along the way. At the second gorilla enemy, go east, as south is a dead end. You'll be at Doom's Mansion. Go in.
Talk to Eddie. He will tell you that there are puddles of Dip that will hurt you if you touch them, and that he will go first and leave a trail for you. Go north, then avoid the dog that chases after you with the Speed Shoes, then take the door on the right while avoiding the Dip puddles.
Take out the weasels, then enter the left-hand door. There will then be two sets of stairs and a door to the north. The left is a dead end, while the right lets you continue on. Take the stairs on the right, heal if you need to, then go north, take out the weasels and go down the stairs.
Make your way to the stairs on the opposite corner, and you'll meet Judge Doom. Follow him north after taking out the weasels, and in the next room, go a little bit to the west before going north so you don't fall into a trap door. From there, you can safely go north. You'll then face Judge Doom in his Dip tank.
Equip the Punch Hammer or Toon Gun, get to the center of the screen, and shoot at him before he stops moving and shoots dip at you. His Dip shots will stick to the floor, leaving puddles of Dip that will hurt you. It also helps not to move into the dip on the north end of the room. You may have to move around the room as the battle goes on so you minimize the amount of damage that you take. Eventually, you'll hit Doom enough times that his tank explodes and you'll save Toontown! You did it!
You'll start out in front of the T. Club. Go west and follow the path, and after you go through the building, make your way north and walk into the barricade. You'll enter the harbor.
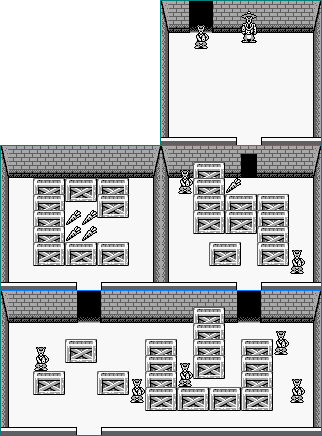
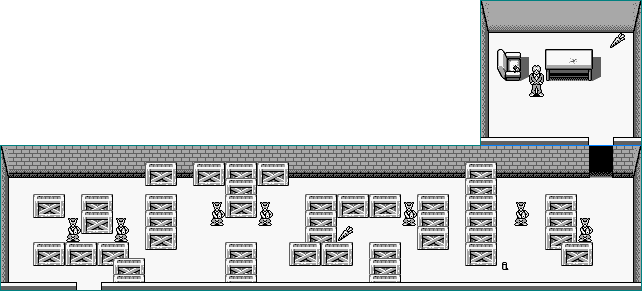
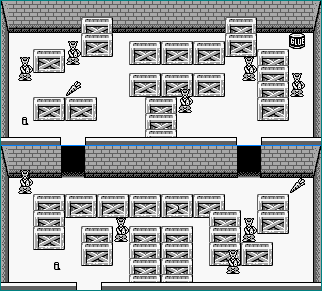
From here, go north, then go east. If you go north, you'll find the first warehouse. Warehouses A1 through A5 all look the same, but the northeast room of A6 has a door leading north.
In the maze, keep going east. and when you come out of the maze, go north. You'll go to Warehouse A6. Make your way east, then north. Unlike the other warehouses, there will be another door to the north. This is where you'll face Smarty. Equip the Toon Gun or the Punch Hammer, then attack Smarty without getting attacked yourself. You may have to stun the two henchmen in order to get a clear shot at Smarty, who will go down after a few hits from either weapon, so don't be afraid to use the Punch Hammer. When you beat Smarty, you'll get the key to Doom's Mansion.
You start out in front of the T. Club. Go inside and talk to the guy at the table. He will tell you that Baby Herman was looking for you. One of the other customers will tell you that Psycho has a Harbor Pass - which you'll need - and that you'll need a car to catch Psycho, who is always driving around.
Head back to Valiant's office. To do that, go south from the T. Club, go west, then take the streetcar to the other end of town. Remember to re-equip your weapon every time you take the street car. Once you're at Valiant's office, go in. Watch out for any enemies, especially weasels who hide in trash cans and throw trash around. Talk to Baby Herman, and he will tell you about Benny, who you saw tied up earlier near where you met Greasy. He will give you an ax, as he is not strong enough to cut Benny's chains.
From here, go back to the streetcar and take it to the west side of town. Go back to the T. Club, then go west and follow the path. At the fork in the road past where the guys who talk about the Toon Gun are, go west to enter the impound lot and use the axe in front of Benny's chain. Benny will thank you and give you a whistle, which replaces the ax.
Go back to Valiant's office. From here, go talk to Eddie. He will tell you to stay in the building and keep an eye out for Psycho. You'll eventually see him, and Eddie and Roger will go outside. You'll automatically use the whistle, and you'll ride in Benny the Taxi for a boss battle. Get close to Psycho and hit him with the Punch Hammer, and try not to be behind him when he tosses the bombs backwards so you don't get hurt. When you beat Psycho and send him off the road, you'll get the Harbor Pass and go on to Scene 5.
You'll be back in front of Eddie Valiant's office. Re-equip the Punch Hammer, then go ahead and talk to Eddie. He'll tell you to go get Greasy and to use the streetcar to get to him. Talk to him again, and you'll get the ticket for the street car.
From Eddie Valiant's office, go back to the factory. It will be open this time. Go in and take down the weasels as you make your way through, then grab the carrot and talk to the guy on the other end. You'll get a Toon Gun, but you'll need bullets for it. Leave the factory.
From the factory, head back to Valiant's office, then go one screen east and all the way south. Go east so you don't get shot up, then enter the streetcar building and talk to the guy inside. From there, walk into the door of the streetcar to take the rails all the way to the other side.
At the other side, re-equip the Punch Hammer go one screen east and one screen north. This takes you to the T. Club. Nobody will talk to you, and if you talk to Dolores, she will tell you that Greasy has threatened all of them into silence.
From the T. Club, go west, then north. You'll enter a building. The two men in the building will tell you that you will need a Toon Gun and that you will need ammunition for it.
When you leave from the other side, follow the path. Around here, you'll find Benny the Taxi in the impound lot to the west, but you won't be able to free him yet. Instead, keep going north to the tall building. Go up the stairs, and press A at the drawers of the desk to collect Toon Gun bullets. Fill all the way up to nine with the desk drawers. The men in the building will tell you to shoot down Greasy's balloons, and that Toon Gun ammo is hidden in the building. As you near the top, equip the Punch Hammer so you can get past the weasels.
At the top of the building, shoot down Greasy's balloons with the Toon Gun and avoid his bombs. After two successful hits, Greasy will go down. Go all the way back down the building, and you'll find Greasy lying on the floor. Talk to him, and you'll find Psycho is staking out Valiant's office. You'll also proceed to Scene 4 and you'll also get the Speedy Shoes.
You'll start in front of Eddie Valiant's office. Enter the building, go up the stairs, walk up to the door on the upper level and talk to Eddie. Roger Rabbit will tell Eddie Valiant what is going on, Suddenly, the weasels knock on the door, and demand that Eddie come out. Eddie will tell you to hide. If you go up to the safe and press A, you will die. Instead, go into the closet. You won't be noticed.
Eddie will tell you to start asking questions while he goes out to investigate Doom. He also gives you a punch hammer. Pause the game with Start, then press A when the box is around the punch hammer to equip it. You can now hit enemies with A, and while it can only stun enemies, it's better than nothing at all.
From here, go east, then south, then go west. You'll see the bakery. If you keep going west and then go north when you can't go west anymore, the man there will tell you that the weasels hang out at the bakery.
In the bakery, talk to the guy near the counter. He will tell you that he sold some bread to the weasels not long ago. When you come out, Stupid the Weasel will be outside. Chase him, and he will eventually drop some bread. Walk up to the bread and press A to take it.
Go back to Eddie Valiant's office and talk to Eddie. He will tell you to put the bread in front of the bakery in an attempt to trap Stupid. Go back to the bakery, pause the game, select the bread, and press A. You'll automatically place the bread. From here, go all the way to the east, but don't leave the current screen. Instead, go north from the end of the screen and wait behind the bakery, then go east and come back. Stupid will be back, but he will run away again when you approach. You don't need to take the bread back, but you can if you want.
Go back to Eddie Valiant's office again and talk to Eddie. He will be stuck in glue. Talk to him again so you can move him, then move into Eddie to push him out. Walk away from Eddie when he thanks you, and Roger will get the idea of making a glue trap with the bread to capture Stupid. Eddie will tell you that there is glue in the building west of here, and that there are also weasels patrolling the inside of the building.
Go west and avoid getting shot at by the weasel in the manhole, then go into the building. Use the punch hammer to stun any weasels and get past them, and be careful not to run into any cans on the ground or else you will alert the weasels to your presence. You'll need to make your way to the northwest room of the four in order to get the glue. Once you walk into the glue and pick it up with the A button, get out of the building. If you need to, collect one of the carrots that you find around here to replenish your health.
Head back to Eddie Valiant's office again and talk to Eddie. This time, you and Eddie will go to the bakery automatically without having to encounter any enemies. You'll use the bread and the glue automatically. When Eddie leaves to meet Dolores, go all the way to the east without leaving the screen, then go north to hide behind the bakery. Stupid will fall for the glue trap. Go up to Stupid and press A to talk to him. You'll find out that Greasy is in an old building near Sunset Boulevard, and that you have to go there by street car. You'll then clear Scene 2 and get a password.
Unlike the Rare-developed and LJN-published NES version, Capcom published and developed the Game Boy version, and this version is a lot better. This one follows the movie much like the NES game did, but everything is handled better here than on NES.
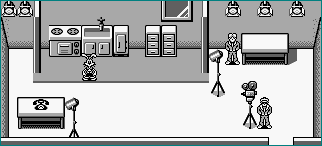
The game begins with Roger Rabbit near a telephone. You'll be playing as Roger throughout the game. Use the D-Pad to move Roger Rabbit towards the telephone, then press A at the telephone. You'll get a call from Marvin Acme asking you to come to his factory for an emergency. Head right. By walking up to the people and pressing A, you'll find out that Marvin Acme's factory is north of here.
Go through the door, then go east and then north. You'll be at the factory. If you go west at first, you'll deal with some weasels who will try to shoot at you as you wrap around towards the factory, and you'll meet a guard telling you to enter the door to the east to go in. It's like a beginner's trap, I tell ya!
You have three hearts on the upper-left hand corner. If those run out, you'll die and you'll be forced to start over from the beginning of the scene. Thankfully, there are carrots you can eat to replenish your health, but you'll want to prevent getting hit as much as possible.
Anyway, enter the door and talk to Marvin Acme. He will tell you that Judge Doom is trying to kill him to get his hands on Toontown, and that he has made out his own will. He has given the will to his daughter Jessica Rabbit, but he has forgotten to give her the deed in order to execute it. Marvin Acme asks you to give the deed to Jessica, as the will can only be executed if the deed is together with it, and to give both the will and the deed to his lawyer if something were to happen to him. Suddenly, a gun pops out from the blinds in the window, and Marvin Acme is shot dead.
Leave the factory. Roger Rabbit will say that Jessica is in danger, and tells you to go to the studio to ask where she is. Go back to the studio where you started and talk to the two people there. You'll find out that the entrance to the Ink and Paint Club is down the alley just east of Eddie Valiant's office, and that Jessica will be there.
From the studio, go east, then south. Wait for the weasel underneath the manhole cover to pop out and shoot twice, then go east to Valiant's office. If you need to heal up, enter the office and take the door on the lower level, then go up to a carrot from the north side of the table and press A.
From Valiant's office, go east. The woman here will tell you that Eddie Valiant will help you if you give him a jingle. From here, go east, then go right into the alley way just to the north and talk to the people. Just watch out for the weasel moving around in the trash can and throwing cans around, as those cans violate the laws of perspective. You'll learn that Lucy, who lives on the building in the opposite corner, has the password to the Ink and Paint Club, and that you'll need the password to get in.
Go back to the woman you talked to near Valiant's office and go south. Go into the building to the right and talk to Lucy, and she will tell you that the password is upstairs in the next building. Leave, then go into the building to the left and go up the stairs. Go up to the scrap of paper on the table and press A to get the password.
From here, go back to the Ink and Paint Club. Press A at the door, then press Start and use the Control Pad and the A button to select the password. You'll be able to enter the club. All the people in the crowd will tell you nothing of importance and only mention Jessica Rabbit's show. If you approach the stage where Jessica Rabbit is, two weasels will show up and carry her off. You'll then get a password and move on to Scene 2.
Here's the item checklist again, because I feel it might be useful again. Feel free to click the picture, copy it to Paint or something and print this out...or make one of your own!
There we go. We got it done in eight videos. Could have beat it in seven, but I'm glad with the amount of progress I made in each video before the seventh one.
WARNING: The placements of the items in this Let's Play are random. While you can get all these items, where and when you will come across will vary. You should be able to get an idea of what you should do, should you be stuck at a certain point, but everything about the placement of the items is random.
The video begins with me in one of the caves past the tunnel north of Burbank, having already found the fourth and final will piece. Turns out, I had to go to the right to find the blasted thing behind a snake.
1:39 - Here we are. Throw the baseball, then walk diagonally into the door while the weasel is distracted to face Judge Doom.
You'll then face Judge Doom, who will try to kill you by "staring daggers at you." Seriously, he shoots out dagger projectiles. Go up the ladder in the center of the room, and keep your distance. All of your items at him will do no damage, and the bombs and cigars will only do minimal damage should you be able to use them. Stay away from the projectiles he shoots out.
If you see Judge Doom open his mouth, back away so you don't get hit. If he jumps backwards, get even further away, as the daggers will go further than usual if he does. He can also hit you with his fist if you're in front of him for too long.
The punchline meter acts as a life bar. Doom's health is the marker on the left. Your health is the marker on the right. If your marker reaches the D in "END," you lose. If Doom's marker reaches the N in "END", you've almost won.
Use your punch. Get in close, watch him so he doesn't projectiles, then hit him with punches and move out. If you get in close, he will also try to punch you as well. Charge up your punch and let him have it a couple of times, then move back before he can hurt you. You want to trap him on the far left; if you can do that, you can hit Doom loads of times if you can keep a pattern going. This is what you want to do, as this will let you finish him off quickly.
The trick to this is to mash the A button at a certain speed that allows you to throw multiple punches yet still charge the punch up. Even better, if you can charge it all the way up, keep that rhythm going with the button pressing and hit Judge Doom multiple times, you'll make it slightly easier on yourself.
13:36 - When you run Doom's health marker all the way down to the middle, he will fall off the platform. Climb down the ladder leading to the platform you just fought on, then head to the truck, climb up the ladder leading to the roof of the truck and grab the Dip Cannon. Switch to the Dip Cannon in your inventory, then climb up the ladder and press B repeatedly to keep shooting dip at him as he charges at you. Otherwise, you're dead. Once you take down Judge Doom with the Dip Cannon, he's done. You'll rescue Roger and Jessica Rabbit, then get your one screen ending. You just beat one of the hardest games ever.
13:56 - The magnum opus of this Let's Play. Thanks for watching and reading.
This video is just me bumbling around for no reason because I forgot completely about exploring the caves of Burbank. Don't expect much out of this one.
WARNING: The placements of the items in this Let's Play are random. While you can get all these items, where and when you will come across will vary. You should be able to get an idea of what you should do, should you be stuck at a certain point, but everything about the placement of the items is random.
There's nothing going on here, because I can't seem to figure out that I need to go north of Burbank to hunt for the last will piece. That isn't figured out until the beginning of the next video. See you there.
We find our third piece of the will, find the Magical Building and bumble around Burbank in this entry.
WARNING: The placements of the items in this Let's Play are random. While you can get all these items, where and when you will come across will vary. You should be able to get an idea of what you should do, should you be stuck at a certain point, but everything about the placement of the items is random.
2:52 - Well, that didn't take long. We have the third piece of the will, meaning that the cave area north of Burbank is the only place where we haven't found a will piece...although I don't have that figured out at first.
5:32 - By going off the beaten path, we head to a road to two buildings separated from the rest of the factory area. By going into one of them, we enter the "Magical Building." By using an item, your currently equipped item will drop down from the inventory slot, and you can pick it up. By doing this, you can get nine of everything that you have. (If it's a one-of-a-kind item, a multiple use item or a piece of the will, however, it won't work.)
16:38 - The rest of the video is me bumbling through Burbank, but at least I finally found the fishbone, which keeps the black cat from attacking me.
19:31 - Here's the rose, which we can hand to Jessica Rabbit at the Ink & Paint Club for a hint...
We find out second piece of the will as we explore more of the Toontown half of the game.
WARNING: The placements of the items in this Let's Play are random. While you can get all these items, where and when you will come across will vary. You should be able to get an idea of what you should do, should you be stuck at a certain point, but everything about the placement of the items is random.
0:30 - This is where I mention that each "quadrant" of the game's world has its own piece of the will. Despite my going back and forth between saying there is and saying there isn't, there, in fact, is.
7:24 - Finally, our second piece of the will! This leaves just the park area with all the caves north of Burbank and the Judge Doom factory area north of Toontown as the only places with will pieces left.
9:53 - The baseball is really useful. It helps you get past the weasel guarding the entrance to Judge Doom's lair, where the final battle will take place.
18:17 - After hunting for more items, we finally go to the factory area north of Toontown.
19:43 - Here is the Judge Doom building. The weasel blocking the door will kill you if get near, but if you throw a baseball to the side, you can get to the door as he runs towards it. You'll still need all four pieces of the will before you can go in, however.
In this episode, we head to Toontown and look around for more stuff.
WARNING: The placements of the items in this Let's Play are random. While you can get all these items, where and when you will come across will vary. You should be able to get an idea of what you should do, should you be stuck at a certain point, but everything about the placement of the items is random.
2:32 - Here's the brick wall. Since we equipped the detonator before heading out into the world map, we can press B to blow this wall up and enter Toontown. You must be driving Benny the Taxi in order to enter the tunnel leading to Toontown.
3:25 - Finally, we're here. Time to explore Toontown.
Unlike Burbank, some of the denizens here are enemies that will hurt you. The cowboy boots and shoes will kick you if you happen to be in their path, and some of them will be the animal enemies you met while in Burbank. Thankfully, going in and out of the room will randomly replace one enemy with another.
Baby Herman will tell you to go to Judge Doom when you have all four pieces of the will if you talk to him.
5:09 - When you have no more continues, you will have 45 second to copy down your password, as the game will not remember it for you. Thankfully, modern technology such as cellphones make it easier to get a clear image so you don't have to write it down.
At the password screen, use Left and Right to move through the letters, A to confirm and B to go back in case you make a mistake.
Also, the dynamite is a single-use item, so we'll have to go hunting for it! Thankfully I remembered where it was! It's right here.
14:30 - The portable hole is used as a weapon. Believe it or not, it's really useful and will get rid of the straitjacket weasel instantly.
We finally find our first piece of the Will, then explore outside of the city for the first time.
WARNING: The placements of the items in this Let's Play are random. While you can get all these items, where and when you will come across will vary. You should be able to get an idea of what you should do, should you be stuck at a certain point, but everything about the placement of the items is random.
2:15 - Finally! I kicked that weasel's ass! Take that, you stupid weasel! He'll be back, though...and often, as he appears multiple times throughout this part.
2:44 - If a snake pops up on the world map, stay away so it does not kill you.
3:25 - The flashlight is used to light up the caves to the north.
4:03 - What it feels like to chew 5 Gu-er, I mean, hit a weasel with the most powerful punch you have.
5:06 - There is a cave near the city. It may have a piece of the will, or it may not. Use the flashlight, then use the rattle near the snake to get some information from it. Don't forgot to jump over the gap with the spring shoes, and watch out for the bat. The snake will tell you to look for a piece of the will in a cave above the top tunnel. In other words, we have to go into the caves up north to find one of the four will pieces.
7:30 - The exploding cigar can be used as a weapon.
11:25 - Another cave. If you don't see the snake to the right immediately, you'll have to keep walking to the right to find the snake. If you're lucky, you might find a will piece, and whaddya know? We do!
Regardless of what I do or say in any part of the Let's Play, once you find a piece of the will in a certain "quadrant," you don't have to search that "quadrant" anymore. I keep going back and forth on this while playing due to a combination of trying to become more knowledgeable with the game as I play as well as due to a lack of practice runs, but the final word here is: if you find a piece of the will in a certain "quadrant," you don't have to search that "quadrant" anymore. In other words, there will be no other pieces of the will in the city area, and we will have to go to the other areas for the other three pieces.
A piece of advice: when you find a piece of the will, keep notes on where you found it, like "A cave near Burbank," "The Laugh Factory in Burbank," "one of the caves north of Burbank" or "Building #10 in Toontown." That way, you can more easily narrow your search down.
Also, because I don't know this quite yet at this point of the Let's Play, I still keep looking in all the caves near the city, anyway, even though it's been established that the will in this one area has been found.
15:51 - Here is the area to the north of the city with all the caves. For some dumb reason, I don't check the caves fully and forget what I did to get the first piece of the will that I found in the first place - and within minutes, at that! - and I don't remember until the final part of the Let's Play, when the will piece for this "quadrant" ends up being the last one I get! As a result, I end up getting caught by the weasels multiple times and having Roger carried off by a buzzard once.
In this episode, we grab a ton of items before making some big progress.
WARNING: The placements of the items in this Let's Play are random. While you can get all these items, where and when you will come across will vary. You should be able to get an idea of what you should do, should you be stuck at a certain point, but everything about the placement of the items is random.
1:03 - The cheese is used to get past the red rat.
2:07 - Let's try this again. Let's use the cheese to get the rattle, which helps with the cave snakes.
Also, when you run out of lives, you'll see your password. You can write it down, but thanks to modern technology, you can always take a picture of it on your cellphone (or take a screenshot of what's going on in your emulator).
3:25 - The Heart is used to get a hint from a woman with a unique character sprite in one of the three hotels in Burbank.
4:26 - Here's what happens when the weasels - aka the Toon Patrol - catches up with you. To free Roger Rabbit, select the proper punchline and press A before time runs out and Roger dies. Also, when you get caught, one punchline gets added to your list of punchlines.
5:20 - We found the meat! Now we can get the dynamite from that dog!
7:56 - Getting the dynamite. The dynamite is needed to blow up the wall leading to Toon Town, but you've got to find the plunger in order to use it.
9:18 - The spring shoes are used to jump over the pits in the caves.
9:55 - It's Benny! Benny the Taxi makes an appearance, and if you run into him, you can drive him and move around town faster with the Control Pad and the A Button, letting you better defend yourself enemy cars. Be careful: the weasels will try to chase you in their own car if you're on the map for too long. If the music speeds up, you'll know they've shown up.
10:59 - You can't enter Maroon Cartoons, but you may be able to find something here, including a will piece.
11:14 - Also, I found the Black Cat here. If you lay down a Fishbone, you can get past the cat.
14:25 - The Gag Factory. Again, you can't enter, but you may find something here, including a will piece, if you search the nearby crates.
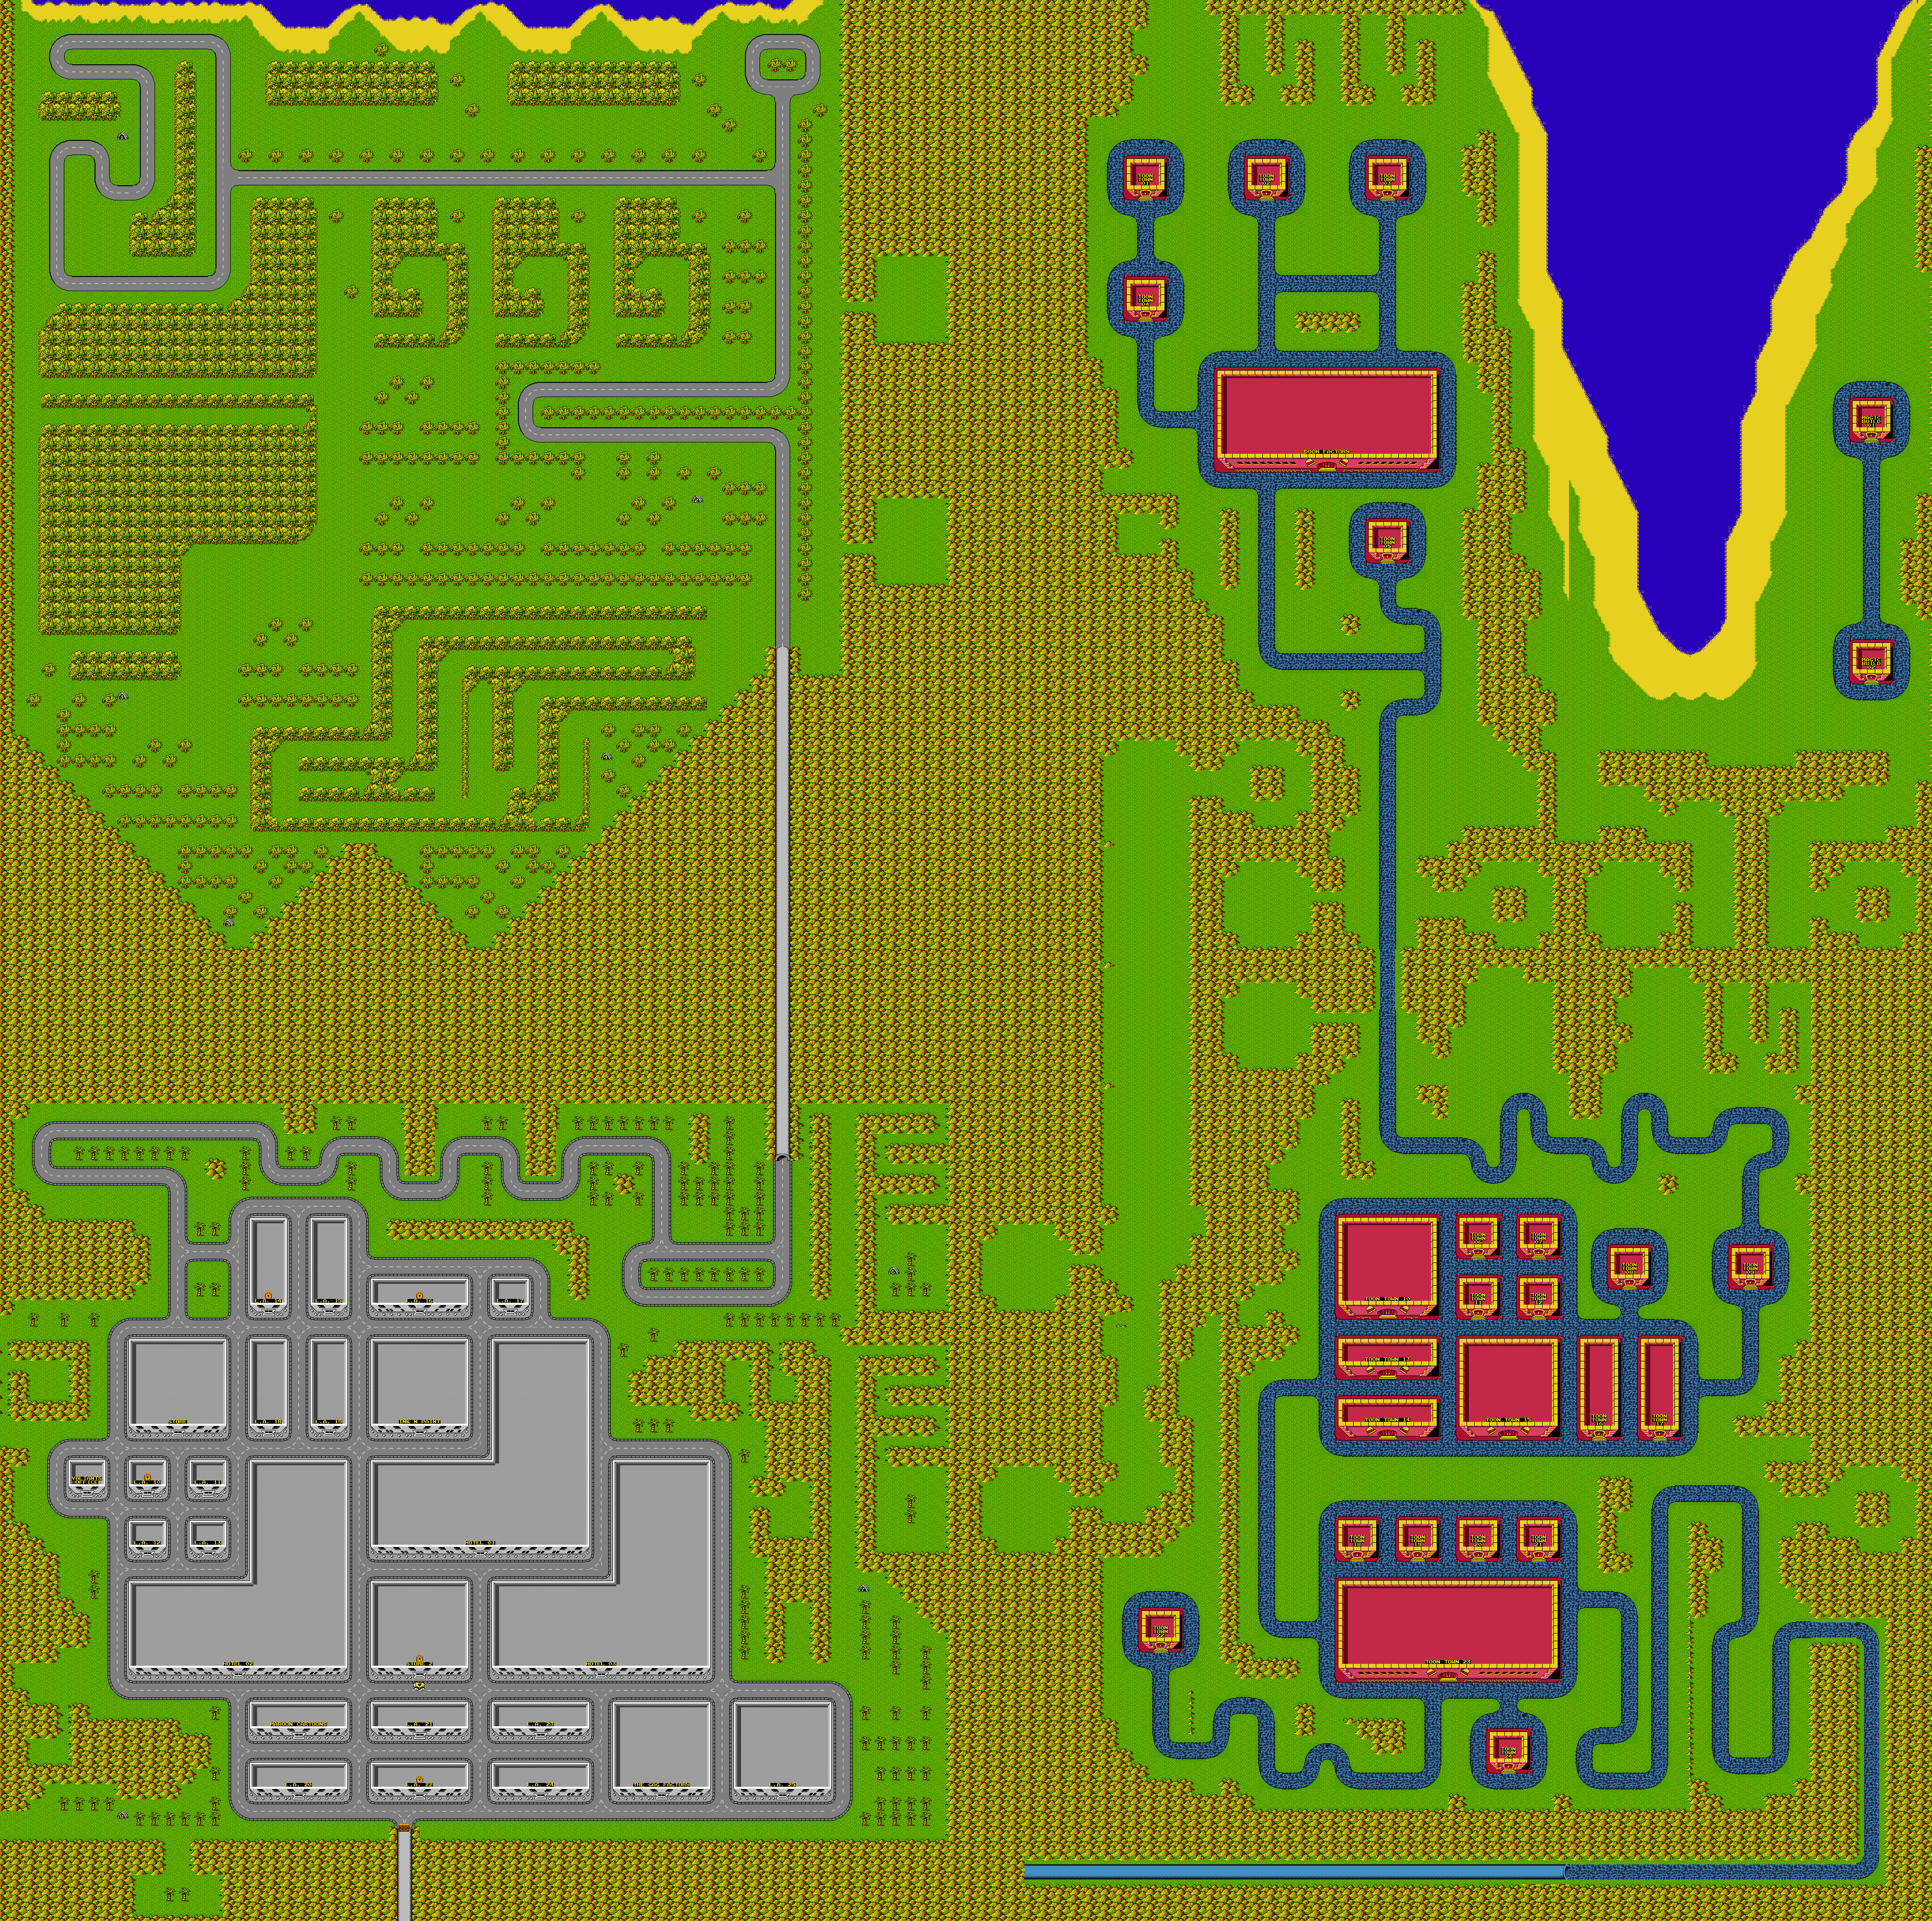
16:37 - The dynamite plunger, which the game calls a detonator. With that and the plunger, we can get rid of the wall blocking the entrance to Toon Town by equipping it before we leave a building and pressing B in front of the wall. From there, we can drive Benny through the tunnel leading to it. You must drive Benny to enter the tunnels.
17:29 - Another black cat blocks a Rose. We need the Rose to get a hint from Jessica Rabbit at the Ink & Paint Club.
Just like in the movie, Roger Rabbit is framed for the murder of inventor and millionaire Marvin Acme, and private investigator Eddie Valiant has to clear Roger's name. You have to find four pieces of Acme's will to save not only Roger, but also all of Toontown, as Judge Doom wants to turn Toontown into a freeway.
WARNING: The placements of the items in this Let's Play are random. While you can get all these items, where and when you will come across will vary. You should be able to get an idea of what you should do, should you be stuck at a certain point, but everything about the placement of the items is random.
1:11 - The game begins in Eddie Valiant's apartment. You are currently in the Burbank area of Los Angeles. When inside a building, use the Control Pad to walk up to things such as desks and dresser drawers, then hold Up and press A and wait. Sometimes you might find something, sometimes you won't. Here, you might find the Wallet; if you don't, you'll find the Wallet outside. If that happens, carefully tap the Control Pad towards the Wallet so the flower pot doesn't kill you immediately like some sort of beginner's trap. You'll pick up the Wallet automatically when you walk into it, so if you see Eddie bend down to grab an item, stop moving so he can grab it.
Always come back to Eddie Valiant's apartment if you need more Wallets to buy things with. Watch out for the rats, cats and dogs that move around, as they can damage you and kill you outright after three hits. Also, watch out for the vulture that might fly across the screen, as it will drop a bomb from above. The rat can also hurt you if it runs into you enough times. If any people approach, press A to talk to them to see if you can get hints. If they can't, there's nothing in the nearby building; if they can, they will simply tell you there is an item nearby to look for.
Always make it a habit to look for something whenever you go to a place, as item locations will always be random and you might be able to find something you need when you least expect it.
You also have a punch. Tap A to power it up, and make sure you're moving when you get the punch wound up. Stop tapping and you'll let loose at the current stored strength.
5:15 - Here is the overworld map. Right now, you're in the Burbank area of Los Angeles. Be careful, as it is possible to be run over by a car. If it happens to Roger, you're okay. If it happens to Eddie, you're losing a life. Also, if the vulture carries Roger Rabbit off, you'll lose a life.
If you hear the siren, watch out for the weasels. They will try to run Eddie over in their car, and if they come out of their car, they will immediately come out and look for you. If they catch up to you, they will kidnap Roger Rabbit and tell a joke. If you do not supply the right punchline (signified by the "P" blocks at the top), they will beat up Roger Rabbit and you will lose a life. If you can get to a building.
Now that you've left Eddie Valiant's office, you will want to go to every building and look for stuff. All of the buildings have different numbers, so if one area is giving you trouble, you can make a note of it for later (on pen and paper, of course). Sometimes you will find something, sometimes you won't. Even though we just left Valiant's office, if you come back, there may be a new item to find. If someone tells you that there is something in that location, there will be one item in that location.
Some of the buildings will be locked, others will not.
Be careful of other enemies such as dogs, cats and rats, as they will eventually kill you if they run into you enough times.
5:23 - The crowbar is used to open up doors locked by padlocks. To use the crowbar, equip it by holding Select and pressing Up and Down until the crowbar is in your inventory slot, then stand south of the padlock, line yourself up with it, then hold Up and press B to throw it at the padlock and break it.
The rats and dogs will show up and random places from the edge of the screen while moving back and forth, while the cats will leap at you if you get too close; thankfully, the cats only hurt you if you are lined right up with them.
6:37 - Here's the password for the Pen & Ink Club. Remember, if a person tells you the building is empty, head to the next one.
7:49 - If you ever see Roger Rabbit jump very high outside of a building and hold on for dear life, that means the weasel in the straitjacket has appeared. Power up your punch to its highest strength and hit the weasel to get rid of him. You can also hit him a few times with weak punches before finishing him off with a slightly weaker than strongest punch.
8:58 - The bomb is used as a weapon. Use it against the straitjacket weasel if you can.
9:20 - Some of the items can be bought at the store. To buy something, you have to select the wallet in the inventory by holding Select and pressing Up and Down on the Control Pad. From there, use the wallet by pressing B when it is equipped to get the item to drop. From there, you can pick up the item.
In case the item is not one you want, you can simply leave the store and come back in. The item will randomly change, should you do that.
10:42 - The red rat will instantly kill you if you run into it. If you have the cheese in your inventory, you can lay the cheese near it and it will go away.
11:58 - Another red rat. This time, it's guarding a rattle. We'll need the cheese to get the rattle, which we can use to get past the snakes in the cave.
13:35 - Interact with the gorilla guard with the Password in your inventory to get into the Ink and Paint Club. The "1-800-232-3324" phone number can be found on the table on the left side of the room. It was a hint line with Jessica Rabbit mentioning some hints for the game, but the number has long since went out of commission and now serves a different purpose. You can also talk to Jessica Rabbit, but you need to leave a Rose on the stage in order to get a game hint.
20:28 - This black dog is guarding the dynamite. Unless you have the Meat to keep the dog pre-occupied so you can get the dynamite, stay away from that dog.
Octo and Tiggy may not have beaten Judge Doom, but the strategies here should be good enough. Until next time.
WARNING: The placements of the items in this Let's Play are random. While you can get all these items, where and when you will come across will vary. You should be able to get an idea of what you should do, should you be stuck at a certain point, but everything about the placement of the items is random.
In this part, Octo and Tiggy come back having used a code that give them all the items. Here are the ones that were missed:
Meat: Used to lure the black dog away from the item it may be guarding.
Baseball: Used as a weapon against the straitjacket weasel. Also used to get access to Judge Doom's factory.
Boxing Glove: Used as a weapon against the straitjacket weasel.
Brick: Used as a weapon against the straitjacket weasel.
Custard Pie: Used as a weapon against the straitjacket weasel.
Six-Shooter: Used as a weapon against the straitjacket weasel.
Cigar: Used as a weapon against the straitjacket weasel.
Portable Hole: Used as a weapon against the straitjacket weasel.
At the Doom Factory, equip the baseball and throw it at the weasel blocking the door, then throw it at the weasel. As the weasel runs towards the ball, get to the door quickly, before the weasel catches you.
You'll then face Judge Doom, who will try to kill you by "staring daggers at you." Seriously, he shoots out dagger projectiles. Go up the ladder in the center of the room, and keep your distance. All of your items at him will do no damage, and the bombs and cigars will only do minimal damage should you be able to use them. Stay away from the projectiles he shoots out. If Judge Doom leaps back, his projectiles will go a little bit farther, so back away further to compensate.
The punchline meter acts as a life bar. Doom's health is the marker on the left. Your health is the marker on the right. If your marker reaches the D in "END," you lose. If Doom's marker reaches the N in "END", you've almost won.
Get in close, watch him so he doesn't shoot projectiles, then hit him with your strongest punches and move out. You have to hit the A button with a slow enough rhythm so that you can hit Judge Doom with multiple punches while keeping the power of your punches intact. If you get in close, he will also try to punch you as well. Charge up your punch and let him have it a couple of times, then move back before he can hurt you. You want to trap him on the far left; if you can do that, you can hit Doom loads of times if you can keep a pattern going. This is what you want to do, as this will let you finish him off quickly.
When you run Doom's health marker all the way down to the middle, he will fall off the platform. Climb down the ladder leading to the platform you just fought on, then head to the truck, climb up the ladder leading to the roof of the truck and grab the Dip Cannon. Switch to the Dip Cannon in your inventory, then climb up the ladder and press B repeatedly to keep shooting dip at him as he charges at you. Otherwise, you're dead. Once you take down Judge Doom with the Dip Cannon, he's done. You'll rescue Roger and Jessica Rabbit, then get your one screen ending. You just beat one of the hardest games ever.
Here's a video from Game Gods TV that shows the honest way of beating Judge Doom.
Here's a video from TheUtilityMan that shows Judge Doom going down fast. Happy gaming, everyone.
In this episode, Octo and Tiggy head to Judge Doom's area and find the Magical Building
WARNING: The placements of the items in this Let's Play are random. While you can get all these items, where and when you will come across will vary. You should be able to get an idea of what you should do, should you be stuck at a certain point, but everything about the placement of the items is random.
0:15 - Sometimes, you can find a piece of the will just right out in the open. Whatever you do, wherever you go in Toontown, search everywhere. As for everywhere else, search caves, search buildings, search where you can. You will never know what you will find unless you explore the game's world and give an effort.
0:44 - As you head north, the music will change. You'll find Judge Doom's area north of Toontown, so be careful when you head in that direction. Yes, the weasel at the front gate will beat you up if you get close.
2:39 - The magical building will give you items if use one there...so find it and use it! Just select an item, use it, and you'll get more without using an item from your inventory. Do this to get the maximum number of each object.
We head to Toontown in this episode, and if you thought things were weird enough in Burbank, wait until you see this place!
WARNING: The placements of the items in this Let's Play are random. While you can get all these items, where and when you will come across will vary. You should be able to get an idea of what you should do, should you be stuck at a certain point, but everything about the placement of the items is random.
At the start of this video, Octo and Tiggy found the dynamite at the store as a random item. The dynamite is used to blow up the wall blocking the path to Toontown, and you must have the.dynamite plunger in order to make the dynamite explode.
It should again be mentioned that if you get sent back to Burbank for any reason, whether it be from a password or from losing all your continues, you'll have to get the dynamite again before you can come back to Toontown.
1:26 - The dynamite and dynamite plunger in action. Once you have the plunger equipped, blow up the brick wall with B, then drive into the tunnel with Benny and you'll enter Toontown.
Once you get in, follow the blue road to Toontown.
3:22 - Walking shoes and Baby Herman. Apparently, the shoes are enemies, and Baby Herman tells you to go to Judge Doom when you have the whole will.
4:05 - This dog has his own room. THIS DOG HAS HIS OWN ROOM. WHAT THE FUCK. Also, the mouse hole has a door.
In this episode, Octo and Tiggy get the rattle and talk to a snake, then head to the north where all the caves are.
WARNING: The placements of the items in this Let's Play are random. While you can get all these items, where and when you will come across will vary. You should be able to get an idea of what you should do, should you be stuck at a certain point, but everything about the placement of the items is random.
3:03 - When you give the rattle to the snake, you have to talk to the snake. He will give you a hint much like Jessica Rabbit.
3:28 - Far to the right of the cave is yet another cave...
5:14 - This is what happens when you leave a building and don't get away from the rat in time.
7:22 - This tunnel takes you to another area. If you know where to look, you can find a piece of the will. It should be noted that there is one will piece per "quadrant" - one in Burbank, one in the park where all the caves are, one in Toontown and one in the Judge Doom area - and once you find a will piece in a "quadrant," you won't have to search it again. It helps to have pen and paper nearby so you can write down where you found your will pieces.