In this area, we get one more vellum and one last urn, then we explore Area VI for the first time.
.png)
Area IV
I forgot something in the area where we faced Arma.
Head back down the tornado, then head to the outside area of the spire. Go all the way to the top and go to the upper right corner for a vellum.
And with that, it's time to head to Area VI for the first time. It is in the mountains in the northeast quadrant.
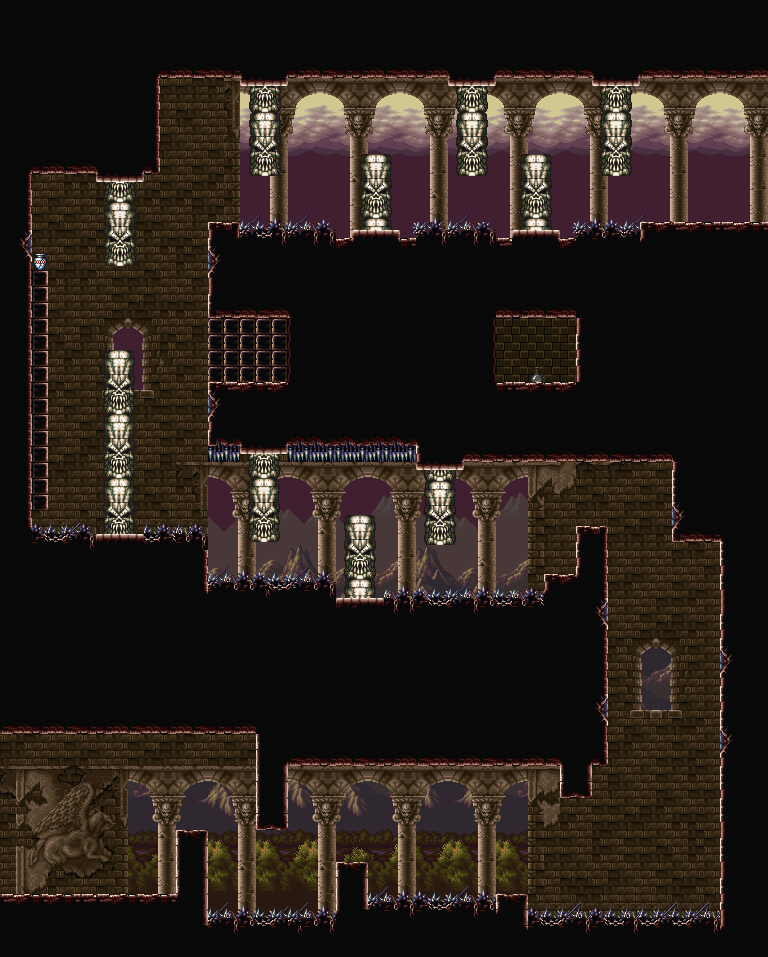
Area VI: Crevasse
This area has ice physics, so keep in mind that you can slip and slide around if you keep moving on the ground. Thankfully, moving around in the air in this game is pretty easy.
If you fly straight up from the start with the Aerial Gargoyle form, you'll find the fifth and final urn.
If you stick to the ground, you'll meet the skull throwing enemies and the skull piles from the Boneyard in Area II. If you stick to the air, you'll be hounded by those skeletal pterodactyl enemies from earlier areas that fly everywhere.
You can use the Claw power-up to stick to the spiky parts of the walls, but it's made obsolete by the Crest of Wind and the ability to ascend with the Aerial Gargoyle. Also, the
Near the end, go all the way up and to the right to find a hidden temple entrance.
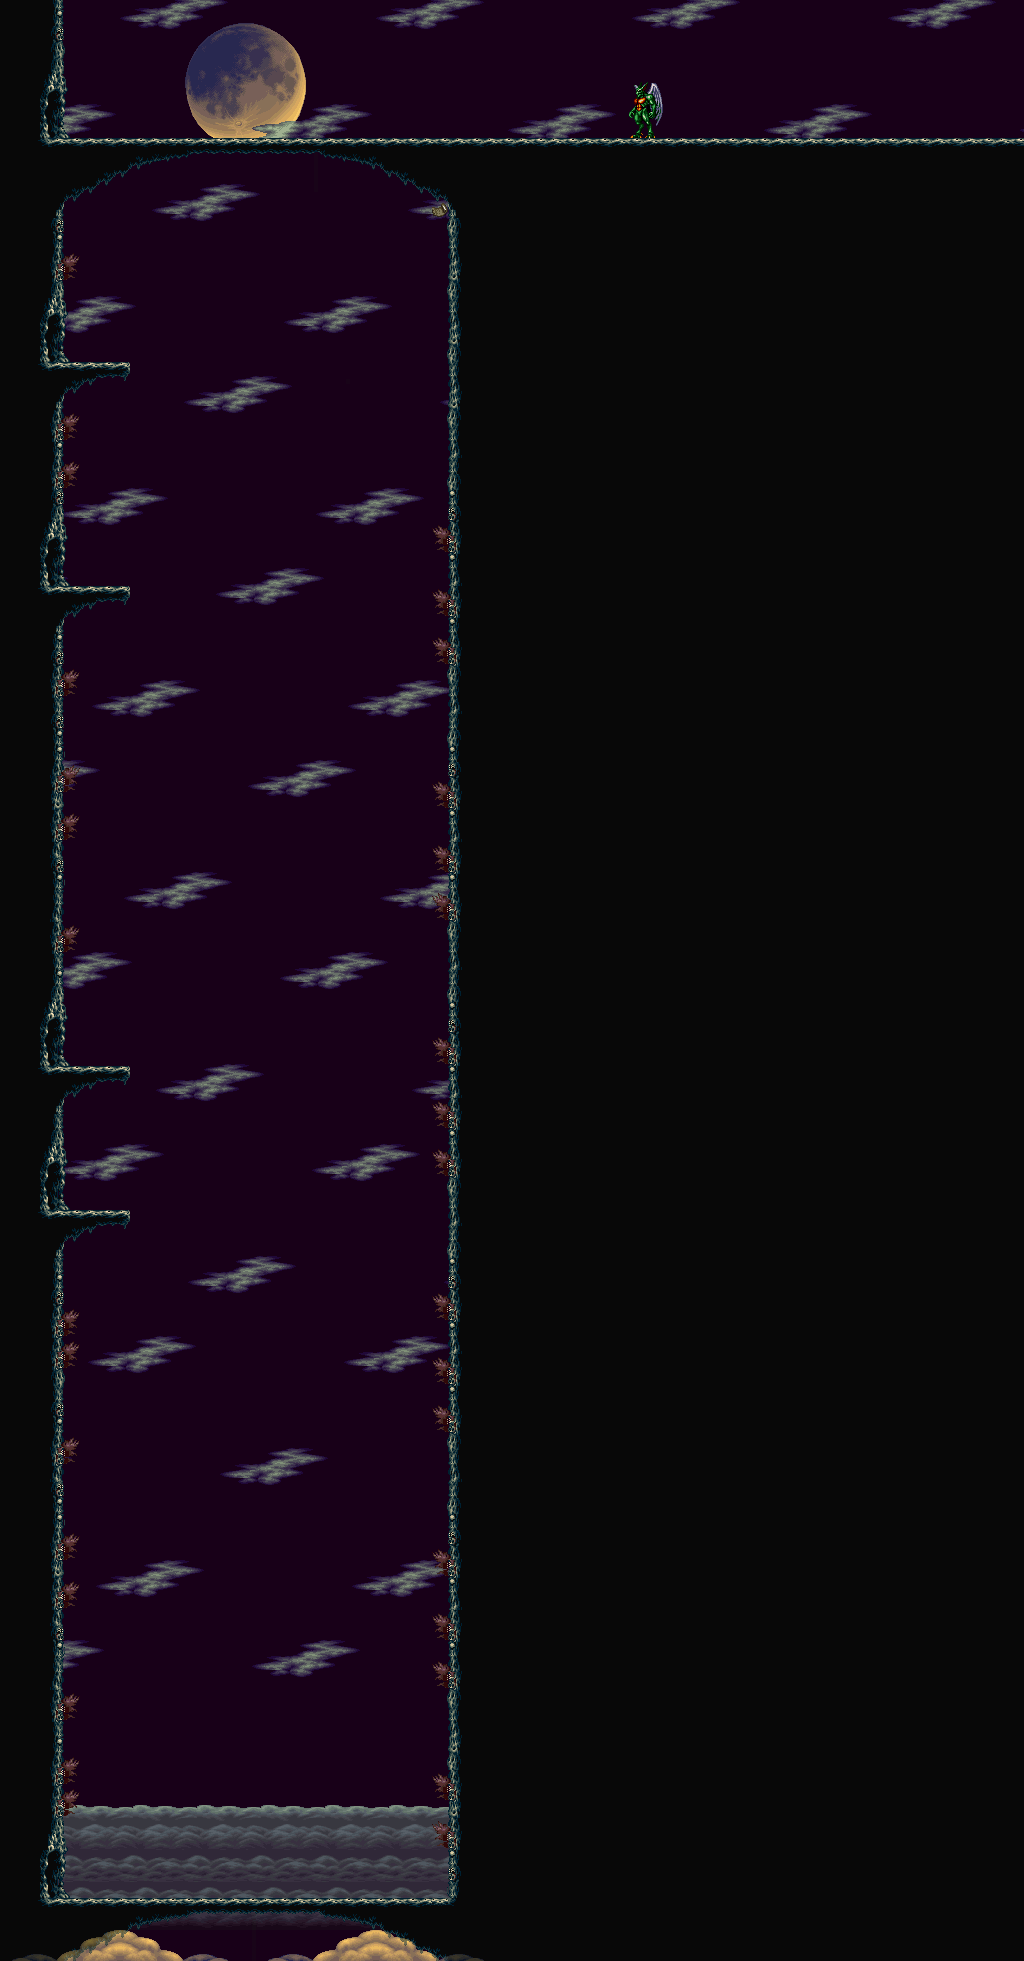
Area VI: Ice Spire
Here, you'll be using the Aerial Gargoyle to make your way up and take out your enemies on the way. At the end, there are two doors. The left leads to a life extension in a pot. The right lets you continue on. Headbutt the ice encasing the door openings to enter them.
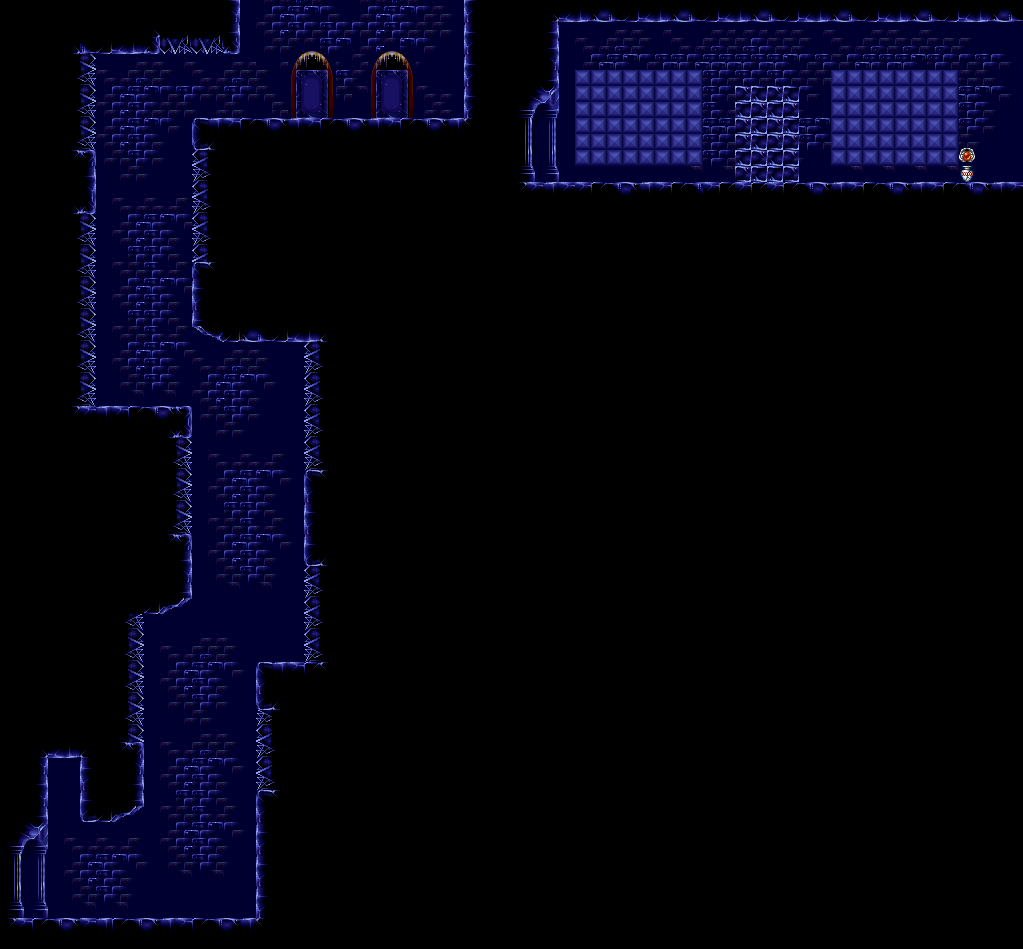
Area VI: Ice Corridor
Use the Ground Gargoyle to bash through the frozen skeletons in your path, and use the Aerial Gargoyle to get over the spikes and take out the enemies.
At the ice bridge, you'll face the Flier again. Once again, tear it apart with the Aerial Gargoyle form. The battle is just like it was in Area IV. You'll automatically go to the next section once you fully refill your health after the battle.
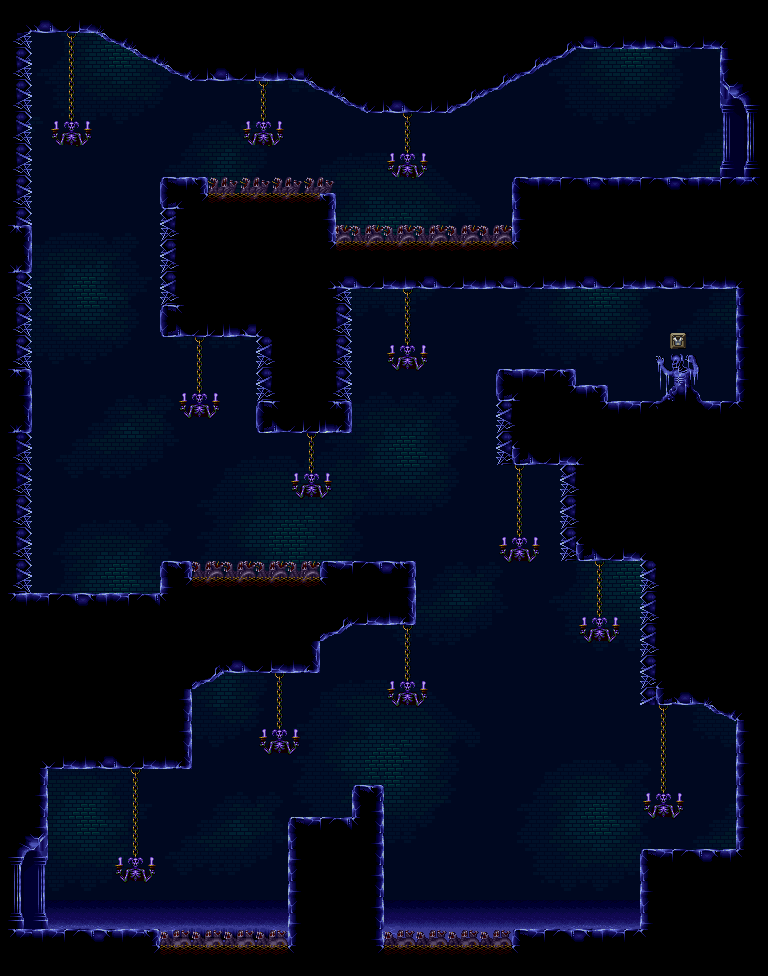
Area VI: Dark Tower
Much like the Catacombs in Area II, you'll be spitting Fire at the candles to lighten them up while dealing with the bats that fly around in the dark. You'll also have a few slime enemies that go down easily to projectiles, and the zombie hands return to grab you from below the spike pits. Due to this being a more open area, you'll be switching between Fire and the Crest of Wind constantly.
There is a fork in the road where you can go up or left; go up to find the Armor Talisman, which cuts the amount of damage you take in half when equipped.
Heading to the upper-right corner of the maze takes you to the third and final battle with Arma.
Area VI: Arma
For this battle, equip the Armor Talisman, a Ginseng and the Crest of Wind.
Arma fights much like he does in the second battle, but he does more damage now than he ever did. The Aerial Gargoyle form will negate the effects of the tornado, so always keep it active. Arma has a new attack in the form of silver projectiles that look like lizards and fire straight towards you, but they are easy to avoid and if you are directly across from Arma, you can descend, ascend, fire, and repeat until he stops firing to keep him in a bit of a pattern. Don't let those projectiles hit you, though. They hurt.
When you beat Arma this time, you'll beat him for good. You'll also get the Crest of Time, which allows you to become the Legendary Gargoyle. As the Legendary Gargoyle, you'll take half damage automatically without the Armor Talisman equipped, as your health bar will be green and your health itself will be doubled.
If you go back to the green demon in the city as the Legendary Gargoyle, he will recognize Firebrand and beg for mercy.
No comments:
Post a Comment