In this entry, I reveal some new stuff about the game that is pretty crucial to beating it, and we also take an alternate path in Area II.
.png)
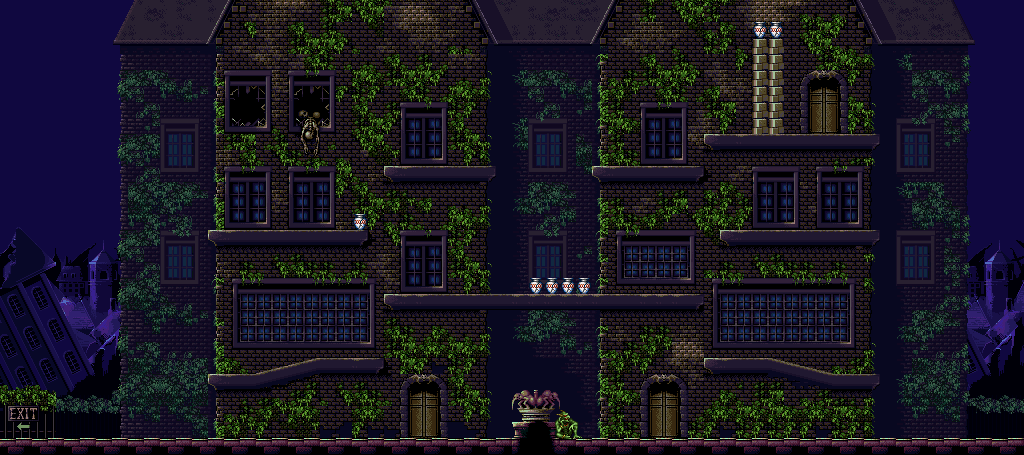
Area II: City
I learned some stuff since last time.
Believe it or not, you can headbutt the windows. This allows you to get a lot of G.P., and once you break as many windows as you can, you can head left to leave, come back, and all of the windows will be repaired and ready to be busted open again.
You can also headbutt the doors to open them, and press Up to enter. The man in the door in the lower-right corner will tell you about the talismans and how they can give powers, while the door in the lower-right corner is a spell shop. Unlike the spell shop we saw last time, however, we can buy the Death spell, which kills all on-screen enemies and damages some - but not all - bosses. Because of that, it is the most useful spell in the game.
There is a door in the upper-right corner behind the wall, but you can't break the wall yet.
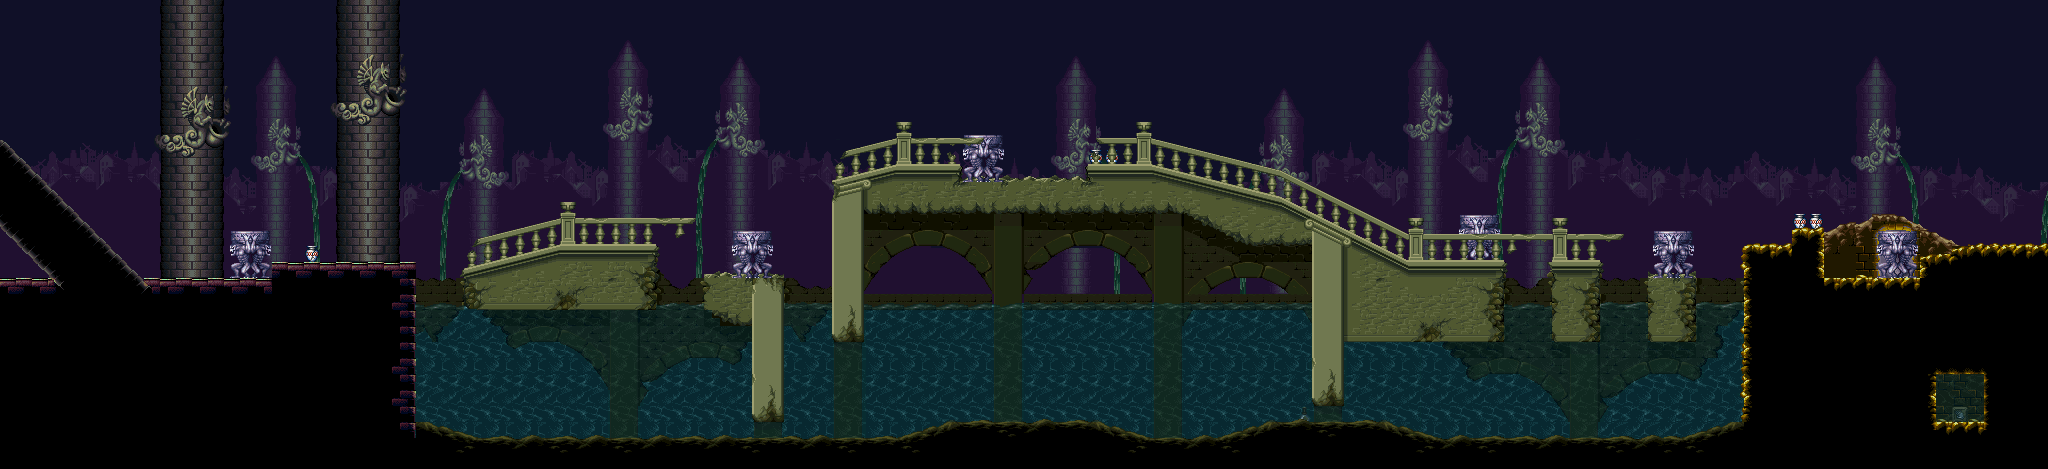
Area II: Bridge
Believe it or not, there is a door behind the statue at the end of this area. If you tackle it from the right side, you'll push the statue aside and reveal the door. Press Up in front of the door to go in.
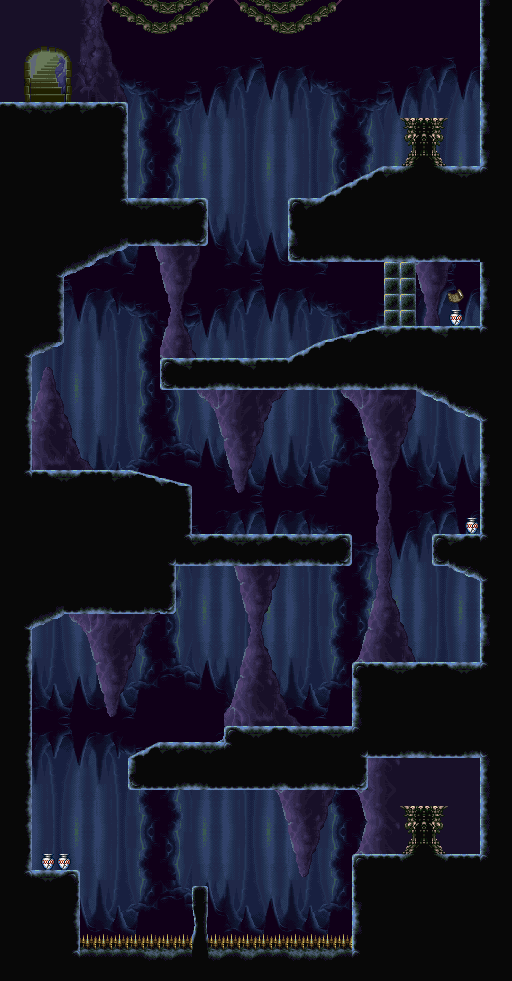
Area II: Catacombs
The enemies that crawl across the ground will spit at you if they see you, but they move pretty slowly. The Ground Gargoyle's projectile attack wipes them out in one hit.
The flaming skulls split into multiple fireballs when destroyed. Use the Ground Gargoyle's projectile to wipe them out immediately.
The statue to the right of the entrance can be destroyed with the charge attack. Keep that in mind for the end, when you have to destroy it to get to the next area.
Along the way, you'll have to contend with the one-eye bats from the jungle. Like in Area III, it will take two fireballs to kill them, and they wake up if you get too close.
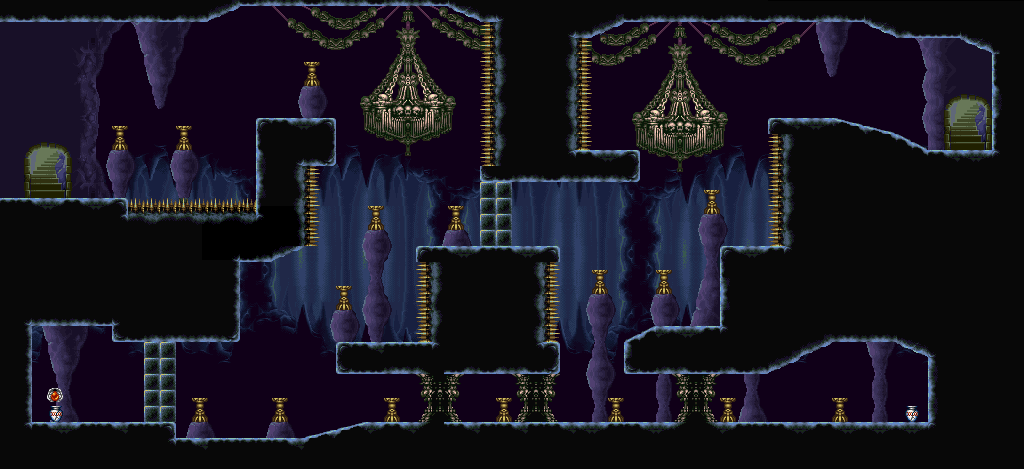
Area II: Dark Catacombs
This area is a short maze, but the hazards inside of it can differ depending on whether it is light or dark. Use the Fire ability to light the torches and chandeliers, and use the Ground Gargoyle's charge attack to break the walls.
If the cave is lit up, ghosts will pop up, and your Fire ability will not be able to take them out. If the cave is dark, the bats on the ceiling will start flying around, and while you can take them out, they can latch onto you and drain your HP.
Area II: Pit of Ovnunu
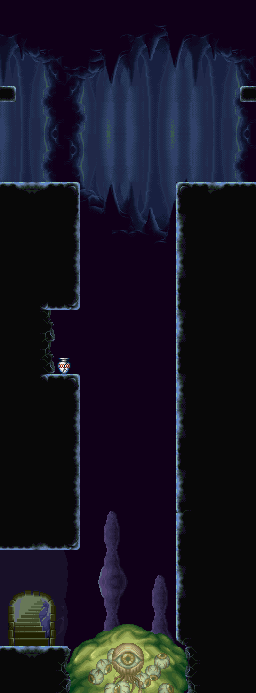
At the end, you'll face Ovnunu. You'll have to make your way to the top, and if you can destroy the pot on the way up, you can refill all of your health.
When you reach the top, you'll fight Ovnunu. When the eyes come out, hit them with fireballs, and don't let them surround you. Sometimes they will fly in and out of Ovnunu's slimy body, but at least you can stand on the body and the eyes don't heal themselves.
After you destroy the small eyes, you'll face the big eye. When the eye opens wide, get away from its line of sight so you don't get hit by the acid shot.
By beating Ovnunu, you get the Buster technique for the Fire Crest. This is a larger, more powerful projectile that breaks certain walls and does more damage to enemies. You can shoot two projectiles at once with this technique, and you'll be using this in place of Fire to fight enemies and bosses.
Area II: City
Now that you can break the brick wall, you can go to the potion shop in the upper-right corner. Here, you can buy Ginseng, which recovers all health when equipped and used with the X button. This potiion is even better than Herb and even Elixir, and I end up using it and the Death spell exclusively soon enough.
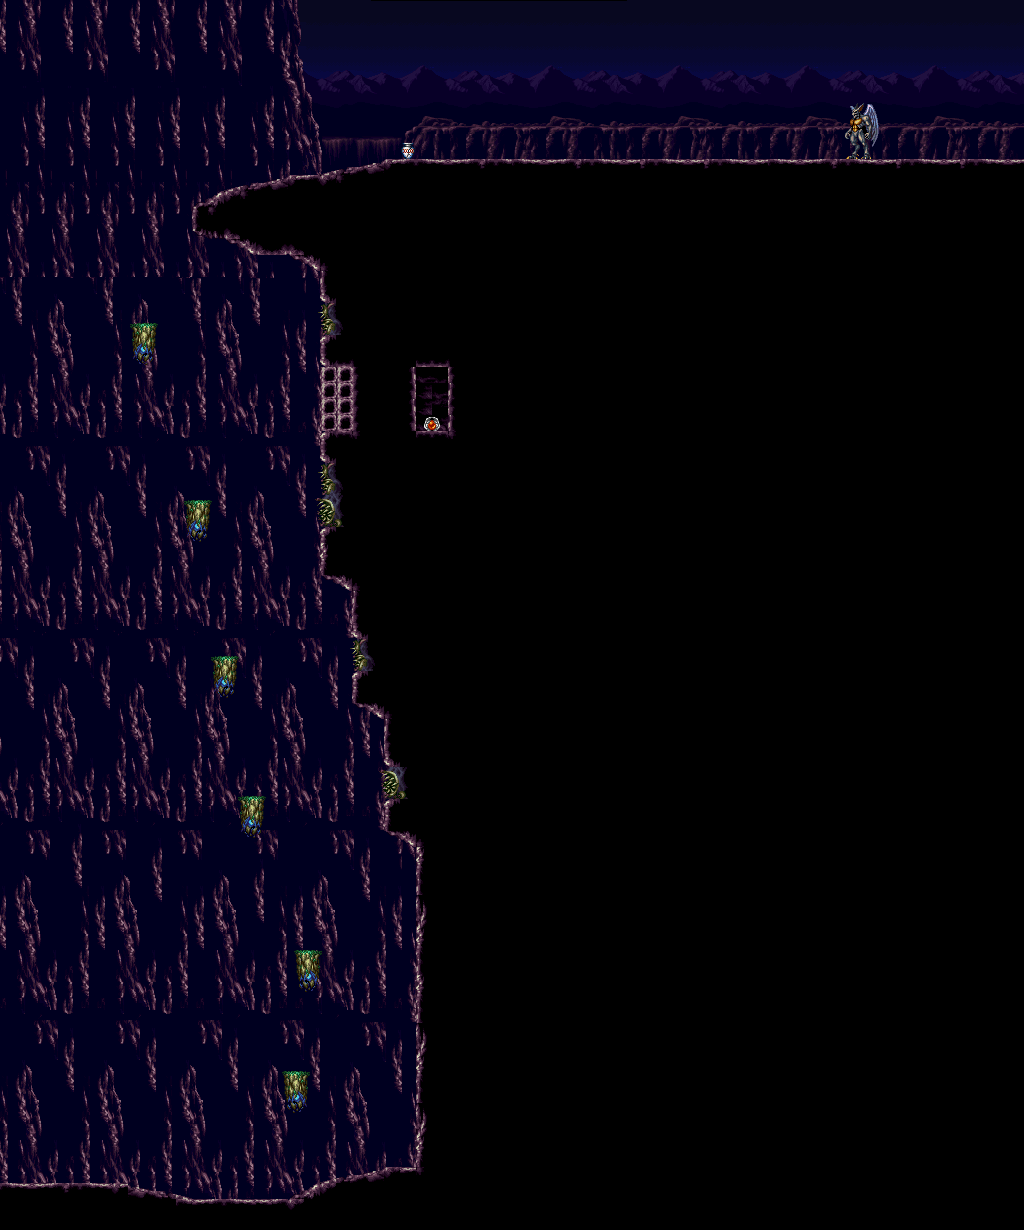
Area I
If you've beaten a boss before, you don't have to fight it again.
In the last section of Area I, there were some square-shaped blocks in the cliff. You can break through them with Buster, and if you walk through where the blocks once were, you'll find a health extension.
No comments:
Post a Comment