It's the battle you've all been waiting for: the Dark Demon!
.png)
When you put in that password you got after beating the game with 100% items, you'll be back in the game. You'll have to refill your vellums and urns, but you'll have a new form: the Ultimate Gargoyle, which is a purple-and-blue version of the Legendary Gargoyle and combines all of the forms. With this form, you can hover in mid-air, charge like the Ground Gargoyle, ascend in mid-air like the Aerial Gargoyle, go underwater and swim perfectly horizontally like the Tidal Gargoyle, and have double health like the Legendary Gargoyle. If you need to headbutt something in the background, hold Up and press A.
Unlike the other forms in the game, however, you can charge your shot! I did not know this until the day of the video's upload, but you can hold Y and charge up your shot, then let go of the button when the charging animation around Firebrand speeds up and shoot a more powerful shot. (thanks kirbysaas)
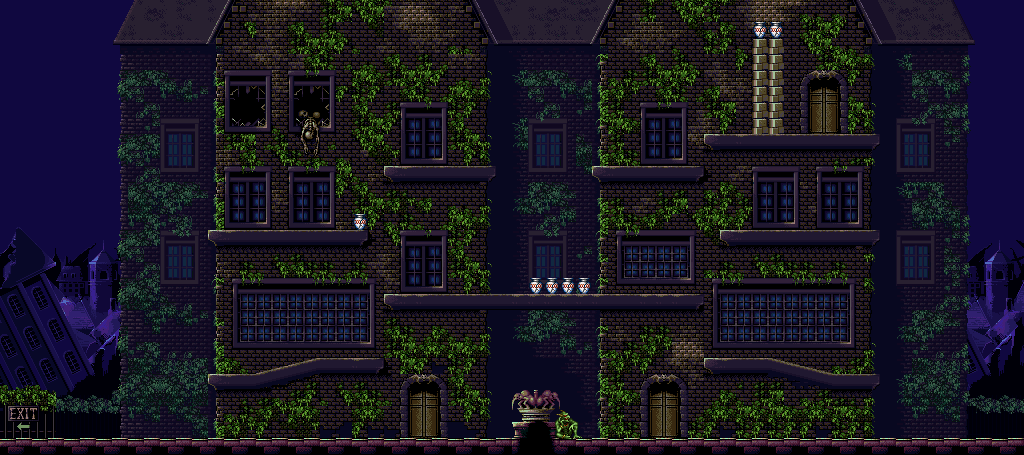
If you talk to the green demon near the fountain in the city as the Legendary Gargoyle, he will thank you for freeing demonkind from Phalanx's rule.
When you go back to the map, you'll notice that there is a new area in the upper-right quadrant of the map. This was not here, and it is the lair of the Dark Demon: the true final boss of the game.
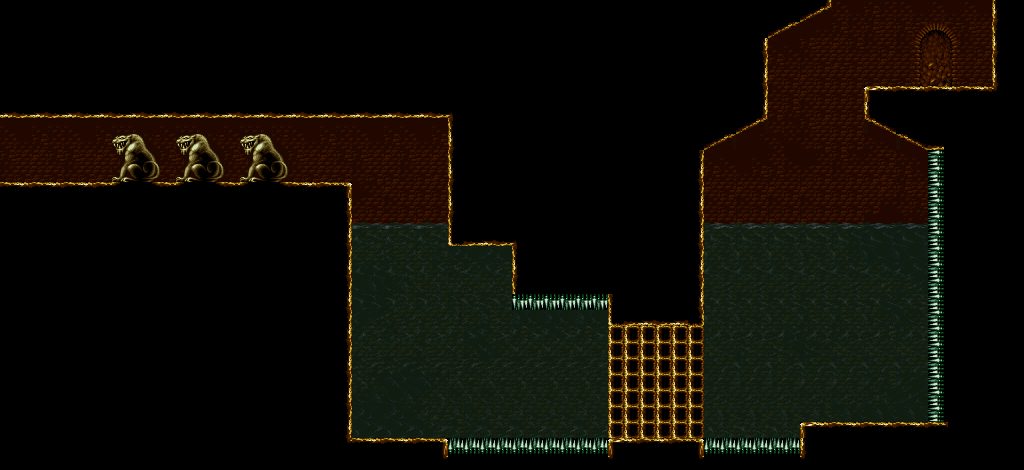
Dark Demon's Lair
There are no enemies here, so all you really have to worry about is getting to the doorway at the end and headbutting it open without hurting yourself on the spikes.
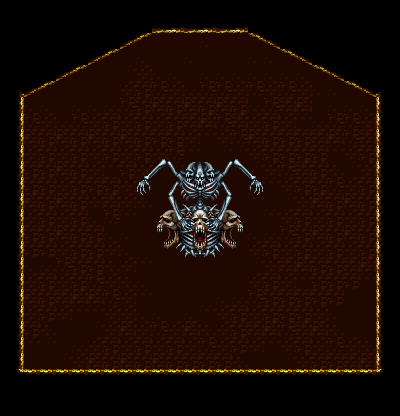
Once you go into that doorway at the end, you'll face the Dark Demon.
Stay as the Ultimate Gargoyle at all times and keep a Ginseng and the Fang Talisman equipped. Having five Ginsengs is a must. Don't even bother refilling your vellums; you won't need them for this battle. Aside from a lightning ball that follows you around (you can destroy it, but the Dark Demon will just summon another one), the Dark Demon has bone projectiles that go in four directions and a crush attack. If you see the body stop and absorb a purple light, get to the ground and stay below it so that the waterfall of poison that comes down doesn't hurt you. In its initial form, you can only hit the upper body.
Eventually, you'll see another form that has two wings that only stays in the center. Be ready to shoot directly at the head, and watch out for the debris that drops down from the top and the swirling projectiles that rush in from the right side of the screen. If this form shoots a lightning ball, the lightning ball will hit a part of the wall and/or floor and turn it into spikes for the remainder of the battle. This form can also phase in and out every so often, making it so that your projectiles will pass through him briefly.
This battle is definitely a battle of attrition, and I found myself using four out of my five Ginseng potions. If you can manage to pile on the projectiles and the damage, so much the better.
When you beat the Dark Demon, you'll get the best ending. The Dark Demon's power was derived from all of the crests, including the Crest of Infinity made by combining the six crests, and once again, Firebrand casts the crests aside and throws them into the sea before looking for another powerful opponent. You just beat Demon's Crest!

No comments:
Post a Comment